DIYBIO: Streaking Plates to Isolate Colonies

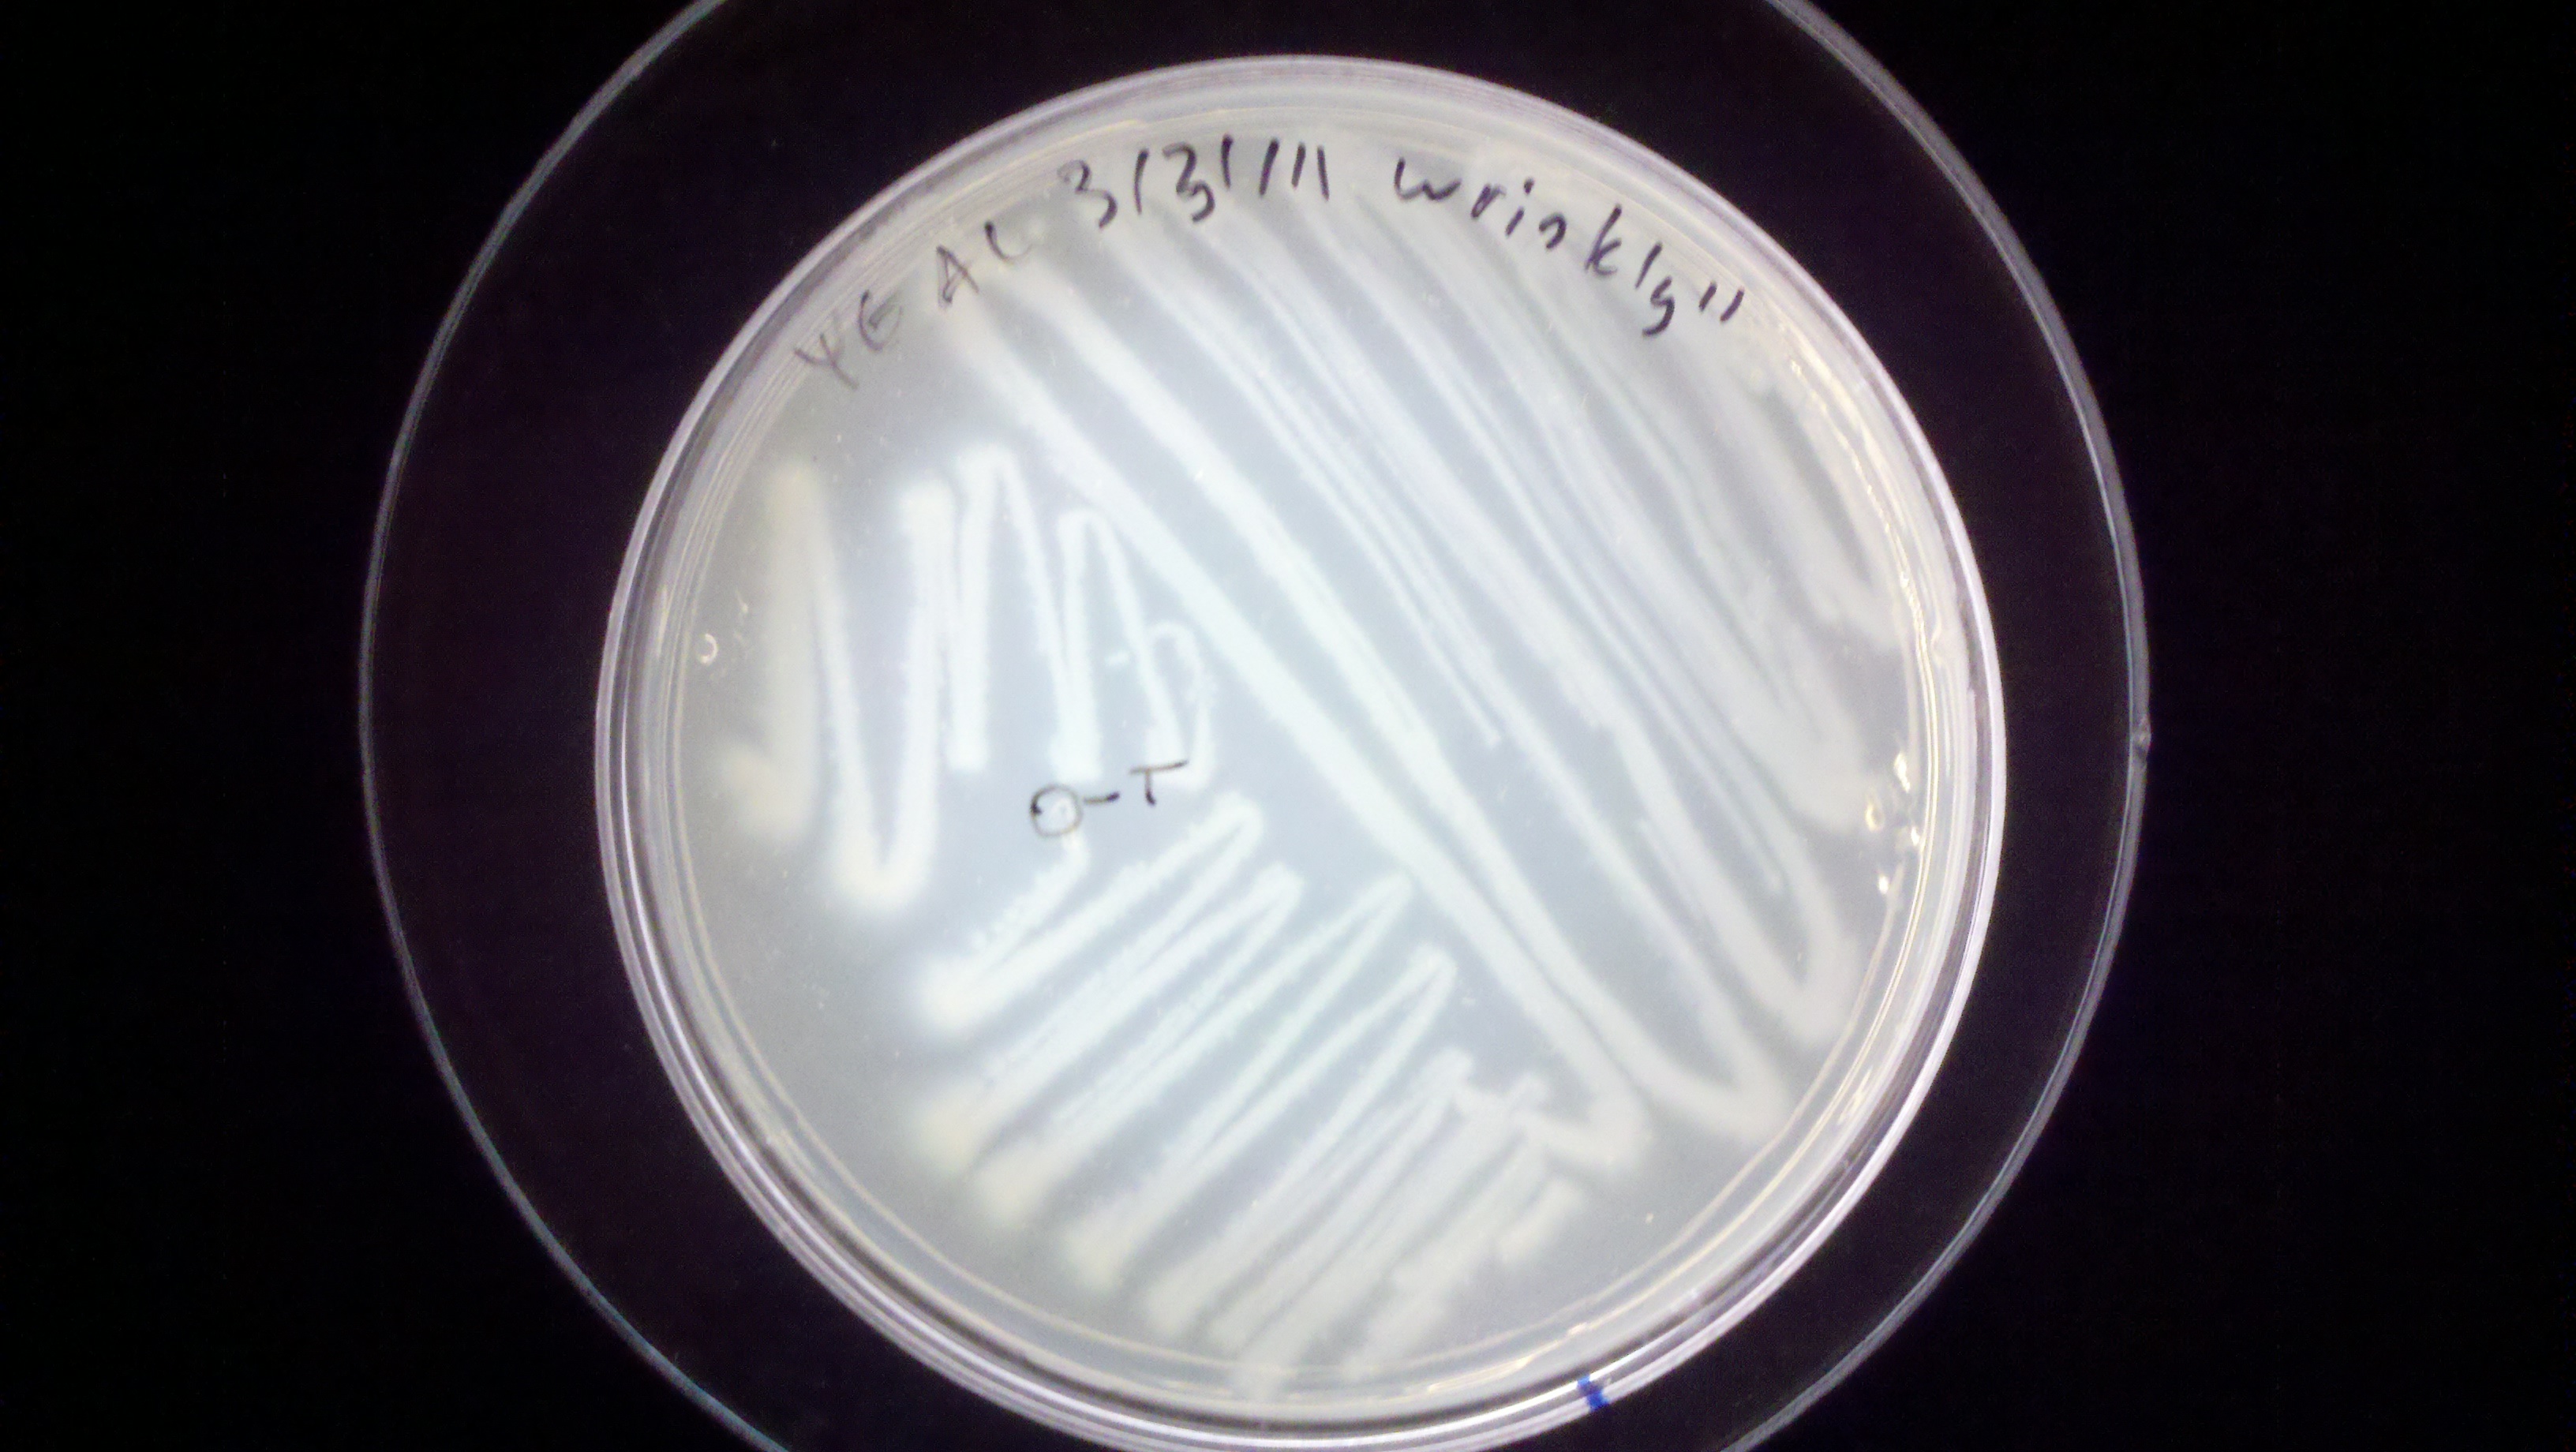
Isolated colonies. Also note initial thick streaks in to the top of the plate, and then the less continuous sreaks in the bottom right, and the thinnest concentration of isolated colonies on the bottom left

So, you want to isolate that plastic degrading, or bioluminescent, or plasmid-bearing microbe from the rest of a mixed sample.  Or maybe you want to grow up a colony from a single bacteria for a clean PCR sample, or to inoculate a liquid culture.  To do this you will need to streak a plate!  There are many techniques for this, but there are really two key ideas:

  • Work cleanly; don’t contaminate your sample.  Use an open flame
  • You want to thin out the amount of bacteria on your loop

My technique for this is to heat my loop up to orange-hot, then cool it in the agar of the sample I am taking the colony from, being careful not to touch any of the colonies on the plate.  Once quenched (So I don’t heat-kill the bacteria),  I rub it on the target colony or area on the sample plate.  Then I close the sample plate and open the target plate.  I like to do 3 streaks.  The first one is to spread out the bacteria I picked up on the top 1/3 of the plate.  Once this is done, I sometimes flame and cool the loop in the target agar, although it is ok to skip this step.  Either way, I then make another zig-zag, starting in the area that I spread the bacteria in, and then moving out onto an unused third of agar.  The last streak takes up the last third, and starts in the last area I covered.

Good, isolated colonies

If everything works out, you should have isolated colonies like in the picture above.  A few common pitfalls are:

Clear streaking pattern, but there are too many bacteria, and it looks like I overlapped my first zig-zag with my last zig-zag! oops.

  1. TOO MUCH bacteria.  Bacteria are very small, and if you pick up too many, you will end up with a bacterial “lawn”, which is useless for isolating colonies.
  2. Accidentally killing your sample bacteria by sticking your red-hot loop into them (doh!).
  3. Streaking back into an already streaked area.  This defeats the purpose of streaking, which is to spread out the bacteria.  If you go back from a low concentration area to a high concentration area, and then back to the low concentration area, you risk bringing extra concentrated bacteria that would form a lawn into an area where you want single colonies.

DIYBIO: Aseptic Technique as Learned By Pouring Plates

Today was “Day 0” of the GFP project.  Today, I showed everyone how to pour plates while practicing (some amount of) aseptic technique.  This is a walkthrough of preparing LB plates from mixing the agar, to how the plates should be labeled.

Things you will need:

  1. Dry LB agar mix, OR dry LB and dry agar
  2. a scale, accurate to tenths of grams
  3. weigh paper OR regular paper OR aluminum foil
  4. some kind of pressure sterilizer (like the ones used in canning, or an autoclave)
  5. sterile petri dishes- pre-sterilized disposable dishes, or glass dishes
  6. Distilled or Reverse Osmosis water, depending on how sensitive your organism is
  7. a bottle to hold your nutrient agar, with a lid.

1.  Plan out what you are going to make

Read the instructions!

Plan out how many plates you are going to make.  A regular sized dish will hold about 20ml of agar comfortably.  Today we wanted to make 5 plates, so I knew we would need about 100 ml of media.  I know that the pre-mixed LB agar uses 37 grams/liter, so for 100 ml (1/10th of a liter), I would need. 3.7g of dry media.  I you have bought agar or media-agar, check the bottle for how much you should add per liter.

At BOSSLAB, we use a pre-mixed Miller LB+agar mixture.  It is important to know that LB does not always come with agar, and agar does not always come with LB.  LB stands for Luria, Luria-Bertani, or Lysogeny broth depending on who you talk to.  LB is made of digested Casein, yeast extract, and sodium chloride.  The digested Casein protein provides peptides (short amino acid chains), while the yeast extract provides vitamins and trace elements.  The salt in the Miller formulation of LB is a bit higher, at 10g/L, which is normally to provide the right osmolarity, but in our case it is just because it is what we have.  Agar is a sugar purified from seeweed, that when added to water and dissolved, cools to form a jello-like substance.  When mixed, you get LB-agar, which forms solid plates.

2. Add Water
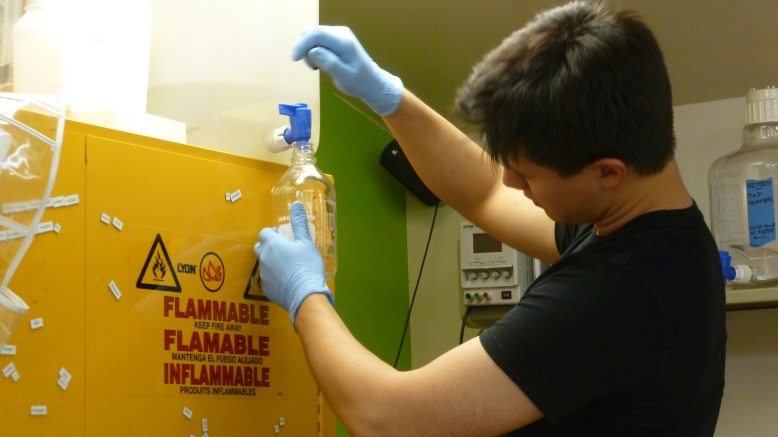
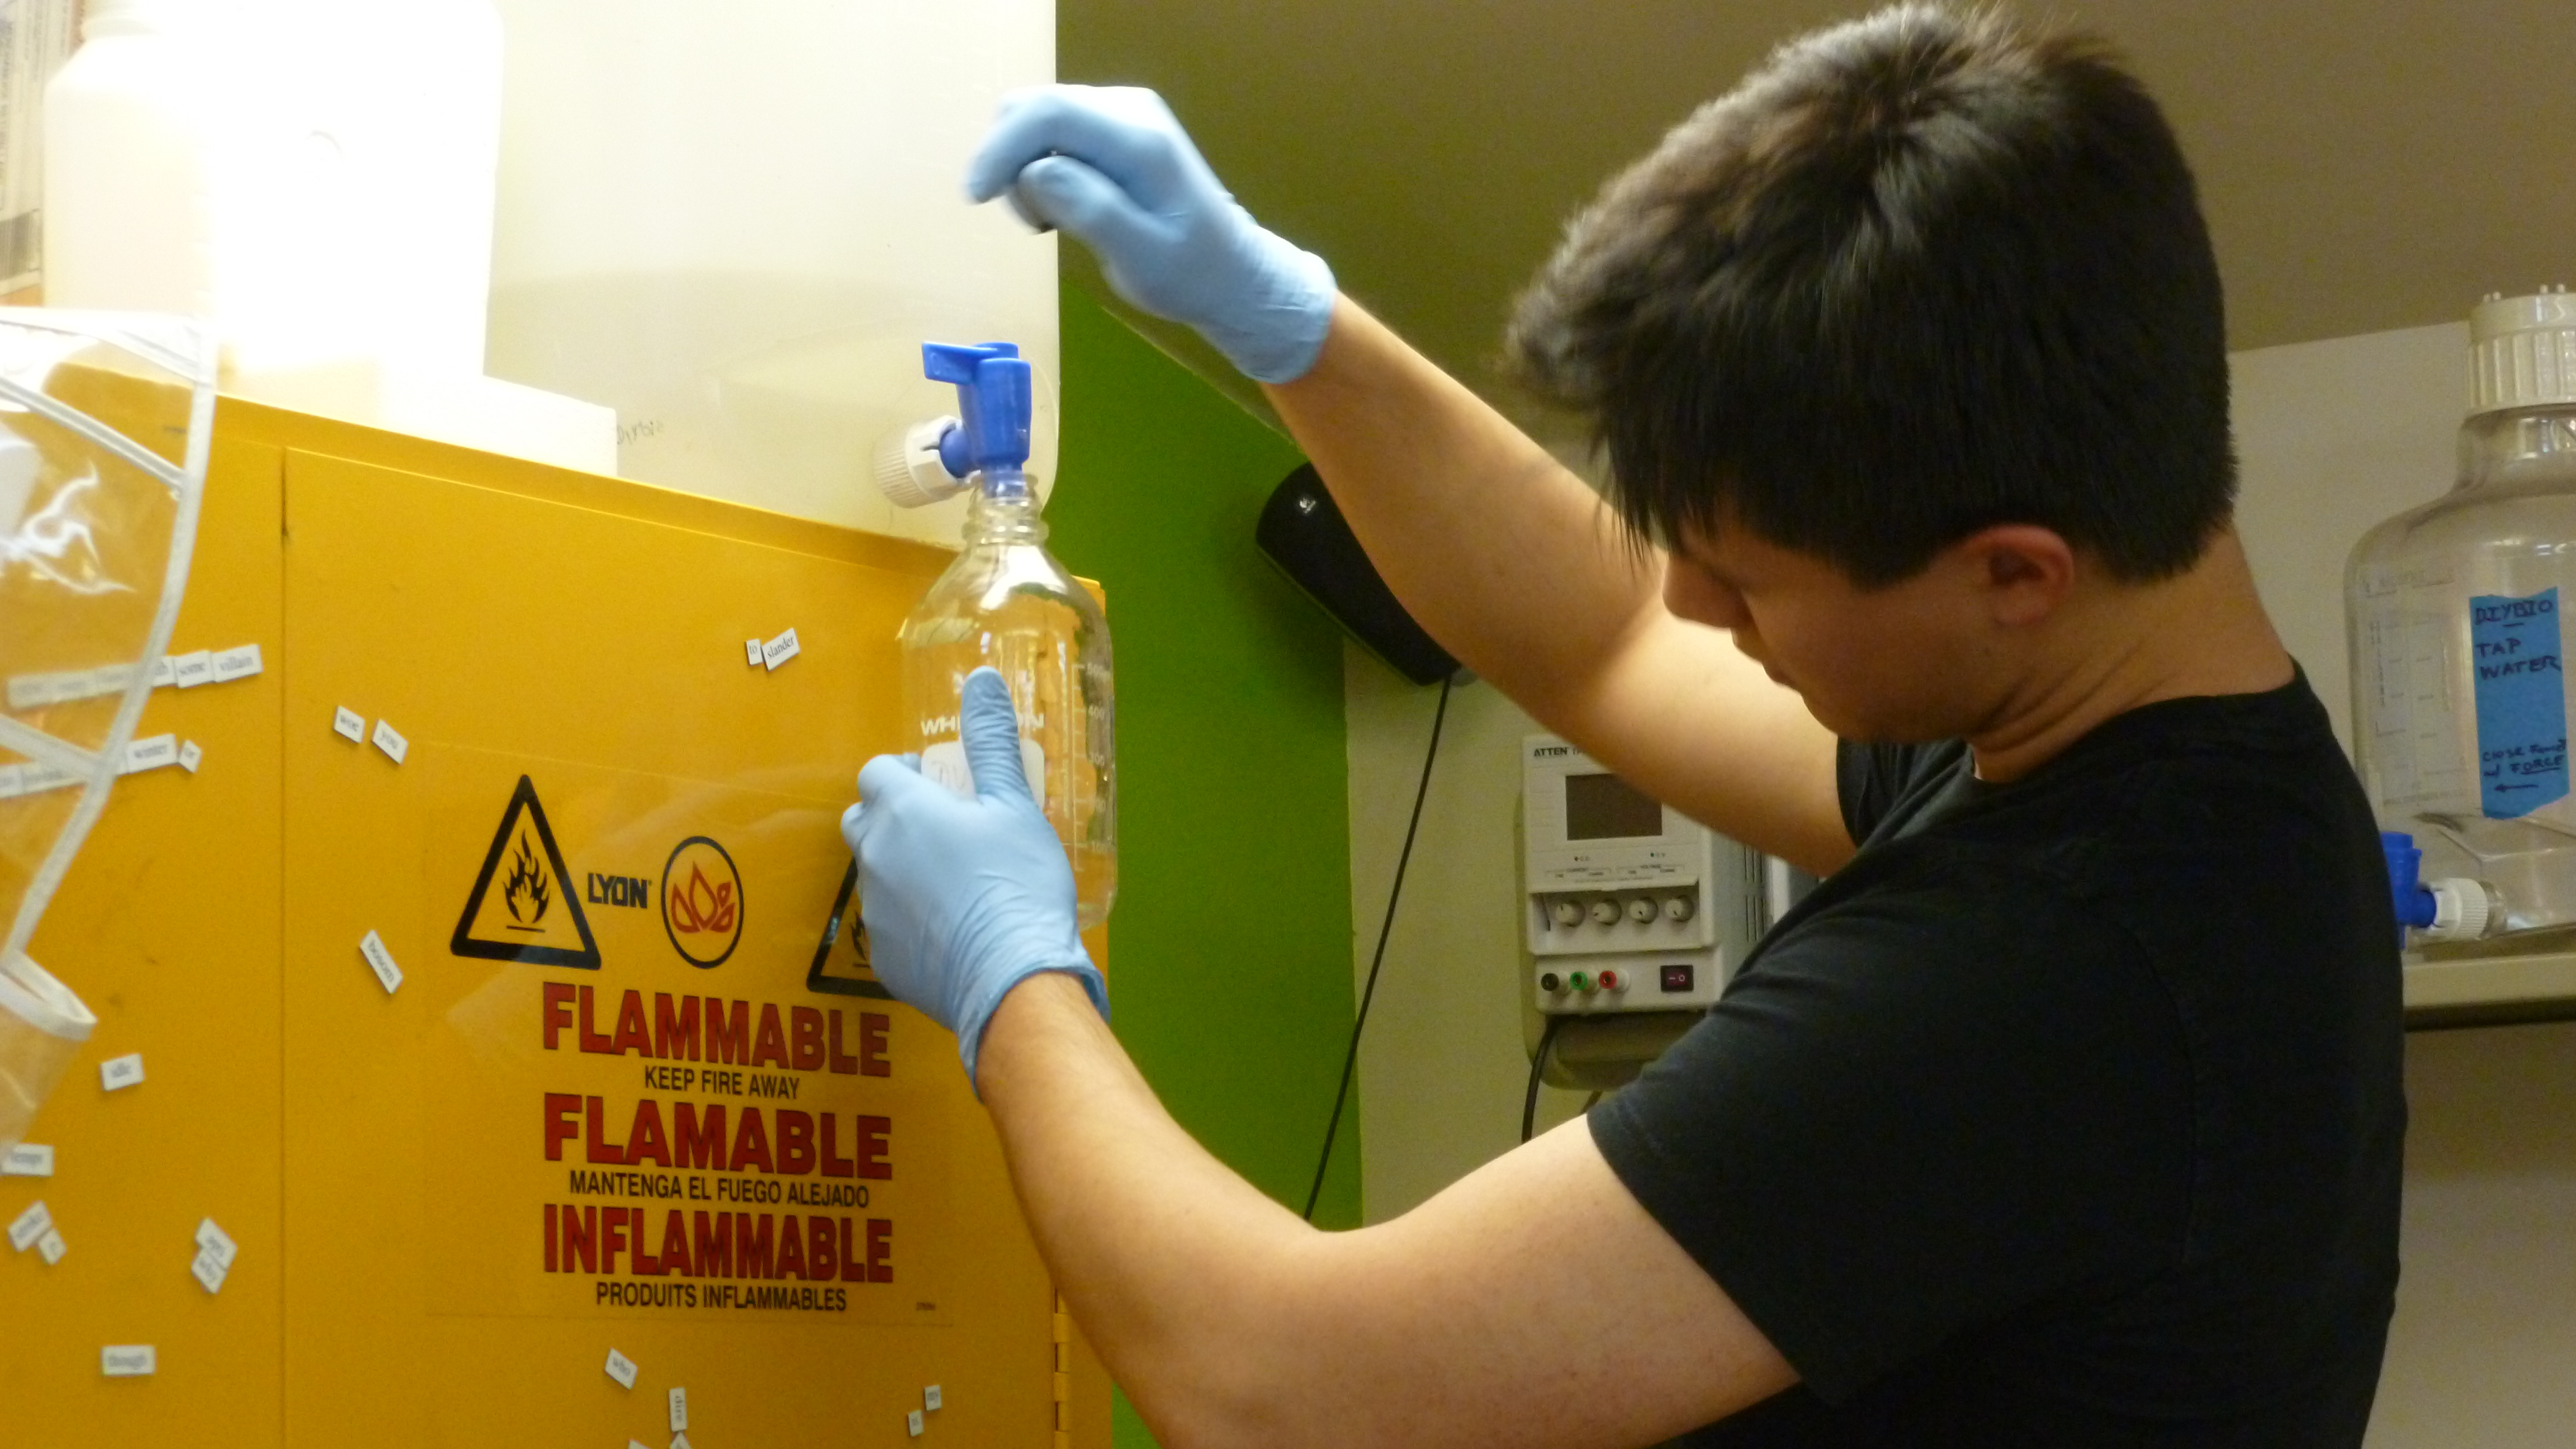
Adding RO water!

Now that you have everything planned out, add your DI or RO water to your bottle.  Water comes before the dry stuff because the dry stuff tends to form clumps, and if this happens in the bottom of the bottle, or worse, a conical tube, it might not get mixed into the media.  Right now all the media and water we are dealing with is “dirty”, so don’t worry about aseptic technique.

3. Measure the dry powders
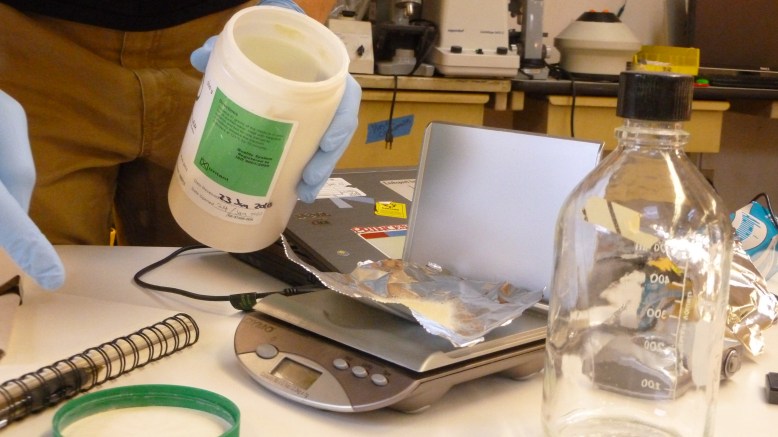
measure the dry media

The next step is to measure out your powders.  For this you will need the scale, and your weigh paper or foil, and your dry media.  I like to use foil because we have it in the lab, but remember to flatten it out so that the powder doesn’t get stuck in crevices.  If you are using paper or foil, fold it in half so that you can pour the powder out.  Place the weigh boat/paper on the scale and tare, then  measure out however much of the dry media you need.

4. Mix!
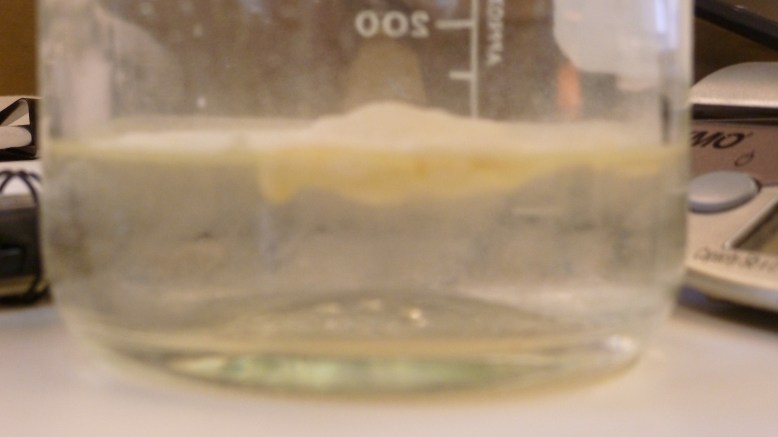
Add and mix the water and media

Now just drop the powder into the water!  It might need some convincing to completely break up and dissolve, so don’t be afraid to vortex or give the bottle a shake.

5. Sterilize (both heat and filter methods covered here), also sterilize your plates if you are using glass

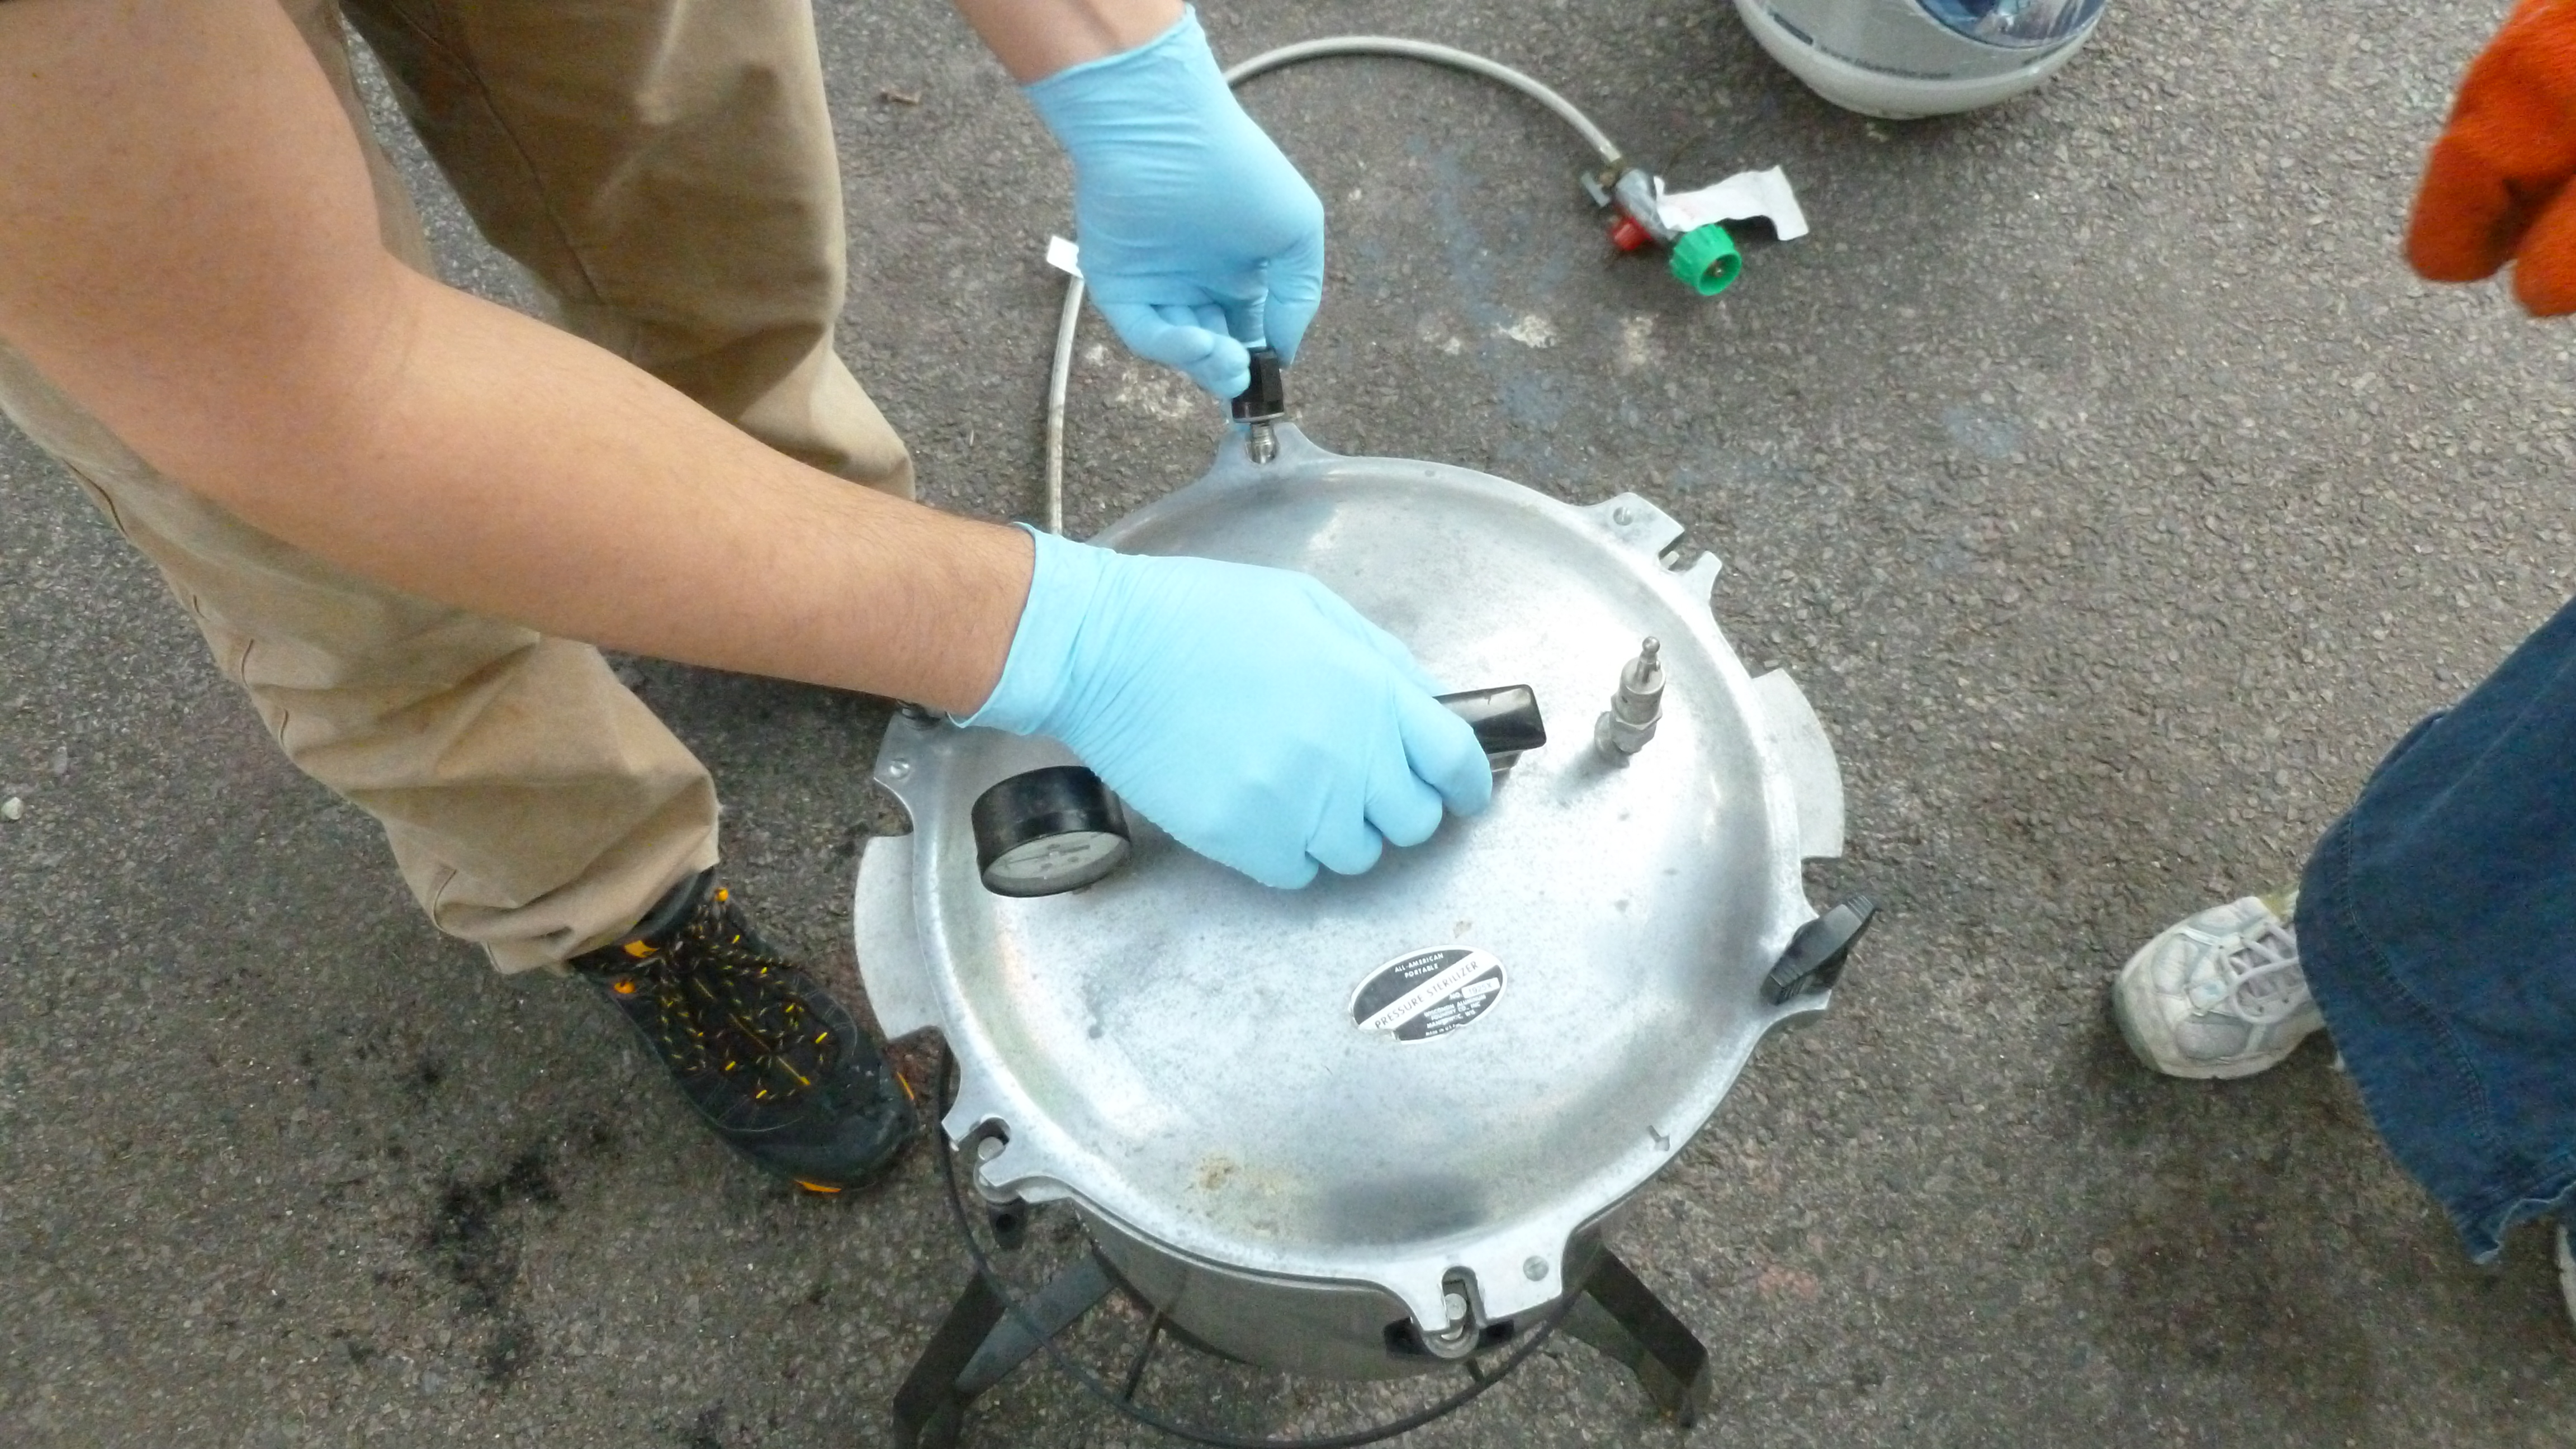
Time to fire up the cooker!

Before you set your sterilizer to “kill”, LOOSLEY screw the cap onto the bottle or cover it with foil.  Securing the cap all the way can lead to exploding and other bad things, like the media not being subjected to the extreme pressure of the sterilizer.  If you have access to a real autoclave, go ahead and put it in on whatever cycle the manufacturer recommends.  If you are using a pressure cooker, you want to cook it at 15 psi for 15 minutes, unless you are trying to sterilize large volumes of rich media.  For large volumes of rich media (more than 100-200 ml, I would say) you want to run it for as long as 30 minutes to make sure you kill EVERYTHING.

The other way you can sterilize media, which is more convenient, but more expensive per L, is filter sterilization.  Some things, like antibiotics, must be sterilized this way because heating them destroys their antibiotic effect.  Some things must be sterilized like this because they are volatile.  However, some chemicals require special considerations; DMSO must be filter sterilized, but it will eat (dissolve) your filter if you do not choose one that is specially chemical resistant.  Disposable filter sterilization units normally come with a hopper, or input, a filter with a vacuum inlet, and sometimes come with a pre-sterilized bottle for the final sterilized media.  What you do is you apply a vaccuum to the bottom of the filter, pulling the media through into the clean bottle.  This is suitable for some media, but not all, and you do need a vacuum pump or manifold.

At this step, your media should be a liquid and somewhat hot.  If it is not, it can be restored to the hot, liquid state by microwaving it inside the sterilized container.

6. prepare to pour plates

At this point, it will be hot and a liquid. Use autoclave gloves!

Get ready to pour your plates by wiping down your work surface with alcohol or bleach.  This is extra-important if you are working somewhere dusty or with particularly hardy microbes, to kill things that might get stirred up by moving stuff around on the table.  Remember, dust is BAD and falls DOWN, onto plates.  To counteract this, you want to have some kind of open flame to create convection currents.  A lighter is too little, and a campfire is too much.  A Bunsen burner or alcohol lamp is just right.  Get your plates ready by putting them right side up (big clamshell up) on the table.  If you are only making one thing, or you know what plate will get what kind of media, you can write on the bottom of the plates now.  You should write what kind of media it is, the date prepared, and your initials.  If I were to make some plates I would write “LB 2/27/2012 A.L.” along the rim of the bottom of the bottom plate.

7. Pour the plates!

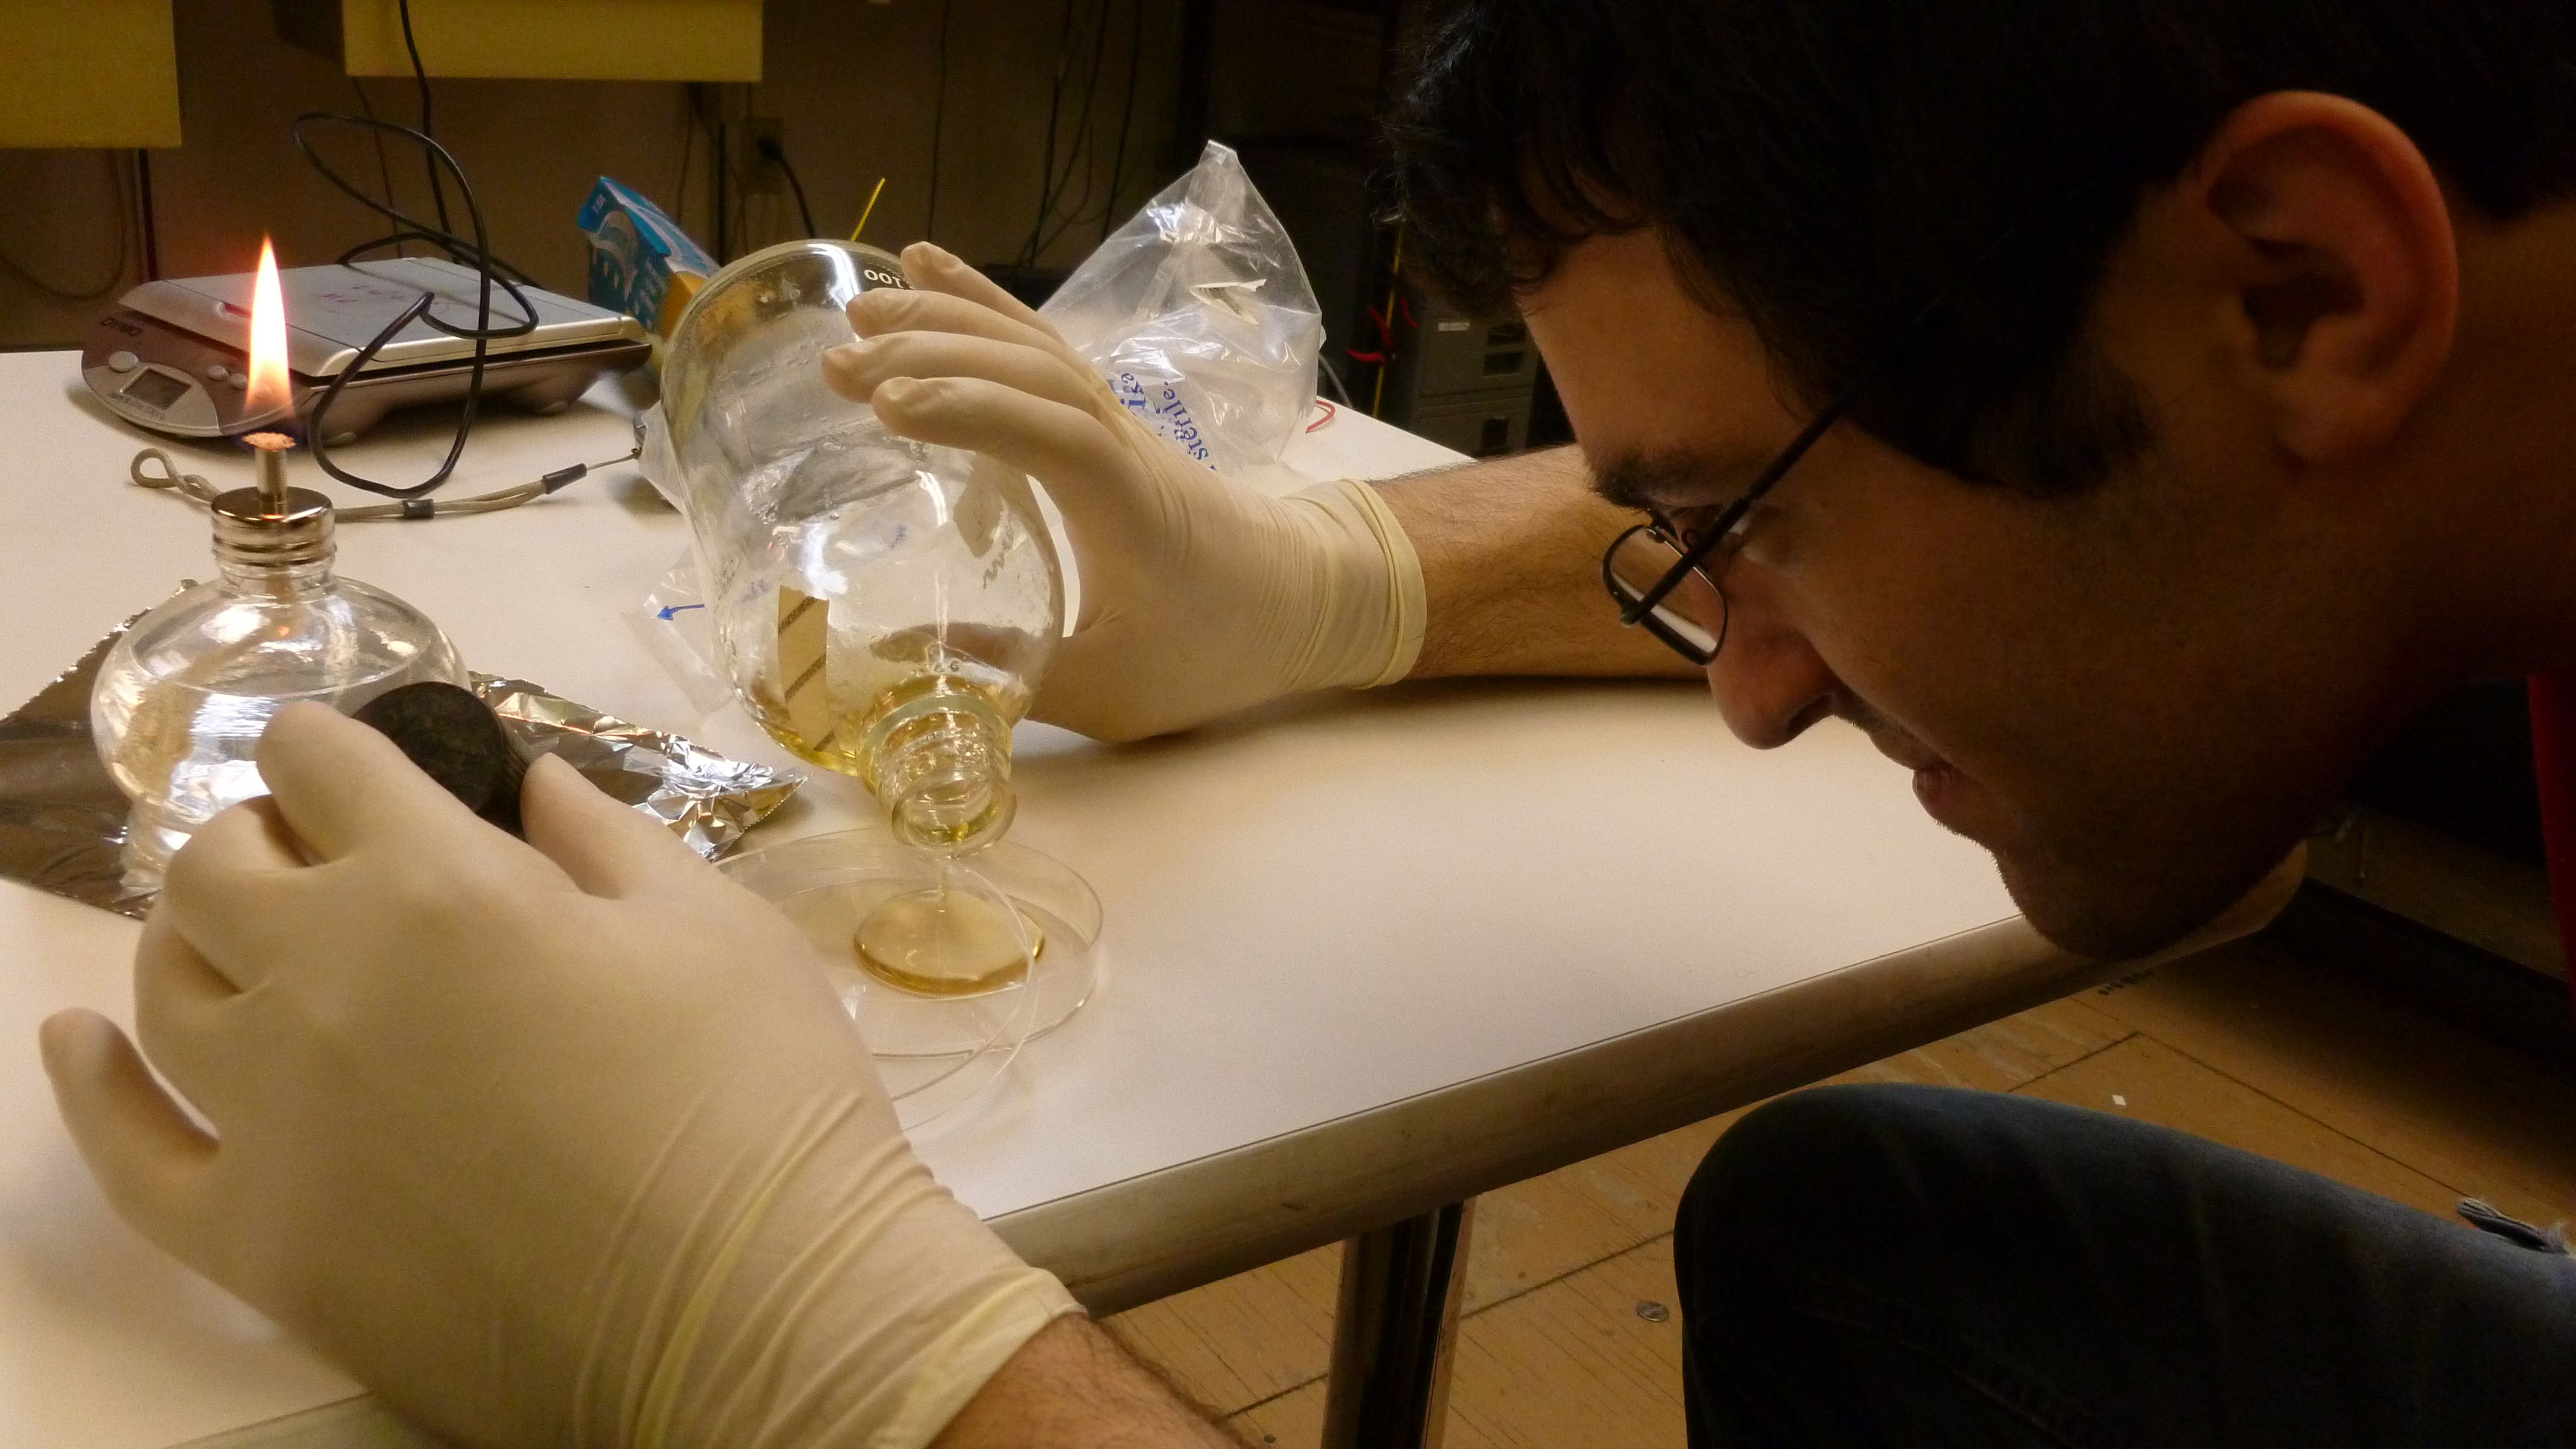
Ben carefully pours a plate

At this point, your media should be a hot liquid, and easy to pour.  With your fire on, go ahead an open the bottle, placing the lid face down on the table.  Quickly flame the mouth of the bottle to kill anything that may be hanging out there on the outside threads/inside mouth, and then pour the agar into the bottom of the dish.  The agar should just cover the entire bottom of the dish, and should be a 3-4 mm thick.  When you open the dish, you should place the cover FACE DOWN on the table, so dust does not get in it.  After the plate is poured, cover it back up ASAP.  Once you have poured all the plates, or if you take a break, or before you put away the media bottle, flame the mouth of the bottle again, just to keep it clean.  Once everything is sealed up, you can turn off the flame. and let the plates set (like jello!).

8. Once the plates are set, write what the plates are on the outside of the bottom plate!
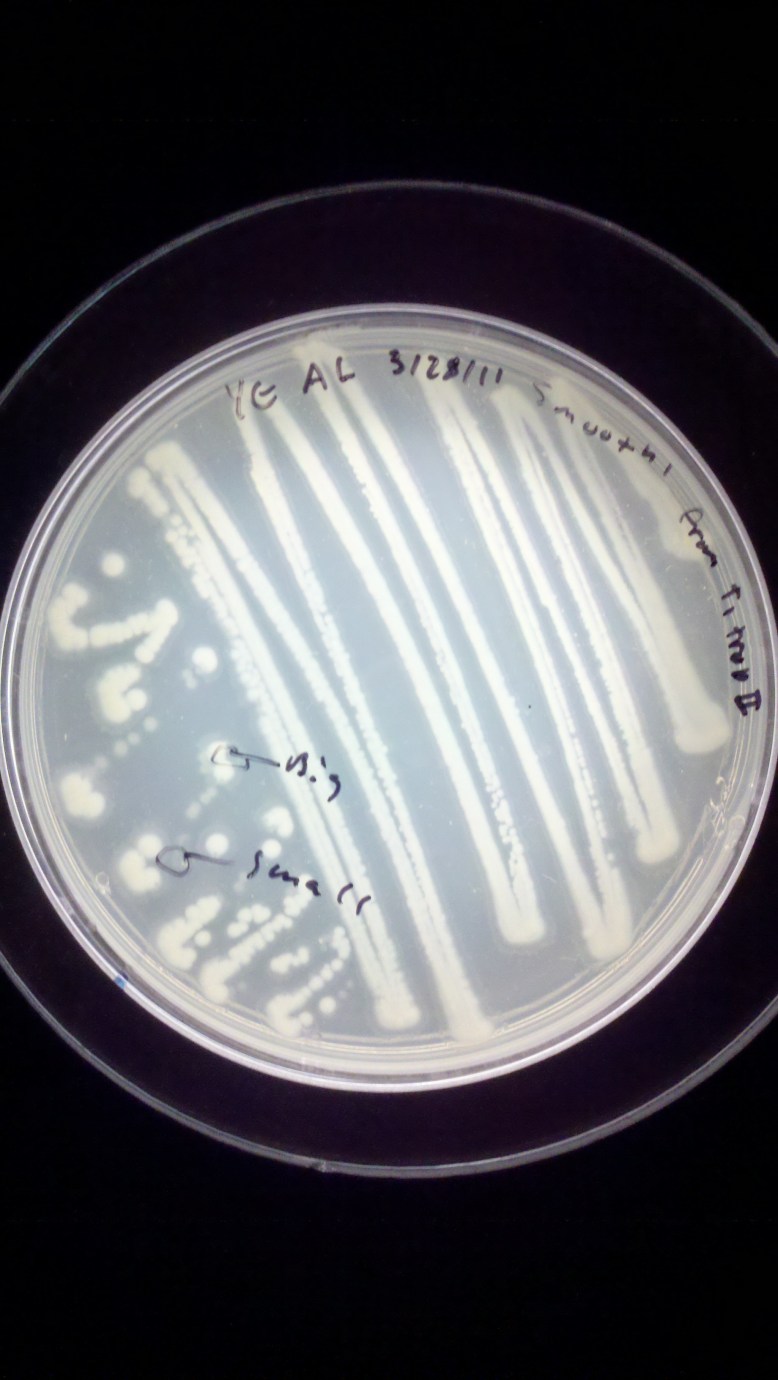
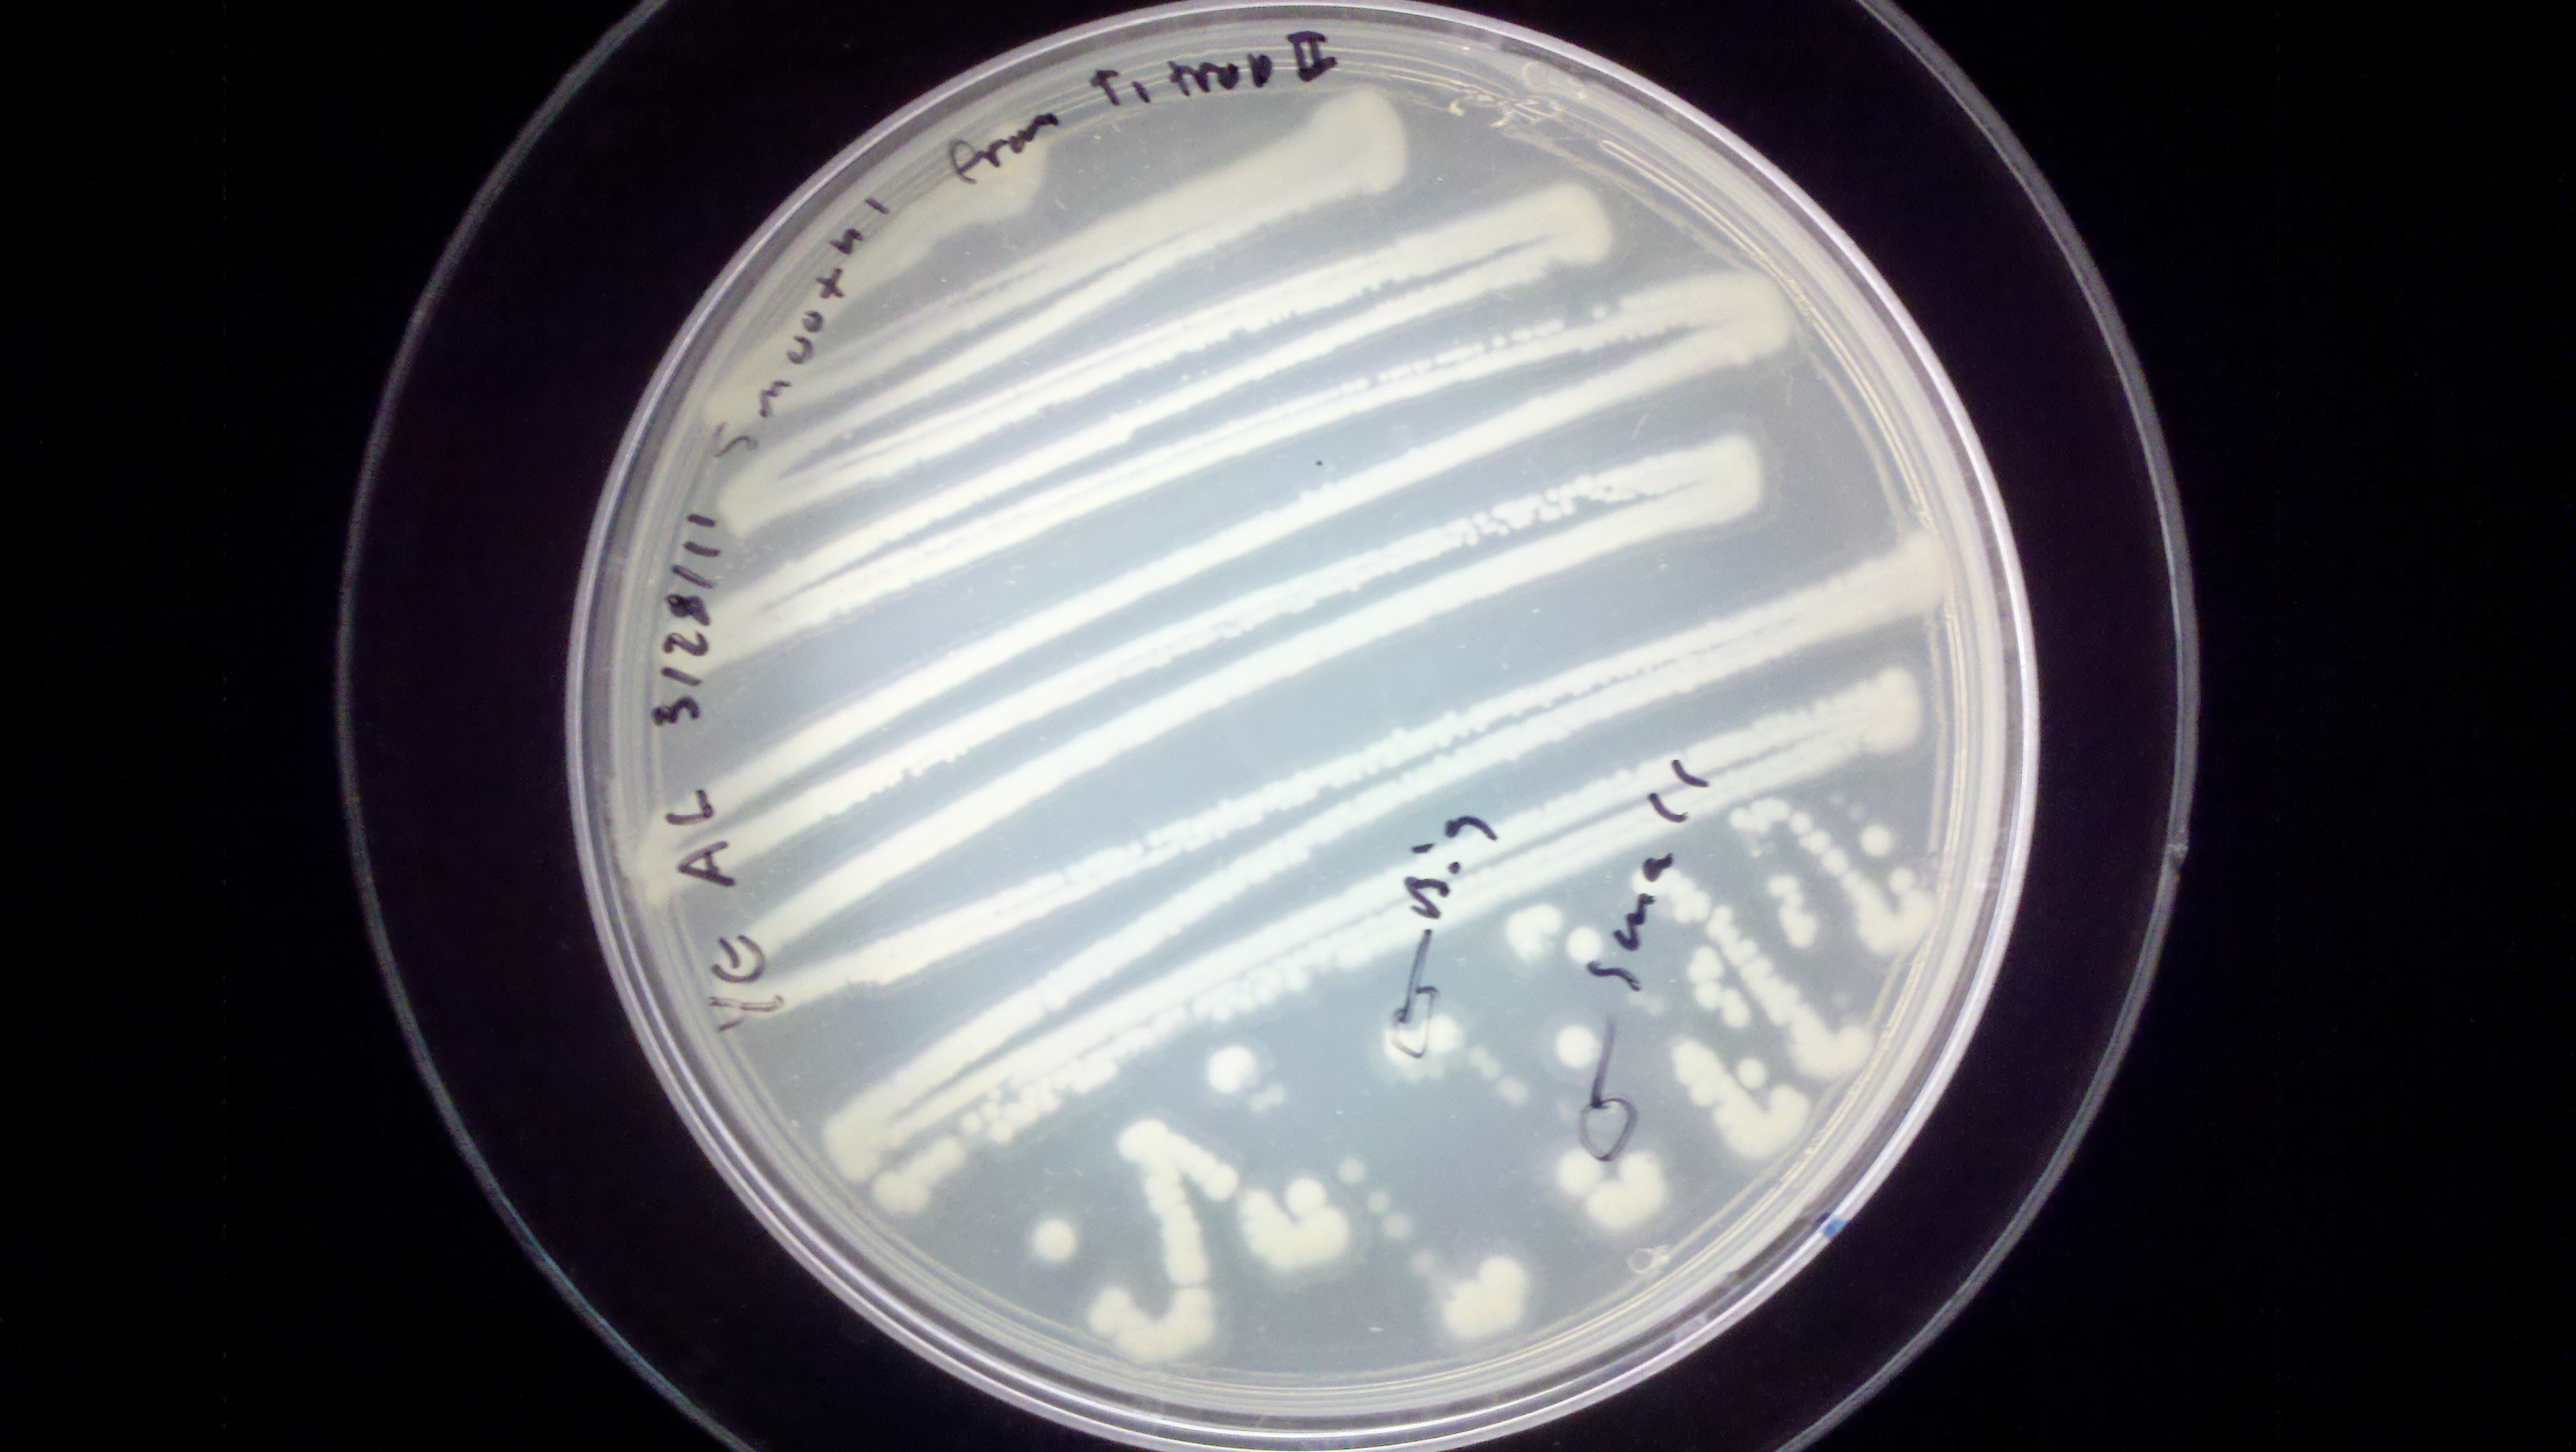
As you can see, this is a Yeast Extract plate, streaked on 3/28/11 by me with Smooth’ from a plate called T1 trop II

This step is important for the safety of those around you, and your own sanity.  ALWAYS write down the type of media, the date it was made, and your initials on a plate.  This is so people can refer questions like “is this yours” and “is it dangerous” and “can it be thrown out” to you.  It is also helpful for your records to know what you are growing these things on.

Well, thats it.  Good luck to you, citizen scientists!

The GFP Project Week 0: Welcome to BOSSLAB

Something is cooking at BOSSLAB!

The GFP project has begun at BOSSLAB.  Headed by the Chief Troublemaker of this blog (me), a group of people will be using BOSSLAB to play around with pGREEN, a plasmid that produces GFP.

The goal of this project is not only to get local people working hands-on with biotech, but to support the DIYBIO community by producing a model project, with documentation, that people can do.  Over the next month or so I will be cranking out all the information you need to safely create and modify genetically engineered organisms in an environment about as sterile and complicated as your kitchen.

The GFP project will have # components, as listed  below:

  • Transform pGREEN intoe. Coli MM294
  • Extract pGREEN from the transformants and verify the quality of the plasmid DNA
  • Extract GFP from the transformants for extra points
  • ????

This week was kind of like “Week 0” for the project in that I showed everyone how to pour plates, streak for individual colonies, and practice (some amount) of aseptic technique.  As I mentioned, one of the goals for me in leading this project is to show people DIYBIO to show people basic techniques.  To make sure I do a good job, I will be covering the techniques we use in the project in detail in separate posts.

Hopefully we will get to do the first item next weekend, at the twice-montly BOSSLAB meeting.  It will be nice to have something really going on during the meeting; maybe more people will get interested and join the project, allowing us to get some nicer things for the project.

After this project comes ????.  That means I don’t know if we will continue doing molecular biology, or switch to something like microbial diversity, or try to do some kind of Mendelian genetics project with plants.  There are a lot of really cool biological things to investigate, and although molecular biology and synthetic biology are my favorites, BOSSLAB is really open to anything.  If we continue in the molecular biology direction, we could try doing a restriction digest on the extracted plasmid and run it in a gel, or have part of it sequenced (find out what kind of GFP we are making!), or ligate it to a localization tag and see it expressed in only part of the cell (contingient on getting our fluorescence scope working).  Really, there are all kinds of possibilities for this!  But first, extraction and verification have to happen.

REVOBots Week 1: A Success, Overall

Microcontrollers, Yo.

Links to videos and handouts for class:

Part 1, Part 2, Part 3

REVOBots handout 1

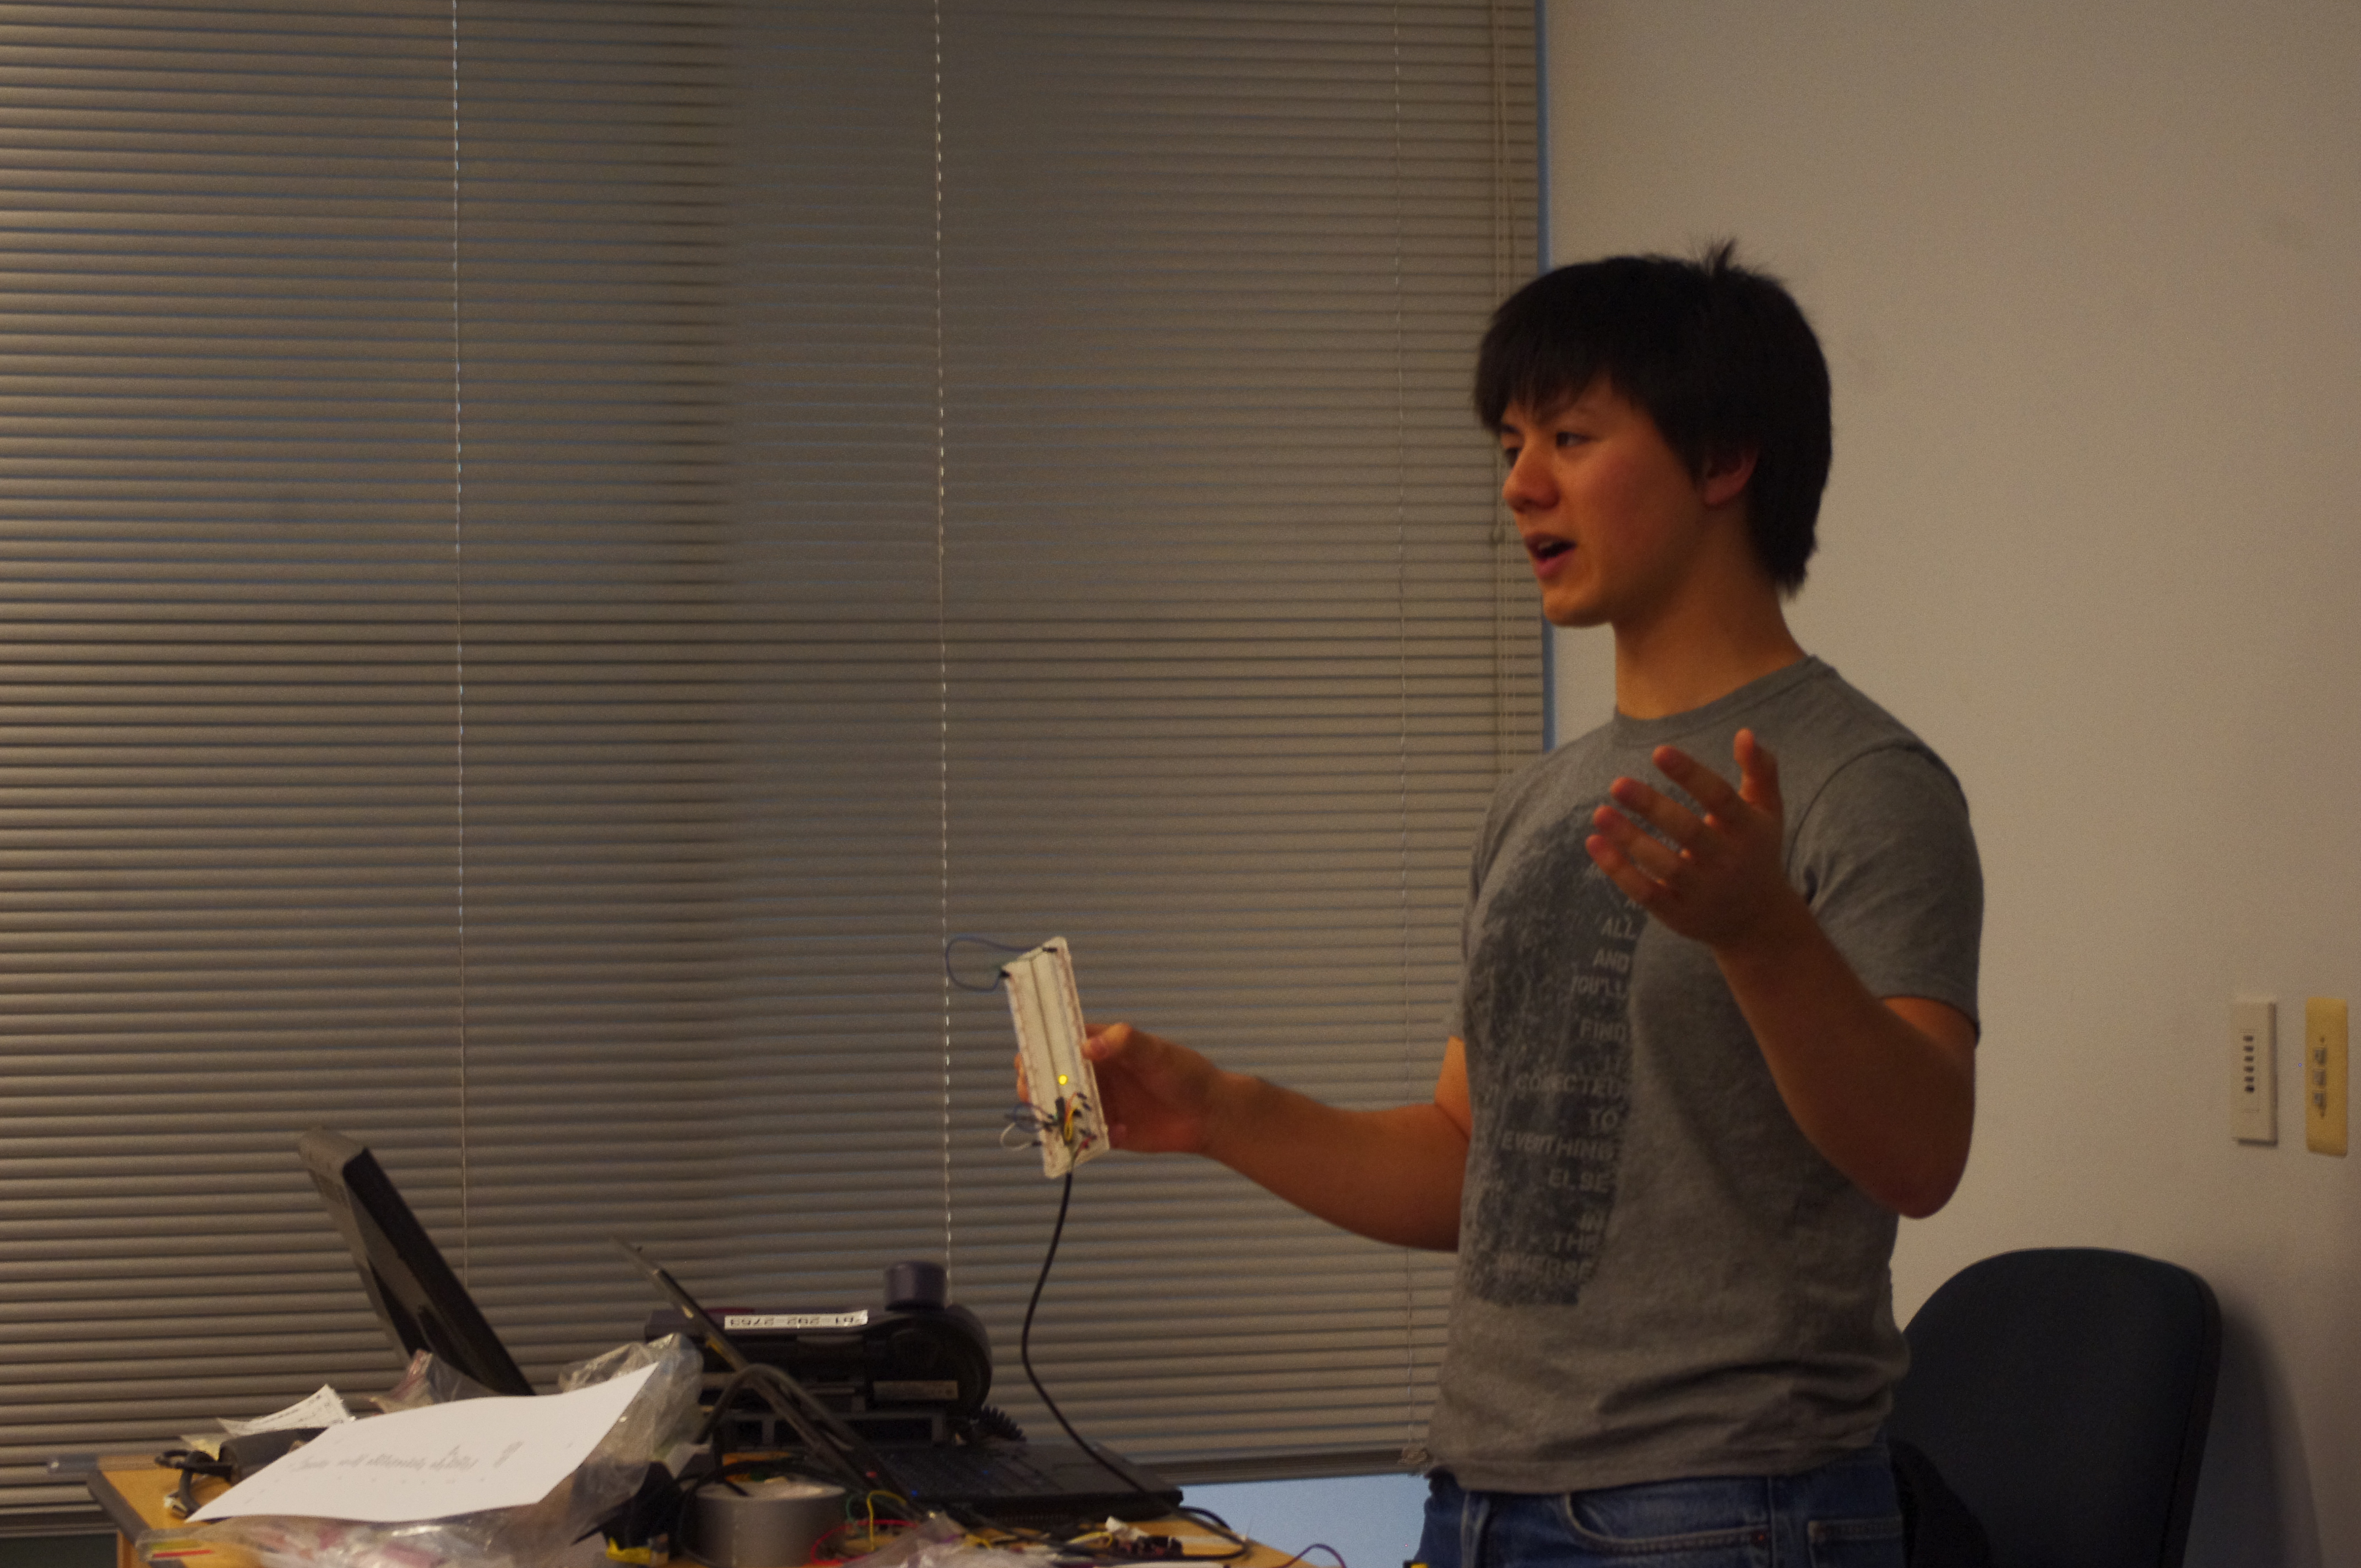
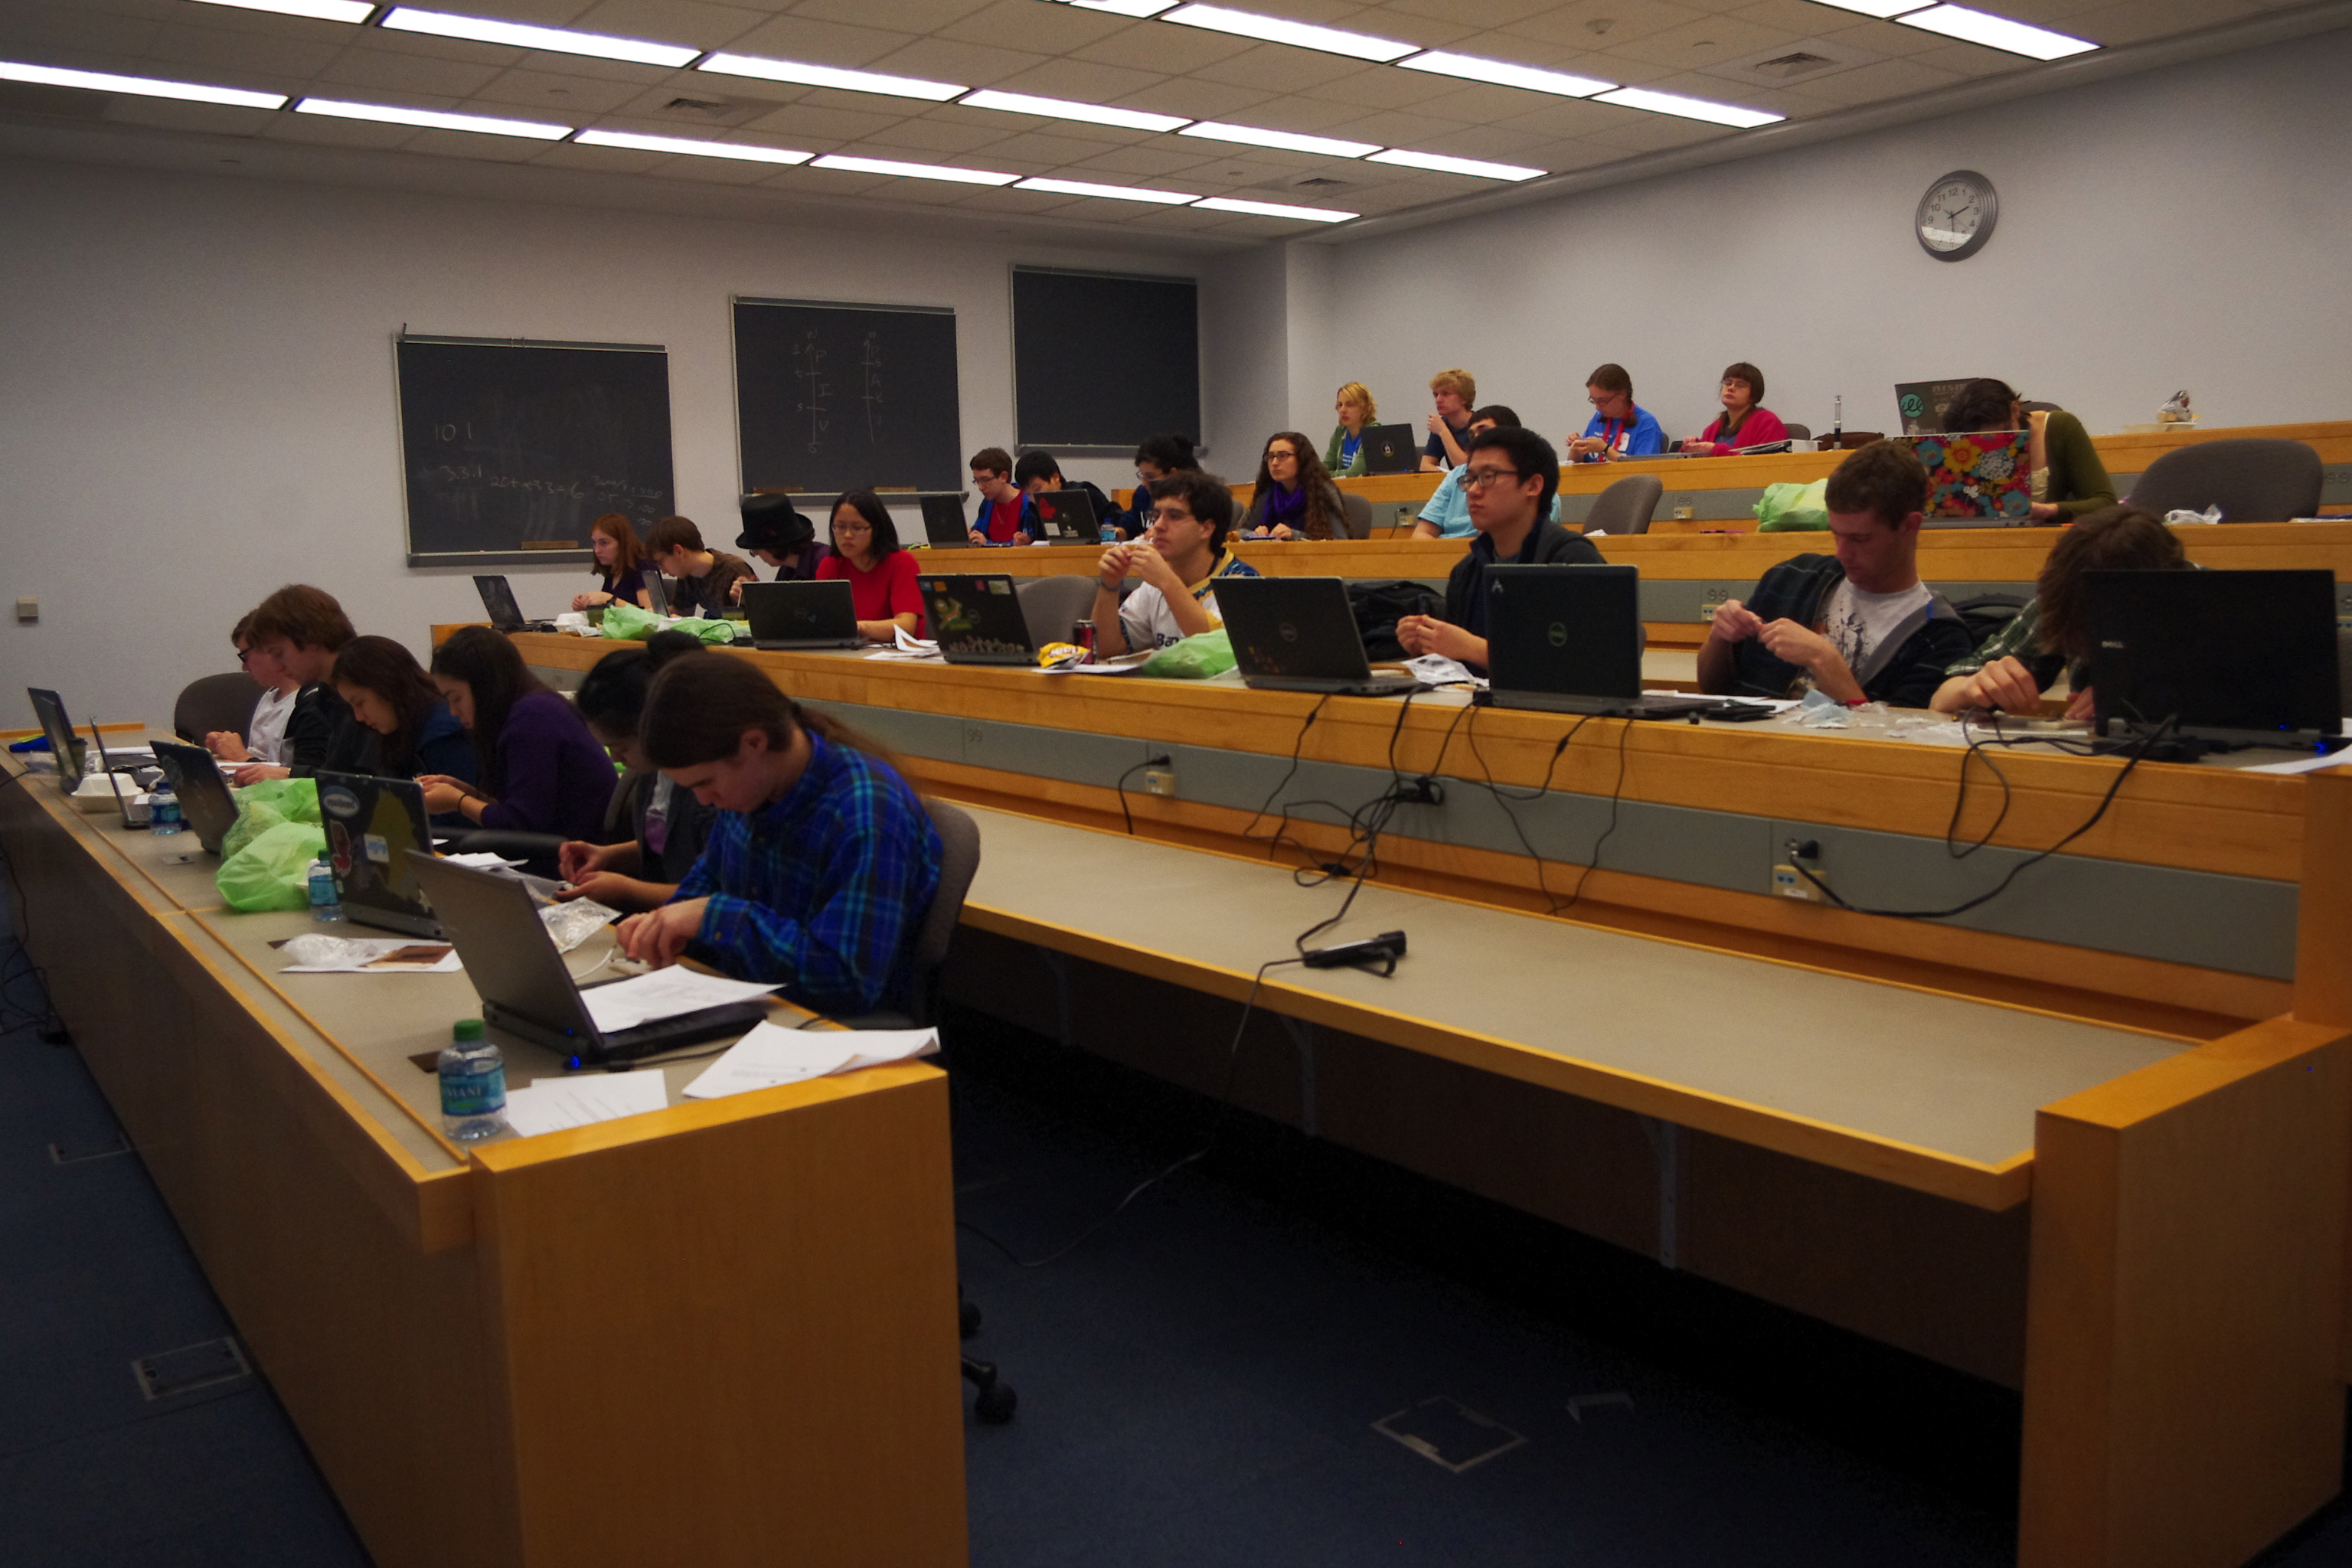
REVOBots week 1 was a success, in my opinion.  Teaching a class is tricky.  This first class was doubly so because it was my first time giving a long lecture, and because I had about 25 people to distribute tiny parts to, and then I had to walk them through manipulating these tiny, unfamiliar parts so that they worked.

The first mistake I made was not printing out the handouts ahead of time.  This was a big mistake- there were four color pages + a black and white feedback page, and for 25 people + extras, it took the xerox about 10 minutes to print them out.  This delayed me getting to class on time!

Lots of people=lots of prep

This of course, meant that I didn’t have time to parcel out the tiny components we were going to use to build the arduino.  This took up more class time, but it was not something I was willing to spend my own time on.  Since I am the one doing basically everything for the class (aside for actually paying for parts, which has been graciously funded by CORE, the Council of Olin REpresentatives), and that takes a lot of time, I try to minimize the amount of extra time I spend on it for just one person.  In other words, I try to optimize my bang-per-hour.  That means I have to stop myself from hunting people down and delivering their parts because they couldn’t make it, because that takes too much time (10 people x 10 minutes is an hour and 40 minutes!).

Once the handouts were out I started in on a very broad lecture about microcontrollers.  I tried to cover all the important aspects; brands, memory size, programming, and how PWM, ADC, and counters worked.  I intentionally went broader than the scope of what we were going to do in class because, I am basically throwing mud at the side of a barn and seeing what sticks.  I might as well throw a lot of mud, because people are not going to be able to devote a lot of time or effort to this class since it is once a week and not for credit; more mud means more will stick, which is the point of this class.

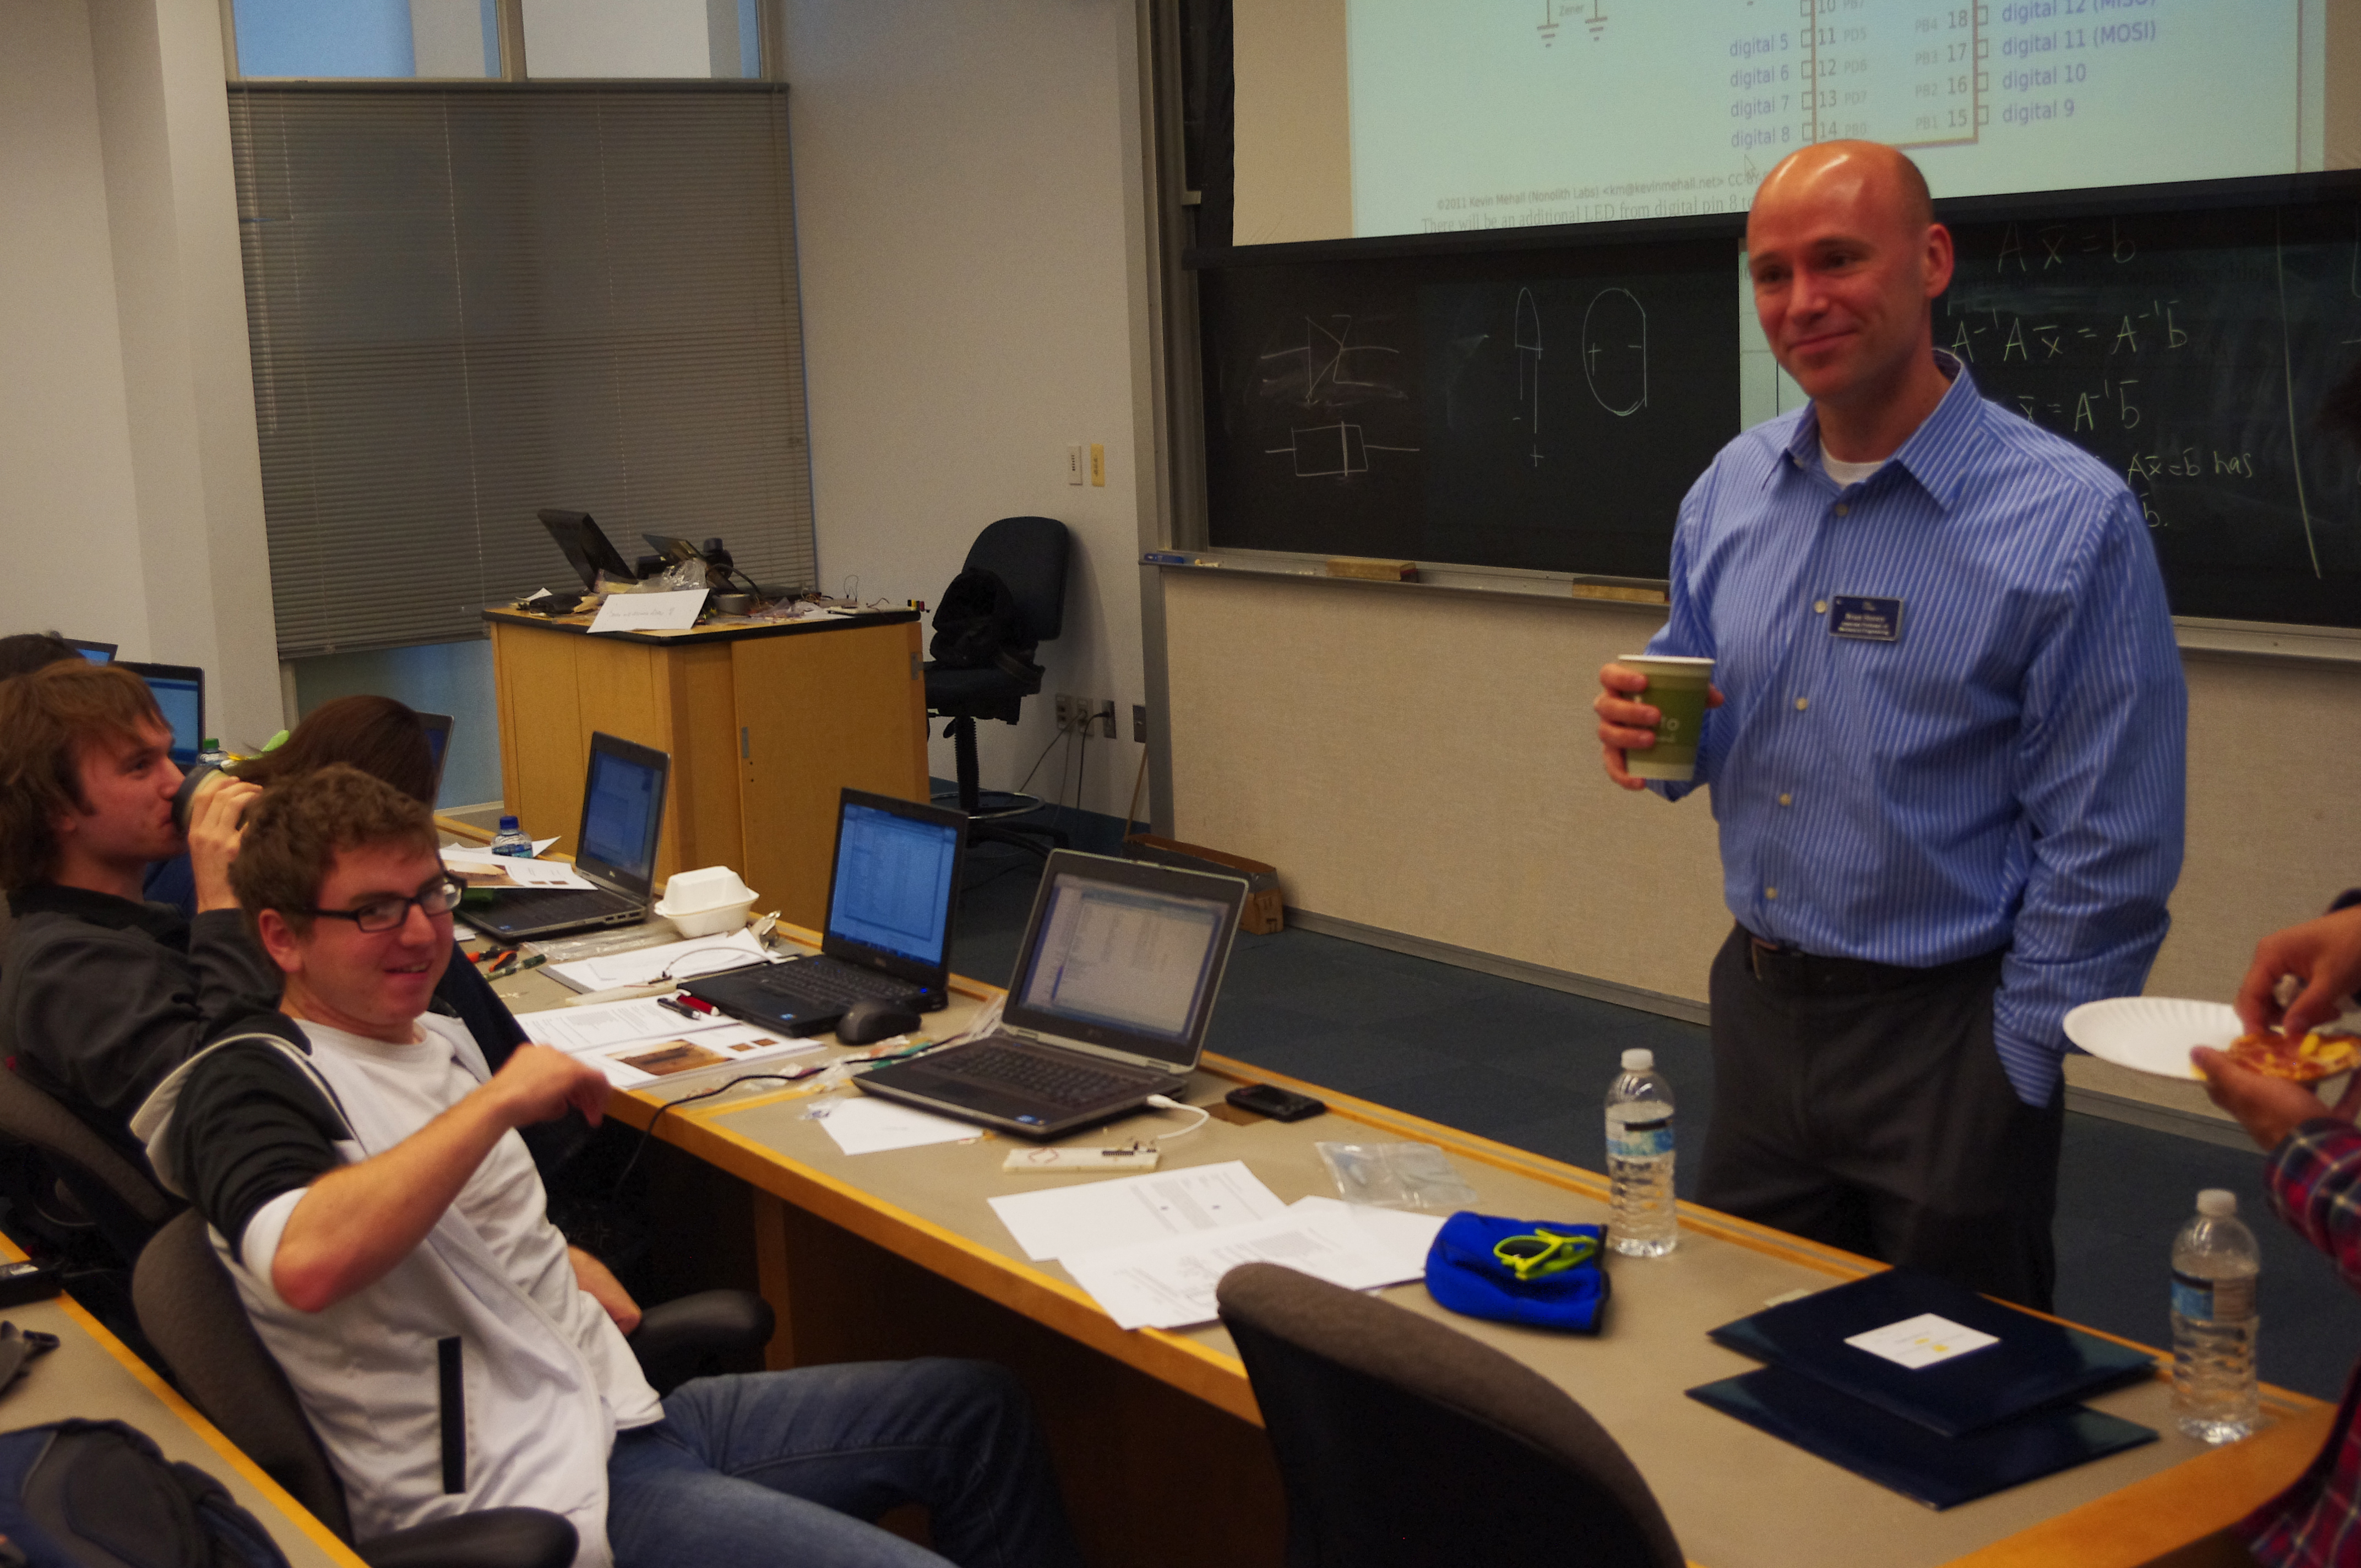
Now I know how the guy in the blue (one of our professors) feels sometimes!

After the talking at people was completed, I asked that people fill out the first half of the feedback sheet.  Then parts were passed out, the building of secret knowledge arduinos began!  I wish I had been able to prevent people from starting to build the circuit, but since some of them knew how to read the schematics (aided in large part by my guide), people began to build the circuit.  I tried to walk people through step by step, but I was often interrupted by people who needed help or by needing to supply tools to do part of the assembly.

This of course, fragmented everyones build process, much to my chagrin.  I saw everything wrong with the circuits over the next hour; D+ and D- switched, power shorted to ground, diodes in backwards, resistor in the wrong spot, chip in upside down…the works.  Many cries of “it gets really hot” were heard, and some magic smoke was released, although only two chips were damaged permanently.

Oh Windows 7, y u no work?

By the middle of the build session a few software problems had come up, particularly with windows users.  Linux users are advised to start the arduino IDE with sudo arduino, which works well and gives you USB privileges.  Windows users will need an installer designed by Kevin Mehall, which I will try to add to the downloads page.  It also turns out that the new version of the arduino software does not work very well, as in it couldn’t compile its own example code, so people had to revert to the old version.  Other than that, everything went well.  I tested everyones board before they left, to ensure that they were ready for the next class!

BLYES: BioLuminescent Yeast Estrogen Assay

It looks like I will be doing some research for The Public Laboratory, trying to develop a yeast estrogen assay, specifically with yeast (BioLuminescent Yeast Estrogen Screen: BLYES).  Yay!  The overall goal of the project is to develop a kit that can be shipped to someone so they can, at some undetermined level of accuracy, determine the estrogenicity of their water.

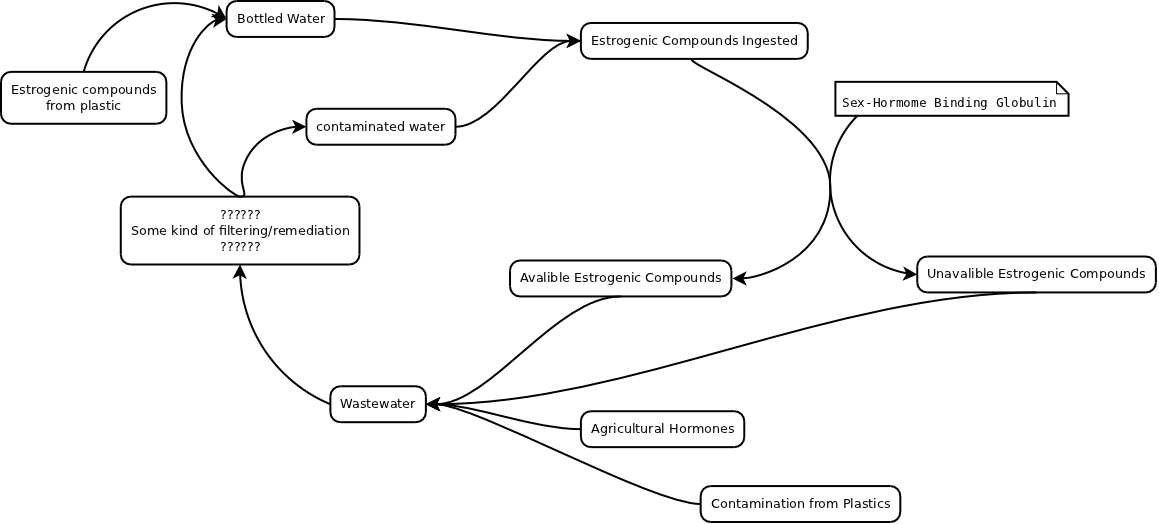
Estrogenicity is an important metric that is best tested in vivo.  It   There are several factors that make it very difficult to asses otherwise.  The first problem is that there are a lot of chemicals, ranging from Bisphenol-A, which is found in many plastics, to birth control pills that all have estrogenic effects.  The other problem is that the only way to test how “estrogenic” something is to test it under the conditions that would be found in the body.  This is because of the unique estrogen receptors and chemicals like Sex Hormone Binding Globulin (SHBG) that inactivate (some) estrogens that are found in different biological systems.

Flow of estrogenic compounds

Unfortunately, humans grow very slowly and there is a lot of legislation that makes it difficult to test on them, not to mention the ethical concerns.  Also, it is not one or two compounds, but thousands of chemicals (with new ones added frequently) that need to be tested.  The EPA is actually in charge of testing these things, and has two tiers.  The first tier tests if it has endocrine disrupting effects, meaning (for us) if it is estrogenic or not, and if it should move on to tier two testing.  The second tier tests how much of an effect it has at different levels.  You can read what the EPA has to say here.

BLYES seems like a good test, because tricky things like specific receptors, and blood levels of SHBG can be simulated.  BLYES is uses a genetically engineered strain of yeast.  It is S. cerevisiae, the same species as the yeast that people use to bake bread or brew beer.

YES assay system. Circles are rough sketches of the plasmid. Estrogen interacts with hER-α receptor coded by pSCW231-hER, which causes the translation and transcription of β-galactosidase, which produces a colormetric change in some substrates

BLYES is really the combination of two earlier systems, one for detecting estrogen, and one for making yeast express bacterial luciferin.  The original system was called the Yeast Estrogen Screen (YES).  It is based around two plasmids.  One contained hER-α, and is called pSCW231-hER.  I have not yet found out what pSCW231 is, but it seems that it causes hER-α to be expressed in the membrane.  The other plasmid is YRpE2, which seems to stand for “Yeast Reporter Plasmid ERE 2”, because it has two ERE elements and contains the CYC1-lacZ fusion gene.  This gene codes for β-galactosidase, which breaks down ONGP to into something yellow.  This system, when exposed to estrogen, causes the hER-α to turn on the ERE, producing β-galactosidase.  The actual assay is done after allowing the yeast to grow in the media.  The cells are exposed to ONPG, and the “yellowness” of the result is read with a spectrophotometer.

the Lux operon. LuxA and LuxB code for the luciferase enzyme, while LuxCDE code for the substrate and complex that recycle it

The other component of BLYES is bioluminescence, which comes from two plasmids.  The genes for bioluminescence were inserted into two pBEVY (plasmid for Bidirectional Expression Vectors in Yeast) plasmids.  These carry the genes luxAB on one plasmid, named pUTK407, and luxCDE and frp on another plasmid called pUTK404.  luxAB codes for the luciferase that reacts with the FMNH(2) to produce light, while the luxCDE reduces the FMNH(2) so that it can be recycled to create more light.  frp codes for the FMNH(2).  The luxCDE plasmid is constitutively on because of its promoters, (GPD and ADH1).  In pUTK404, the genes frp, and Lux genes C, D, and E have Internal Ribosome Entry Sites (IRES).  These IRES ensure that the genes are properly transcribed by the ribosomes, instead of the ribosomes creating fusion protiens of LuxCD and LuxE-FRP.

BLYES: hER-α receptor is encoded by chromosomal DNA. Activation of the receptor turns on production of luxA and luxB under the control of bidirectional EREs. This enzyme reacts with the FRP produced by the constitutively on pUTK404 plasmid. pUTK404 also encodes LuxCDE, which allows the recycling of FRP. frp, and Lux genes CDE have IRES (internal ribosome entry sites) in-between them to ensure proper transcription

The difference is that BLYES has the human Estrogen Receptor alpha (hER-α) integrated into its chromosomal DNA.  This means that it is inside the nucleus.  Additionally, it is under a constitutive promoter.  The when it binds to an estrogenic chemical, hER-α turns on a signaling pathway that activates the Estrogen Response Element (ERE) promoter.  This promoter is on a plasmid that turns on light production with lux genes (bacterial luciferin/luciferase), and this is measured by a very sensitive detector.

Since The Public Laboratory wants to make this into a kit that they can send out to people, BLYES or YES may not be a good option, because they take very sensitive tools and extra chemicals to test estrogenicity.  Towards making this kit a possibility, we may try to link ERE activation to pigment production.

Lockpicking Saves the Day (or foozeball table)

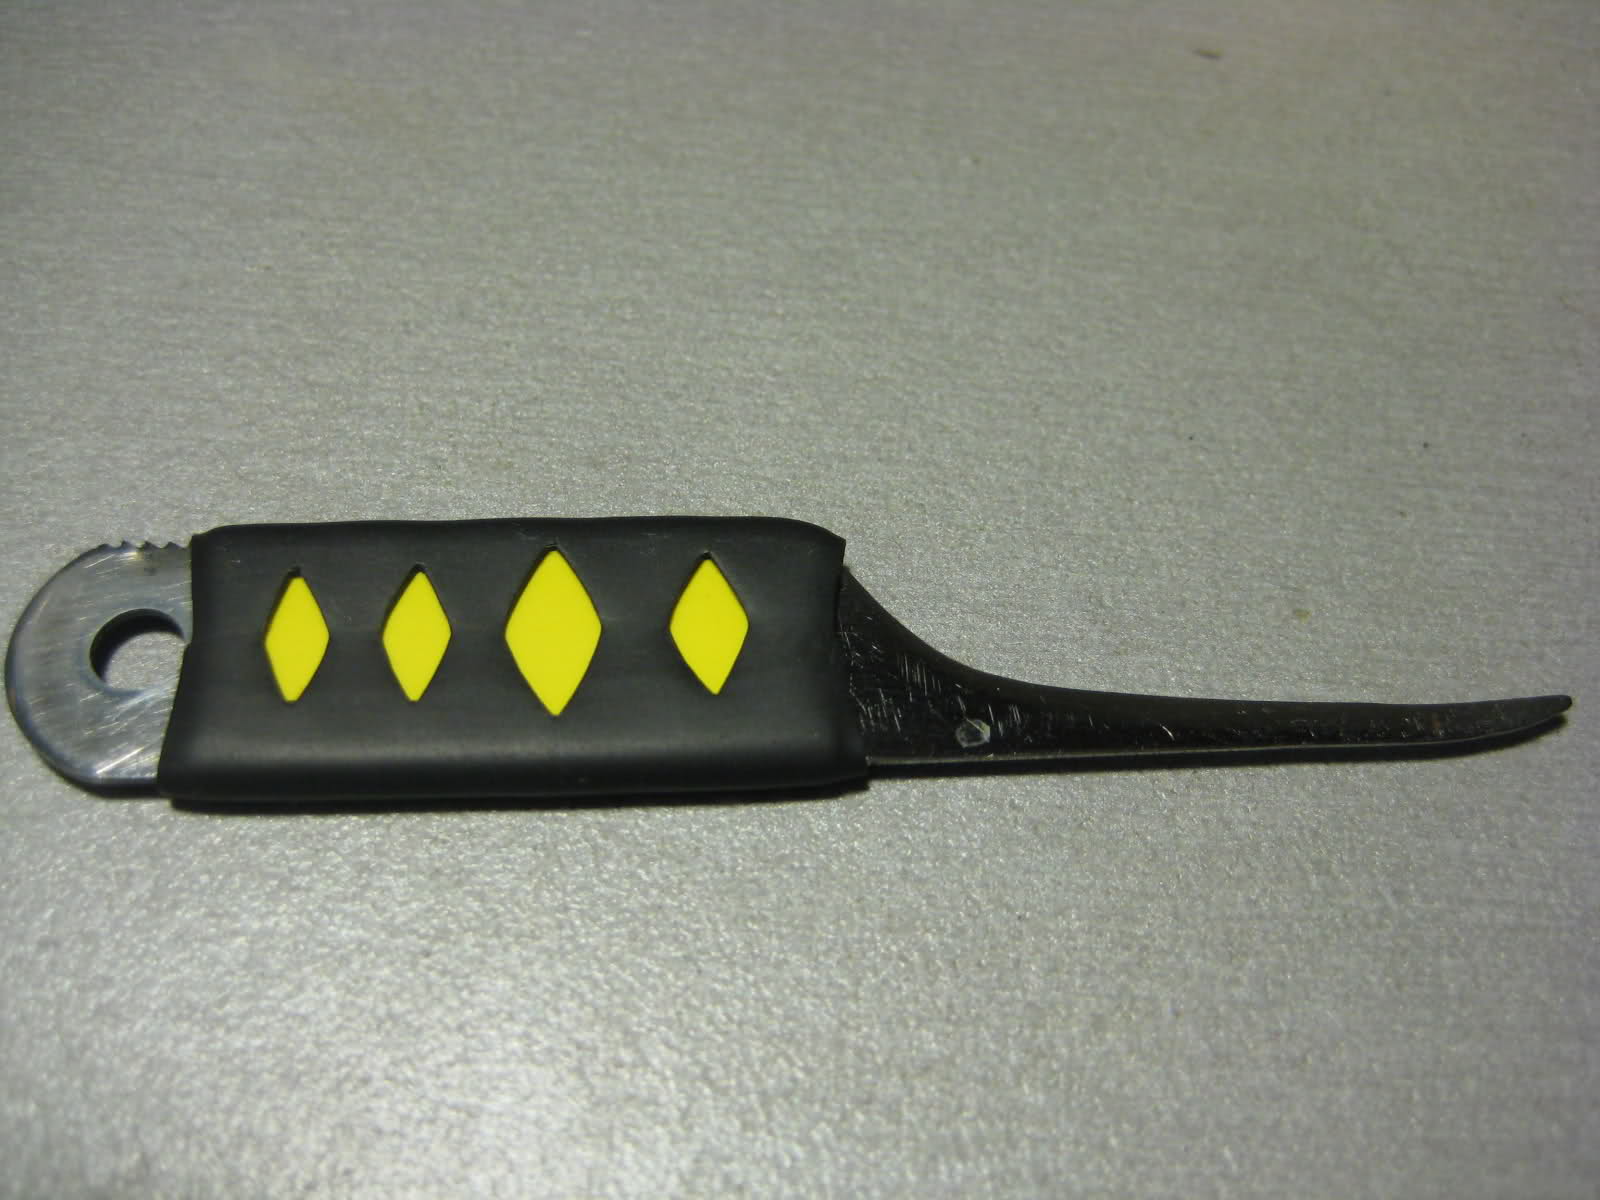
My first lockpick, which I did not use for this.

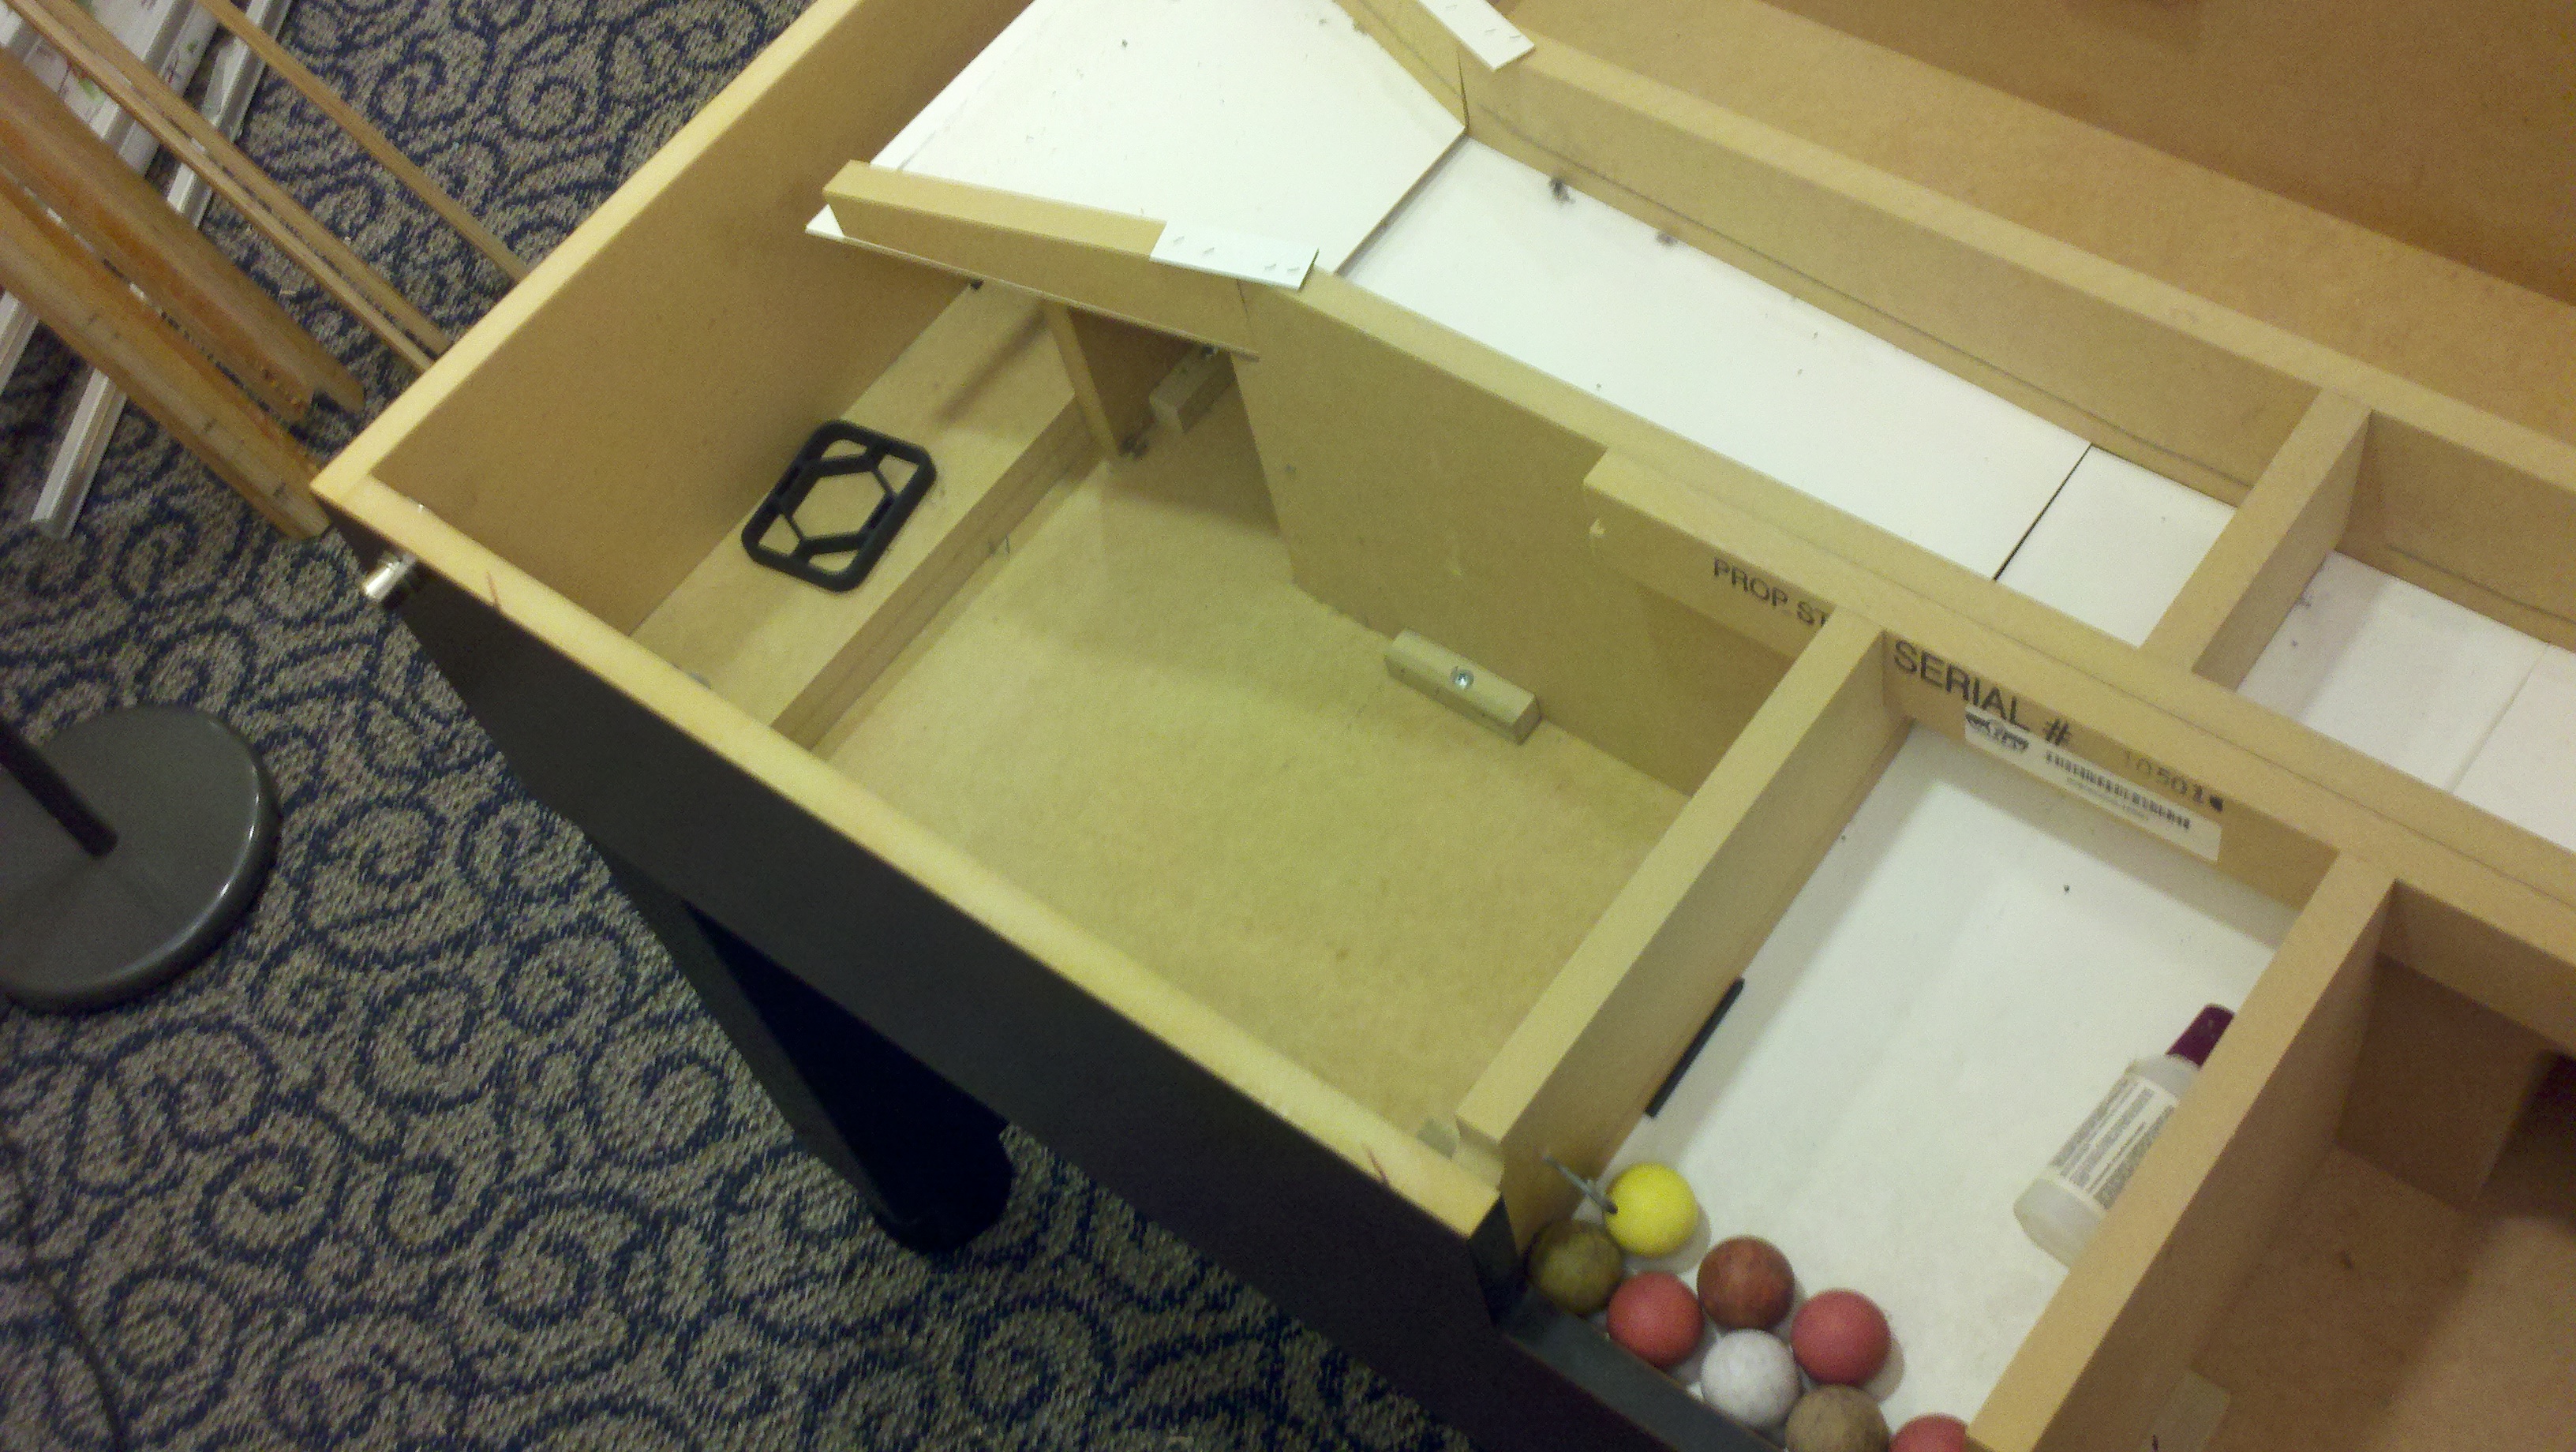
Last Friday, a terrible thing happened in the first floor lounge of West Hall at Olin College.  The foozeball table, known and loved by many, was flipped.  While most furniture is unharmed by this kind of tomfoolery, the foozeball table (as I now know) has a bunch of wooden chutes inside that direct balls from the goals to the ball return.  One of these had been dislodged, and people could no longer get the balls out!  On no!

The chutes in question

Fortunately, this was actually part of the design of the table.  The explanation we came up with was that at commercial foozeball-halls, the ball return is disabled so that the owners can sell balls.  The whole table acts like a giant hinged box to hold the balls, until the owner comes by with the key and retrieves them.

Picked!

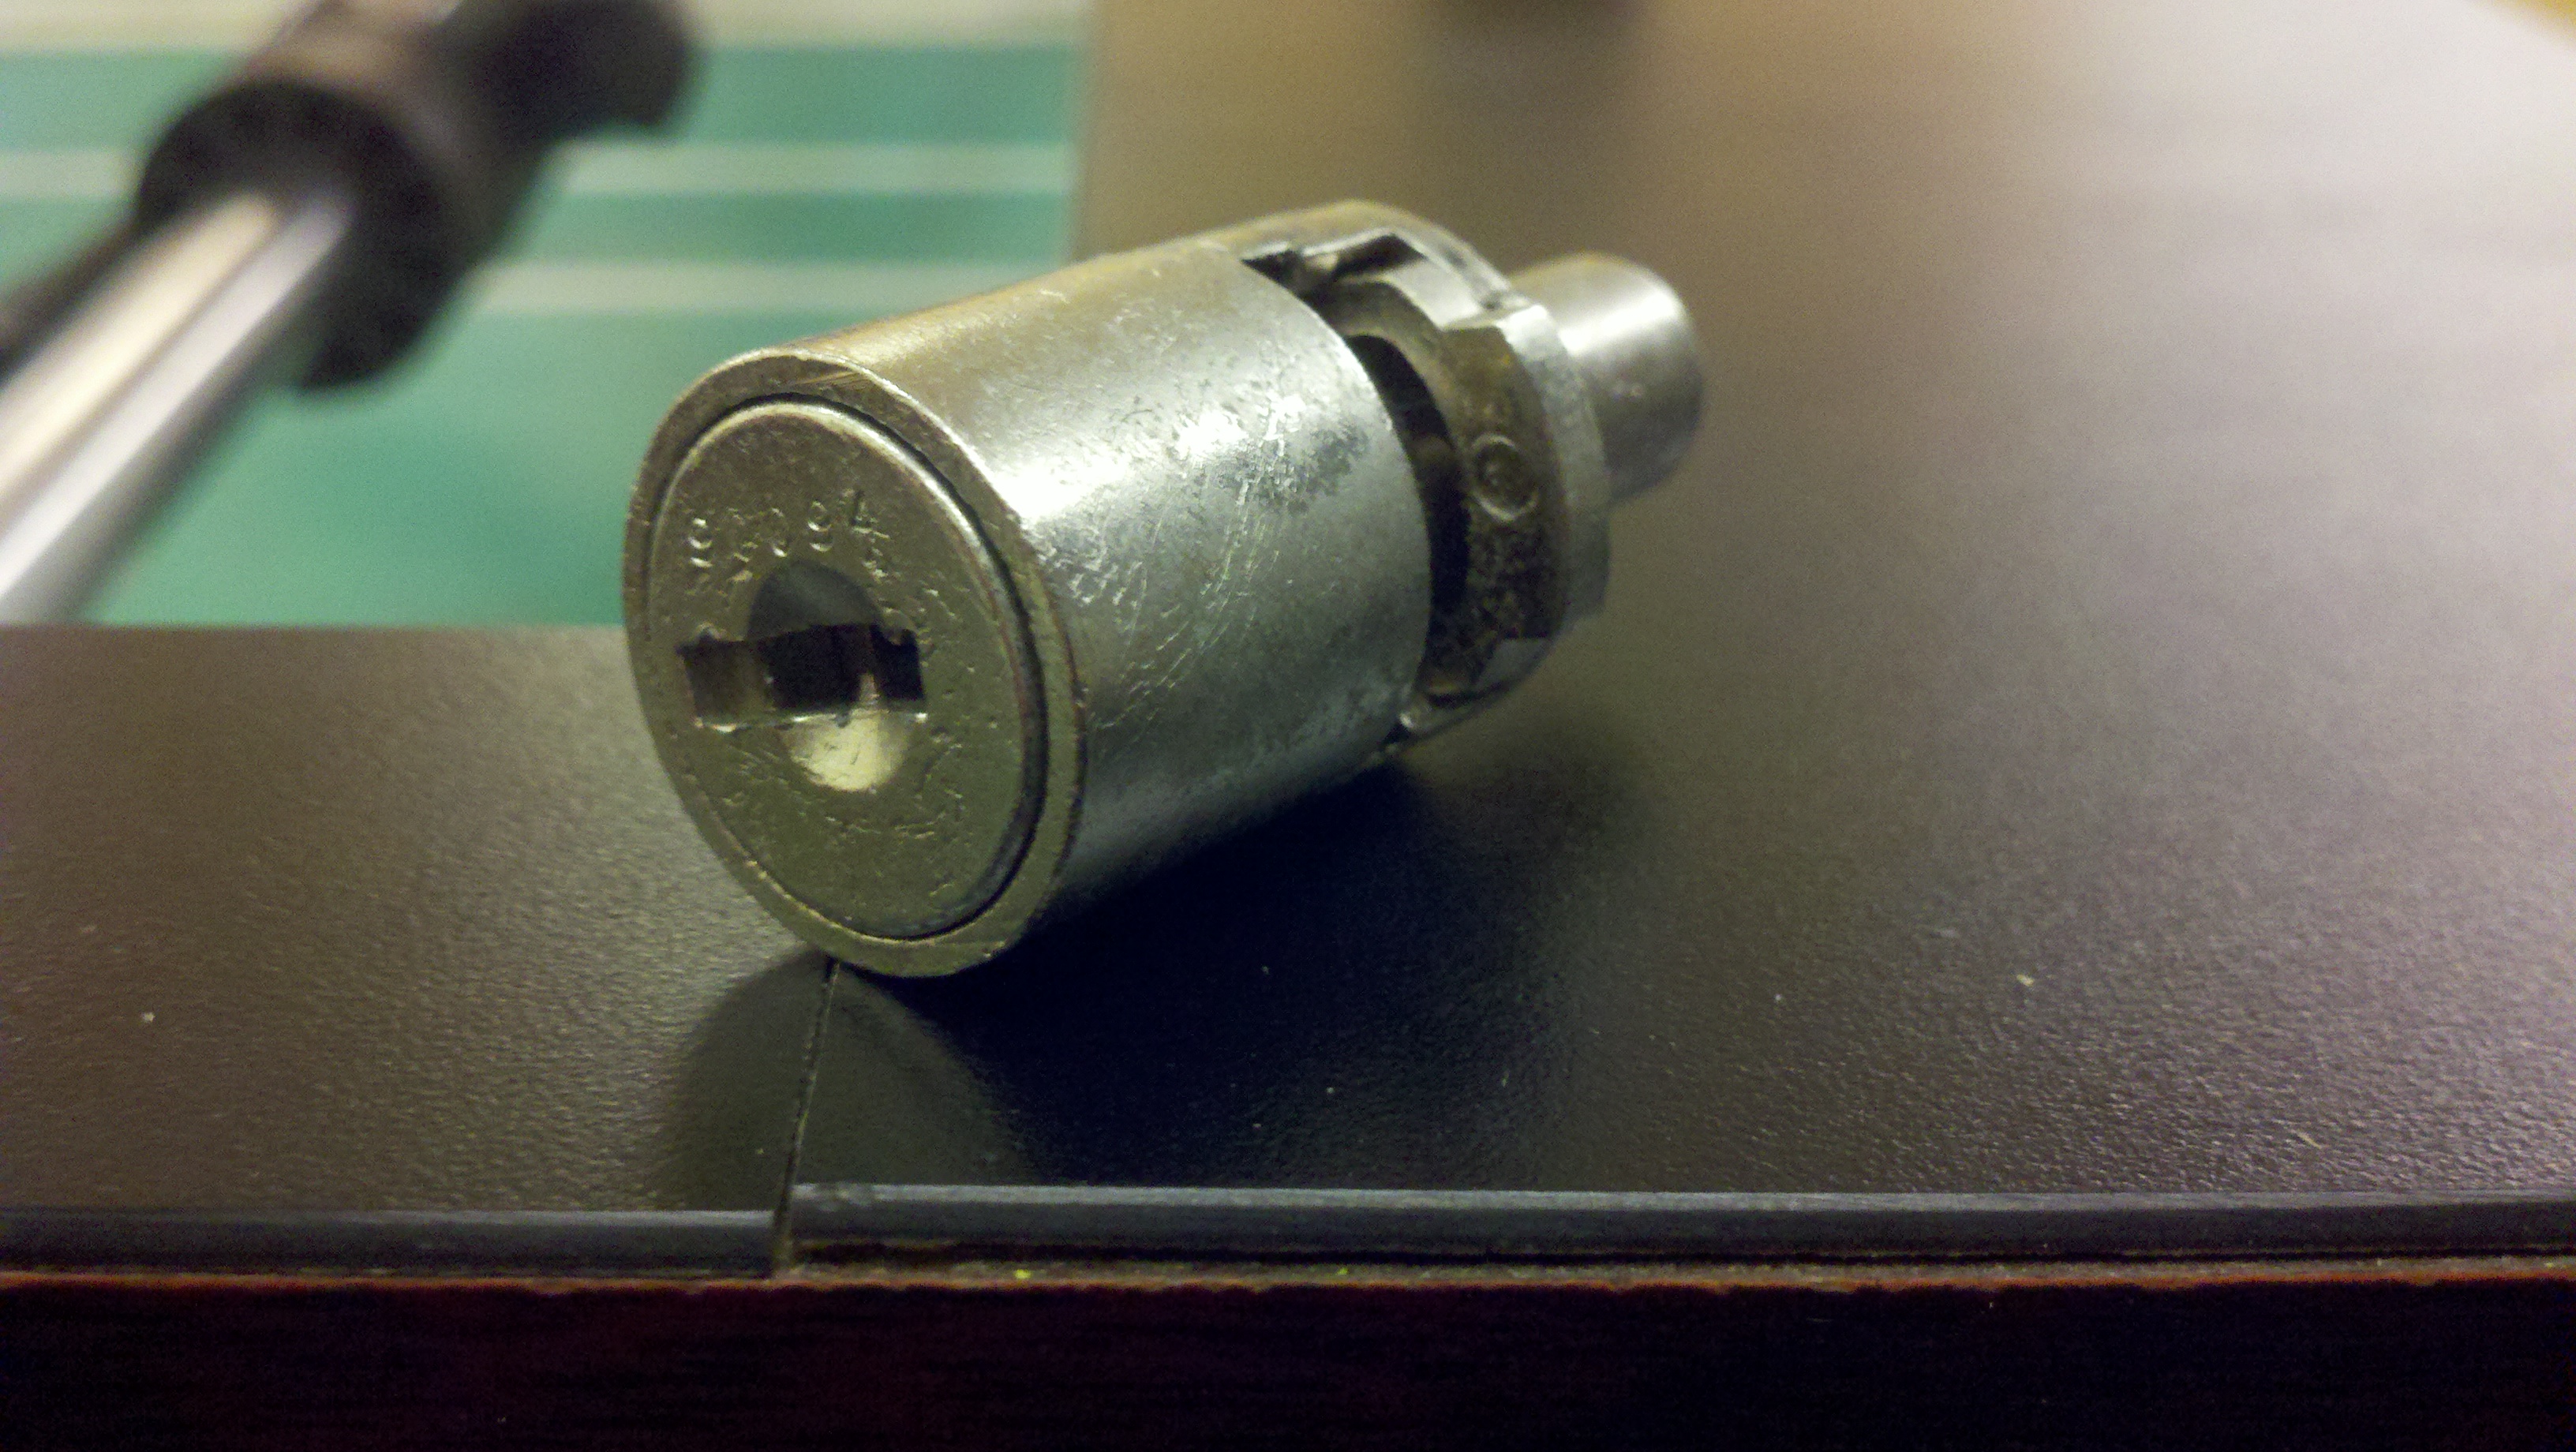
Using my friends hook and tension wrench, I had both wafer tumblers picked in a jiffy.  The ramp was re-lodged, tested, and the balls were retrieved.  While the ethics of lockpicking on locks in use is somewhat grey, I feel like it was justified.  Normally the rules for picking are are:

“Do not pick locks you do not own or have explicit permission to pick.  Never pick a lock that are in use”

But this time it was a lock that the students owned (and I was being asked to pick), and by being in use it was obstructing the use of the table.  I also had sufficient skill and knowledge of the working of the lock to pick it without damaging it.

Yay using lockpicking for good!

TOOOL Boston Meeting: Pick Locks; Get Loot

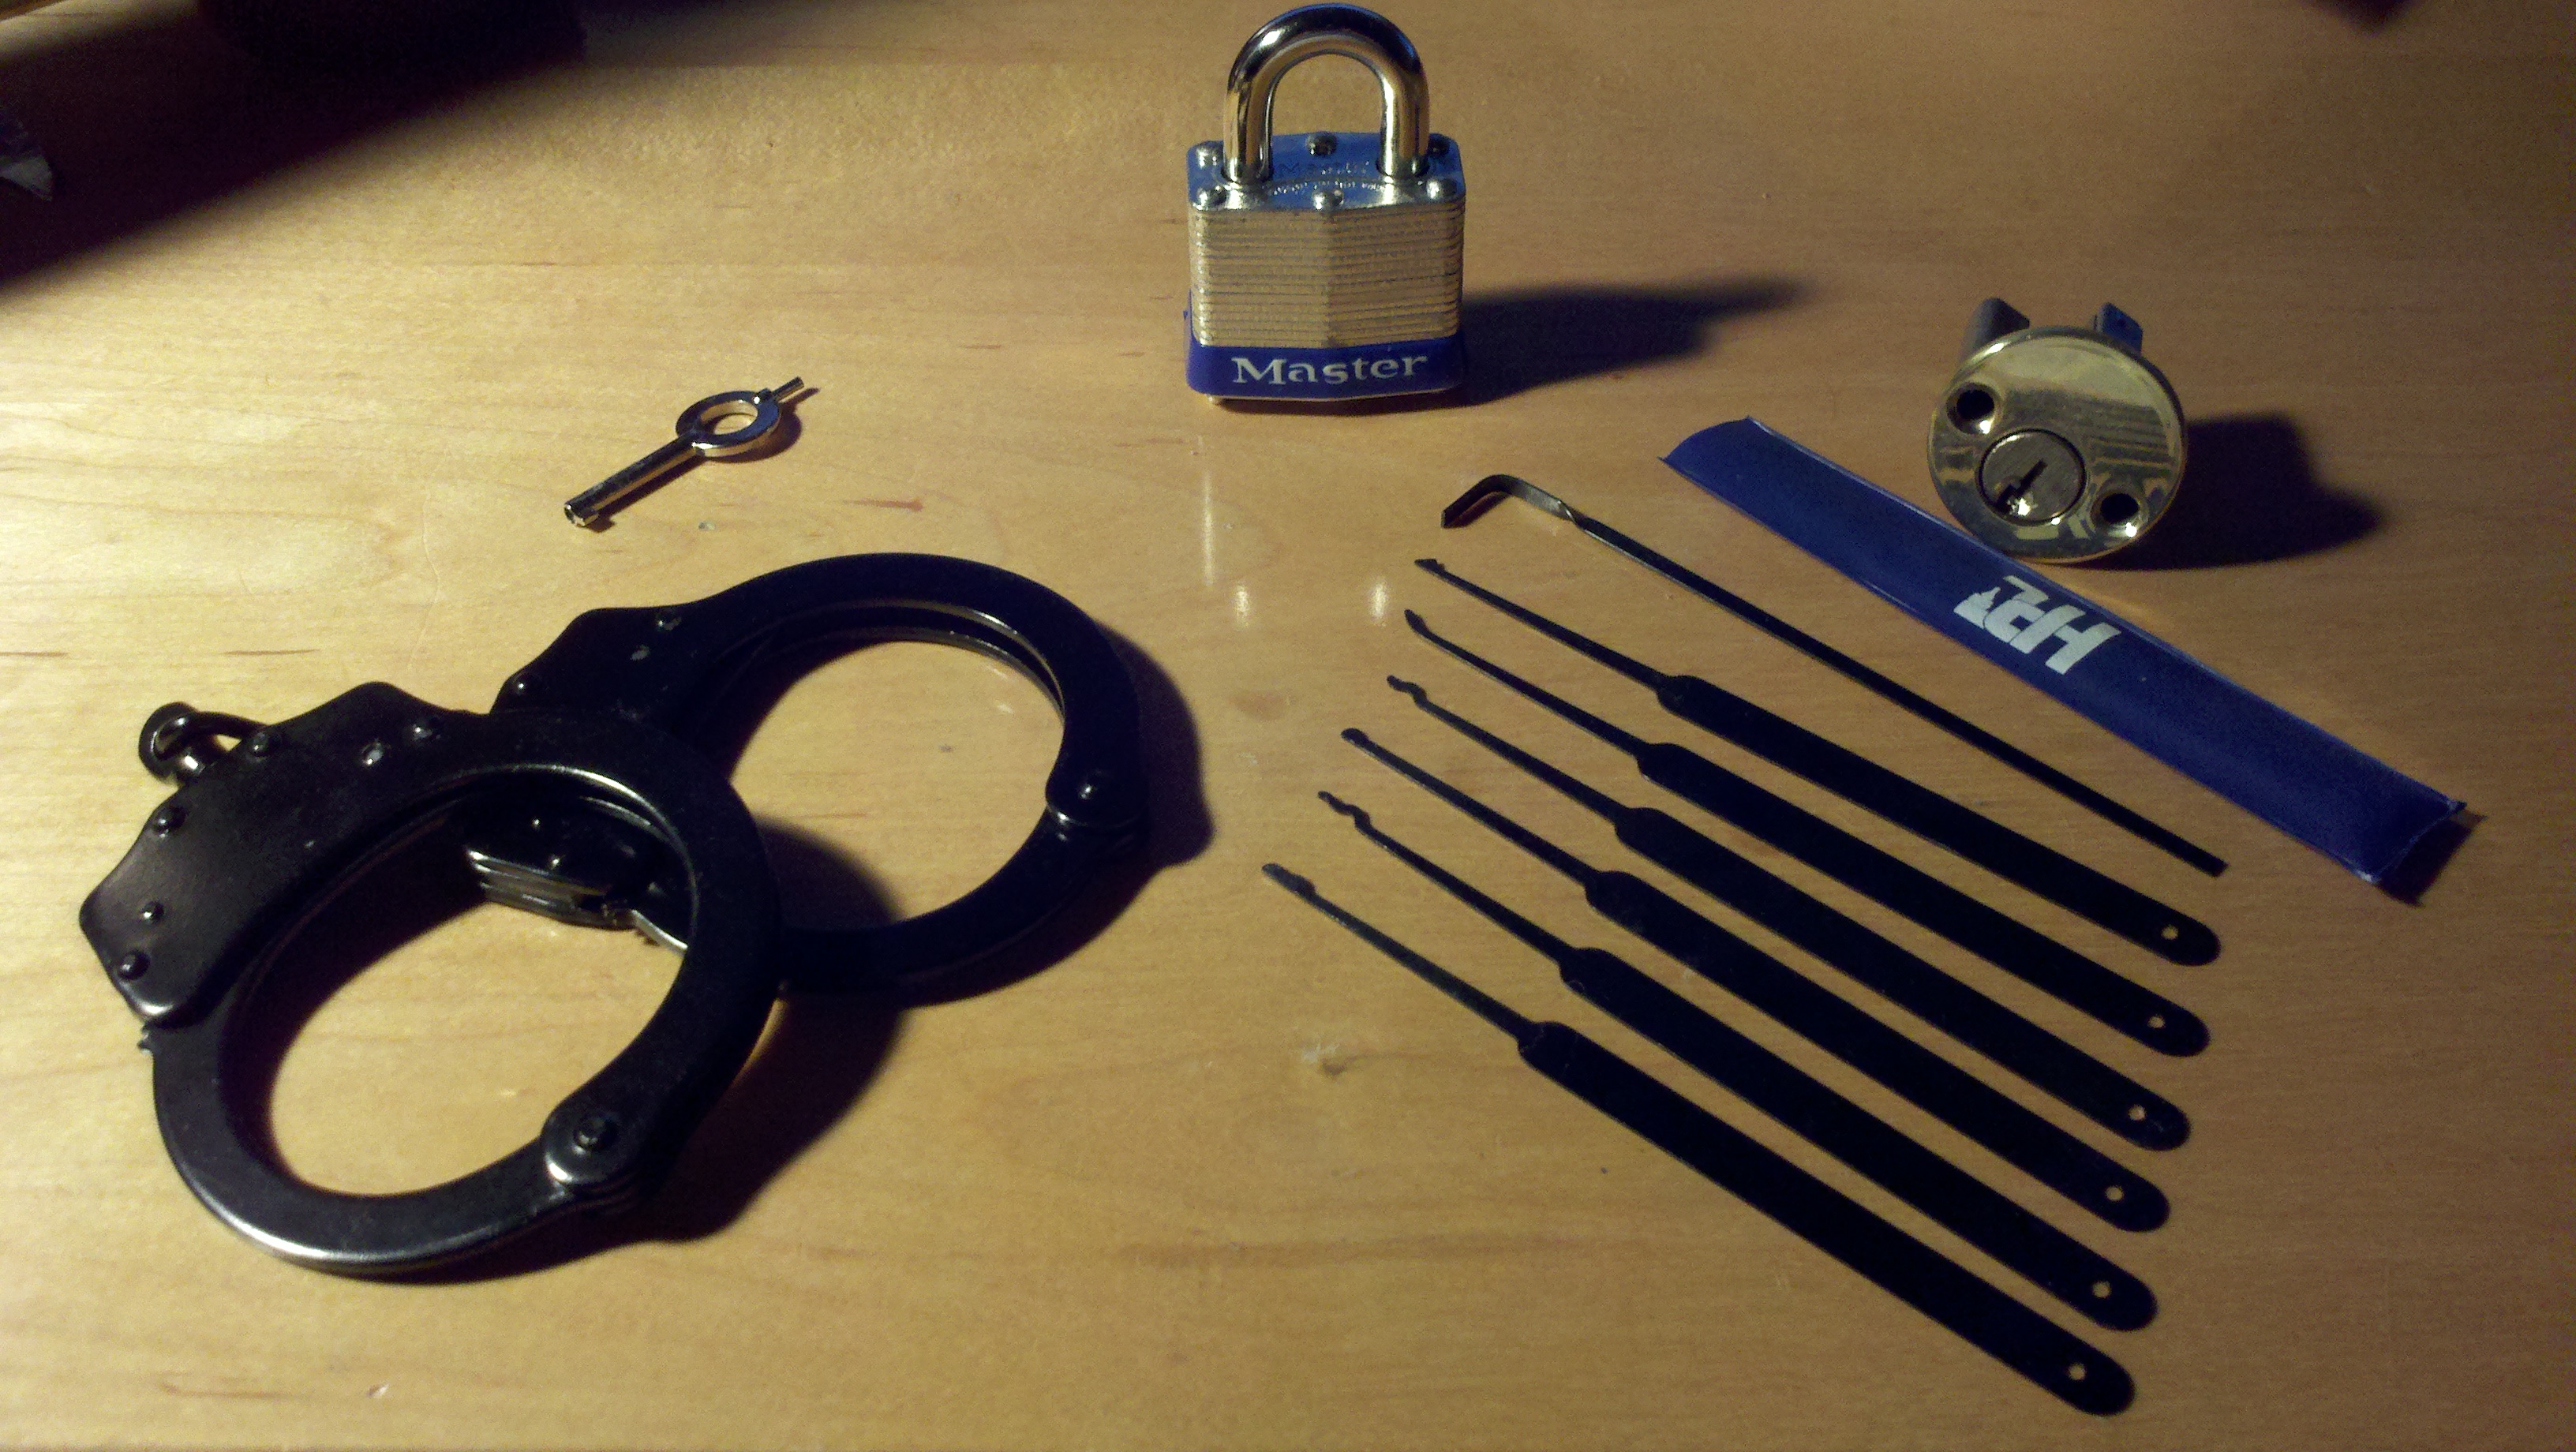
Swag from TOOOL Boston meeting

This past weekend I decided to go to a meeting hosted by The Open Organization Of Lockpickers, or TOOOL.  I have been involved in lockpicking and collecting locks since I was about 10.  My initial fascination was with the master locks that secured everyones lockers; the first lock I tried to pick was on the back of my school combination lock.  All the locks at school had two modes of entry; one combination entry method for students, and a small pin-tumbler lock in the back so janitors/administration can get in.  Of course everyones lock is compromised if someone tears down their lock and gets at those key cuts, and then makes their own key, so try not to use these if you can avoid it.

Anyways, this meeting was relaxed, with picks and locks on the table while squelchtone gave a presentation on many many kinds of locks and various methods for picking them.  While informative, I had heard most of it before.  However when the crowd was polled for volunteers for a little bit of competitive picking, I jumped on the opportunity.  As I was handcuffed, I felt a competitive rush that I hadn’t felt since my last swim meet.  In a few minutes I had picked my master padlock and quikset deadbolt, and shimmed my way out of the handcuffs I was in, rendering me the winner.  As the two other folks struggled out of their bindings, I learned that I would be receiving a set of HPC picks, a handcuff key, and all the locks I had just picked.  Yay!  Second and third place got some practice locks and lockpicking CDs to help beef up their skills.

After that I got to see some awesome stuff, ranging from custom picks by ratyoke, ray, and ln21, to a really rare prototype lock (one of two!) that was produced for the US military.

This was definitely fun, and I will hopefully be able to attend more TOOOL meetings.  If you are wondering if TOOOL boston is active, it is, and you should definitely go.

REVOBots: Getting Ready!

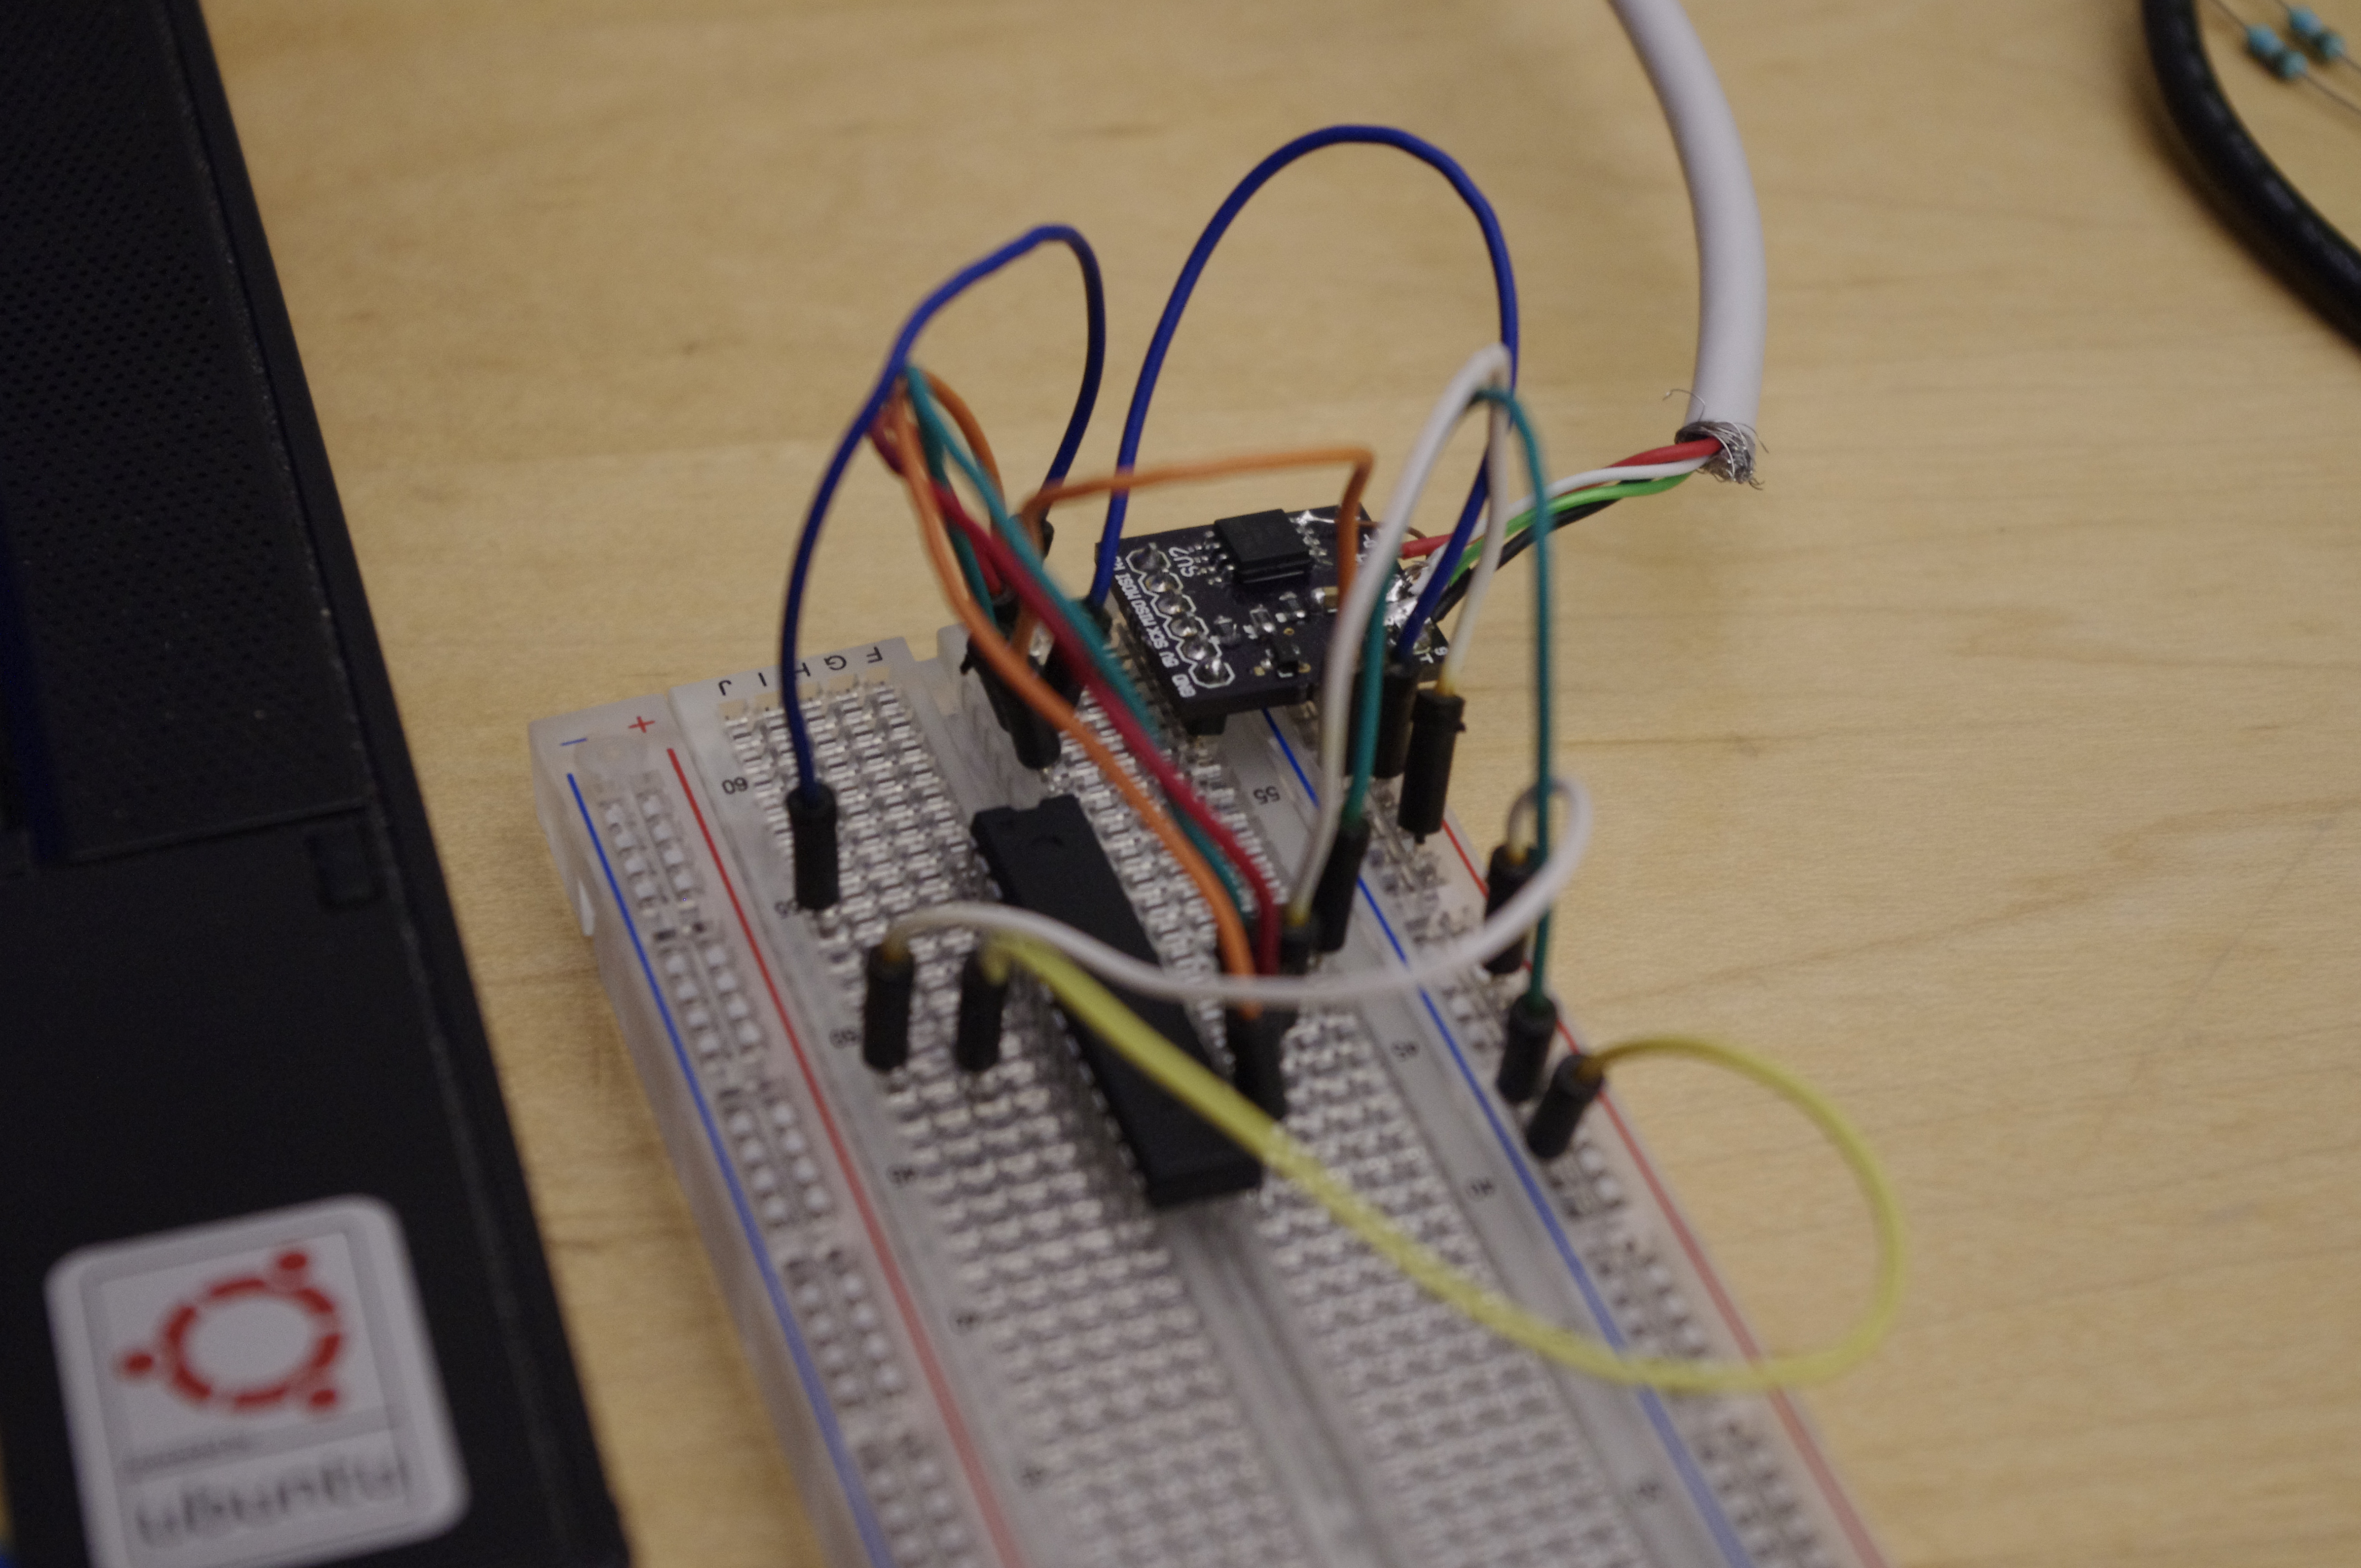
Custom SMD Attiny45 USBISP programmer doing its job!

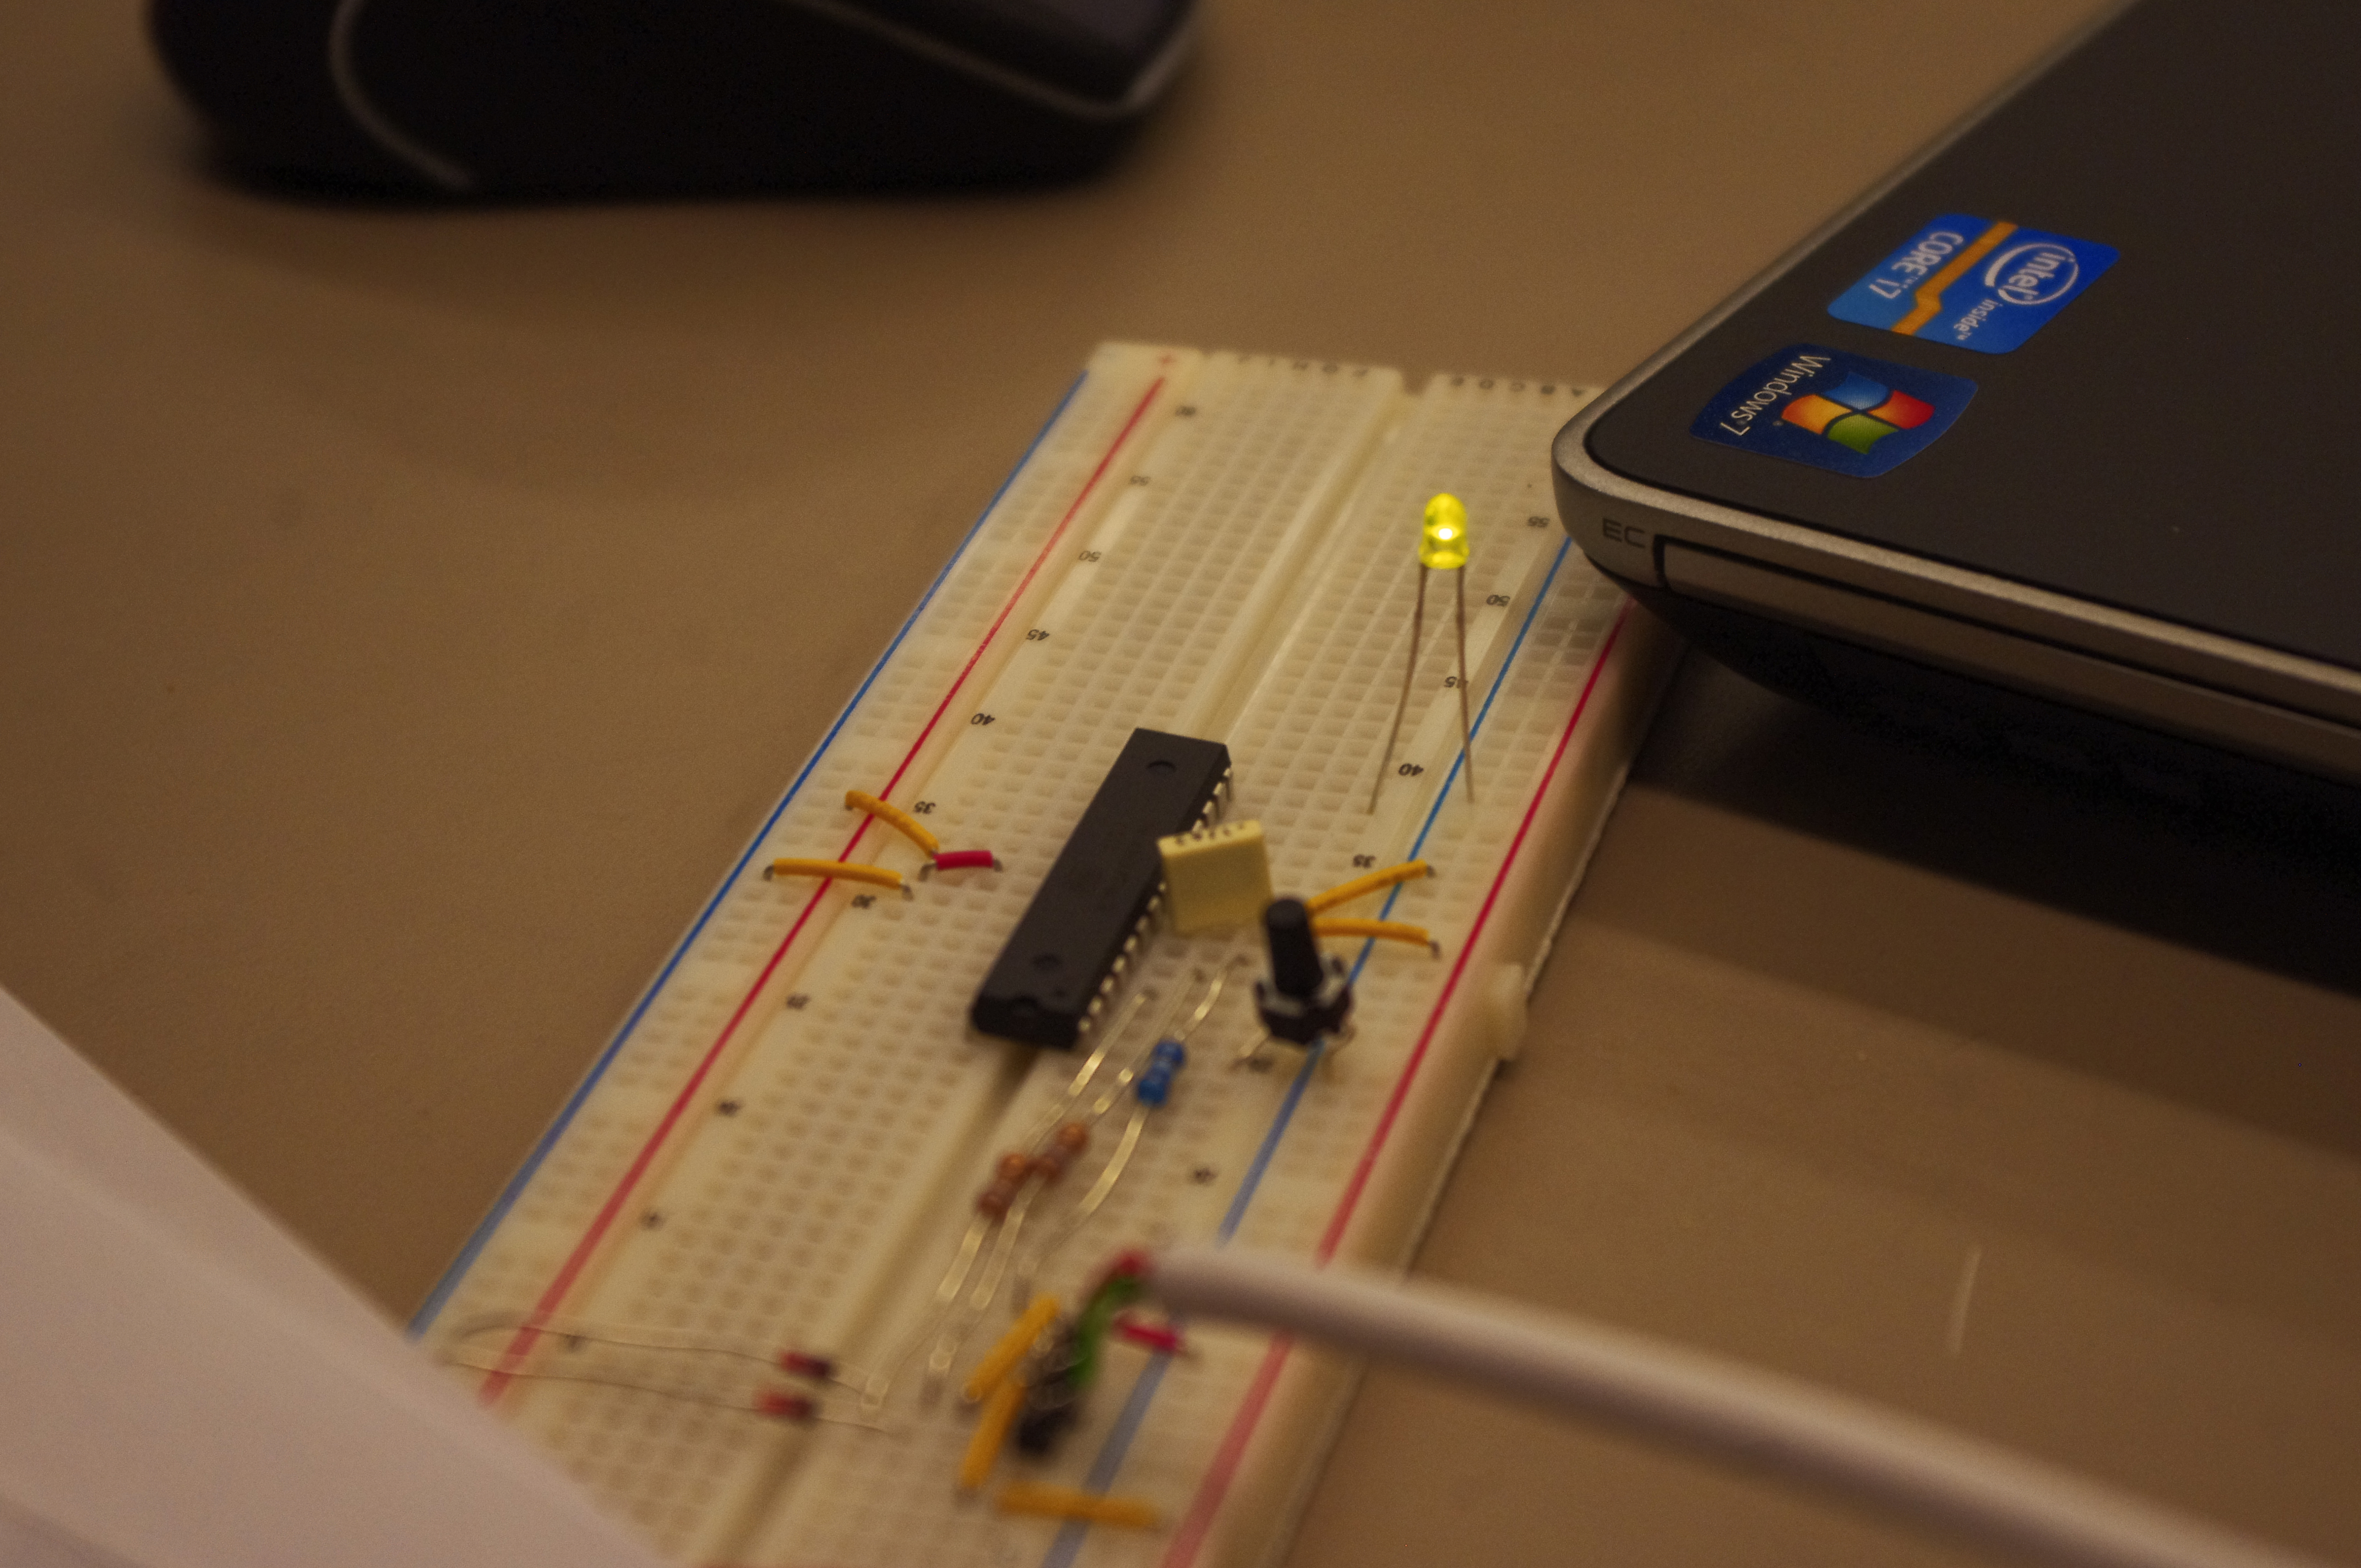
Last night a small package from monoprice, and a huge box from pololu arrived.  In it were the materials for the REVOBots class I am going to teach.  Since the first class is this weekend, I really needed to finish the guide/handout!  I spent all night building a Tamaiya gearbox (pictorial instructions soon!), re-building a $5 arduino, and eventually fixing an attiny45 based usbisp programmer.  The git repo for the bootloader of the $5 arduino is here.  It took about 6 hours to finally get everything working.  There were several stumbling blocks, like the gearbox having 3-4 configurations, and a dead ATMega chip.  But when I finally got the arduino IDE to talk to the chip, it was worth it- it was much easier to sleep knowing that the parts coming in from digikey would work.  Anyways, the first REVOBots guide is posted now, in the downloads section, or with this link.  REVOBots are coming!

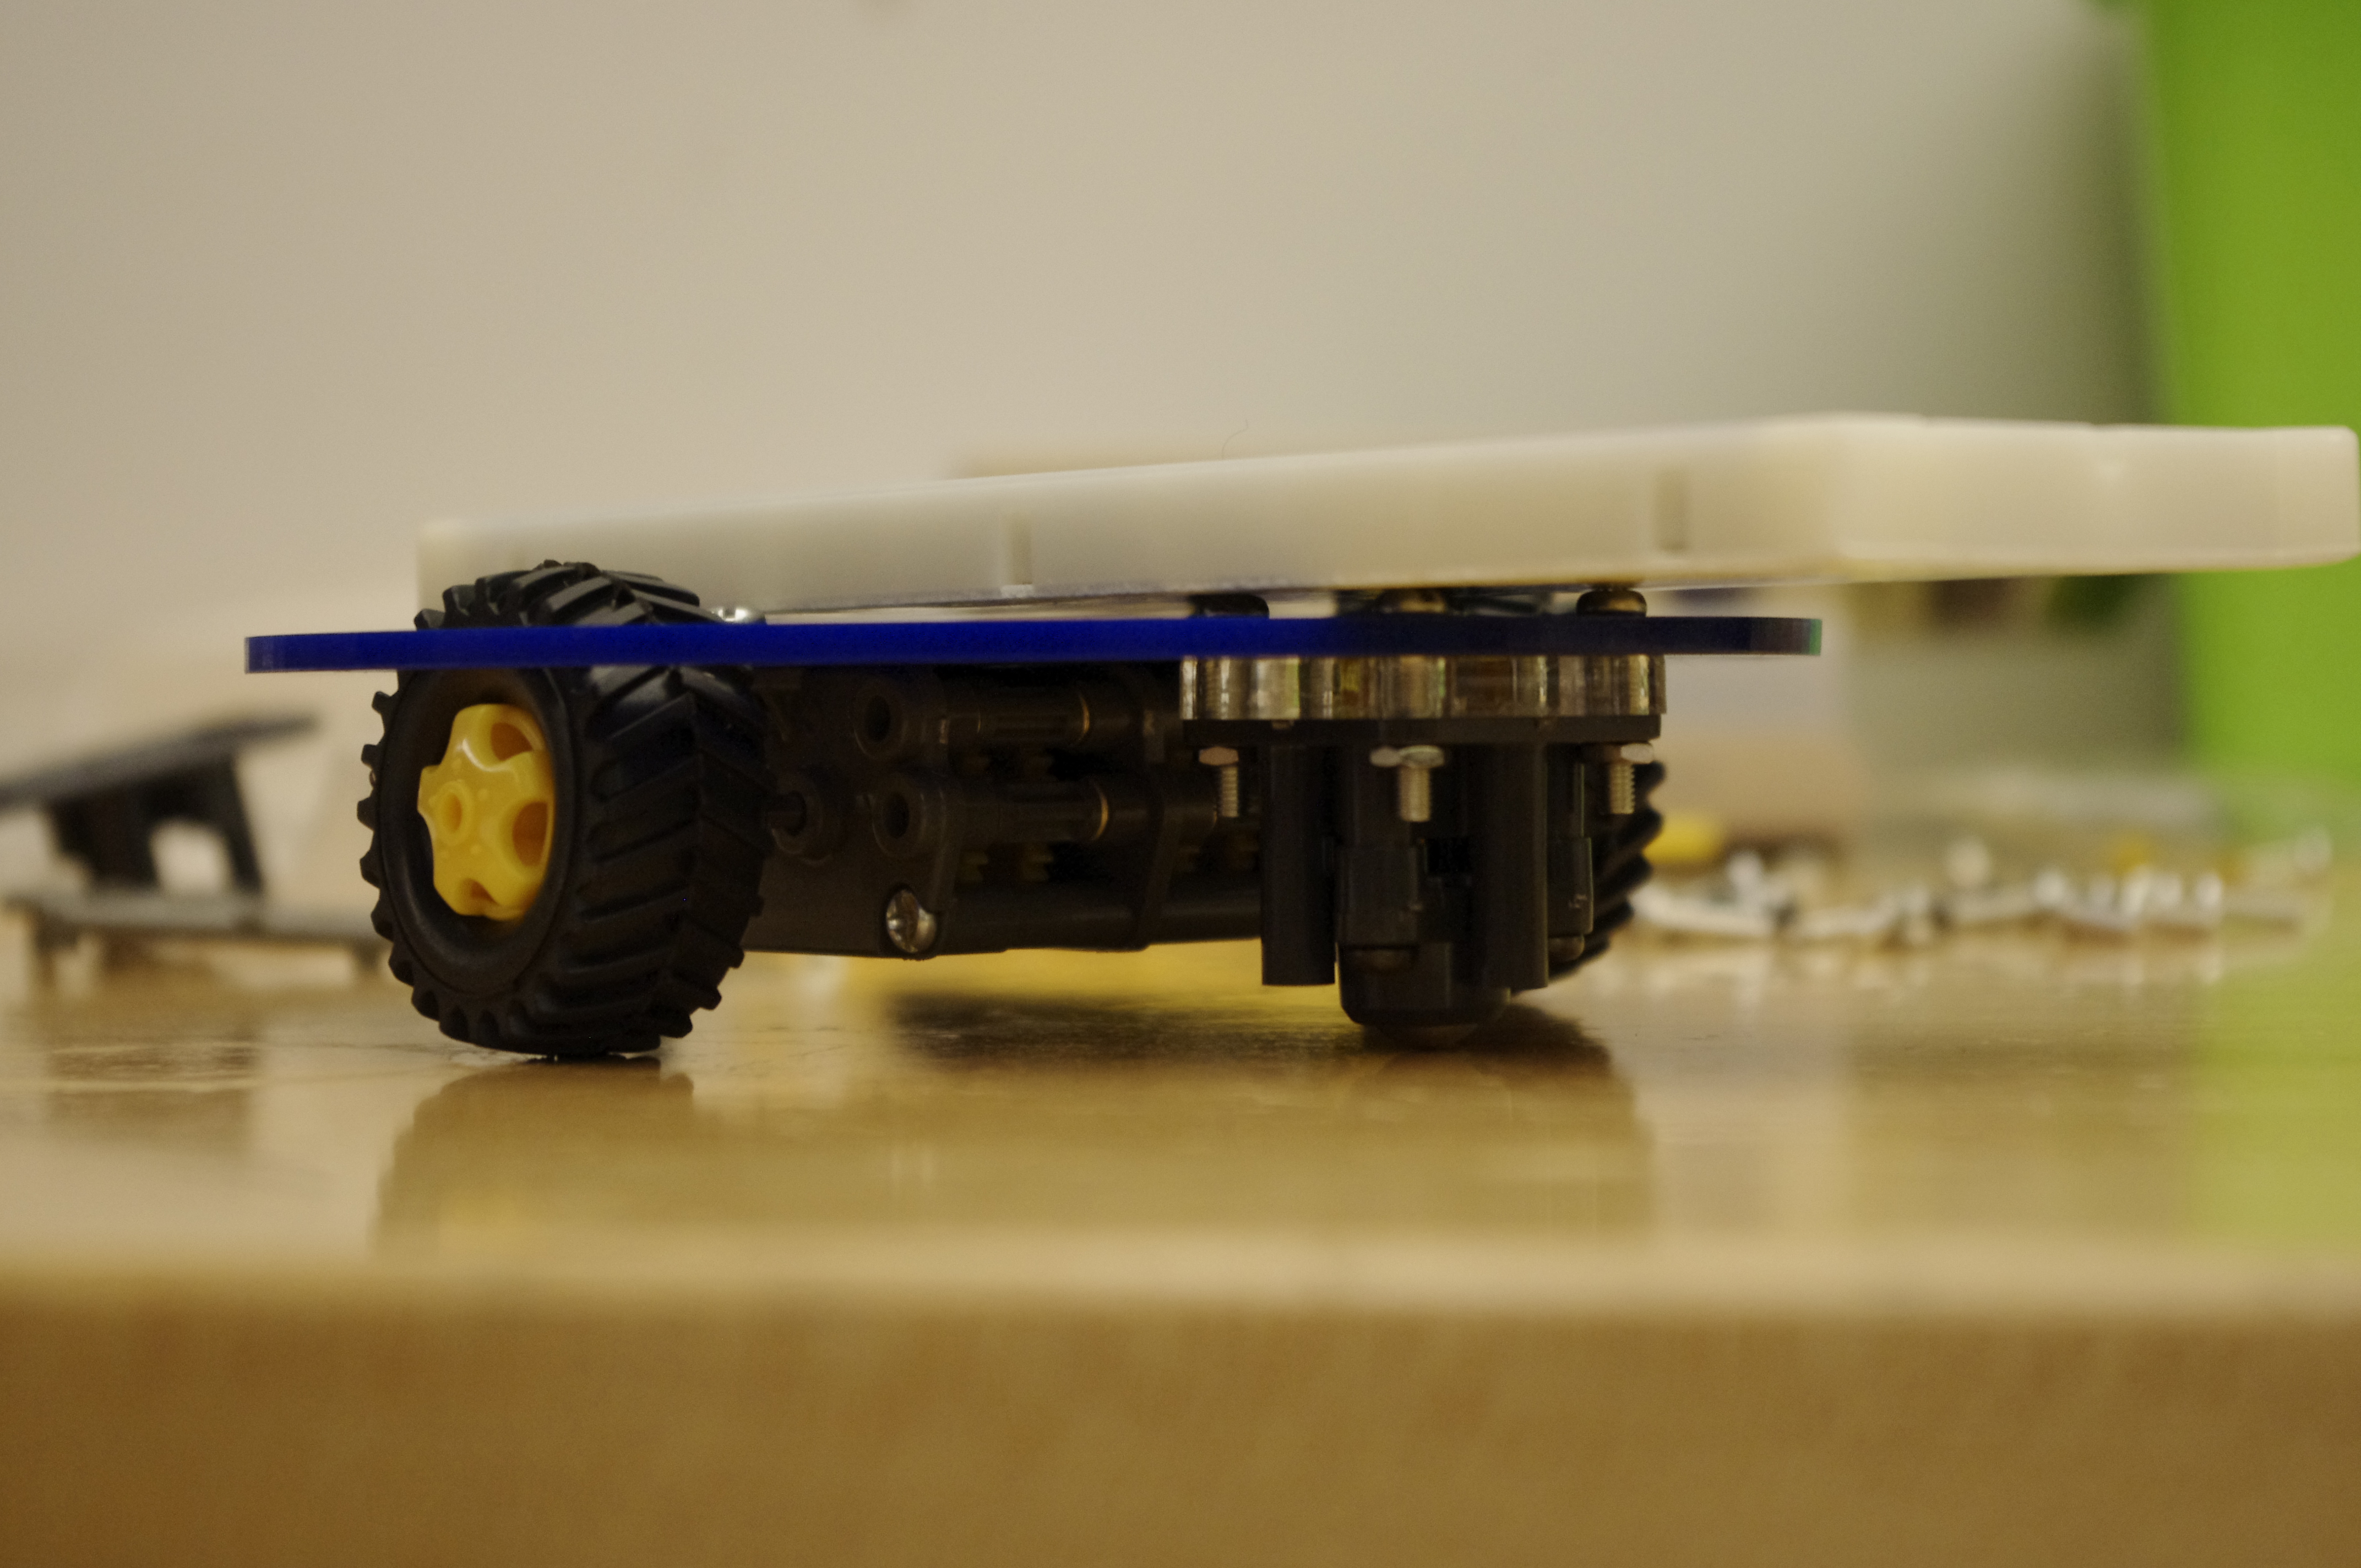
REVOBot 001

Transformation 3.0: Today I learned about Ampicillin

Today I learned that you should immediately plate bacteria that have ampicillin, and that it is SOP to do so in our lab here at Olin.  It doesn’t matter that you add them immediately, because they have time to inactivate the amp before they divide, which is when the amp kills them.  Maybe this explains all the satellite colonies I saw before!  I was waiting a good 15-30 minutes, which allows the bacteria to express beta-lactamase, which breaks down ampicillin.  This can destroy nearby ampicillin on the surface of plates, destroying any antibiotic effect, creating satellite colonies.  Oops.  Time to revisit my transformation protocol.

Bioethics: Don’t Ship Invasive Species

A few days ago I naively asked Gulf Coast Ecosystems if they would ship me some Bryopsis cultures.  They noted that they do not normally stock it because it is highly invasive.  At first I thought they meant that it was highly invasive in fishtanks, but then it dawned on me that they meant that it was highly invasive to local waterways.  I certainly do not want to be responsible for messing up the local ecosystem, but I may have inadvertently done that had I not been informed by a responsible seller.  +1 Gulf Coast Ecosystems, +1.