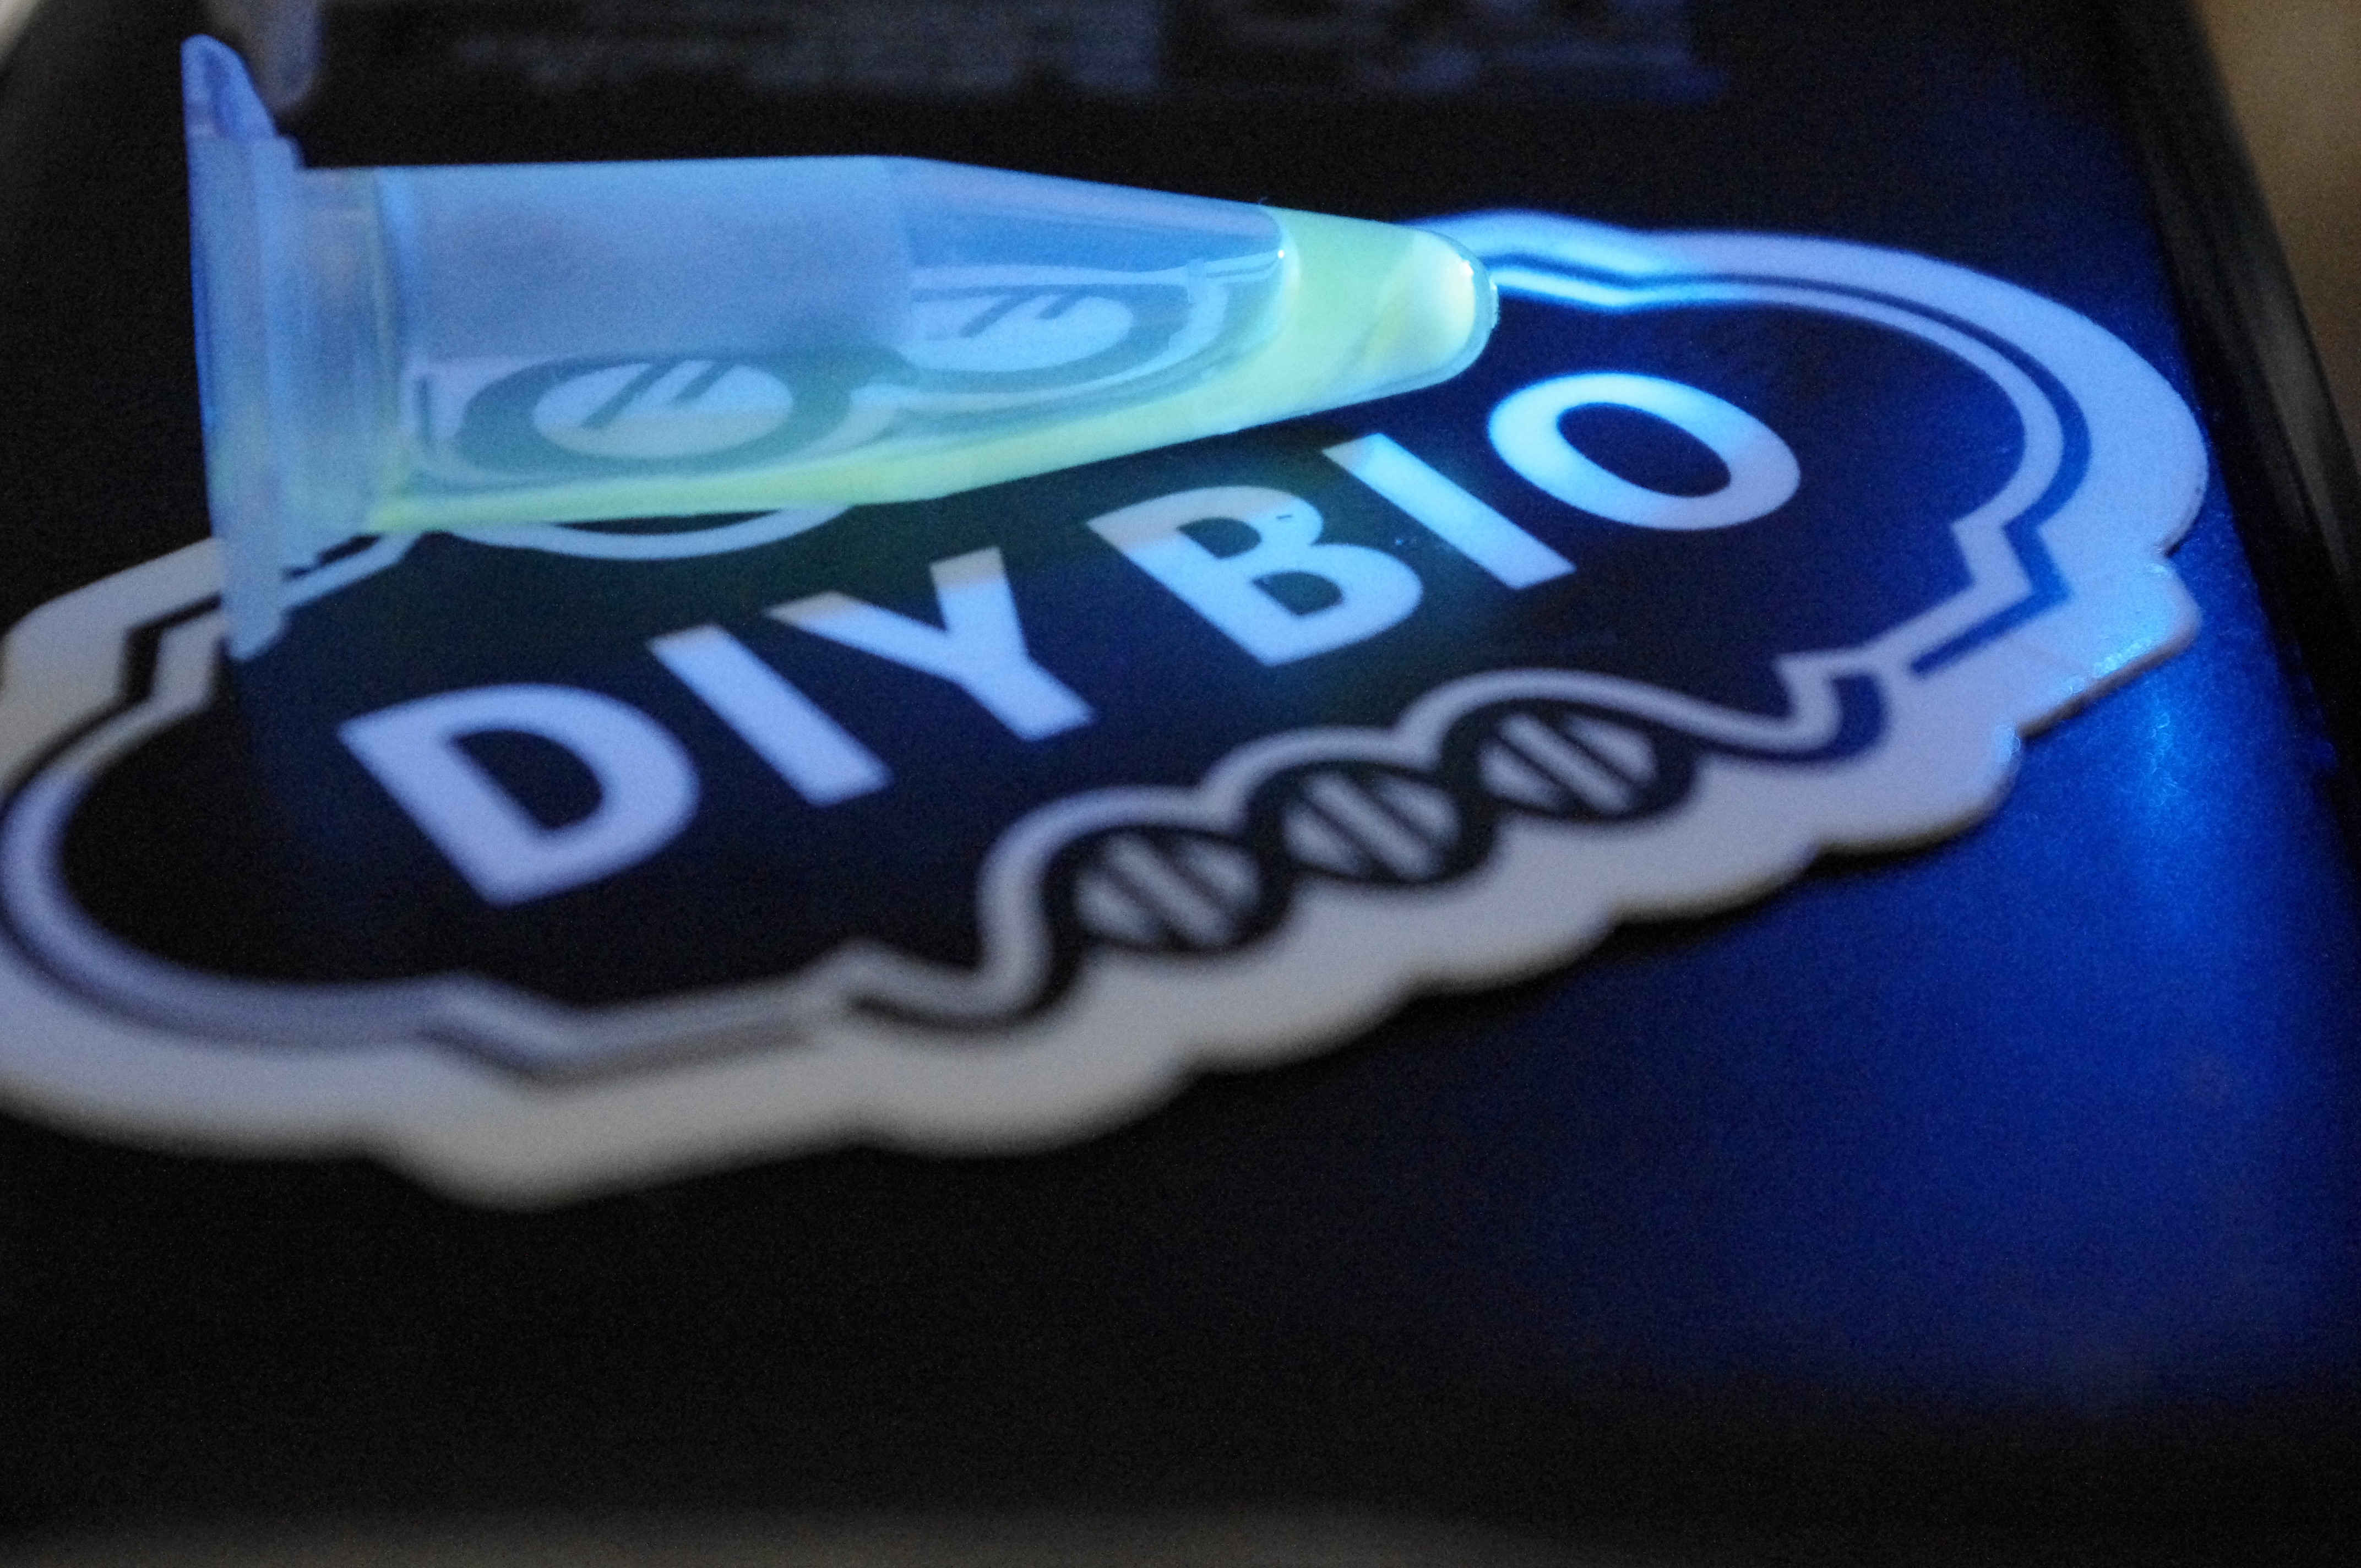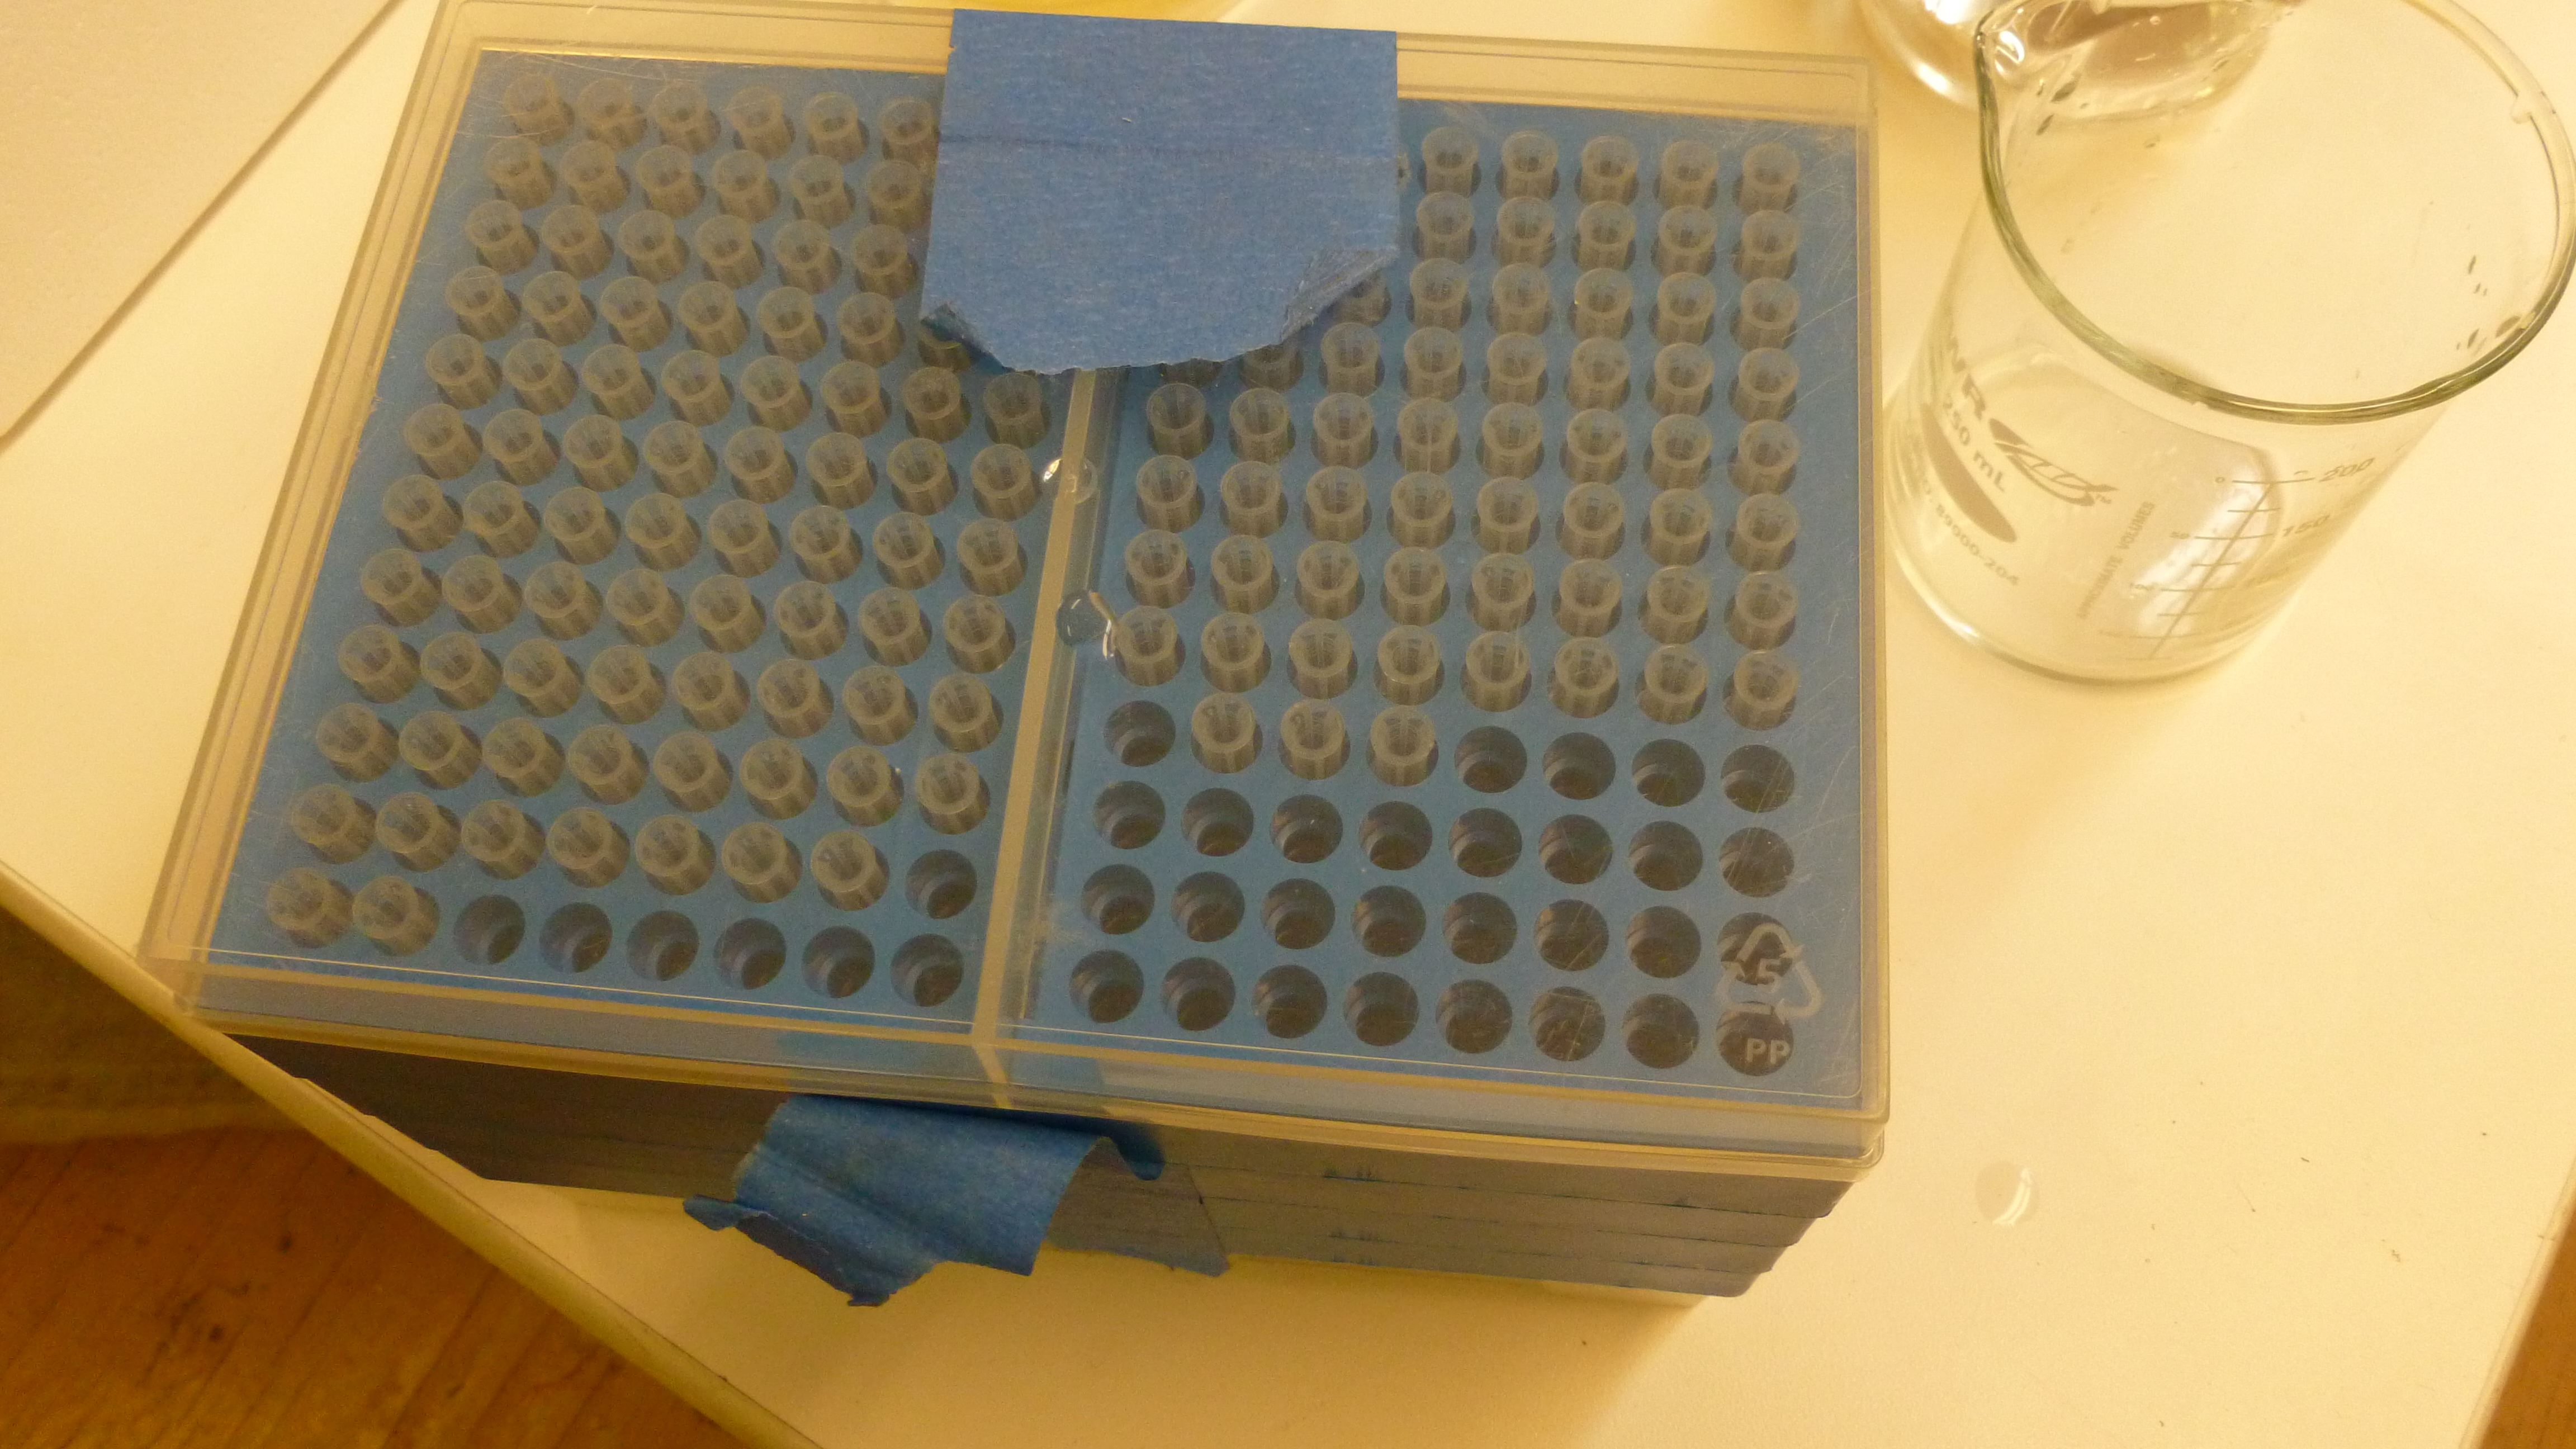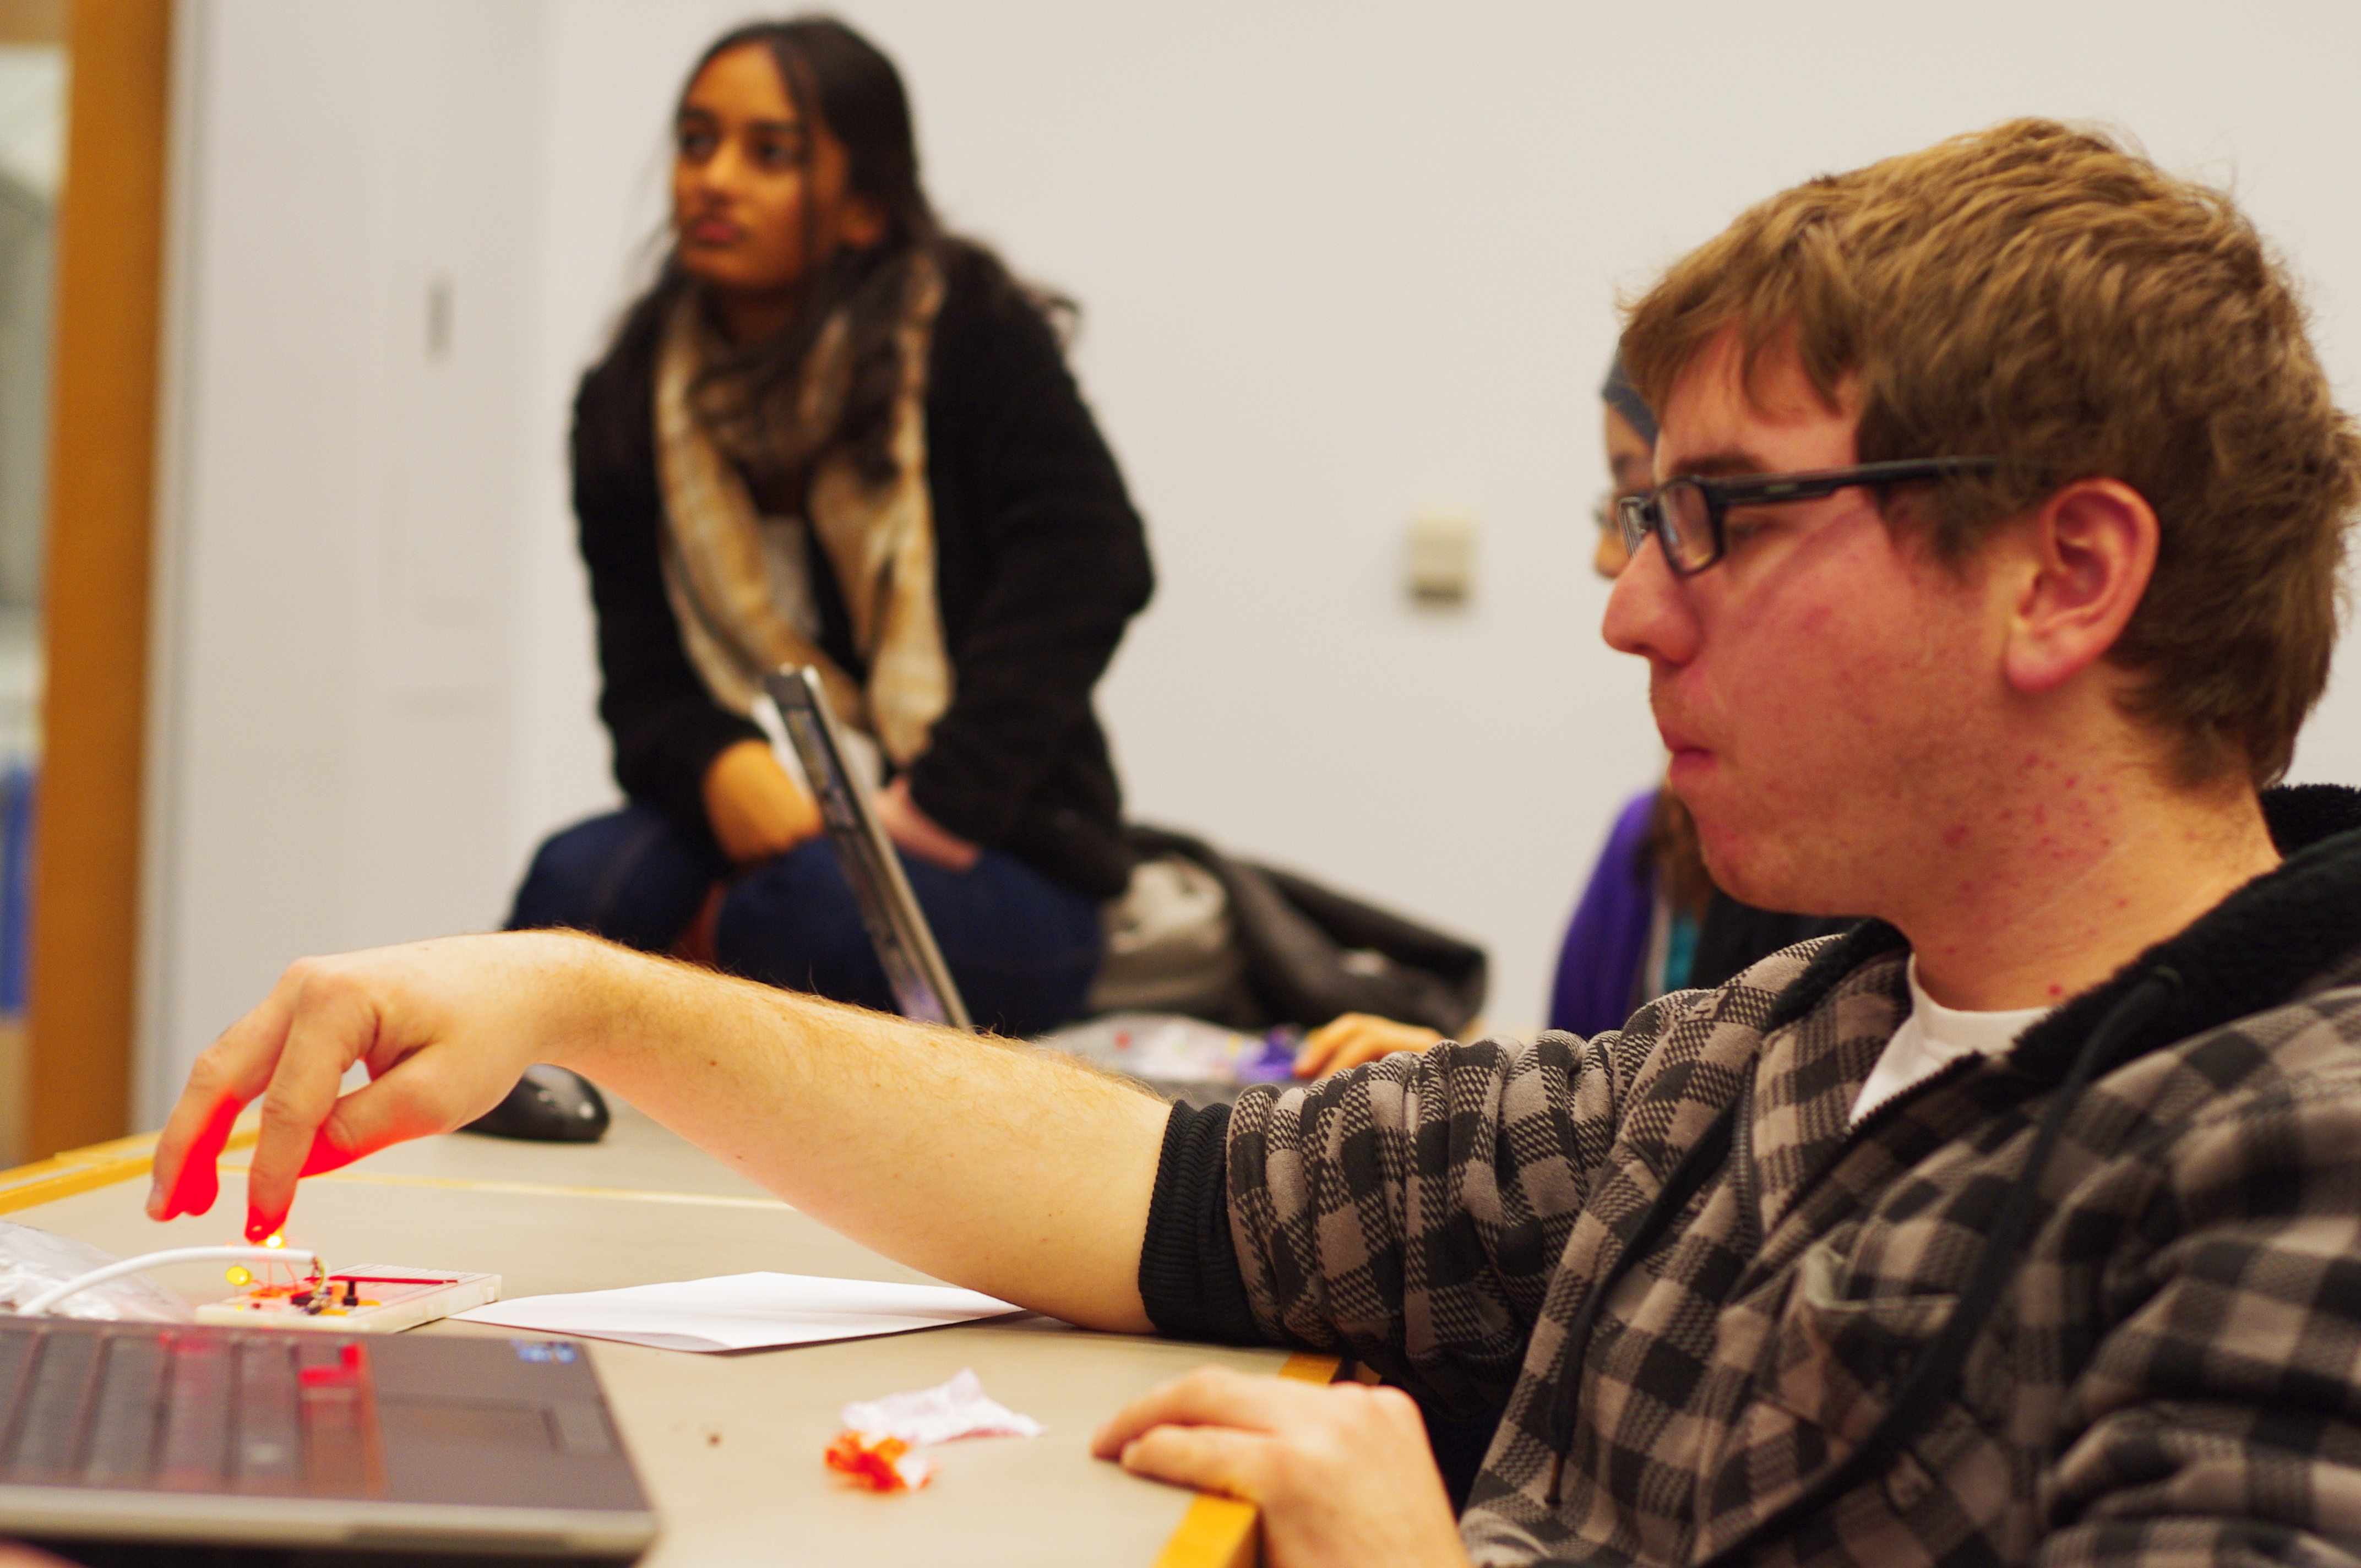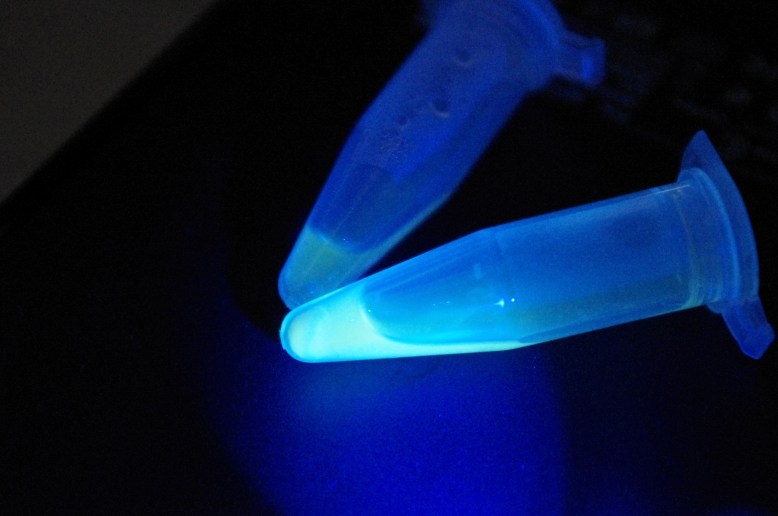
Stickers are here! They will go out as soon as the padded envelopes arrive. They are very nice, heavy vinyl stickers with a matte finish. They look sharp!
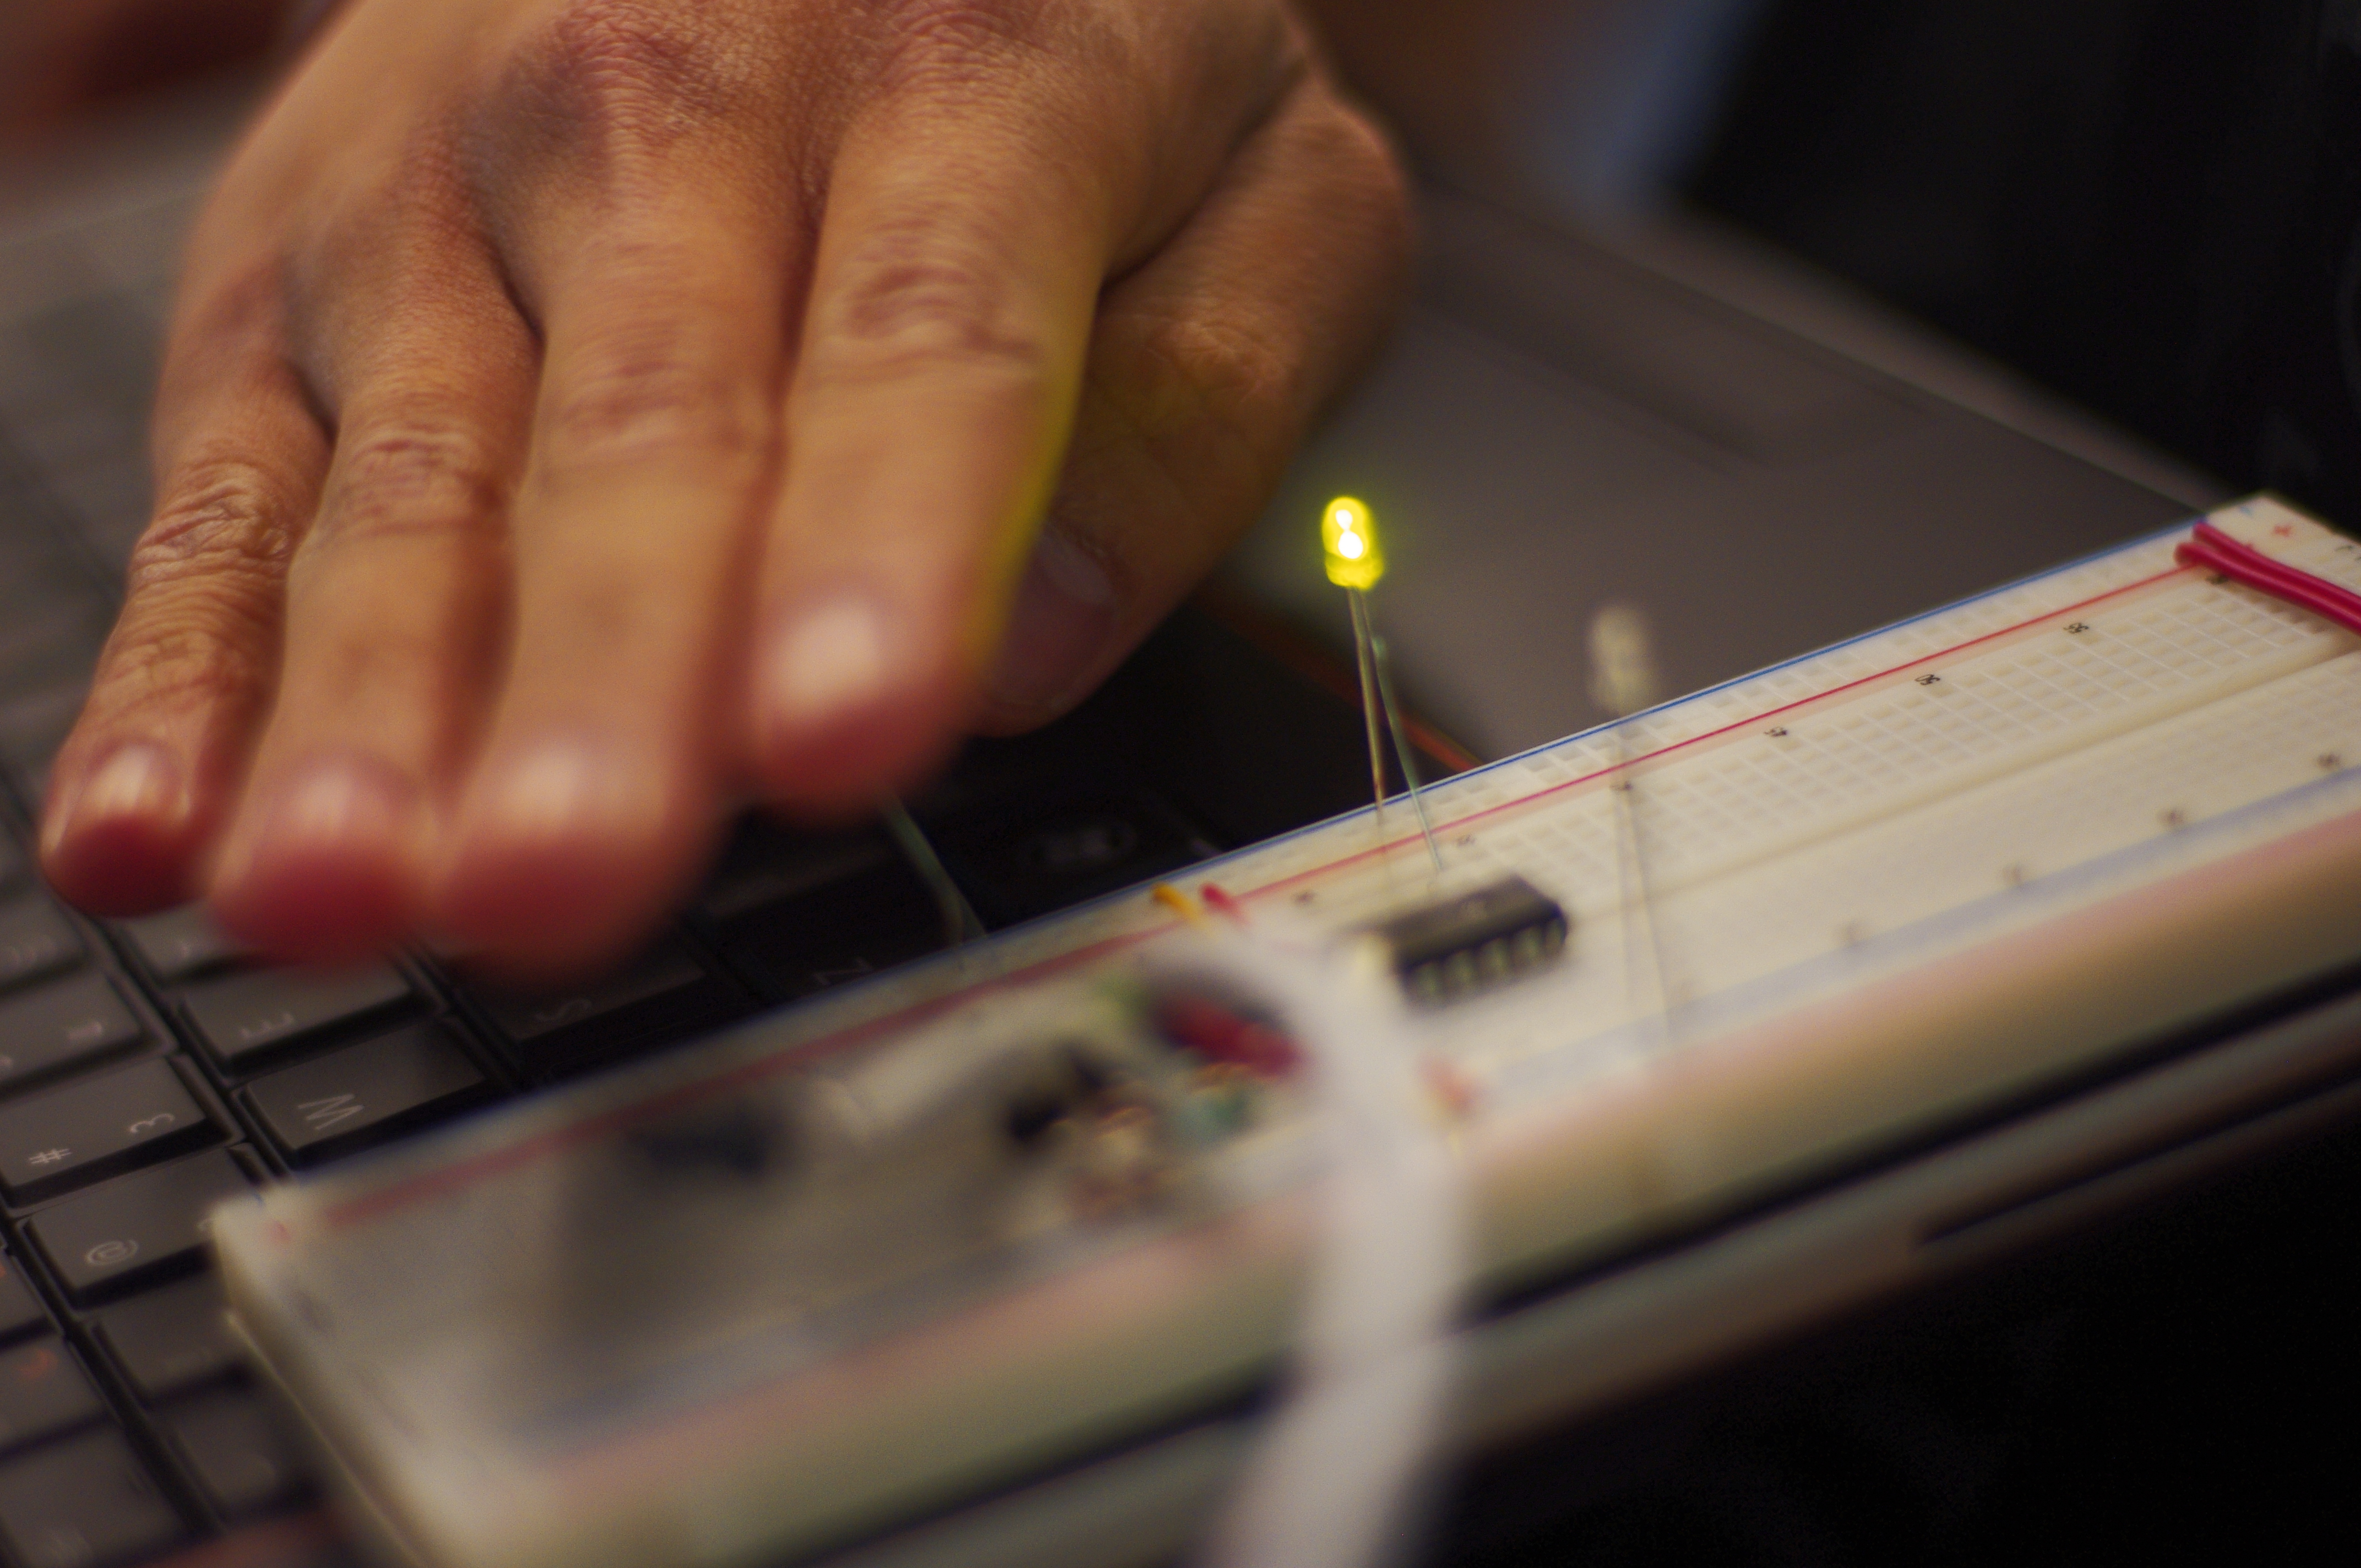
Here is another shot:

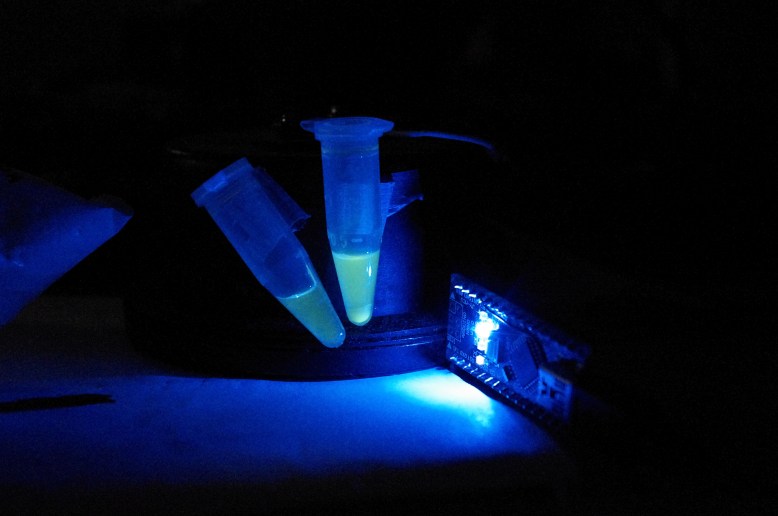
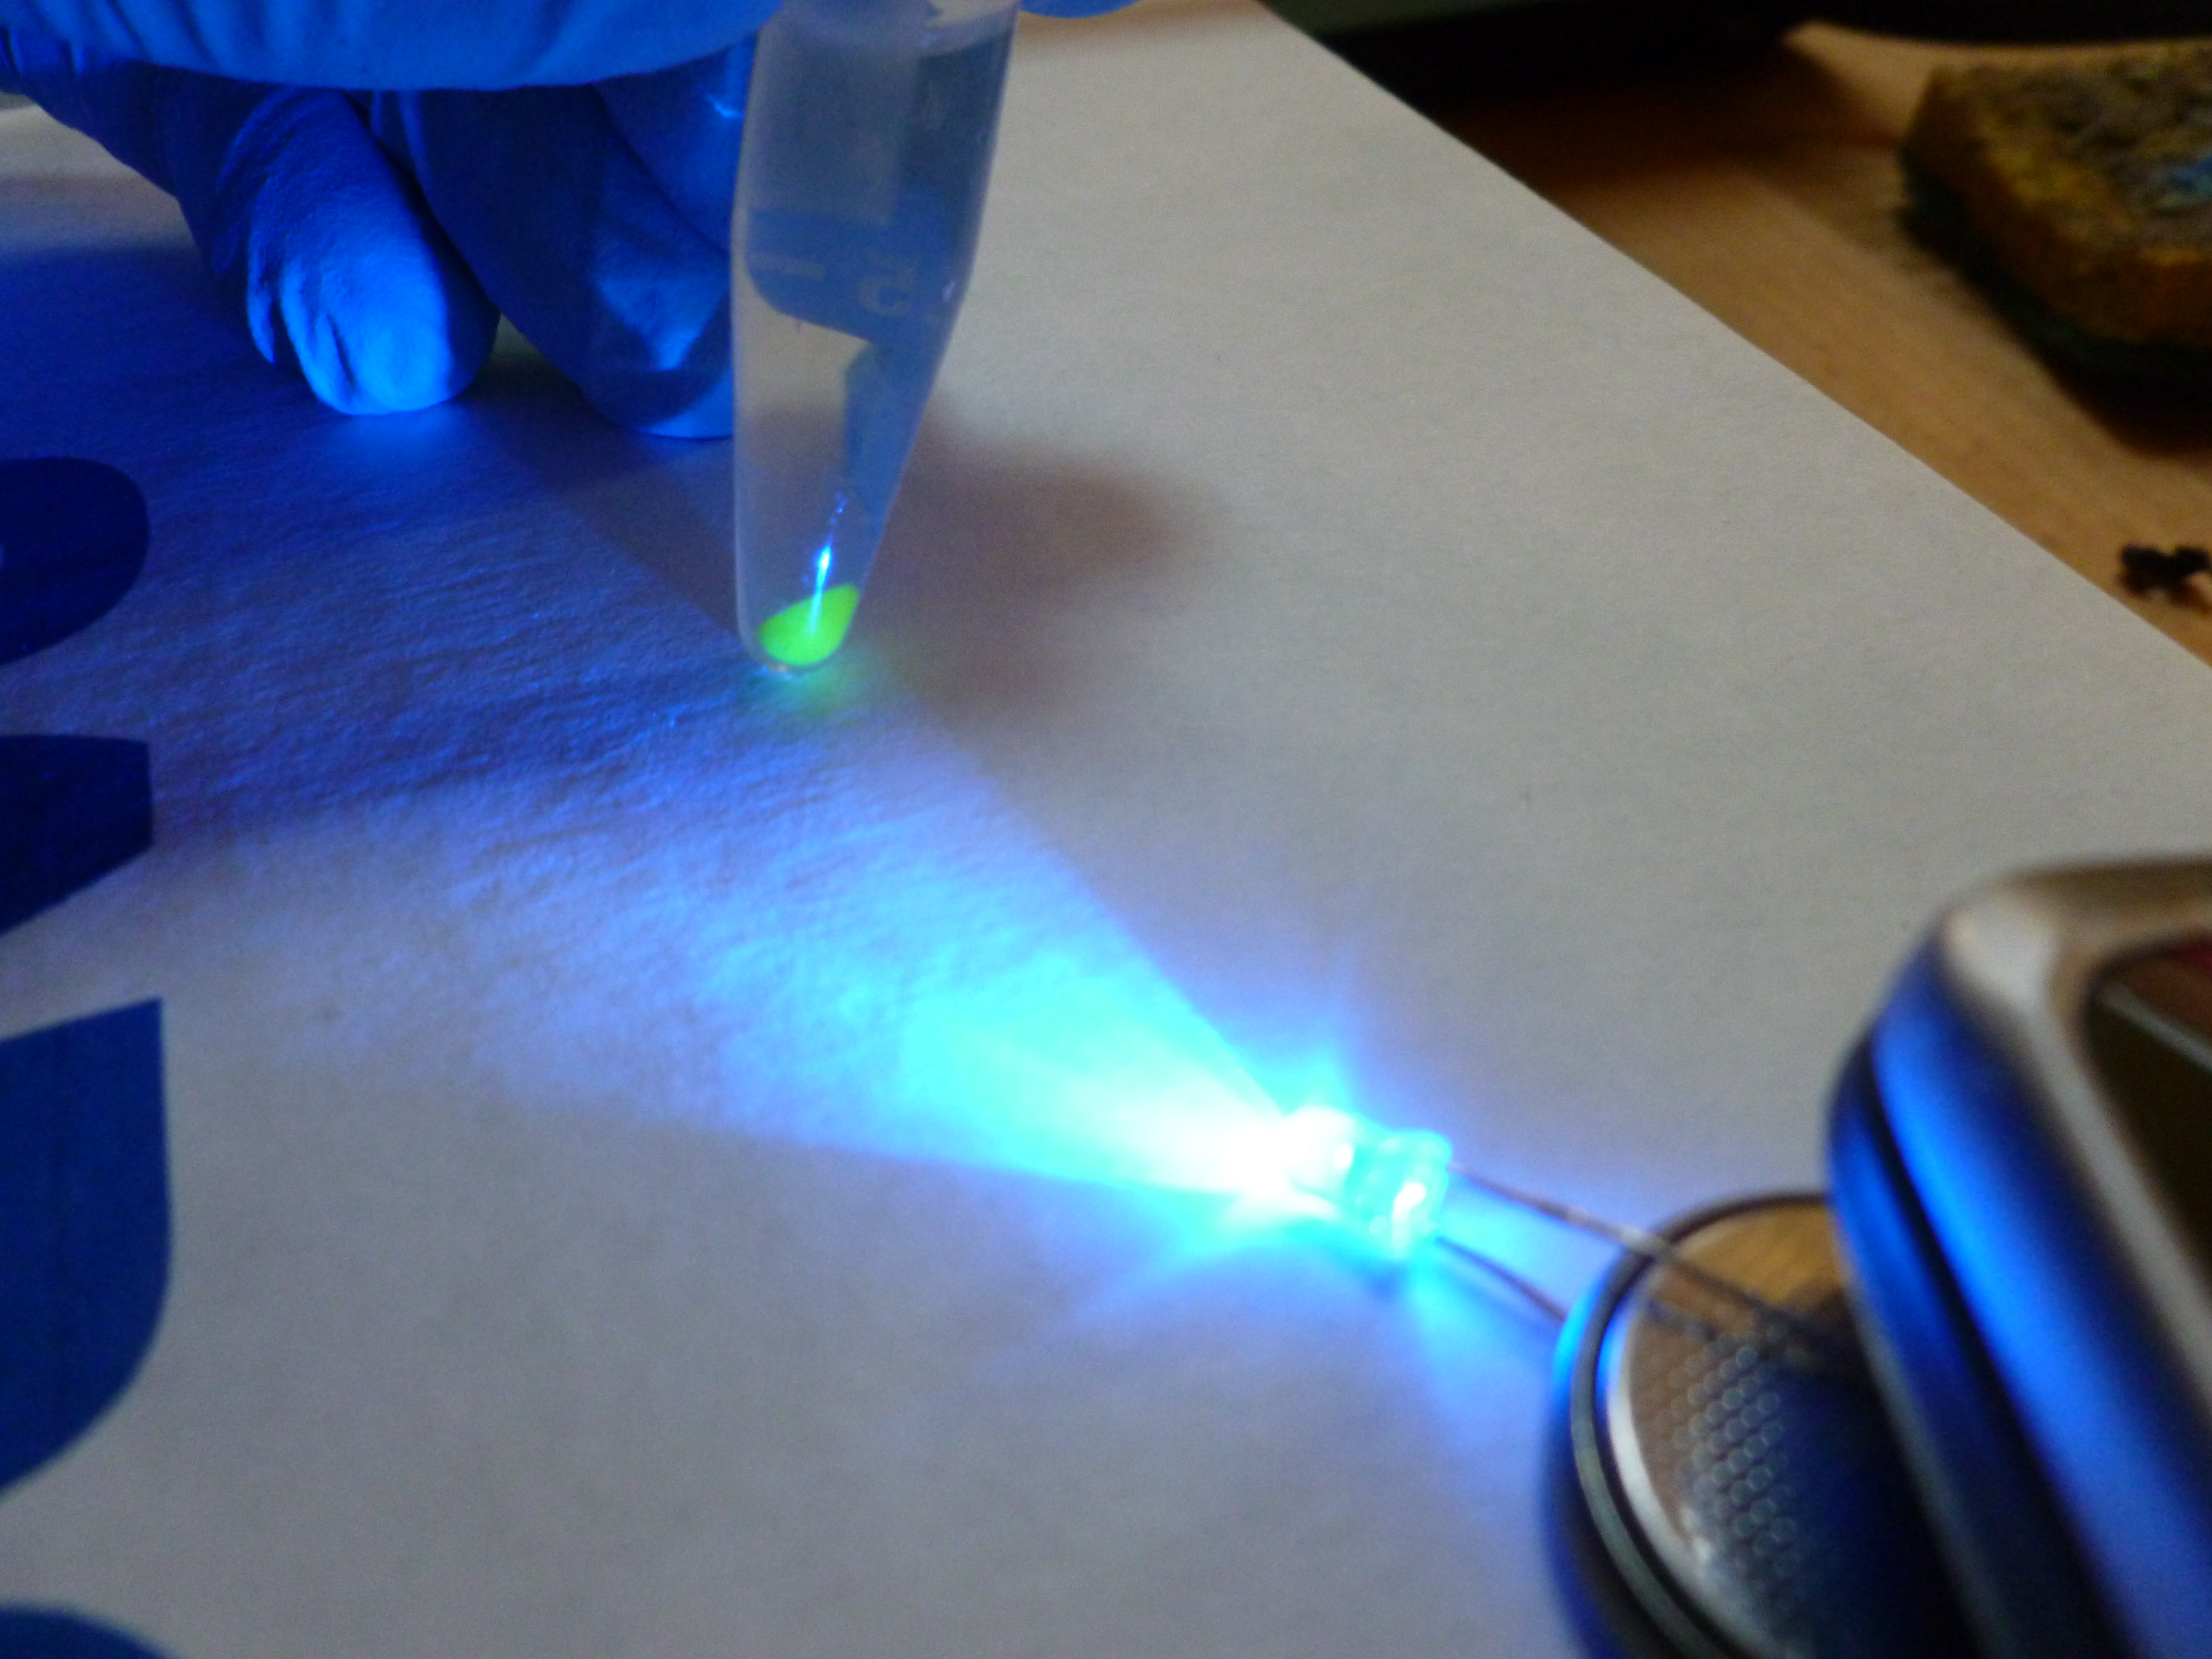
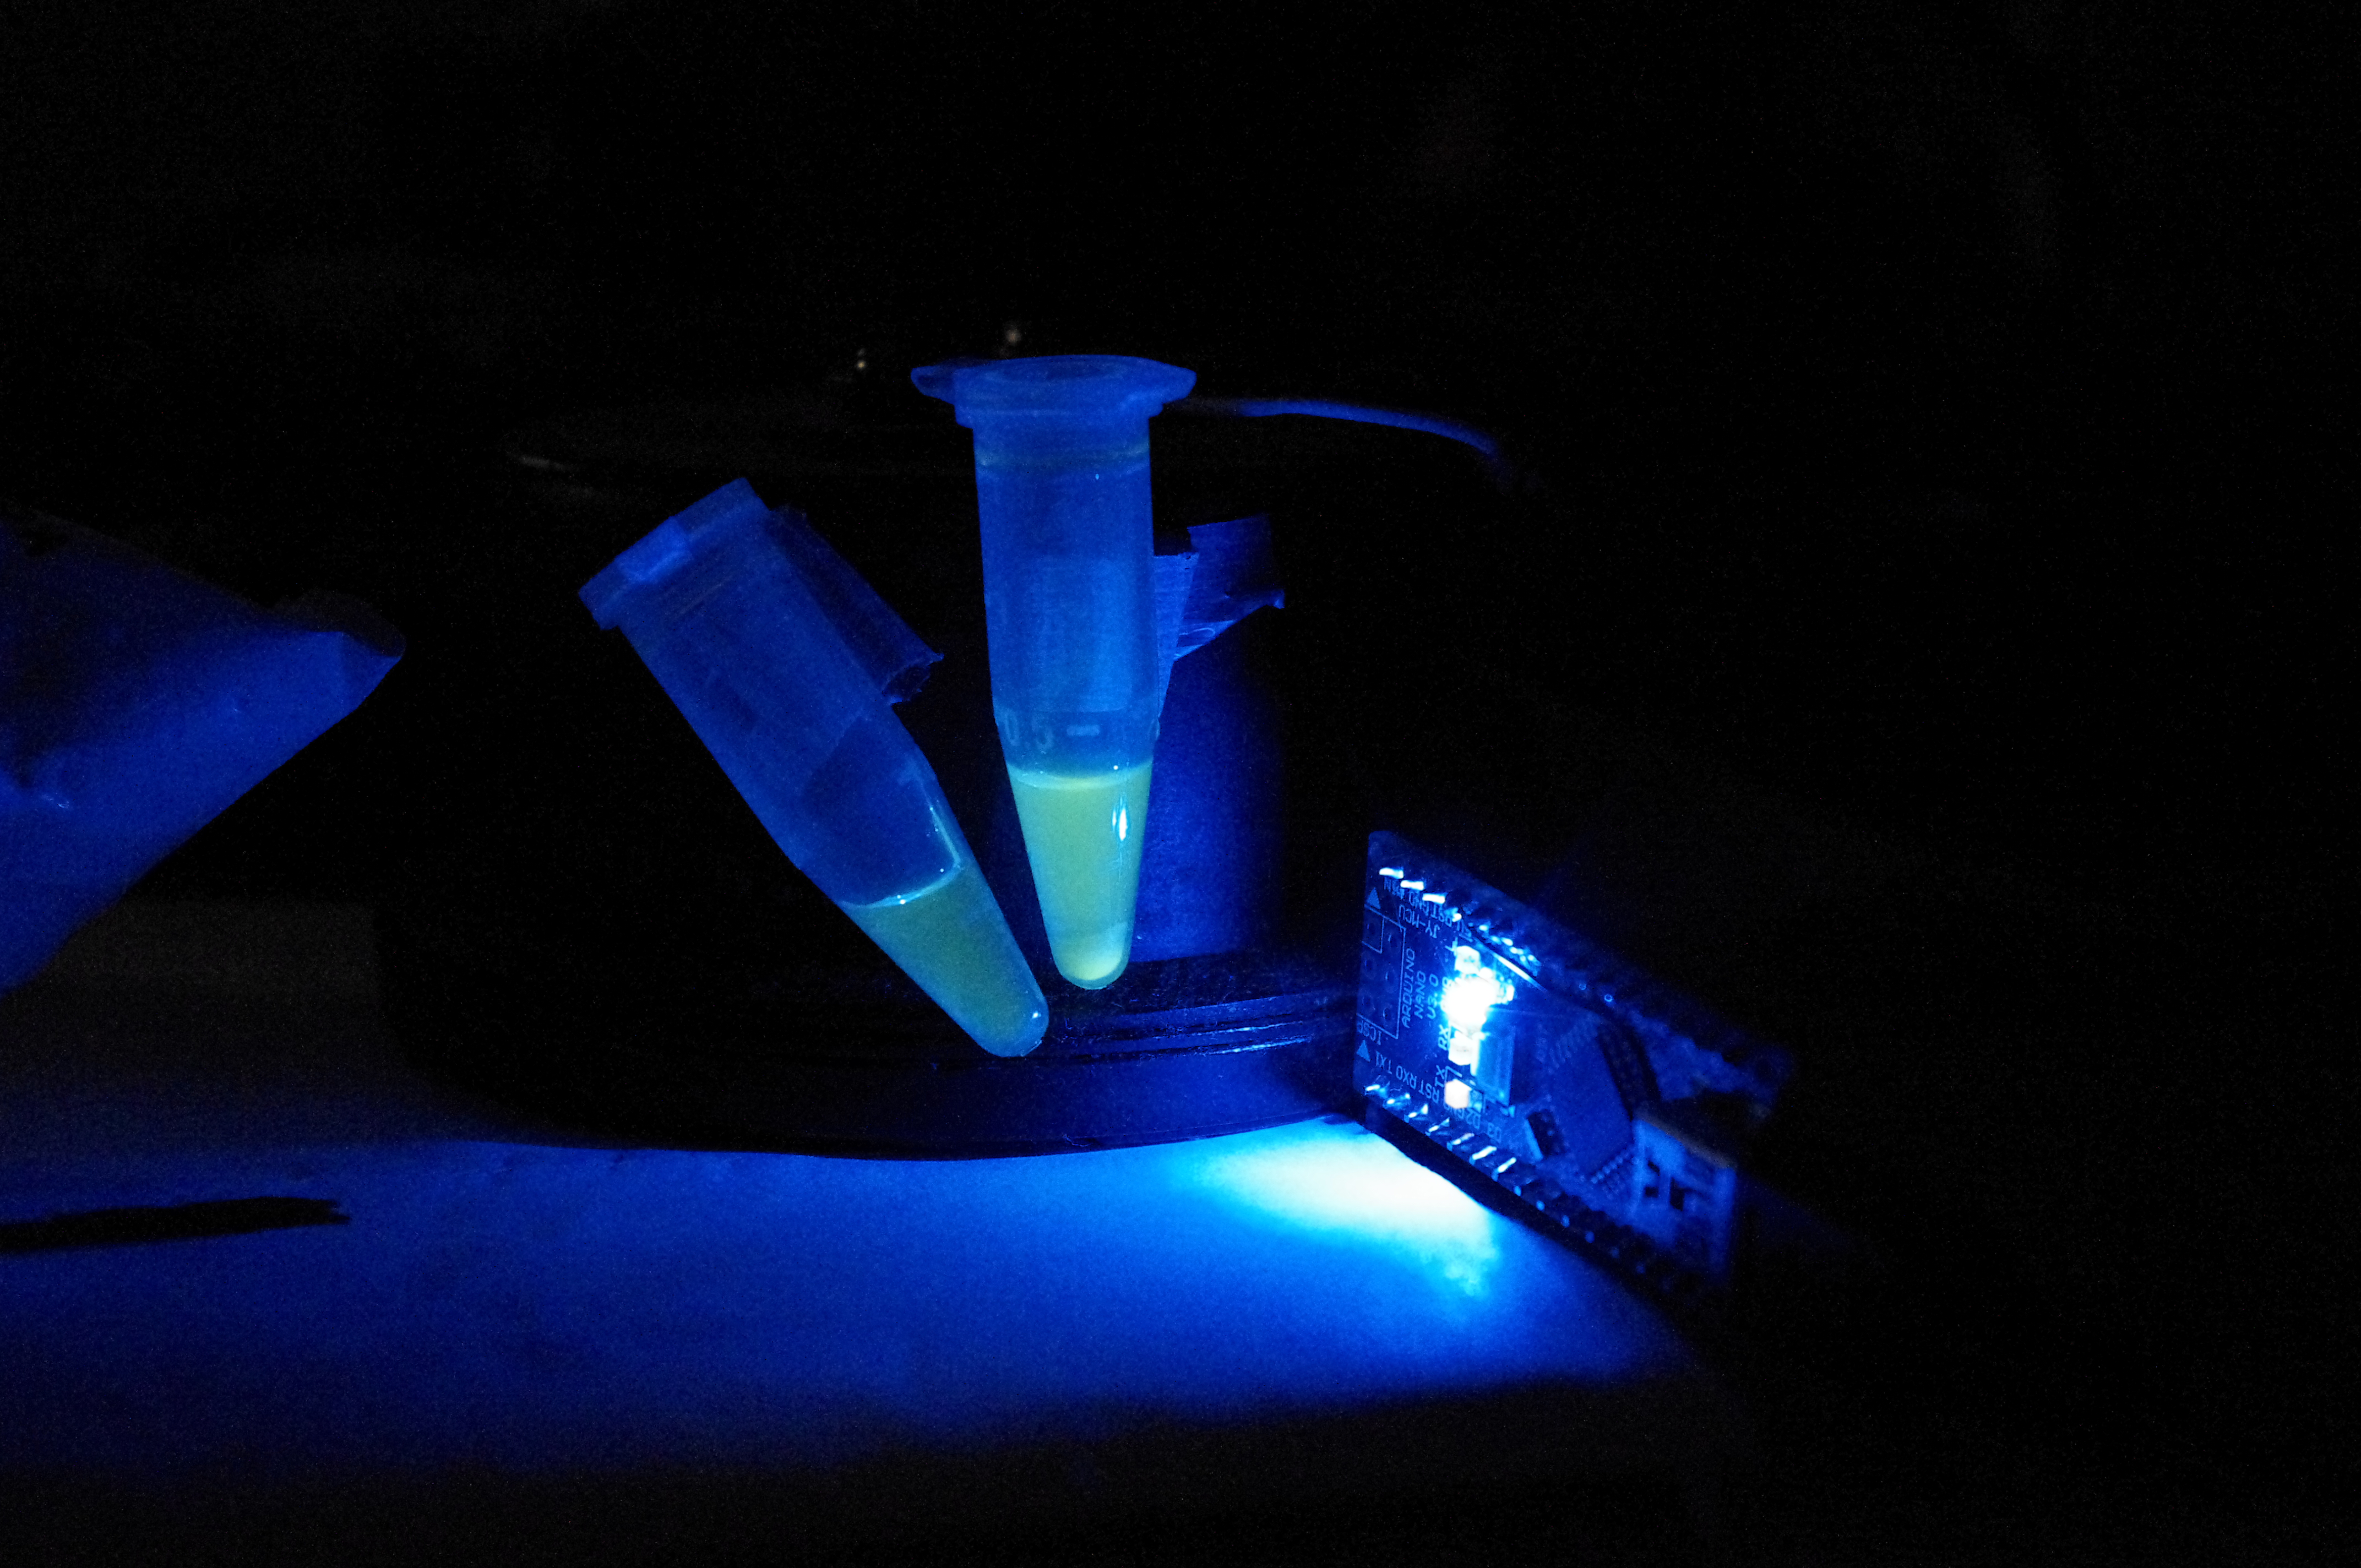
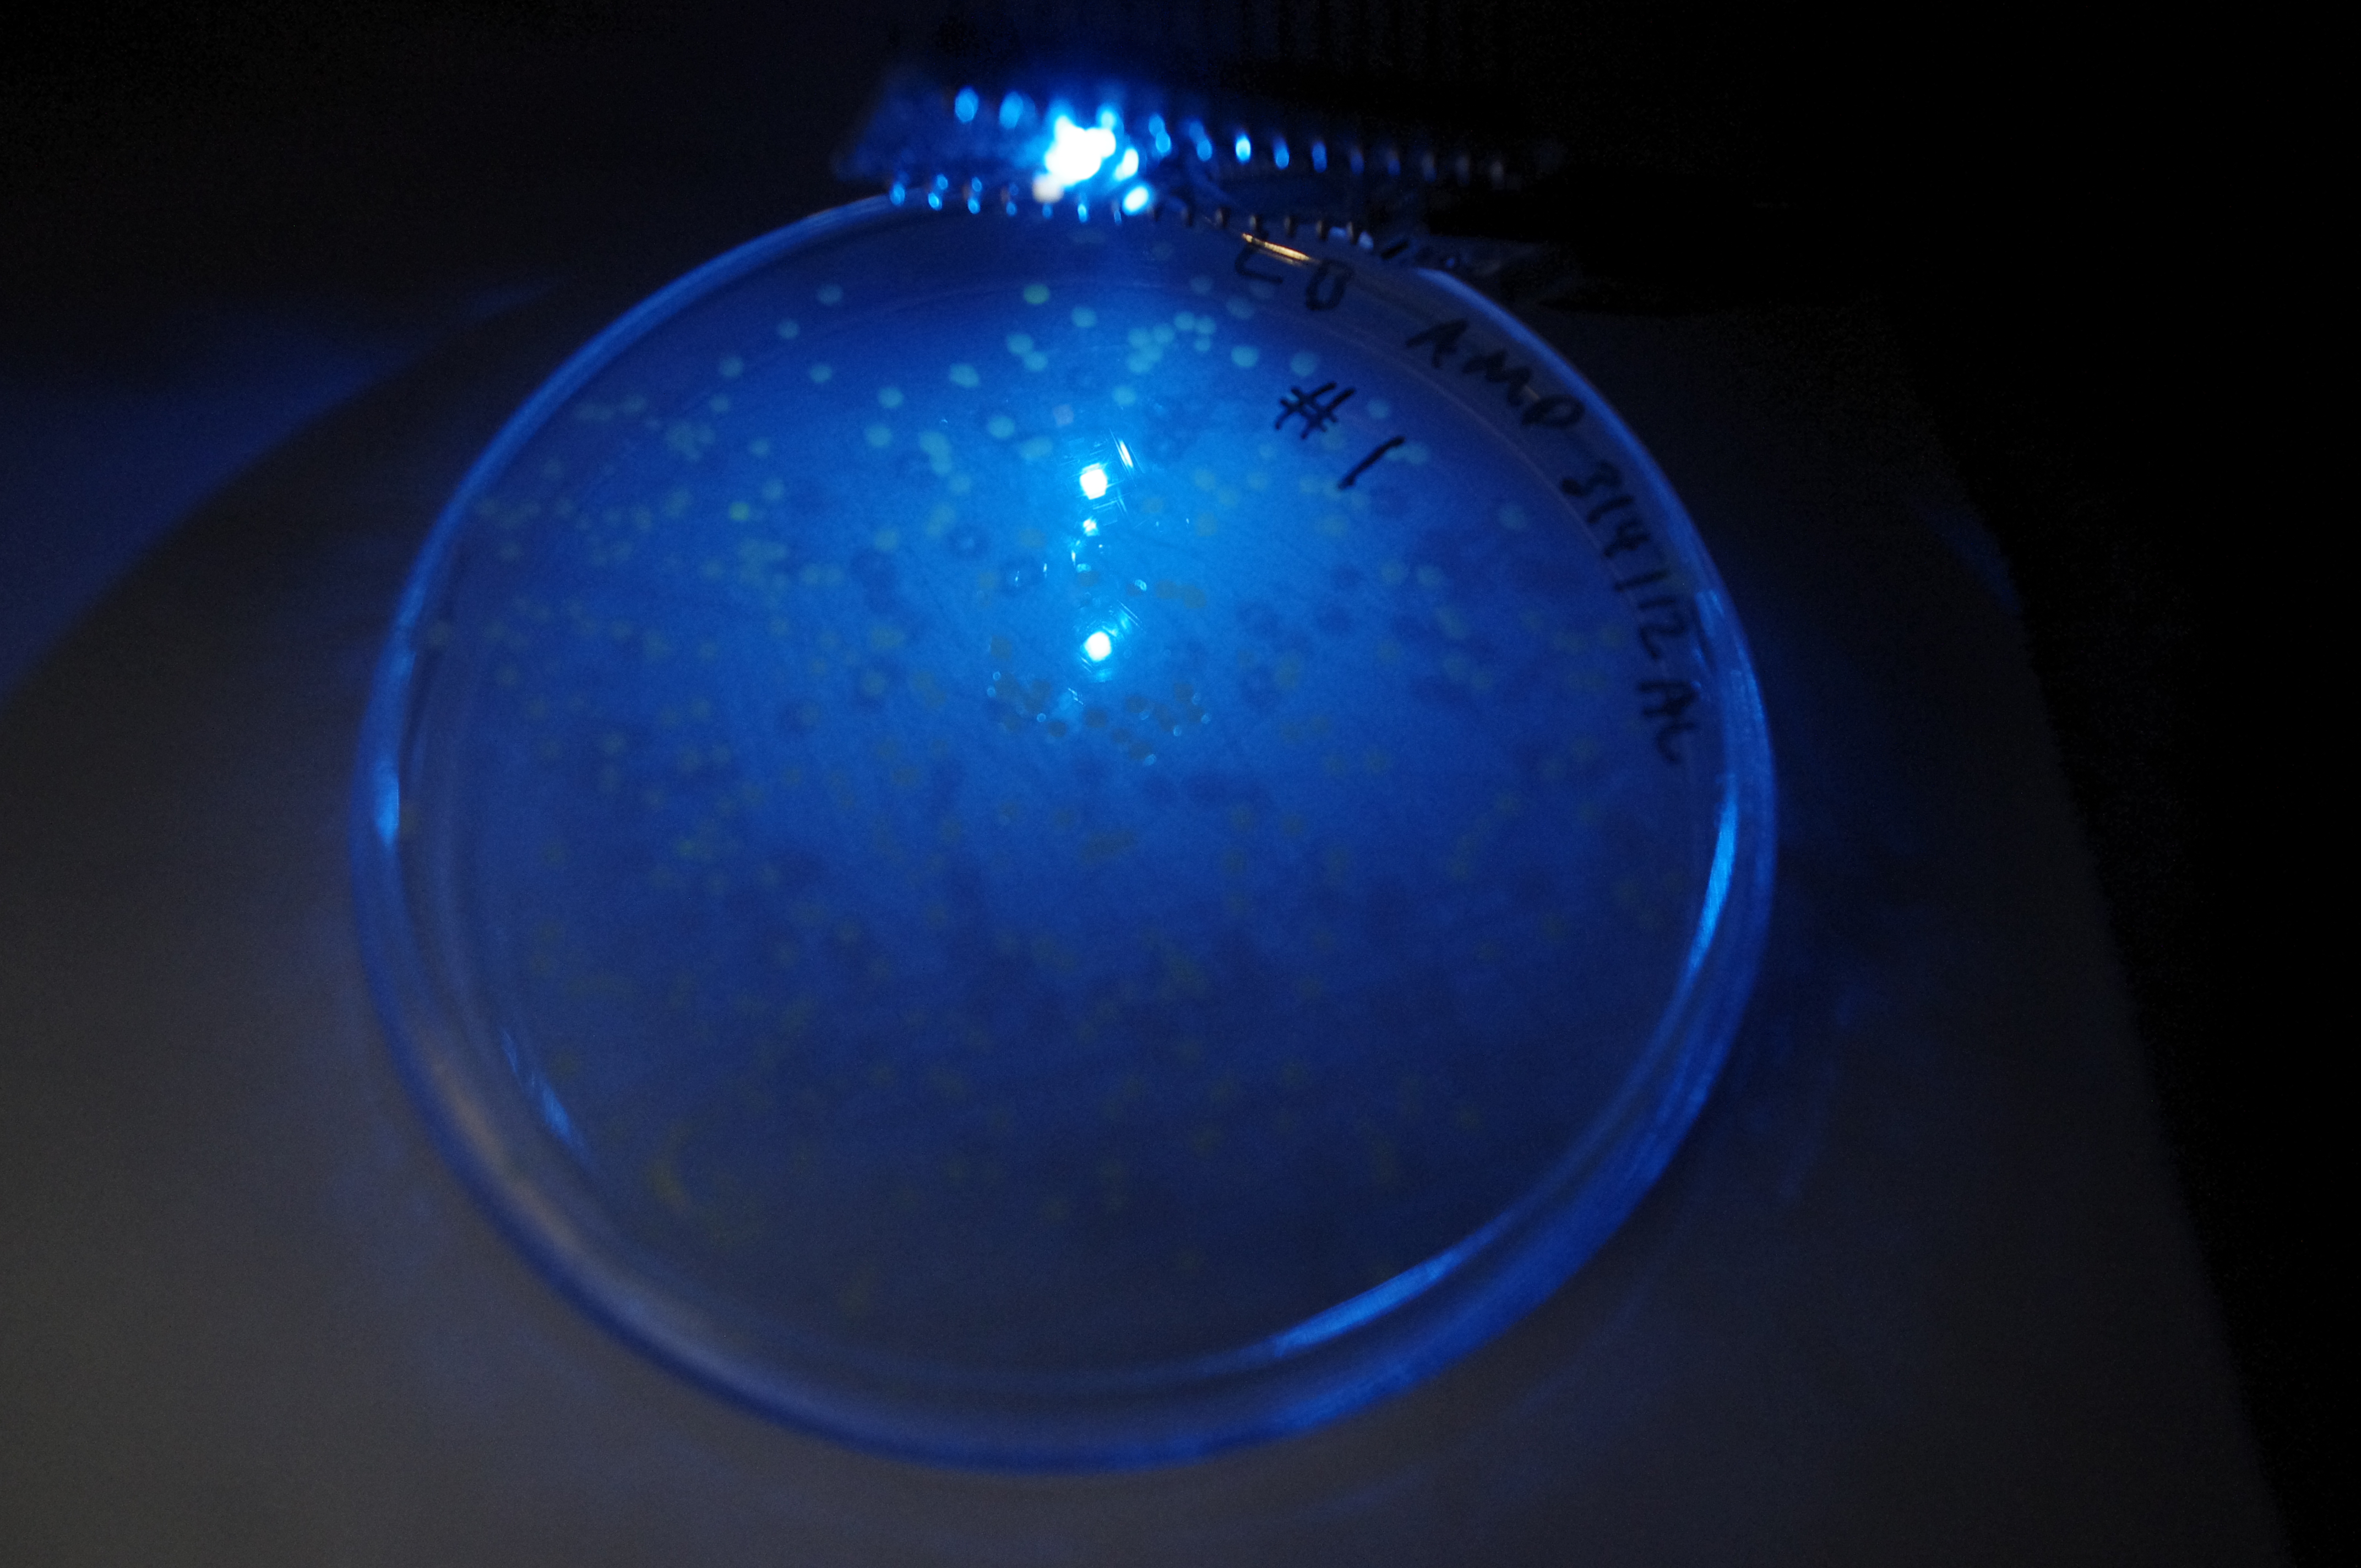
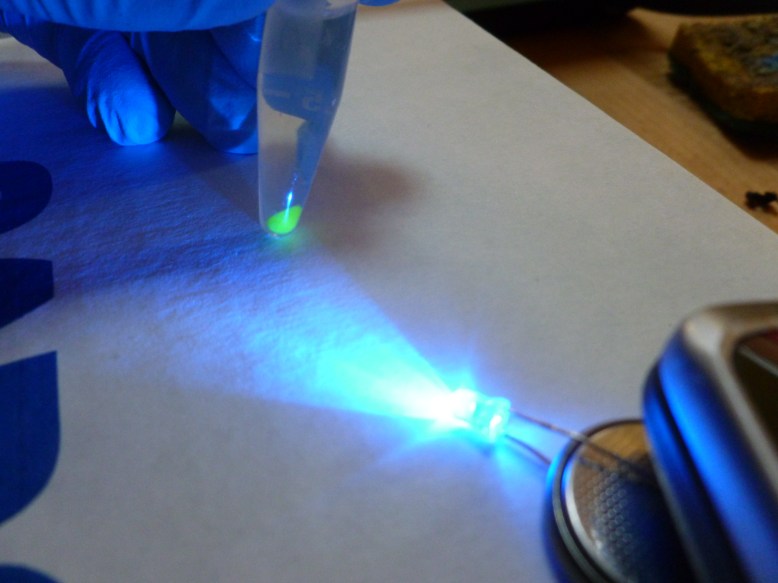
GFP! GFP has an excitation peak in the blue light spectrum. Unfortunately, the blue LED is comparatively bright. Gotta find a green pass filter!
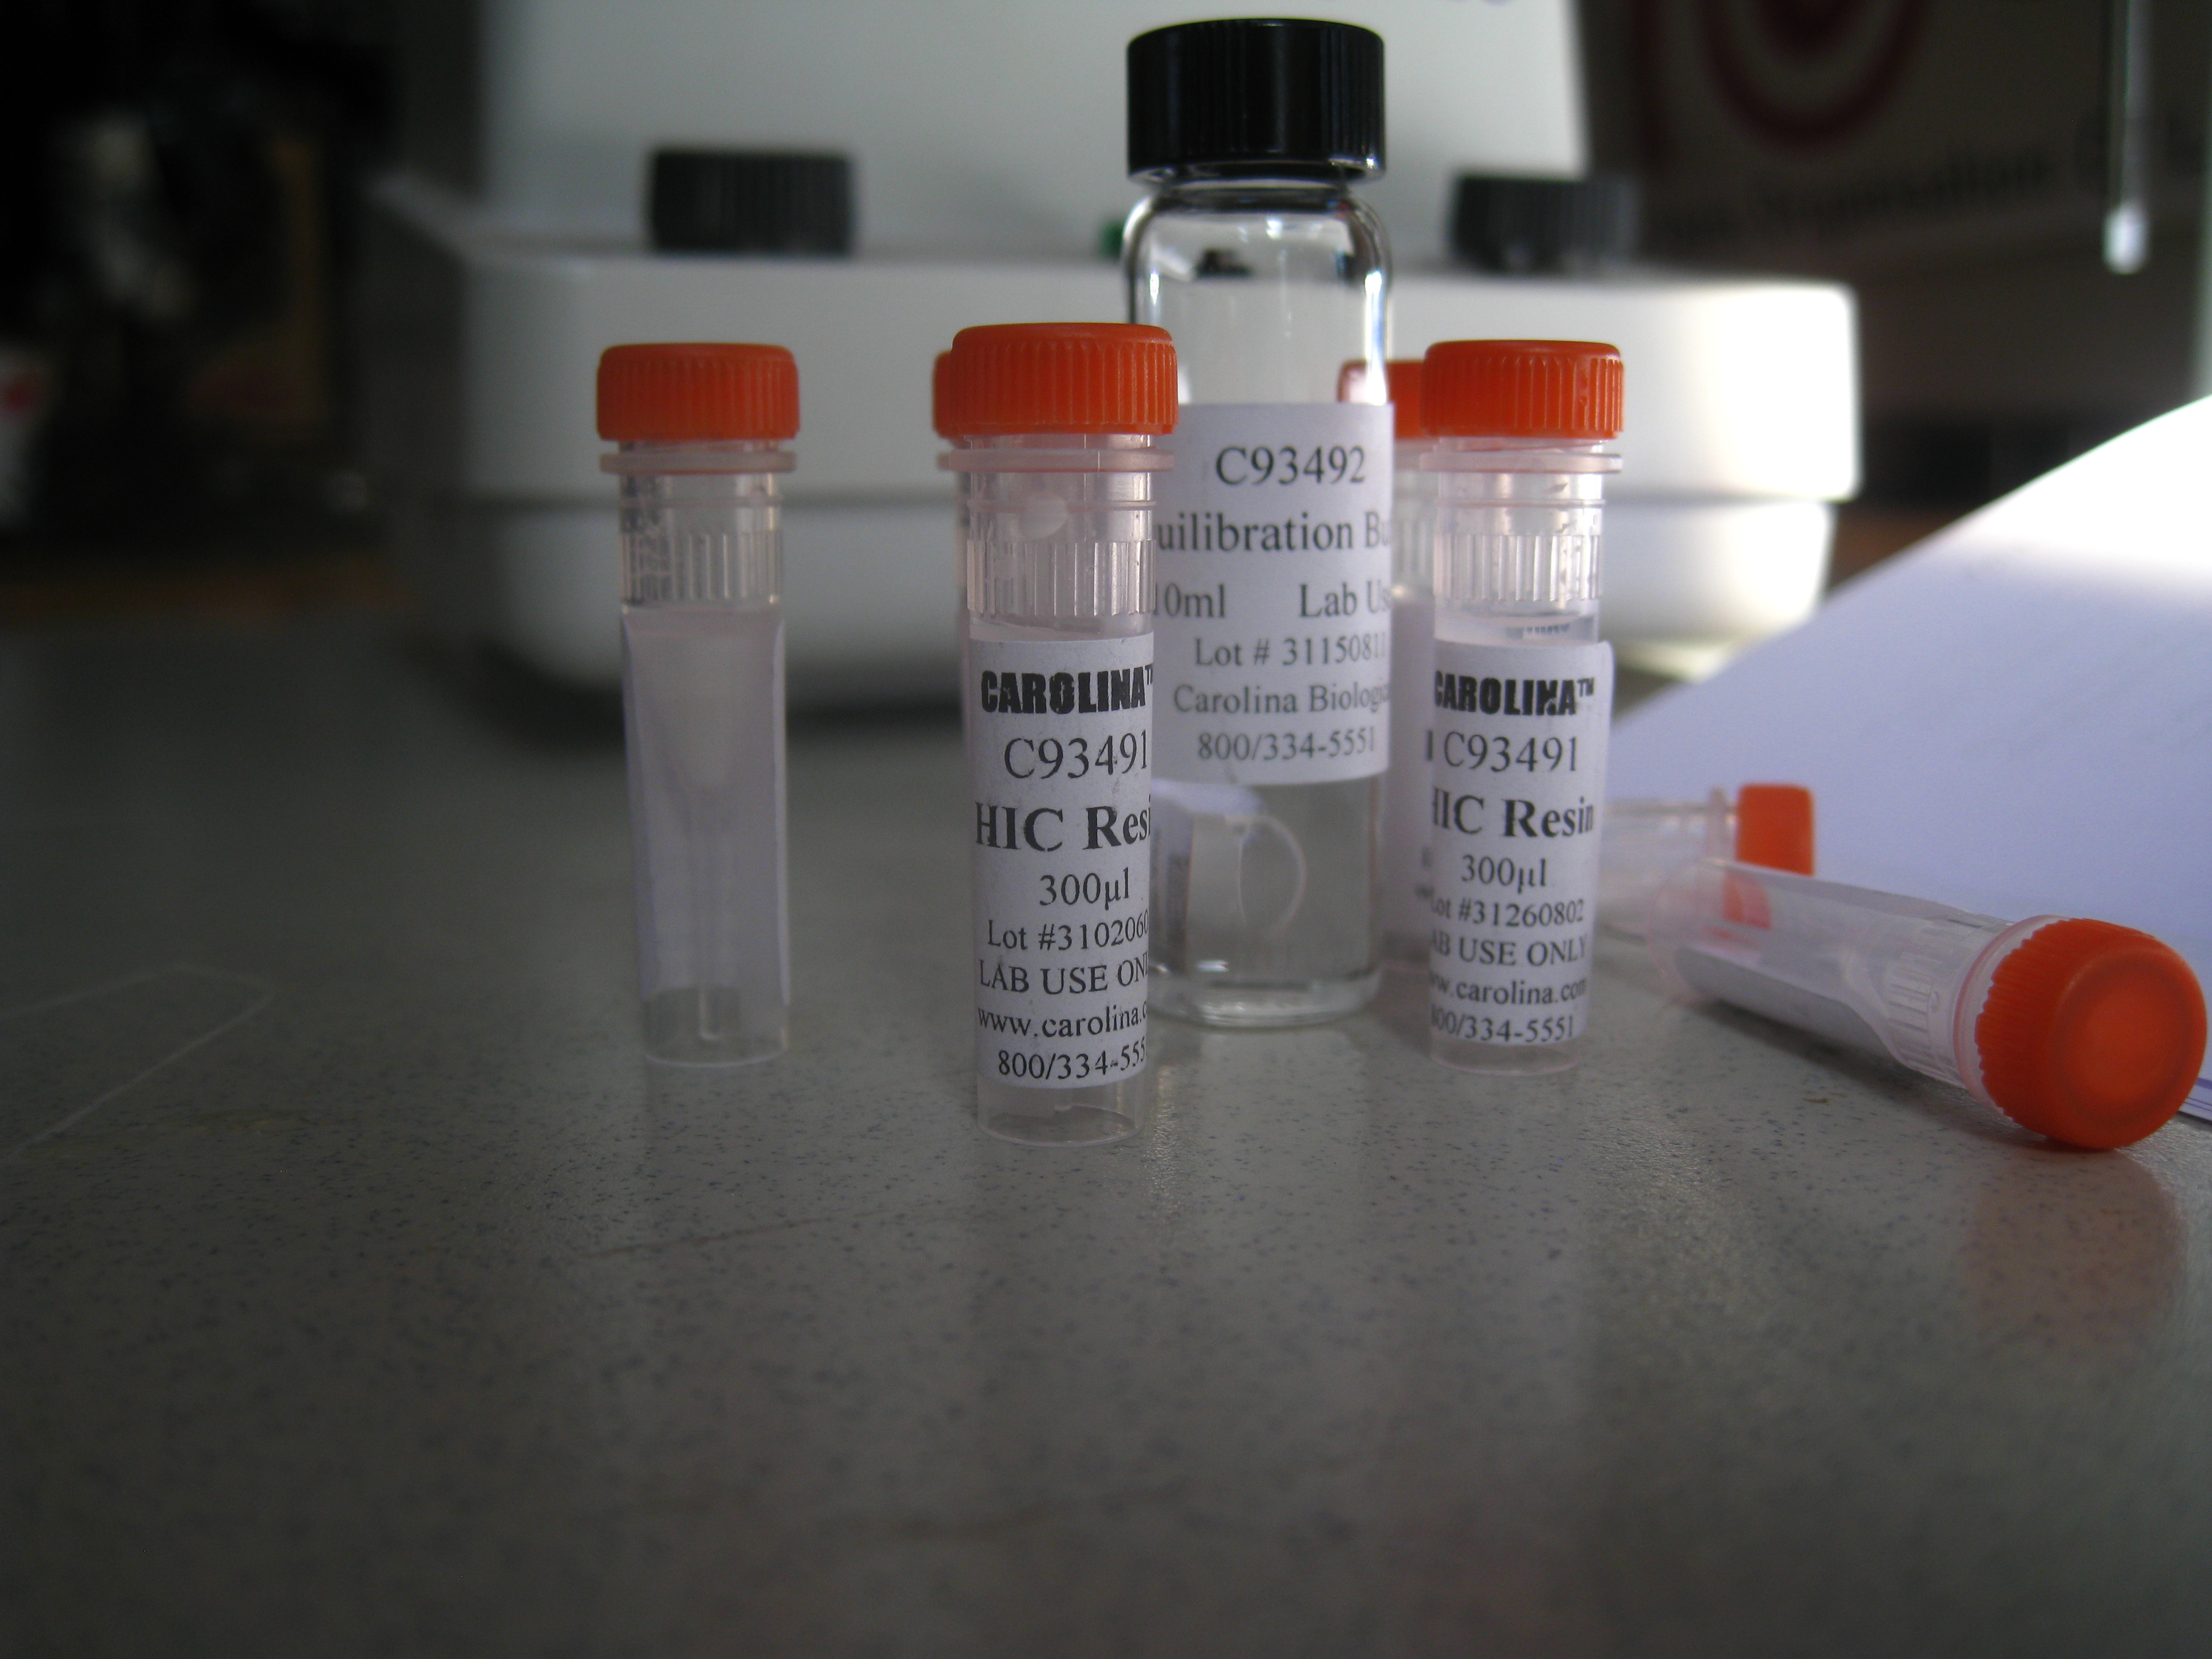
This week was Week 2 of the GFP project! The extraction of the Green Fluorescent Protien (GFP) from the transformed host cells, using Hydrophobic Interaction Chromatography (HIC). We used a kit from Carolina because I have not ever done this before, and I didn’t really know what to buy to do this completely DIY style. Nonetheless, it was a success and a clear demonstration of the central dogma of biology (DNA–>RNA–>Protein), and a good way to add some value to our transformation. Now we have not only altered the bacteria, but made something pseudo-useful, but definitely cool, with our alteration.
At a high level, the way HIC works is by selectively binding the protein to a “bead” (more like a fine powder) resin. Once the cell has been lysed (the cell walls are broken up), the GFP-bearing lysate is mixed with a high salt binding solution. This gently and reversibly denatures the GFP so that the hydrophobic (water fearing) inside is exposed to the solution. This water fearing end acts like oil in water; it is attracted to other hydrophobic bits, so the bits all clump together. Since the beads have hydrophobic sites, they bind to lots and lots of proteins that are hydrophobic. At this stage, the liquid that contains non-binding proteins is removed from the matrix, so we remove it. Then a medium-salt wash buffer is added, which removes some of the hydrophobic proteins that re-fold in lower salt, and are therefore less “sticky” than the gfp. The extra liquid holding these proteins is then removed, and this is when the final low-salt TE buffer is added. The low salt buffer is also known as the elution buffer, because it elutes (washes out with a solvent) the GFP from the matrix by allowing the GFP to re-nature (fold back into its original configuration), and hide its hydrophobic sites. Then the liquid contains GFP! The process is described in more detail below.
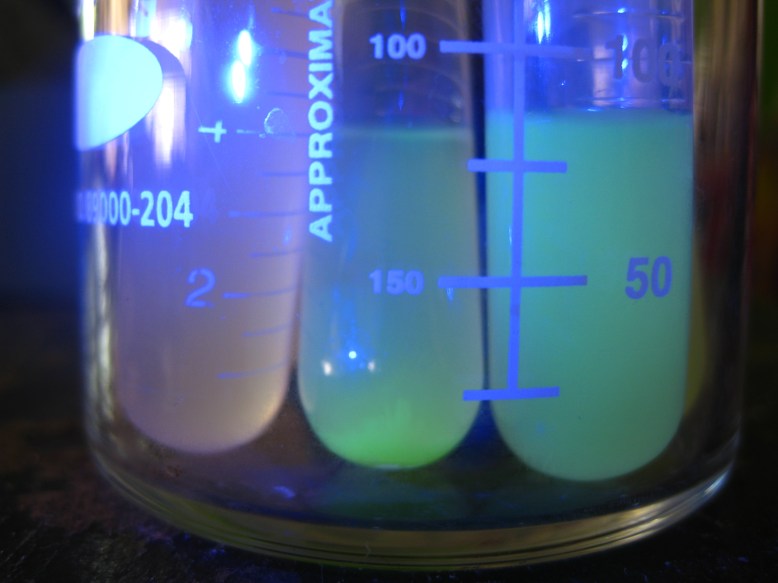
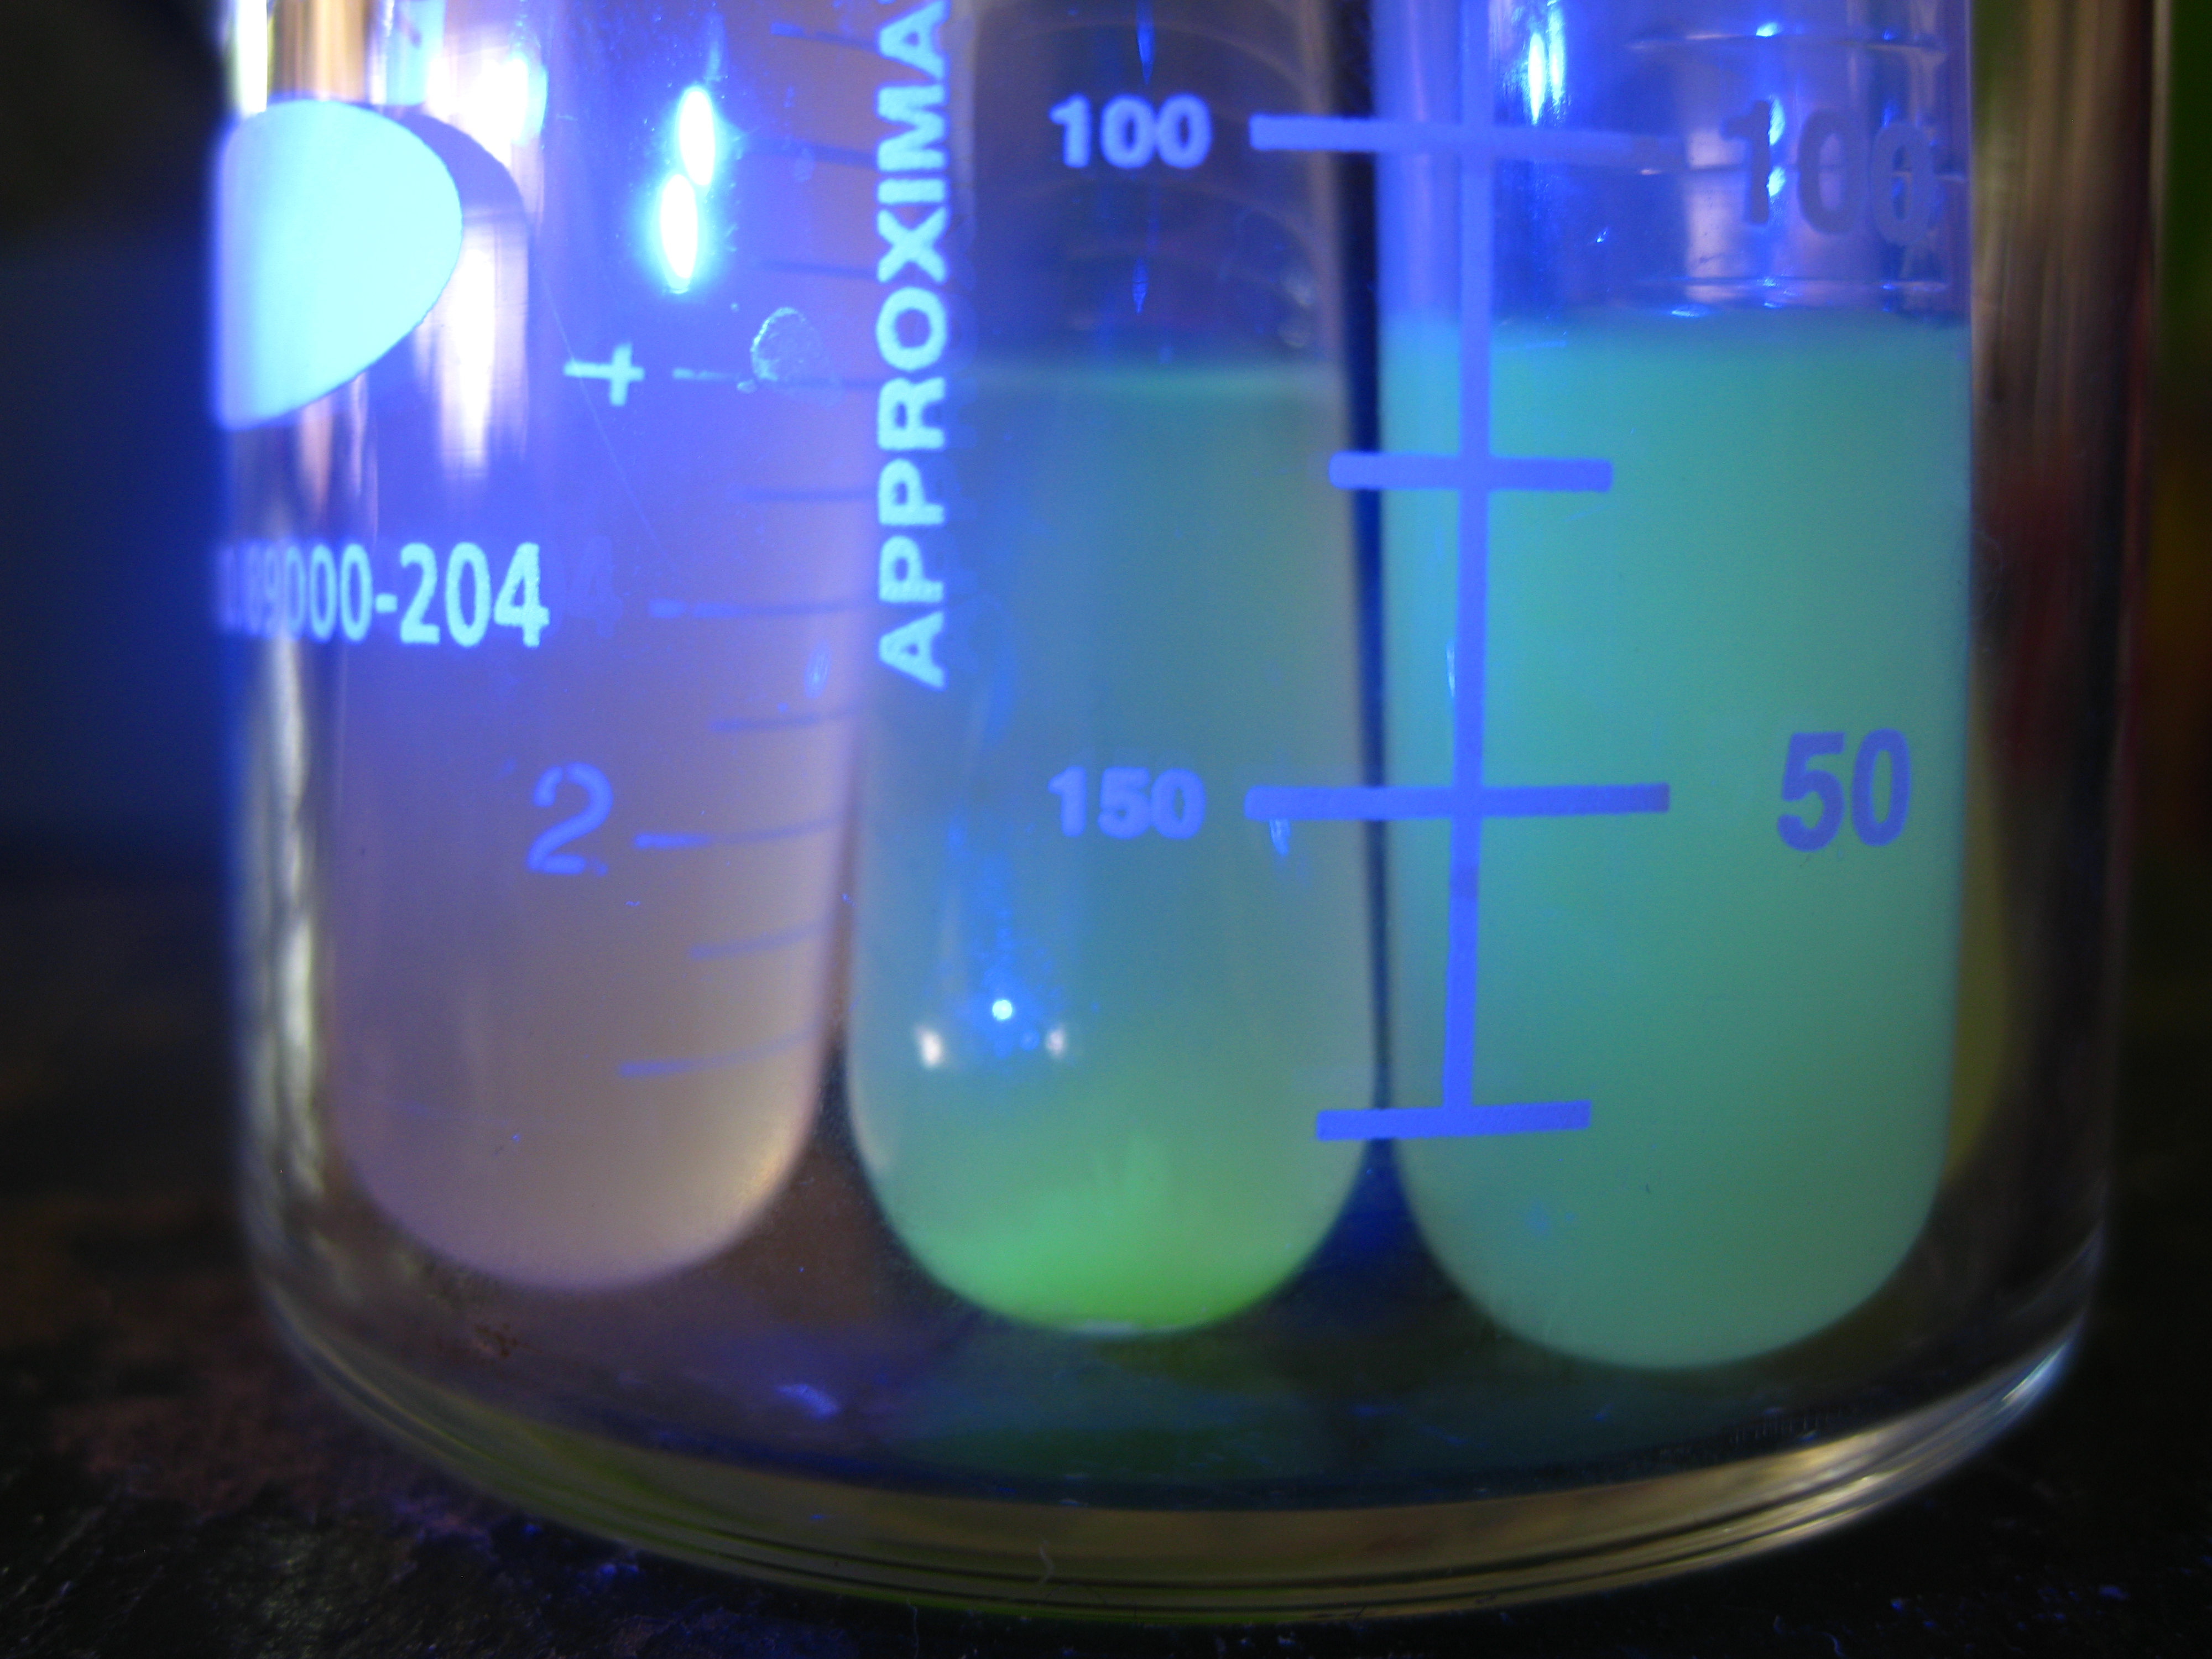
Overnight cultures fluorescing! You want to use only a few mls for these, to increase the amount of oxygen-per-volume in each culture.
The first step is to grow overnight cultures of the transformants. To do this, aseptically pick off a colony from a plate of transformants that are (ideally) only a few days old, and use it to inoculate an LB+ampicillin liquid broth culture . The antibiotic keeps the selection pressure on the transformed cells, and doing it a few days after the transformation helps ensure that you do not pick satellite colonies or have e. coli that have dropped the plasmid. These are literally grown overnight, for about 12-16 hours in a shaker. It is important that the cells are exposed to oxygen, because it is critical to the development of the GFP. The cells should fluoresce brightly when blue light is shone on them. In the picture above, the middle and right tube are fluorescing green, but the rightmost tube is not.
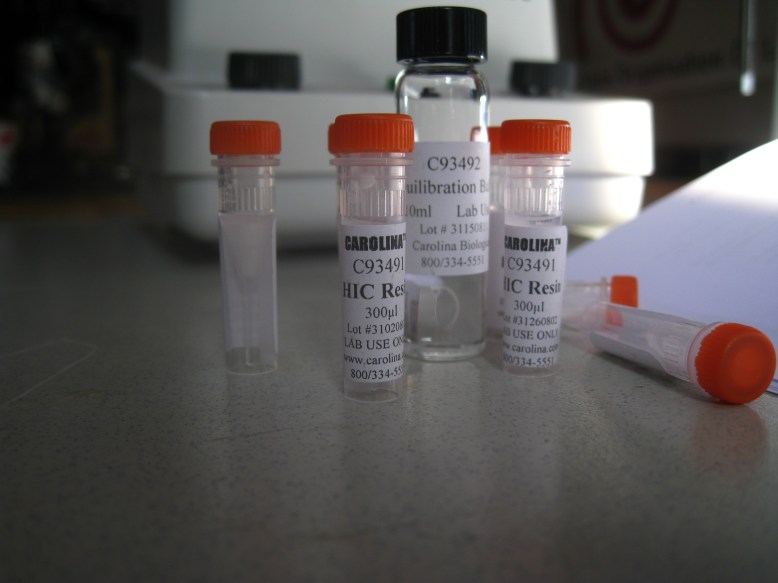
The next thing to do is to equilibrate the HIC resin with the equilibration buffer. This is just some salt so that when you add your bound GFP (cell lysate in high-salt solution), the water that the hydrophobic beads are suspended in does not bring the salinity down. To equilibrate, we added 300ul of HIC resin to 1mL of equilibration buffer, and centrifuged, removing the supernatant. The supernatant is the liquid remaining on top of the pellet (the mass of solids at the bottom of the microcentrifuge tube) once it has been centrifuged. Definitely remove the supernatant with a pipettor, because it is runny, so you need to keep the tube upright.
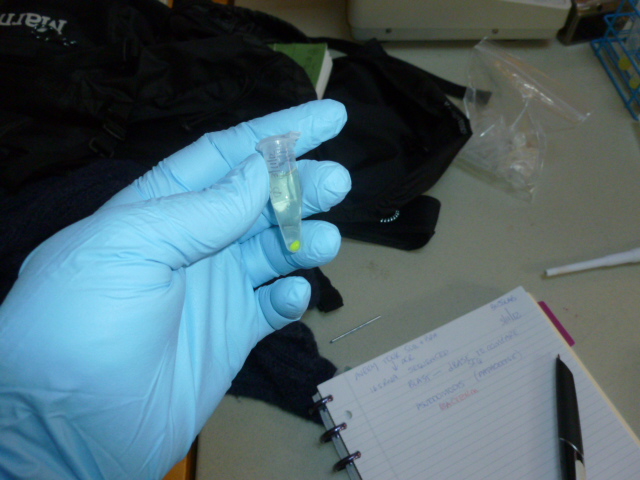
You can see the large green pellet at the bottom of the tube, after it has been centrifuged. The stuff on top is the supernatant.
The next steps you do twice. Add 1mL of overnight culture to a microcentrifuge tube, spin down for ~2 min at max RPM, being sure to balance the centrifuge. Then pour off the supernatant. Repeat for another 1mL
The big green thing at the bottom is a huge pellet of cells! Notice that the supernatant has been removed, and the cells are kind of stuck to one side of the tube. That is the side of the tube the was facing outwards.
At this point, we have a great big lump of green cells. Now we want to harvest the GFP, which is inside the cell membrane in the cytoplasm, with all the other cellular proteins. To get it out, we add a lysis buffer. I suspect that in this kit, it is SDS because it got bubbly/sudsy when we pipetted it.
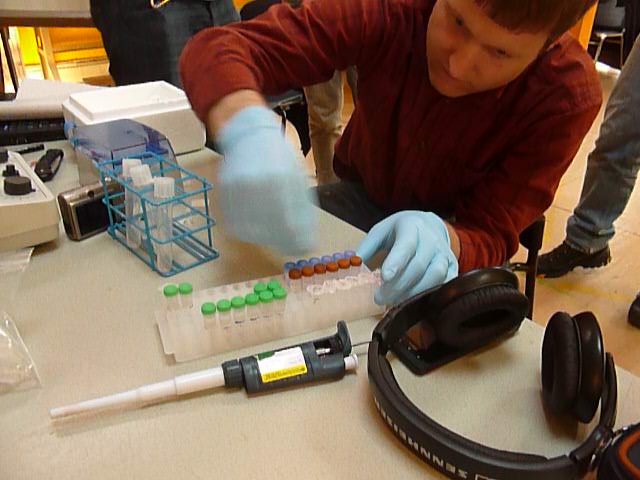
The secret to lysing pelleted cells quickly is using the washboard technique. It works better (for me) than vortexing, and way better than flicking or pipetting up and down. What you do is grab the top of the eppendorf, and run it along the top of a tube rack, like you would run a stick against a washboard for musical effect. This subjects the tube to a lot of sudden shocks, and really blasts the pellet off the side of the tube. When this is done, the pellet and lysis buffer should not be clear; it should have a milky green consistency.
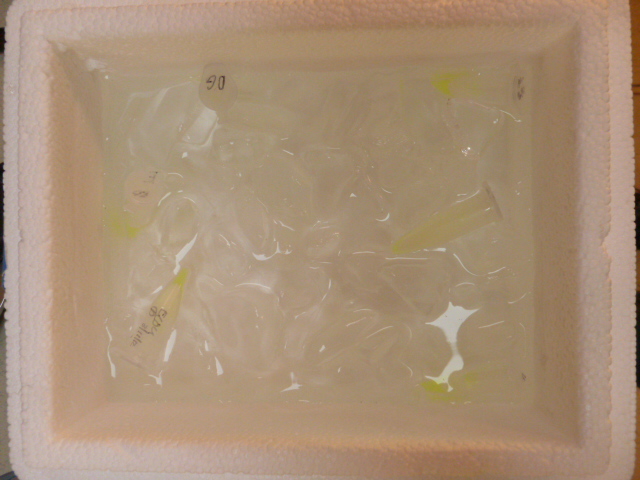
Another factor in support of the lysis buffer being SDS and not lysosome enzymes is that the ice would slow the enzymatic reactions, while icing cells without any kind or cryoprotectant (like glycerol) is reputed to break up the cell membrane by forming ice crystals, which would further our goals in this stage.
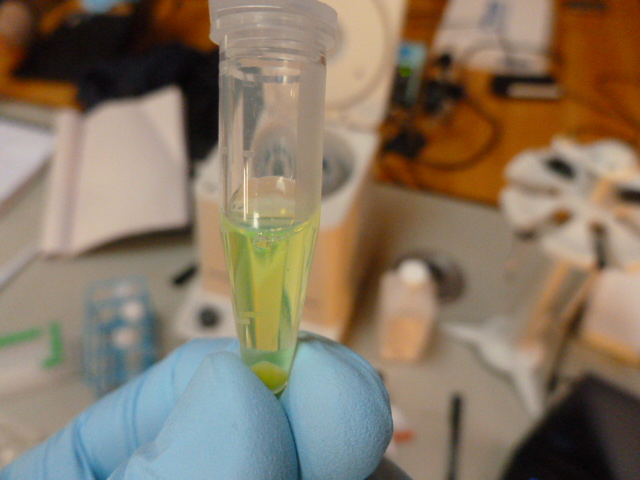
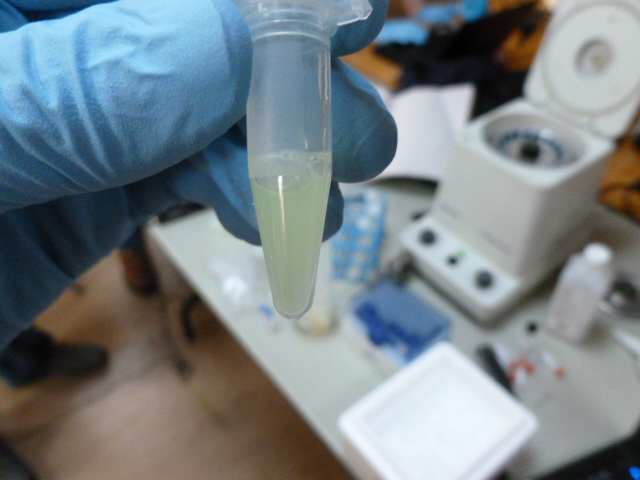
Pellet again! This time the supernatant lysate is green, and contains the GFP we are trying to extract,
The lysate is taken off ice and centrifuged after 15 minutes, and 250 ul of supernatant is pipetted into a clean eppendorf. In this tube, we add the binding buffer, which gently denatures the GFP. It is called binding buffer because it allows the GFP to bind to the HIC resin, not because it binds to the GFP. It gets cloudy in this step, but still retains some greenness.
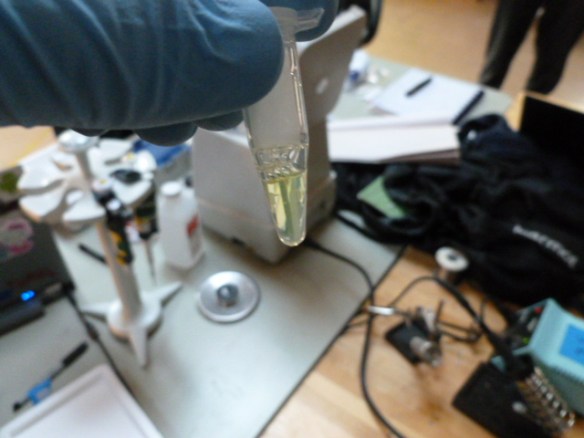
The next step is to add the GFP bearing lysate in the binding buffer to the HIC resin. You will want to mix this thoroughly to ensure that the GFP binds to the resin.
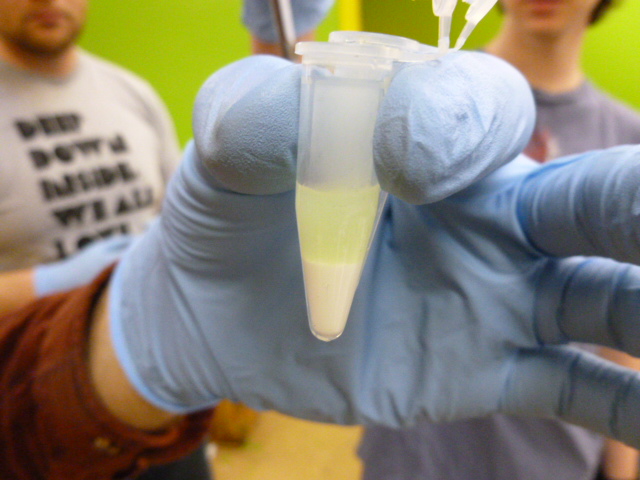
Once the beads and the lysate are mixed, you put the tubes into the centrifuge and pellet out the HIC resin, which is now bound to the GFP and many other proteins. As you can see in the picture below, the supernatant is not fluorescent, so it does not contain any significant amount of GFP.
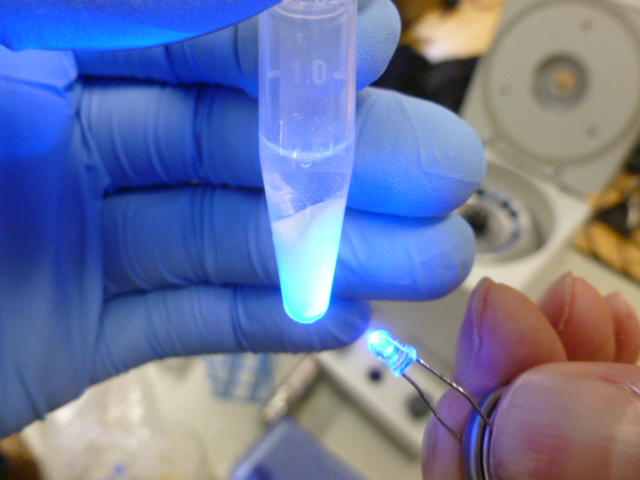
Now the supernatant is pipetted off, and the wash buffer is added. The wash buffer is a less salty buffer than the binding buffer, so some of the proteins that are less sensitive to salt change configuration and “hide” their hydrophobic sites from the HIC resin, making them fall back into solution. This is centrifuged and the supernatant removed and discarded much like the binding buffer was.
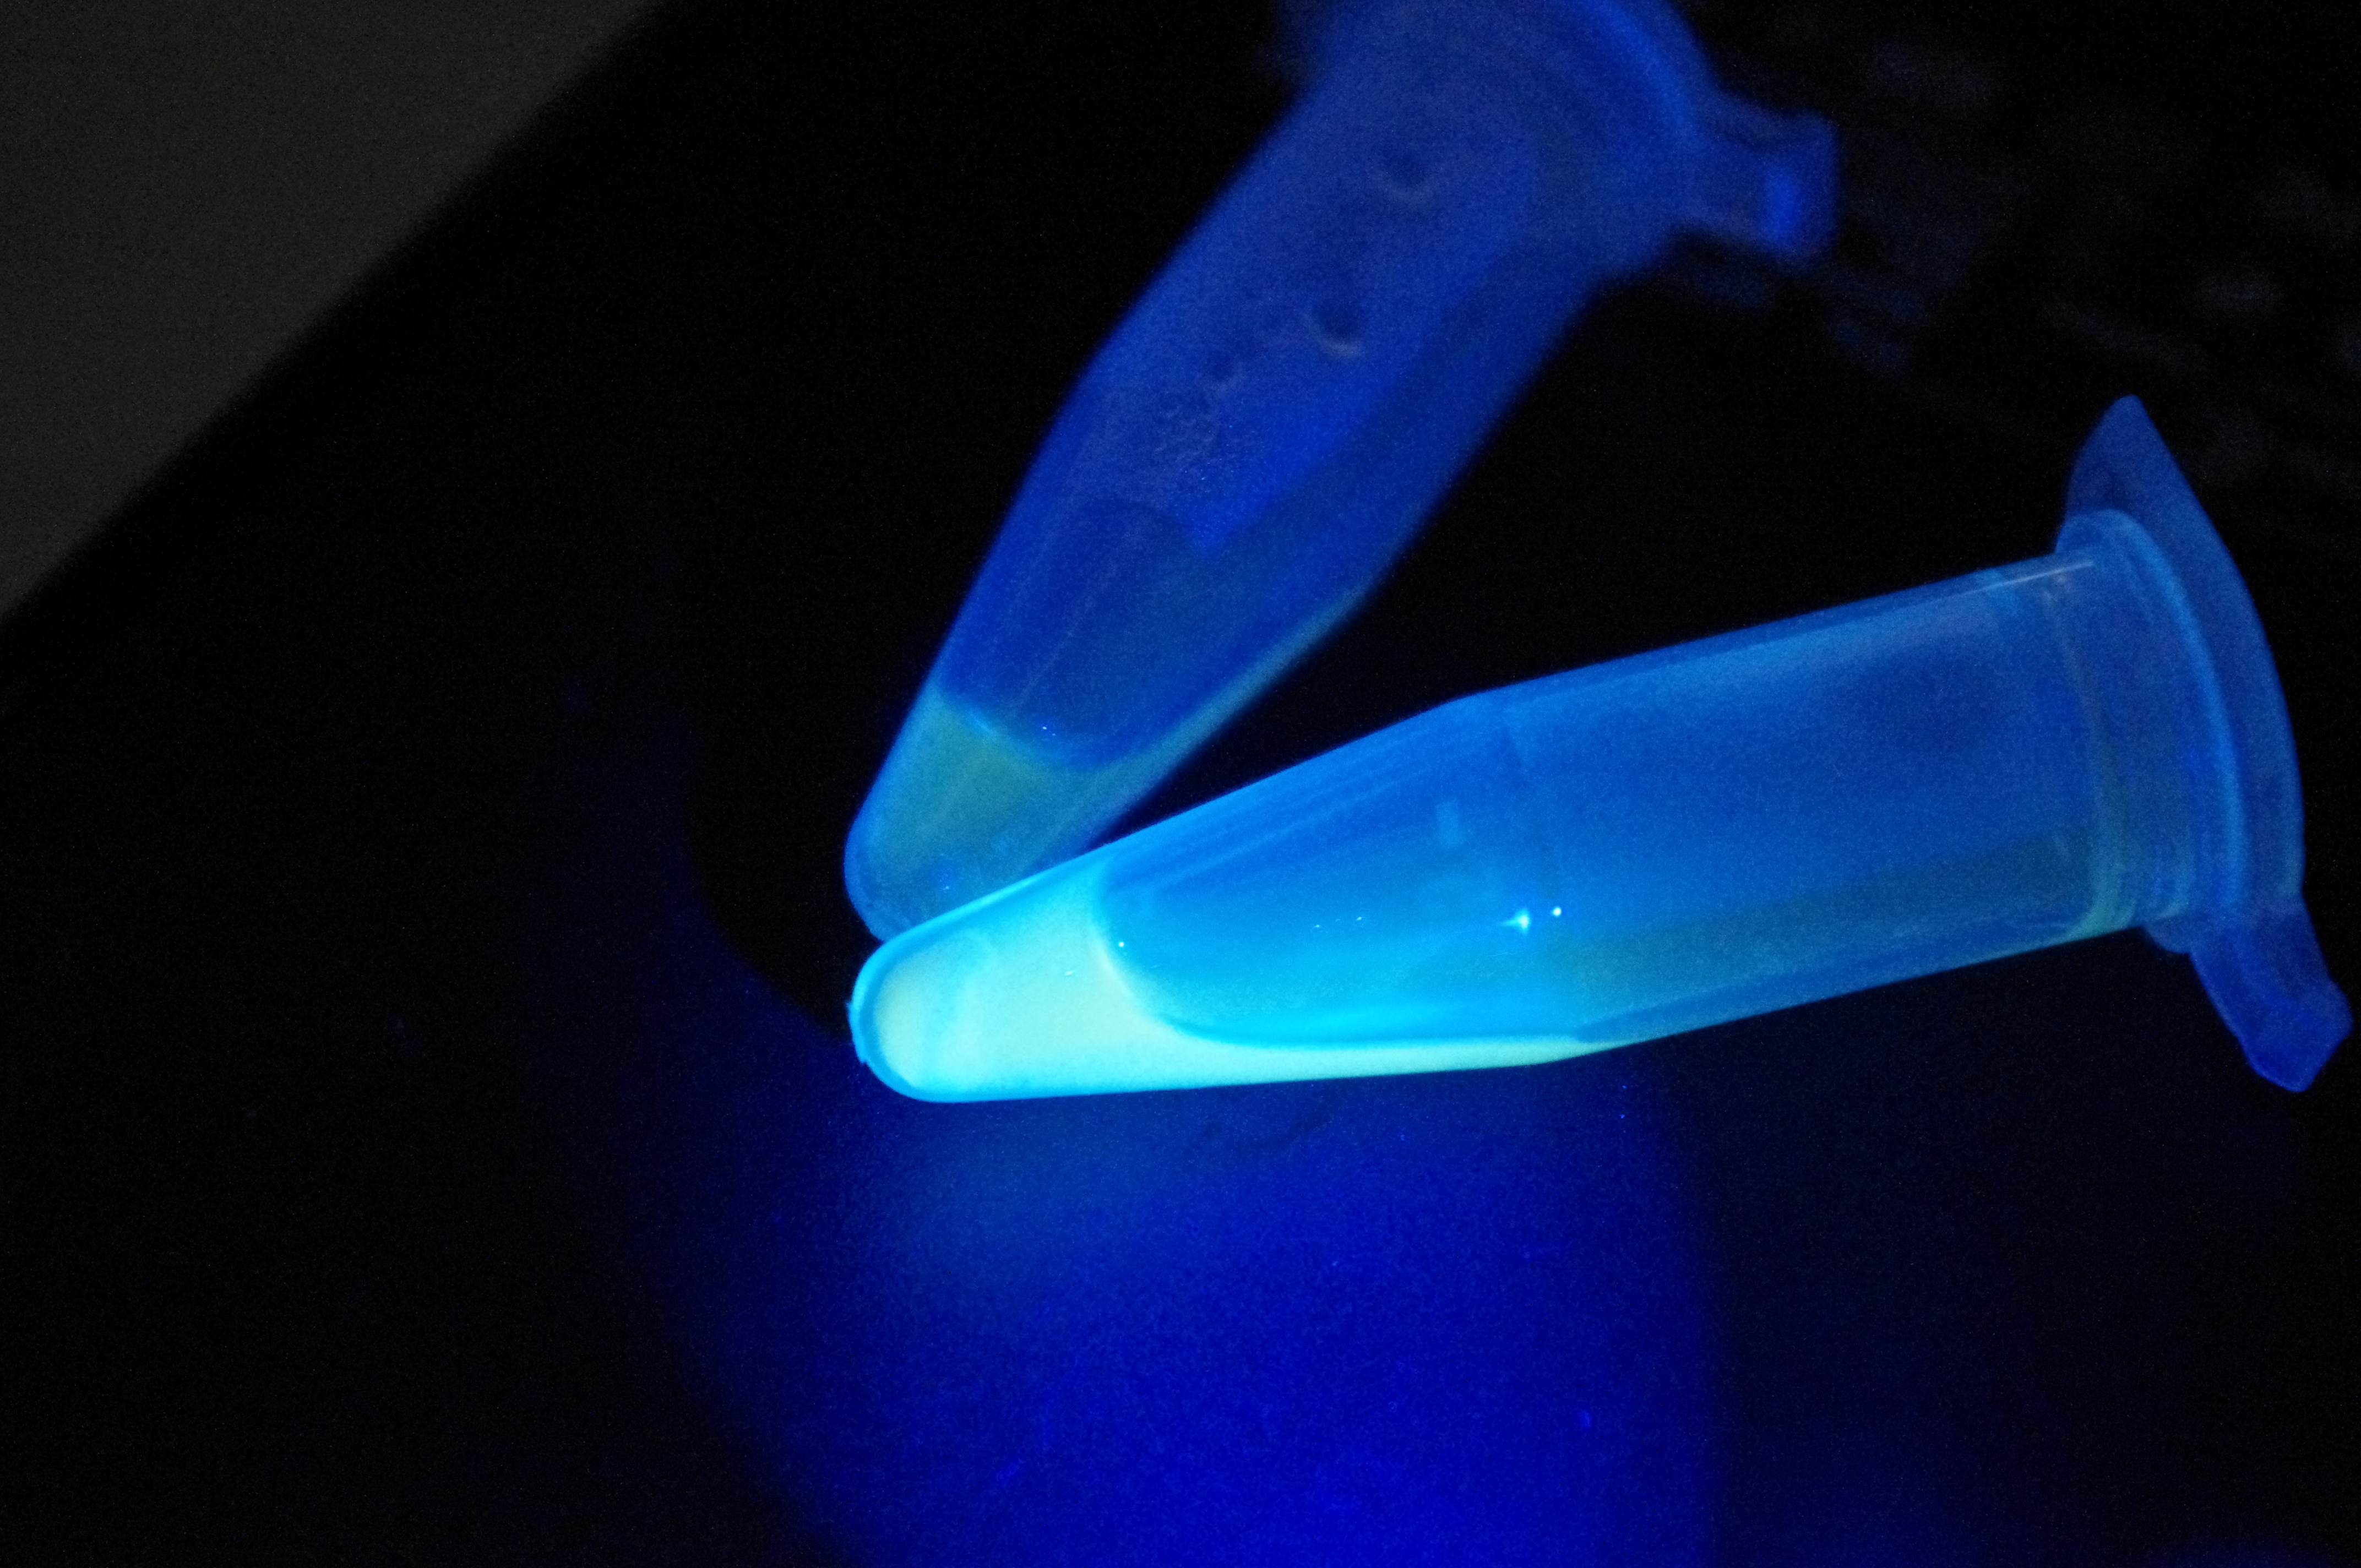
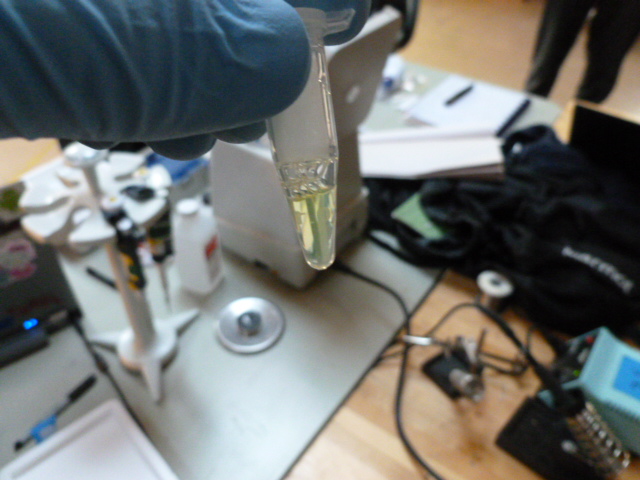
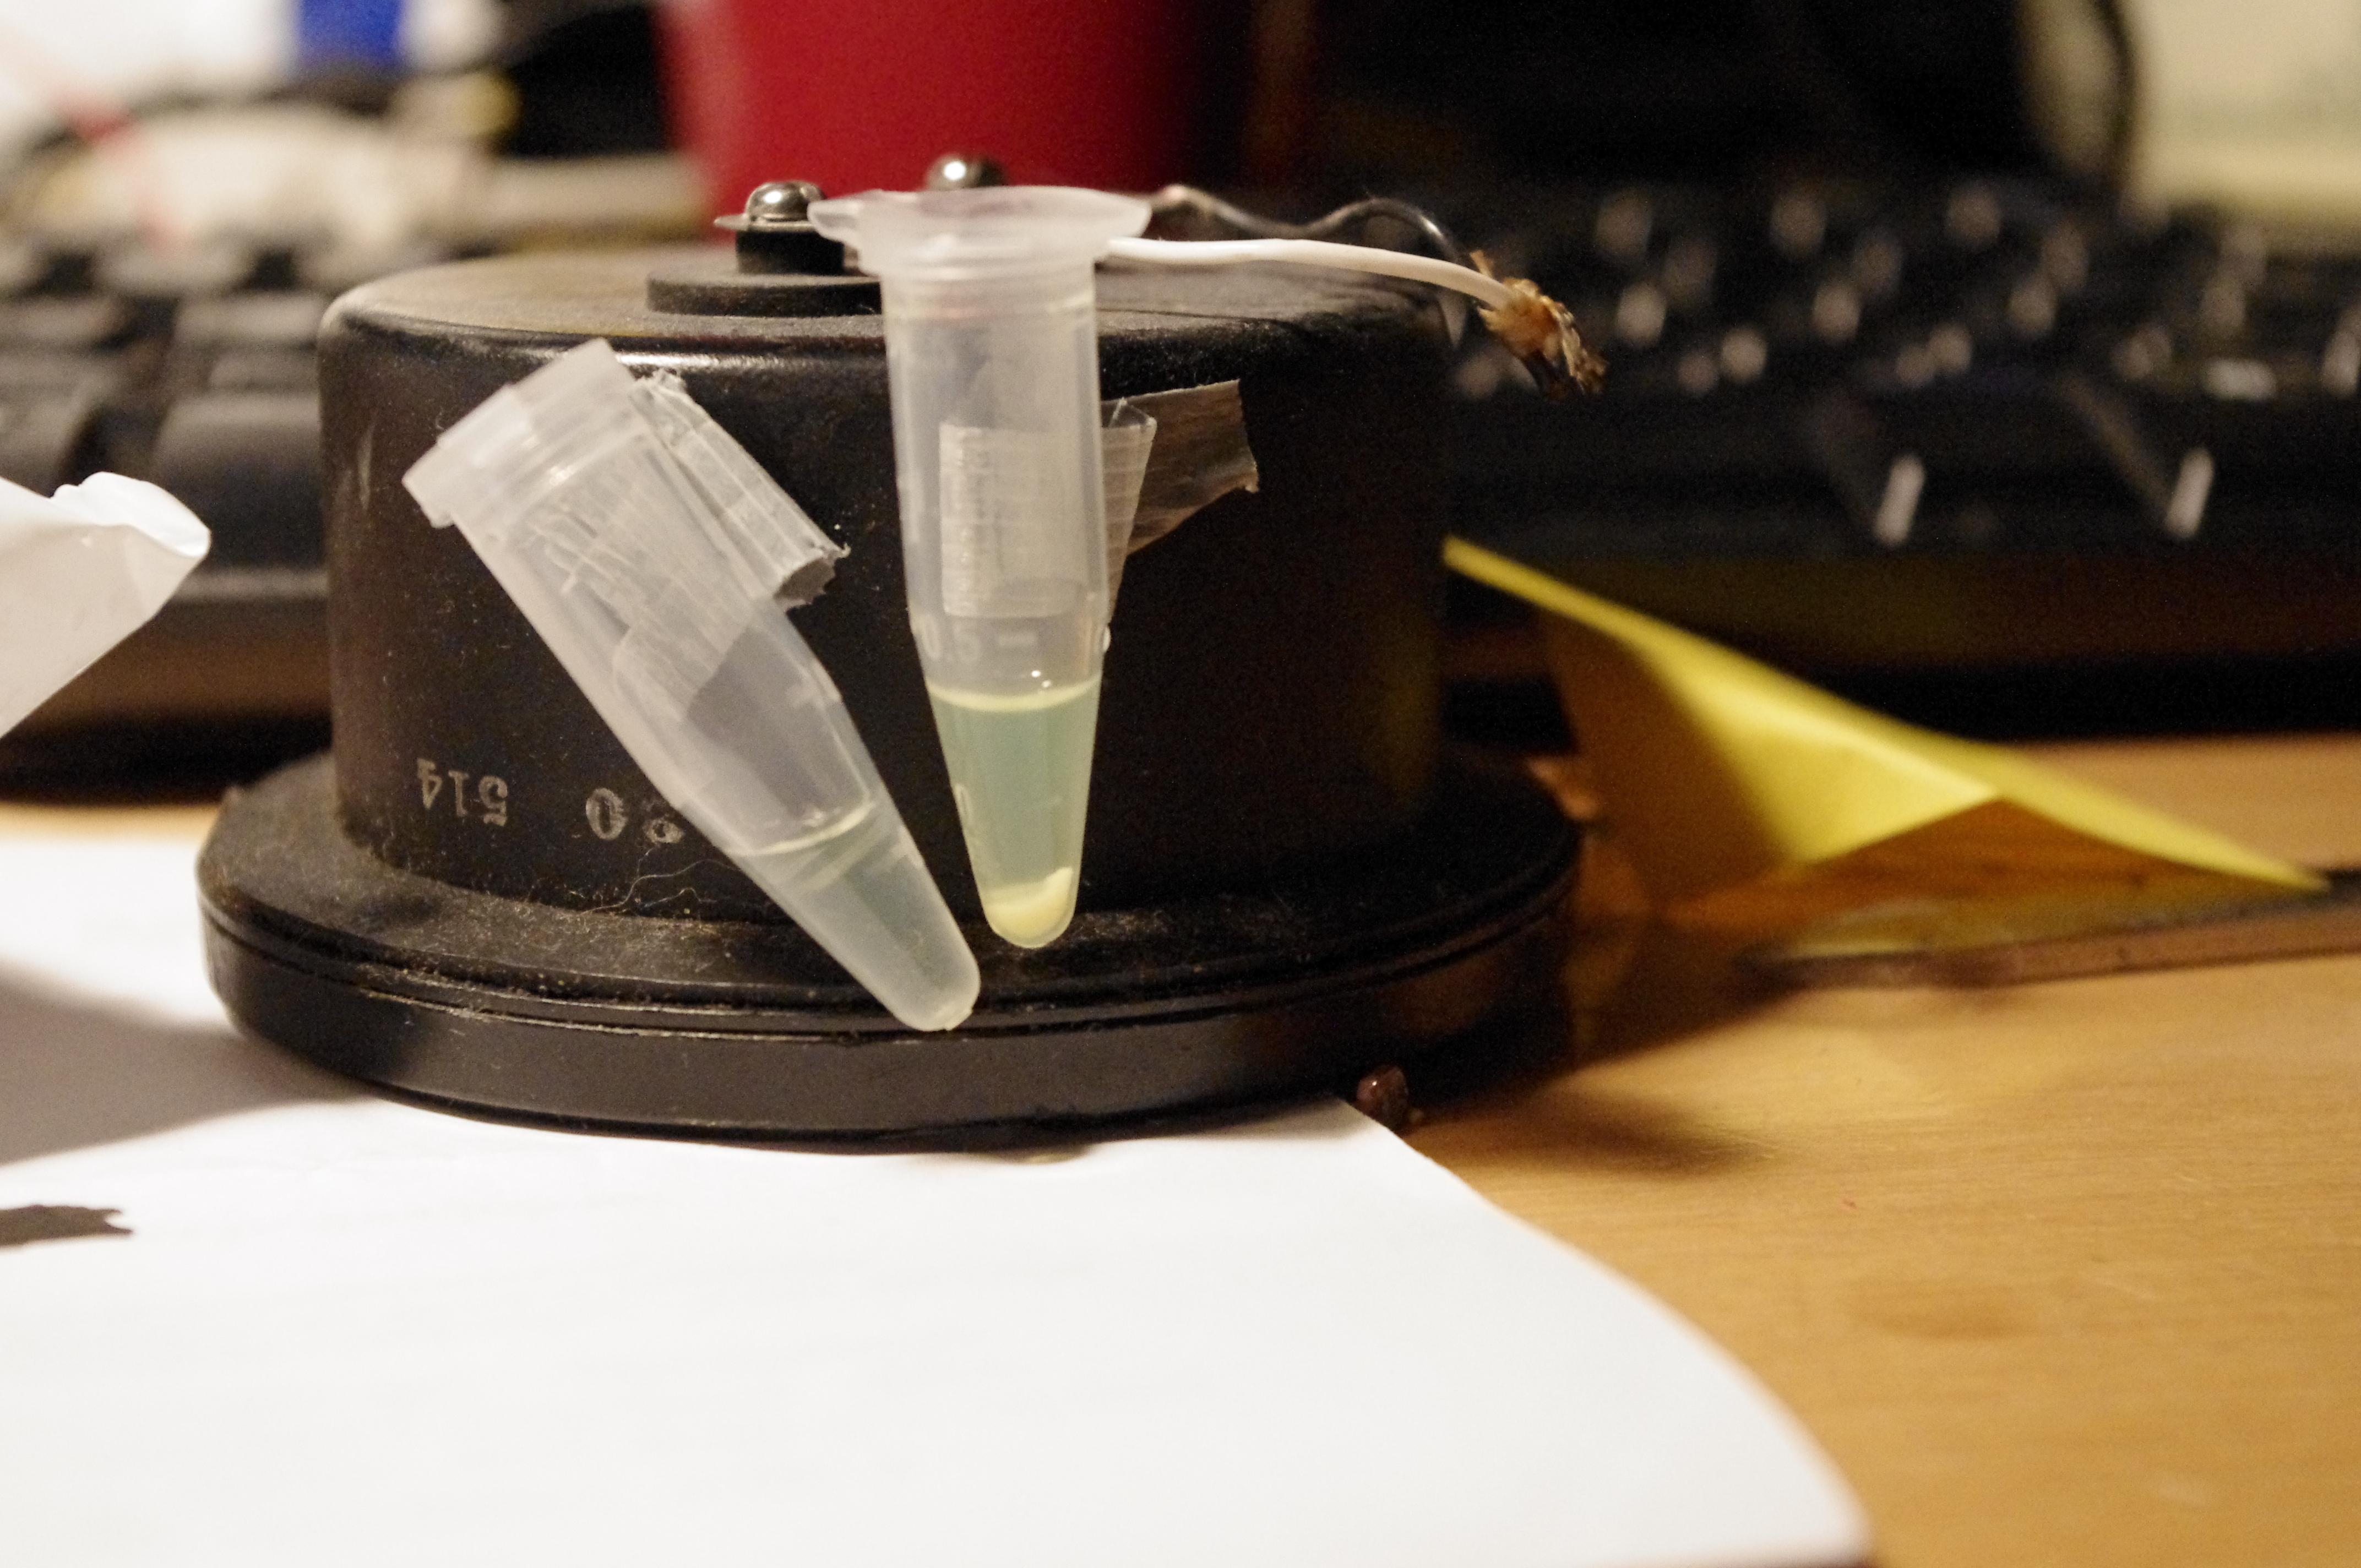
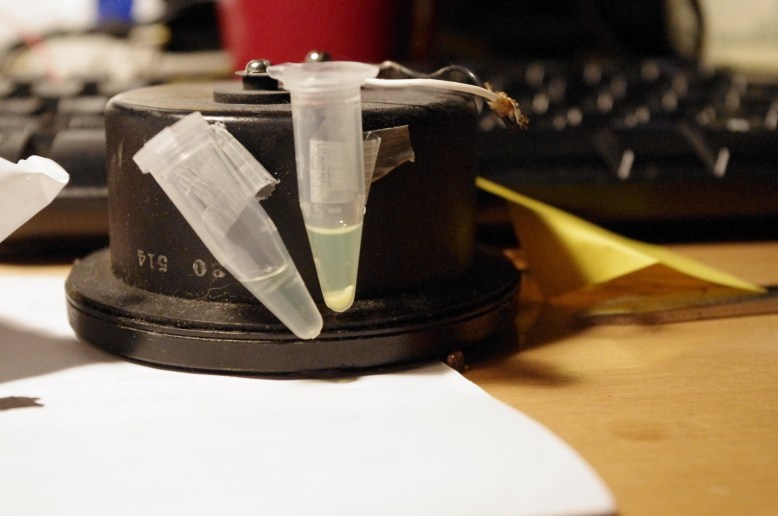
The final step is to elute (to wash out with a solvent) the GFP from the resin with the TE (low salt) buffer. This makes the GFP fall off of the resin and into the solution. Then we pipetted the supernatant (now containing GFP) into a clean eppendorf. Here are some shots of the results:
Now next weekend the GFP project will be on hiatus, because I will be away for spring break. However, the sunday after that it will be back in full effect, probably with a plasmid DNA extraction adventure!
Guide: TSK4
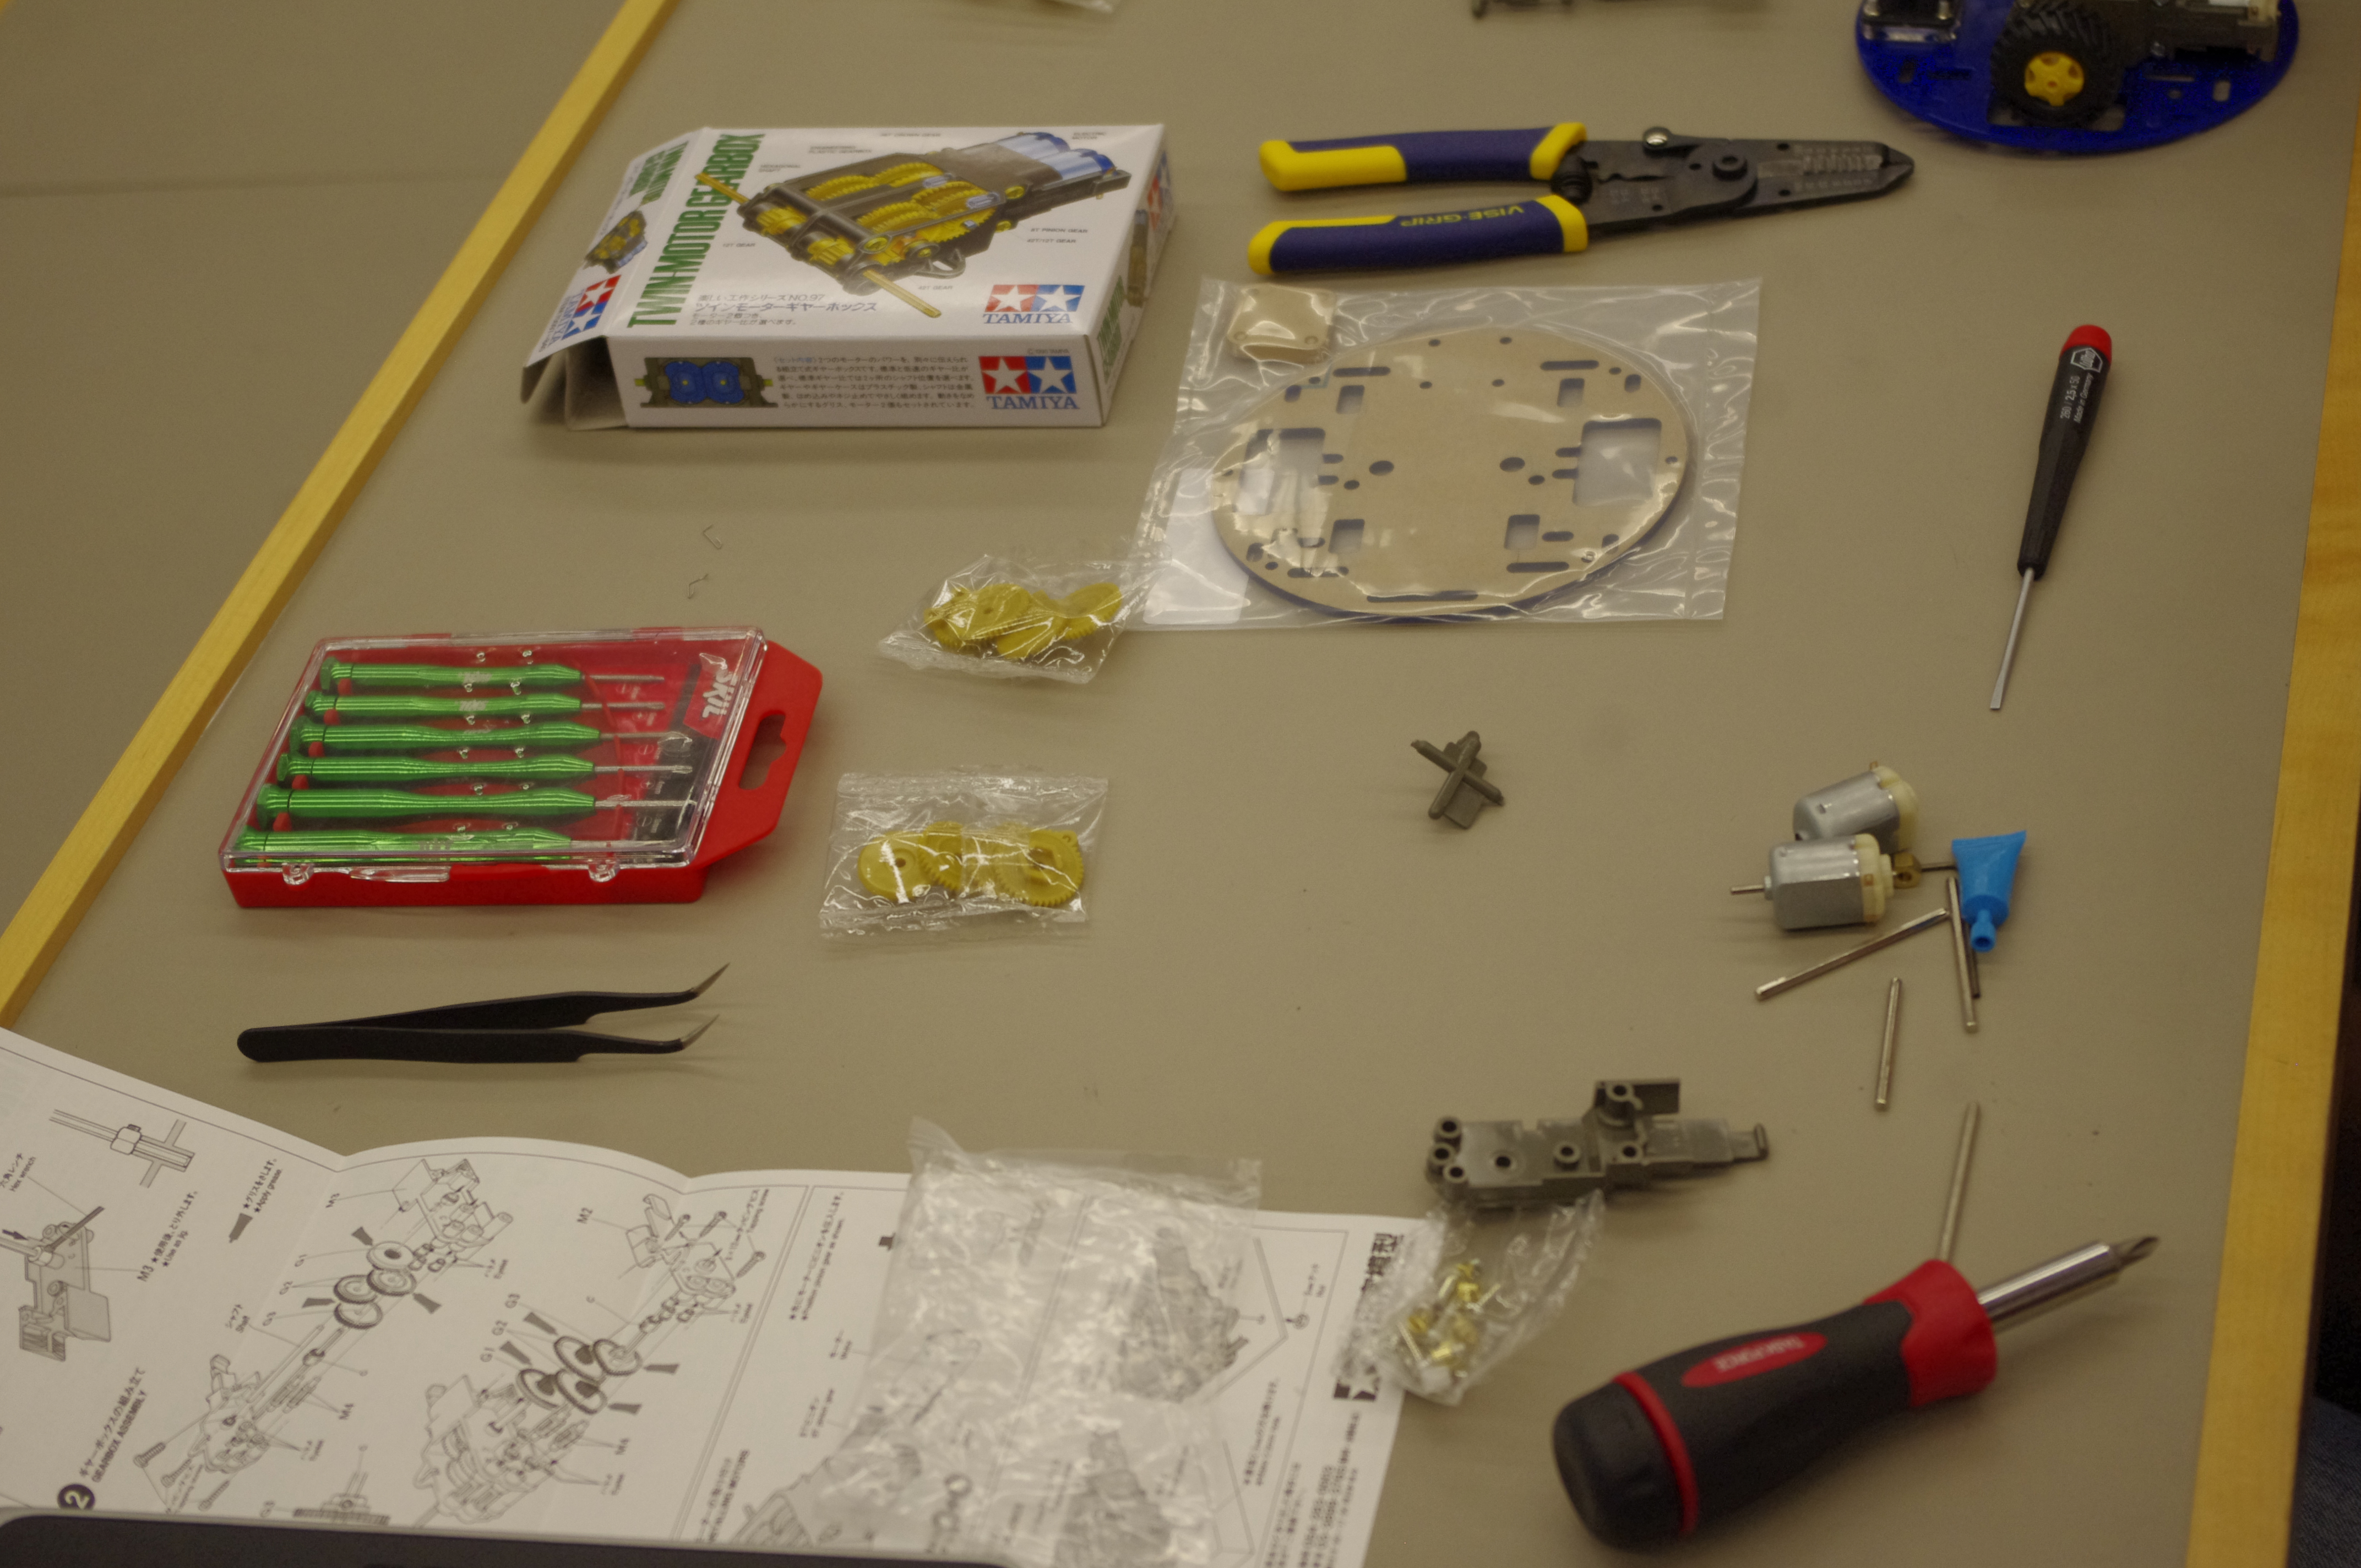
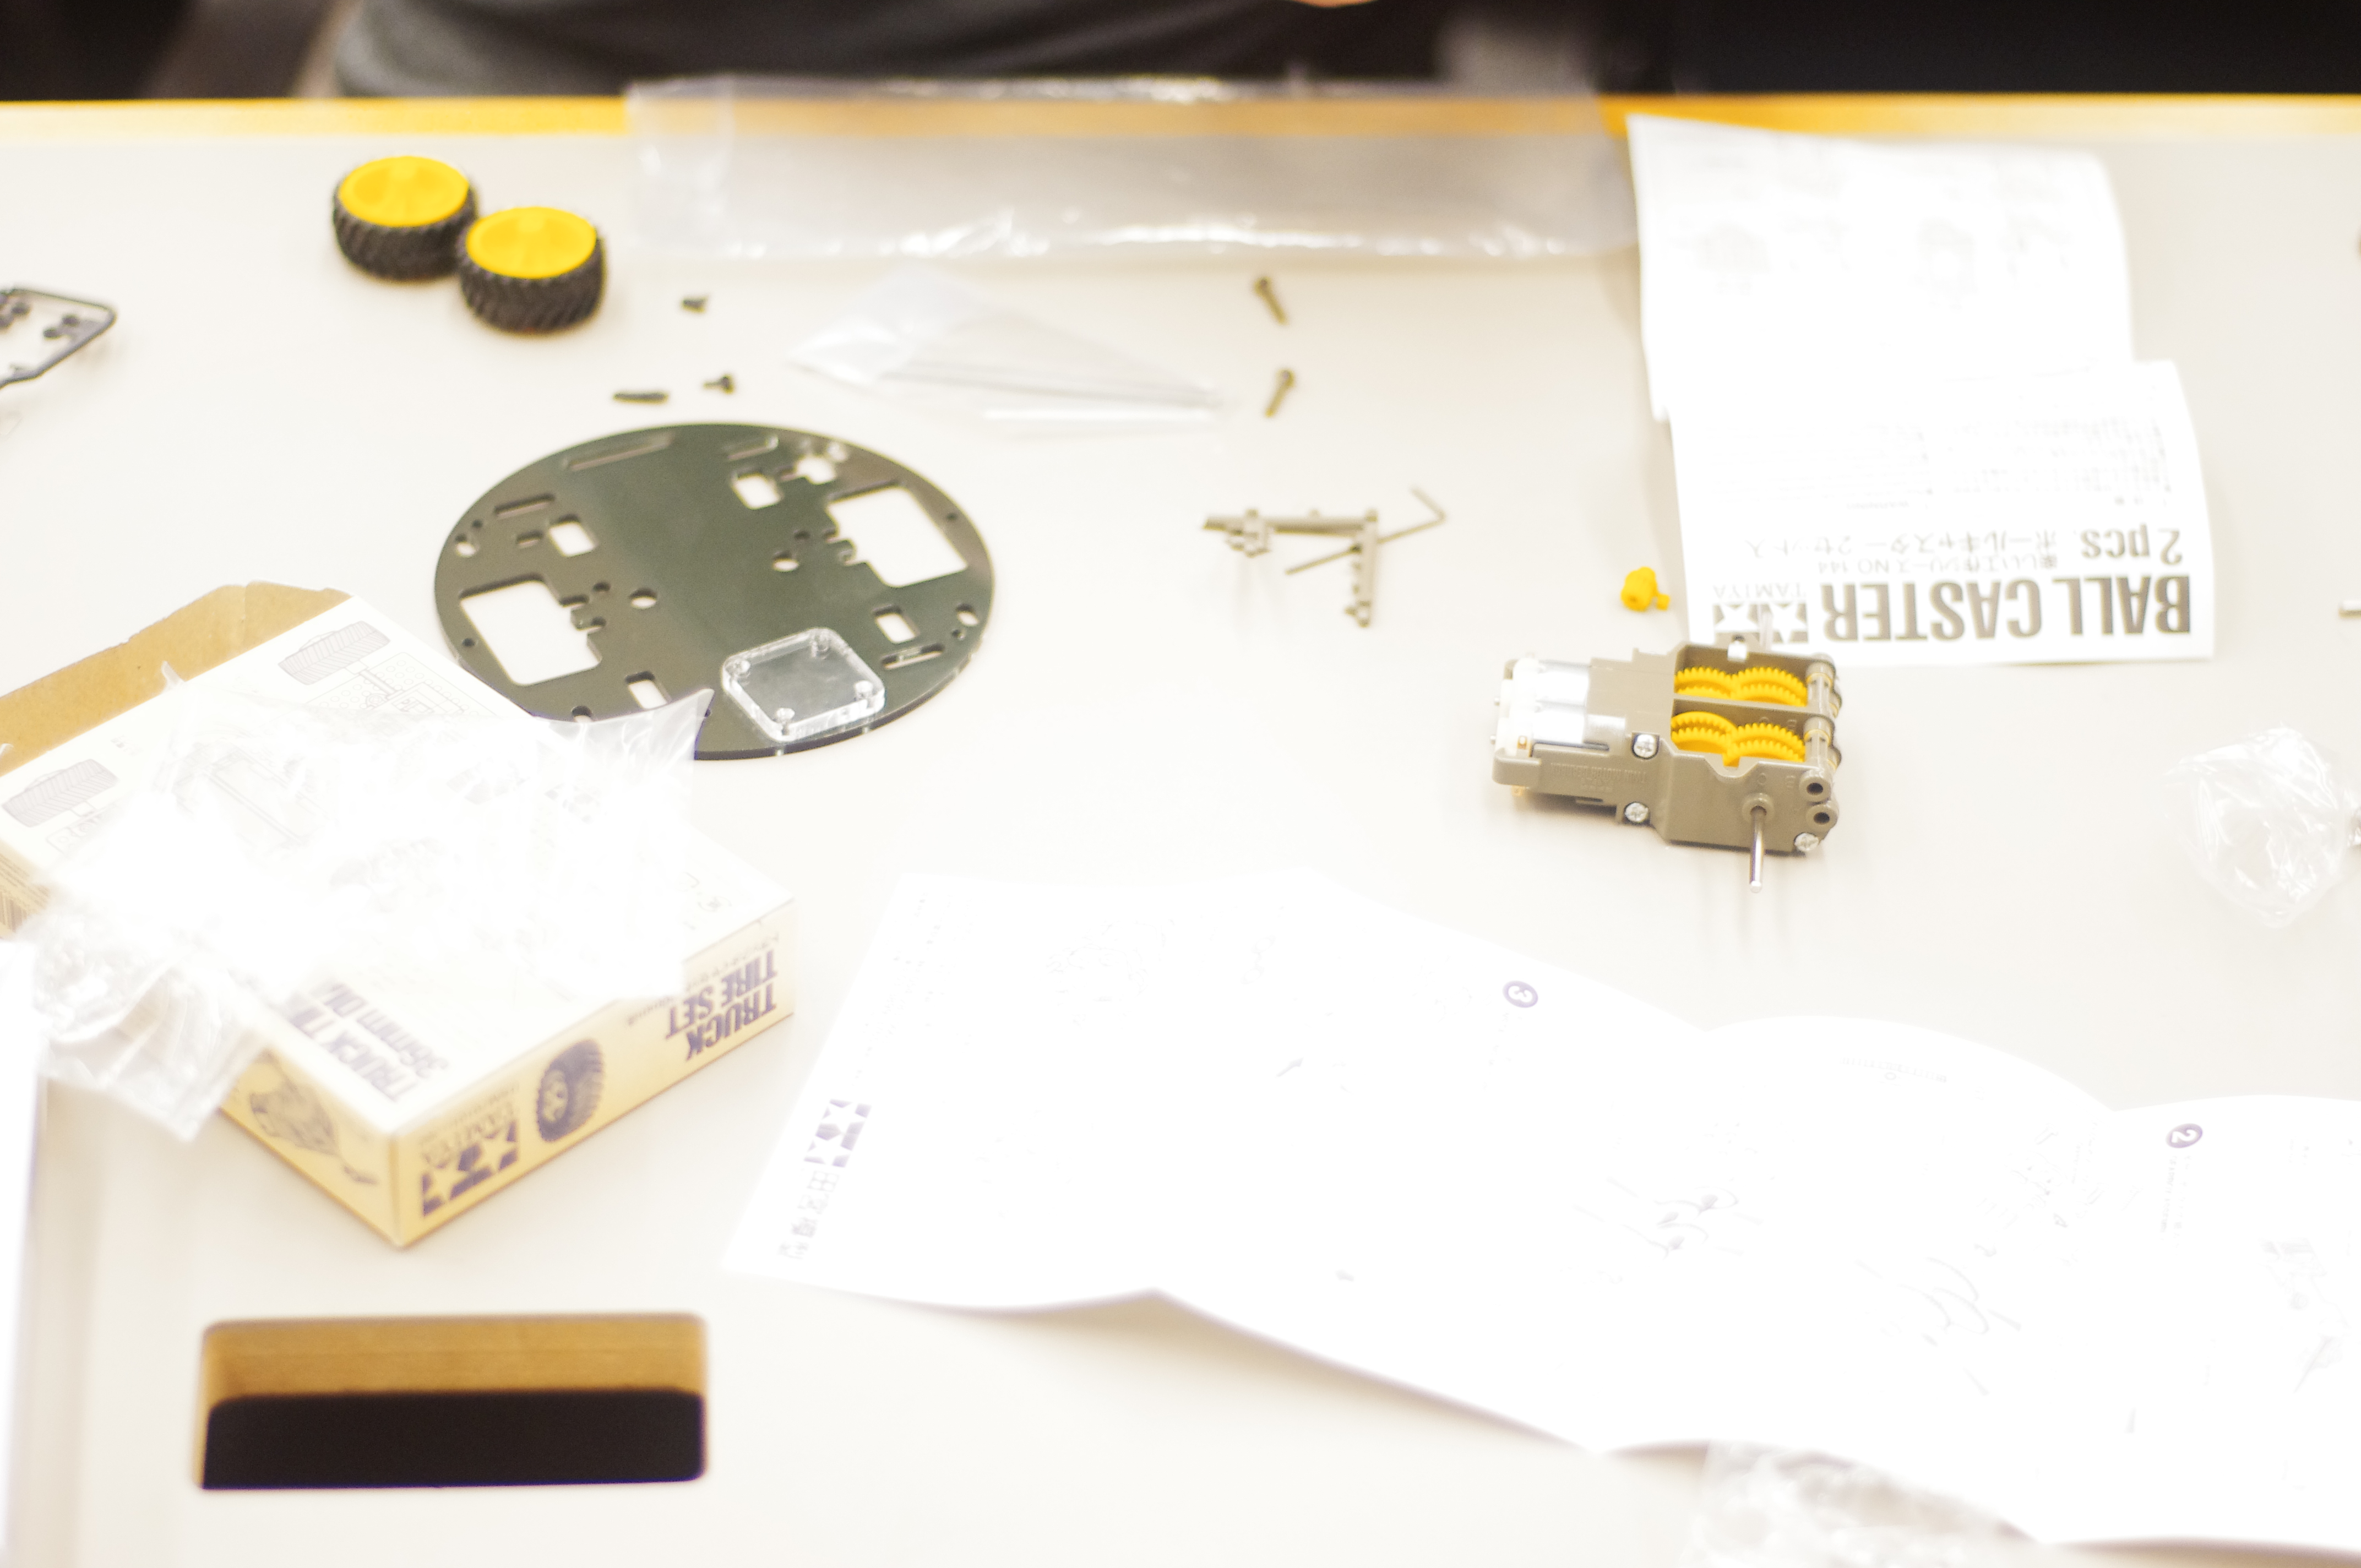
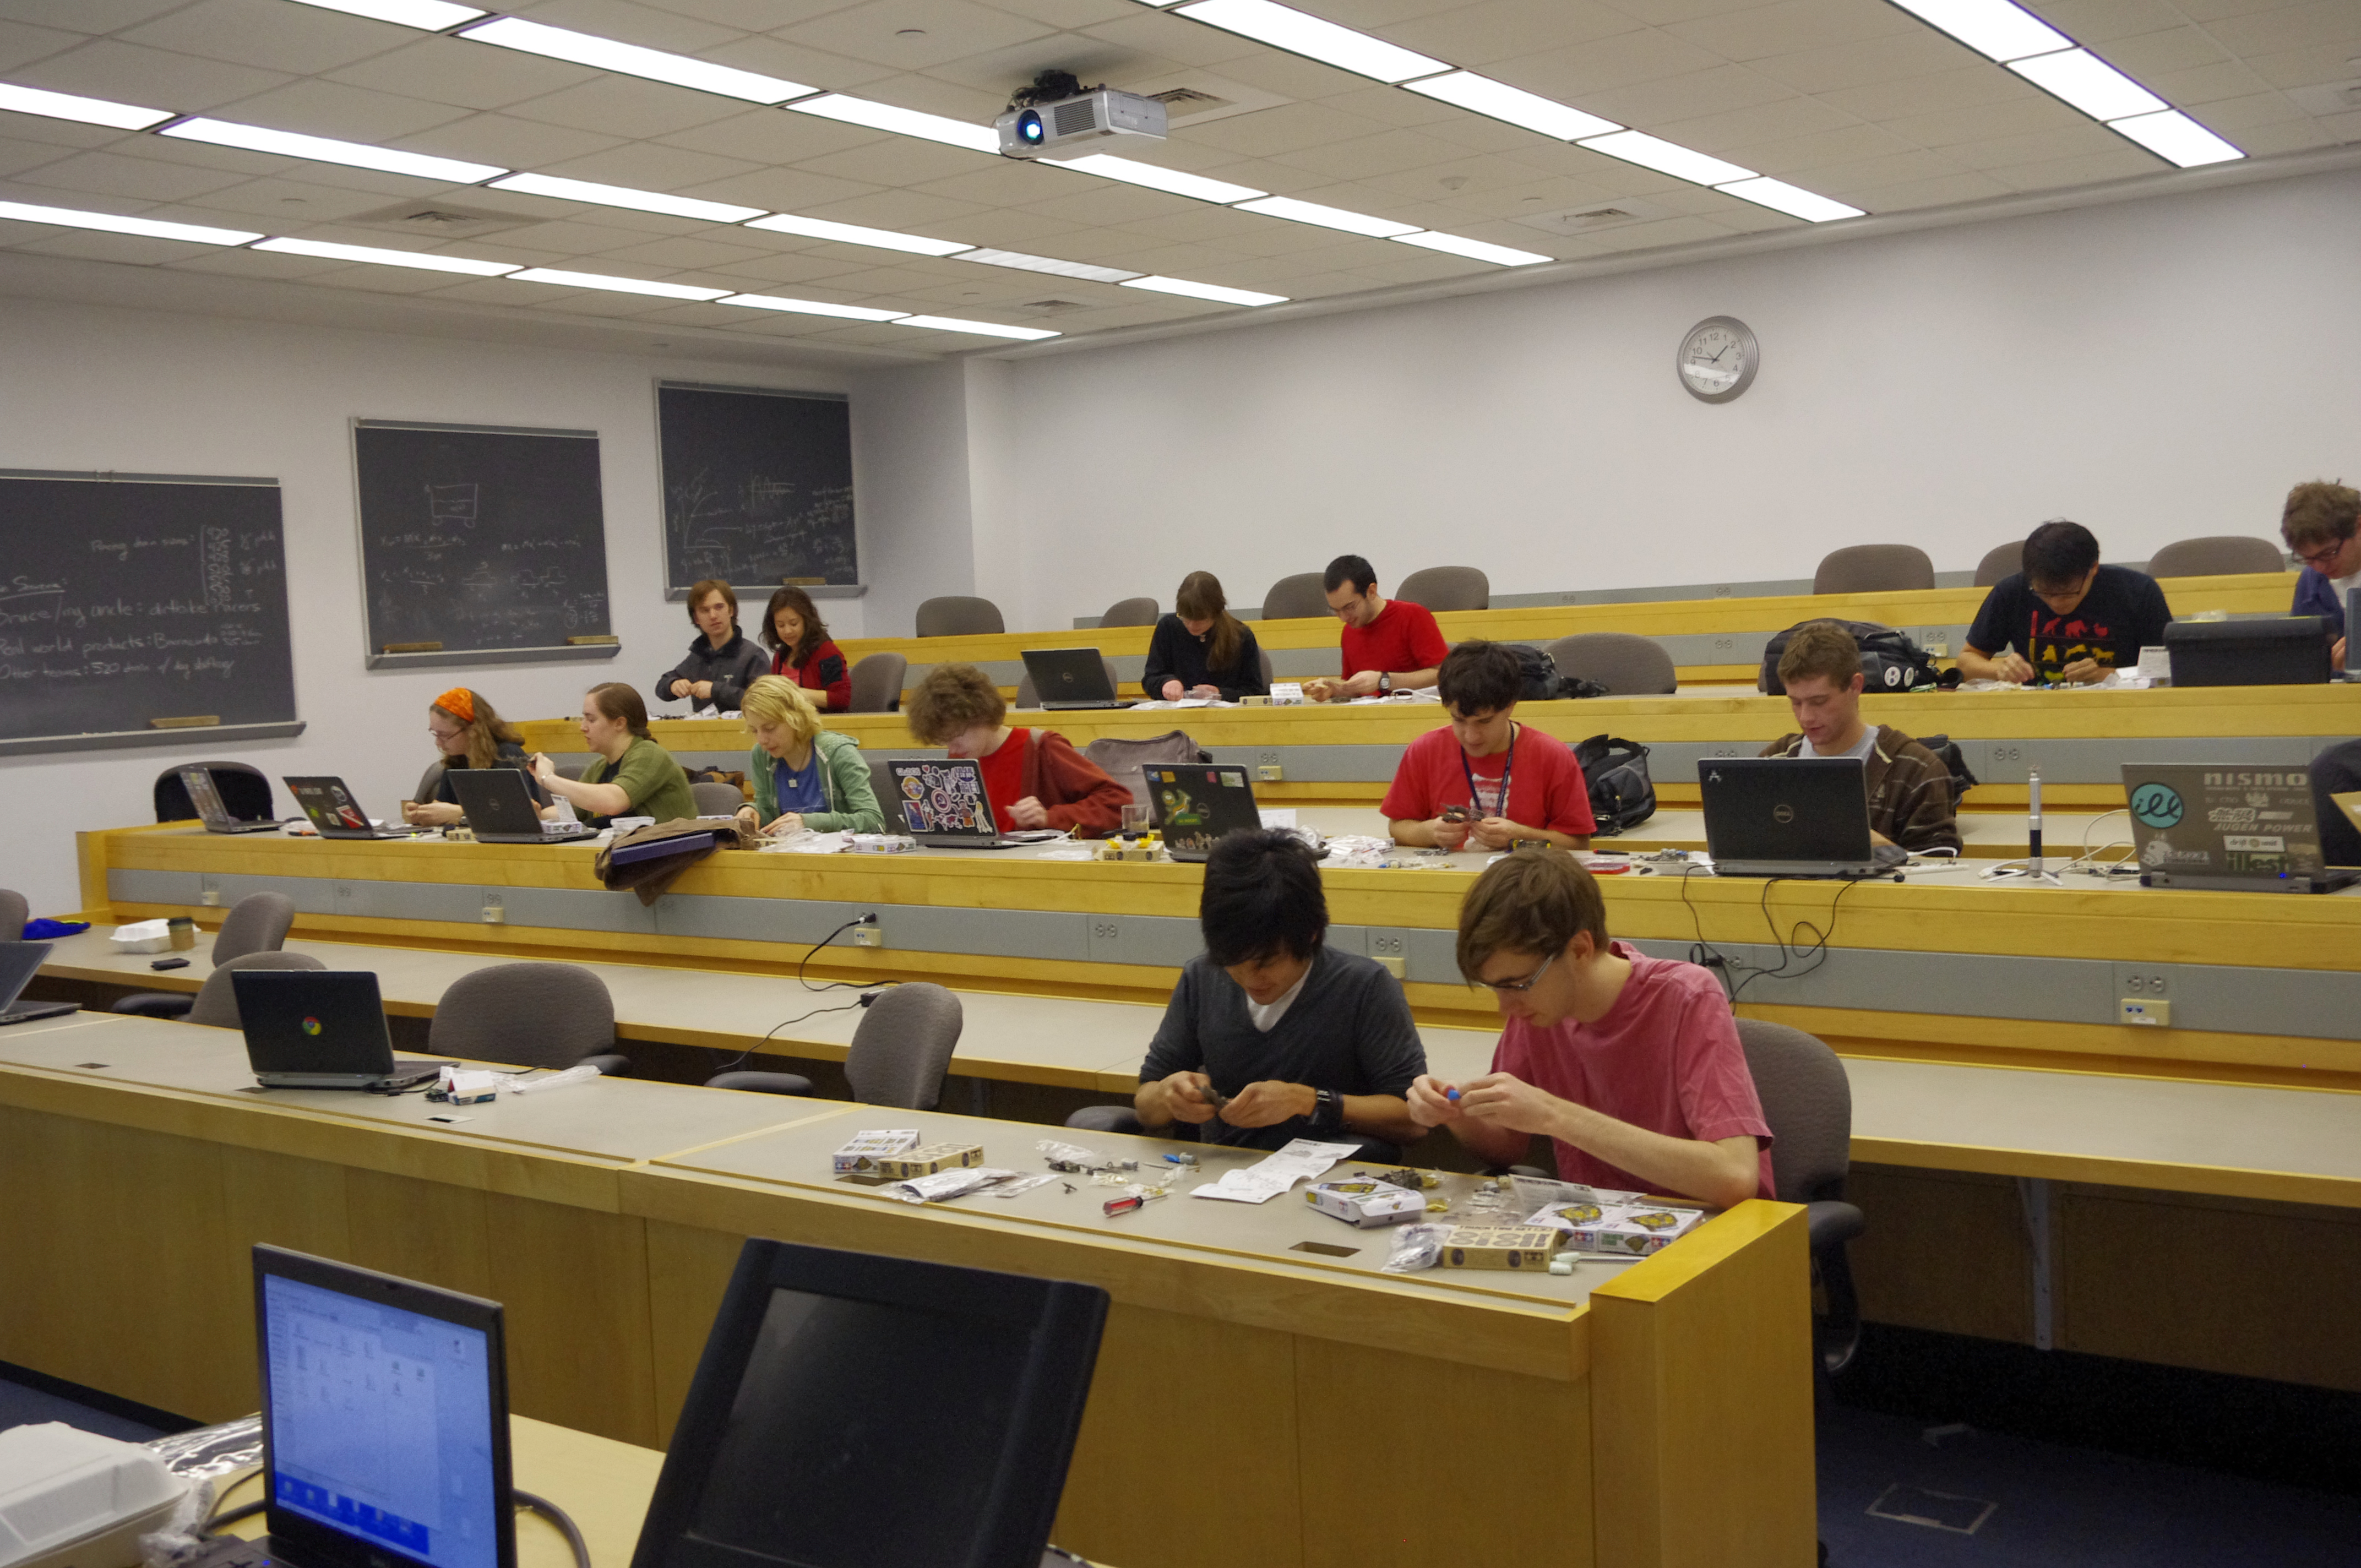
Today AC113 was turned into an assembly line for pololus robot chassis kit. The lecture today was about controlling big things with little things, with interrupts (which I thought was an important topic) thrown in in the context of encoders. The turnout was a little below what it normally is, but still pretty good. Word on the street is that the freshmen have a lot of stuff due this coming week, so there is a big crunch to get that done and therefore there are less REVONauts (as I call them). Still, there was a good turnout. Next time I would definitely teach the class in pairs of two to a robot, but one to an arduino. I am afraid that there is going to be too much debugging of implementations of different robots/hardware that it will be hard to get to each student individually. Working in teams raises the threshold for when people come to me, and it might actually increase the quality of the exercise for everyone so that people get more done.
Here are some shots of the assembly line:
It had been two days since the transformation yesterday, and I had not seen any growth on my plates. I was becoming concerned. It can be tricky to orchestrate the teaching and the actual transformation procedure, and I have had less than optimal results with this media, strain, and plasmid before. I was not sure what I would do on Sunday if there were no transformants! It would be a disaster, and very demoralizing.
I had a meeting to go to that would result on me being on the red line, so on the way back I stopped by and took a look at the cultures with my blue LED. Nothing was growing, except for what appeared to be some e. coli growing on the ampicillin plate, which I took to be an ill omen. I left my blue LED and some batteries there, because I figured that if there were transformants, they would be more likely to grow on the multitude of plates at sprout instead of the two that I had.
I wasn’t sure what to do there, so I grabbed a few items for doing another transformation and headed home, convinced that I would have to do another transformation. Upon my return home, I obsessively checked again.
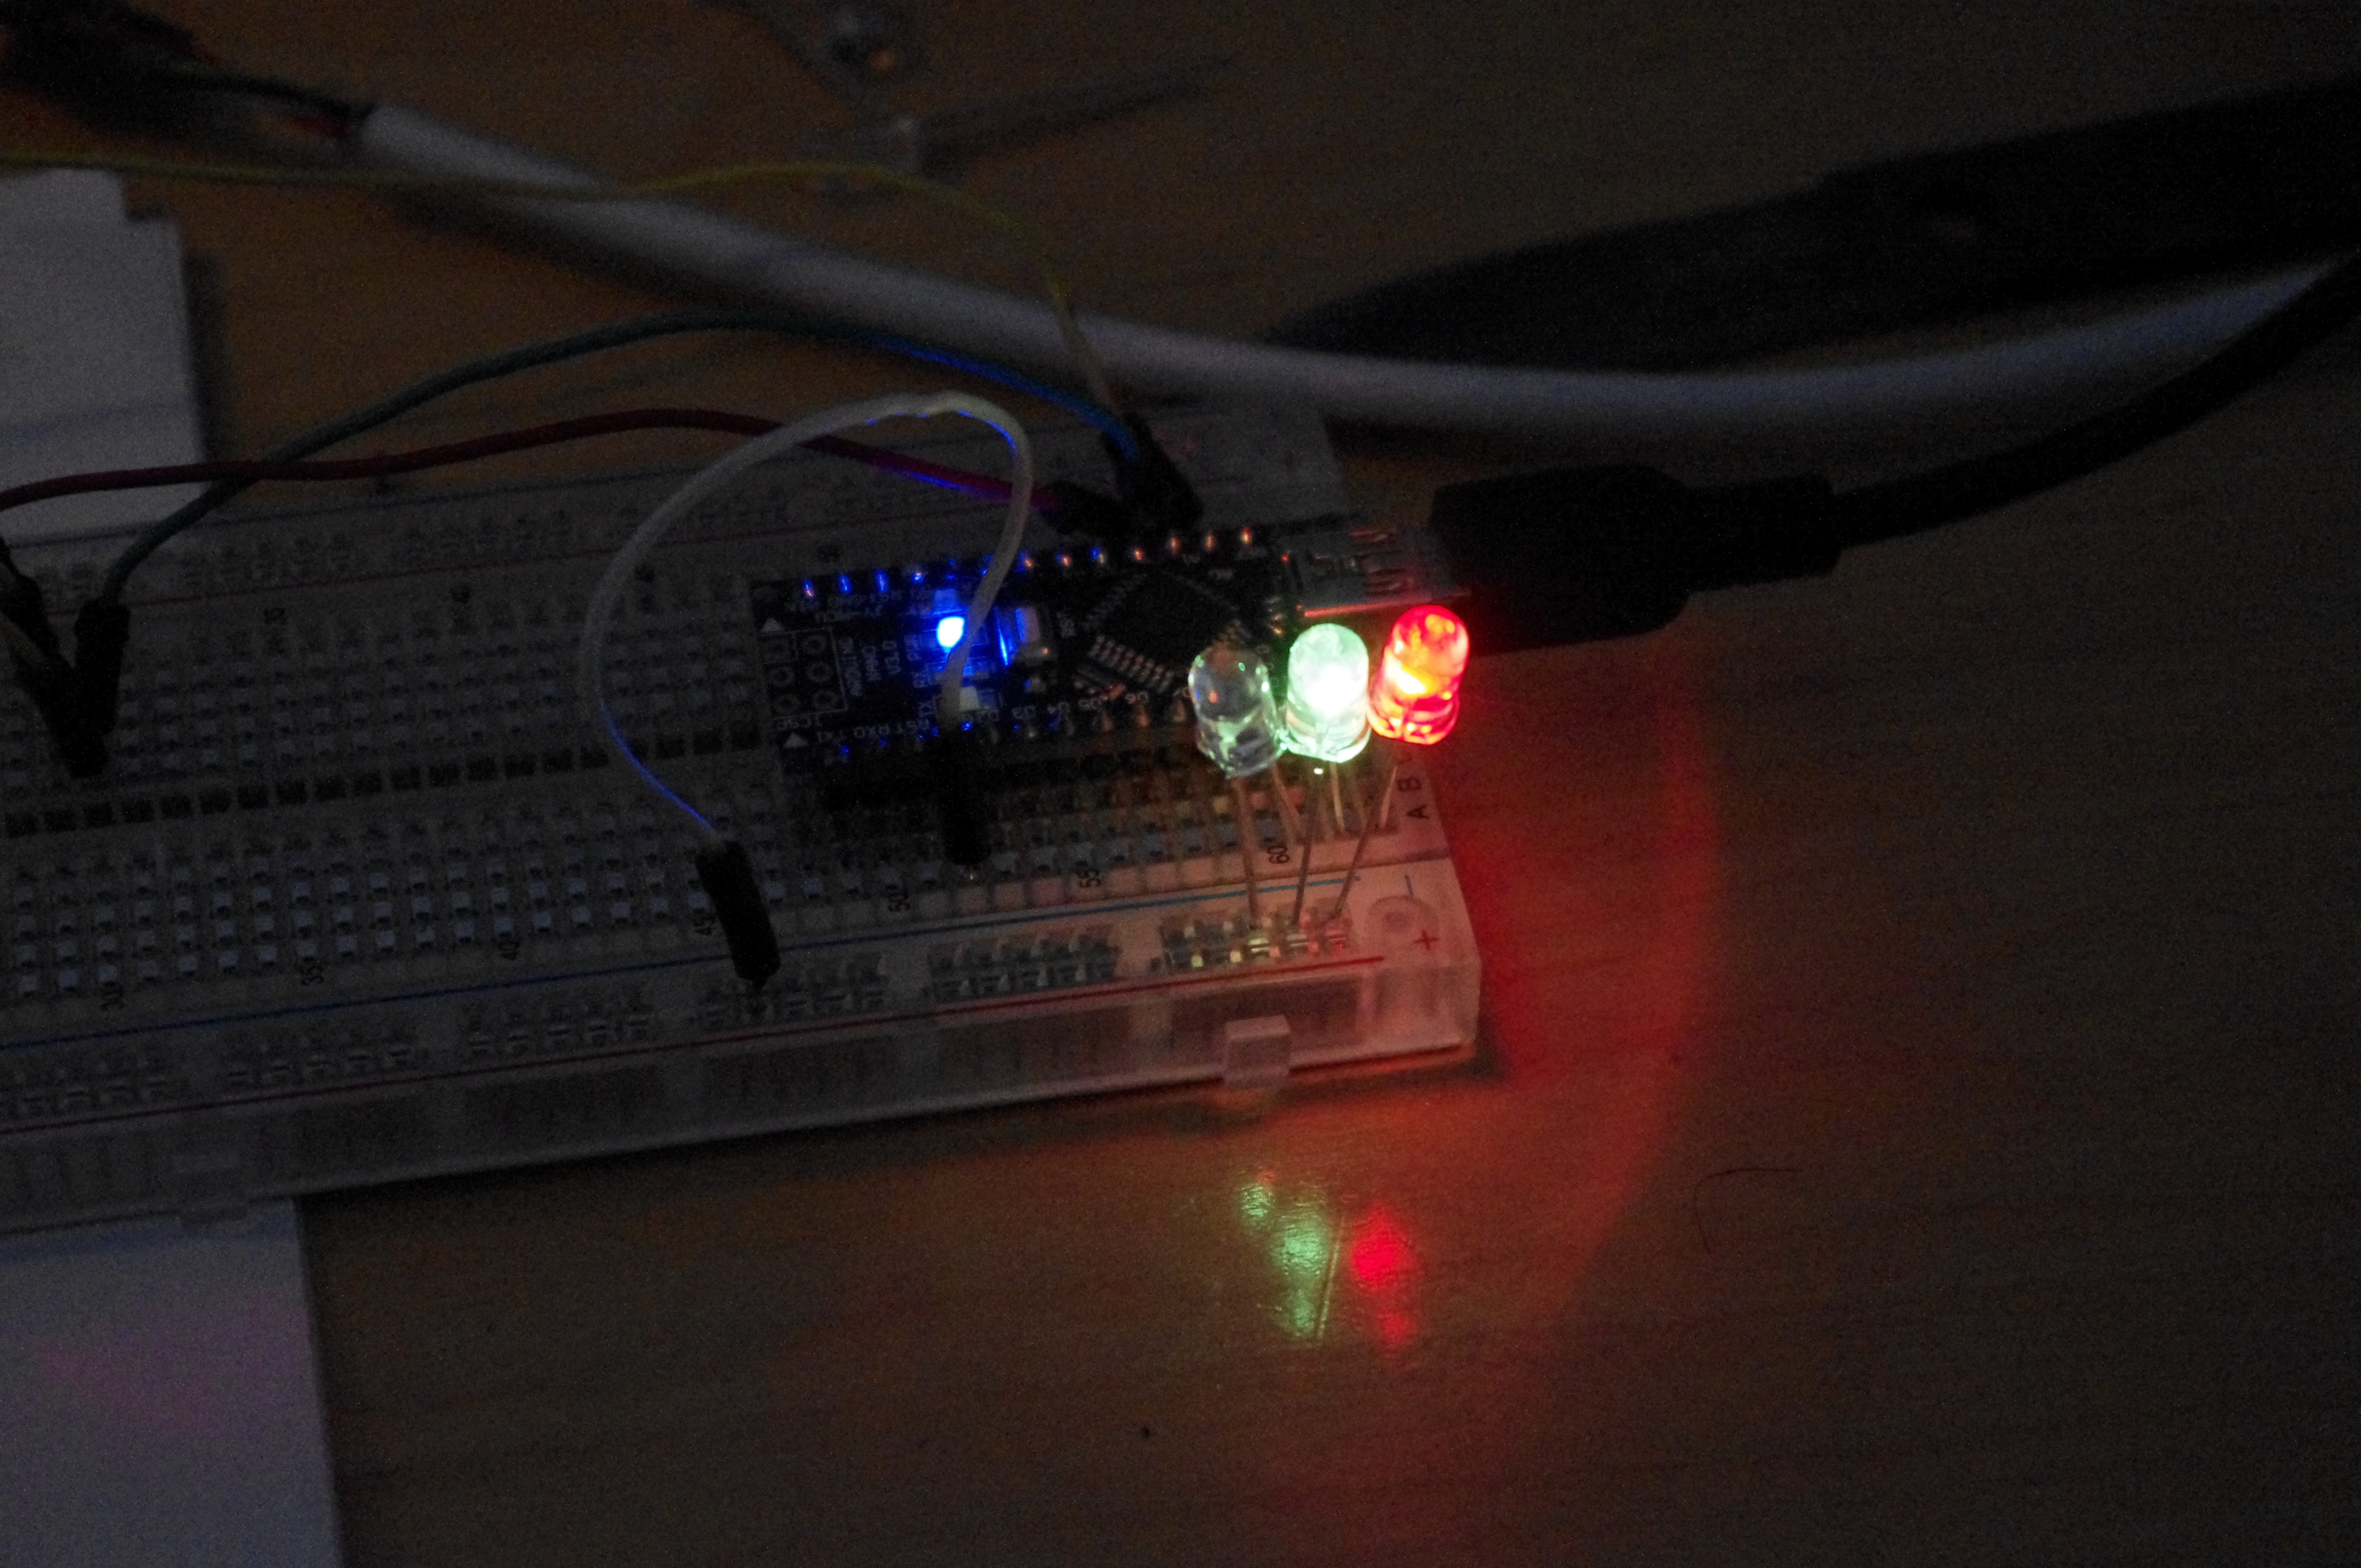
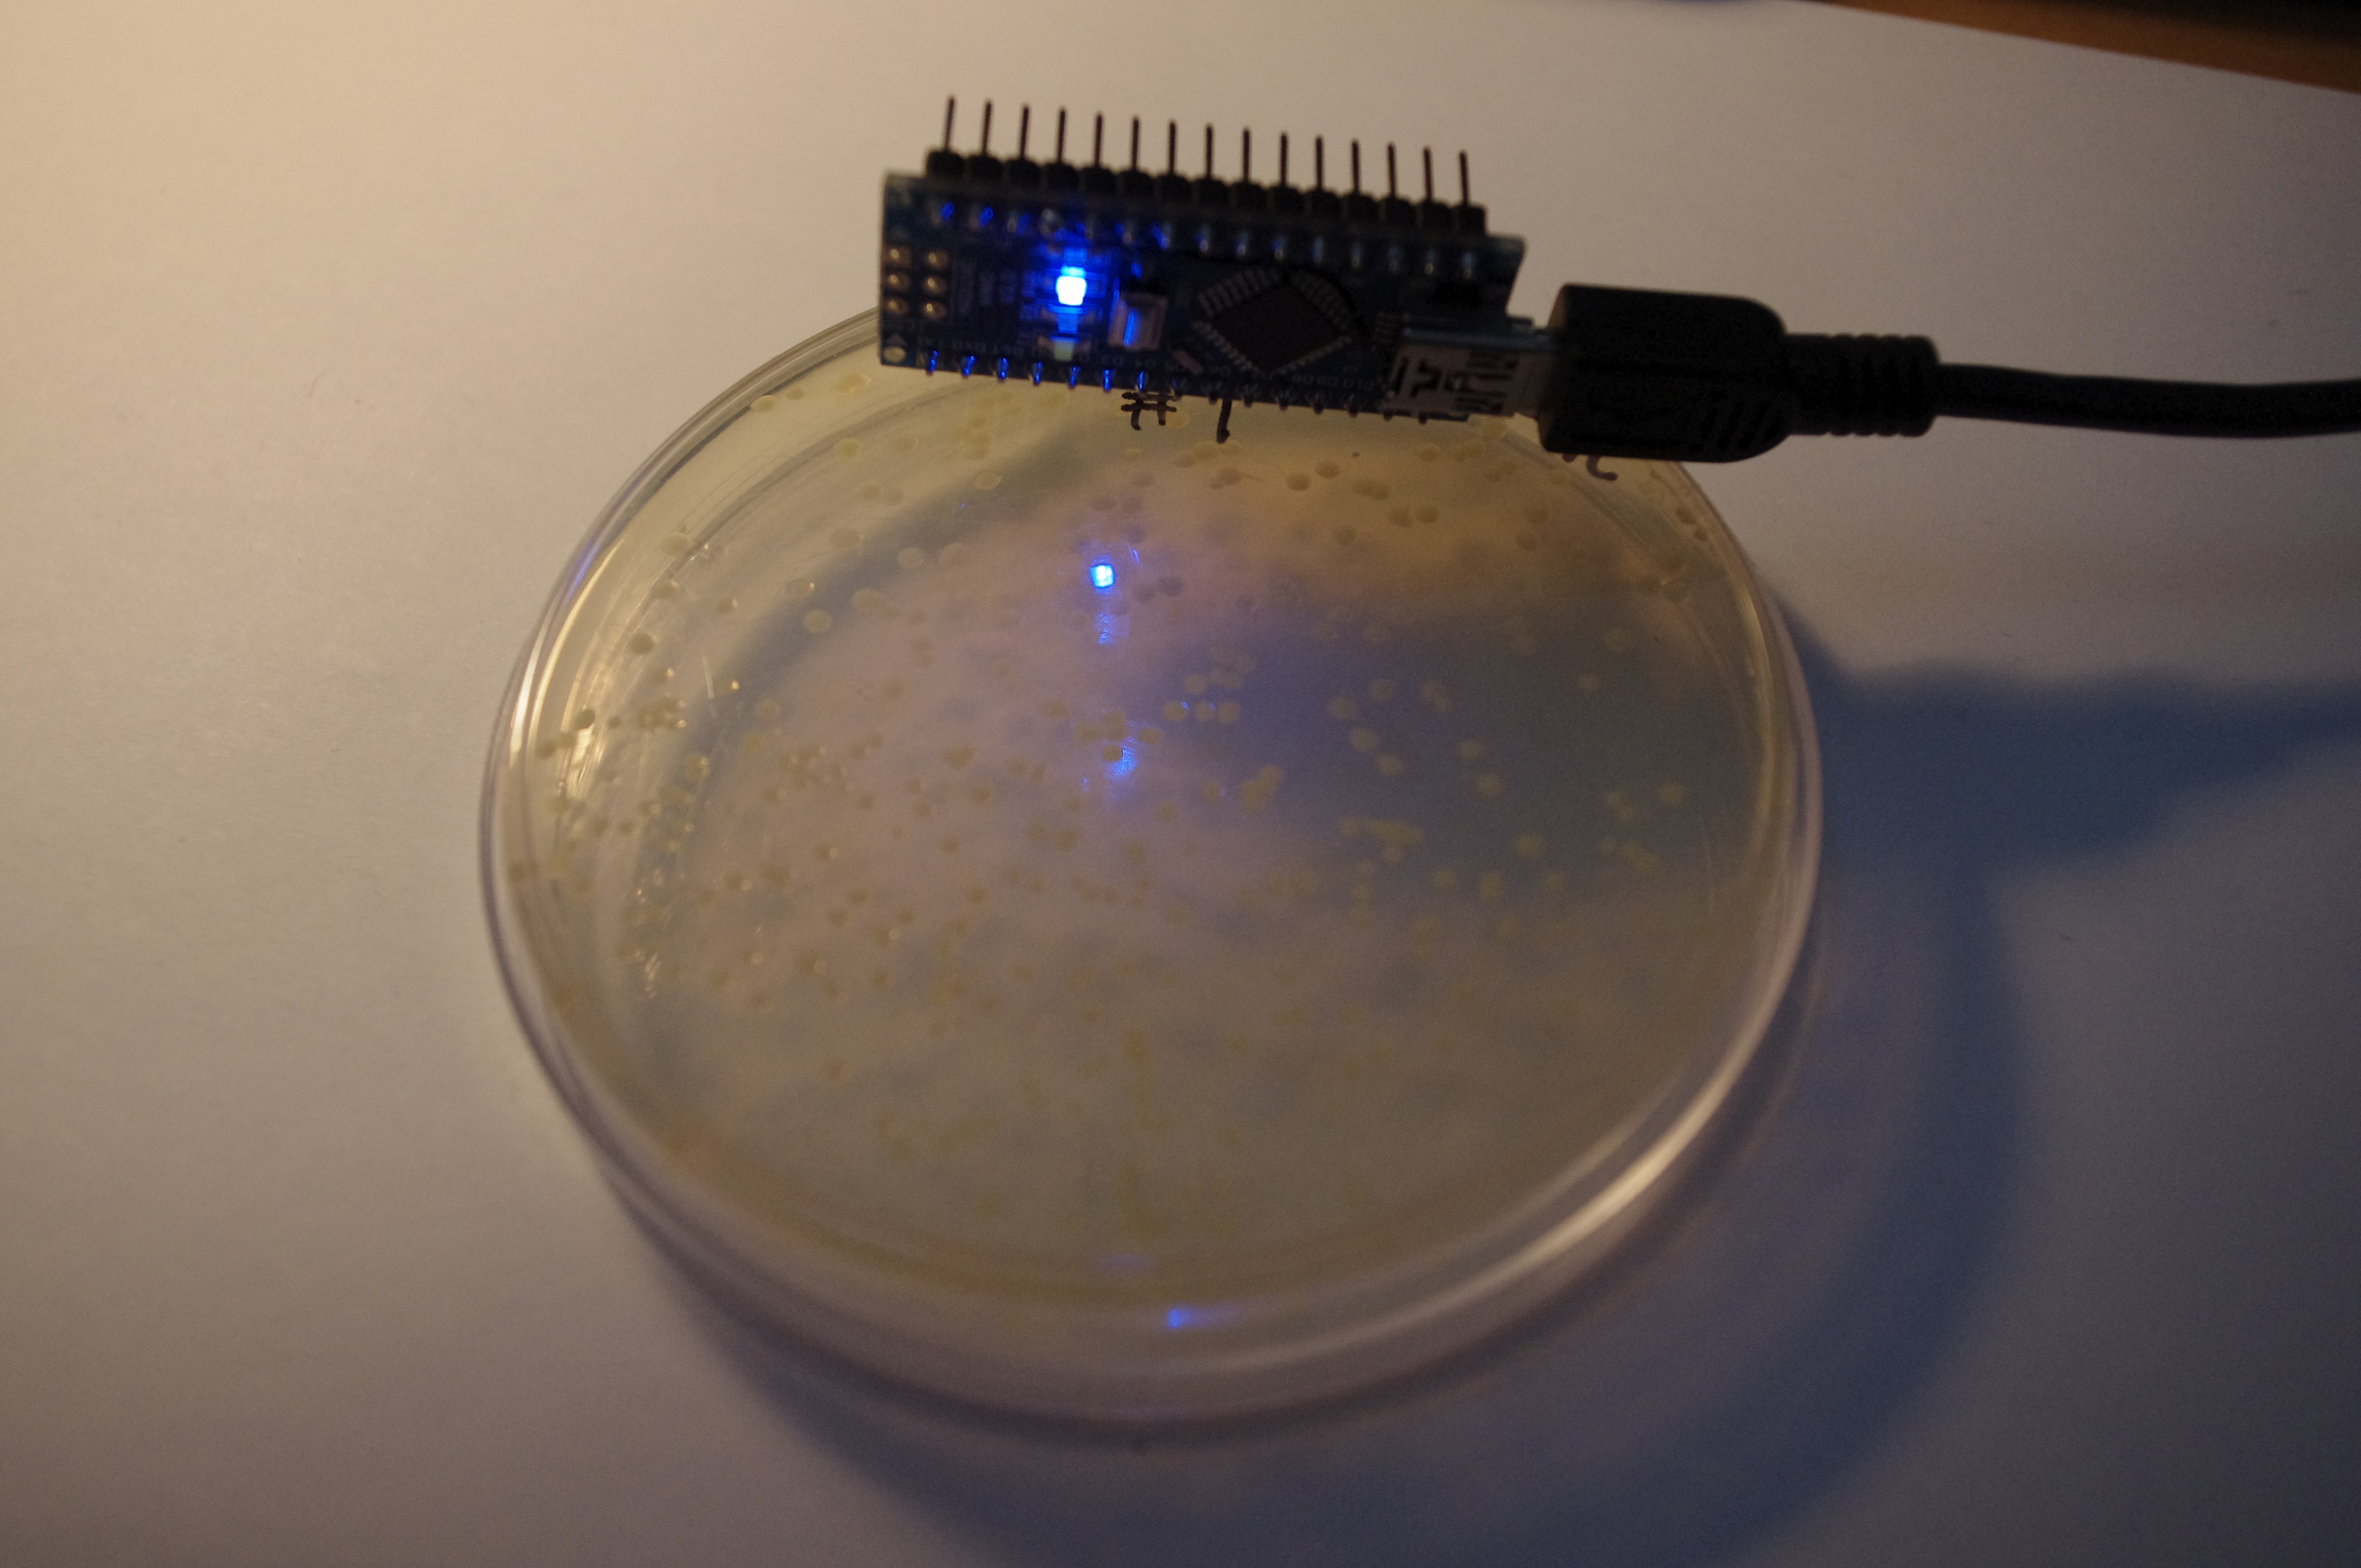
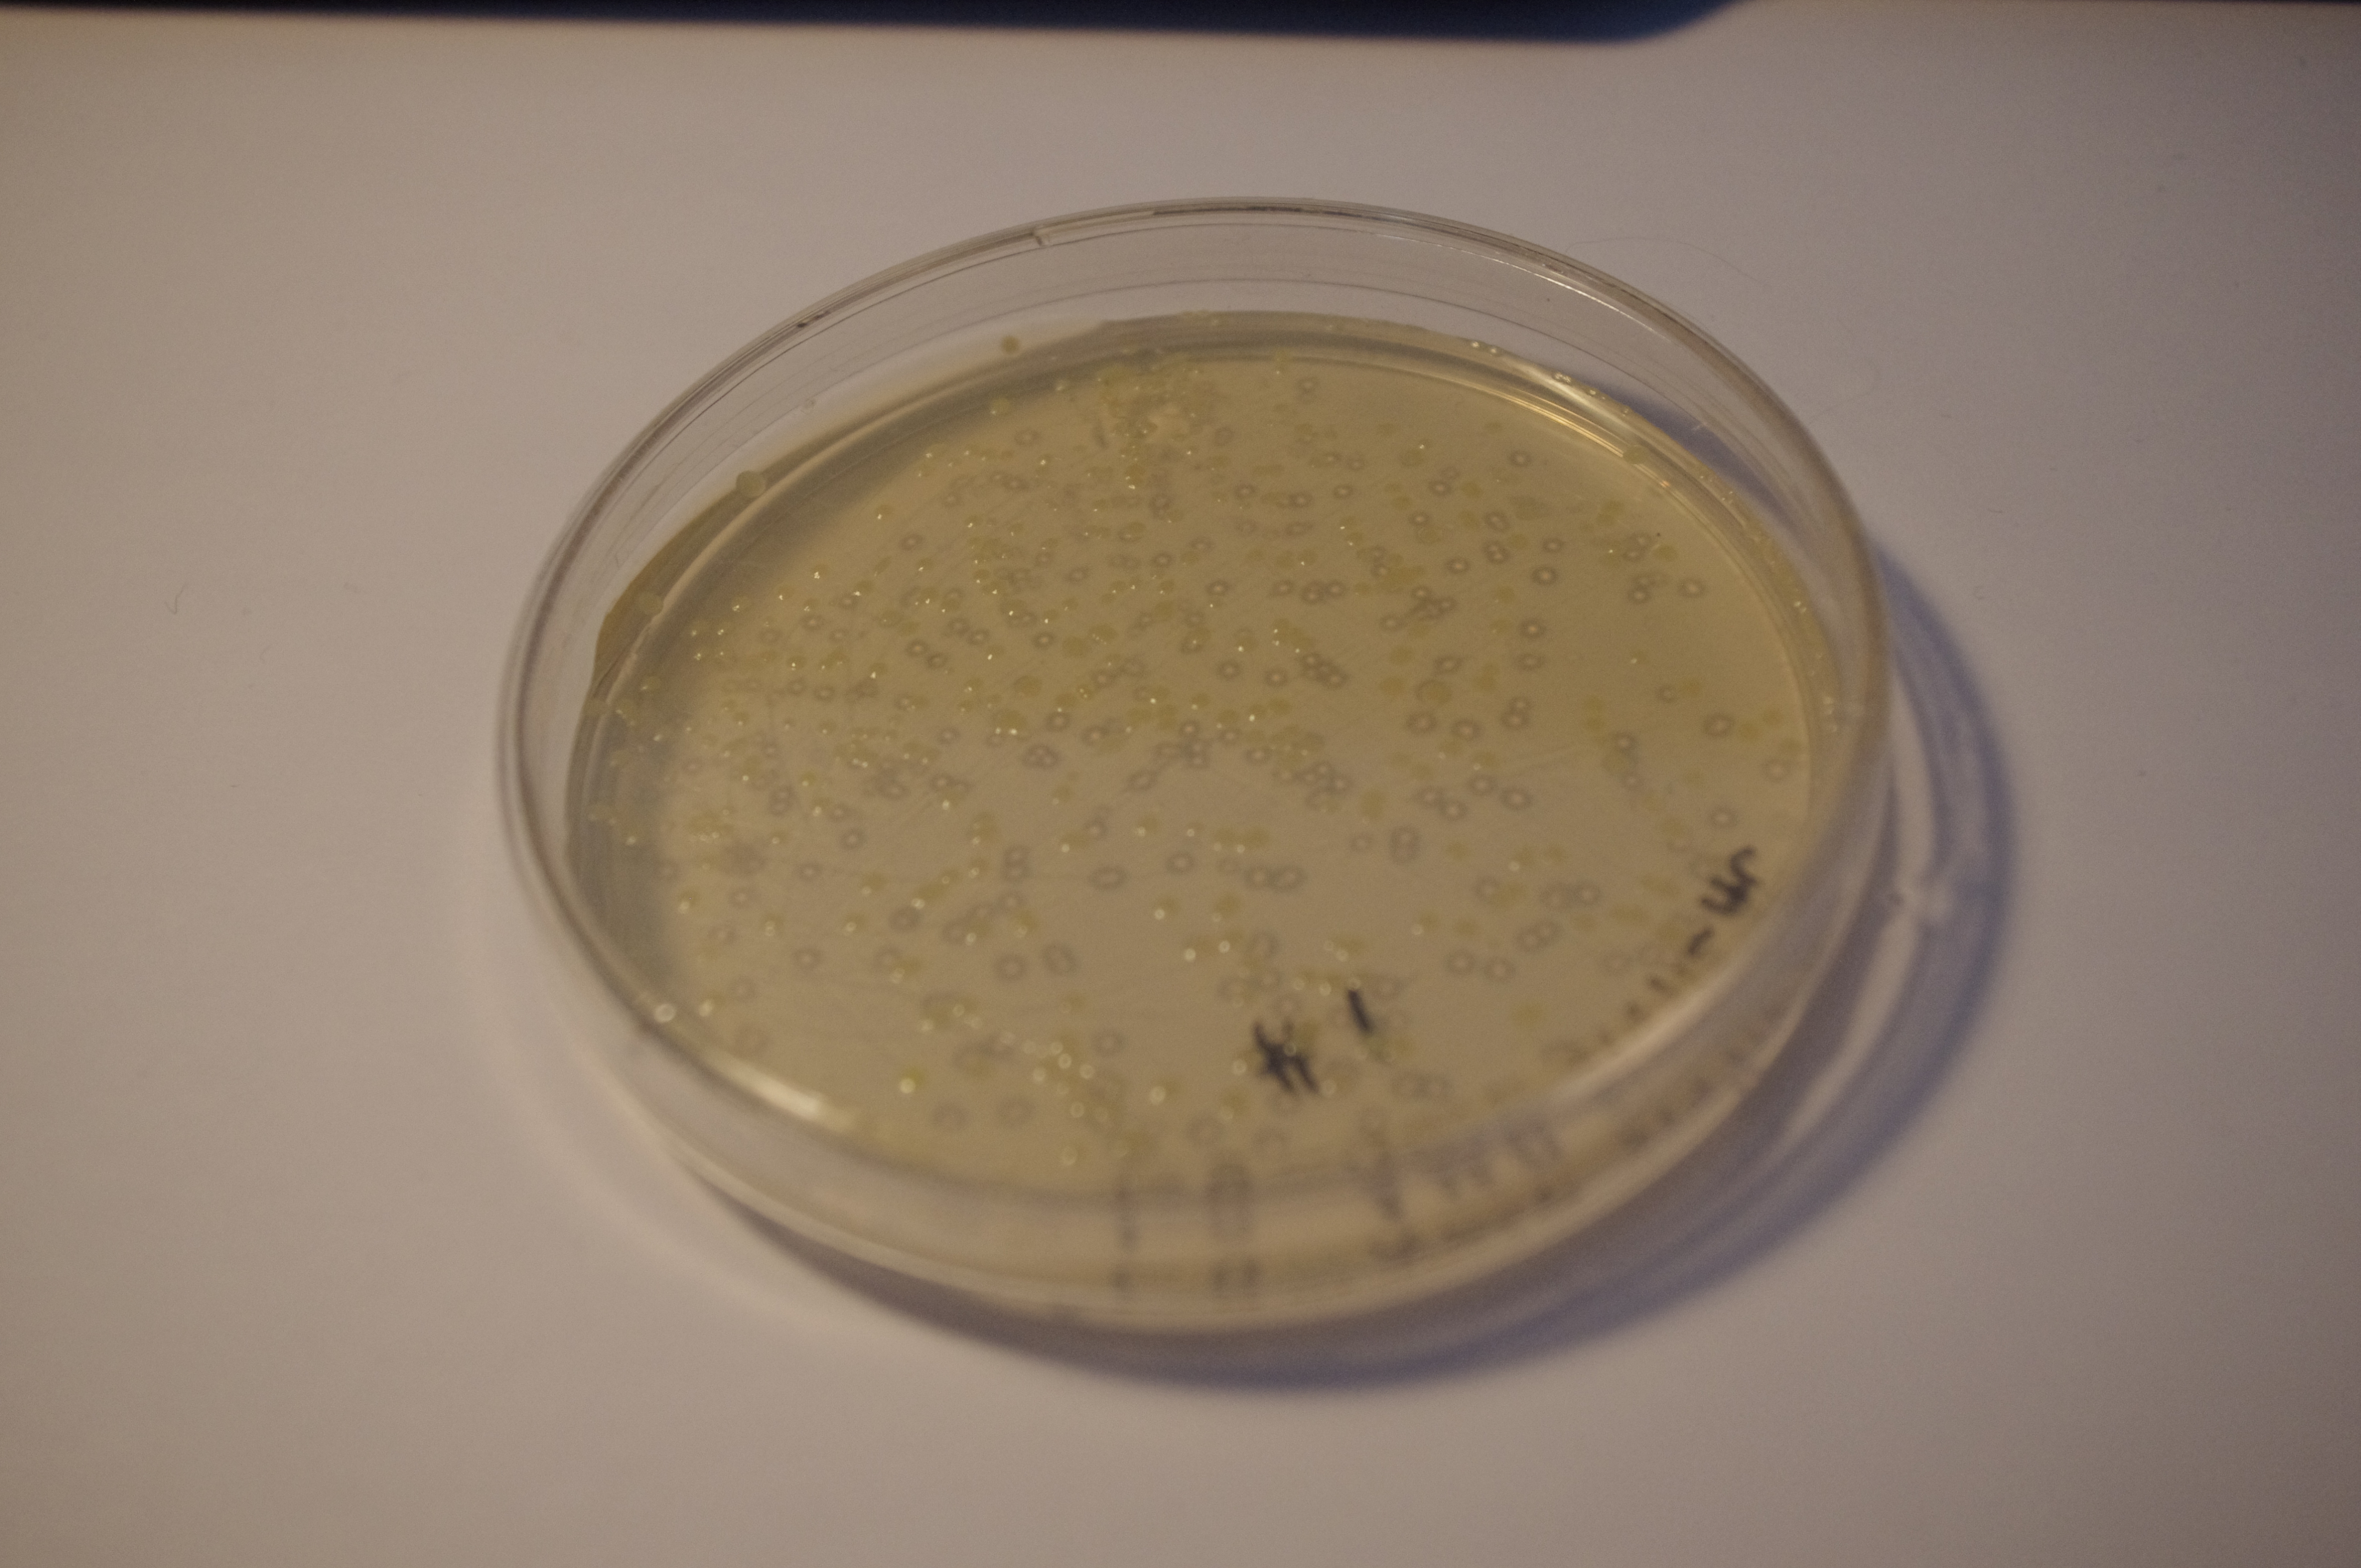
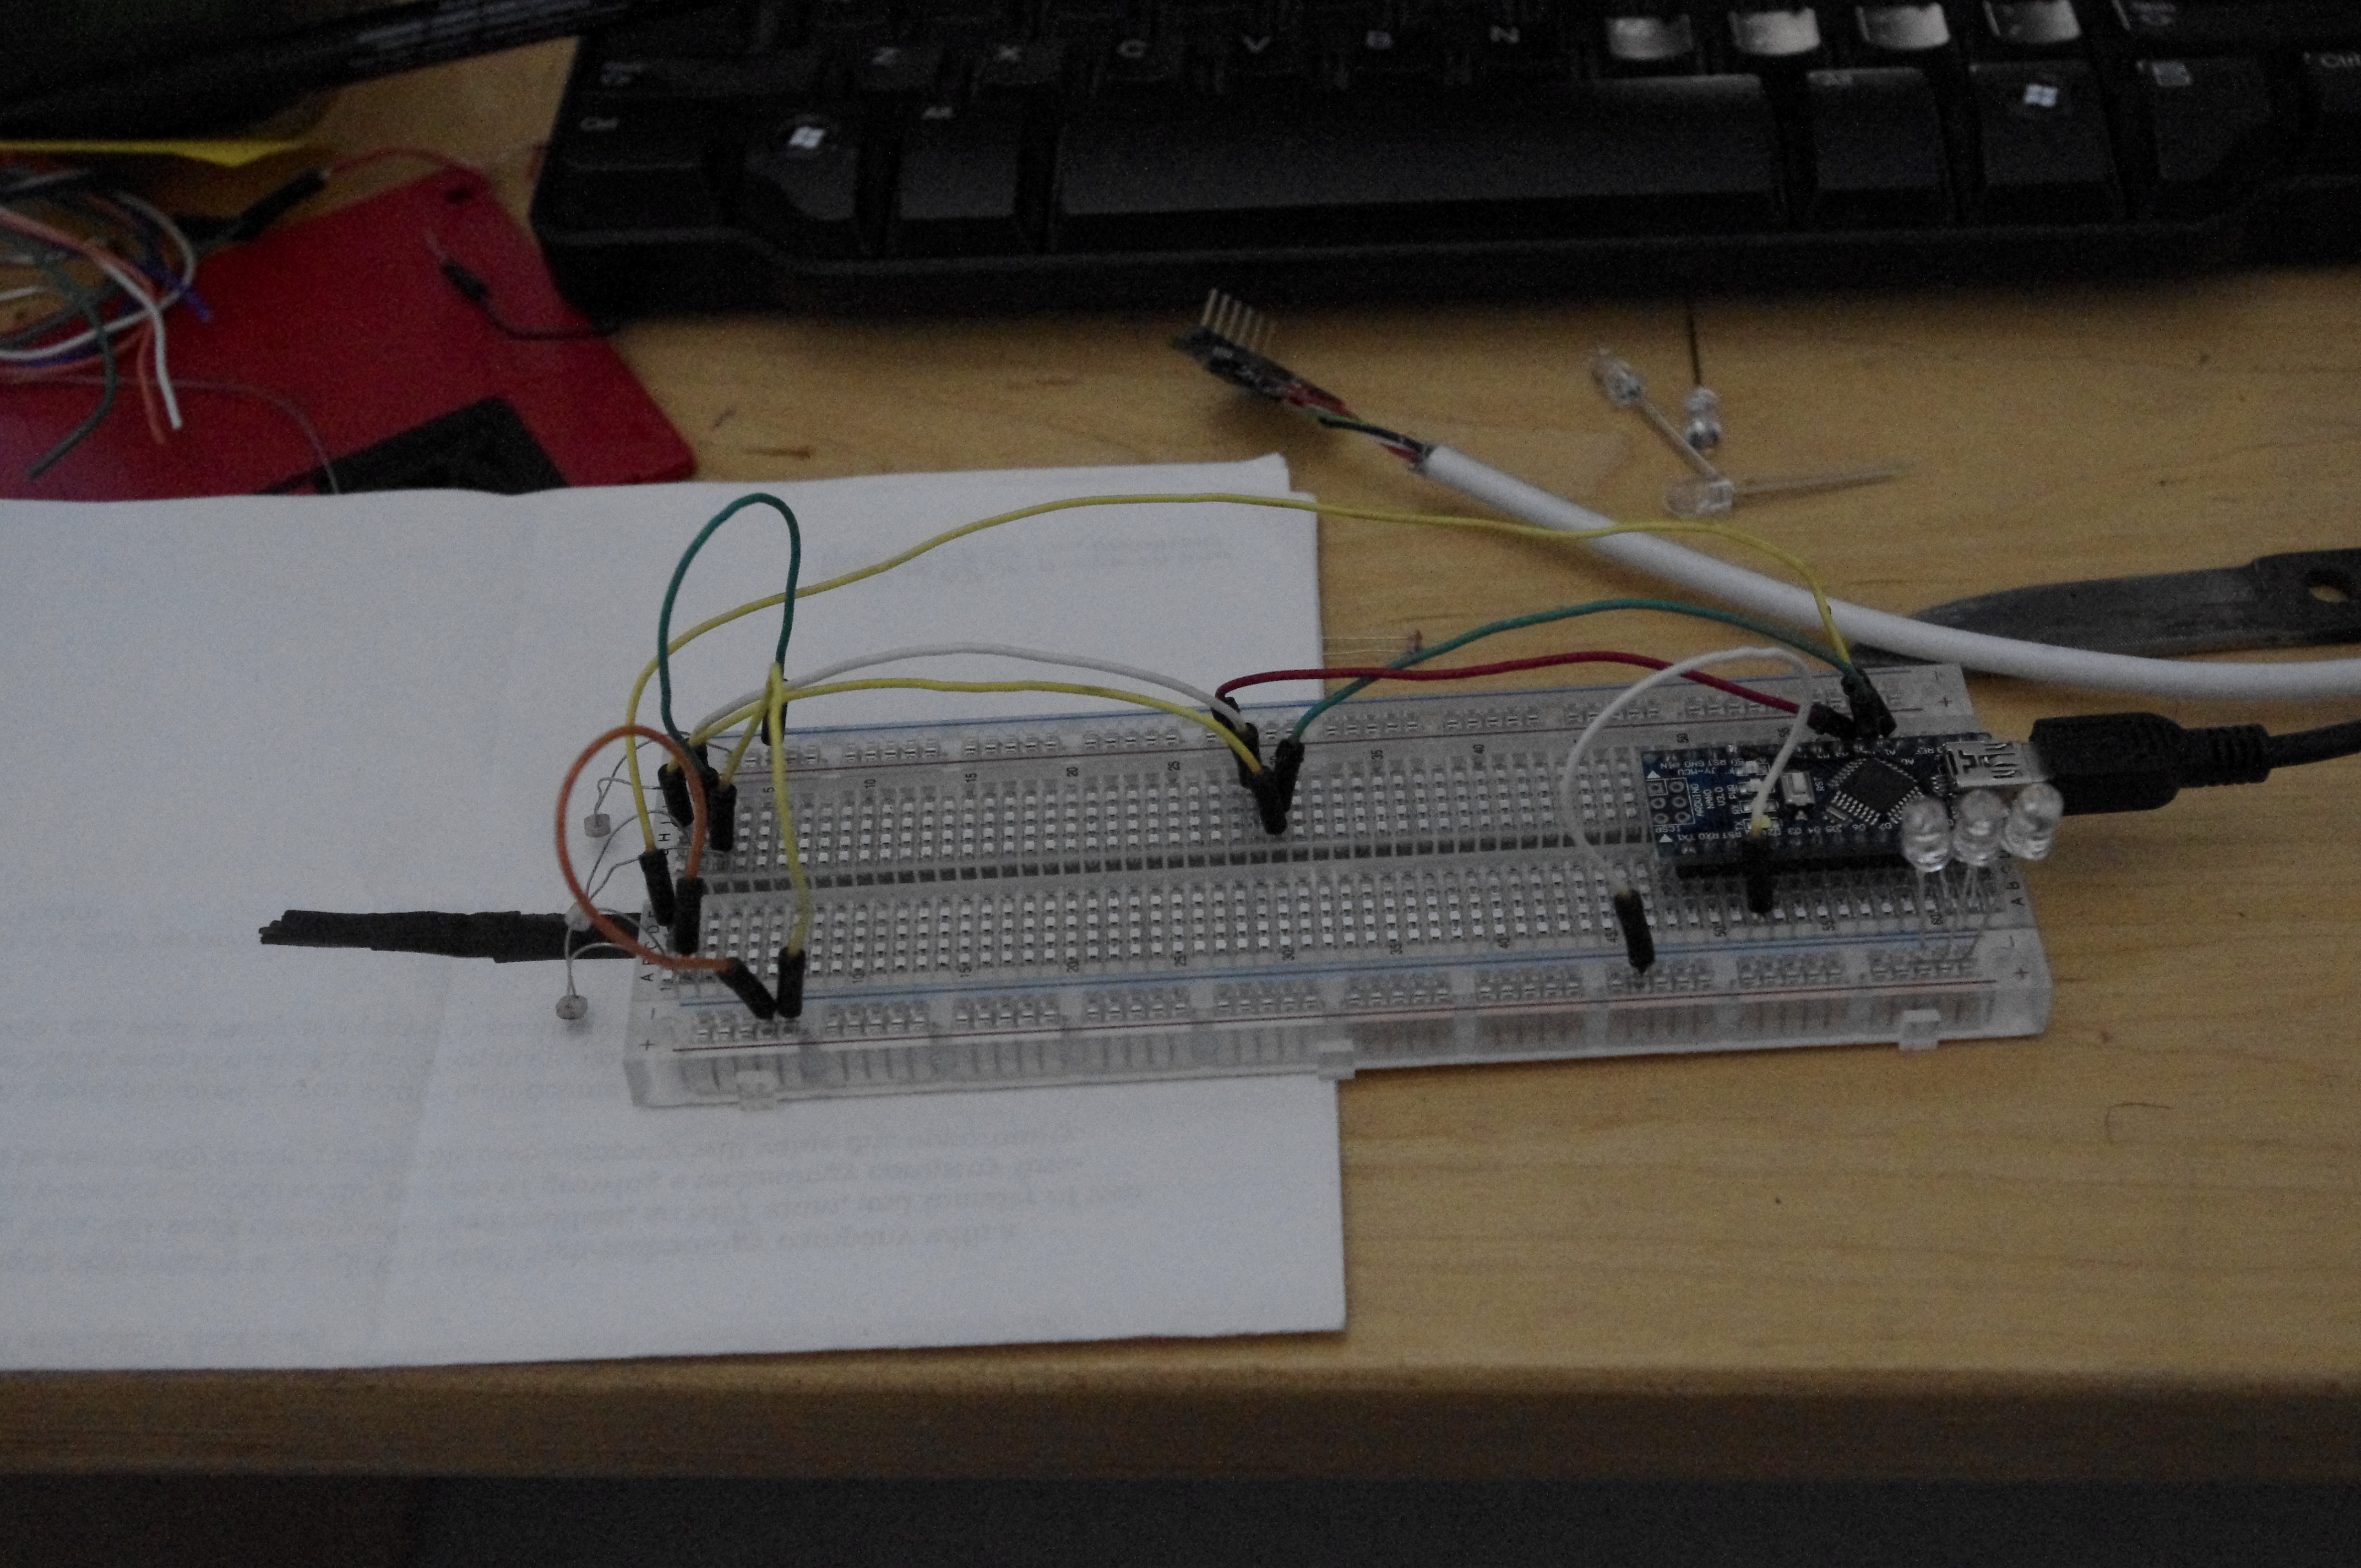
When I returned from dinner, I decided to take one last look. I was greeted with two plates full of transformants, in perfect little green colonies. Having left my sole blue LED at sprout, I initially thought that I would have no way of testing the fluorescence, until I spied my arduino nano on my desk. I remembered that it had a blue LED on it, so I plugged it into my laptop and used it to light the plates, which indeed fluoresced.
Lessons learned: Be patient. Synch your life to the organism you are studying, not the other way around. Also arduinos are good for many things.
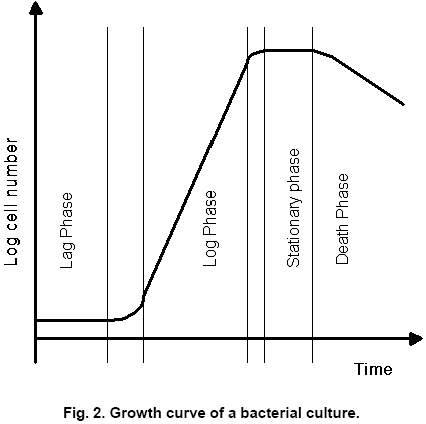
The final question you may have is “why did they take so long to grow?”. The answer there is something I should have recognized! I totally forgot that there is often a “lag phase” of growth in bacteria. This is the phase where bacteria are generating the needed metabolites and substrates to adjust to their surroundings. The colonies are also growing (in this case) from a single bacteria! So it makes sense that there was a pretty big lag from when they were plated, until I could see them.
The GFP project rolls forward! Powered (funded) by the people doing the work, I managed to order all the materials that we would need for a transformation this weekend (by that, I mean today). There was an awesome turnout; some new people came out, a lot of supporters came out, and a good time was had by all.

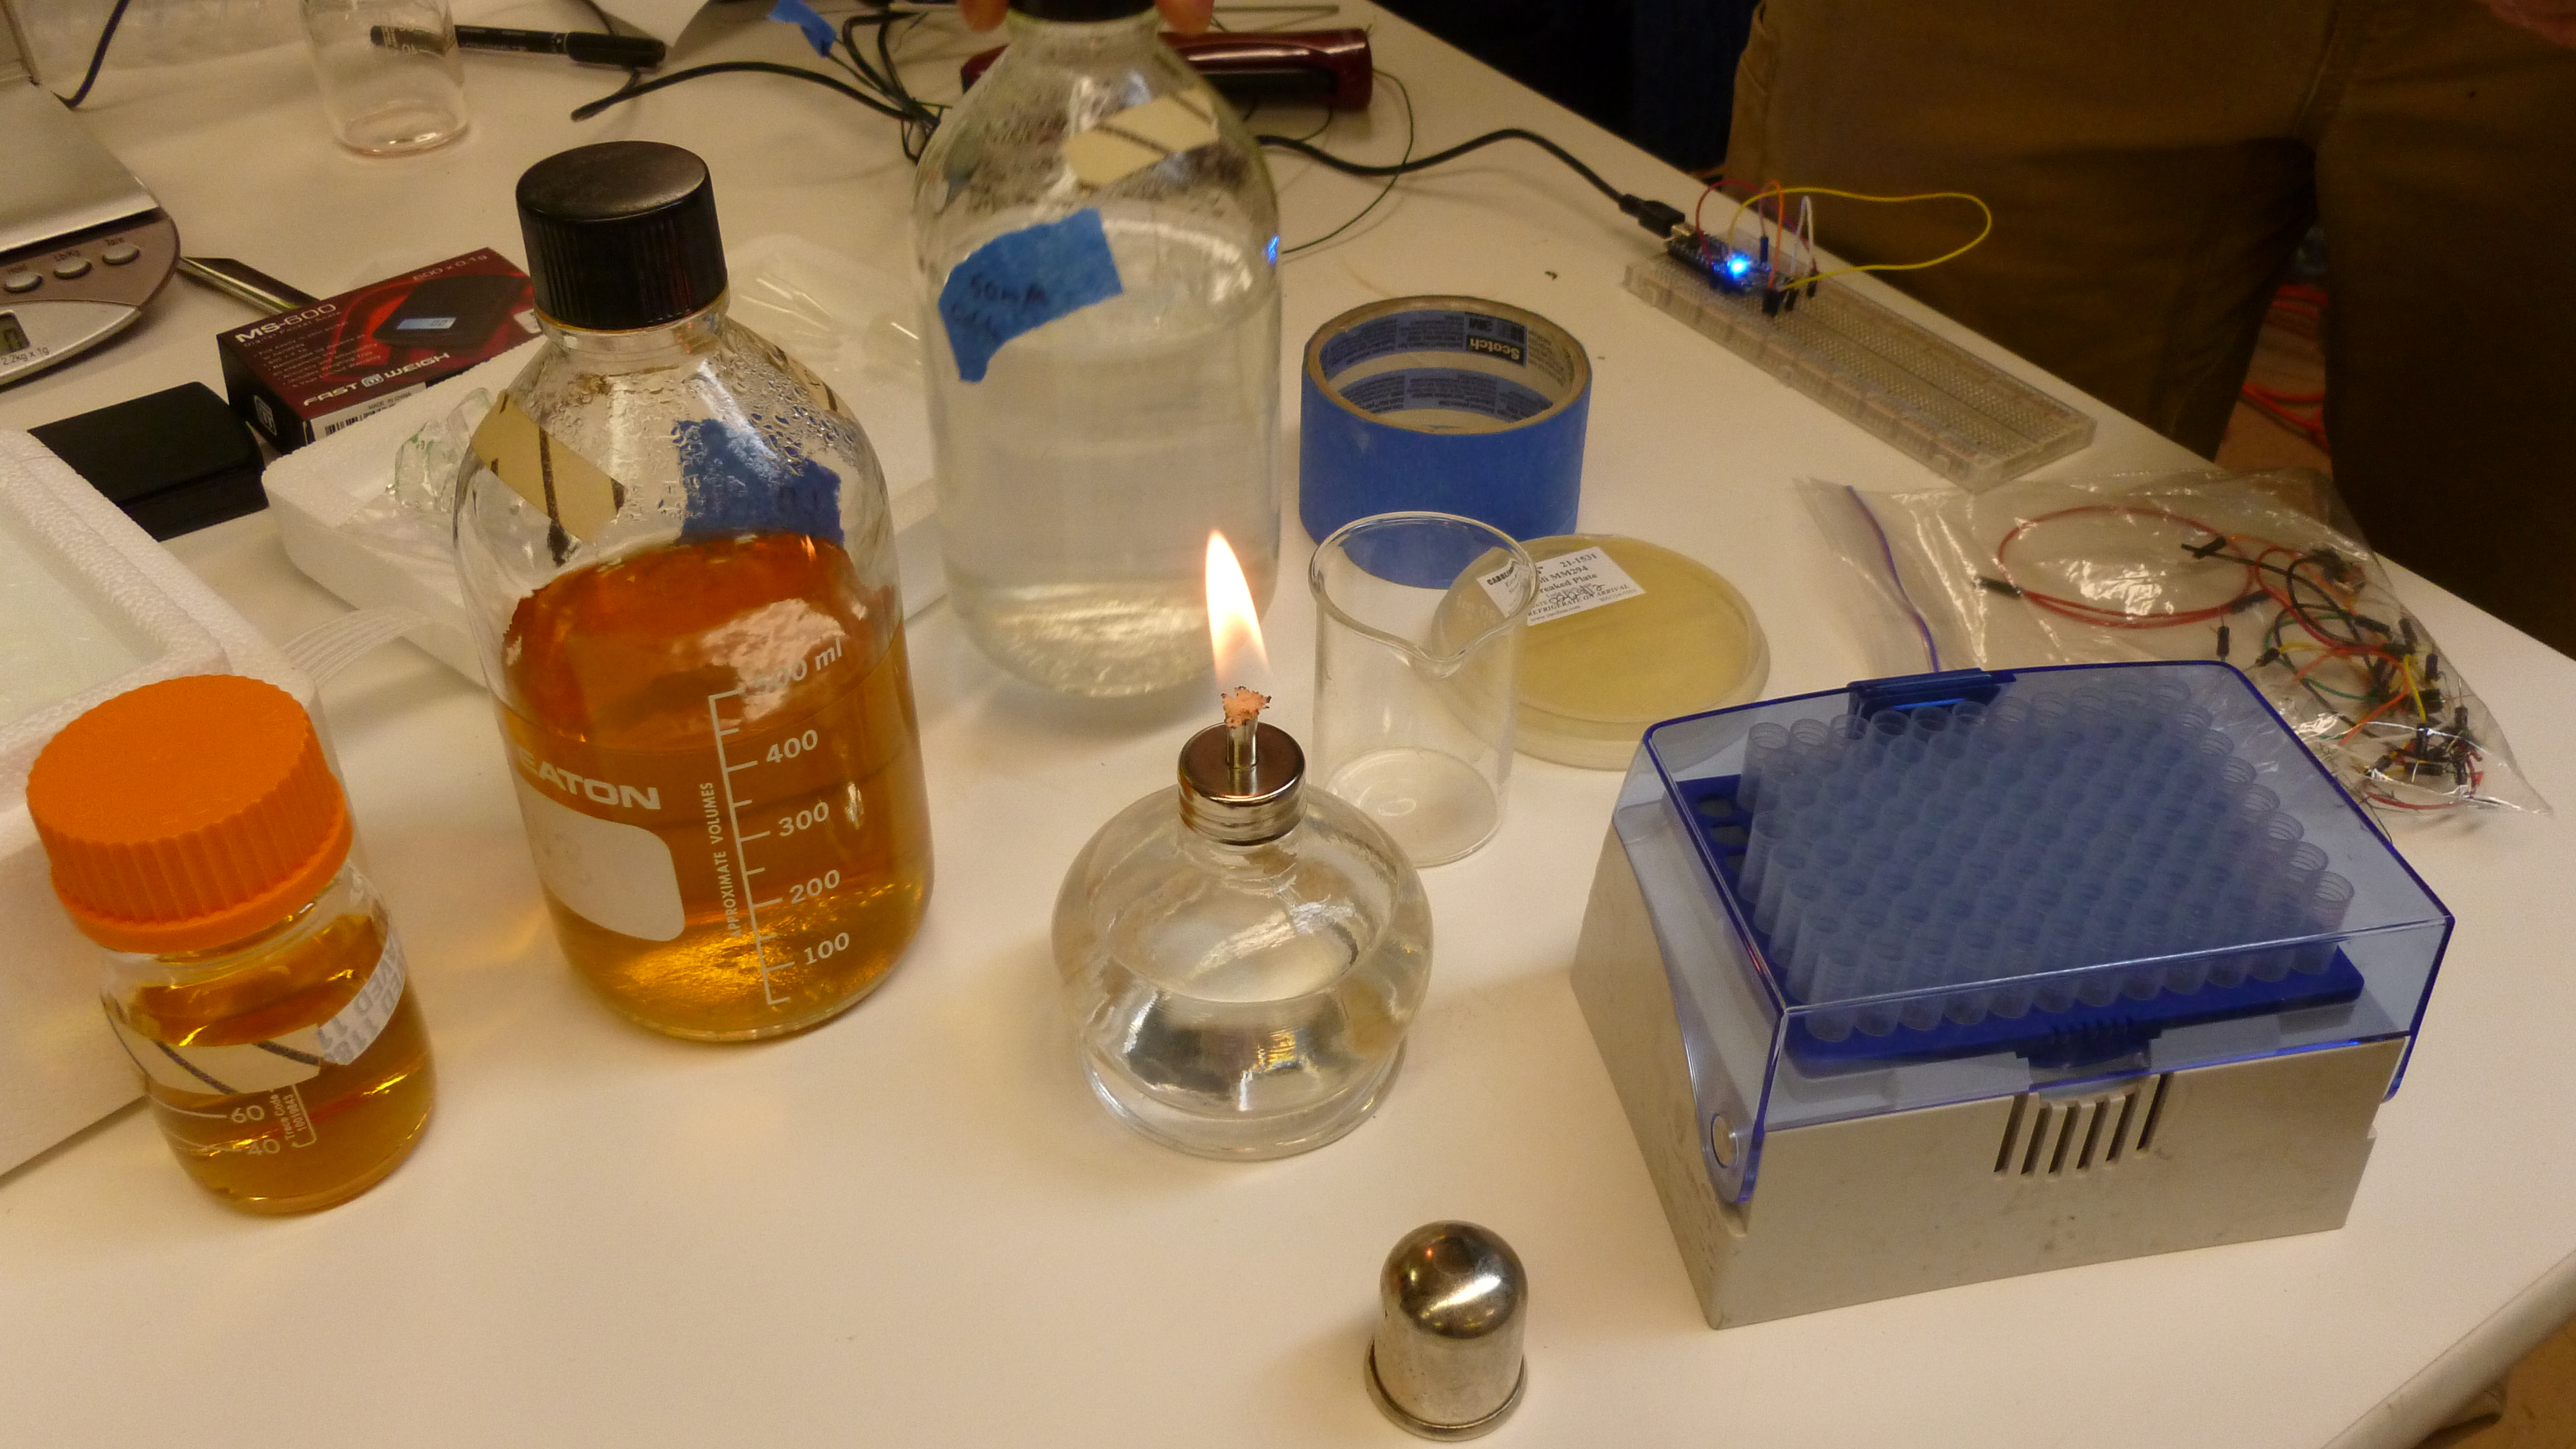
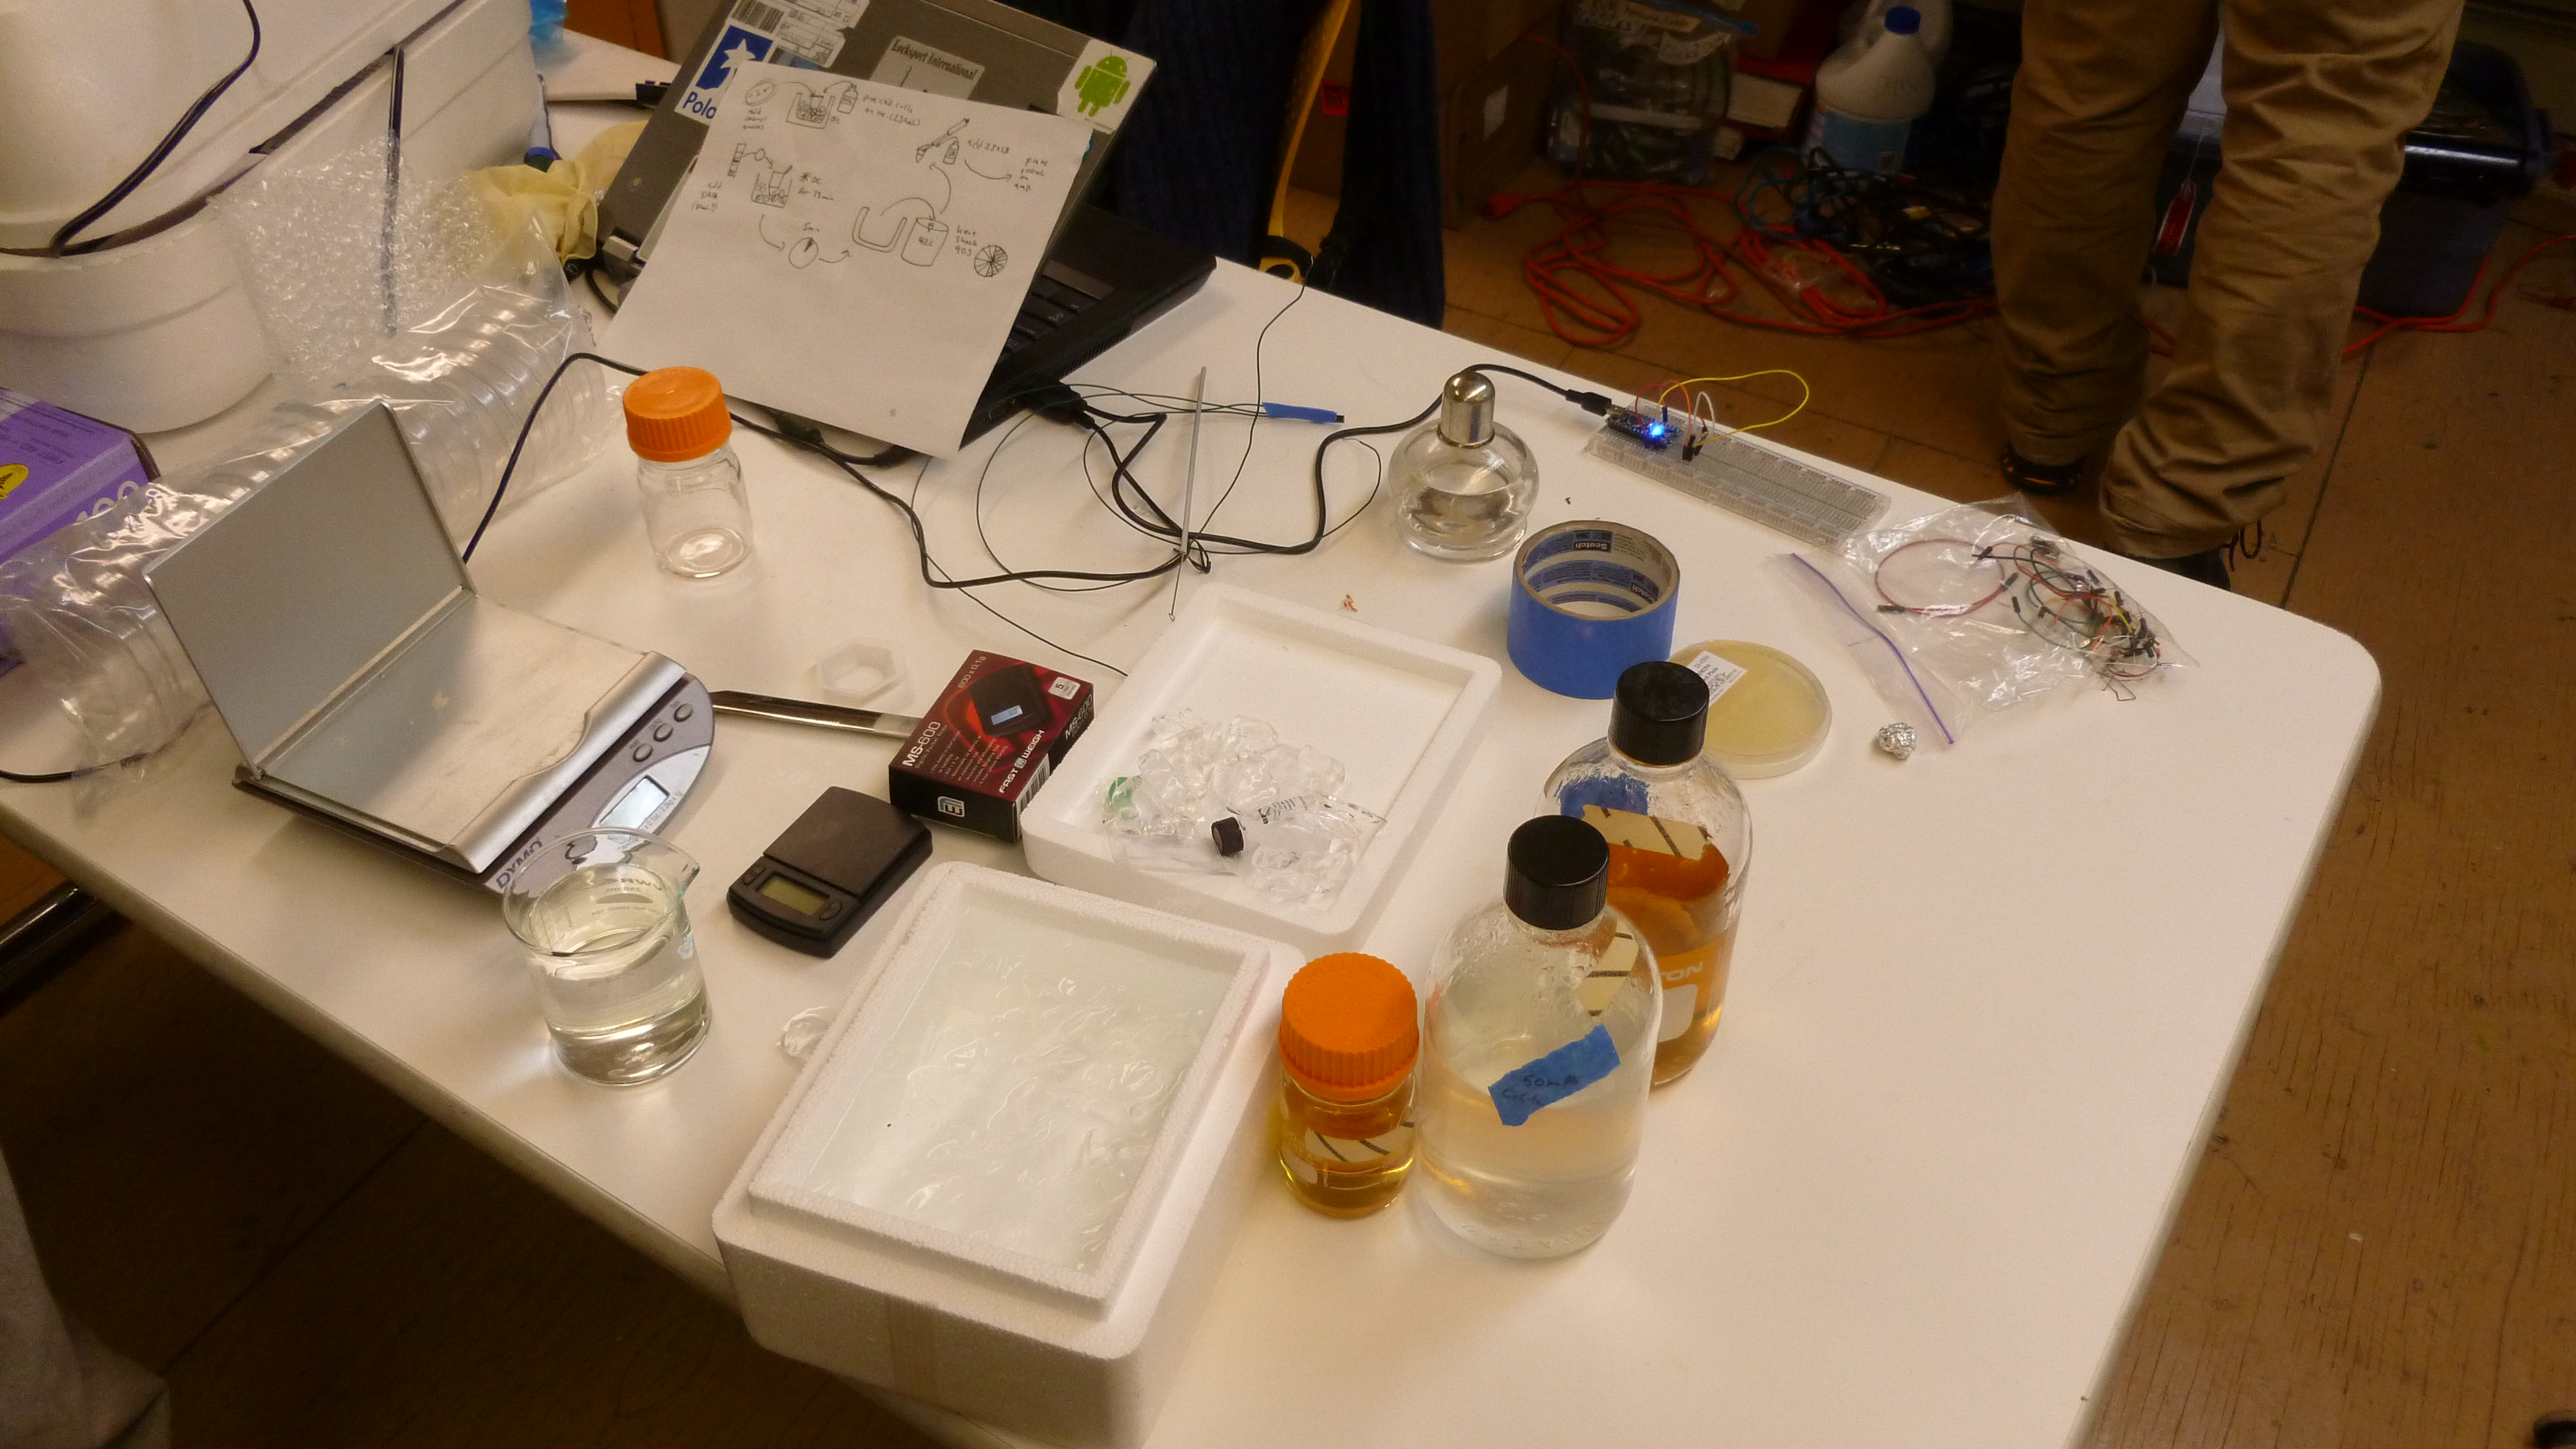
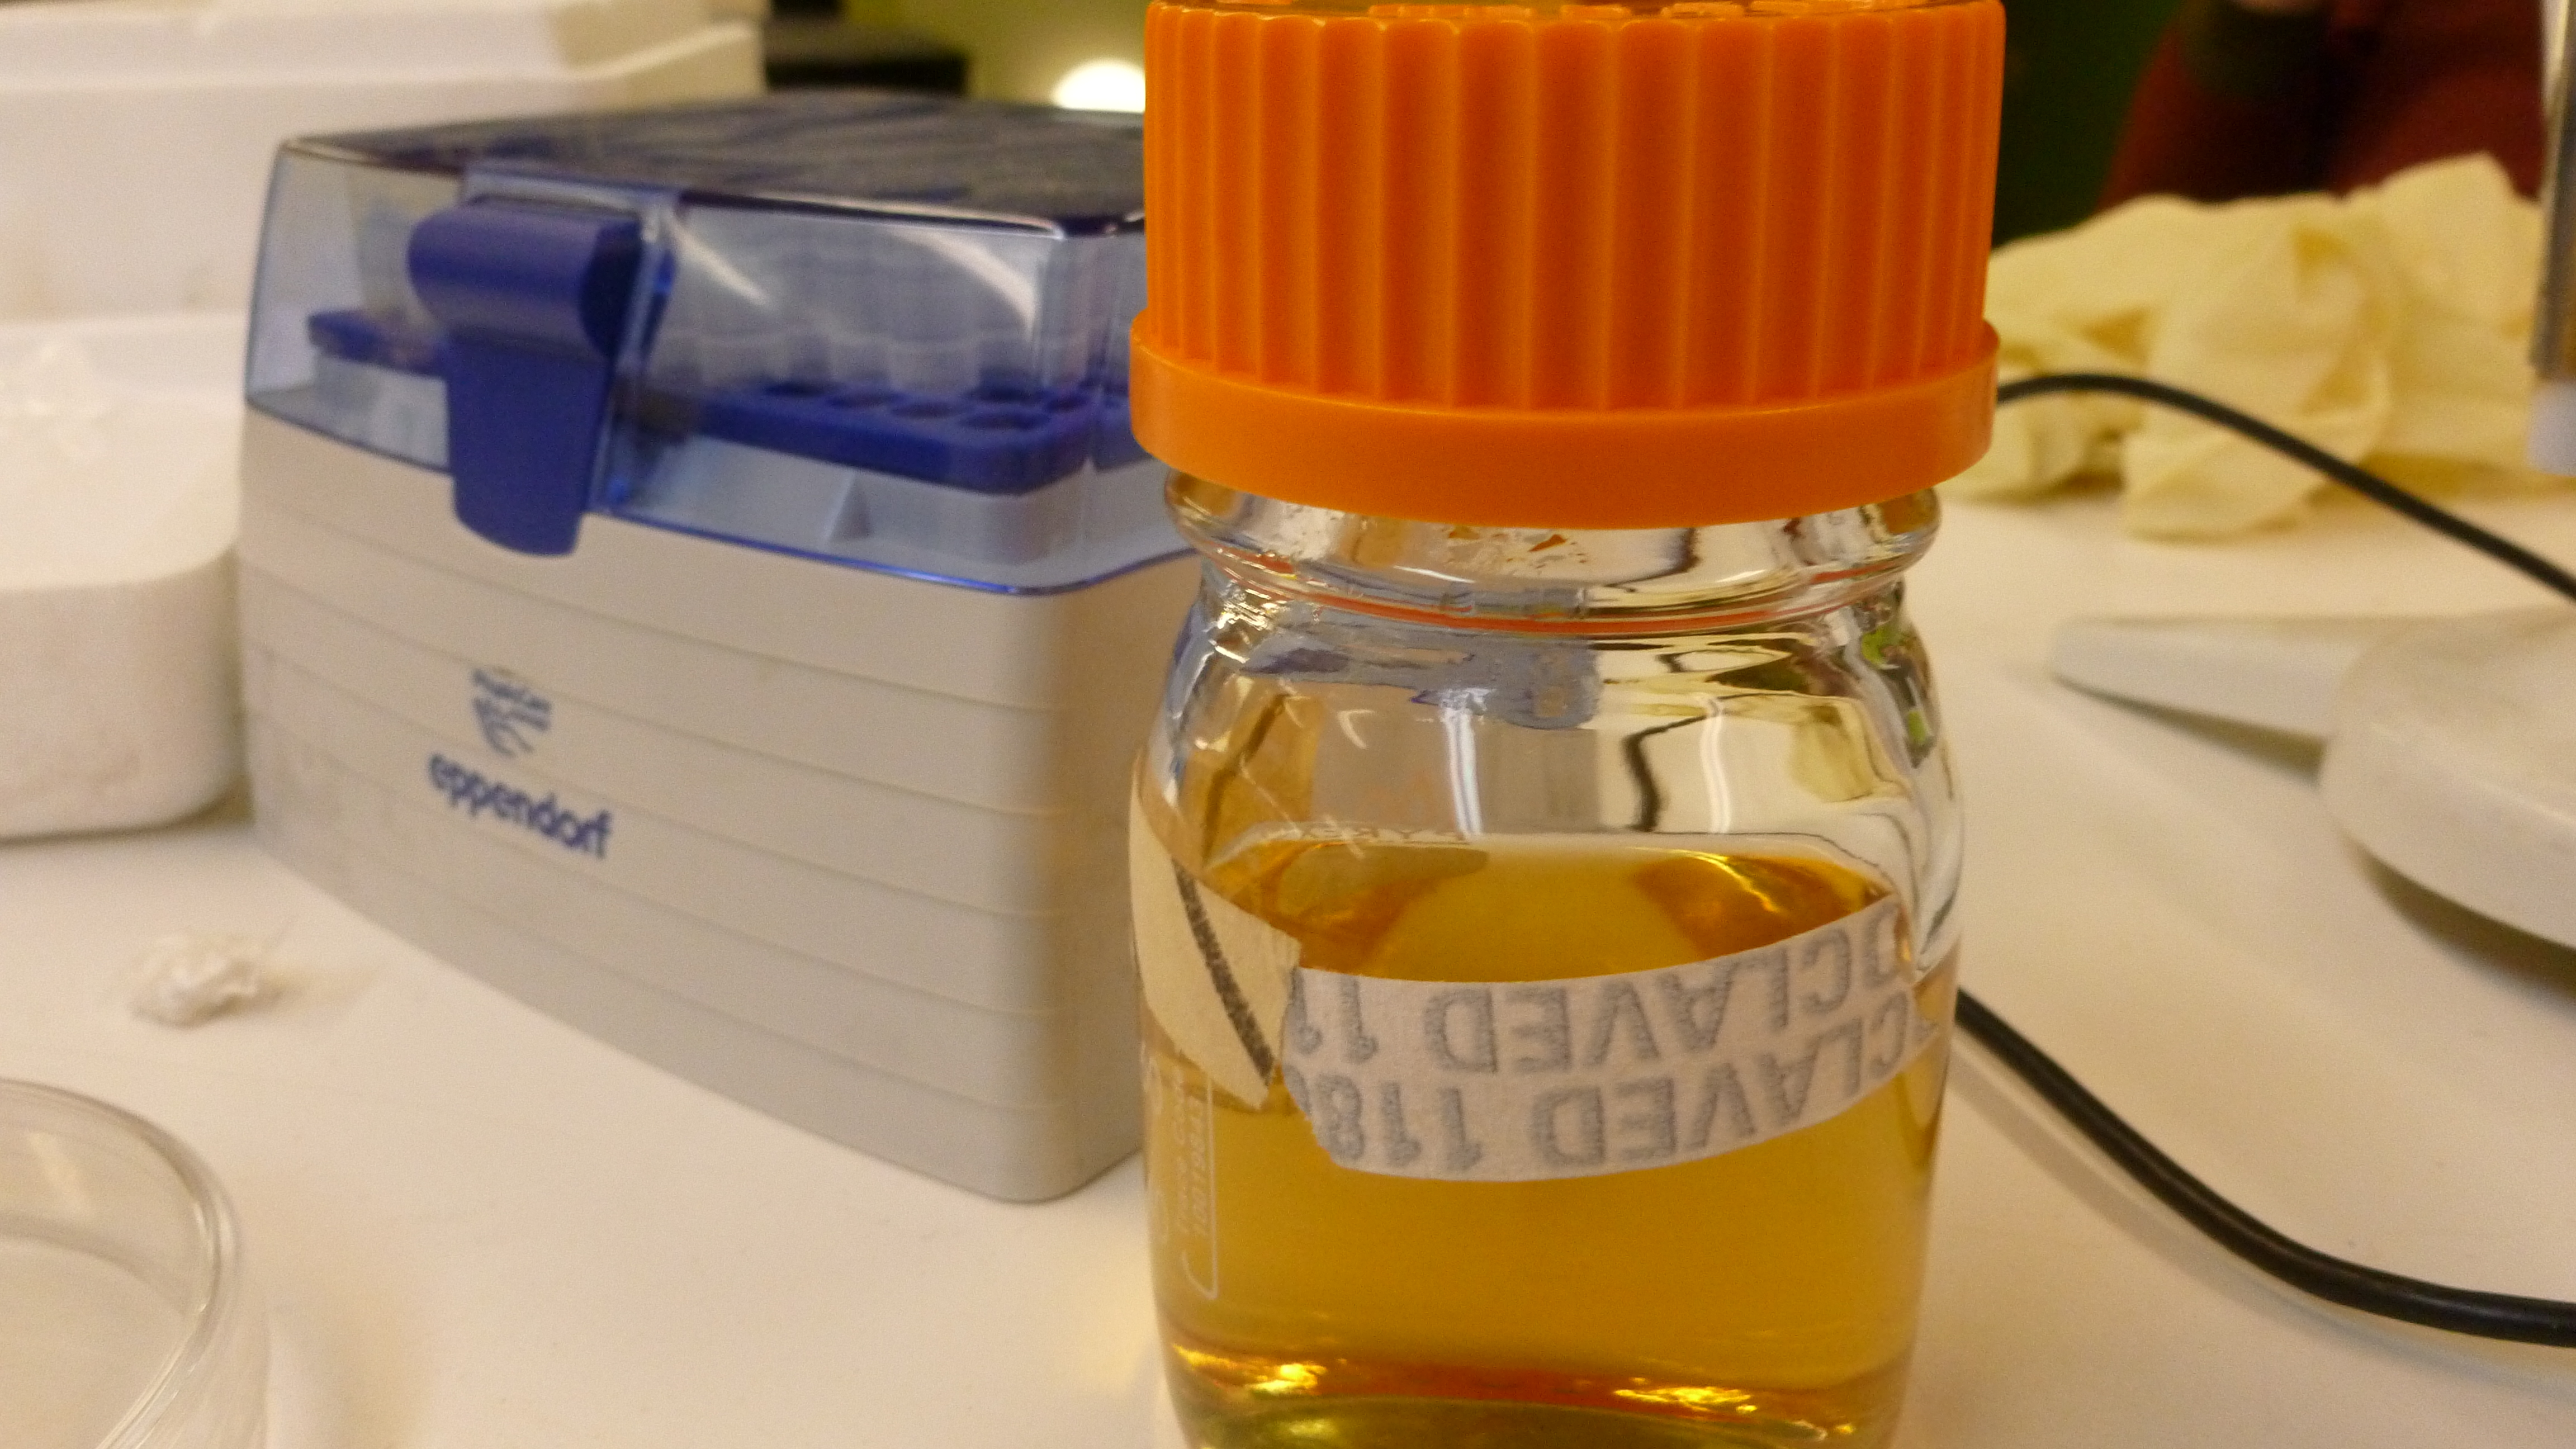
From left to right: LB broth, LB agar, 50 mM CaCl solution, alcohol burner, tape, streaked plate, arduino, pipettes in a fancy box, ziplock-o-wires
To start out, we had to sterilize some media and CaCl2 solution. We made 200 ml of LB agar, 80 ml of LB broth, and 500 ml of 50mM CaCl2 salt solution. The LB agar was used to make LB+ ampicillin plates. These were prepared by adding 2 ml of 1% ampicillin to the still-molten agar once it had cooled to “warm enough to hold”, and then pouring it into sterile petri dishes.
The Calcium Chloride solution and the LB broth were needed for the transformation. You only need 250 ul of each per-transformation. We prepared the LB broth in bulk because it is useful to have on hand, and we prepared way to much CaCl2 because our scale was not sensitive enough to measure out a smaller quantity that would make a 50mM solution. We could have made a 1M solution and diluted it, but it seemed simpler to just make 500ml.
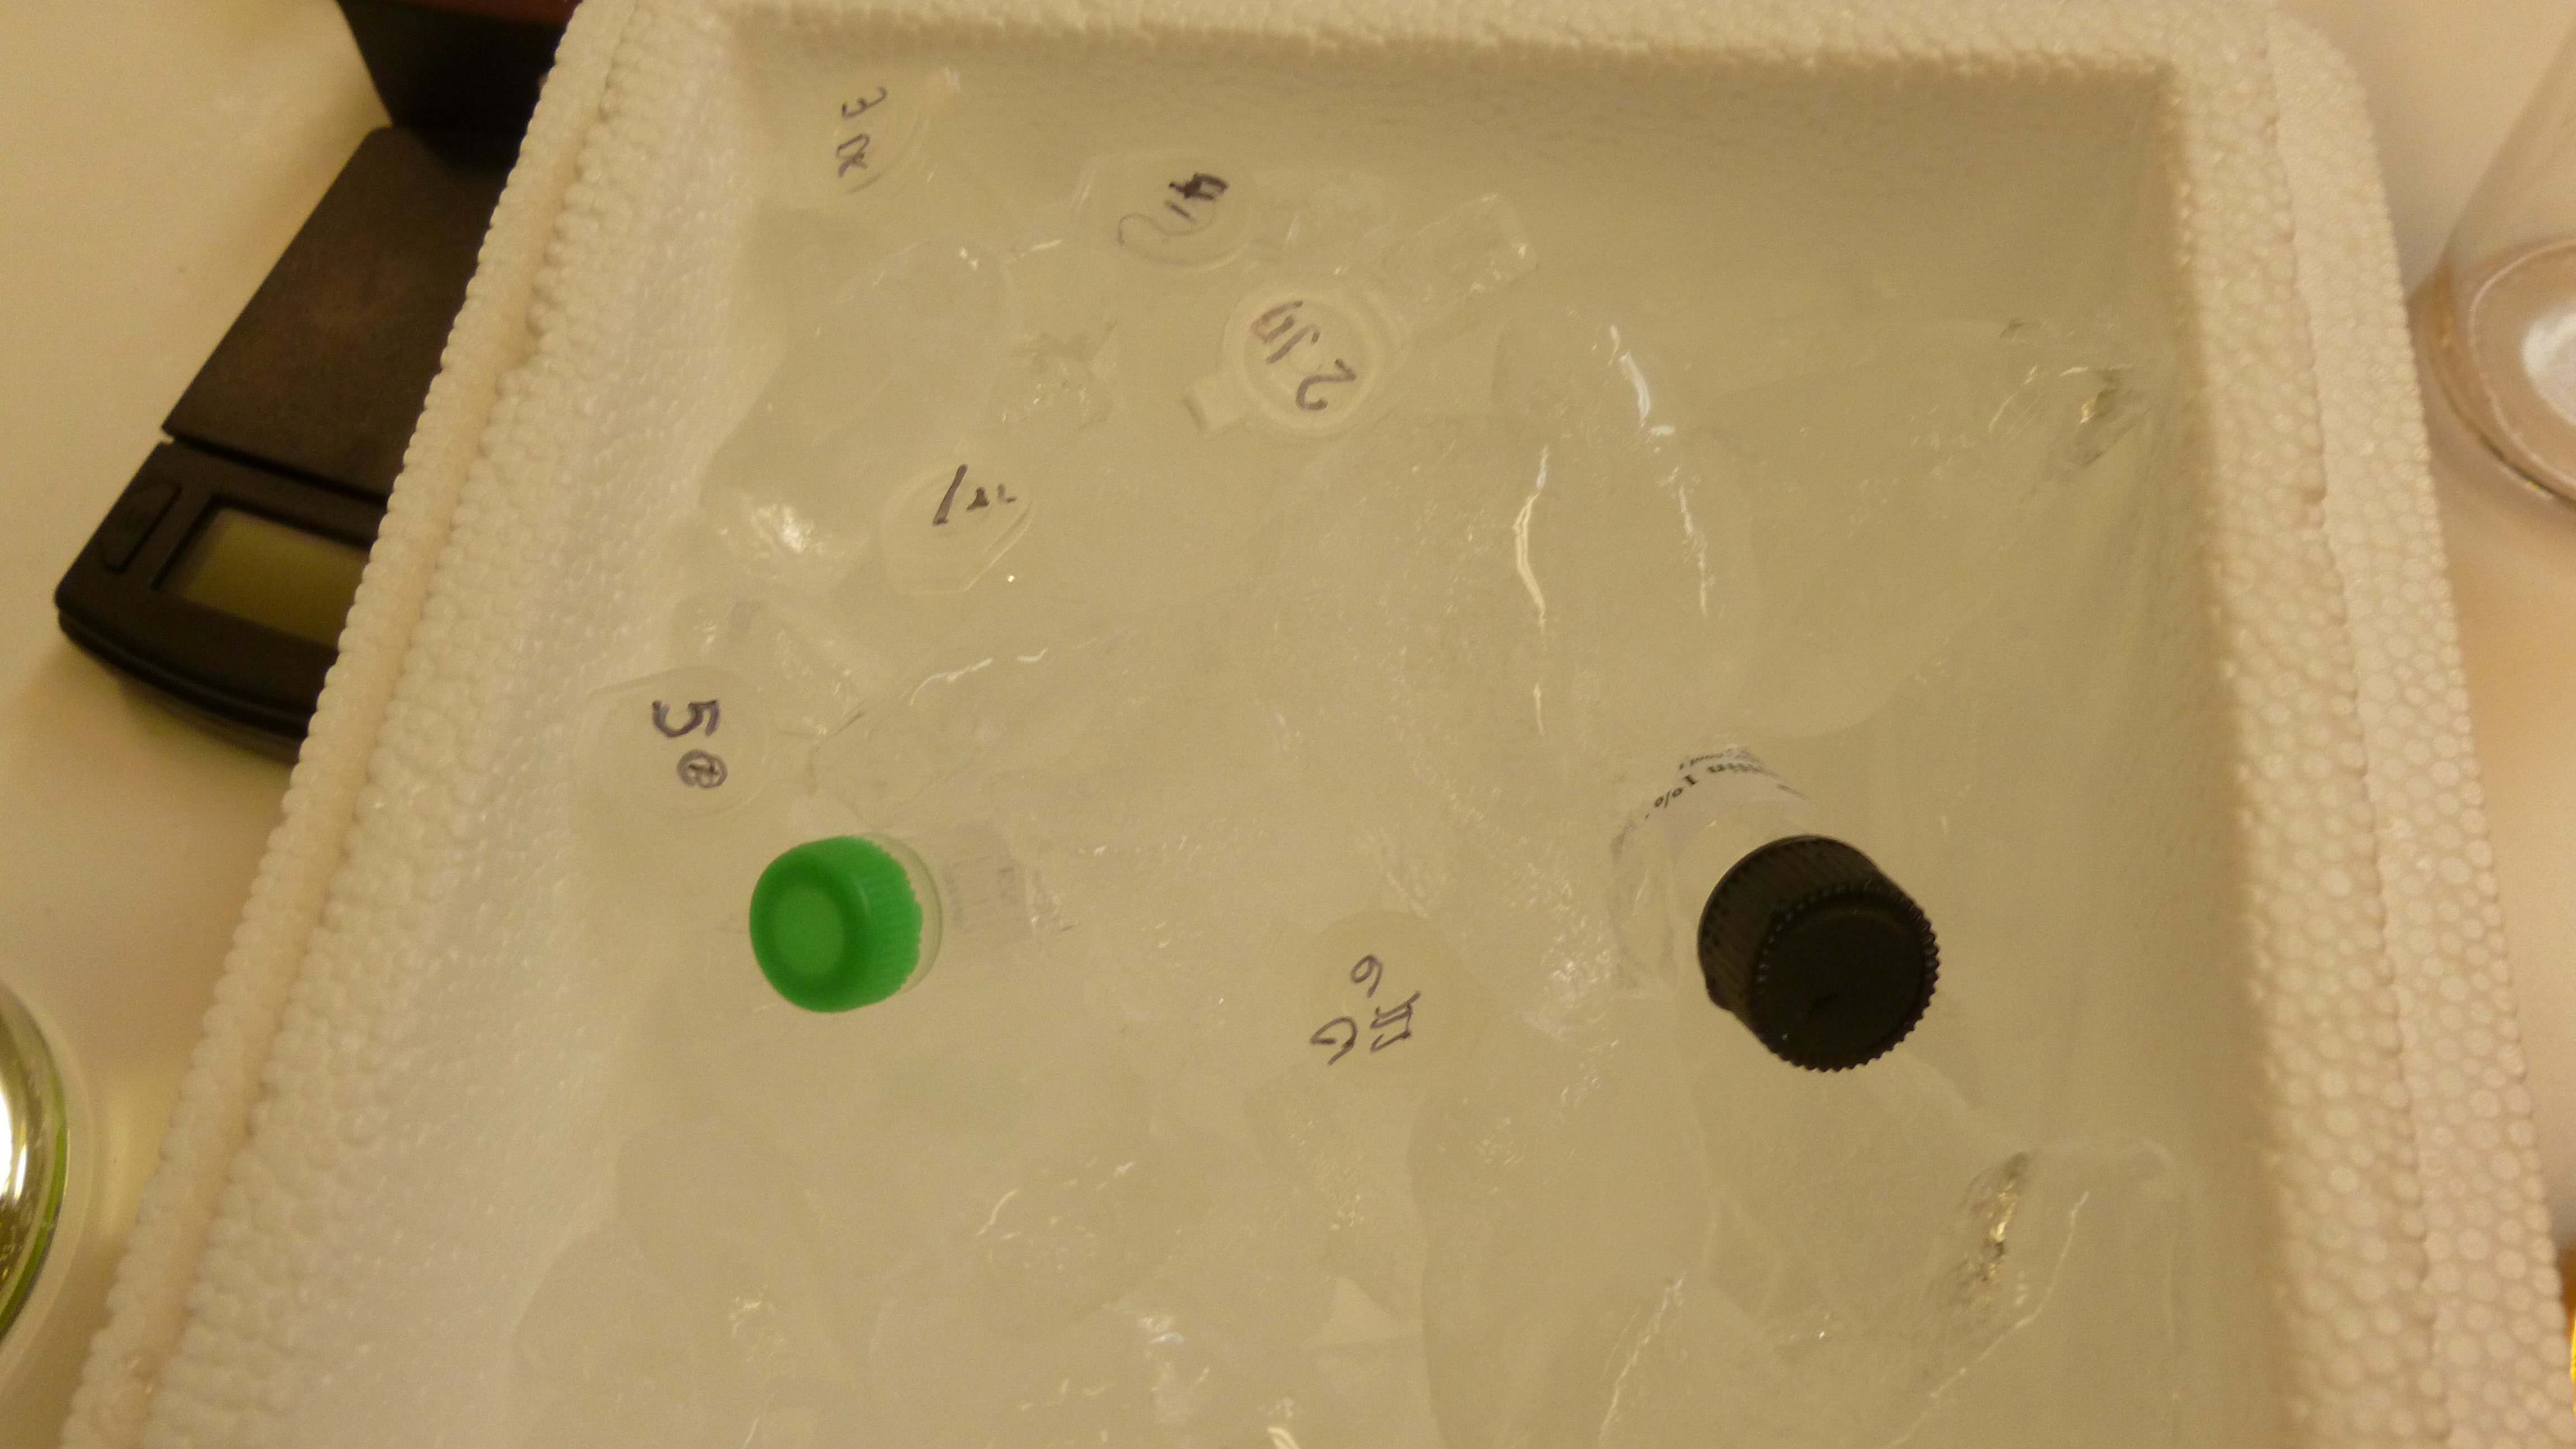
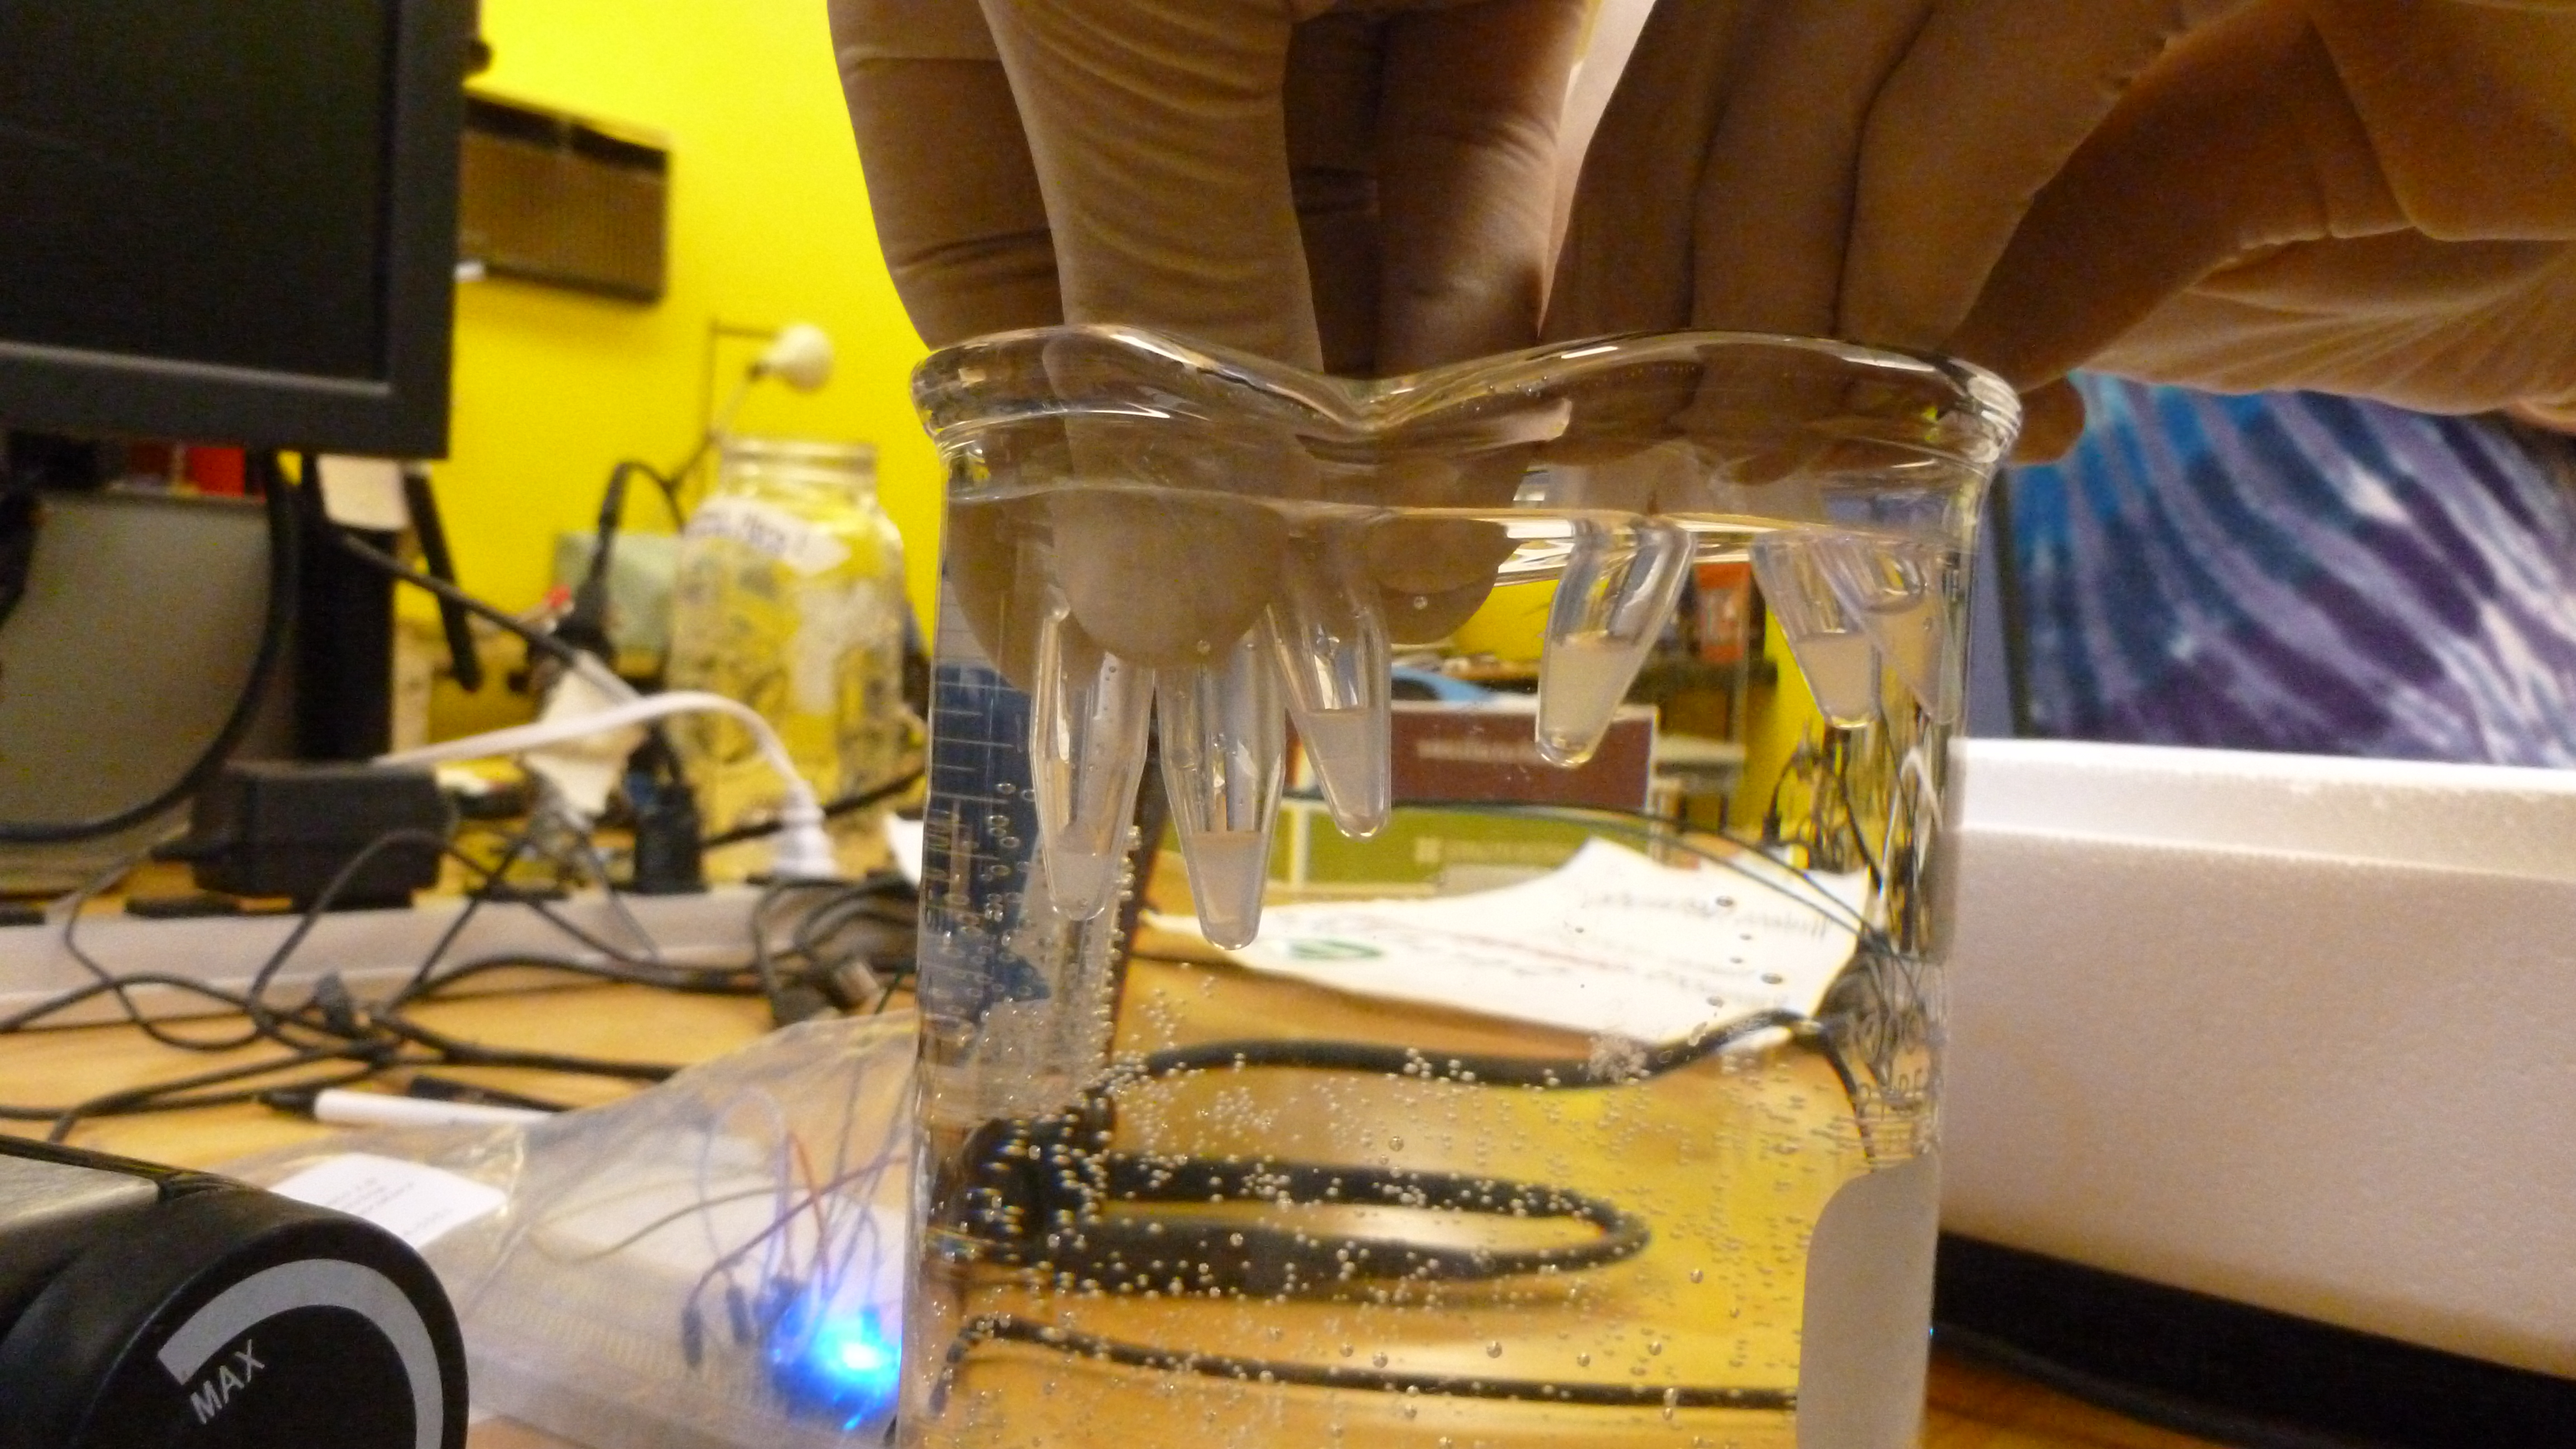
The other necessities for the transformation that had to be prepared were the ice bath, and the 42 C water bath. The ice bath was created using the insulated shipping crate that the plasmid and ampicillin came in by throwing some ice in the larger (bottom) container. The water bath I have successfully made before by nuking (microwaving) the water and then guesstimating that it was hot enough (more than body temperature, but cool enough to hold, between 37-50C). Today I used what seemed to be a much more reliable method, which was a hot plate and a submersible temperature probe.

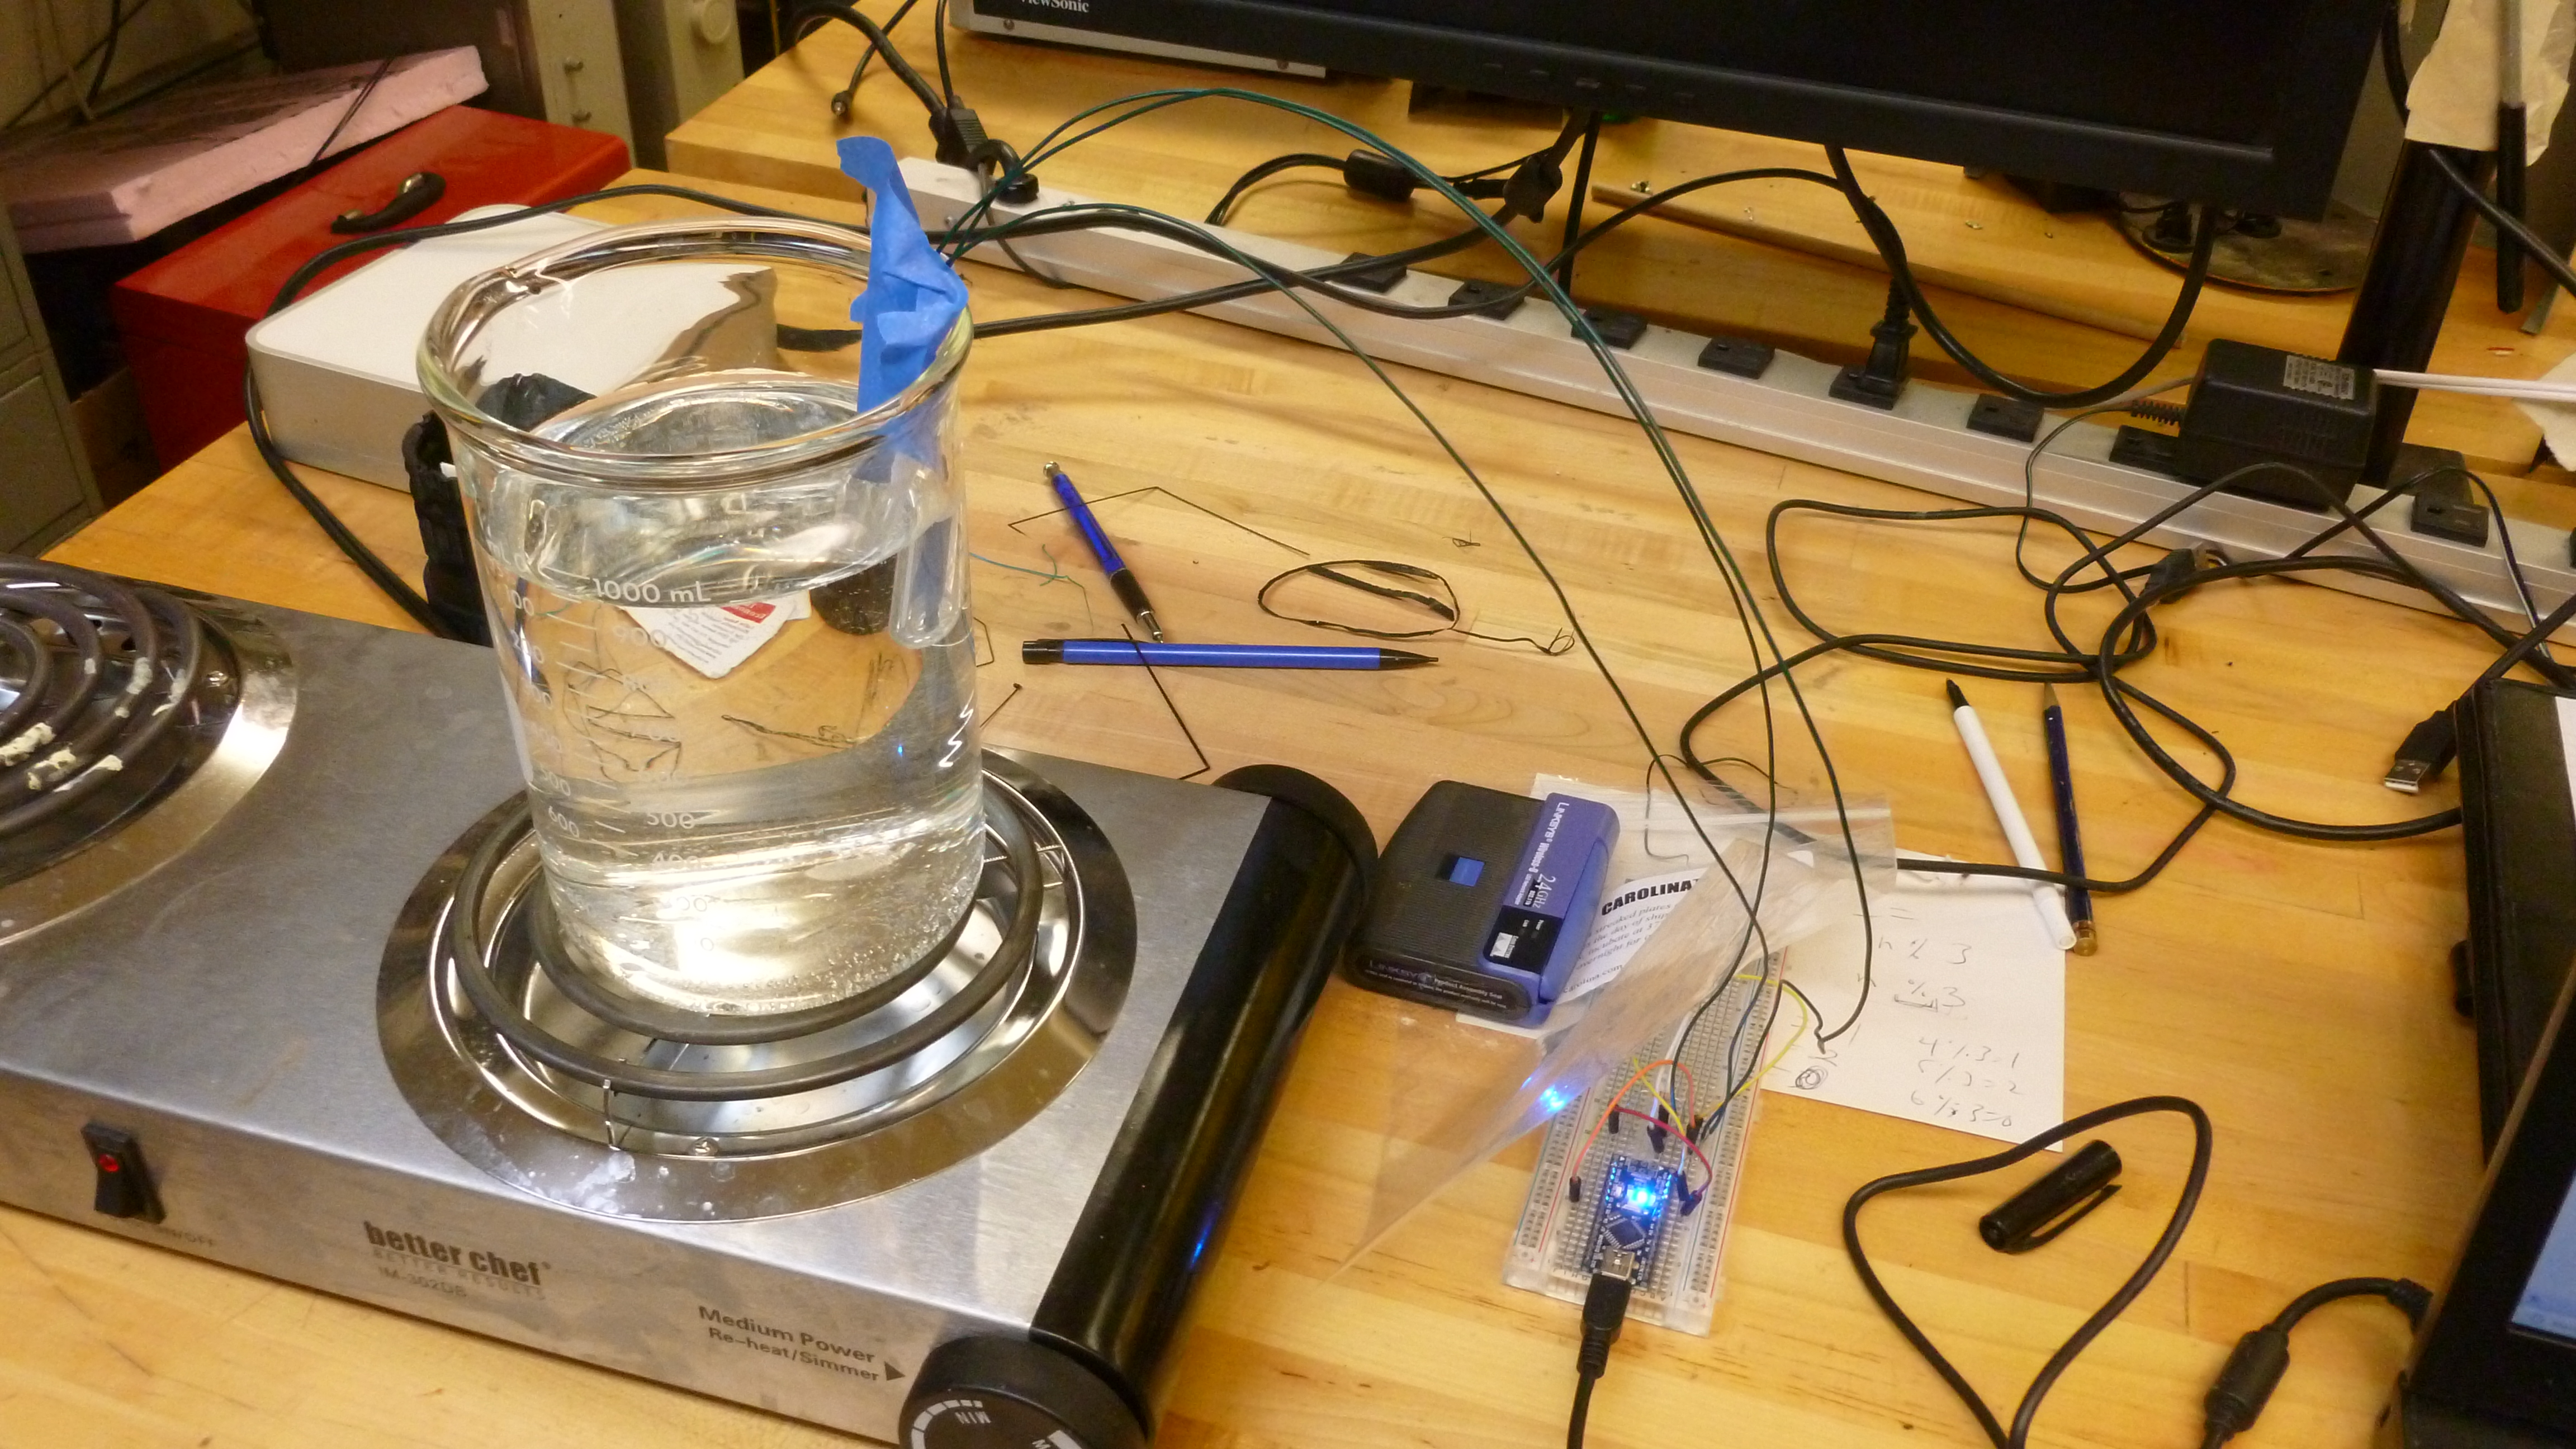
(Hot) Water bath setup. Sensor in falcon tube taped to beaker, arduino connected to sensor and computer
The temperature probe was improvised with my arduino mini, a DS1820 digital temperature sensor, some long wires, and a 15 ml falcon tube. I submerged the falcon tube in the water bath, and stuck the temperature sensor (which had been soldered to the long wires) into the tube, allowing it to (hopefully) measure the temperature of the bath. This was reporting the temperature back to my computer with some script I got to work a while ago. A better way to set this up physiclly would be to cram the sensor in to a thin-wall reaction tube (PCR tube) and fill it with milliQ water (non conductive, very DI RO water), stick the sensor in the water and waterproof all that with sugru or epoxy. This way there would be no air gap, and the sensor would be safe in DI water.
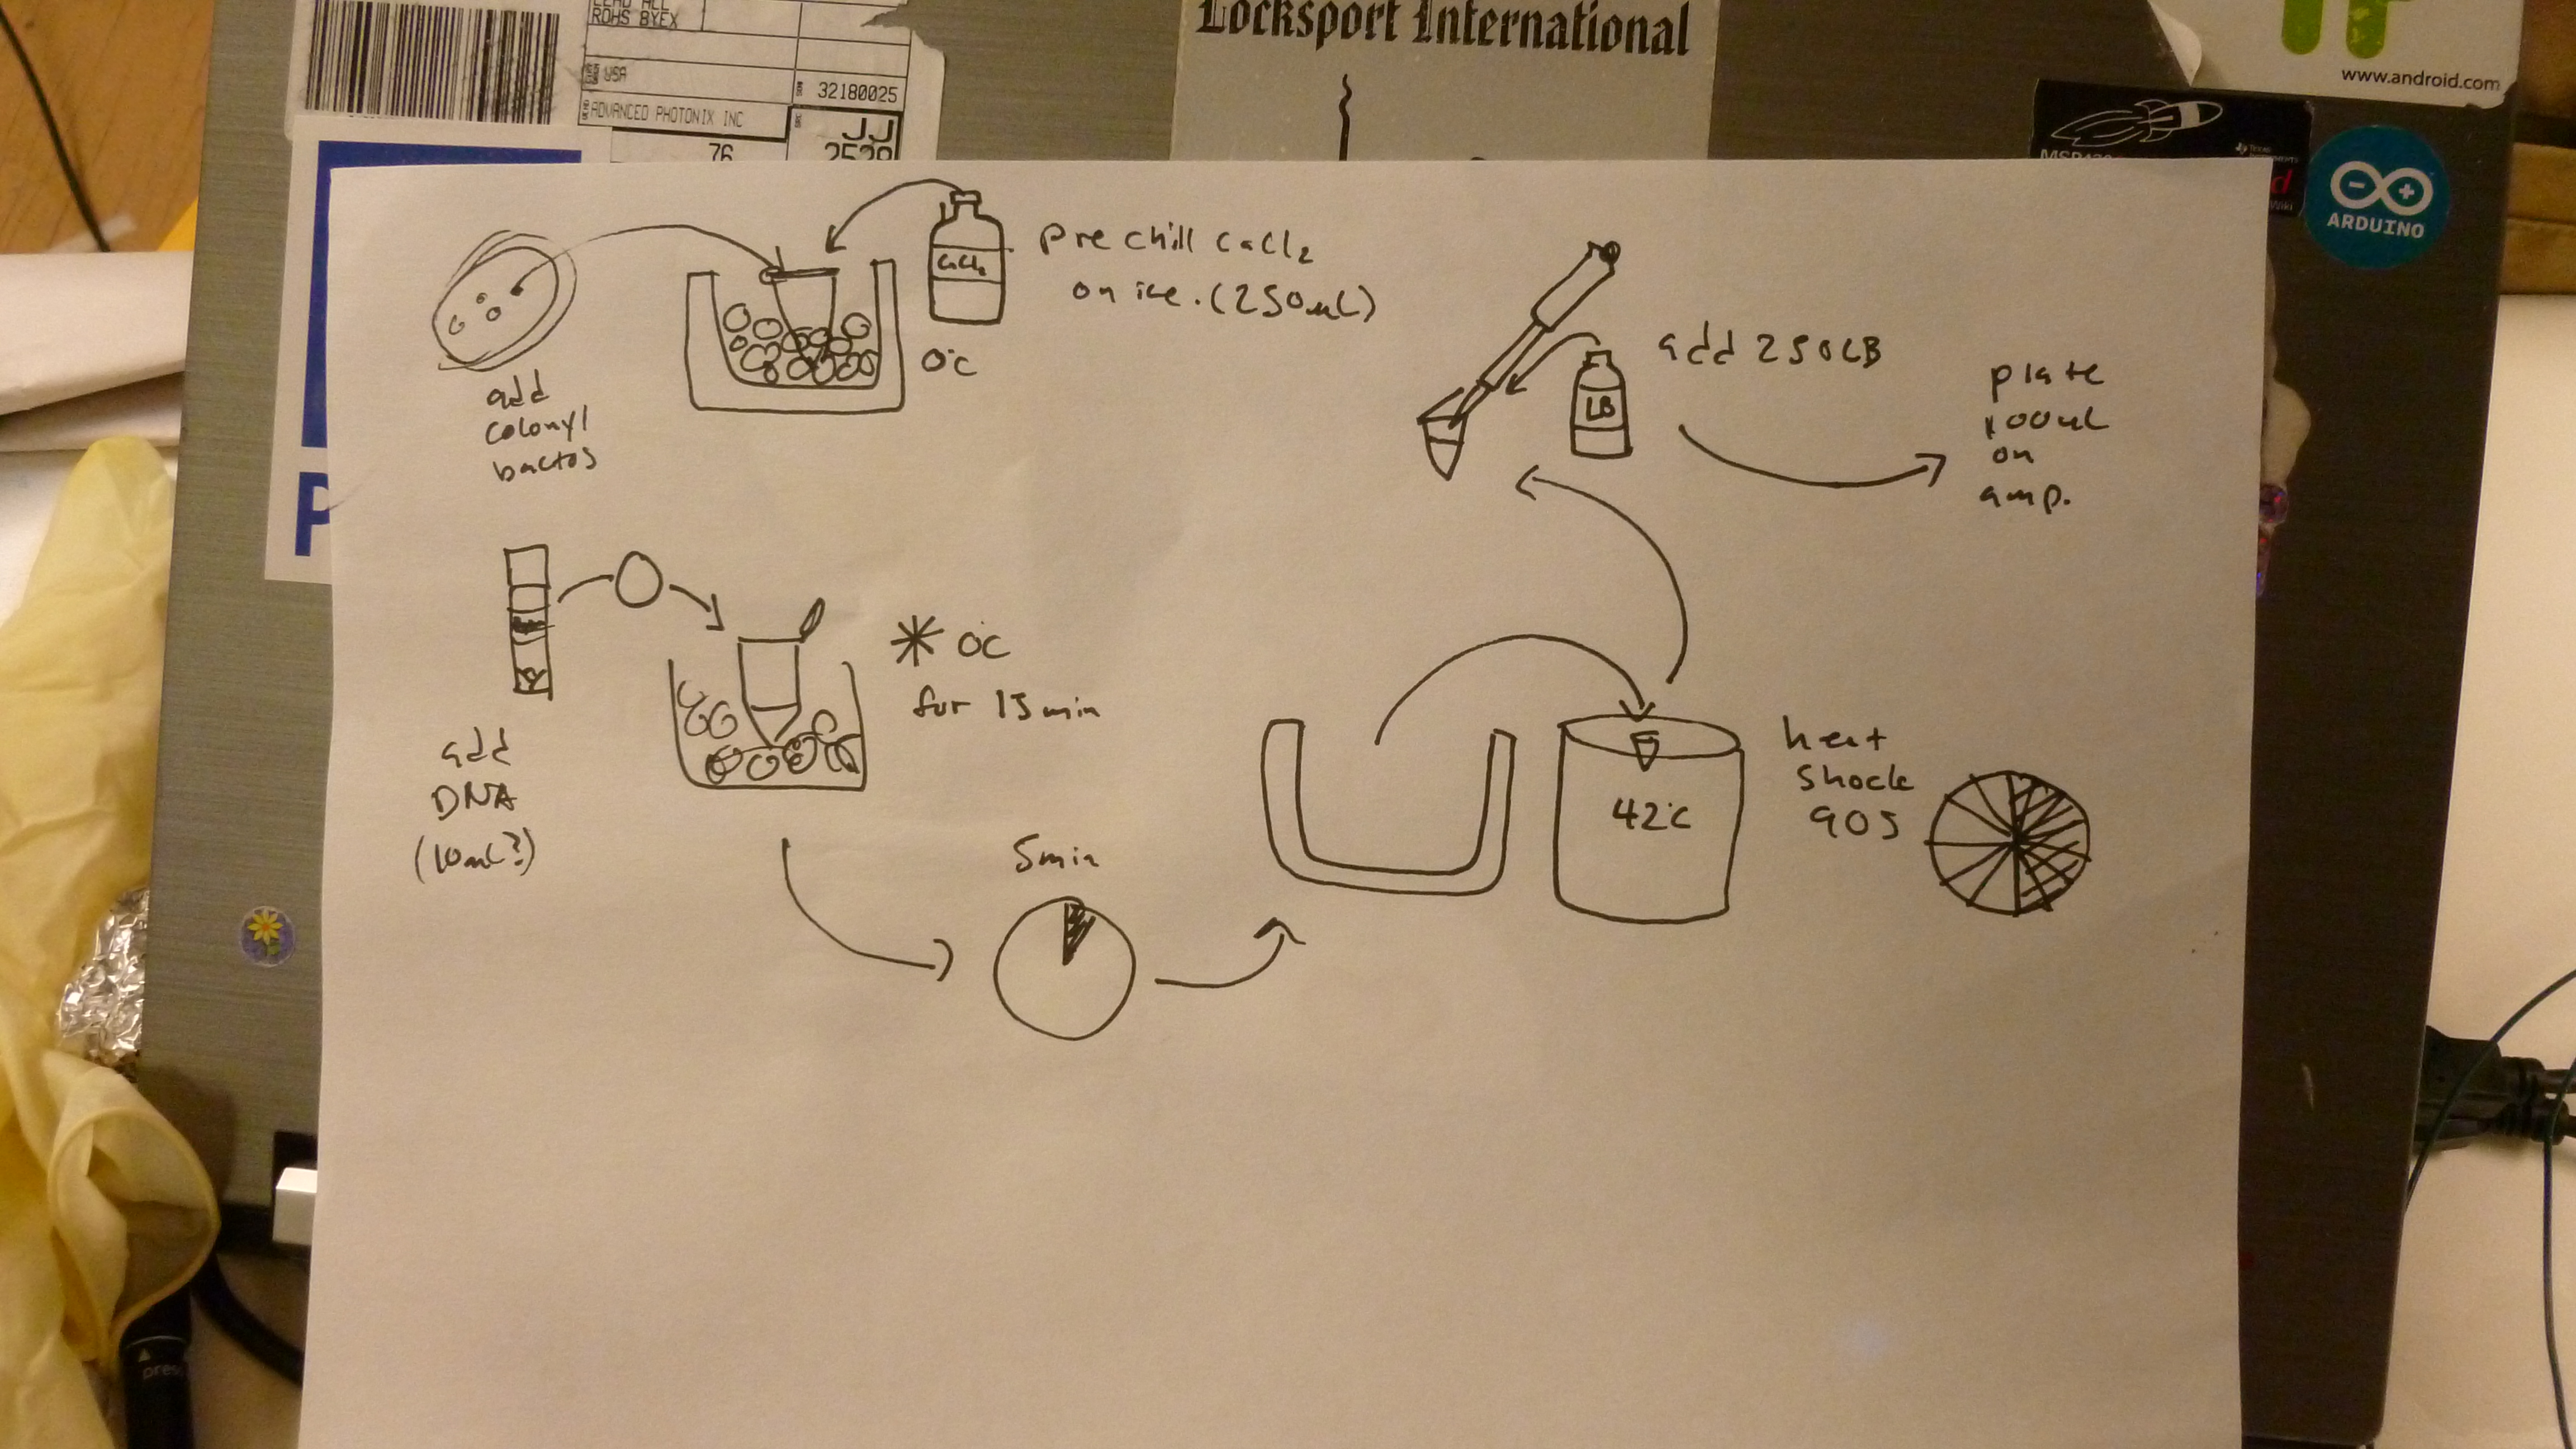
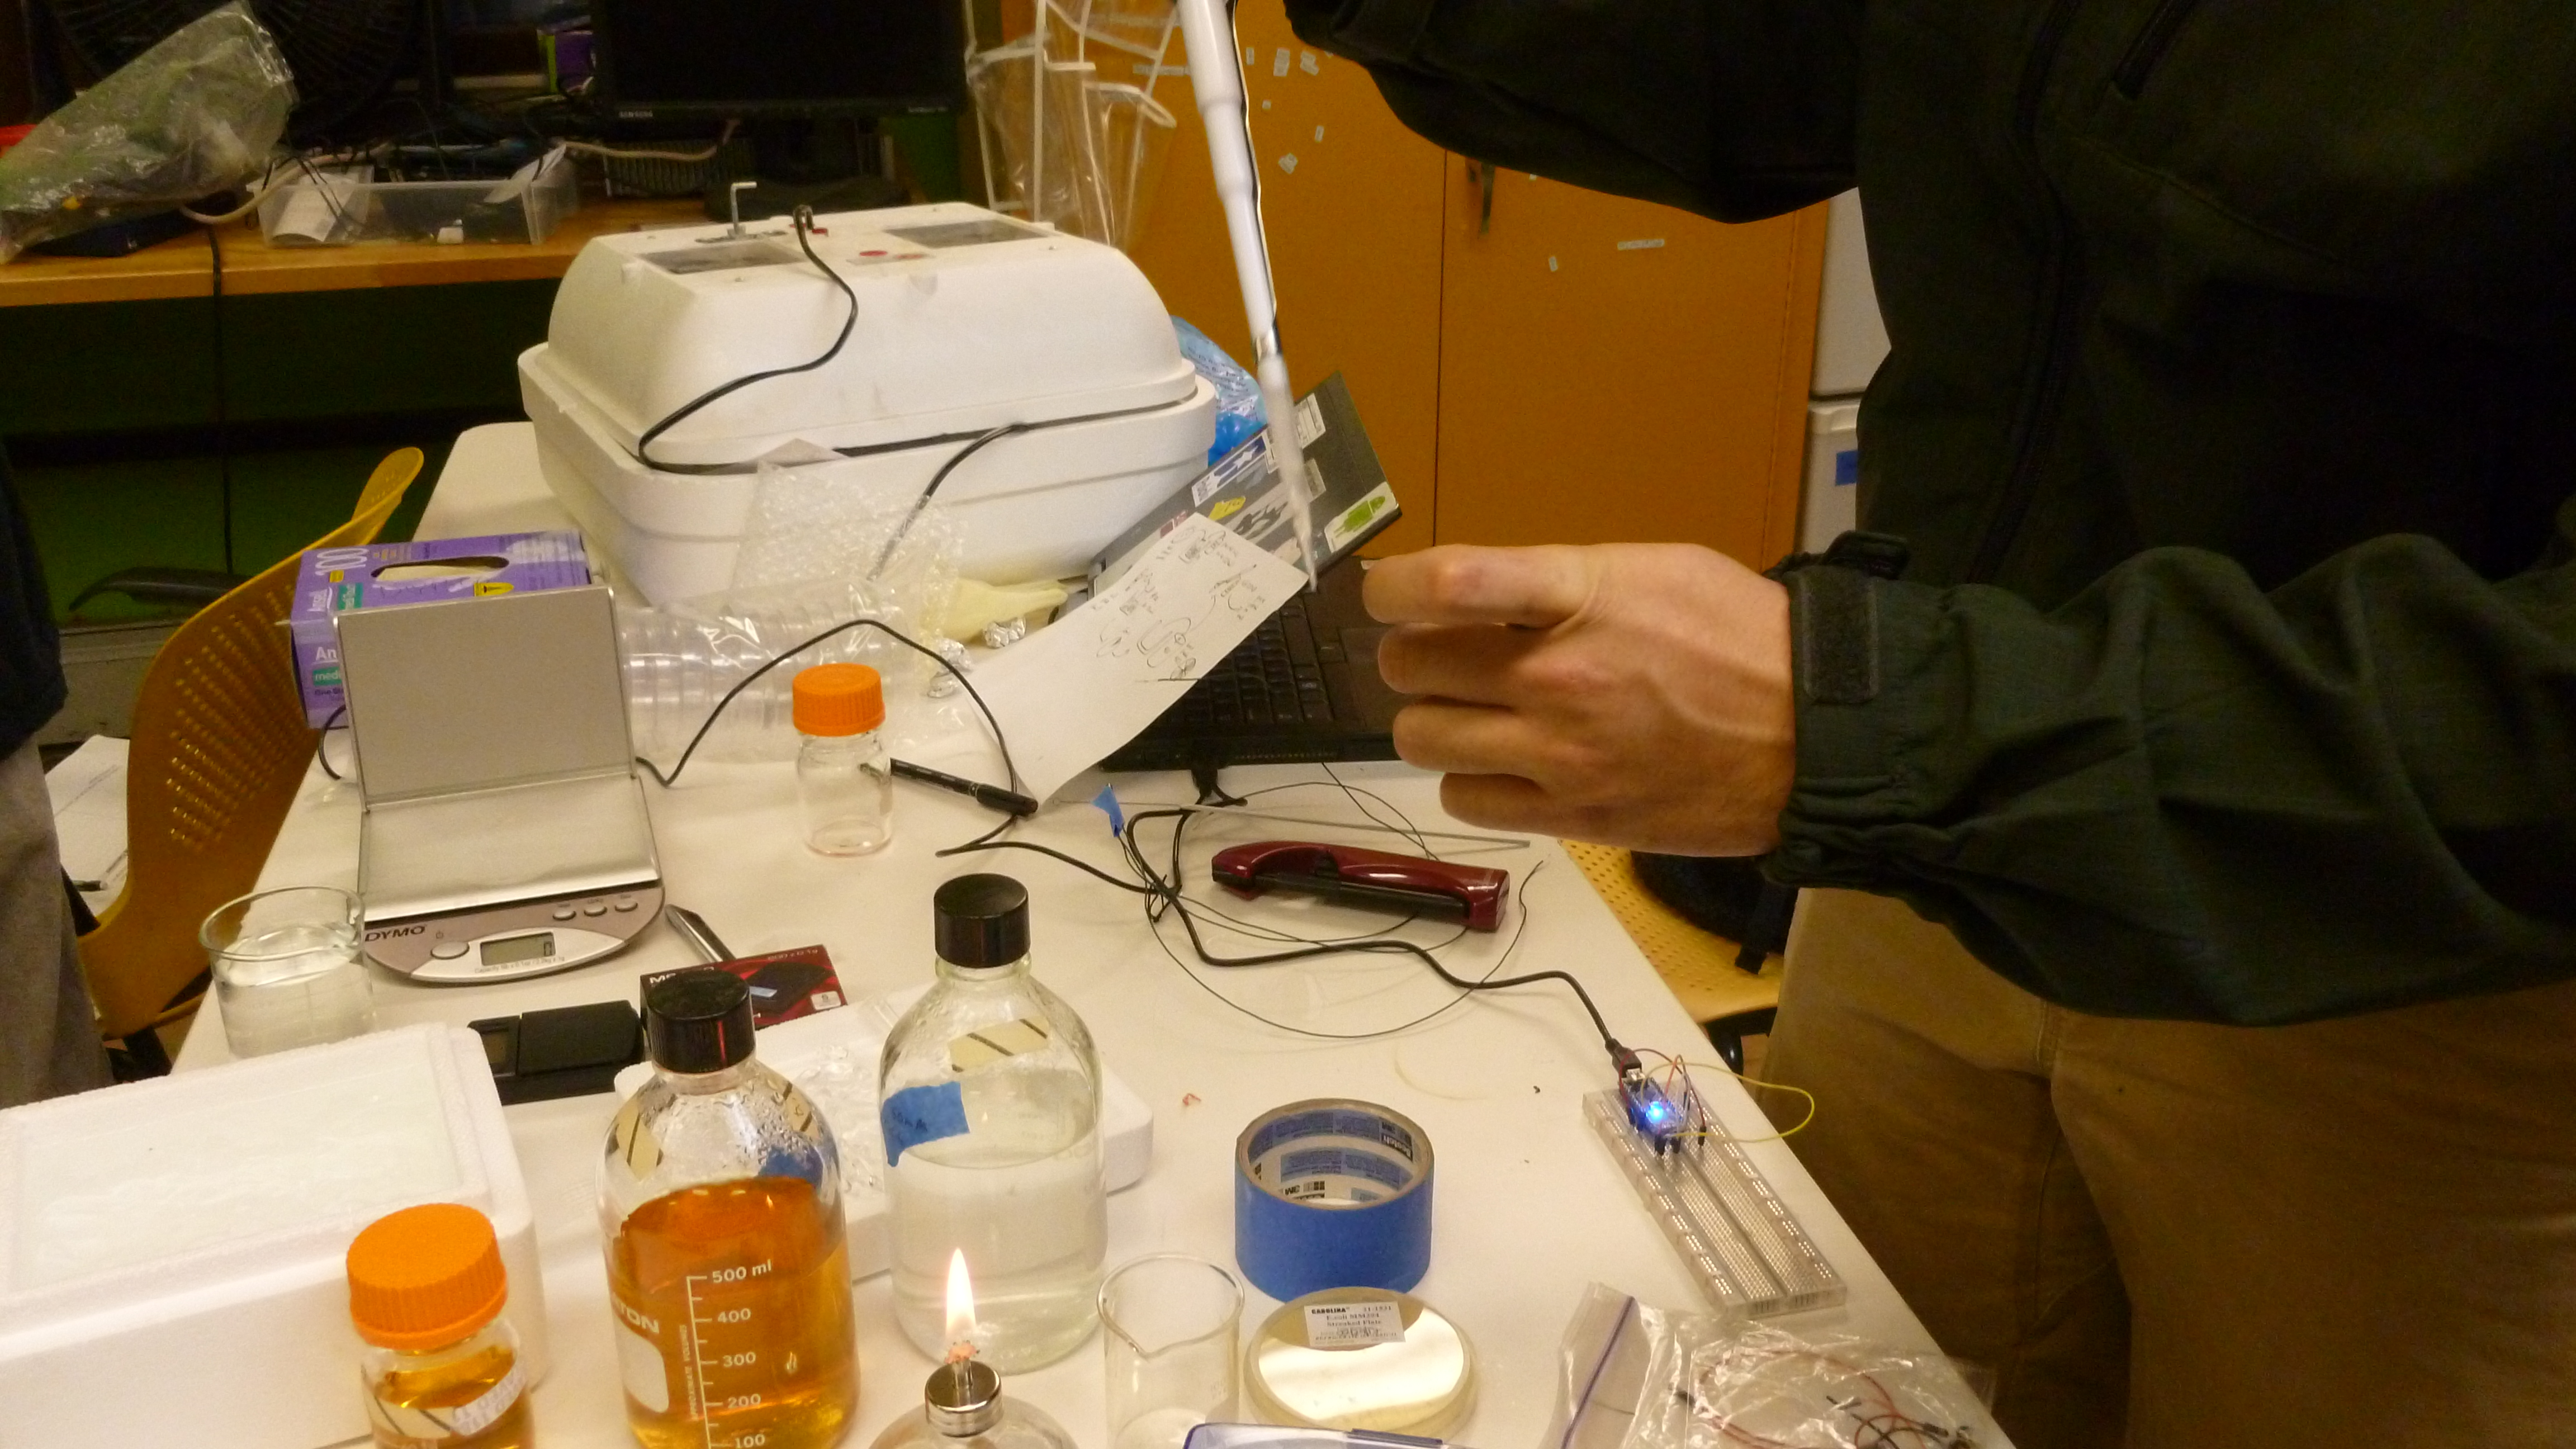
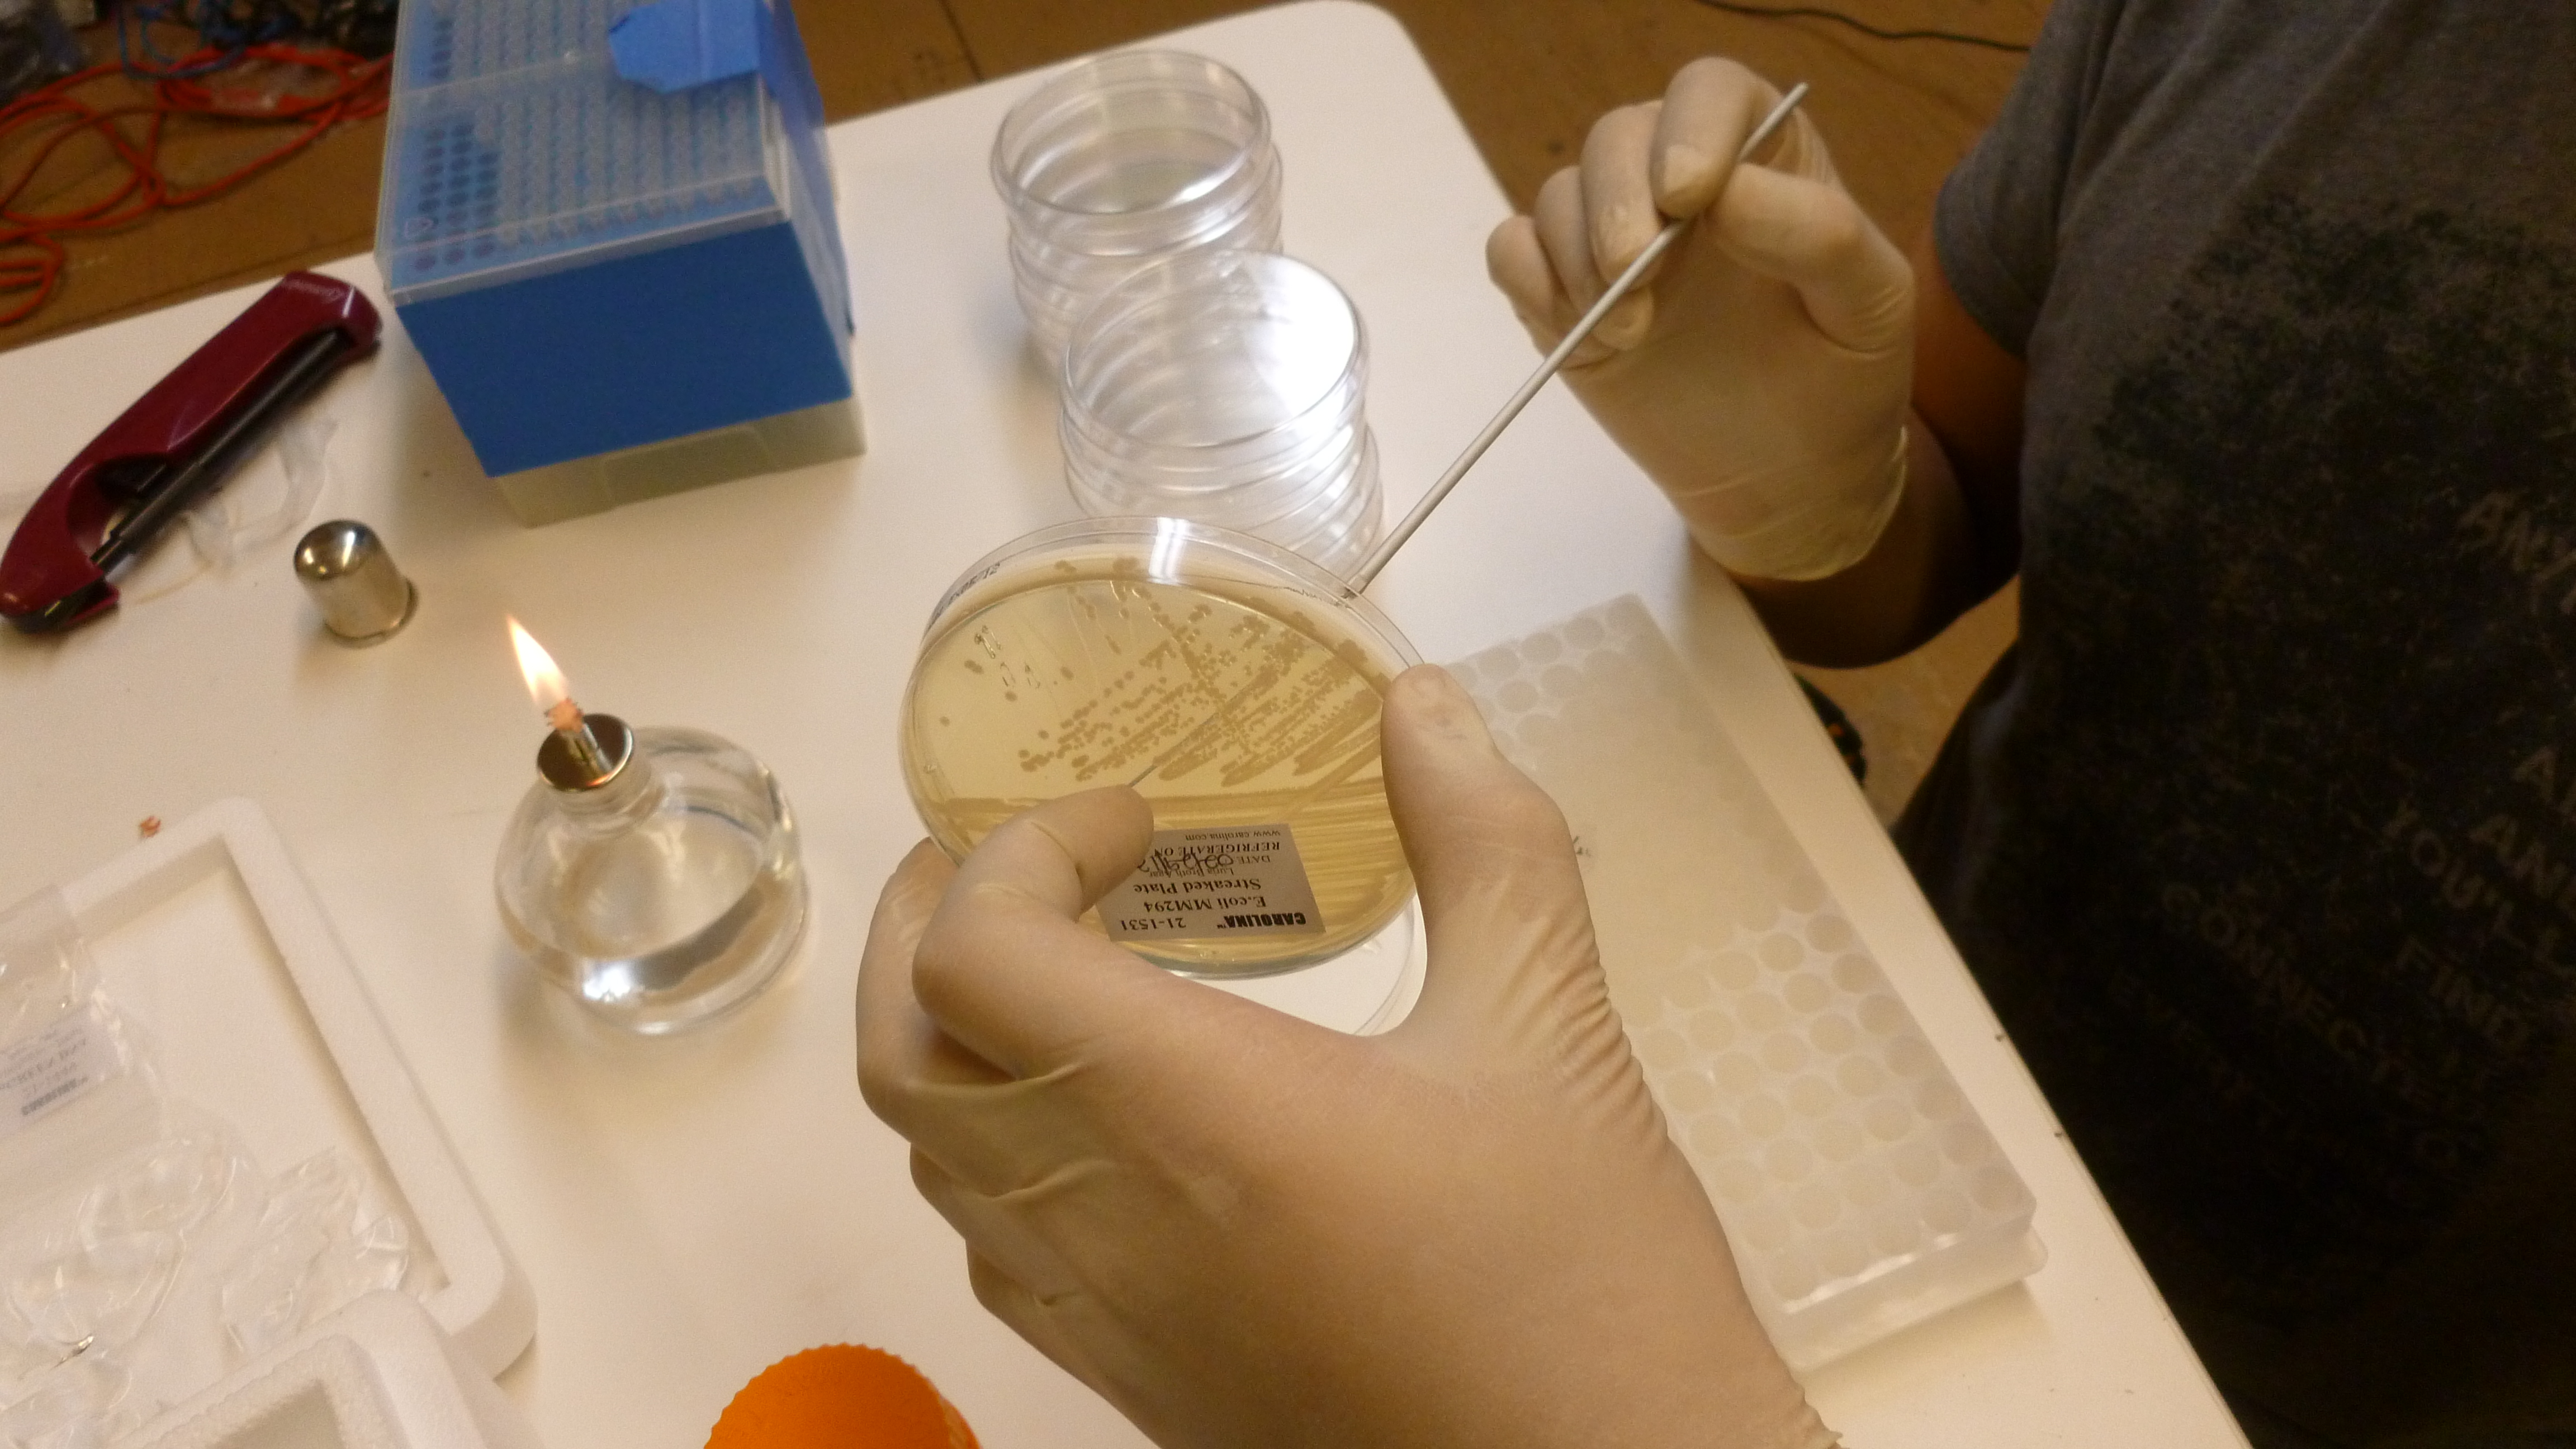
During all of that setup we were also preparing the bacteria for heat shock, teaching people how to pipette and streak bacteria, and talking about biology in general. Our transformation protocol, officially was this:
1. Gather reagents (LB broth, 50mM CaCl2, LB+Amp plates, e. coli plate, eppendorf tubes), prepare ice bath and water bath, and gather your tools (flame, inoculation loop, pipettes and tips)
2. add 250 ul of 50 mM CaCl2 to an eppendorf tube, and chill on ice
3. scrape off some e. coli (enough to see on the loop) with a flame sterilized loop, and swish the loop around in the iced CaCl2 in the eppendorf. Make sure they fall off into the CaCl2.
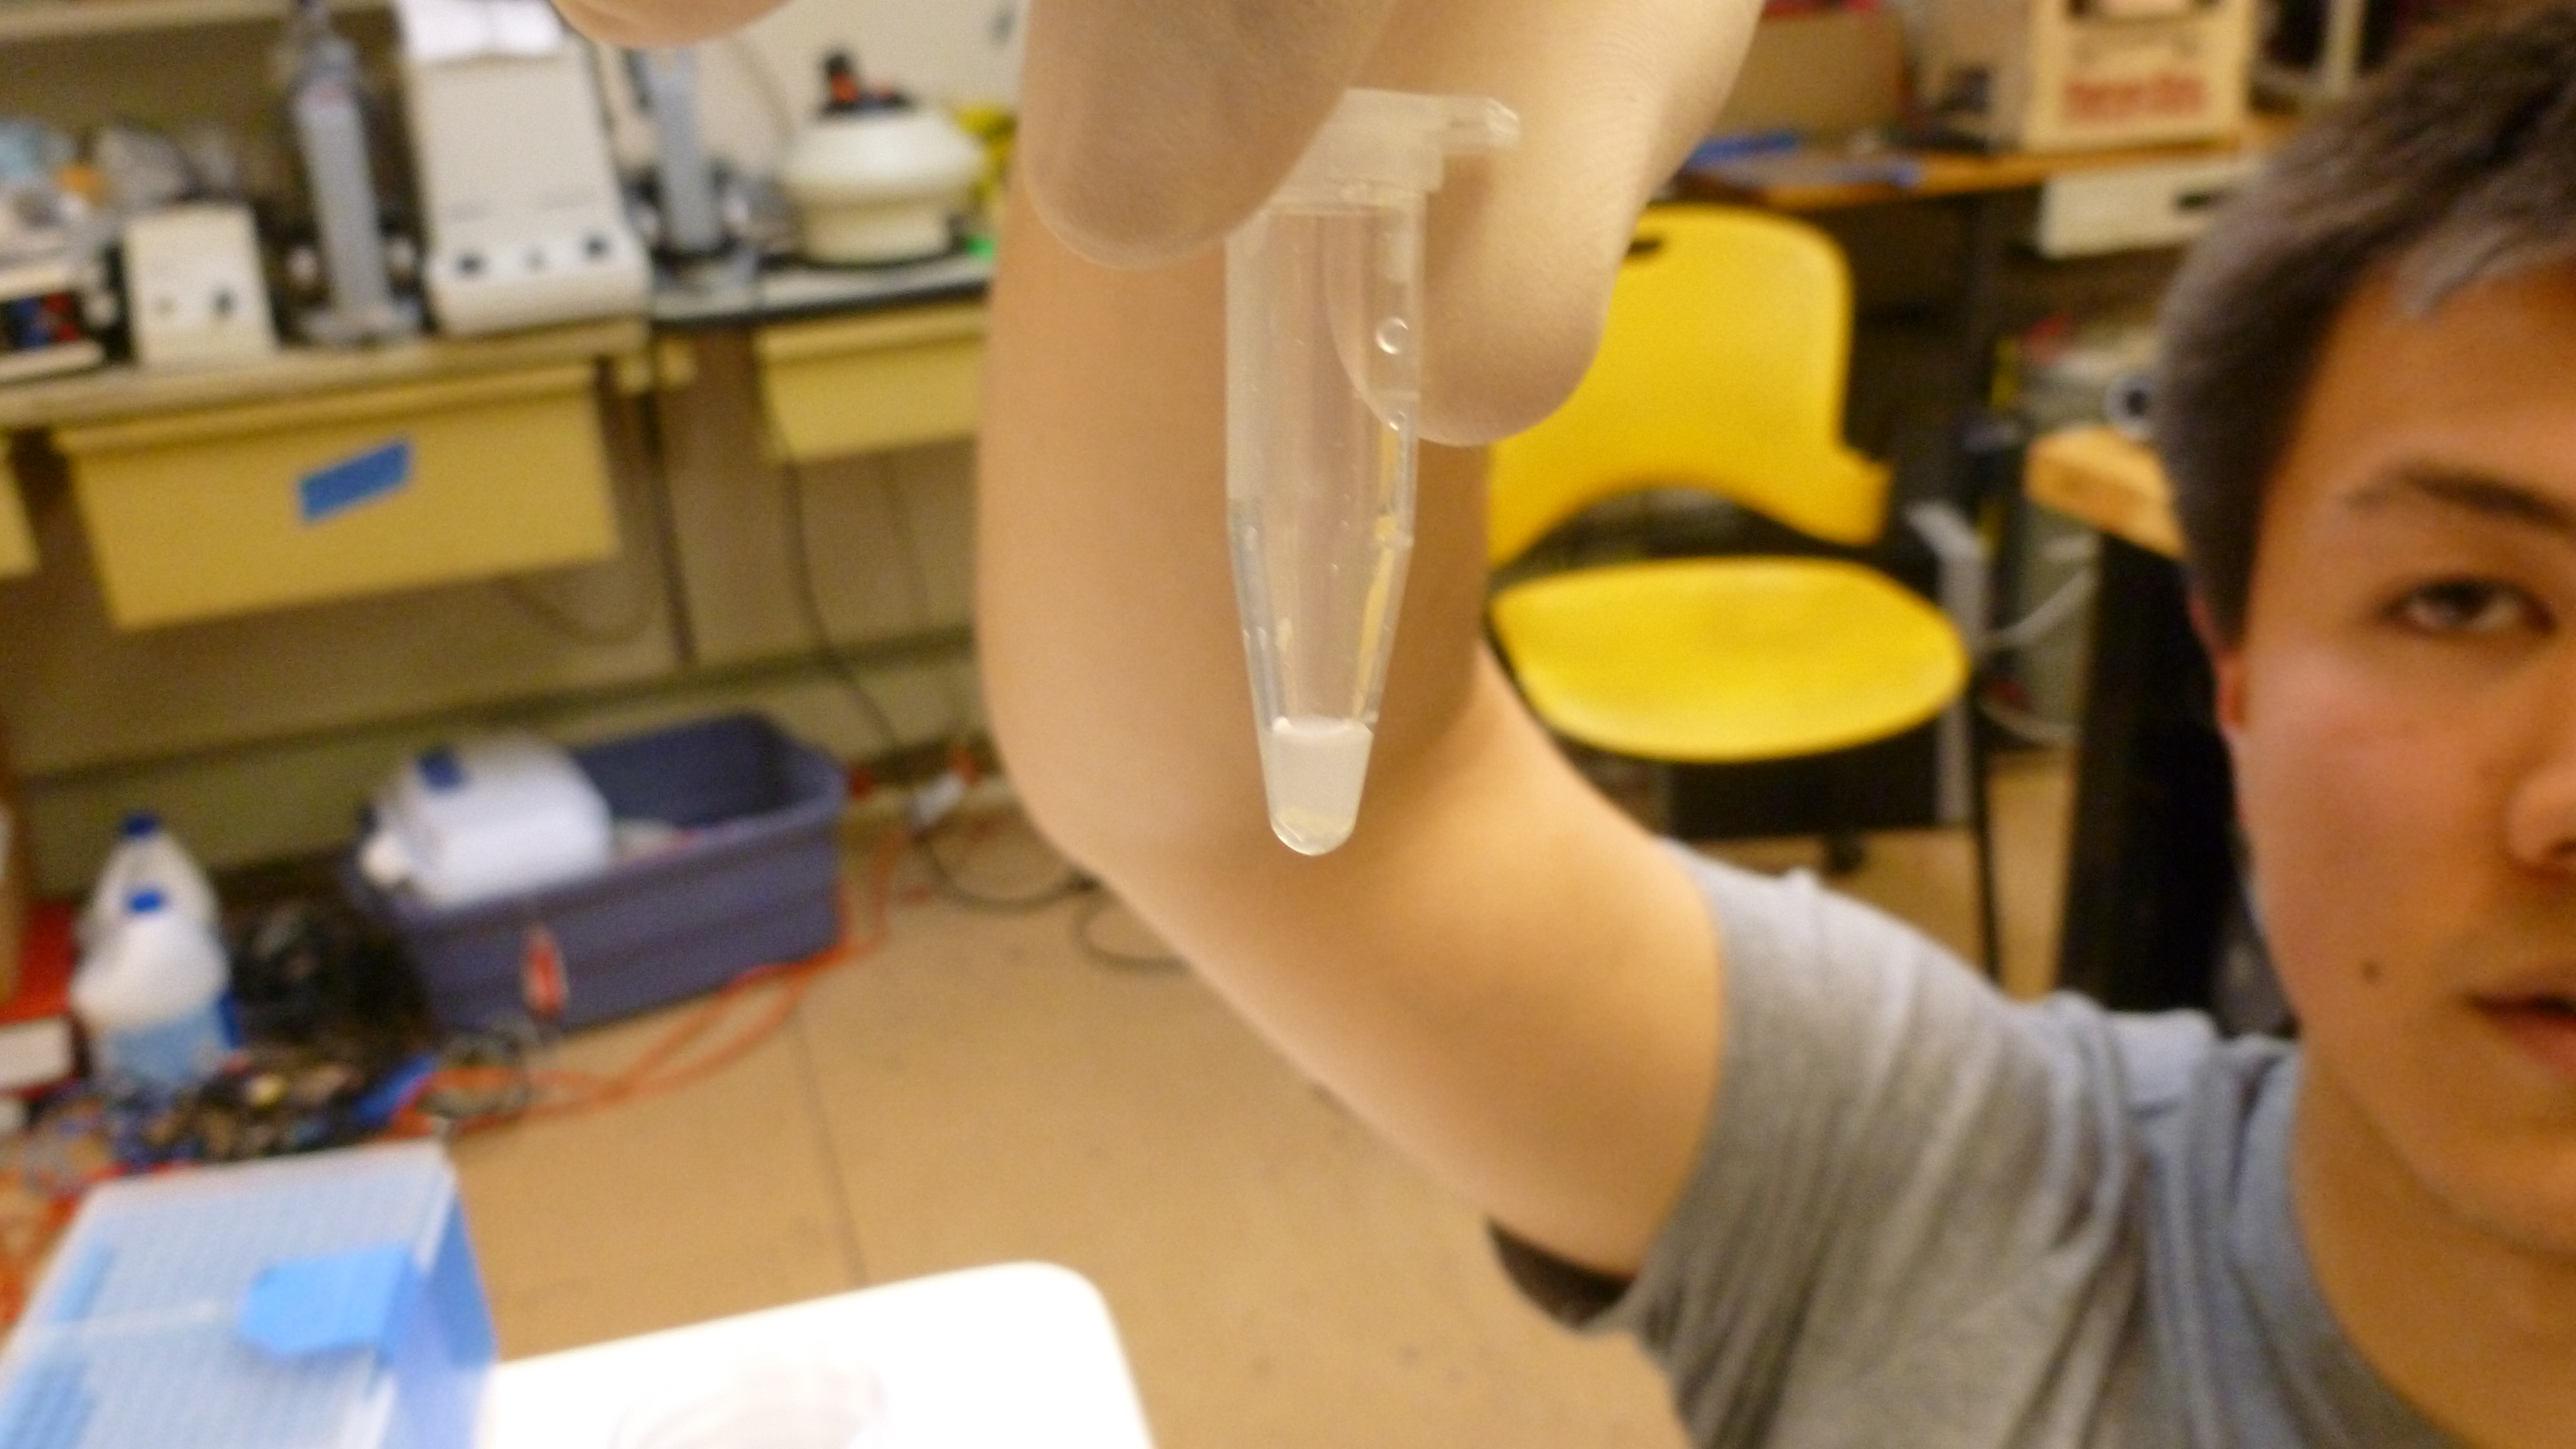
4. flick the tube until the bacteria are no longer clumped together. The solution should be cloudy now. Chill tube on ice for 1-5 min.
5. Add 20ul of plasmid DNA at .005ug/ul to the eppendorf. This is .1ug of DNA. Return tube to ice, incubate for 5 min
6. heat shock at 42C for 90 seconds
7. add 250ul of LB broth
8. plate 100ul on LB+Amp plates. Pipette 100ul on to the plate, then flame loop and cool in agar somewhere that you did not pipette onto. Use loop to spread pipetted transformant mixture.
With all of that done, we cleaned up and headed off to wherever. Some people had to leave early, but most everyone seemed like they would be back! There should be results on if this worked in just a few days.
Material for week 3:
Guide: TSK3
And by halfway there, I mean halfway done with REVOBOTS! So far, we have built a $5 arduino clone, learned about several kinds of sensors, and finally, this week I (properly) showed them how to write code that runs on the clone. I think it went well. This class alleviated a lot of the previous frustrations people were having with the device as far as having hardware but not knowing how to use it. By the end of class several people had actually managed to build a breakbeam sensor, which I thought was awesome.
On the other hand, the actual devices that the students built are starting to show some wear and tear; often people have some trouble connecting them to their computer. Often, the problem is that the USB cable had come unstuck from the header pins and needs to be resoldered, or the ground and power wires are touching (Which shuts off the USB port), or the usb cable came out of the breadboard and was plugged in backwards (D- and D+ swapped). I think it might be worth my time in the future to cad up a board for these bootloaded atmega328s so that they are less likely to fall apart, or be put together wrong.
Despite the frustrations and the general roughness of the first pass at teaching revobots, I think it is worthwhile for both me and the students. Hopefully I will teach this again soon, but better.
Class two videos: Part 1, Part 2, Part 3, Part 4
The Guide: TSK2
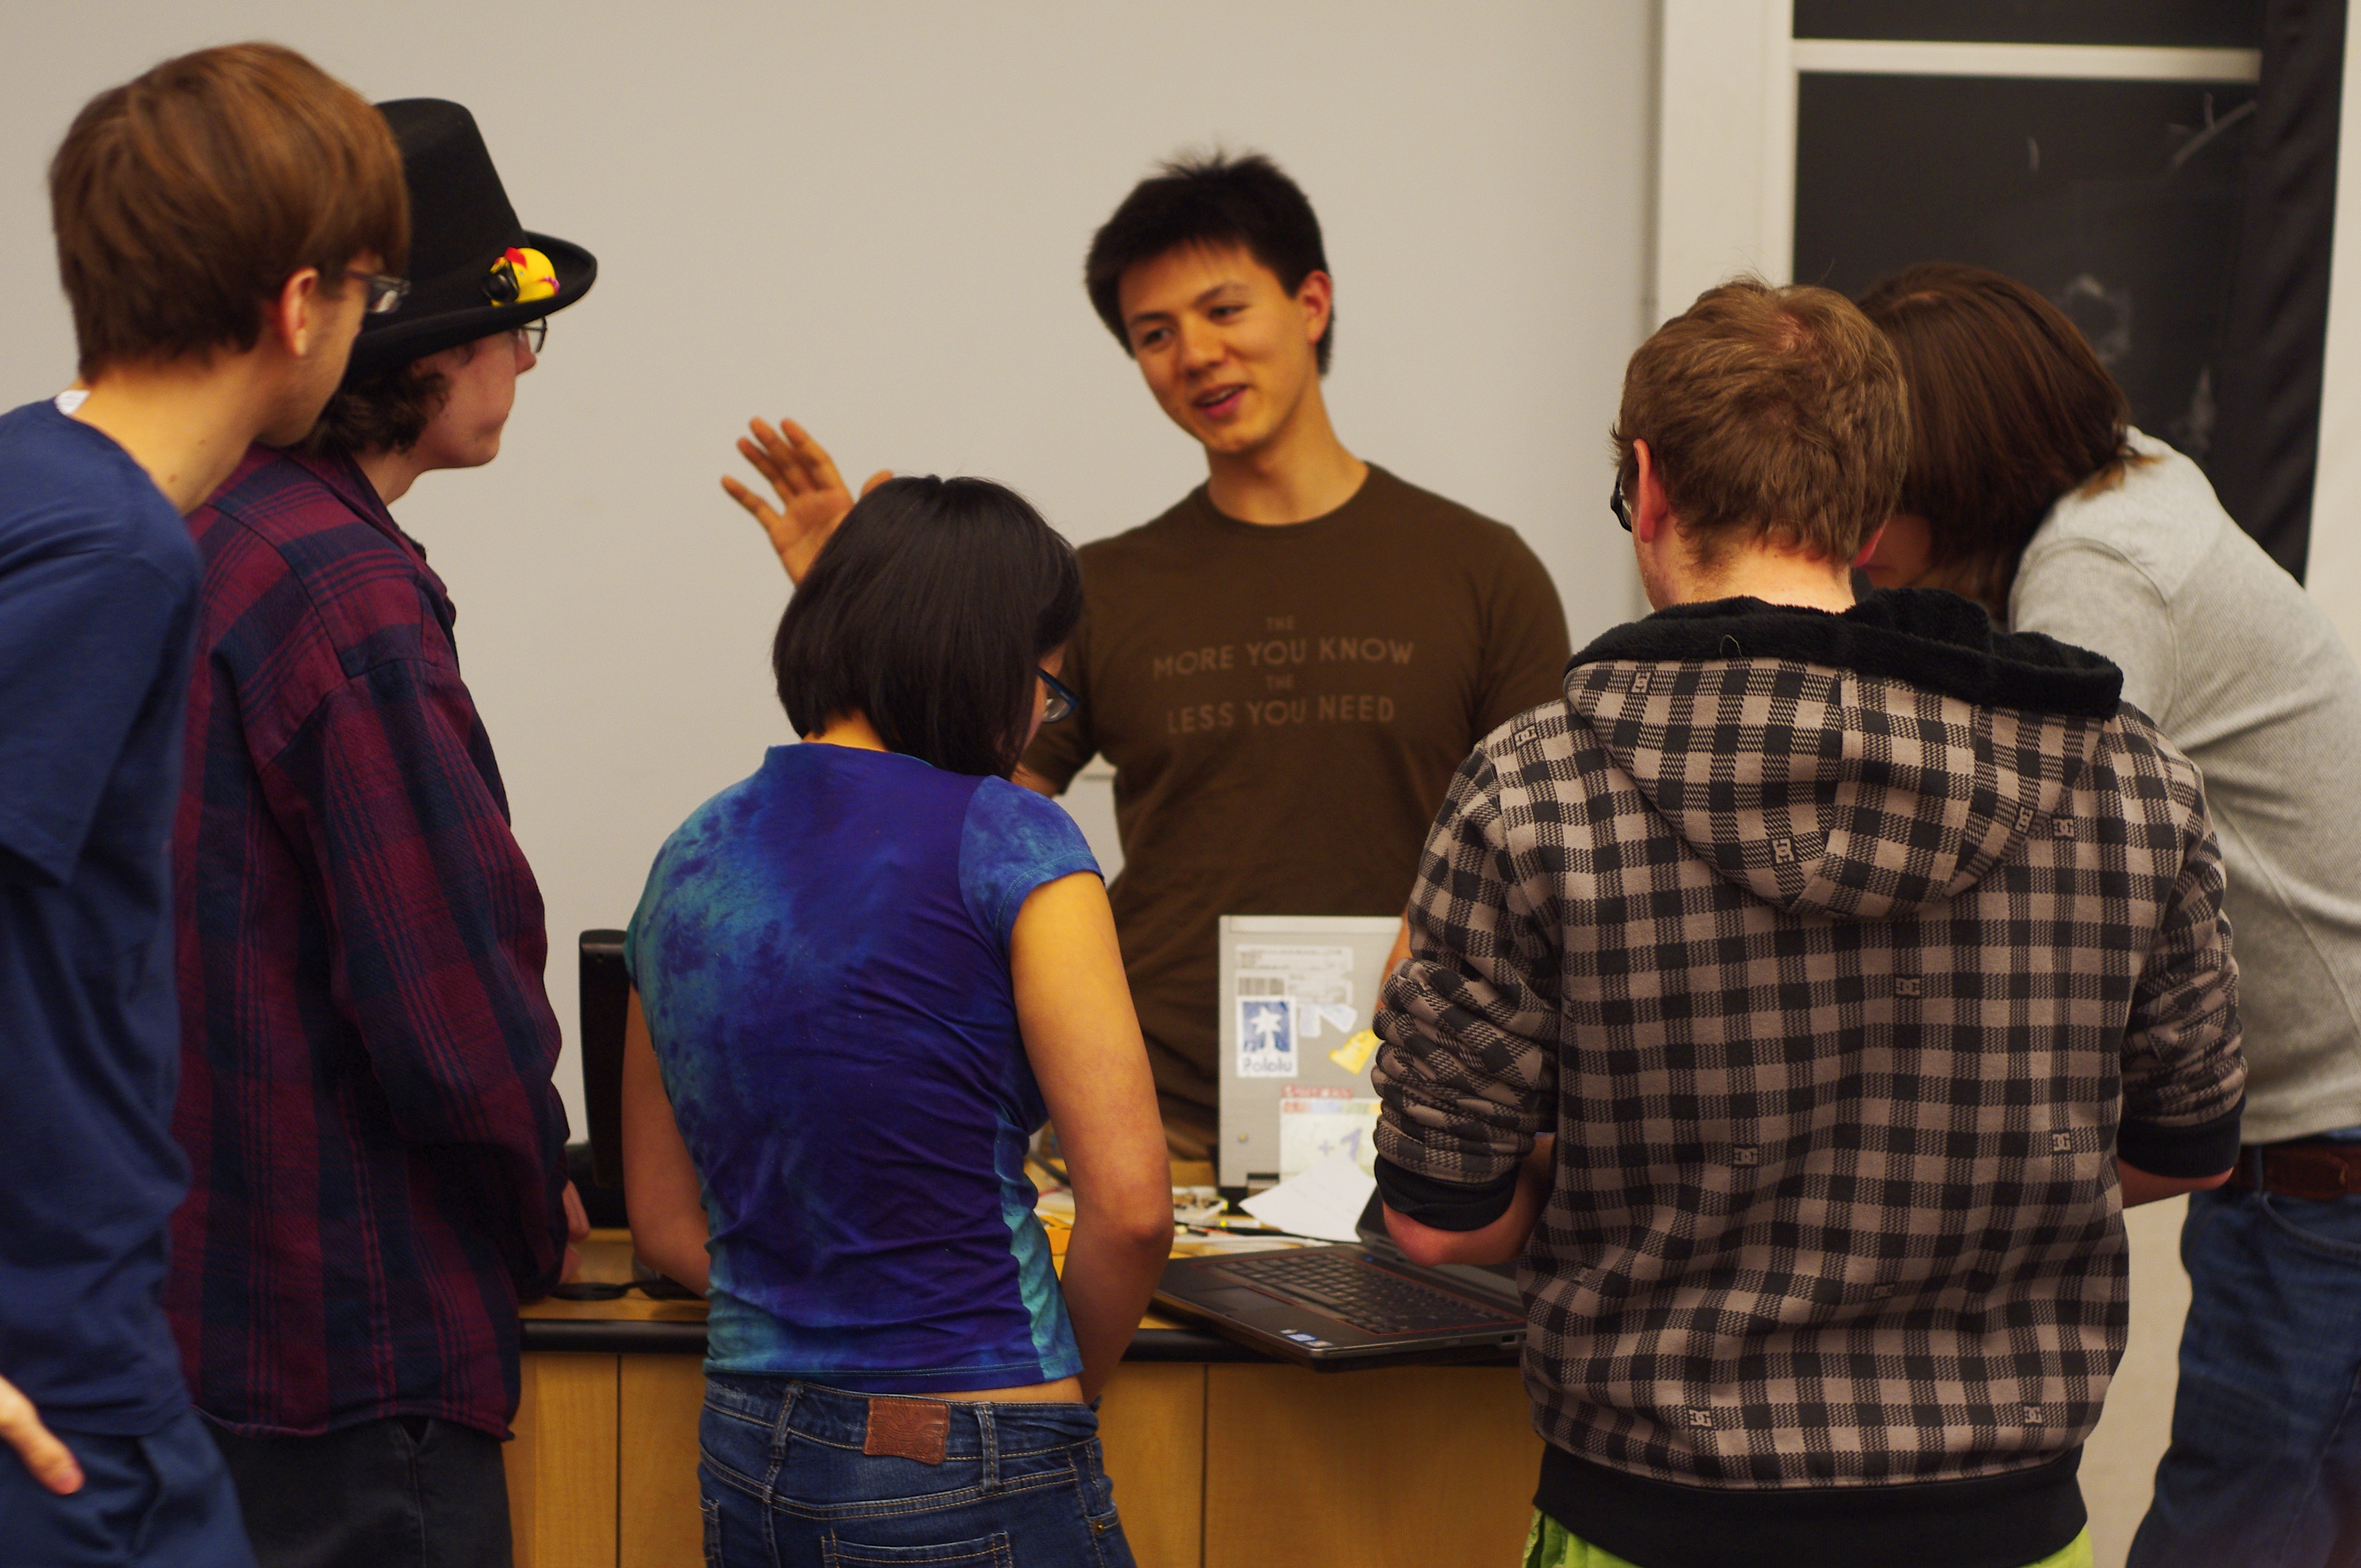
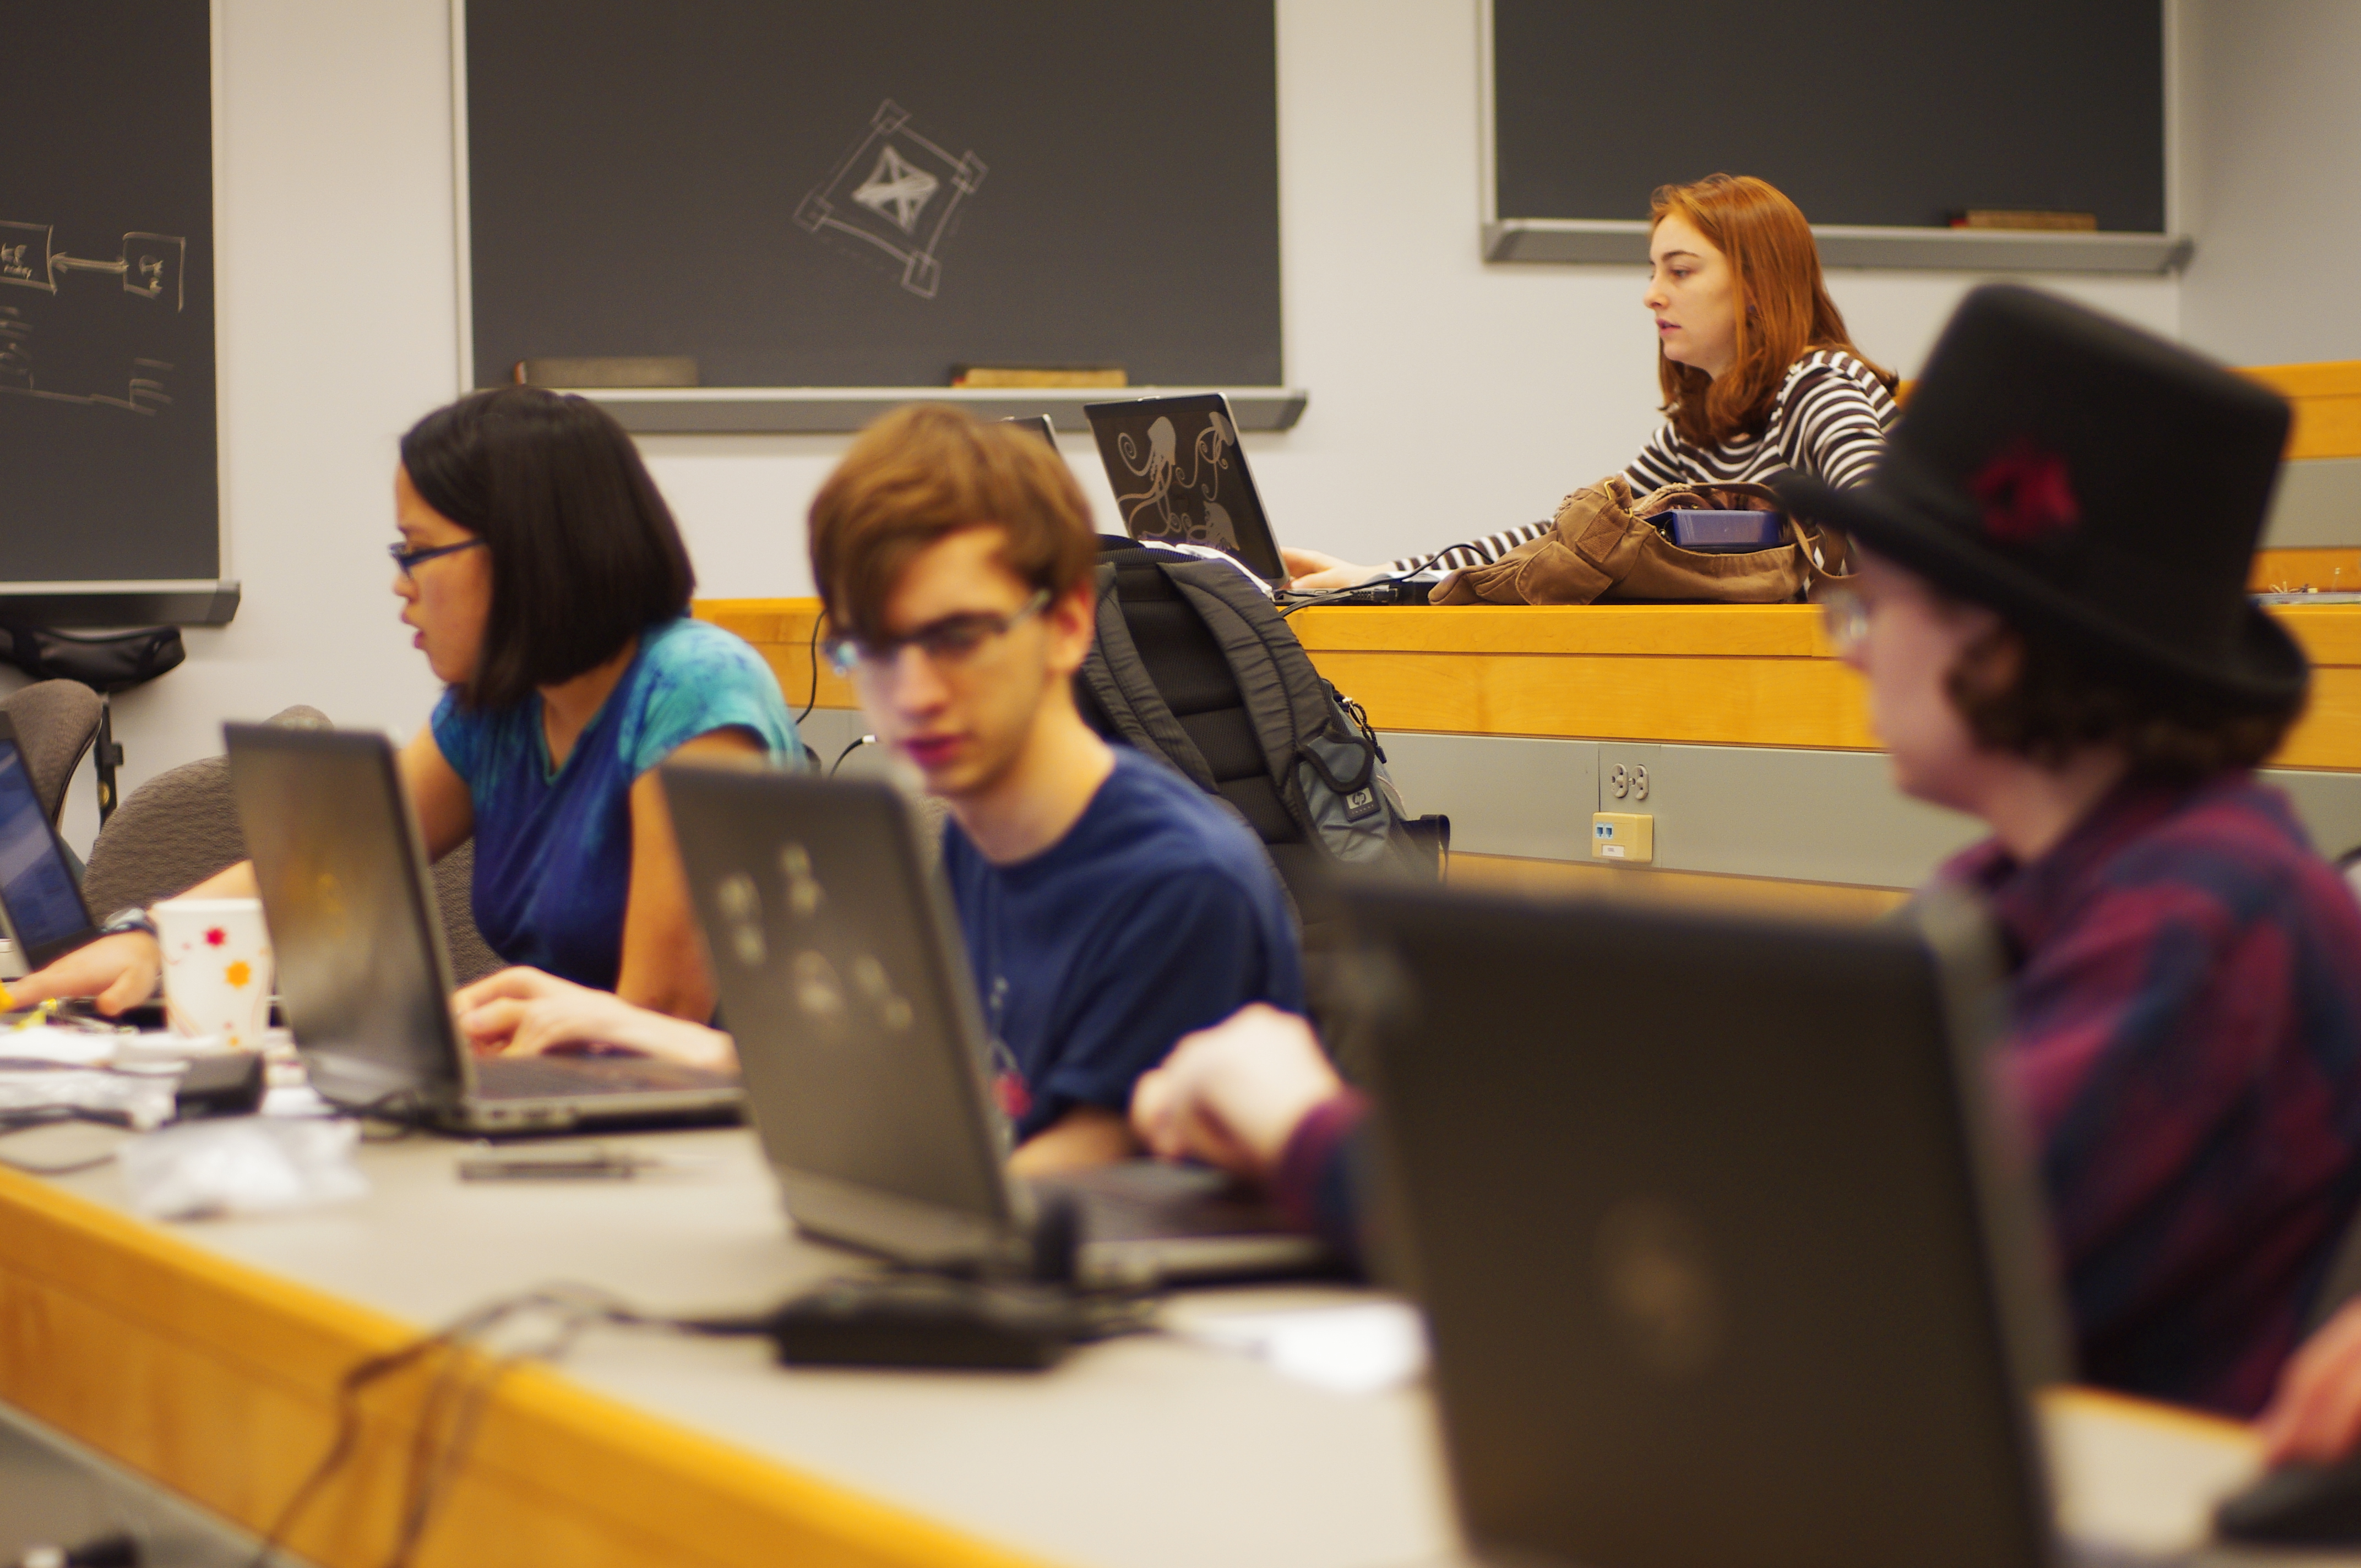
REVOBOts continues to be a fun class to teach. We had another great turnout, considering that it is candidates weekend, which is always on of the buisiest times of the year. I would say there were at least 20-25 people, which is about 2/3 of the class.
The topic this week was sensors. Sensors are handy things, and we talked about resistive sensors (LDRs or photoresistors, thermistors), photodiodes, switches, and digital sensors.
My feedback was again mixed. Some people enjoyed hearing about the broader material that we did not immediately use, and really liked seeing the datasheets, while some people thought it was too in depth or not valuable. Next time I should definitely check out the datasheets before I pull them up; one of the sheets had all sorts of useful stuff on it, while the other one was lacking the very graph that I wanted to show everyone!
One area I need to improve on is retention. I made an almost-joke last time that I am just throwing mud at a wall and seeing what sticks; this is becoming all too true, and the wall is starting to look more like a teflon pan in terms of stickiness. It seems like people are getting a lot of information about the things they have, like these sensors or parts I am handing out, but they don’t know how to combine them. I guess it is hard for me to anticipate some of these problems because I expect them to have some modicum of electronics knowledge, or sense from the required freshmen classes. I guess Brian Storey and Brad Minch are having the same problems with I am, as far as balancing the “coolness” and “breadth” vs. teaching people electronics basics. People also had a lot of questions about the “arduino language” that is used for programming these devices, and that is something I have not covered as much because as freshmen, they all have done quite a bit of matlab coding. I see now that I should always provide code examples.
In this light I am going to tweak next weeks curriculum a little bit. It was supposed to be in depth on different communication protocols, but instead I will only cover the usbsimple library, which is used instead of the serial library on the secret knowledge $5 arduino. This is because the TSK arduino does not have an FTDI chip, and therefore has no serial output. Instead, it uses VUSB to talk to the computer, and a python program on the other end to displat the data in the command line. It might be nice to spice it up a little and have some kind of bar graph or canvas drawing instead of a command line thing, but that will depend on the free time I have between now and next saturday.
By concentrating on the USBsimple library, I will be able to also go through some of the more useful core arduino functions and libraries, like servo.h and map(). I will think of some examples, and then some in class exercises, and try to shrink my talking time to 45 min instead of an hour++ as it has been the last couple times. To increase engagement and concentration integrity, I will have them work in groups and then present their project. I don’t know if I will enforce pair programming but that is another way I might be able to increase concentration, because one person will be busy dictating and the other typing, which prevents either of them from checking their email or making memes.

Isolated colonies. Also note initial thick streaks in to the top of the plate, and then the less continuous sreaks in the bottom right, and the thinnest concentration of isolated colonies on the bottom left
So, you want to isolate that plastic degrading, or bioluminescent, or plasmid-bearing microbe from the rest of a mixed sample. Or maybe you want to grow up a colony from a single bacteria for a clean PCR sample, or to inoculate a liquid culture. To do this you will need to streak a plate! There are many techniques for this, but there are really two key ideas:
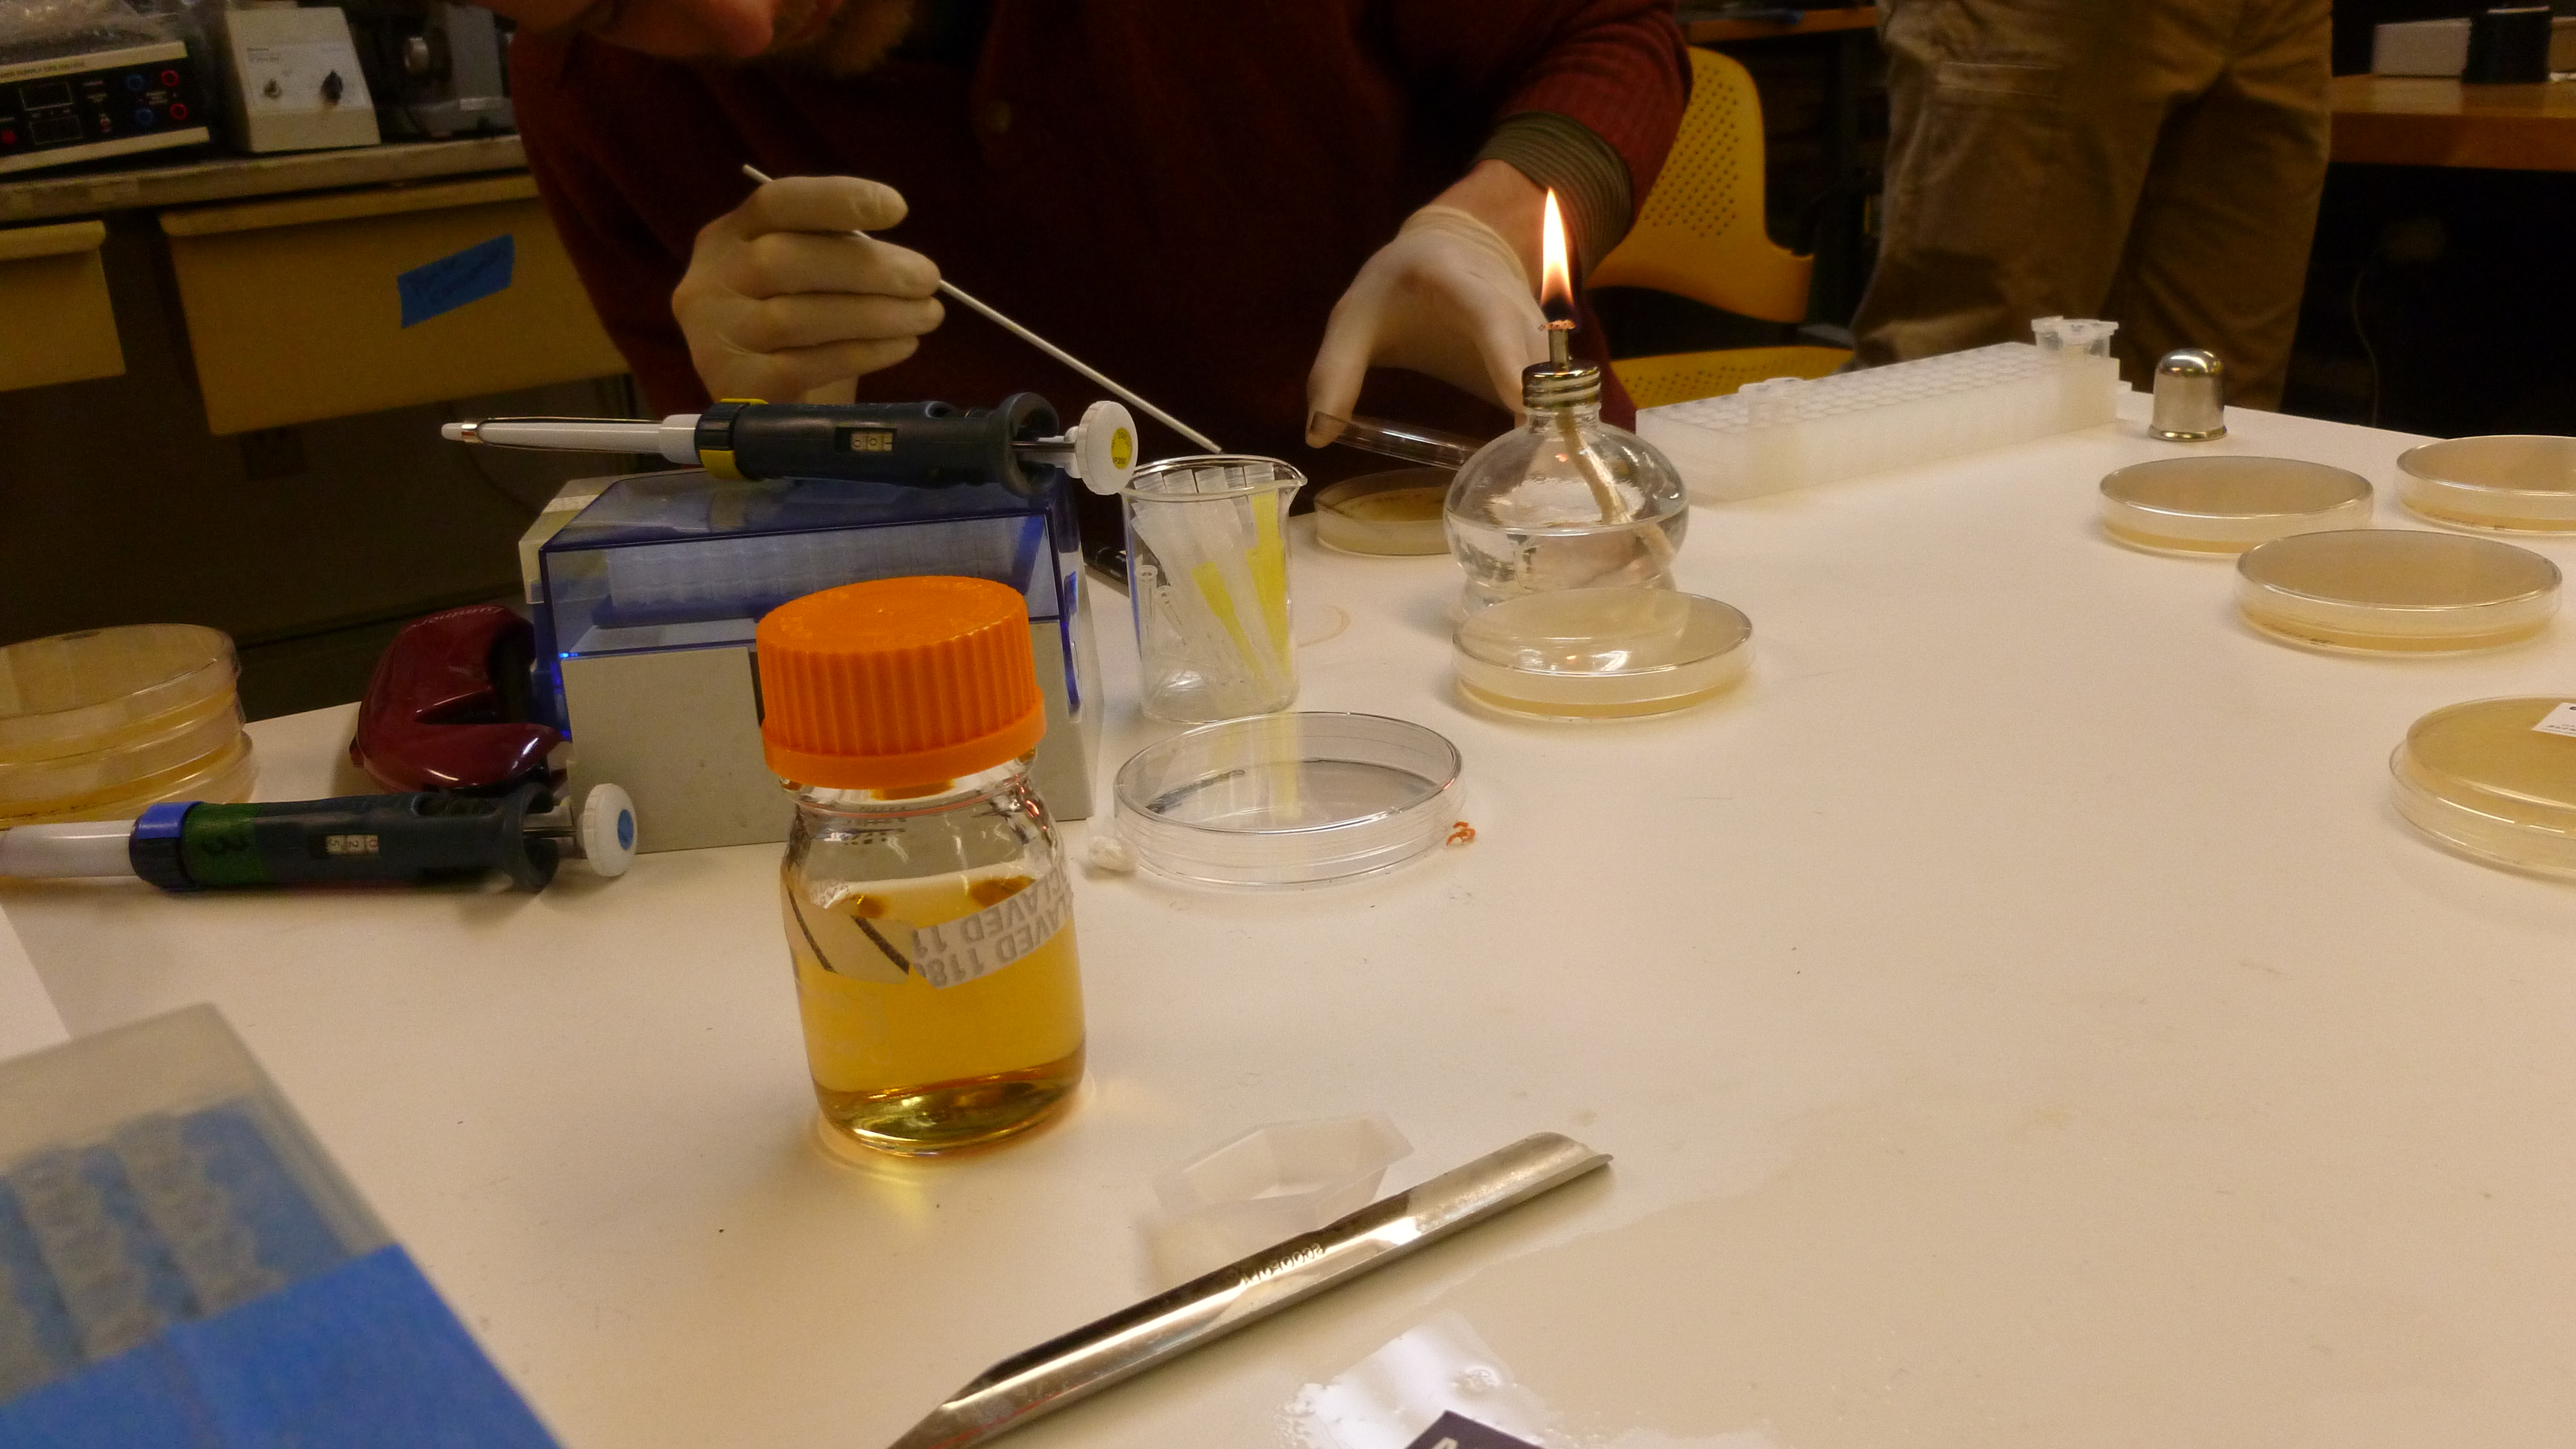
My technique for this is to heat my loop up to orange-hot, then cool it in the agar of the sample I am taking the colony from, being careful not to touch any of the colonies on the plate. Once quenched (So I don’t heat-kill the bacteria), I rub it on the target colony or area on the sample plate. Then I close the sample plate and open the target plate. I like to do 3 streaks. The first one is to spread out the bacteria I picked up on the top 1/3 of the plate. Once this is done, I sometimes flame and cool the loop in the target agar, although it is ok to skip this step. Either way, I then make another zig-zag, starting in the area that I spread the bacteria in, and then moving out onto an unused third of agar. The last streak takes up the last third, and starts in the last area I covered.
If everything works out, you should have isolated colonies like in the picture above. A few common pitfalls are:

Clear streaking pattern, but there are too many bacteria, and it looks like I overlapped my first zig-zag with my last zig-zag! oops.
Today was “Day 0” of the GFP project. Today, I showed everyone how to pour plates while practicing (some amount of) aseptic technique. This is a walkthrough of preparing LB plates from mixing the agar, to how the plates should be labeled.
Things you will need:
1. Plan out what you are going to make
Plan out how many plates you are going to make. A regular sized dish will hold about 20ml of agar comfortably. Today we wanted to make 5 plates, so I knew we would need about 100 ml of media. I know that the pre-mixed LB agar uses 37 grams/liter, so for 100 ml (1/10th of a liter), I would need. 3.7g of dry media. I you have bought agar or media-agar, check the bottle for how much you should add per liter.
At BOSSLAB, we use a pre-mixed Miller LB+agar mixture. It is important to know that LB does not always come with agar, and agar does not always come with LB. LB stands for Luria, Luria-Bertani, or Lysogeny broth depending on who you talk to. LB is made of digested Casein, yeast extract, and sodium chloride. The digested Casein protein provides peptides (short amino acid chains), while the yeast extract provides vitamins and trace elements. The salt in the Miller formulation of LB is a bit higher, at 10g/L, which is normally to provide the right osmolarity, but in our case it is just because it is what we have. Agar is a sugar purified from seeweed, that when added to water and dissolved, cools to form a jello-like substance. When mixed, you get LB-agar, which forms solid plates.
2. Add Water
Now that you have everything planned out, add your DI or RO water to your bottle. Water comes before the dry stuff because the dry stuff tends to form clumps, and if this happens in the bottom of the bottle, or worse, a conical tube, it might not get mixed into the media. Right now all the media and water we are dealing with is “dirty”, so don’t worry about aseptic technique.
3. Measure the dry powders
The next step is to measure out your powders. For this you will need the scale, and your weigh paper or foil, and your dry media. I like to use foil because we have it in the lab, but remember to flatten it out so that the powder doesn’t get stuck in crevices. If you are using paper or foil, fold it in half so that you can pour the powder out. Place the weigh boat/paper on the scale and tare, then measure out however much of the dry media you need.
4. Mix!
Now just drop the powder into the water! It might need some convincing to completely break up and dissolve, so don’t be afraid to vortex or give the bottle a shake.
5. Sterilize (both heat and filter methods covered here), also sterilize your plates if you are using glass
Before you set your sterilizer to “kill”, LOOSLEY screw the cap onto the bottle or cover it with foil. Securing the cap all the way can lead to exploding and other bad things, like the media not being subjected to the extreme pressure of the sterilizer. If you have access to a real autoclave, go ahead and put it in on whatever cycle the manufacturer recommends. If you are using a pressure cooker, you want to cook it at 15 psi for 15 minutes, unless you are trying to sterilize large volumes of rich media. For large volumes of rich media (more than 100-200 ml, I would say) you want to run it for as long as 30 minutes to make sure you kill EVERYTHING.
The other way you can sterilize media, which is more convenient, but more expensive per L, is filter sterilization. Some things, like antibiotics, must be sterilized this way because heating them destroys their antibiotic effect. Some things must be sterilized like this because they are volatile. However, some chemicals require special considerations; DMSO must be filter sterilized, but it will eat (dissolve) your filter if you do not choose one that is specially chemical resistant. Disposable filter sterilization units normally come with a hopper, or input, a filter with a vacuum inlet, and sometimes come with a pre-sterilized bottle for the final sterilized media. What you do is you apply a vaccuum to the bottom of the filter, pulling the media through into the clean bottle. This is suitable for some media, but not all, and you do need a vacuum pump or manifold.
At this step, your media should be a liquid and somewhat hot. If it is not, it can be restored to the hot, liquid state by microwaving it inside the sterilized container.
6. prepare to pour plates
Get ready to pour your plates by wiping down your work surface with alcohol or bleach. This is extra-important if you are working somewhere dusty or with particularly hardy microbes, to kill things that might get stirred up by moving stuff around on the table. Remember, dust is BAD and falls DOWN, onto plates. To counteract this, you want to have some kind of open flame to create convection currents. A lighter is too little, and a campfire is too much. A Bunsen burner or alcohol lamp is just right. Get your plates ready by putting them right side up (big clamshell up) on the table. If you are only making one thing, or you know what plate will get what kind of media, you can write on the bottom of the plates now. You should write what kind of media it is, the date prepared, and your initials. If I were to make some plates I would write “LB 2/27/2012 A.L.” along the rim of the bottom of the bottom plate.
7. Pour the plates!
At this point, your media should be a hot liquid, and easy to pour. With your fire on, go ahead an open the bottle, placing the lid face down on the table. Quickly flame the mouth of the bottle to kill anything that may be hanging out there on the outside threads/inside mouth, and then pour the agar into the bottom of the dish. The agar should just cover the entire bottom of the dish, and should be a 3-4 mm thick. When you open the dish, you should place the cover FACE DOWN on the table, so dust does not get in it. After the plate is poured, cover it back up ASAP. Once you have poured all the plates, or if you take a break, or before you put away the media bottle, flame the mouth of the bottle again, just to keep it clean. Once everything is sealed up, you can turn off the flame. and let the plates set (like jello!).
8. Once the plates are set, write what the plates are on the outside of the bottom plate!

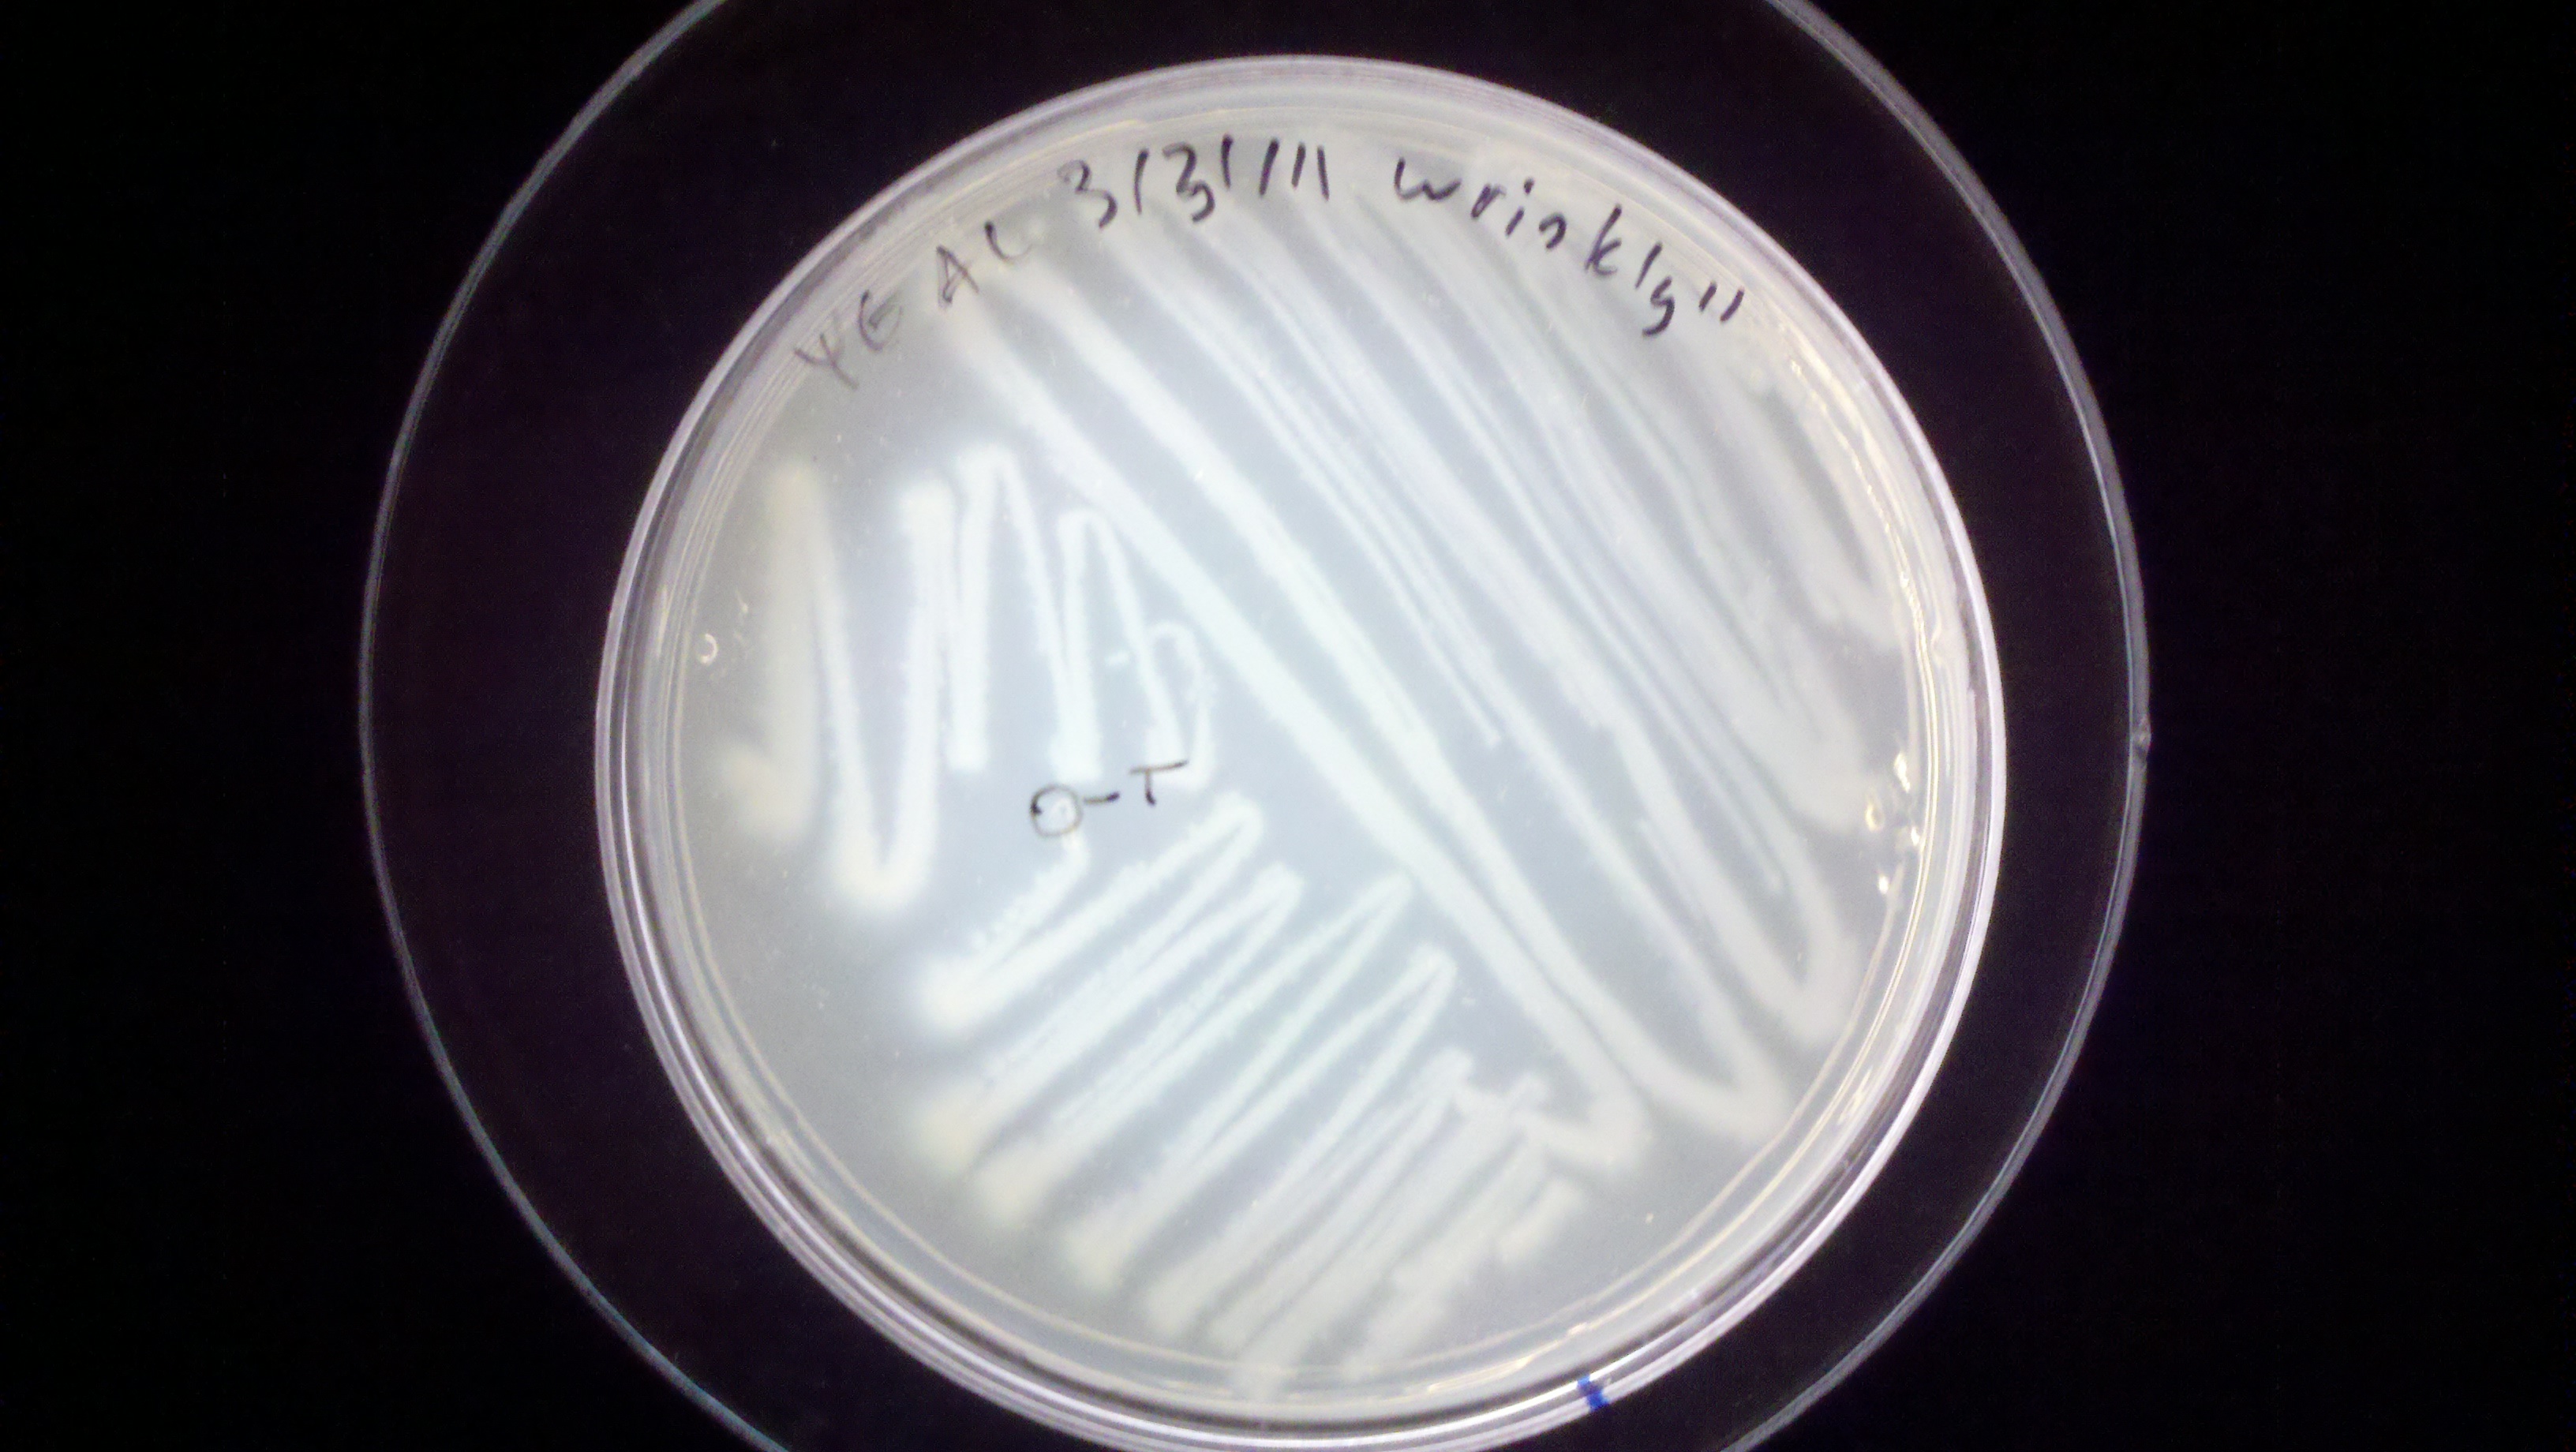
As you can see, this is a Yeast Extract plate, streaked on 3/28/11 by me with Smooth’ from a plate called T1 trop II
This step is important for the safety of those around you, and your own sanity. ALWAYS write down the type of media, the date it was made, and your initials on a plate. This is so people can refer questions like “is this yours” and “is it dangerous” and “can it be thrown out” to you. It is also helpful for your records to know what you are growing these things on.
Well, thats it. Good luck to you, citizen scientists!