My drysuit neck seal has always been about a 90% fit, which means that 100% of the time my suit floods. Sometimes a little, sometimes a lot! Considering the dropping air and water temps, I decided to do something about it.
Sending my drysuit out for repair was not a good option for me- its prime diving season here in the northeast, and the idea of sending any of my critical gear off for an unknown amount of time makes me sad. If I valued my own time, I don’t think I “saved money” by doing this install, but I certainly now know how I can fix my suit- and how long it will take. To me that is worth it.
Here are my notes- nothing special, and sadly not enough photos.
Material and Process
- Sitec Quickneck ring
- 220 grit sandpaper
- silver sharpie
- acetone
- heat gun
- DRIS dry adhesive (heat activated sheet adhesive)
- Gear-Aid Aquaseal-NEO (NEO. not normal aquaseal!)
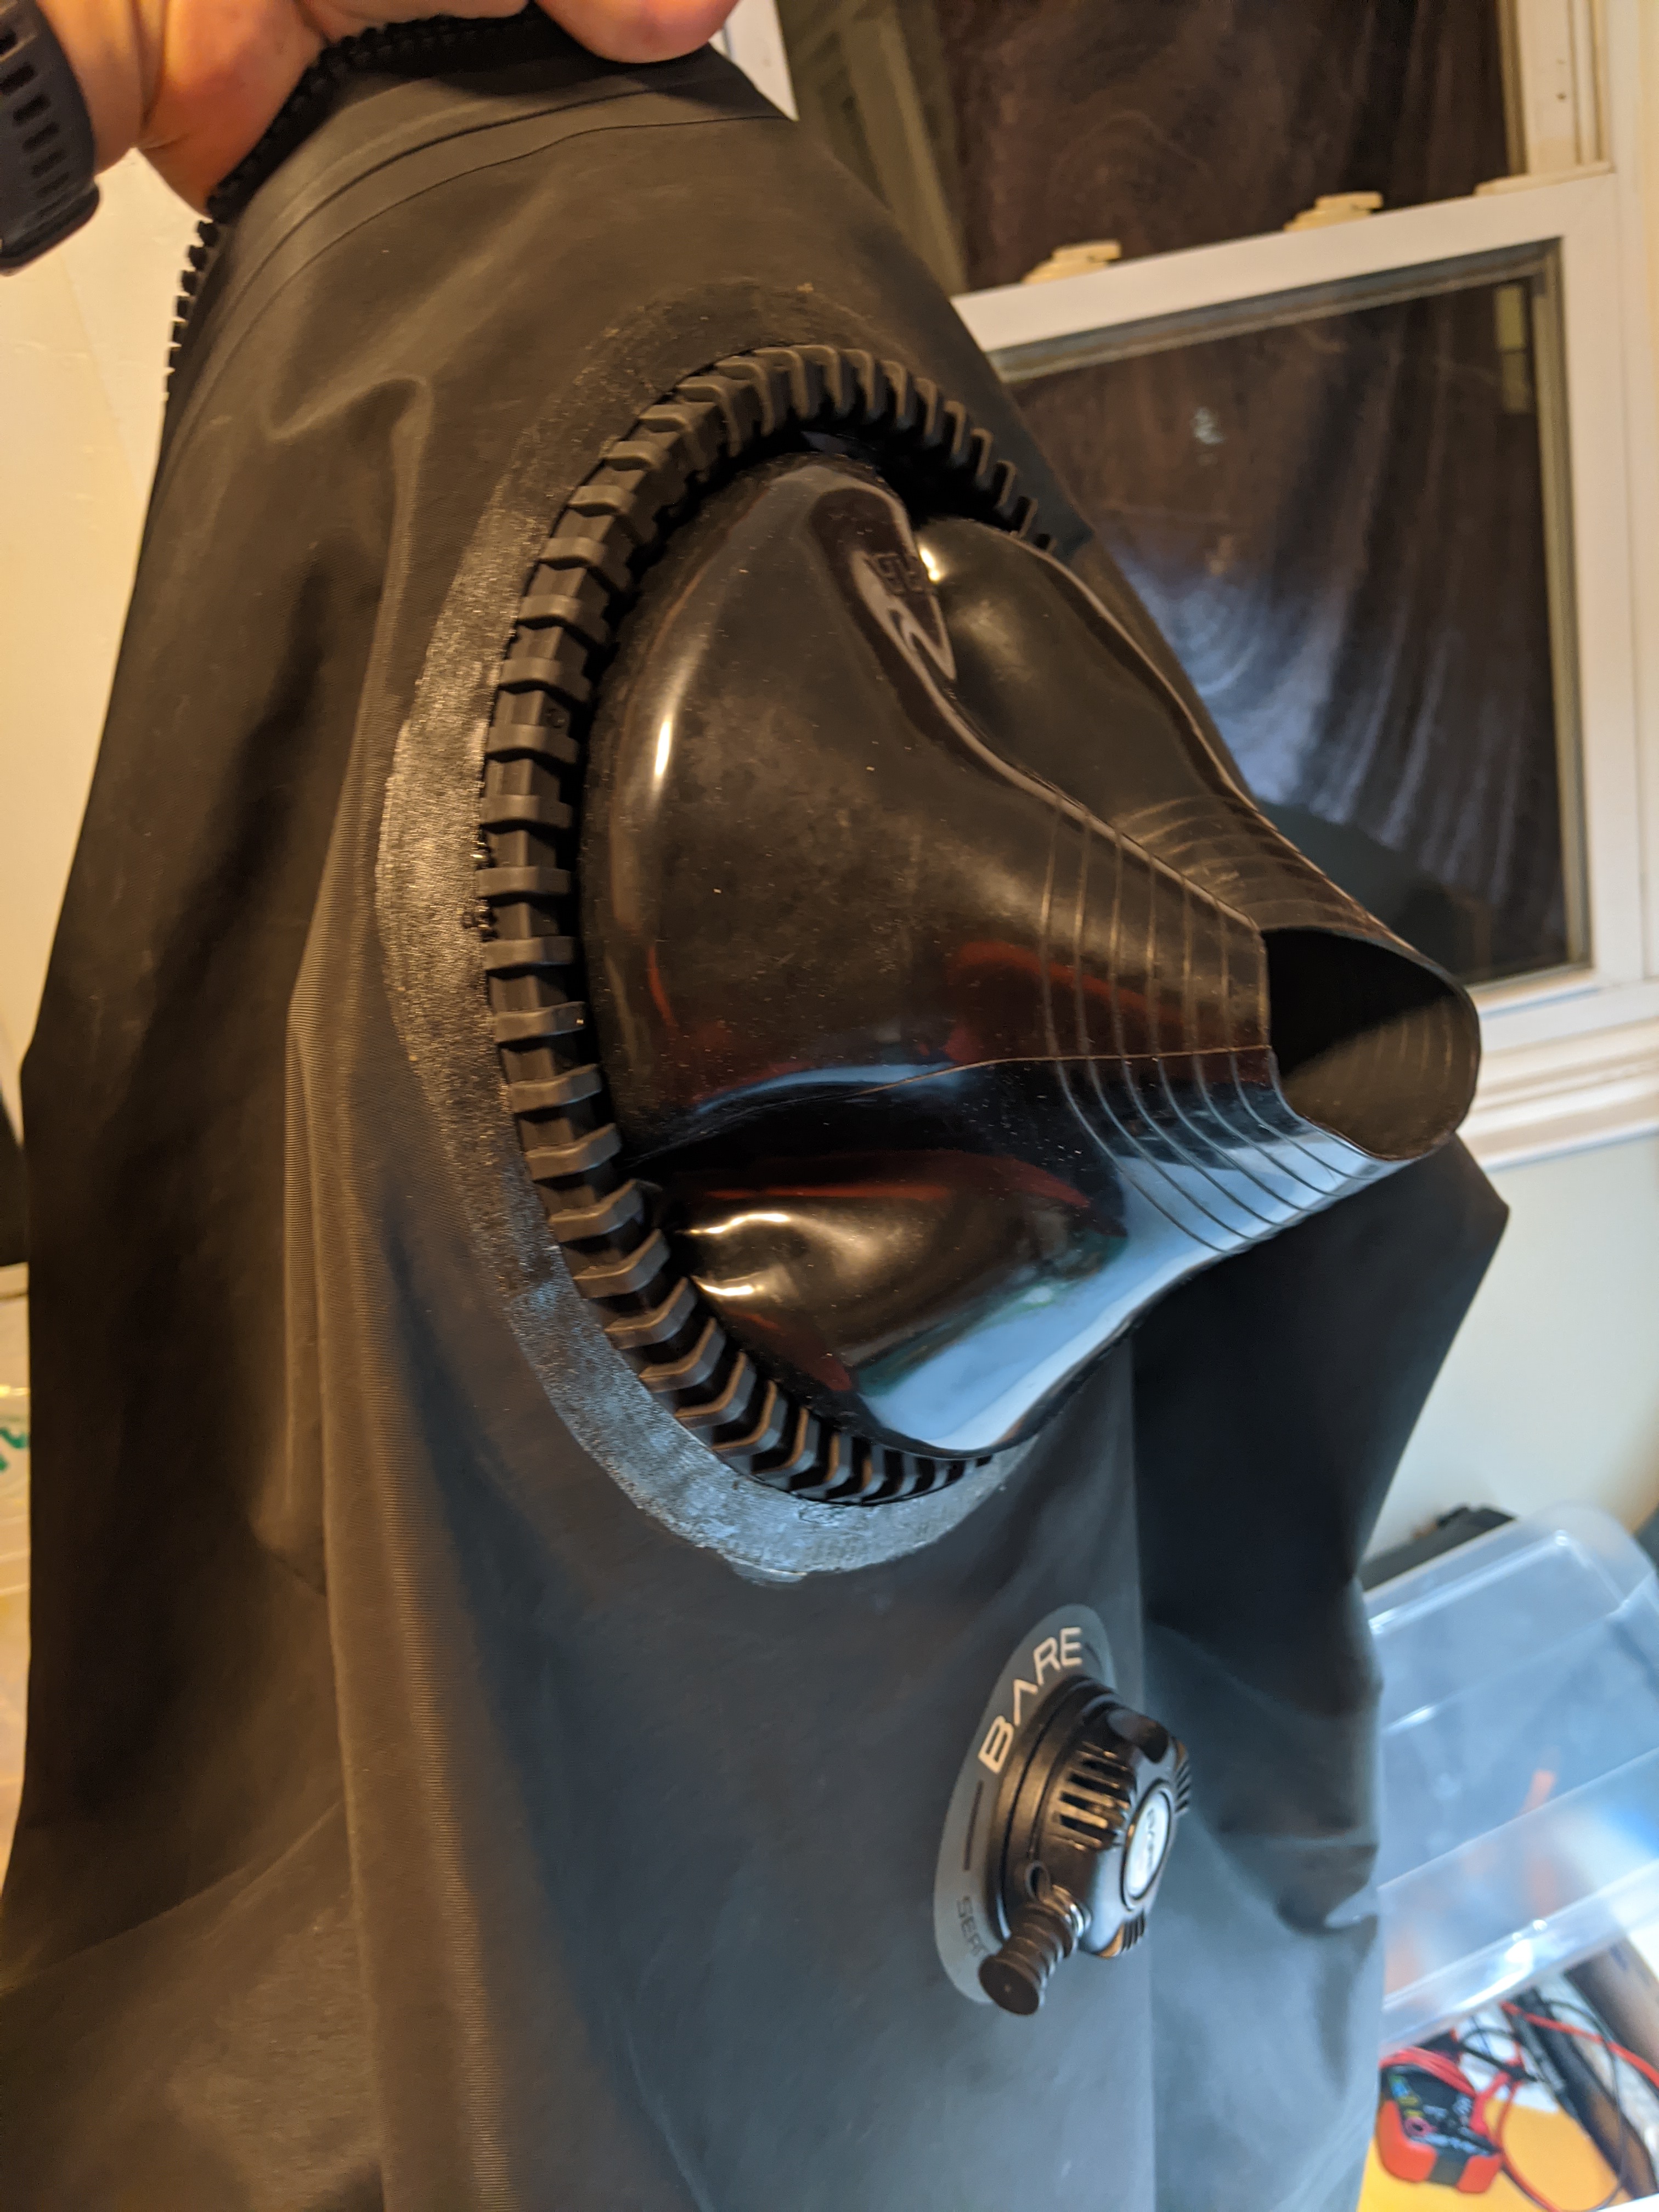
First I had to remove the old seal. I heated mine up with a heat gun and it peeled right off. My original seal was on the outside, but this ring will be installed from the inside of the suit, as you can see above.
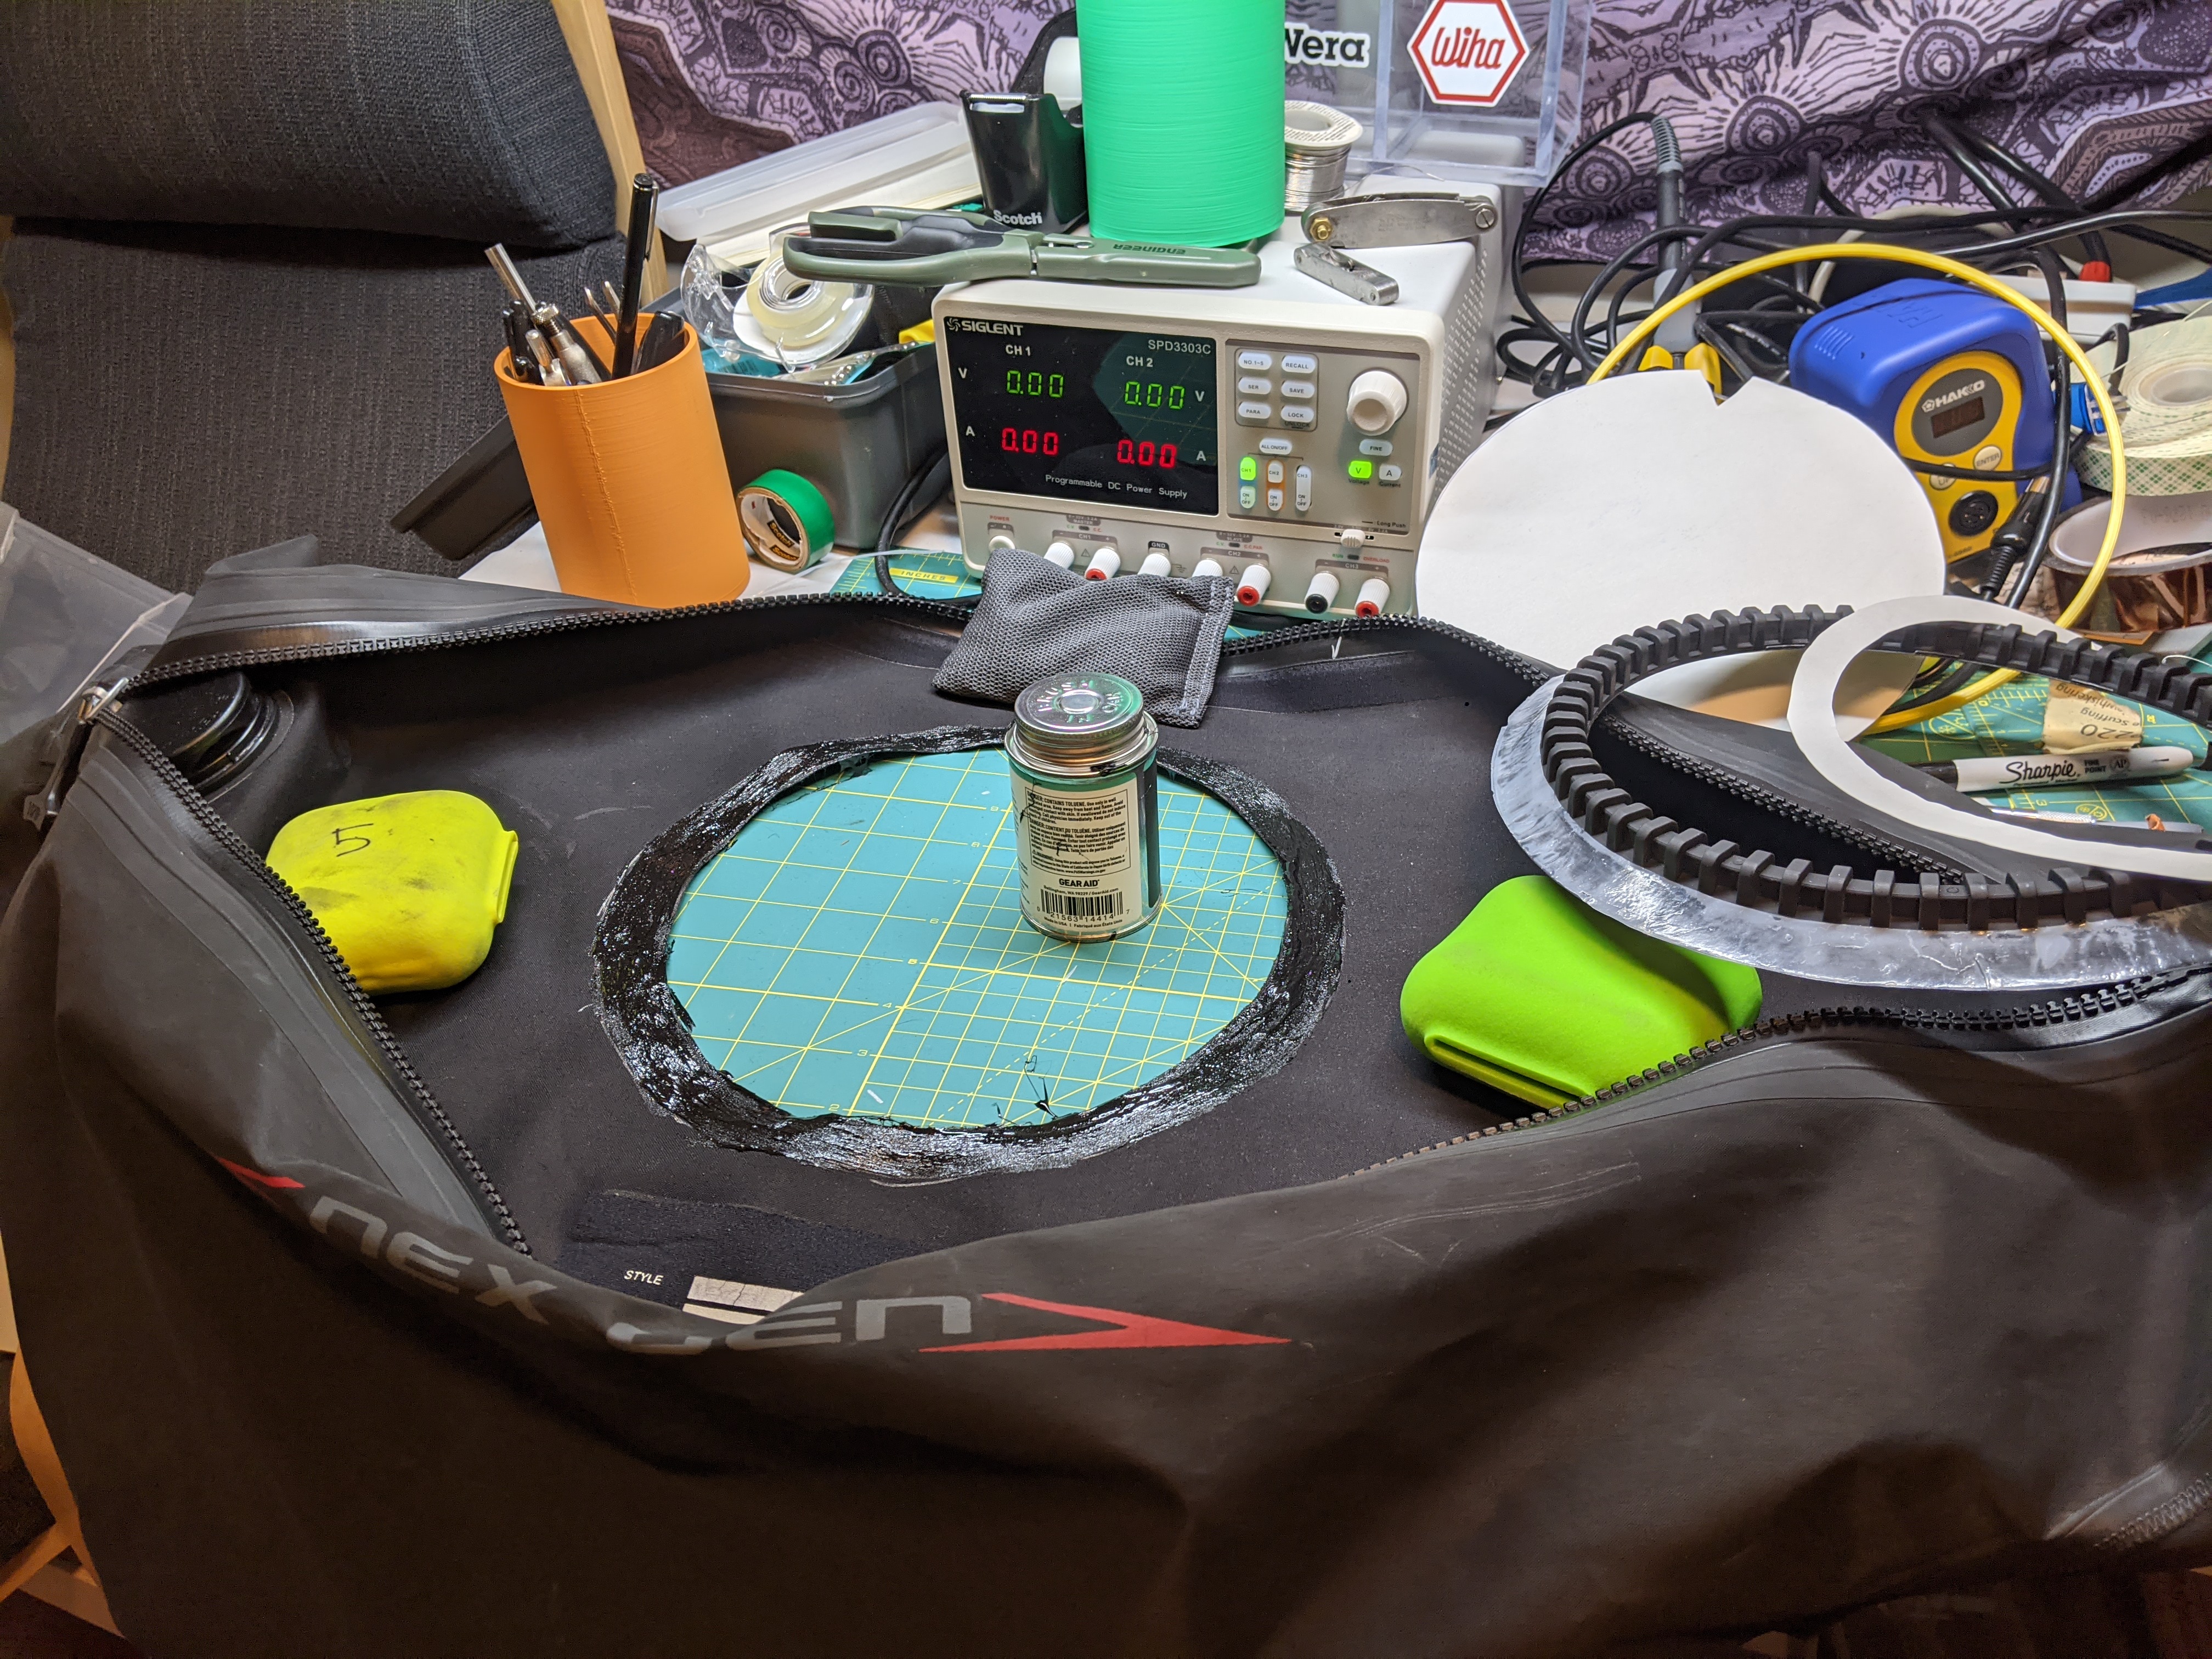
I needed to enlarge the neck hole ever so slightly on my suit. I started by stenciling the outside of the neck seal onto the inside of the suit. Then I very carefully trimmed the inside hole 2-3 mm at a time until the neck seal could fit through without any distortion of the fabric.
Once that was done, I sanded the area between the stenciled silver sharpie and the neck hole with 220 grit sandpaper, then wiped it with acetone with a lint free rag (aka used “procedure” face mask). Now that the fabric was roughed up, I put down three coats of aquaseal NEO to create a surface that the dry ahesive would stick to. According to DRIS, the sheet adhesive wont stick to some fabrics.
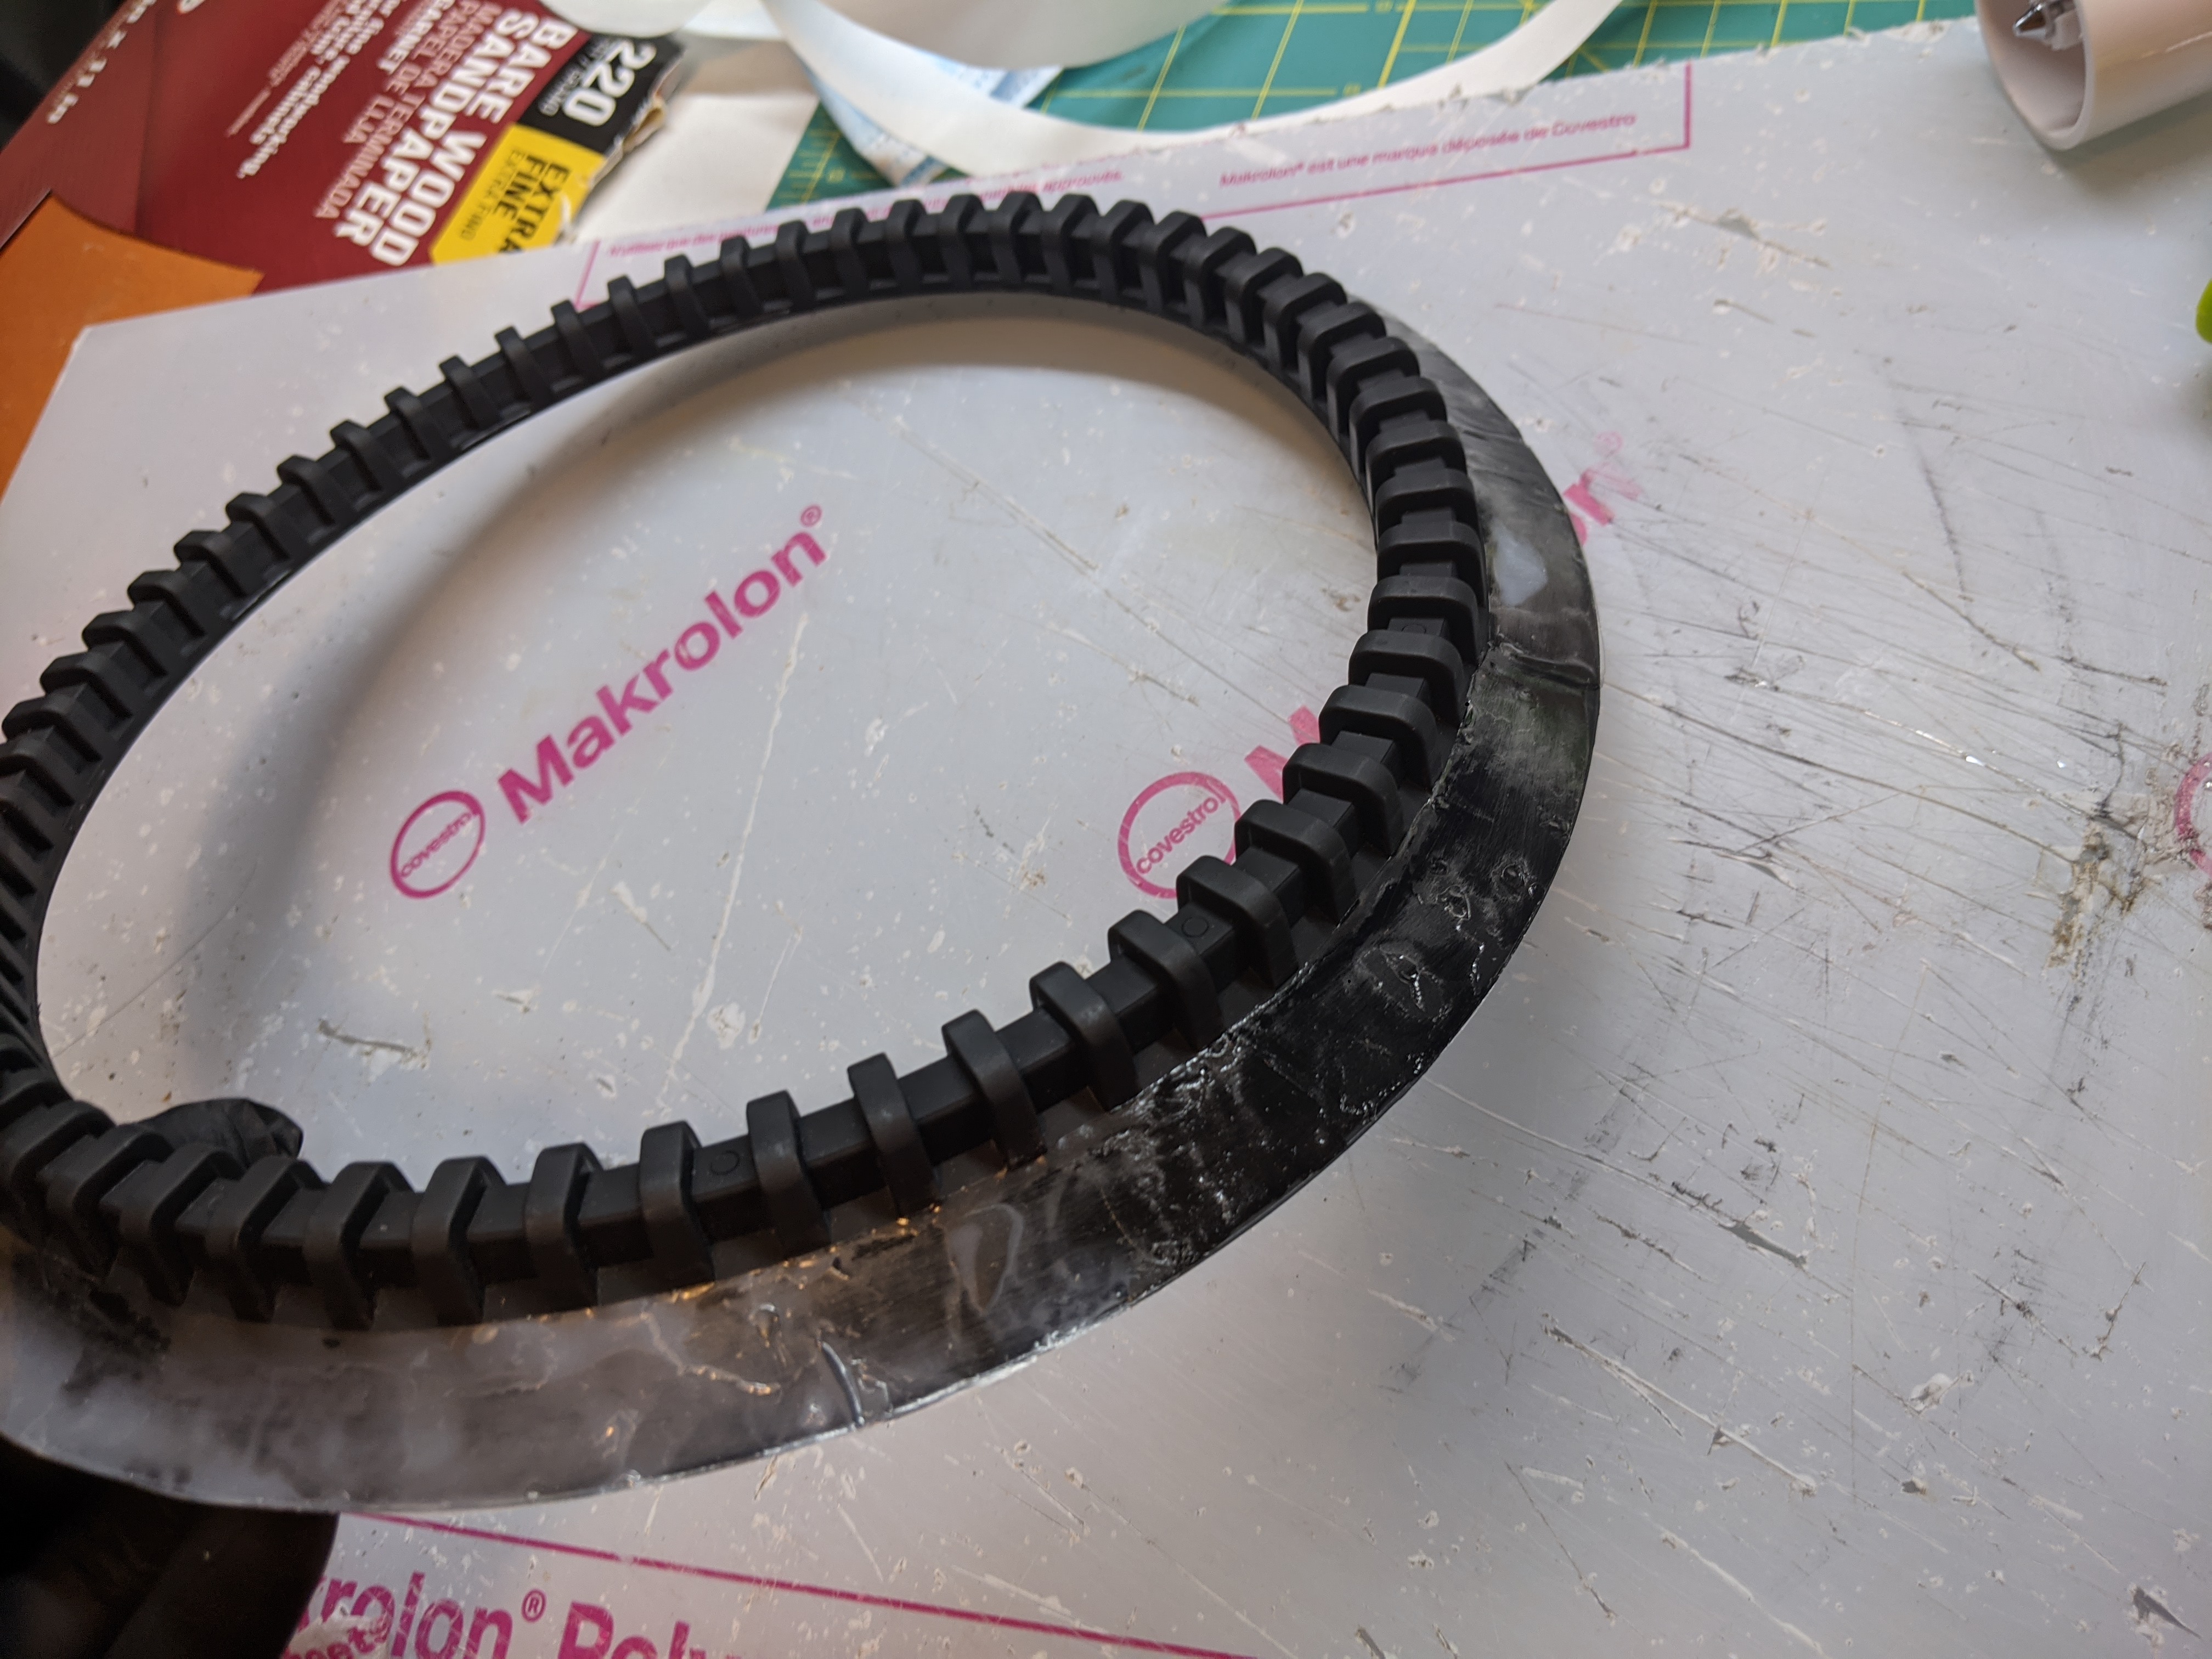
Prepping the ring went just about the same way- I trimmed the adhesive to the size of the ring. Then I sanded the ring with 220 grit, and wiped it with acetone. Then I heated the seal with the heat gun, and pressed it down onto the seal with a brayer/roller.
The photo is after the release liner was removed- you can see the milky white glue where it is cool and the clear glue where it is still hot.
To finalize the installation, I followed the same process of heating the ring and pressing it into the suit. This is fairly forgiving, but it pays to be patient and work you way around the seal.
Results + Recommendations
Two big thumbs up for the new neck ring. I am now dry all the time, and if I tear a seal I can quickly install a new one. More importantly, I now know how to patch my own drysuit, which means I don’t need to worry about sending it out for a few months if it gets a hole in it.
I would recommend this kind of work to anyone who has a drysuit who priorities deterministic execution of repairs over the great mystery of sending stuff out- however its not for the faint of heart since you do have to cut up your drystuit. If you do decide to do this take your time, and good luck!
