Sitec Inflator Valve Service

As a scuba diver, I know that its only a matter of time until my gear looses the battle against corrosion and crud. Unlike most other sports, getting gear serviced is very frustrating- I have yet to find a place that can tell me exactly how long service will take and even for simple service, kits are often not in stock, or are a pain to get.

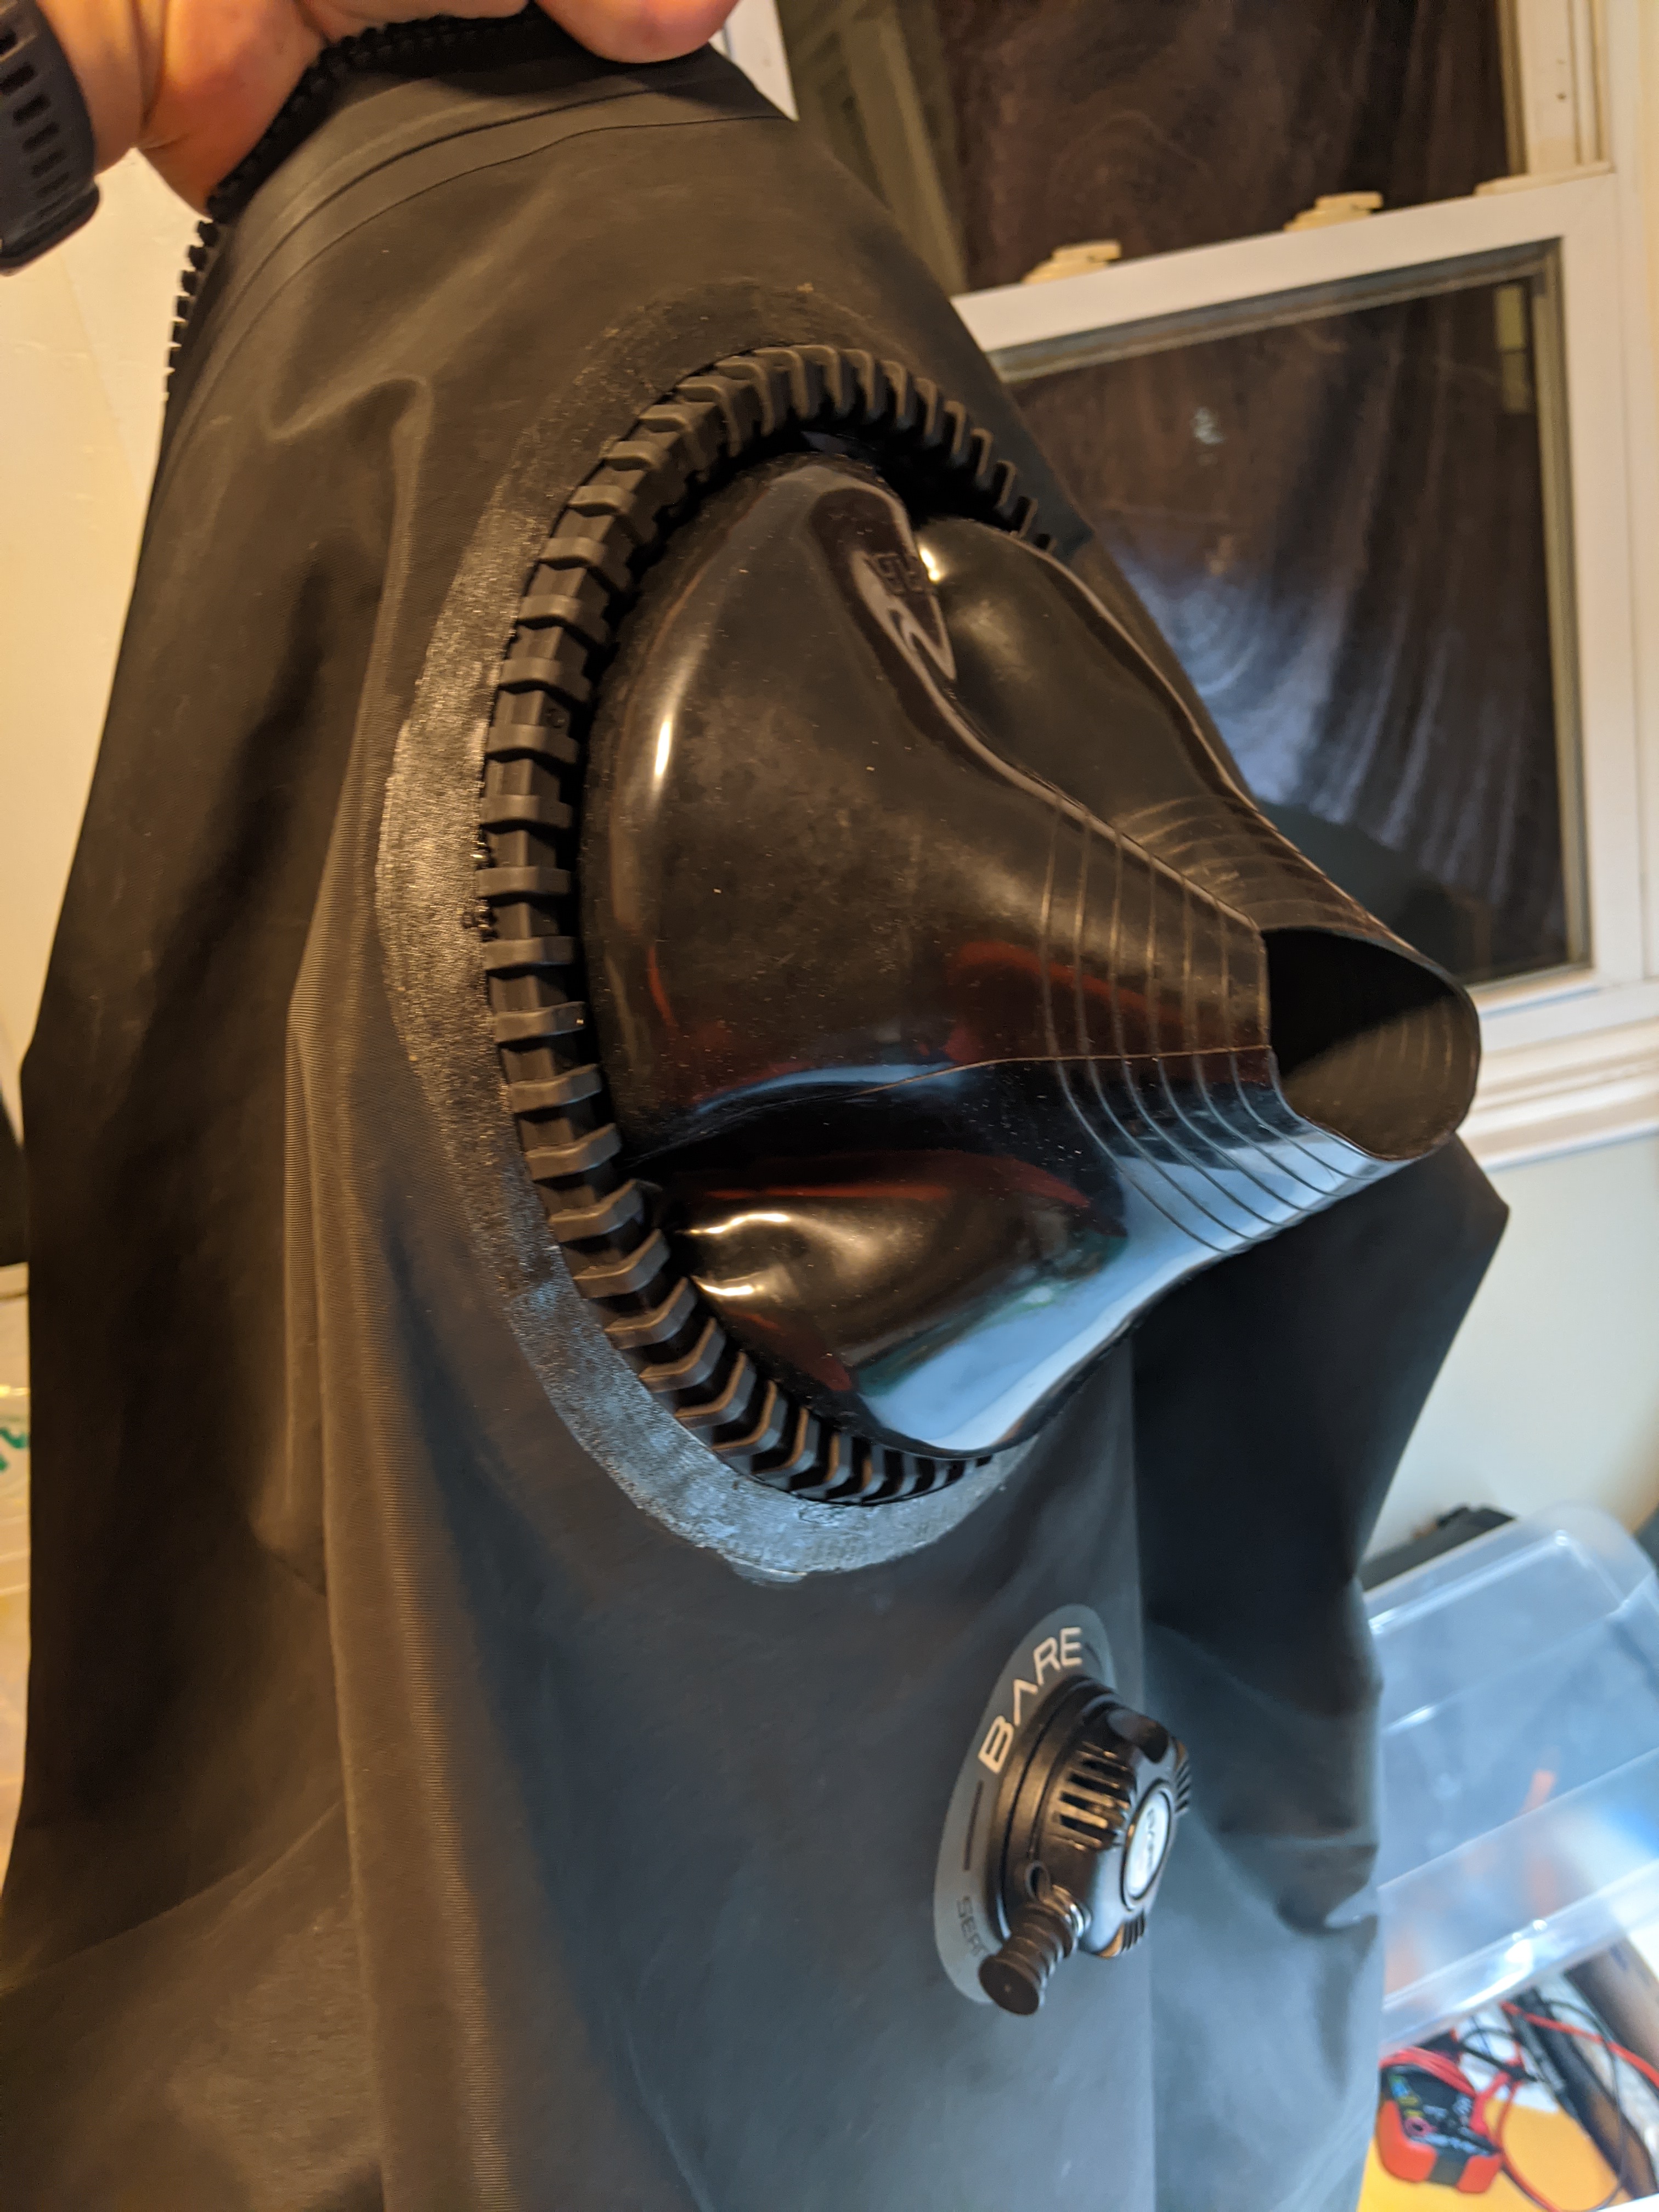
So this is a post about servicing my inflator valve, which has felt a little leaky. While I have not noticed any noises, it has felt like there is always a lot of air in the suit, even if I have not added any.

To be fair to sitec, they do make very reasonably priced kits available (from Europe), which contain a few orings, as well as a special clip that will almost certainly be broken when the valve is disassembled. They also do provide disassembly tools, if you want to buy them.

If I could get a kit for a reasonable price (from the US), I would have- however, I have a 3d printer and not a lot of patience, so I decided to fix it myself.

If you cant open it, you don’t own it…

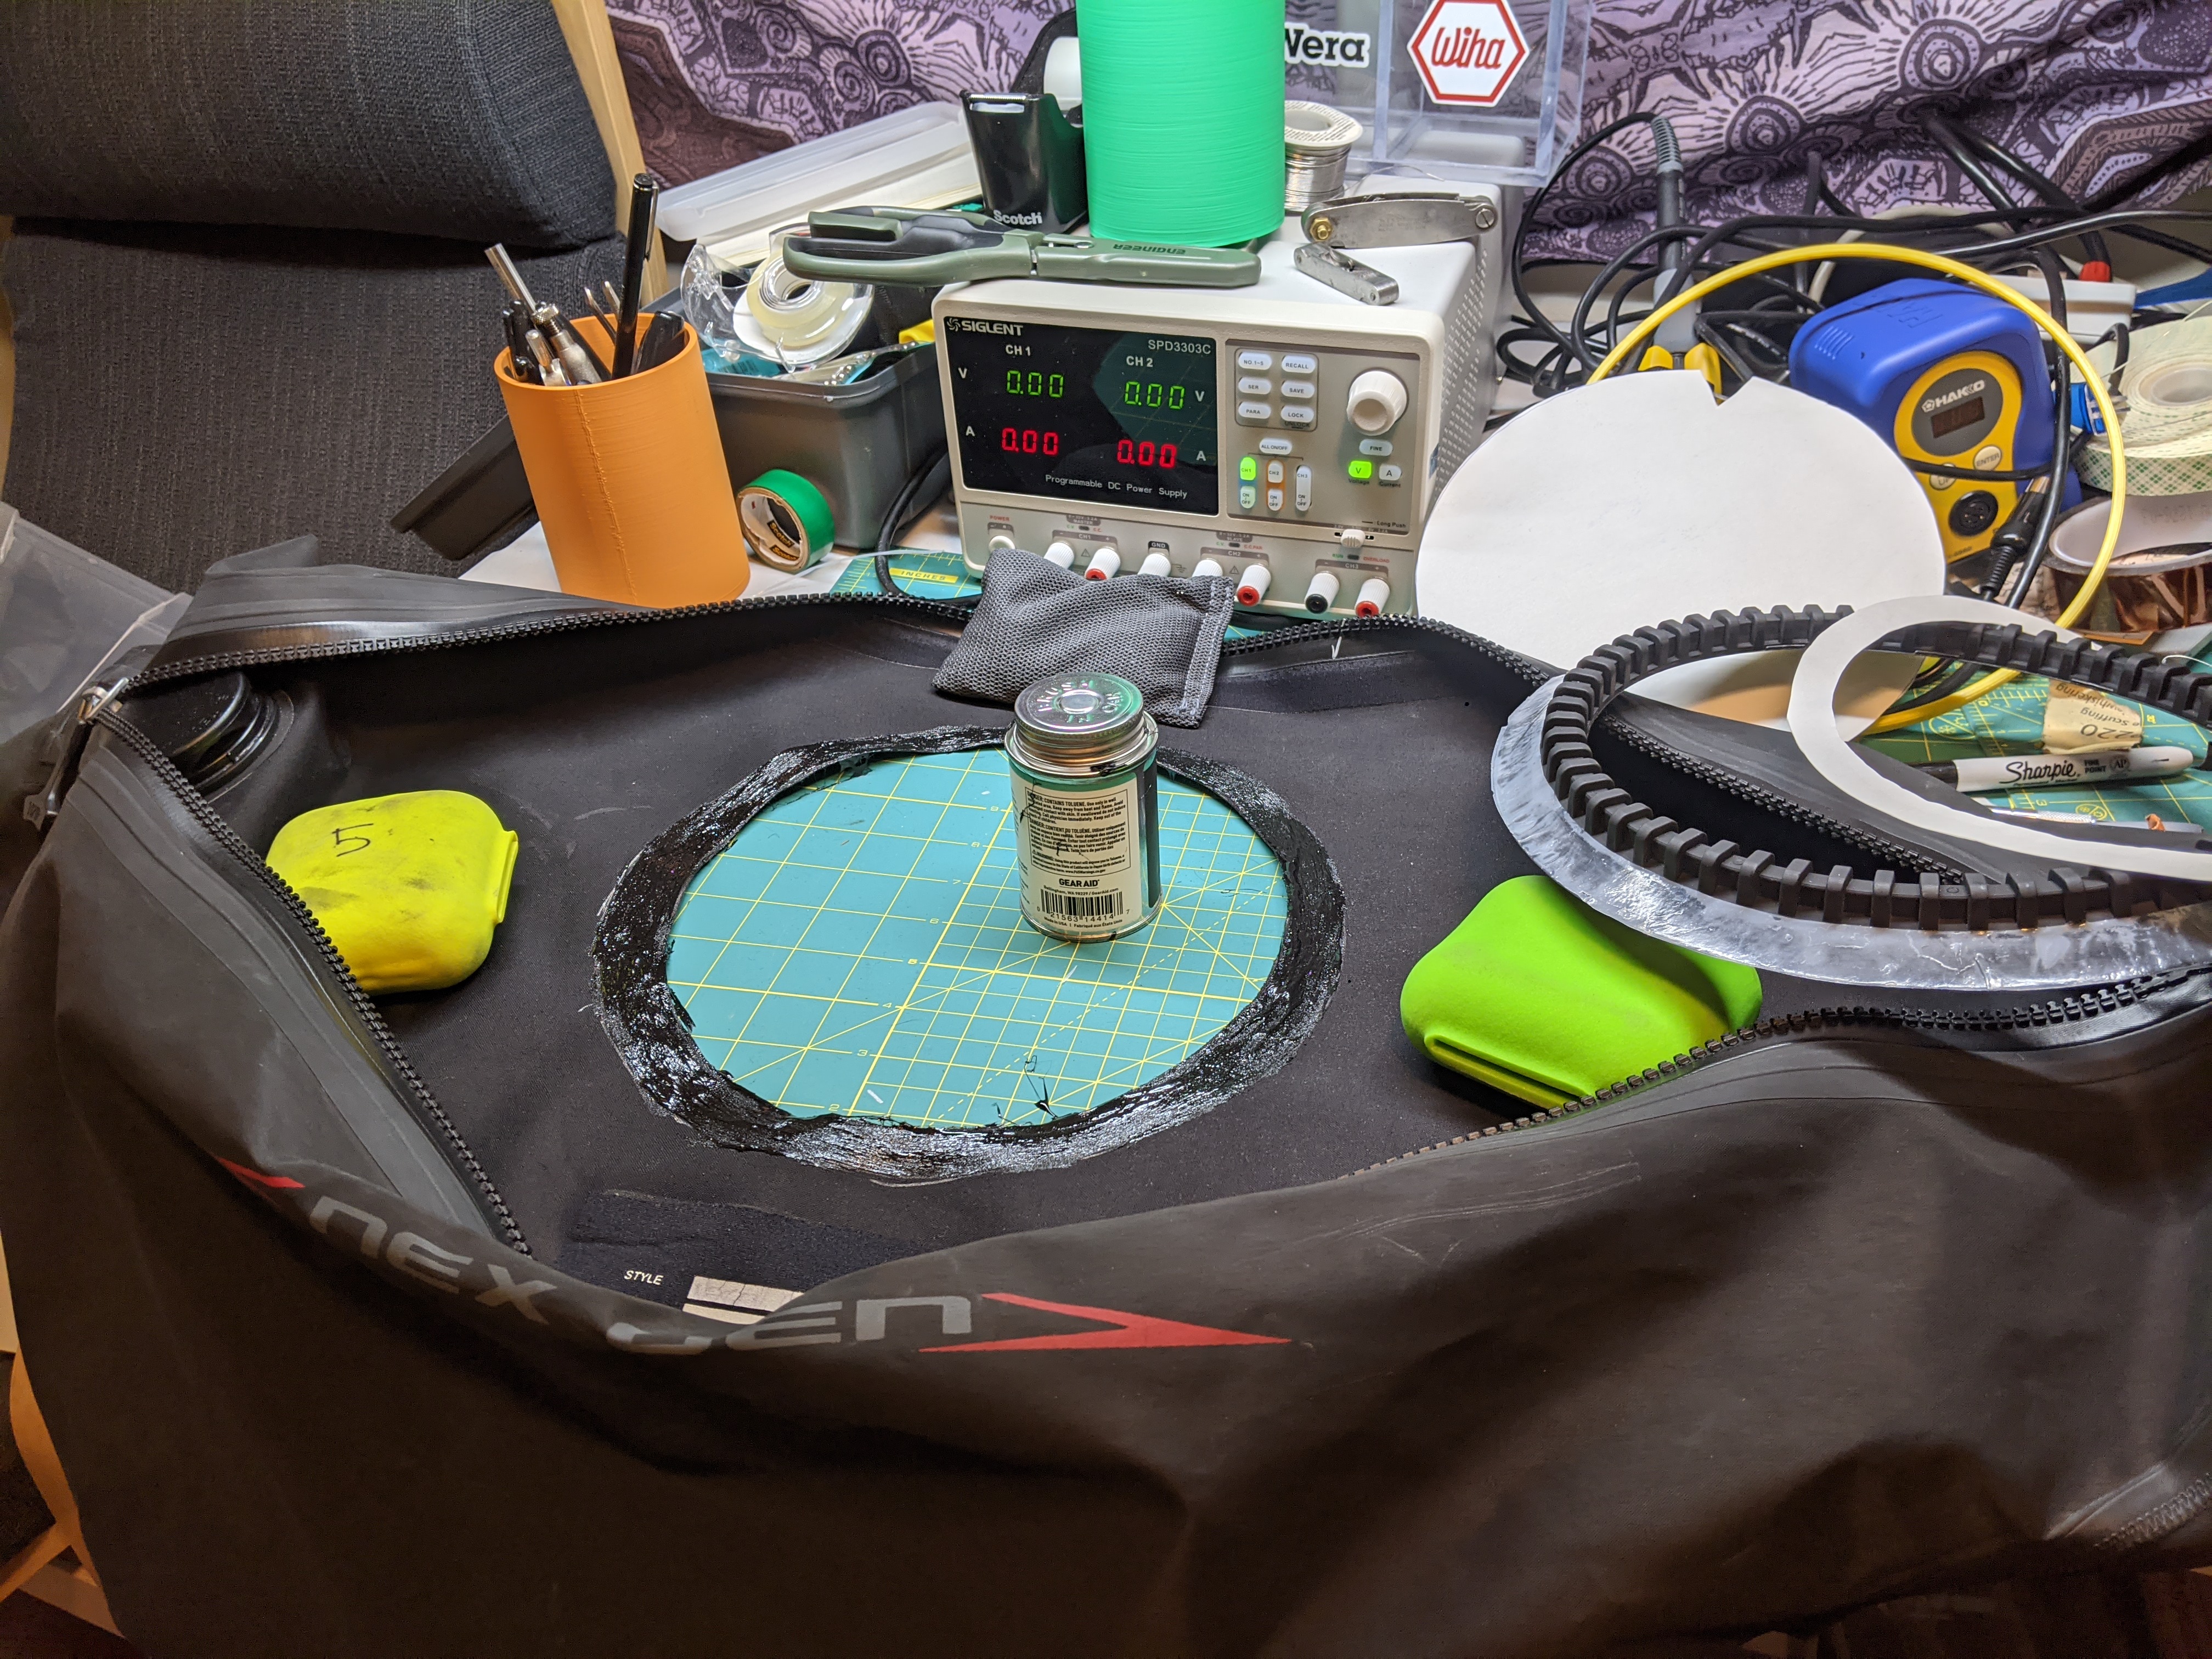
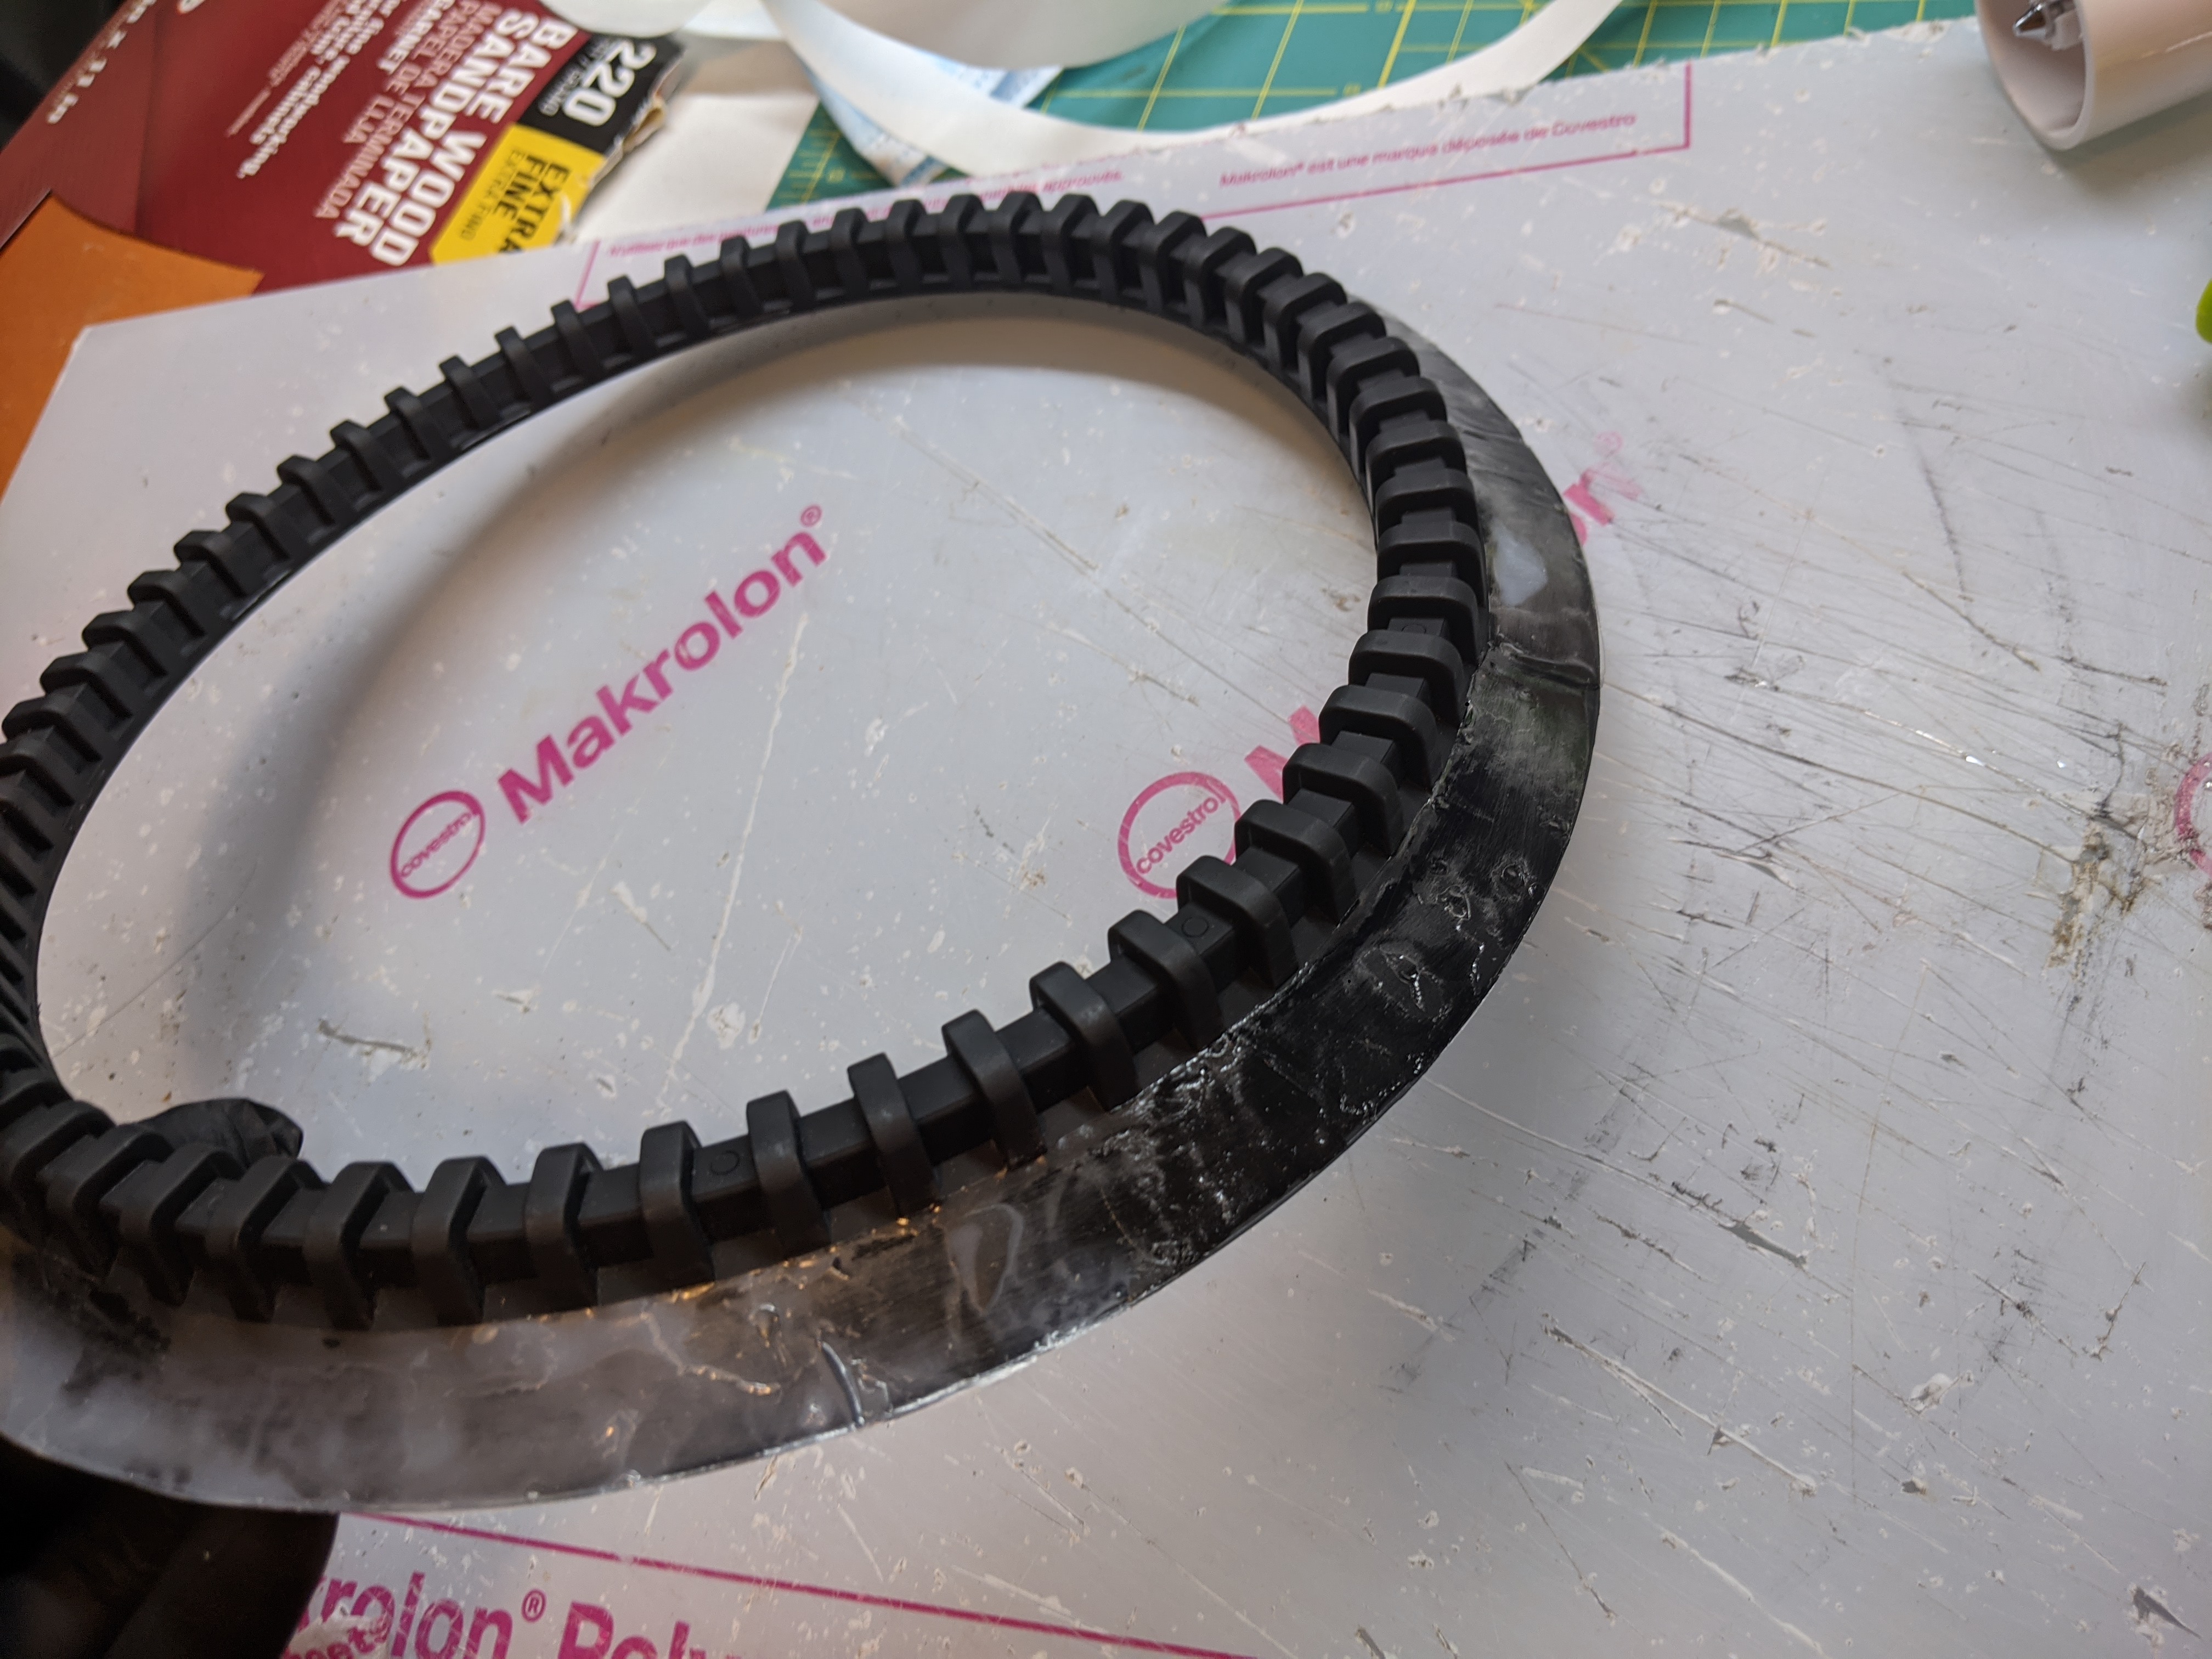
Step one was to get the valve out. Whoever tightened it down really did a “good job”. To avoid waiting to get the special wrench from sitec to even find out if my valve was leaking, I printed my own. You can get the files here. These wrenches fit down over very small lugs on the inside and outside of the inflator valve.

maybe the culprit!

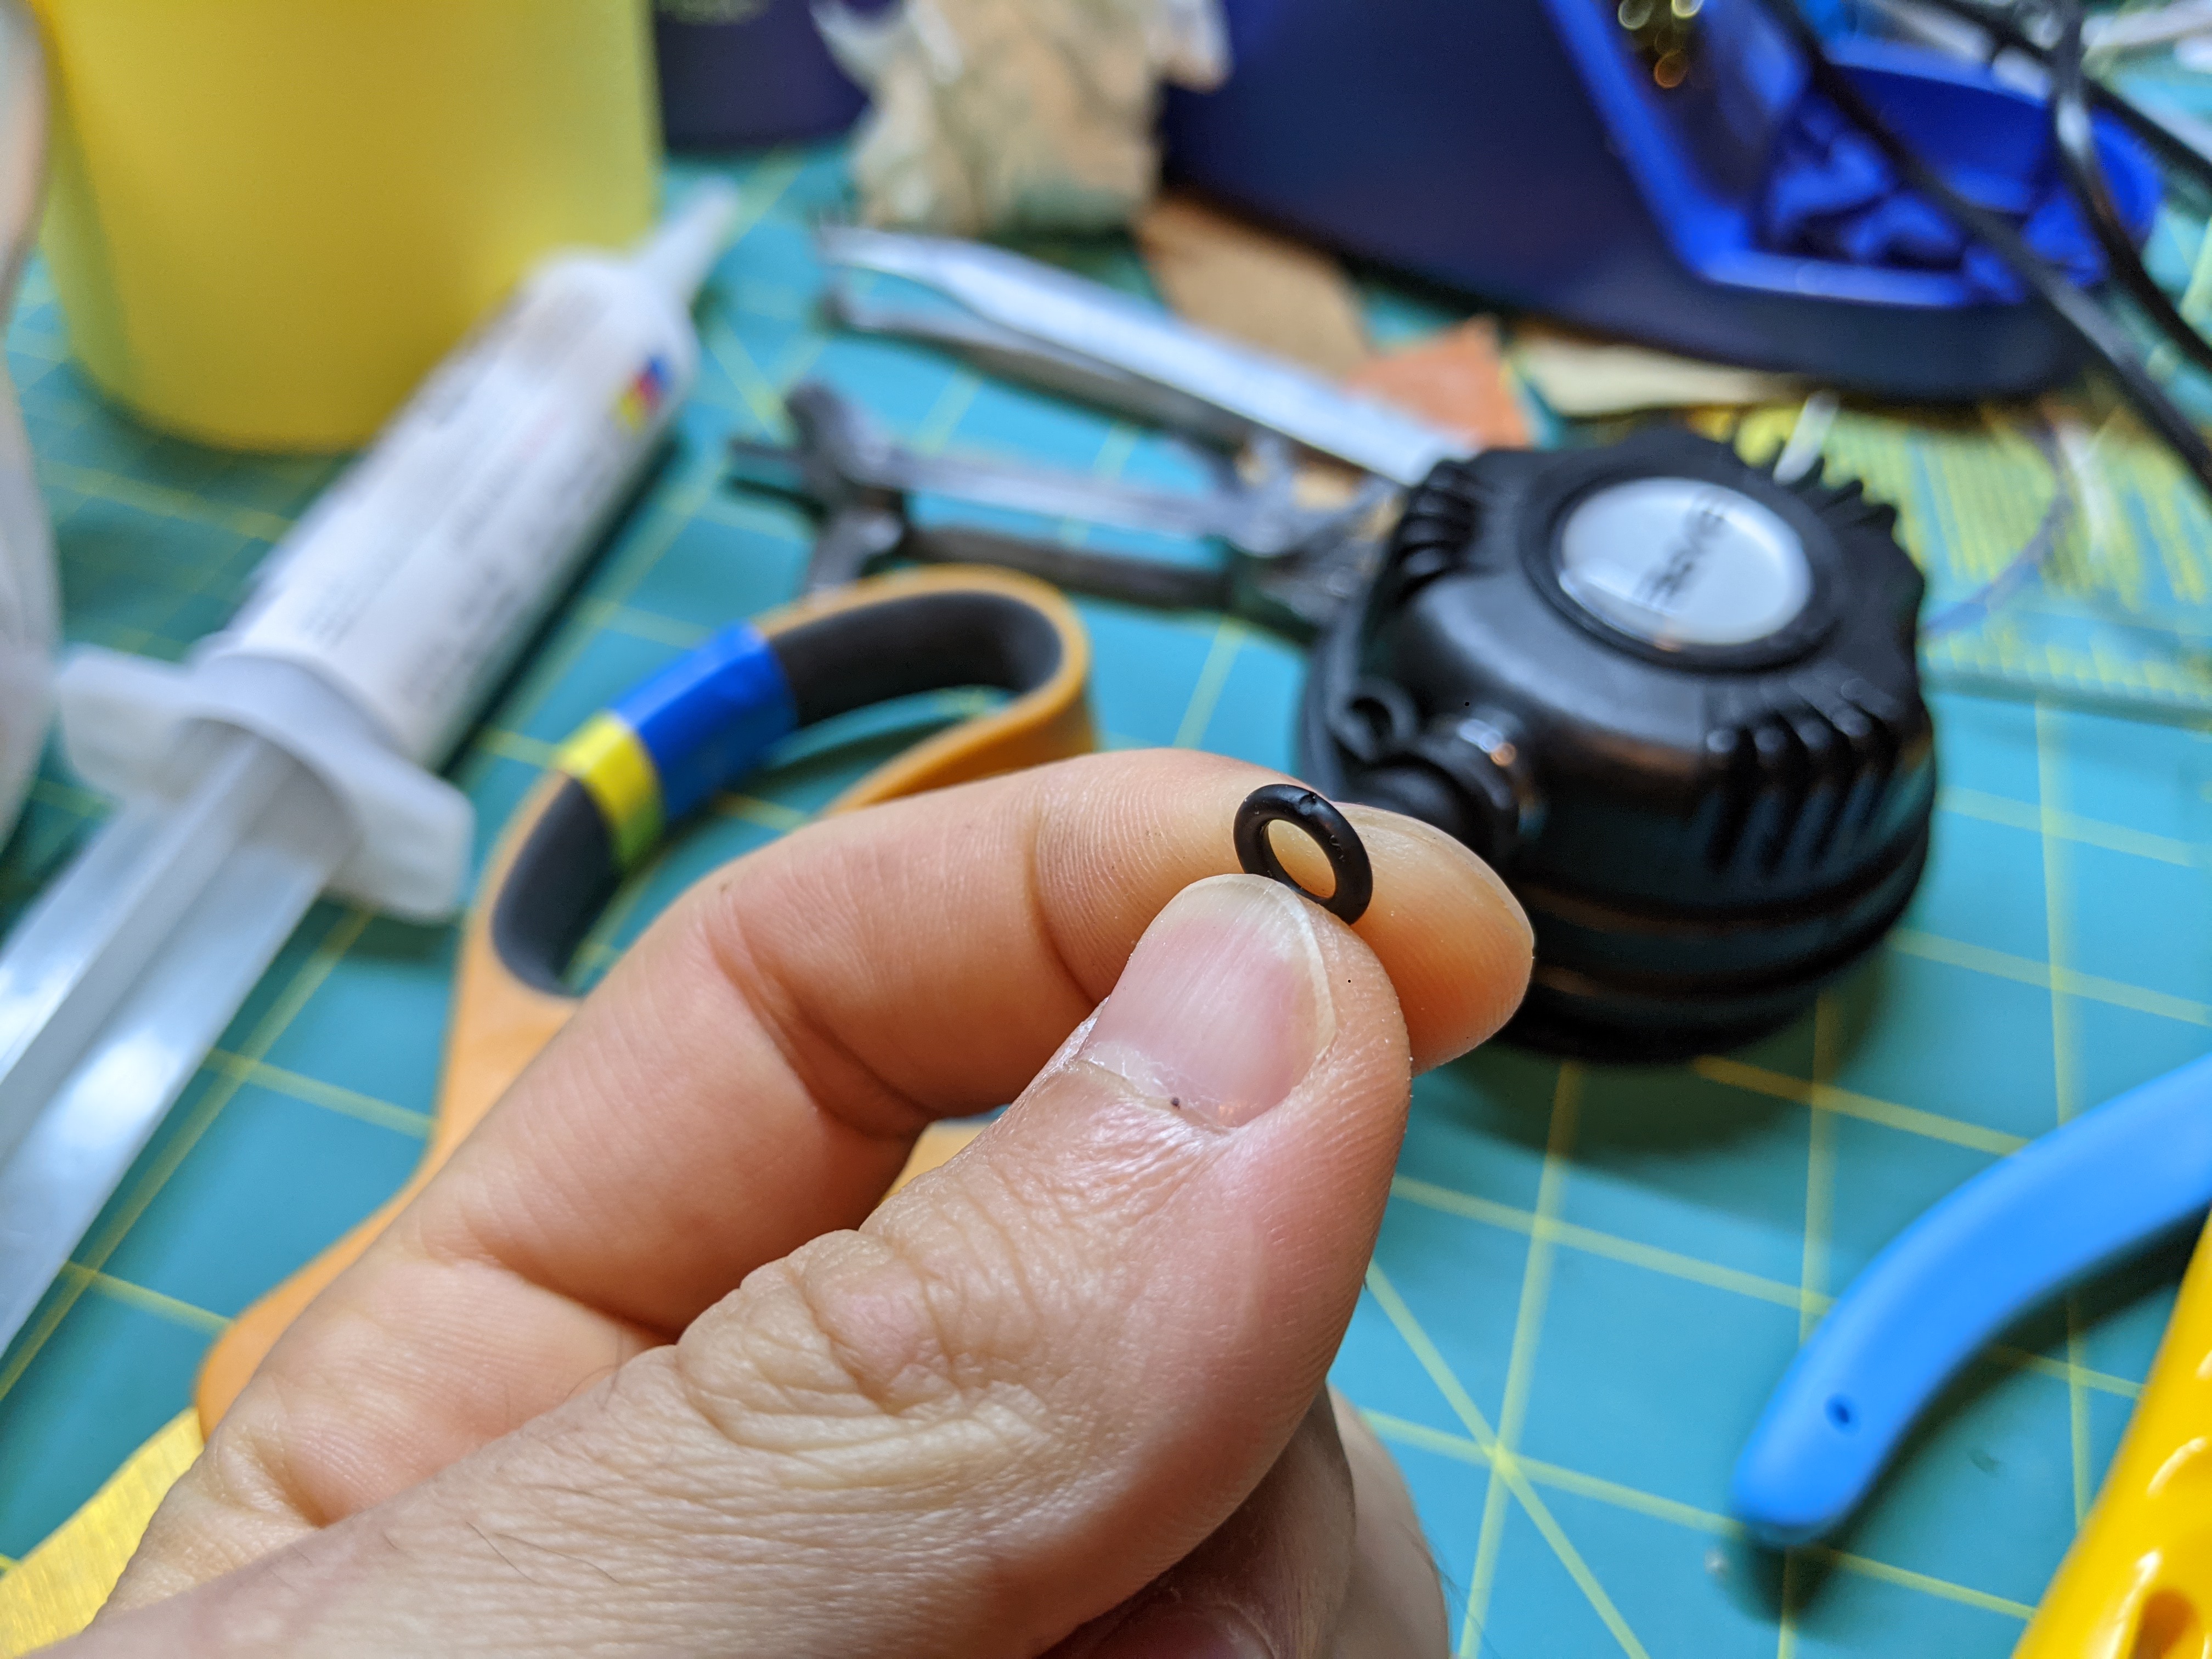
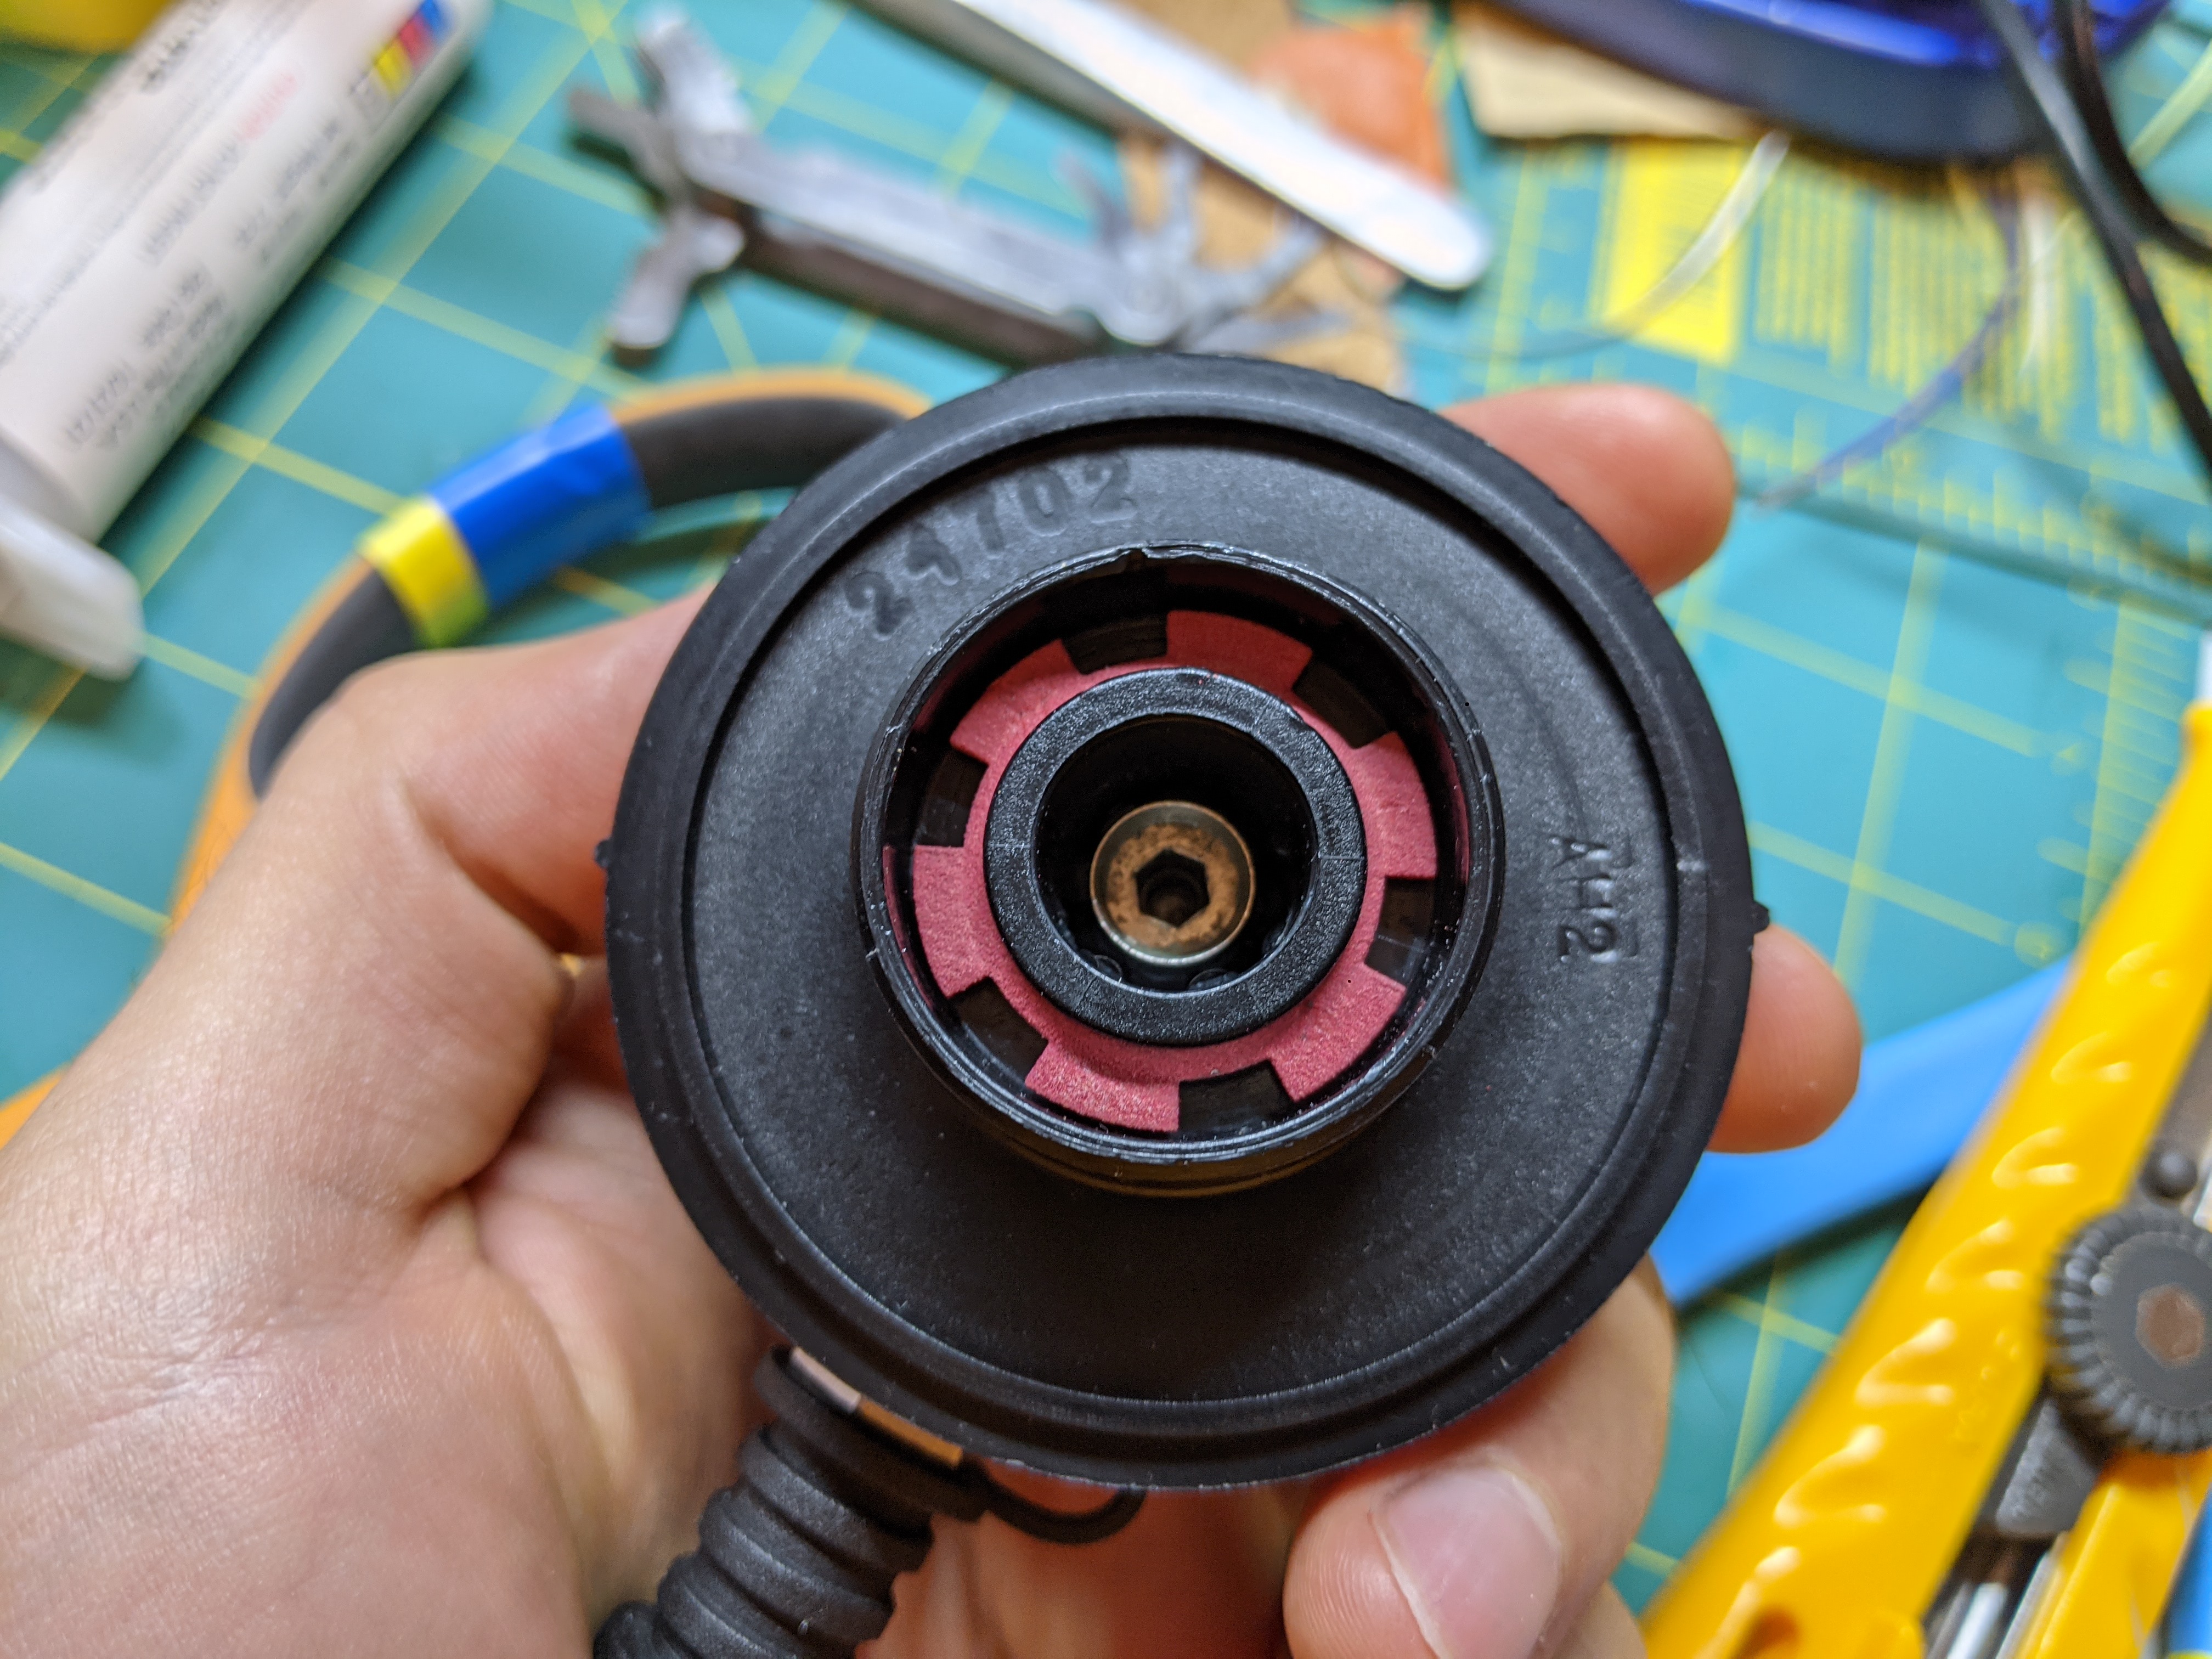
Next, the BARE sticker was peeled off and the button underneath was unscrewed with a 2mm and 4mm hex key. This allowed the valve barrel to be removed and the orings inspected. Interestingly, the bottom one was nicked-possibly the source of the leaking.

My model of the inflator valve, sitec part number

I started my maintenance with taking my inflator valve apart. After measuring some orings, it seems like the two small orings in the valve itself can be replaced with -008 orings, the oring in the nipple is a -009 oring and the swivel oring is metric 19.5 ID x 3mm cross section. All are available on McMaster, and buna N should be sufficient. Basically for the same price as a single repair kit, I got about 50- aside from one crucial part- the clip.

The Clip

RIP clip

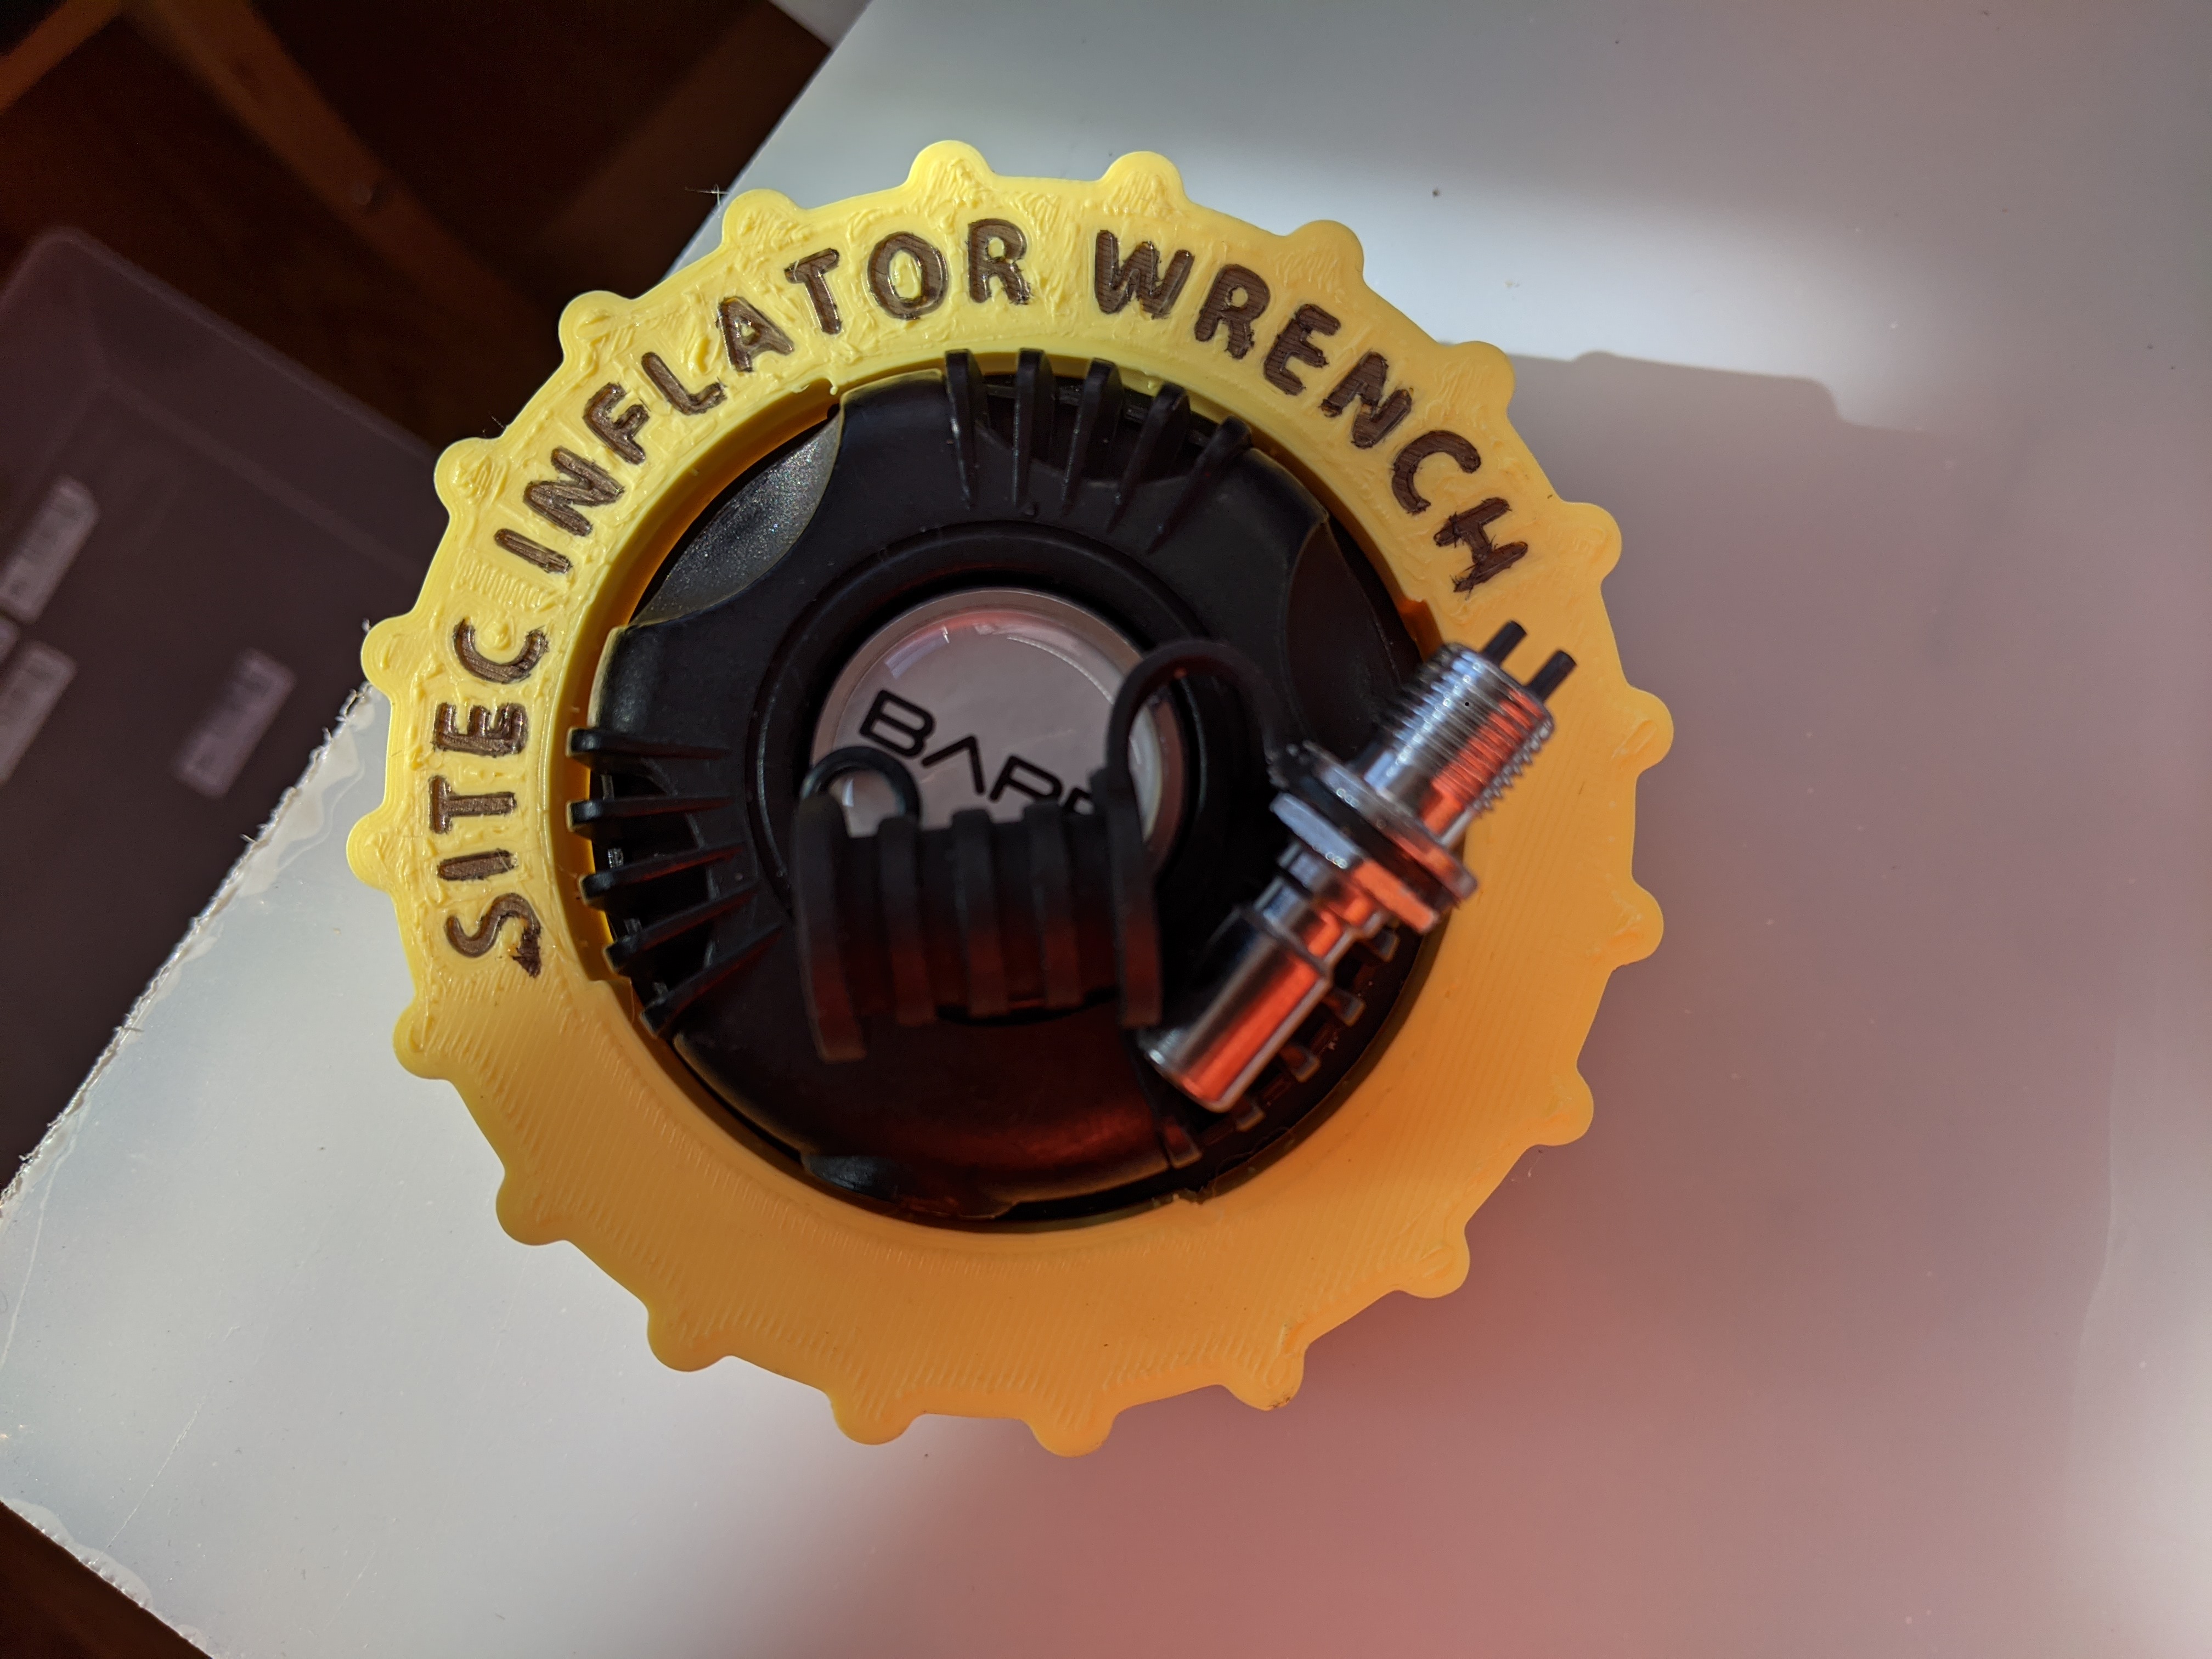
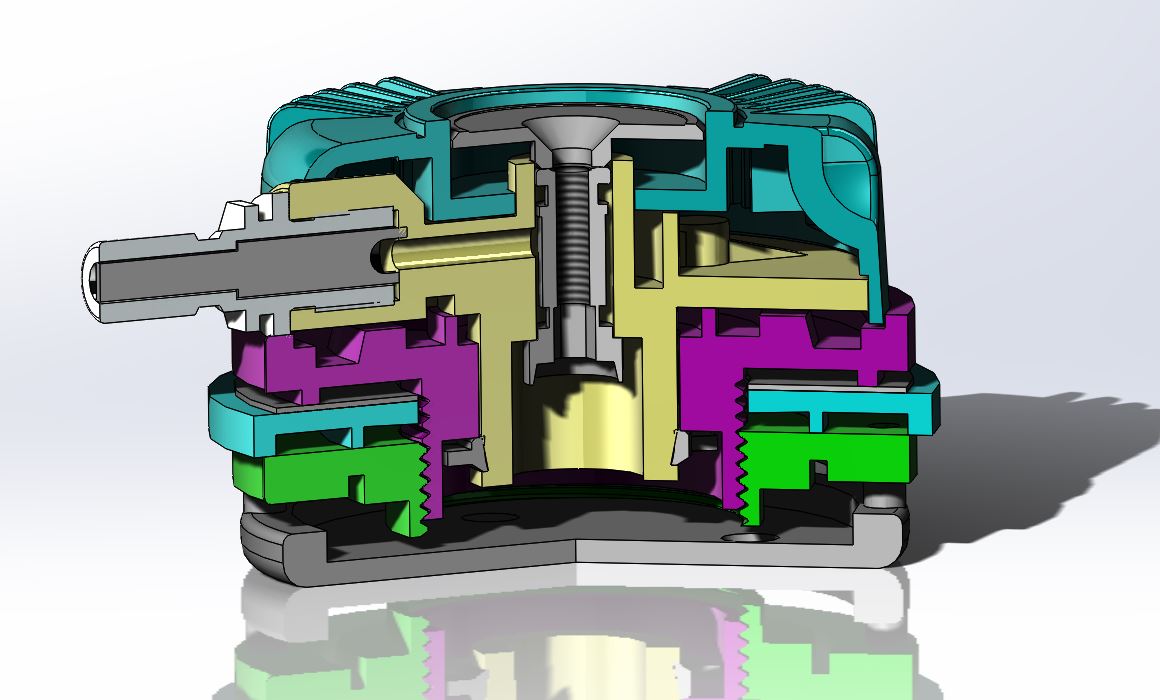
I really cant explain why sitec chose to use a plastic clip to retain the outside of the valve to the inside of the valve. While it obviously works, there is no way to get it off without destroying it. Other folks have replaced it with C clips and spacers. I also bought said c clips, but I also modeled the clip and printed one on a pretty beefy multijet fusion printer.

Sweet sweet 3d printed clip

It seems like it works fine! I have managed to stay completely dry while using it. There is no perceptible “wiggle” in the assembly, and it still rotates fine. If you want to make your own, the files for the clip (and the whole valve) are on grabcad.

N.B.

There was some crusty stuff in the screw that holds the valve together. I imagine it is a sealant to keep water from leaking under the sticker, through the screw, and into the suit. To keep this sealed, I added a little aquaseal during reassembly.

Also, the sticker seems to have gone back on just fine- which is surprising, given that it was left off for several days.

Sitec QuickNeck Install

My drysuit neck seal has always been about a 90% fit, which means that 100% of the time my suit floods. Sometimes a little, sometimes a lot! Considering the dropping air and water temps, I decided to do something about it.

Sending my drysuit out for repair was not a good option for me- its prime diving season here in the northeast, and the idea of sending any of my critical gear off for an unknown amount of time makes me sad. If I valued my own time, I don’t think I “saved money” by doing this install, but I certainly now know how I can fix my suit- and how long it will take. To me that is worth it.

Here are my notes- nothing special, and sadly not enough photos.

Material and Process

  • Sitec Quickneck ring
  • 220 grit sandpaper
  • silver sharpie
  • acetone
  • heat gun
  • DRIS dry adhesive (heat activated sheet adhesive)
  • Gear-Aid Aquaseal-NEO (NEO. not normal aquaseal!)

First I had to remove the old seal. I heated mine up with a heat gun and it peeled right off. My original seal was on the outside, but this ring will be installed from the inside of the suit, as you can see above.

I needed to enlarge the neck hole ever so slightly on my suit. I started by stenciling the outside of the neck seal onto the inside of the suit. Then I very carefully trimmed the inside hole 2-3 mm at a time until the neck seal could fit through without any distortion of the fabric.

Once that was done, I sanded the area between the stenciled silver sharpie and the neck hole with 220 grit sandpaper, then wiped it with acetone with a lint free rag (aka used “procedure” face mask). Now that the fabric was roughed up, I put down three coats of aquaseal NEO to create a surface that the dry ahesive would stick to. According to DRIS, the sheet adhesive wont stick to some fabrics.

Prepping the ring went just about the same way- I trimmed the adhesive to the size of the ring. Then I sanded the ring with 220 grit, and wiped it with acetone. Then I heated the seal with the heat gun, and pressed it down onto the seal with a brayer/roller.

The photo is after the release liner was removed- you can see the milky white glue where it is cool and the clear glue where it is still hot.

To finalize the installation, I followed the same process of heating the ring and pressing it into the suit. This is fairly forgiving, but it pays to be patient and work you way around the seal.

Results + Recommendations

Two big thumbs up for the new neck ring. I am now dry all the time, and if I tear a seal I can quickly install a new one. More importantly, I now know how to patch my own drysuit, which means I don’t need to worry about sending it out for a few months if it gets a hole in it.

I would recommend this kind of work to anyone who has a drysuit who priorities deterministic execution of repairs over the great mystery of sending stuff out- however its not for the faint of heart since you do have to cut up your drystuit. If you do decide to do this take your time, and good luck!