After coming back from two weeks of traveling with my normal sized soprano uke, I decided it would be neat to build a smaller, quieter, and more robust travel uke before I headed to red river gorge to go climbing for a week. The goal was to go from a sketch in my notebook to a finished instrument in five days. Since I have limited woodworking experience, no experience with building instruments, and barely any experience playing instruments, I knew it would be a challenge.
This is a pretty text-dense post, but it should give you an idea of what I did. With only a few days to finish this, there was no time for taking nice photos!
Day 1: Research prior art, initial design, order long lead time items
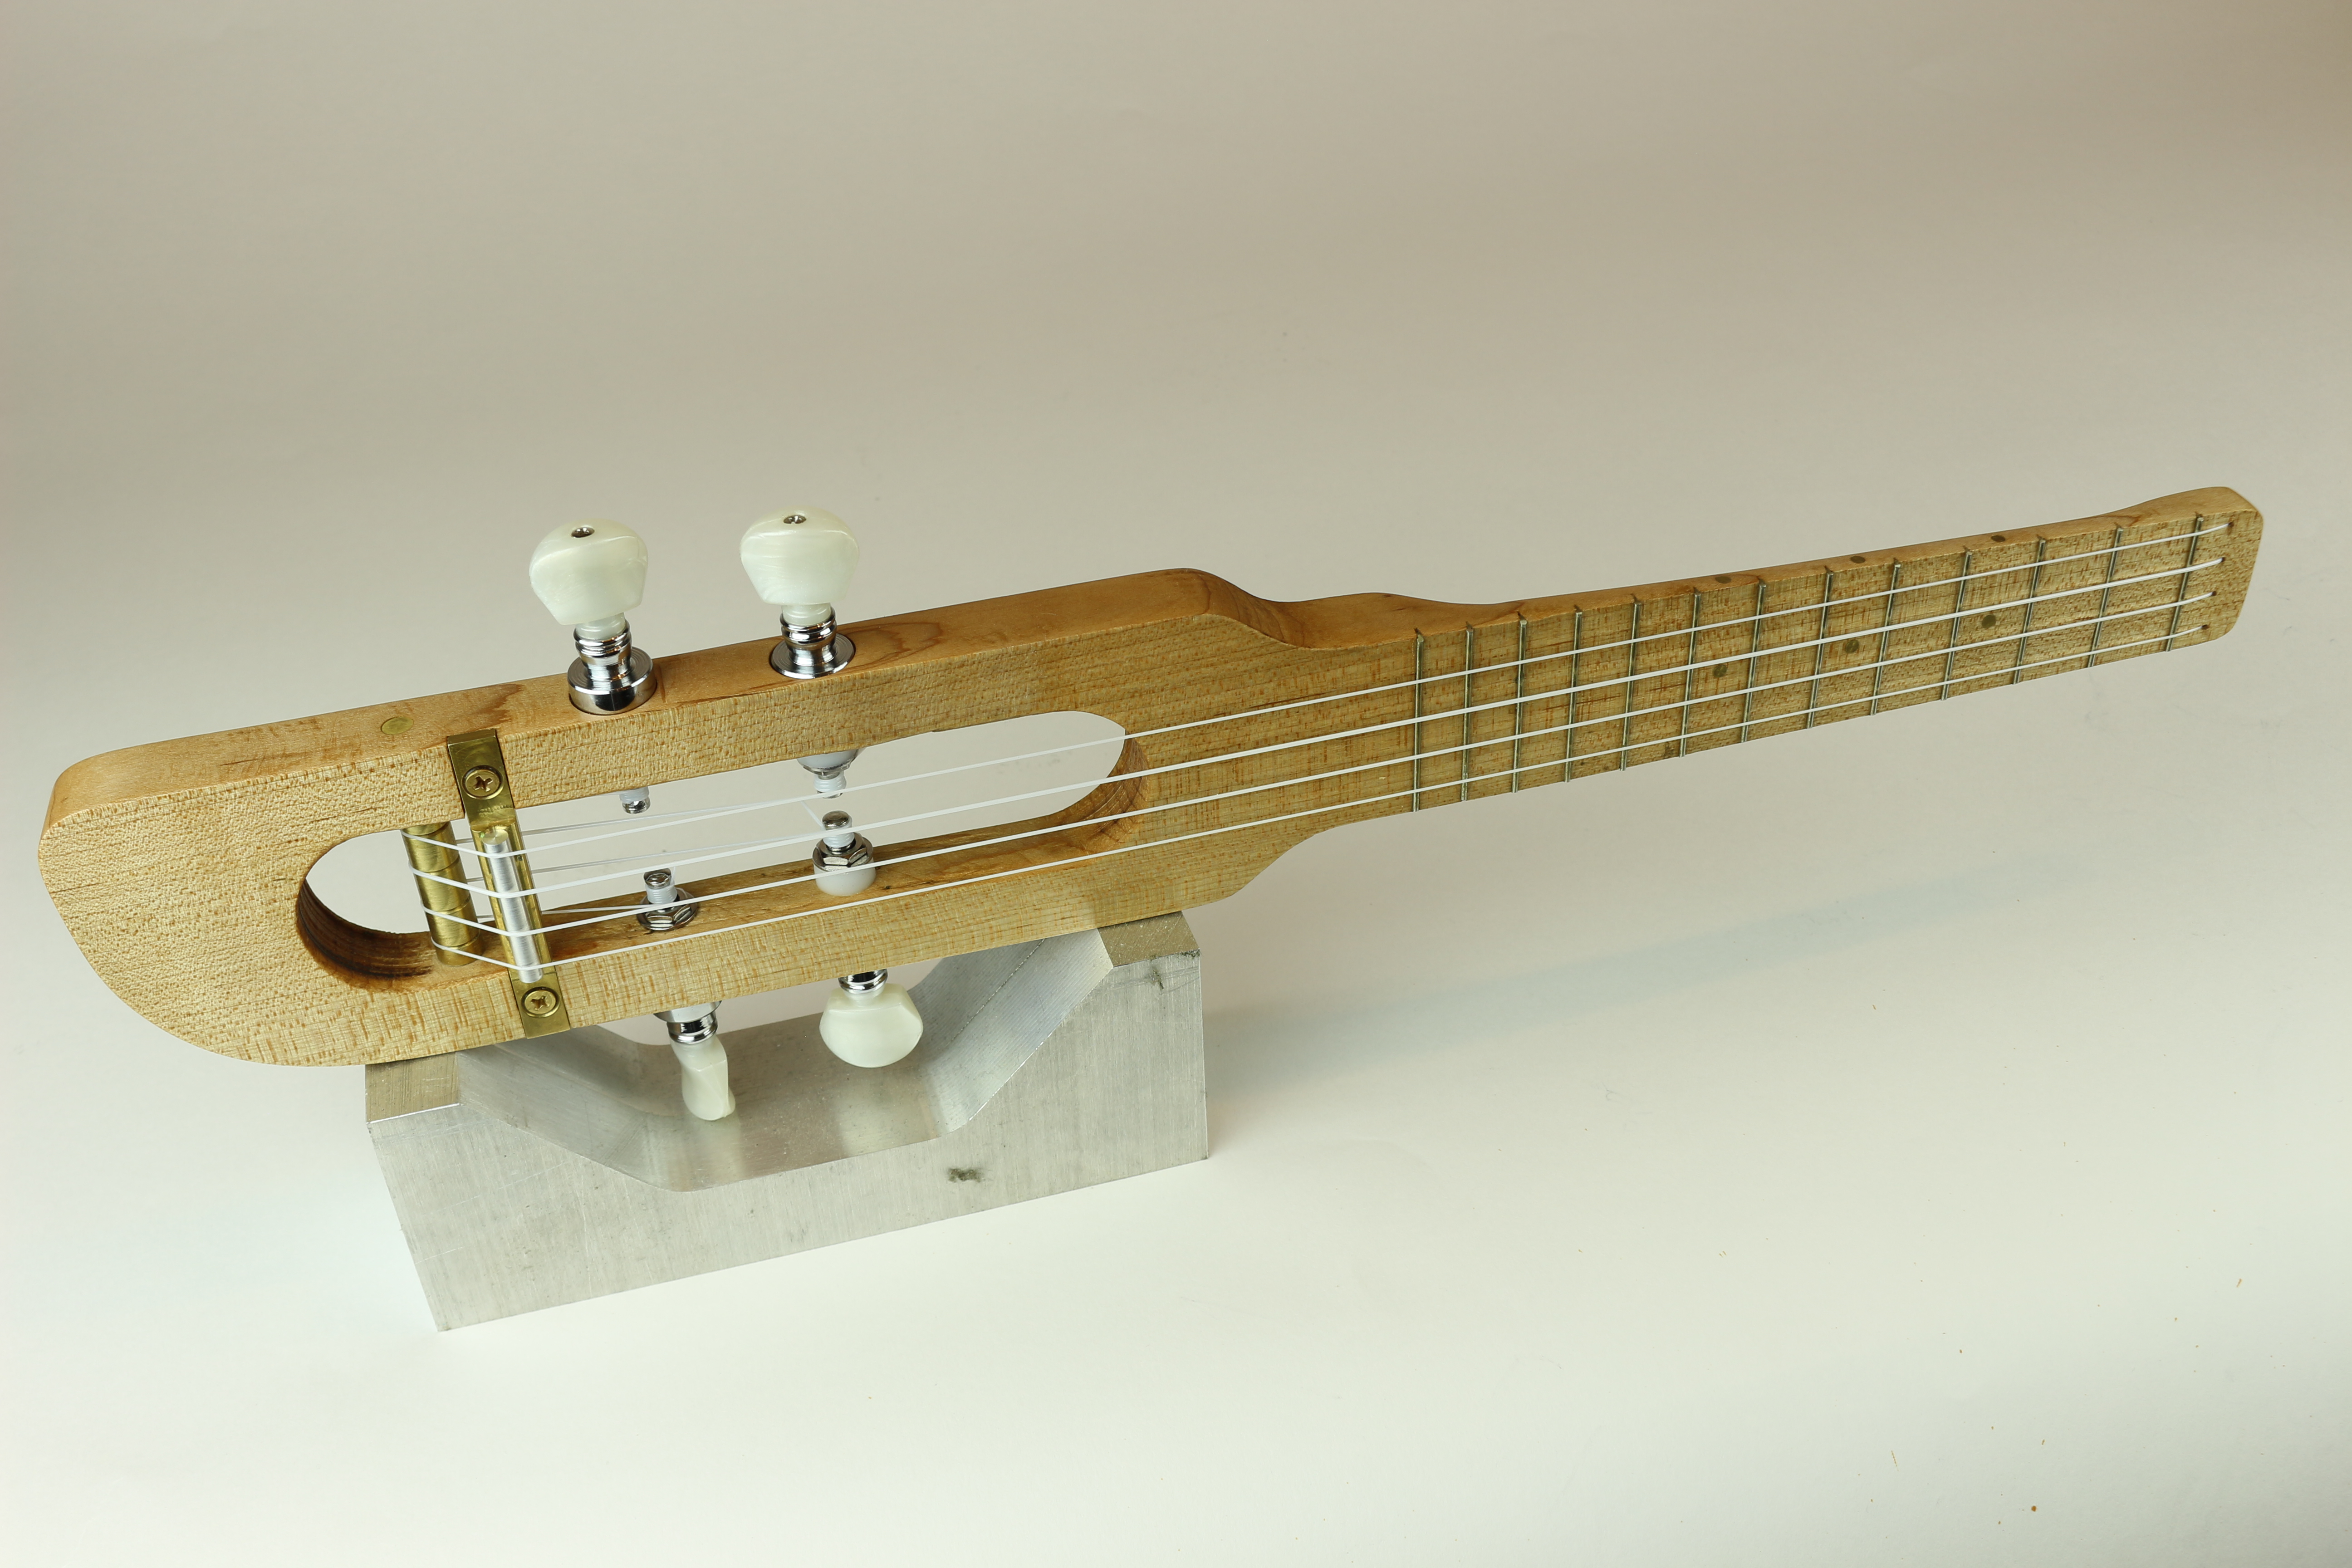
With only five days, there was no time to reinvent the ukulele, or even the format of a travel uke. After looking at a lot of different designs I settled on a travel uke design by circuits and strings. It avoided a lot of things I did not have time or experience to deal with, like building an actual body for the uke. It was also suitably small and seemed to be quiet, which would be great for playing without disturbing anyone.
However, aside from the shape, I decided I would need to redesign the instrument. This was a pragmatic decision, since the tools and experience I have are very different than what the original designer has.
The major parts that I needed to fabricate or buy were:
body
bridge and saddle
turnaround
Some of these (strings, tuners, frets) were only available from online specialty stores or amazon. Acquiring and fitting these parts was critical to the project, and if there was going to be any second chances on component selection, I needed to order them as early as possible- so I did.
After looking at many tuners, I decided that friction pegs were out, and geared tuners would be awkward to accommodate on the inside of the body, so I went with banjo tuners, because they use a planetary gear system. Unfortunately, they are heavy, and it is difficult to adapt lower profile knobs on them, so next time I would go with a typical gear tuner- even one that requires a tool.
I decided I wanted to make most of the other parts out of brass, which I imagined would look good on the maple body. In retrospect, walnut might have given it more contrast. These parts required some modeling and sizing to get right, so I waited to order them. Due to coming from mcmaster carr, they would arrive in one day instead of two.
Day 2: Wood removal begins
On this day, I bought a large piece of maple (5″x .75″x 60″), chosen carefully to have a straight grain, and to be a quarter-sawn piece to avoid cupping/warping issues. Instead of printing a paper template, I laser engraved the template onto the wood, which gave me very accurate hole dimensions and fret locations. This made it very easy to drill out the holes for the strings, and to circular-saw out the “caps” of the slot on the bottom. After that I started removing the waste from inside the slot.
Day 3: Wood removal continues, frets go in!
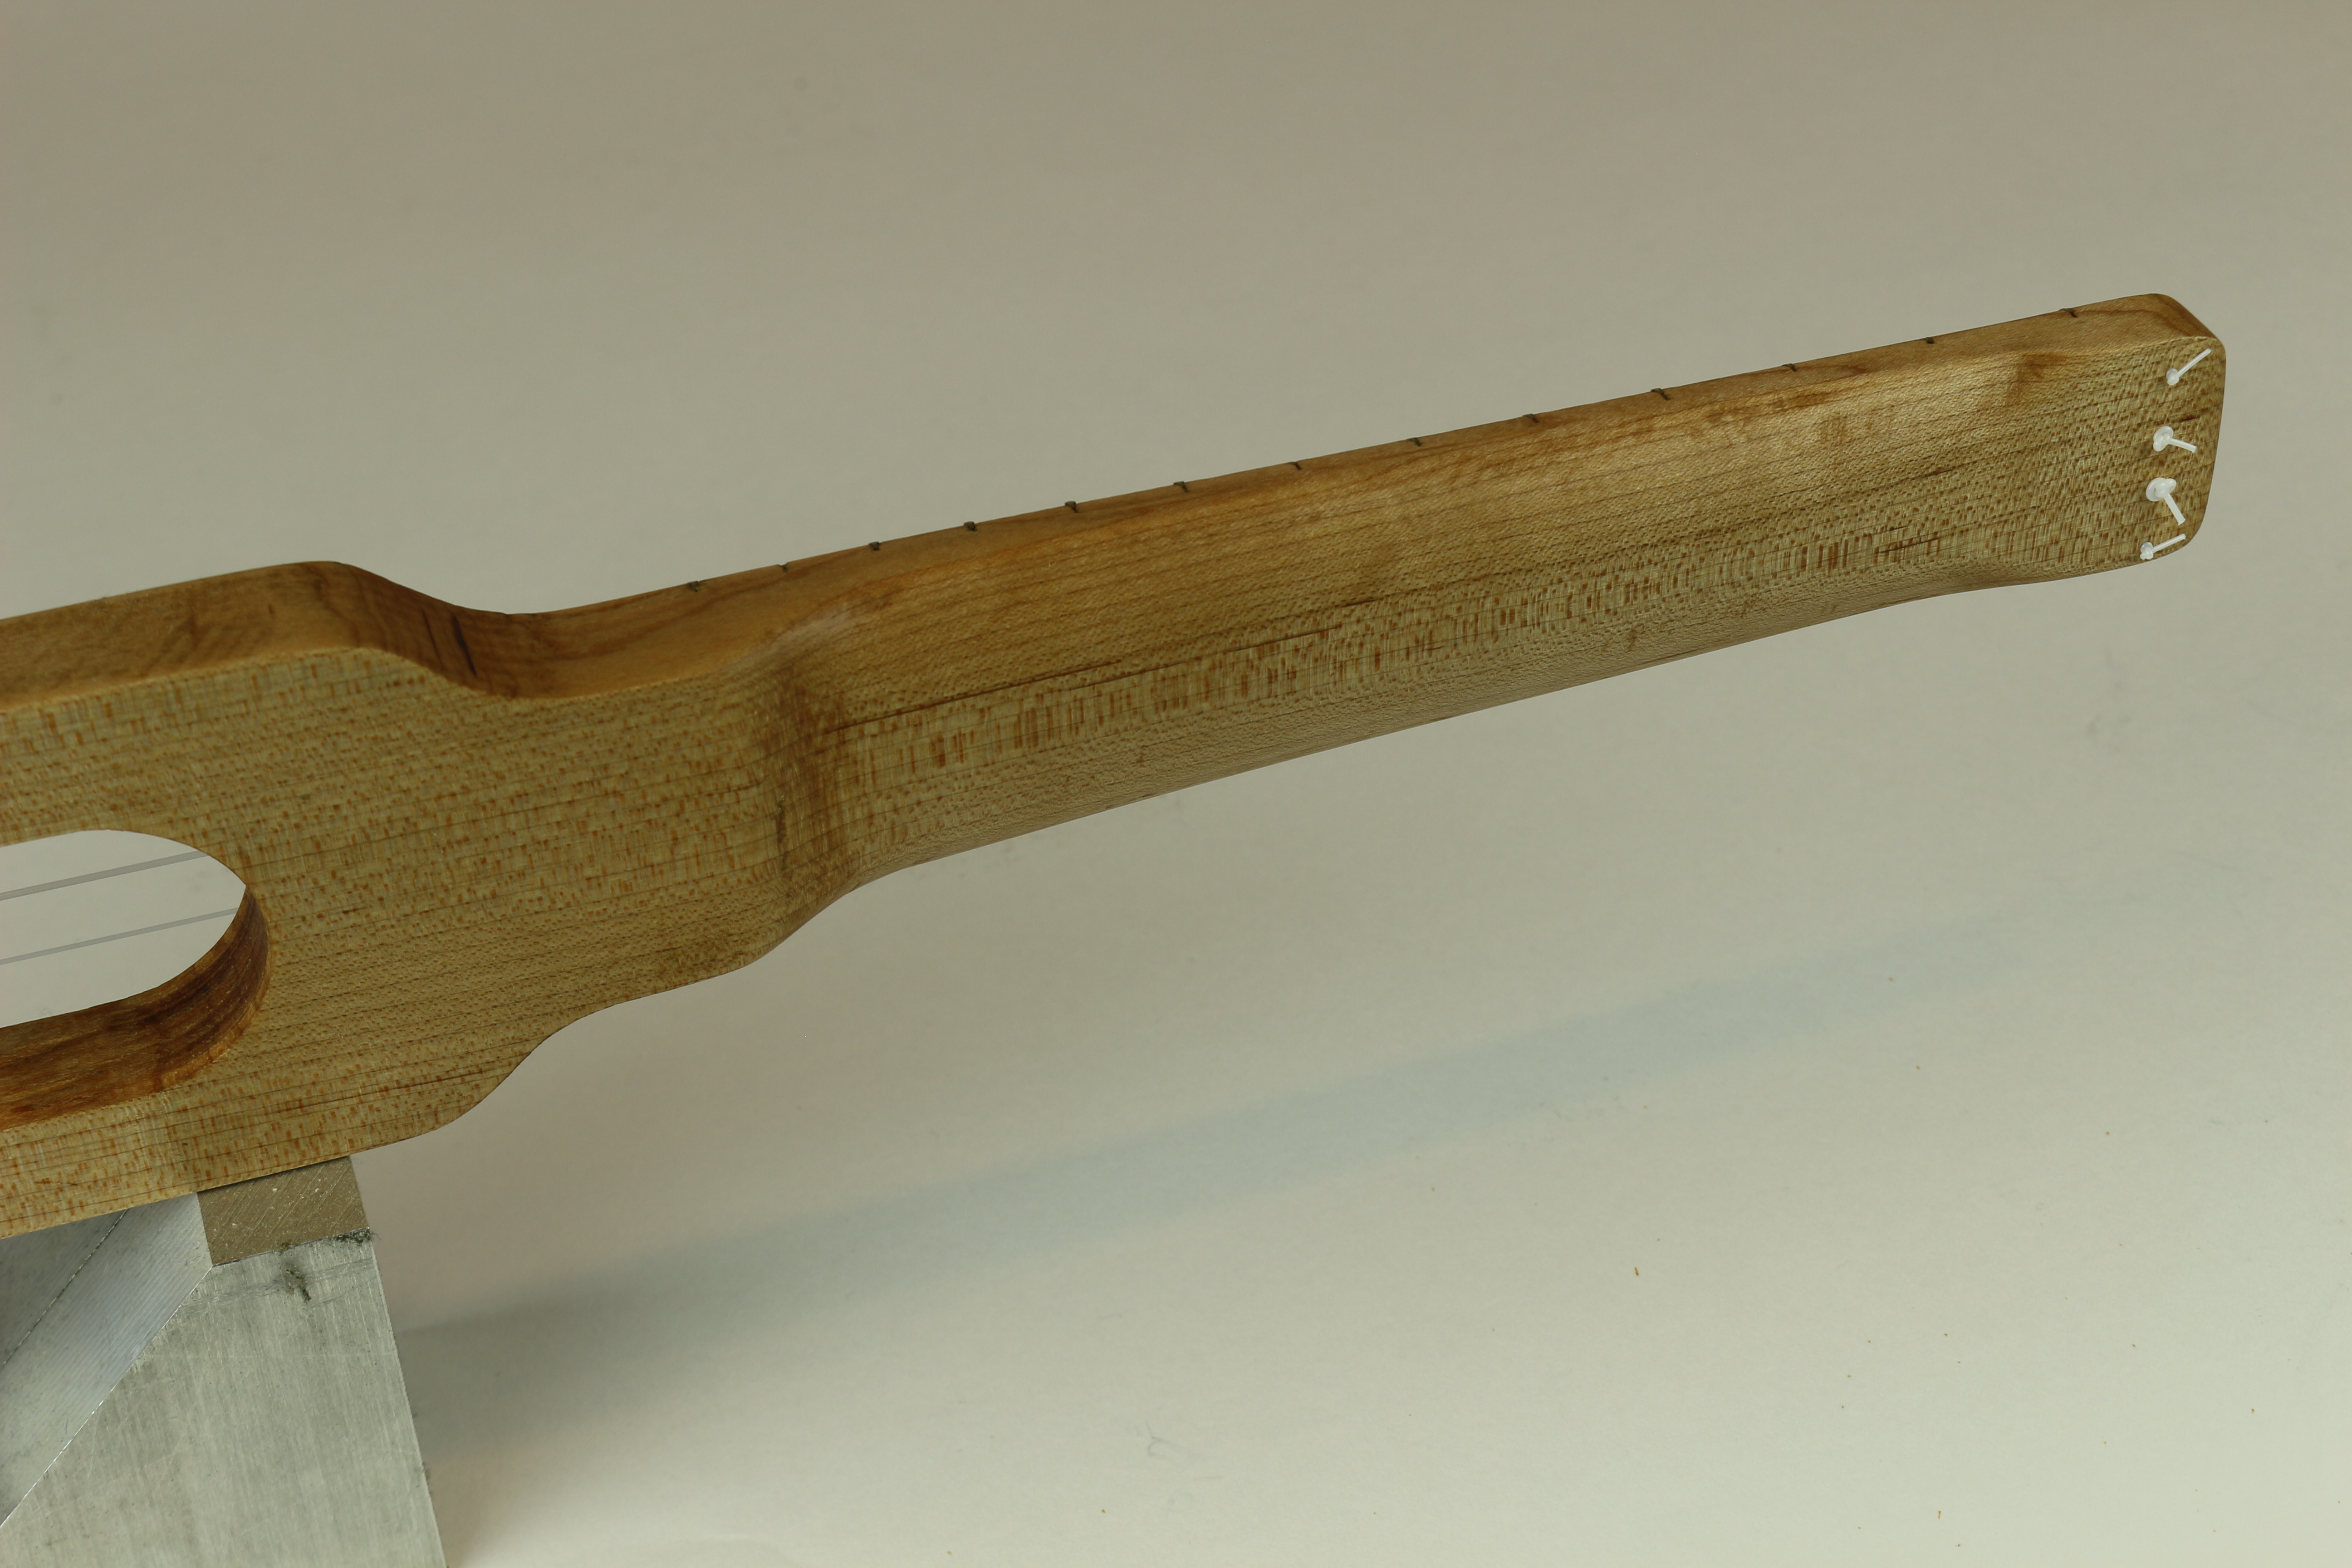
After finishing the slot, I roughed out the outline of the body, and cut down the thickness of the neck down to about 3/8″. After a lot of rasping, the neck started to round out and become comfortable to hold. After the neck started to look good, I sawed the slots for the frets very carefully on the lines I had cut, and installed the frets. This was harder than it looked! I definitely should have practiced the cuts more, and tested a little more to make sure I had the right width of kerf on my saw!
Day 4: So much machining!
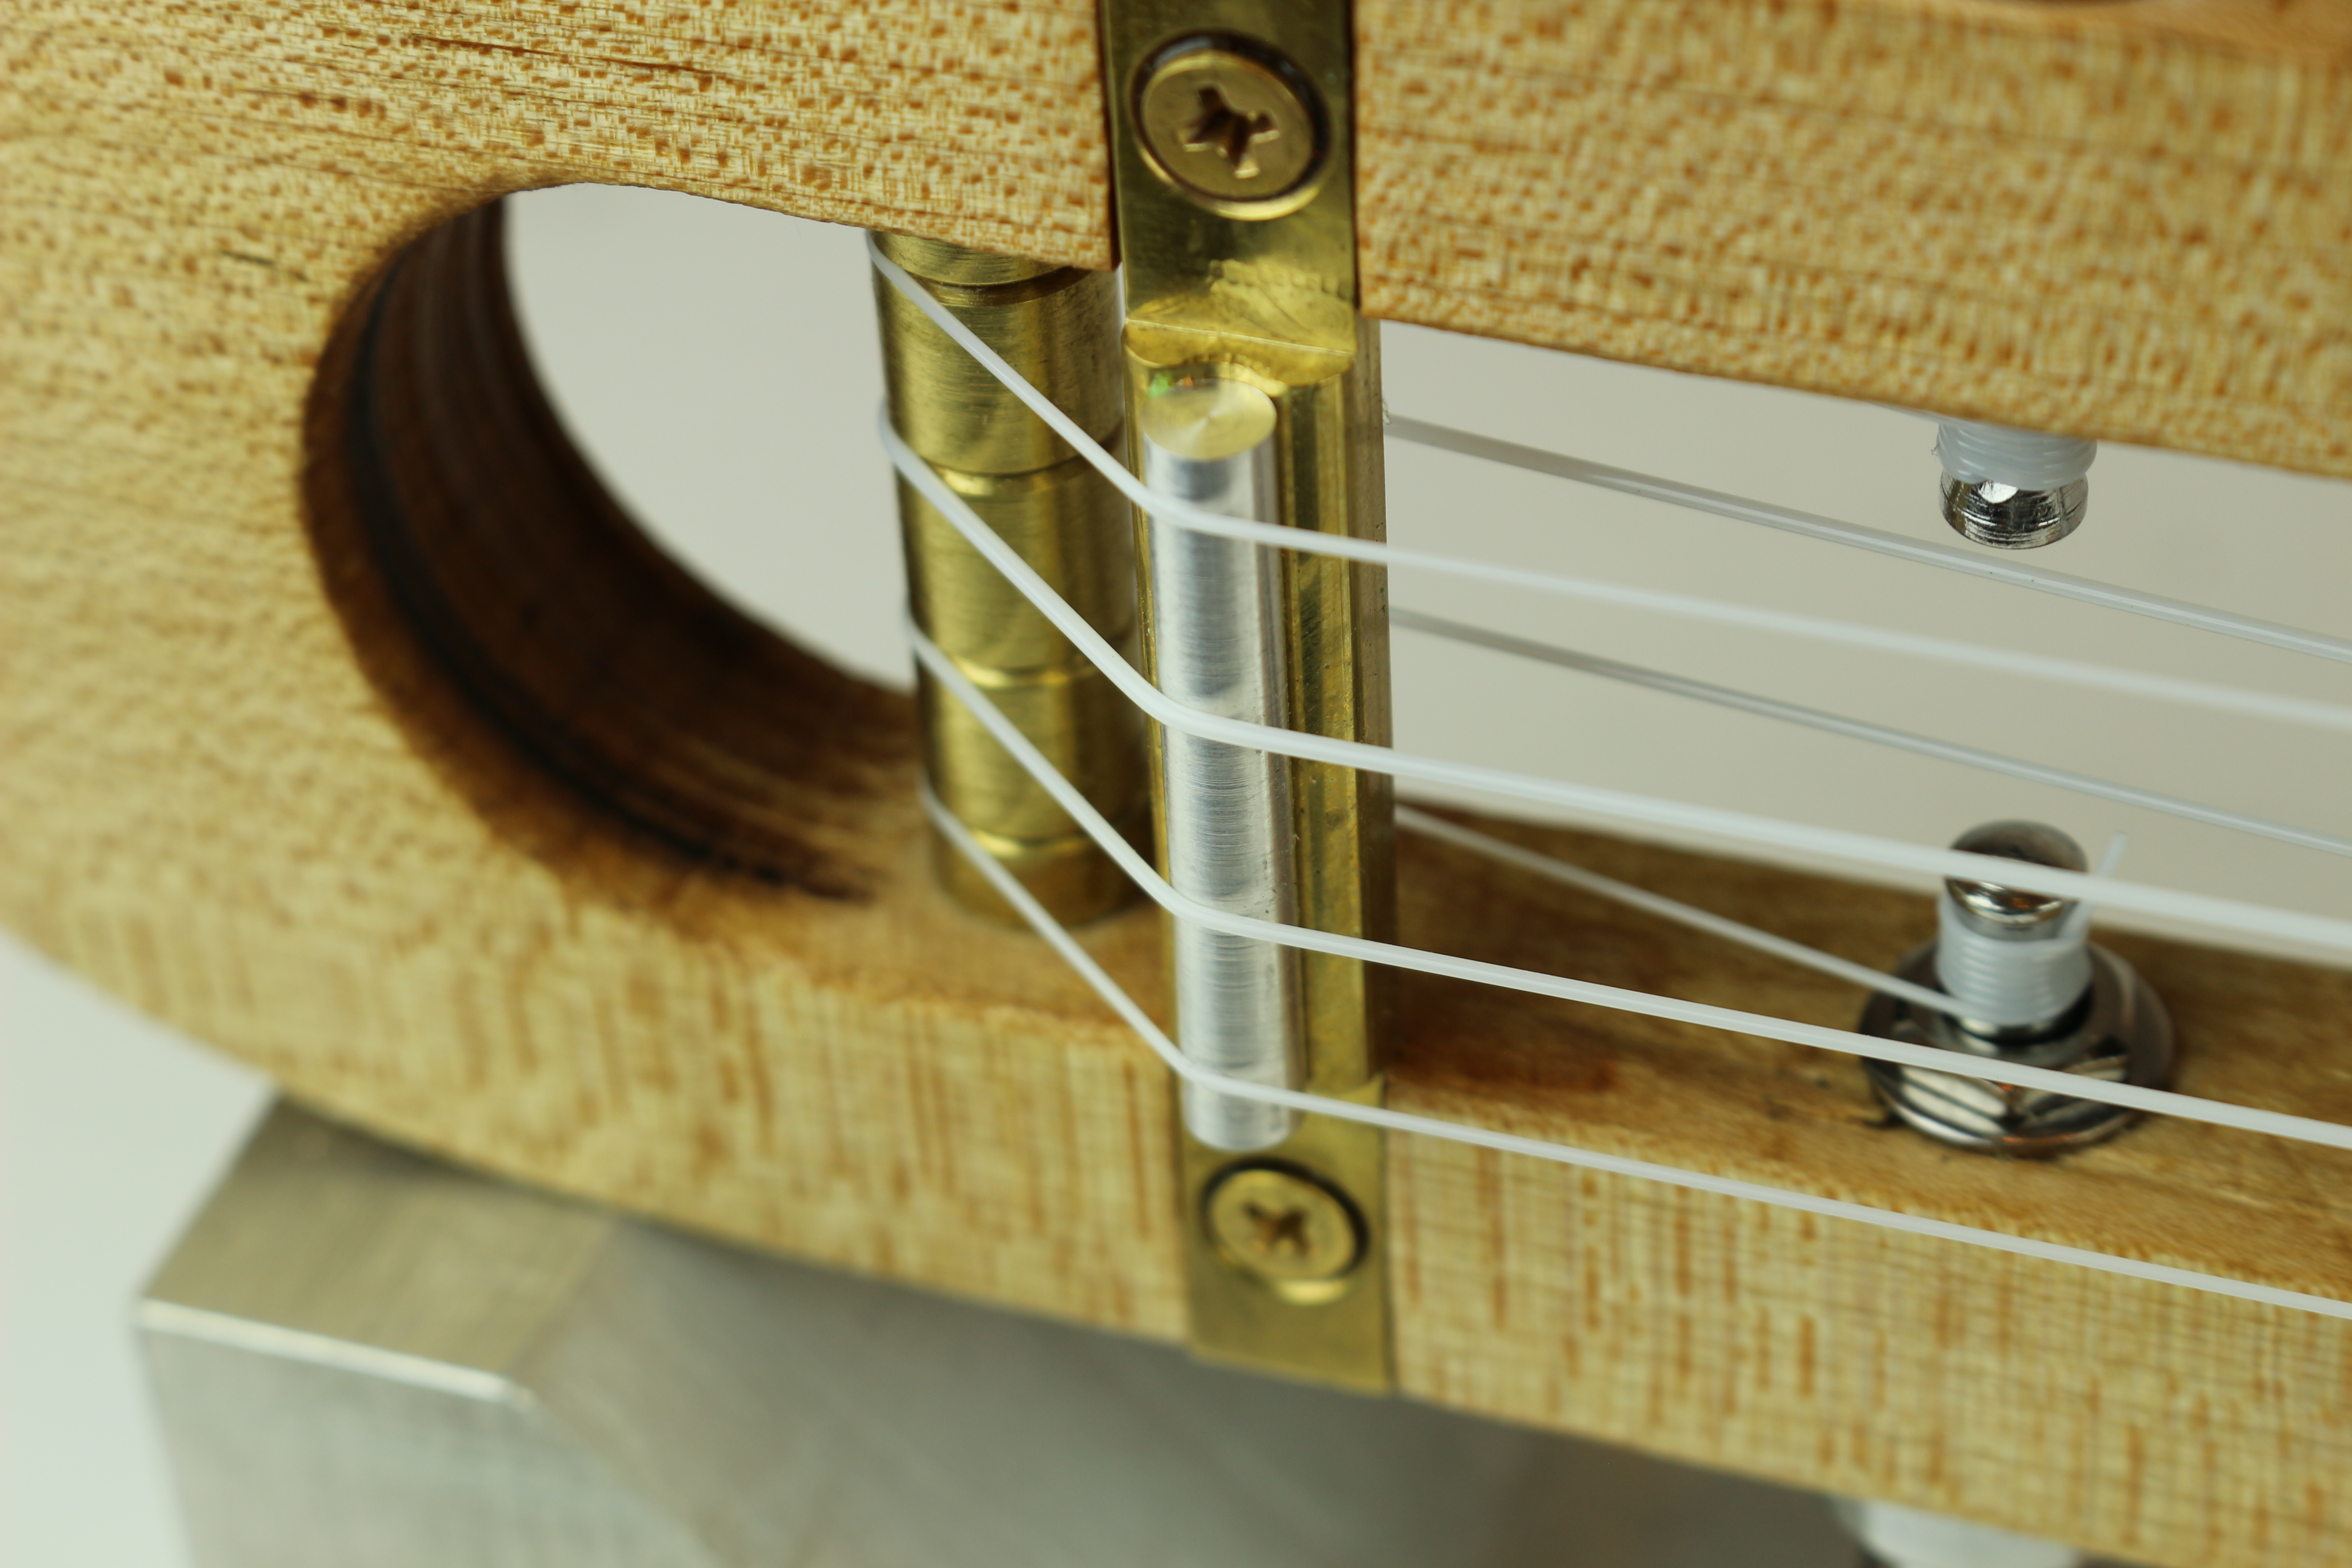
On this day I machined the bridge, turnaround, and the pin that holds the turnaround. The bridge was CNC milled, and the pin and turnaround were turned manually. I also CNC machined special heads for the tuners, but these ended up being impossible to install. This is something that I could not have know was going to happen until I got my hands on the tuners, which did not arrive until the previous night.
With pretty much everything on hand, I decided it was time to install the tuners and cut the slot for the bridge. I also sanded the body down and gave it its first coat of tru oil. The obvious thing for this is to sand and finish the body before installing hardware, but it was too late for that because the frets were in,
Day 5: Details and Assembly!
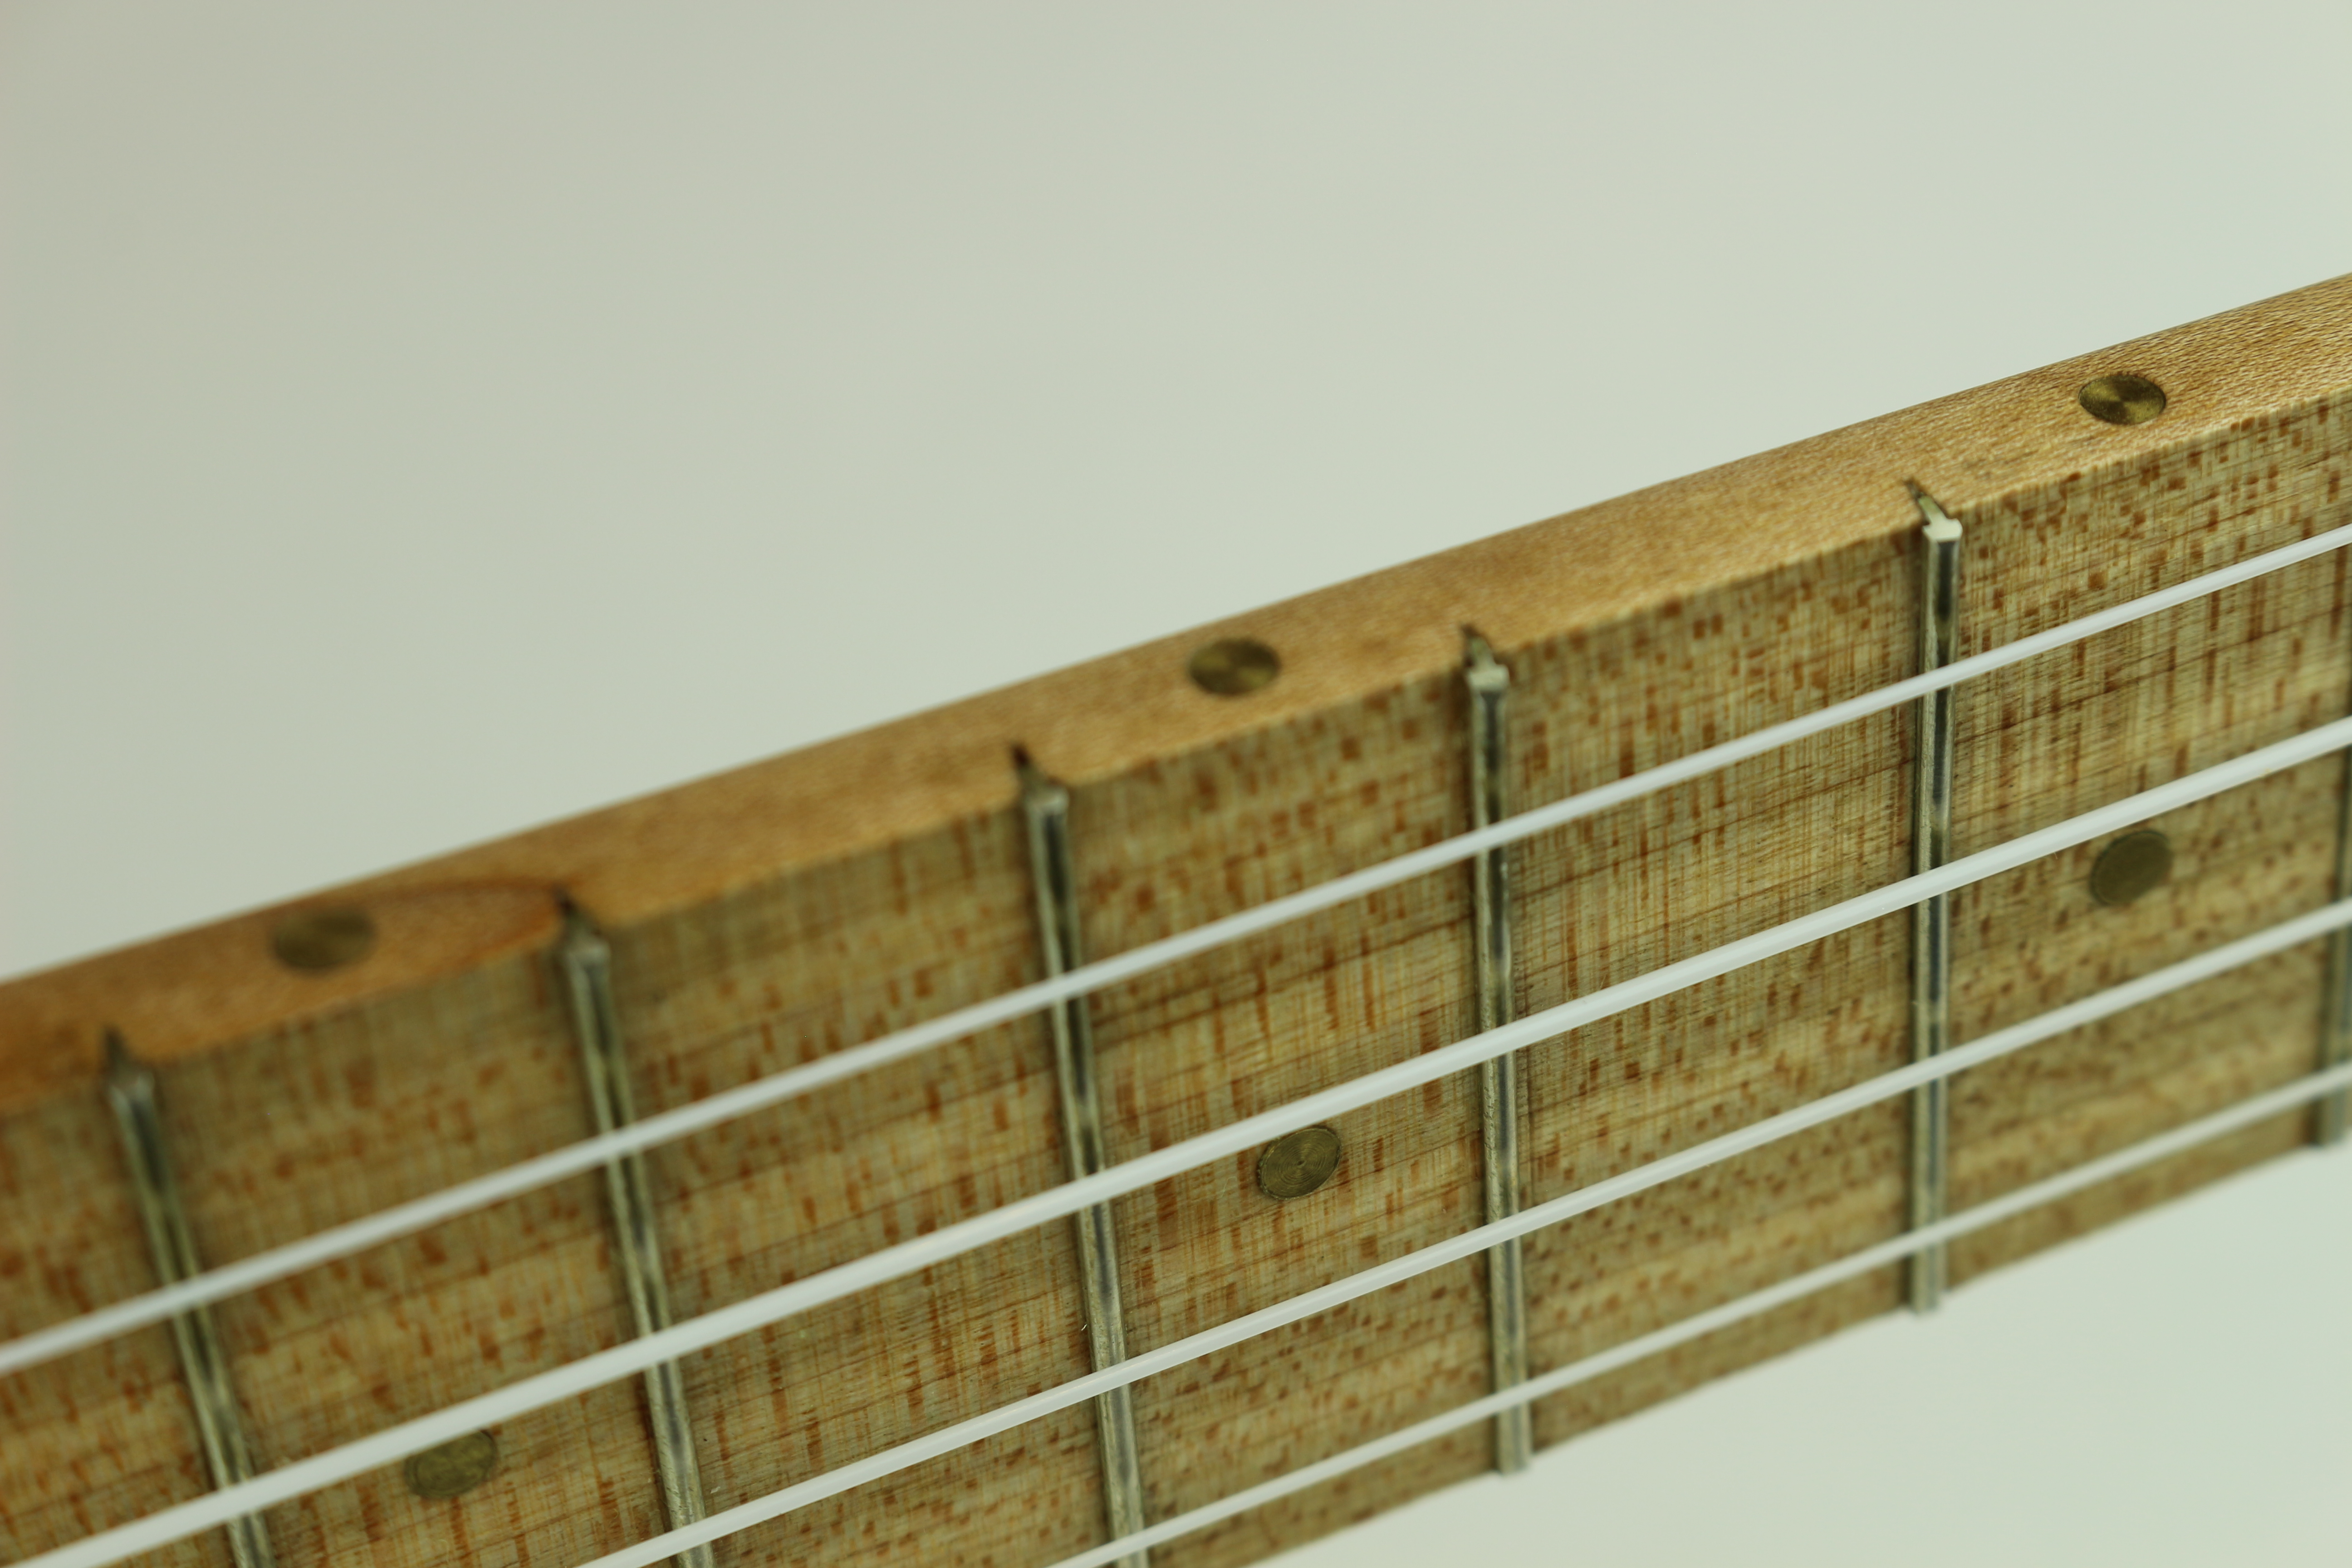
This was the last day to work on this before getting into a car for 16 hours and going rock climbing for the week, so I had a pretty hard stop. This is when I dealt with details, like cutting the holes for and installing fret markers (sections of turned down 1/8″ brass), as well as installing the bridge and tuners.
Things that did work:
The ukulele makes the right sounds when you fret it, and it is pretty compact and tough. The zero fret works surprisingly well. It is also very quiet compared to a normal uke, but audible. And loud if you use an amp!
Things that did not work:
The low profile brass tuning knobs I made did not work- they were impossible to install because they require a profile to be cut in them that is hard to mill (but easy to broach), and because my design for them did not allow any downward force on the shaft- this is bad because the tuners require friction to prevent them from turning backwards, because it is only a 4:1 reduction.
I also went with an aluminum saddle instead of a polystyrene tube saddle. The polystyrene deformed under even moderate string tension, which seemed to make it hard to tune.
Things I would change:
Instead of brass I would use aluminum for most of the parts, or significantly reduce the size of the brass parts. Brass is heavy!
I would also get rid of the banjo tuners and go with open geared tuners. They are lighter and easier to use, and probably easier to clean if grit gets into them.
The holes for the strings could use some modification. A relief for the knot to go into on the backside would be nice, and the holes themselves need a little reinforcement- the strings cut into the wood a little.
