Note: This post is a bit dated since I started it in October of ’13, but as I turn to my TOM for a few more prints it is once again relevant, so I finally got some photos and posted it.
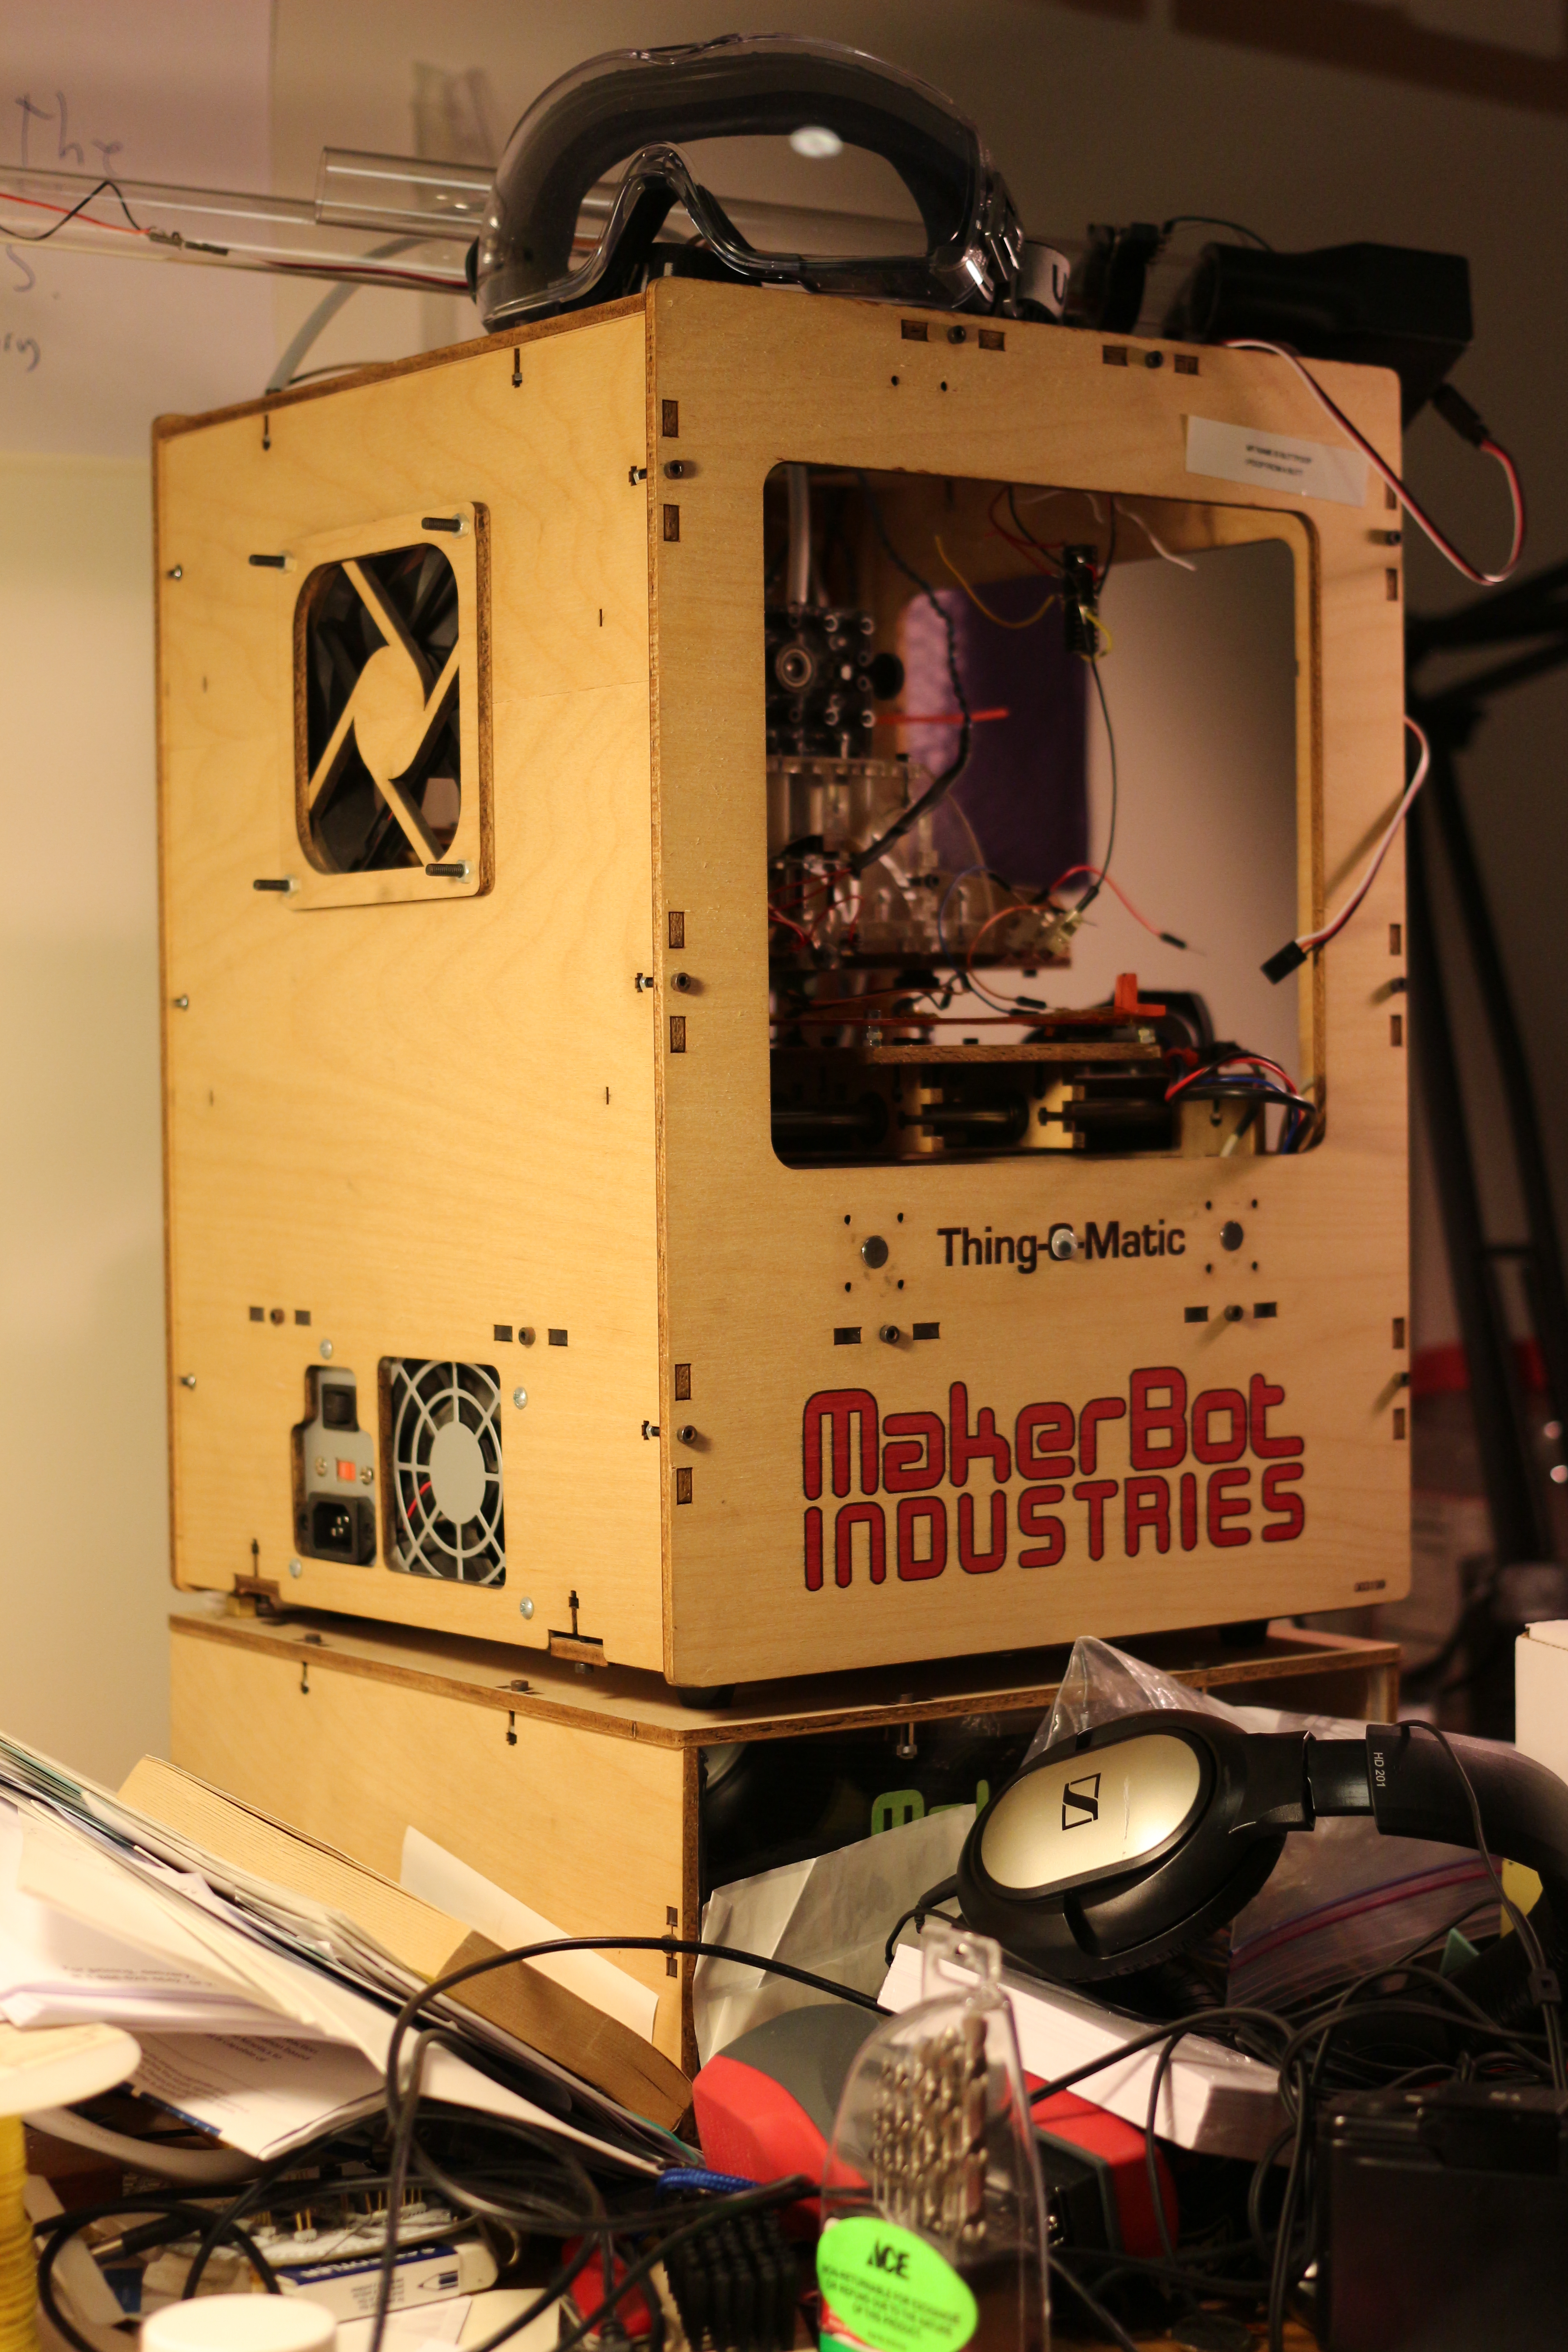
Ye Olde Thing O Matic, complete with cruft
If this post had a parenthetical addition to the title, it would be “(Or, how I came to loathe T-nut connections.)”. I recently took apart the XY stage of my Thing-O-Matic to service it- I am the second owner and the original assembler had neglected to properly set the height of one of the pulleys, or possibly the pulley wiggled off the shaft. Therefore, the belt rubbed on the platform and it had started to deteriorate. Unfortunately, people (in particular, whoever is responsible for the TOM) have made some design errors in executing the T nut connection, and in material choice.
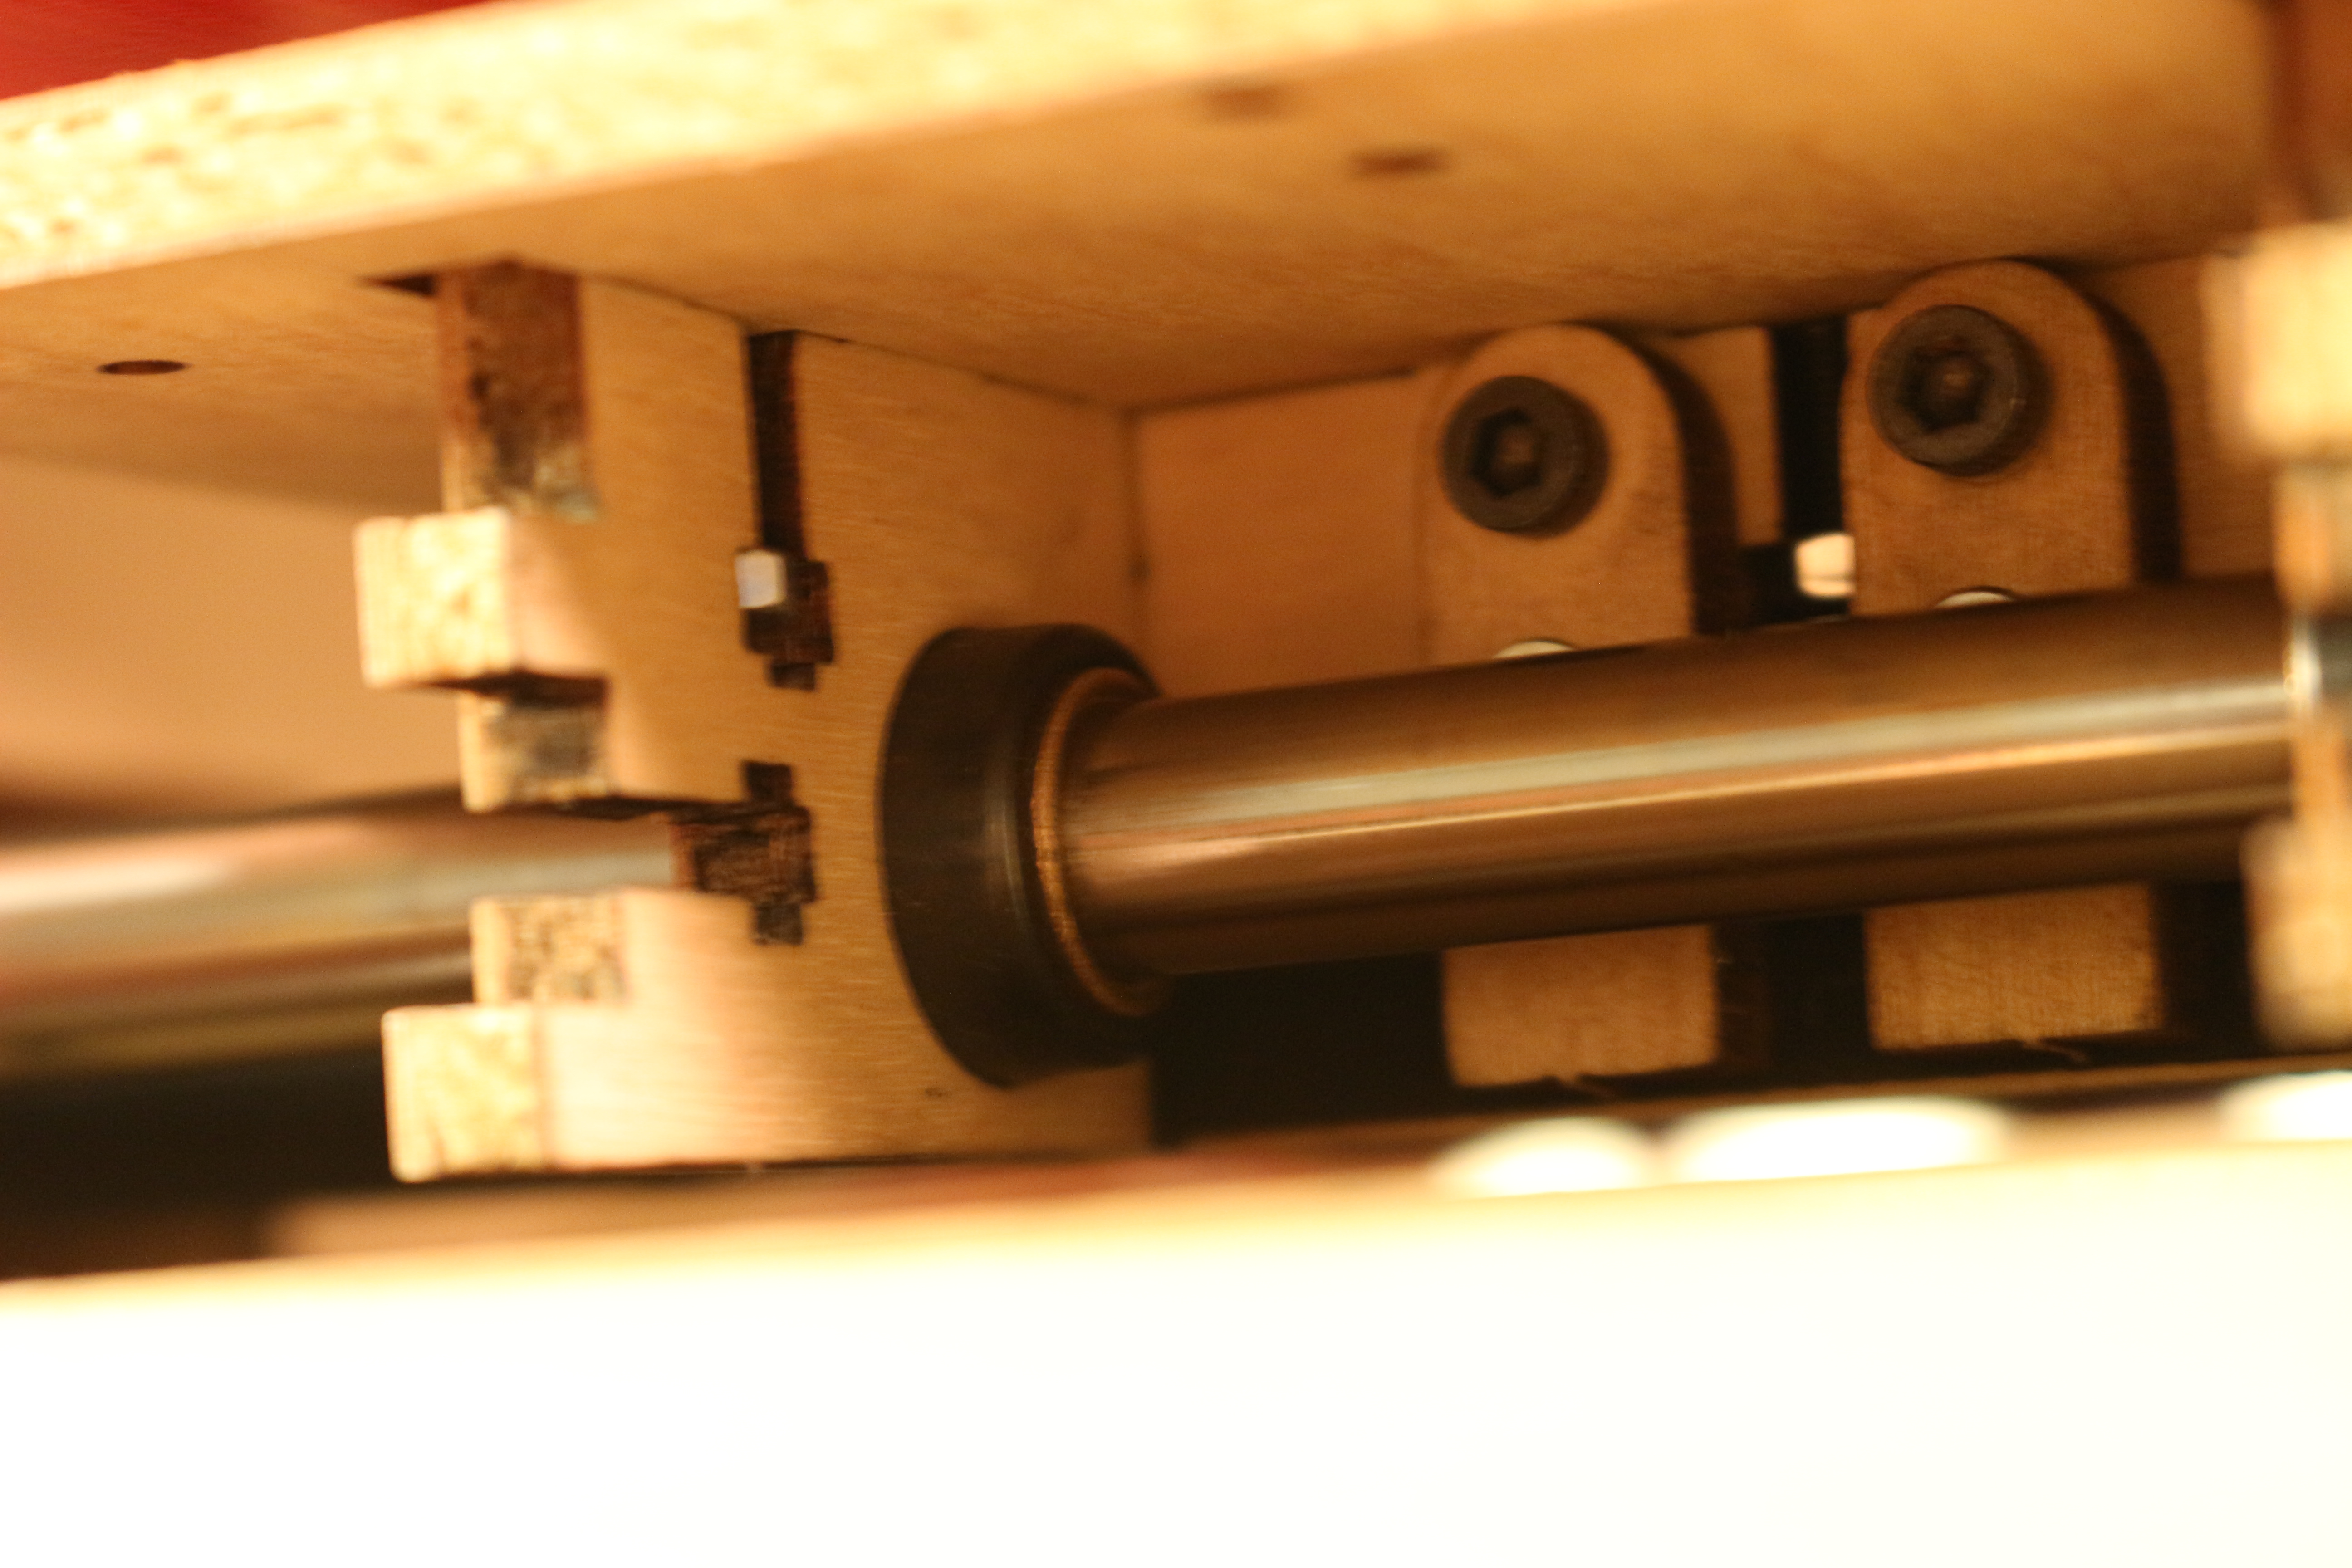
The underside of the build platform
My biggest gripe with the T nuts on the TOM is that most of them are placed in absolutely impossible to reach places. This machine was not designed to be serviced, ever. some of the steps stack so that the only way to re-assemble the machine is to completely disassemble the XY stage. This makes it a pain to adjust or replace belts, or even to do cleaning.
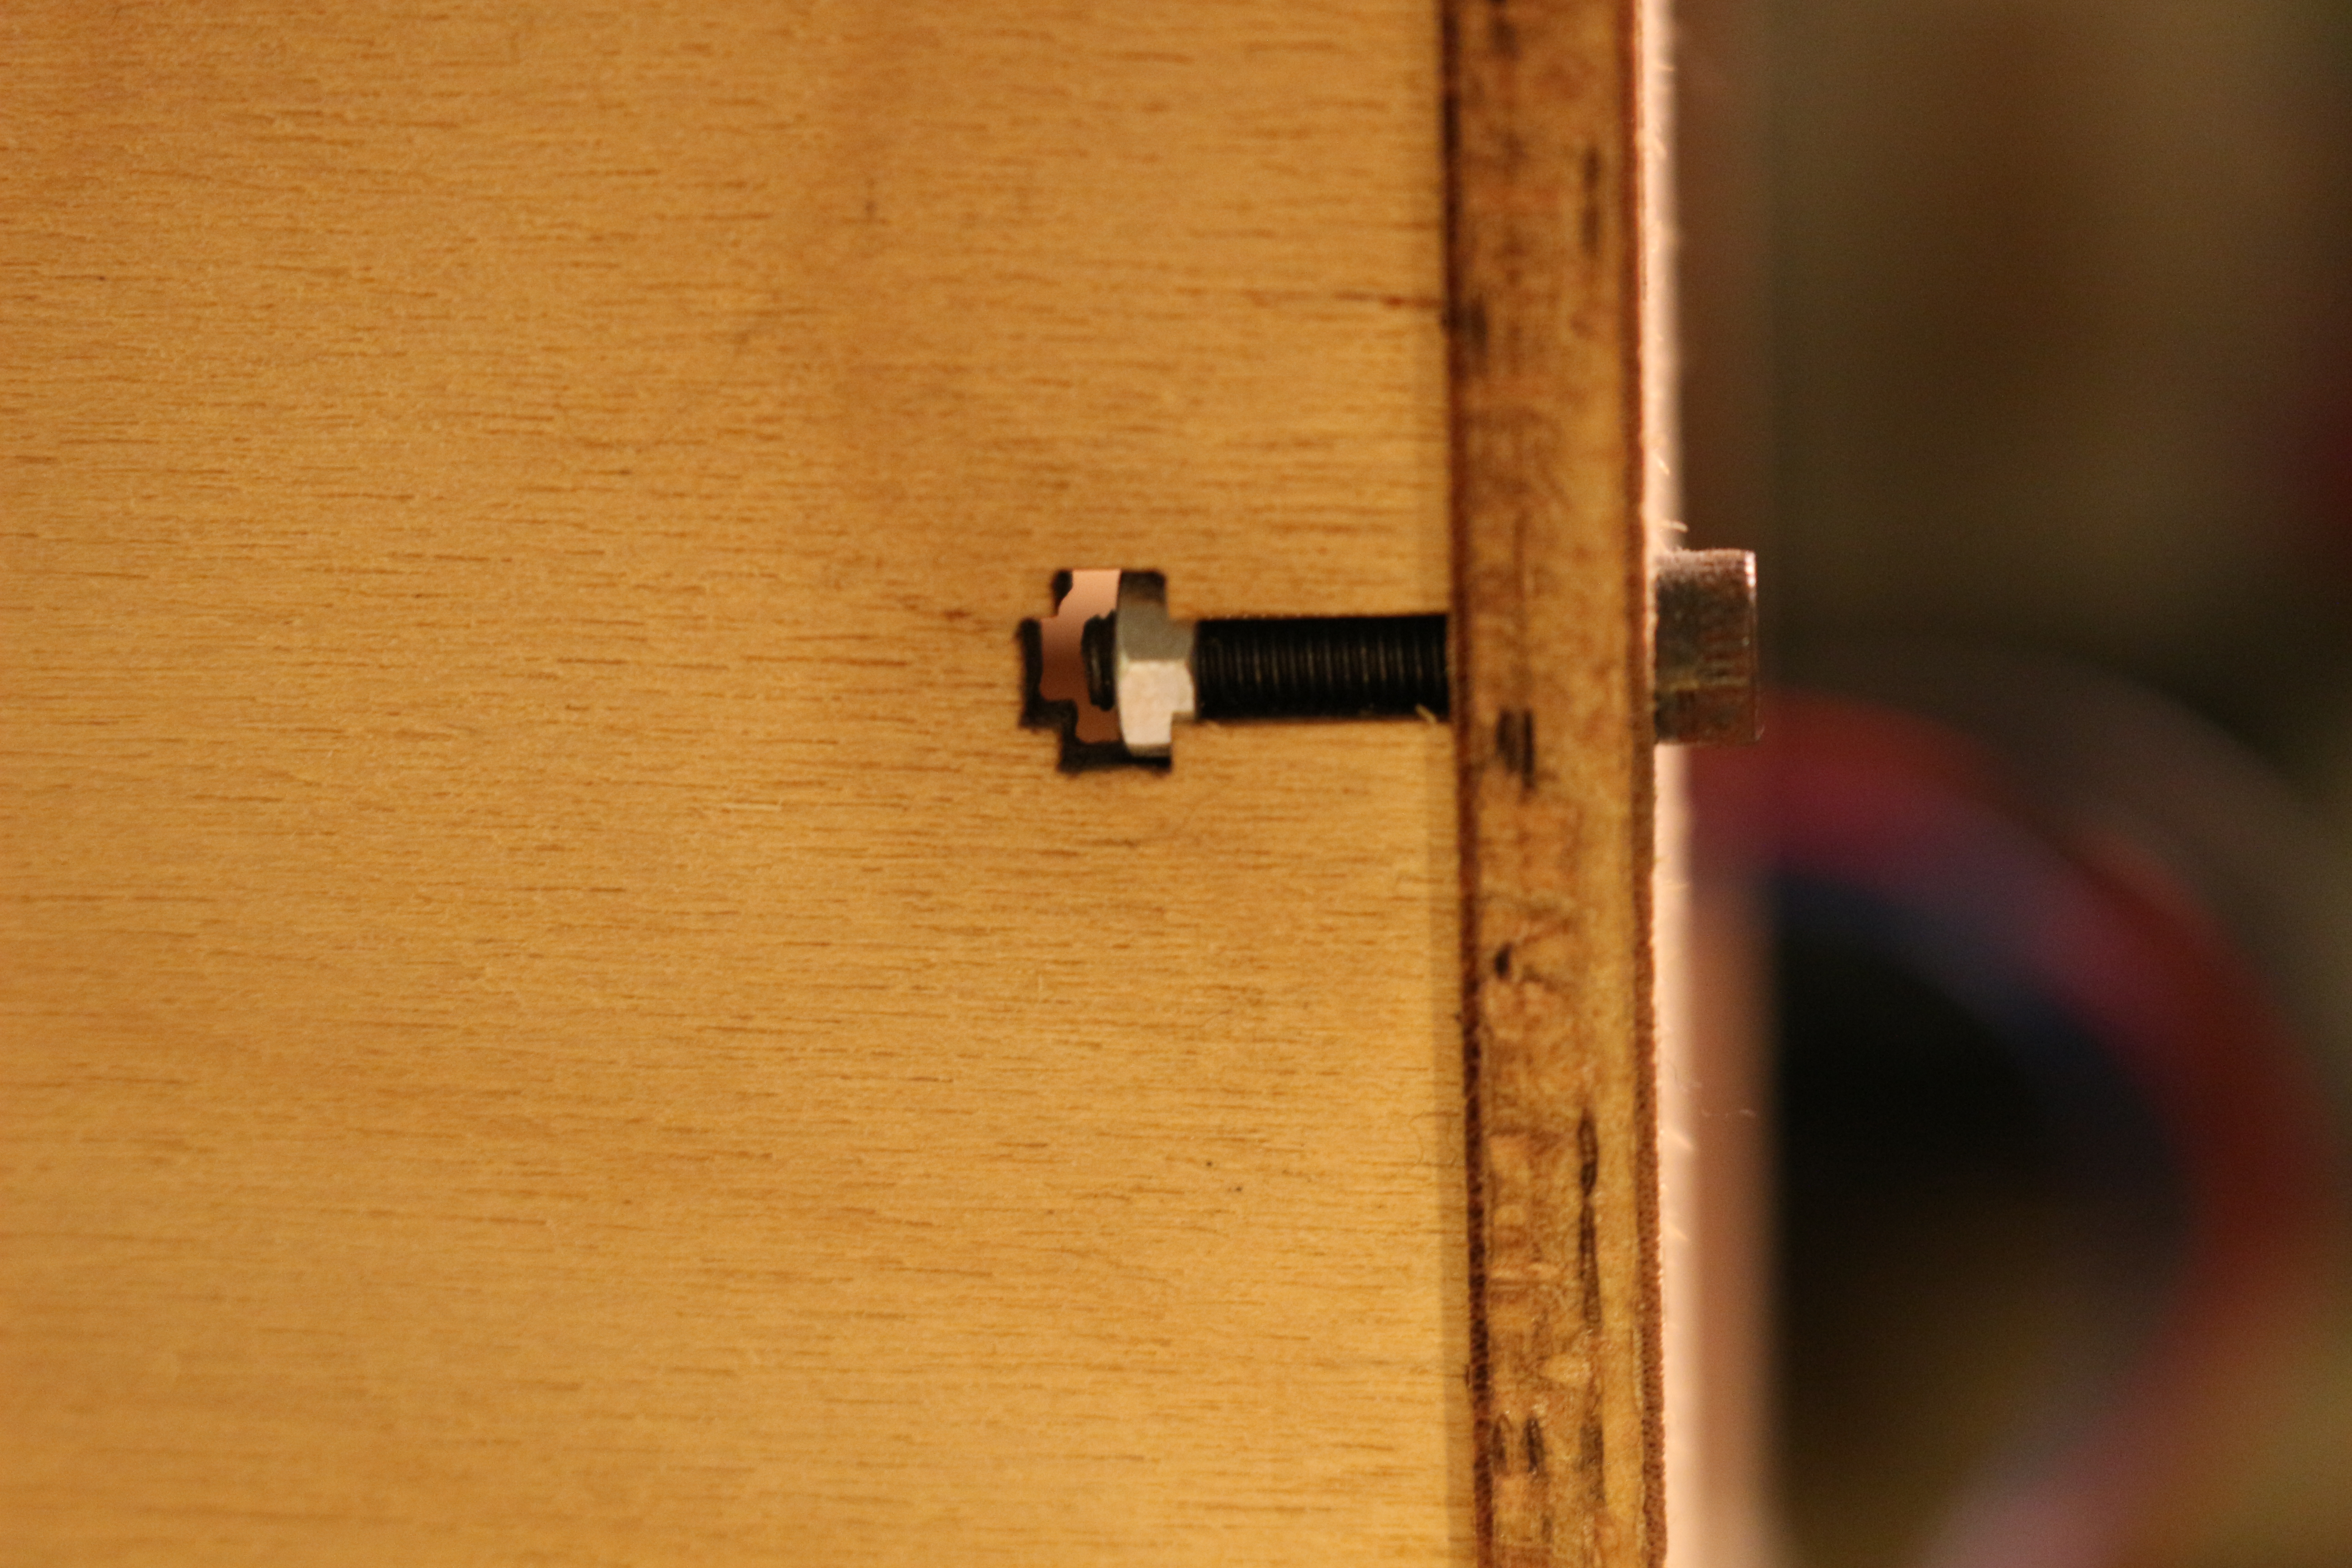
A properly connected t-nut connection
The biggest error Makerbot made was not lasering the holes to be clearance holes. This means that the nuts “thread” into the wood. They don’t really leave threads, but the connection is quite firm. The problem here is that the extra “threads” create a constraint the bolt so that when it enters the nut, it is not free to rotate and find the start of the threads in the nut. The nut is similarly constrained by the T slot to have to rotate in 30 degree increments. This occasionally makes it impossible to thread the nut onto the bolt, since the bolt is threaded into the wood as well. It is very difficult to get parts to sit flush with this extra constraint. An easy experiment to try is to hold two nuts flush with each other, with the hex faces matched up, and then try to thread a bolt through them in that configuration. Normally, you get a few threads between them, and that distance will remain no matter how much you tighten the bolt.
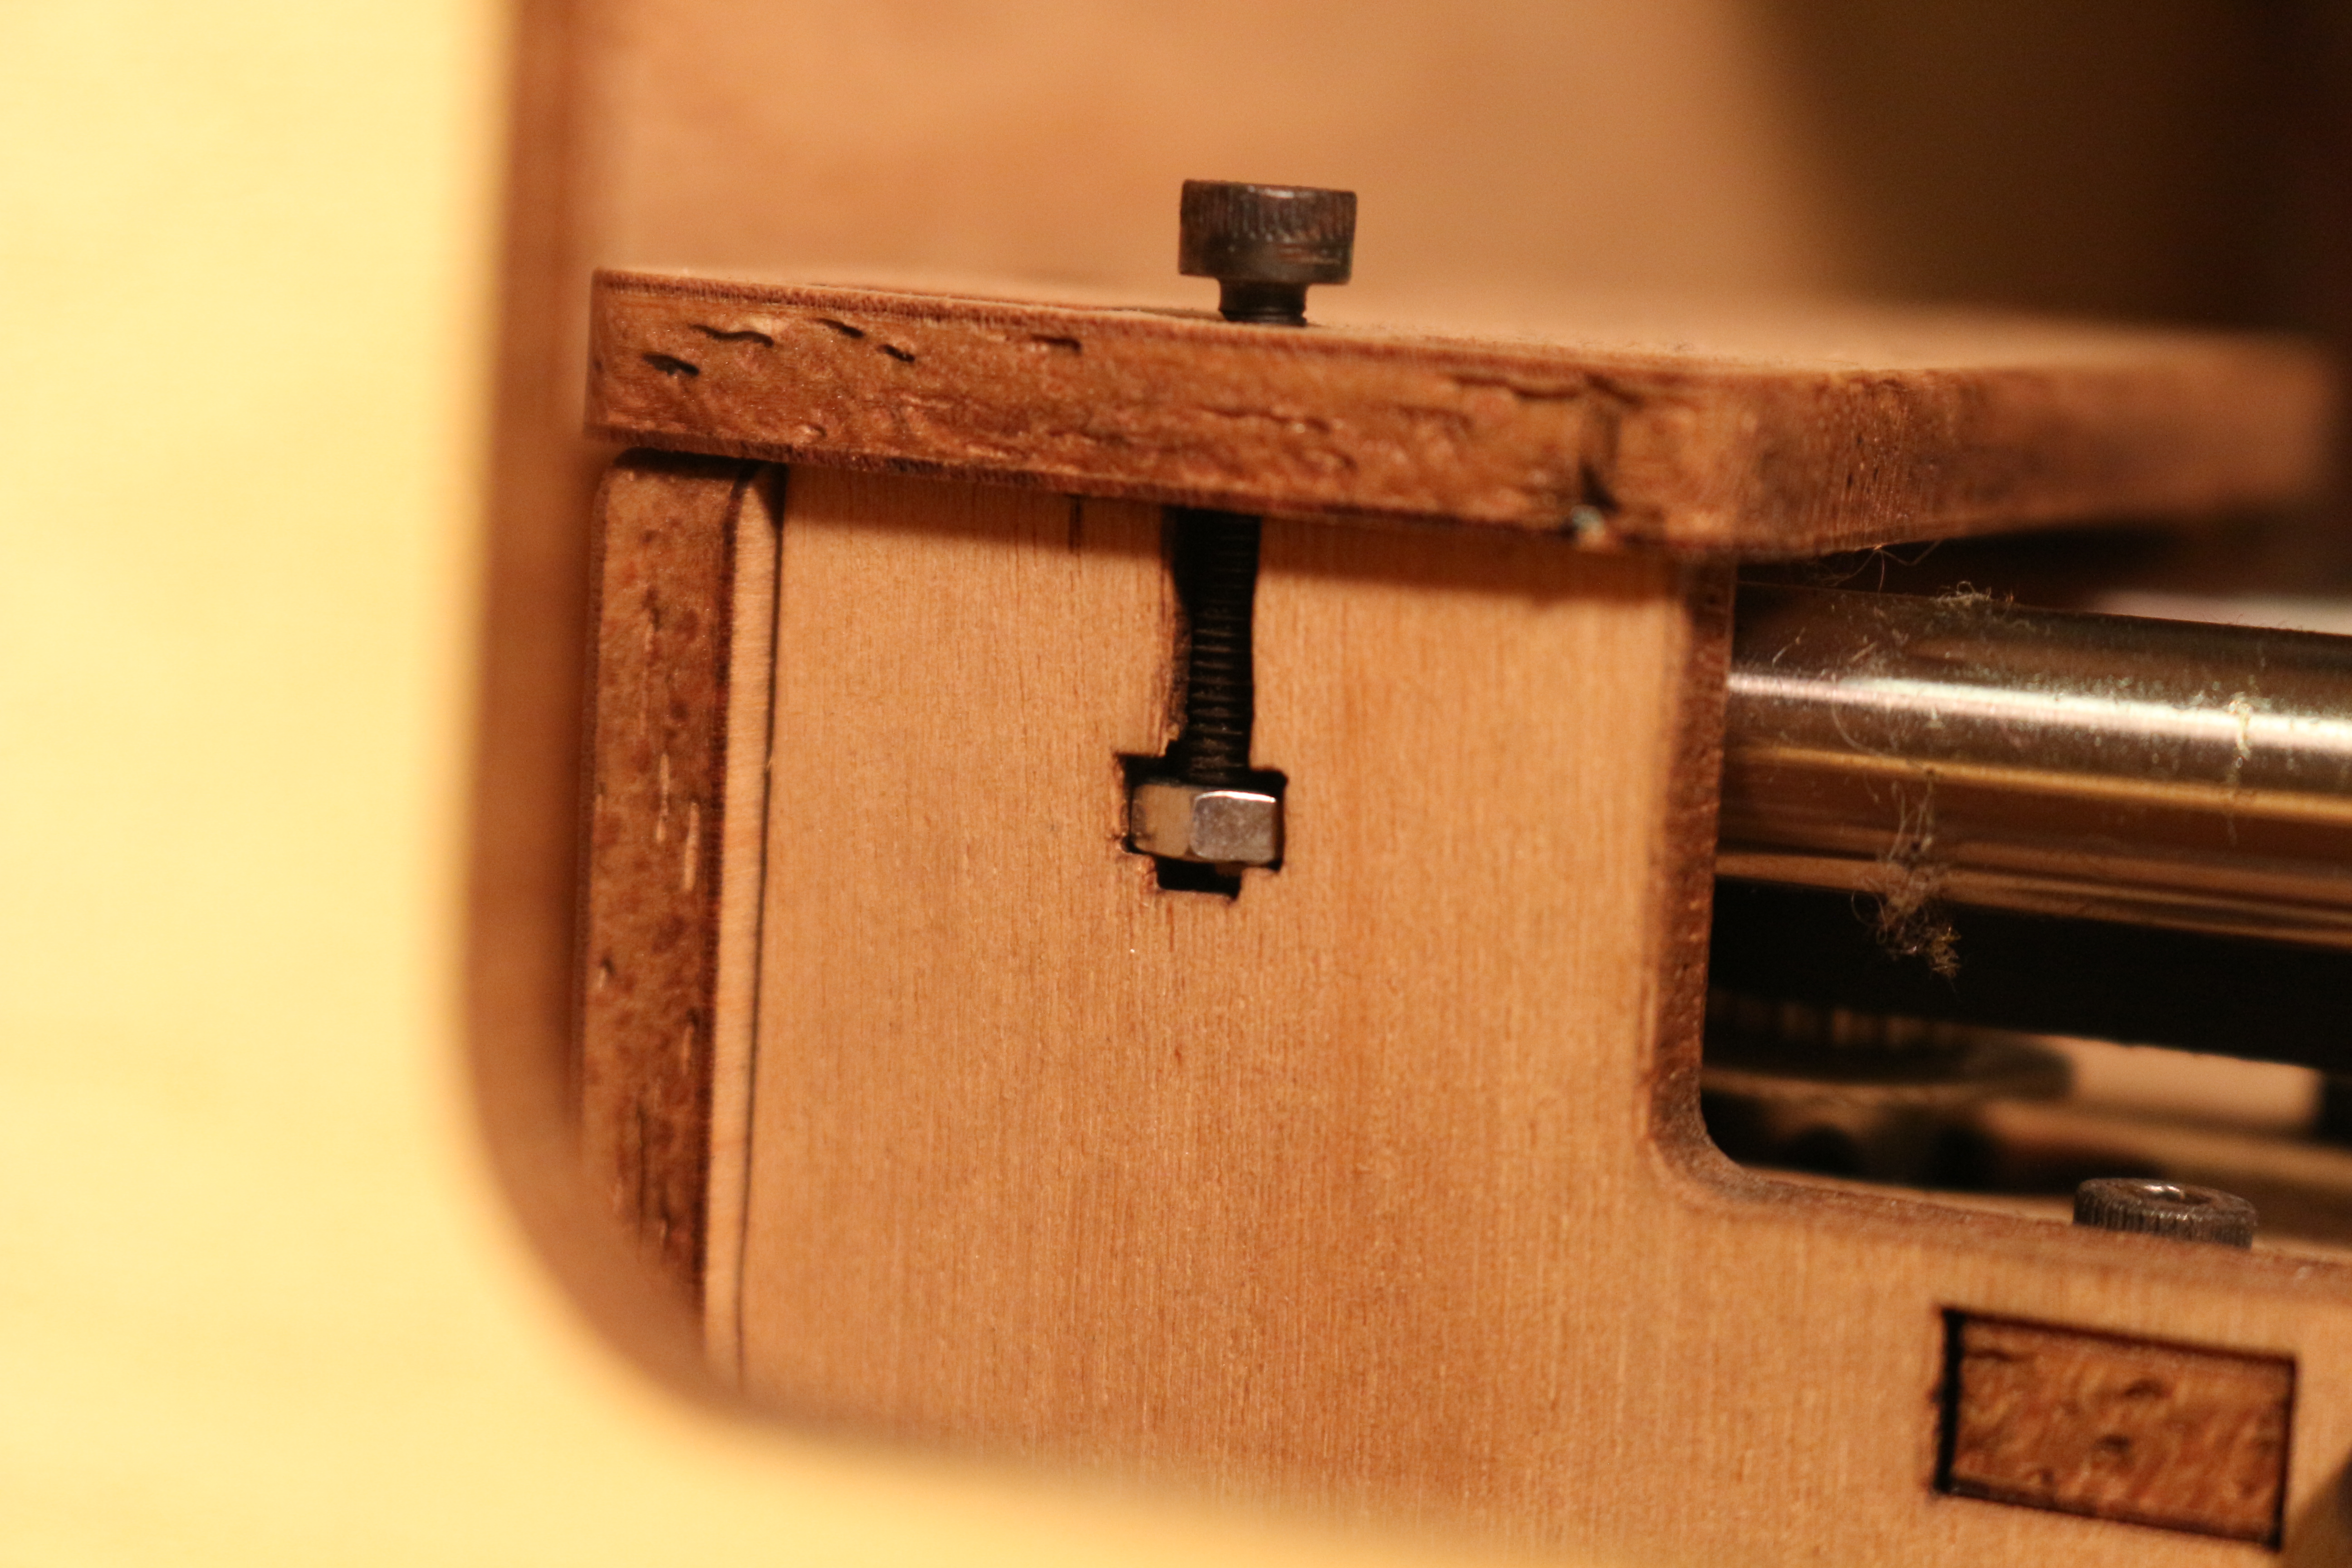
Improper “set screw” configuration
This extra constraint leads to the next problem, which is the T nut as a set screw. If you are not careful, the bolt can thread into the wood, and press the nut against the bottom of the T slot. This creates a problem because now the bolt is actually pushing out on the wood you are trying to push in. It can be hard to tell when this happens because of the first problem, which is that there are T nuts in deep, dark, impossible to reach recesses of the ‘bot. And it is only a matter of time until the wood swells, or the nut rattles free, and then that T connection is no more (or more importantly, there is now a nut and bolt trying to jam your axis).
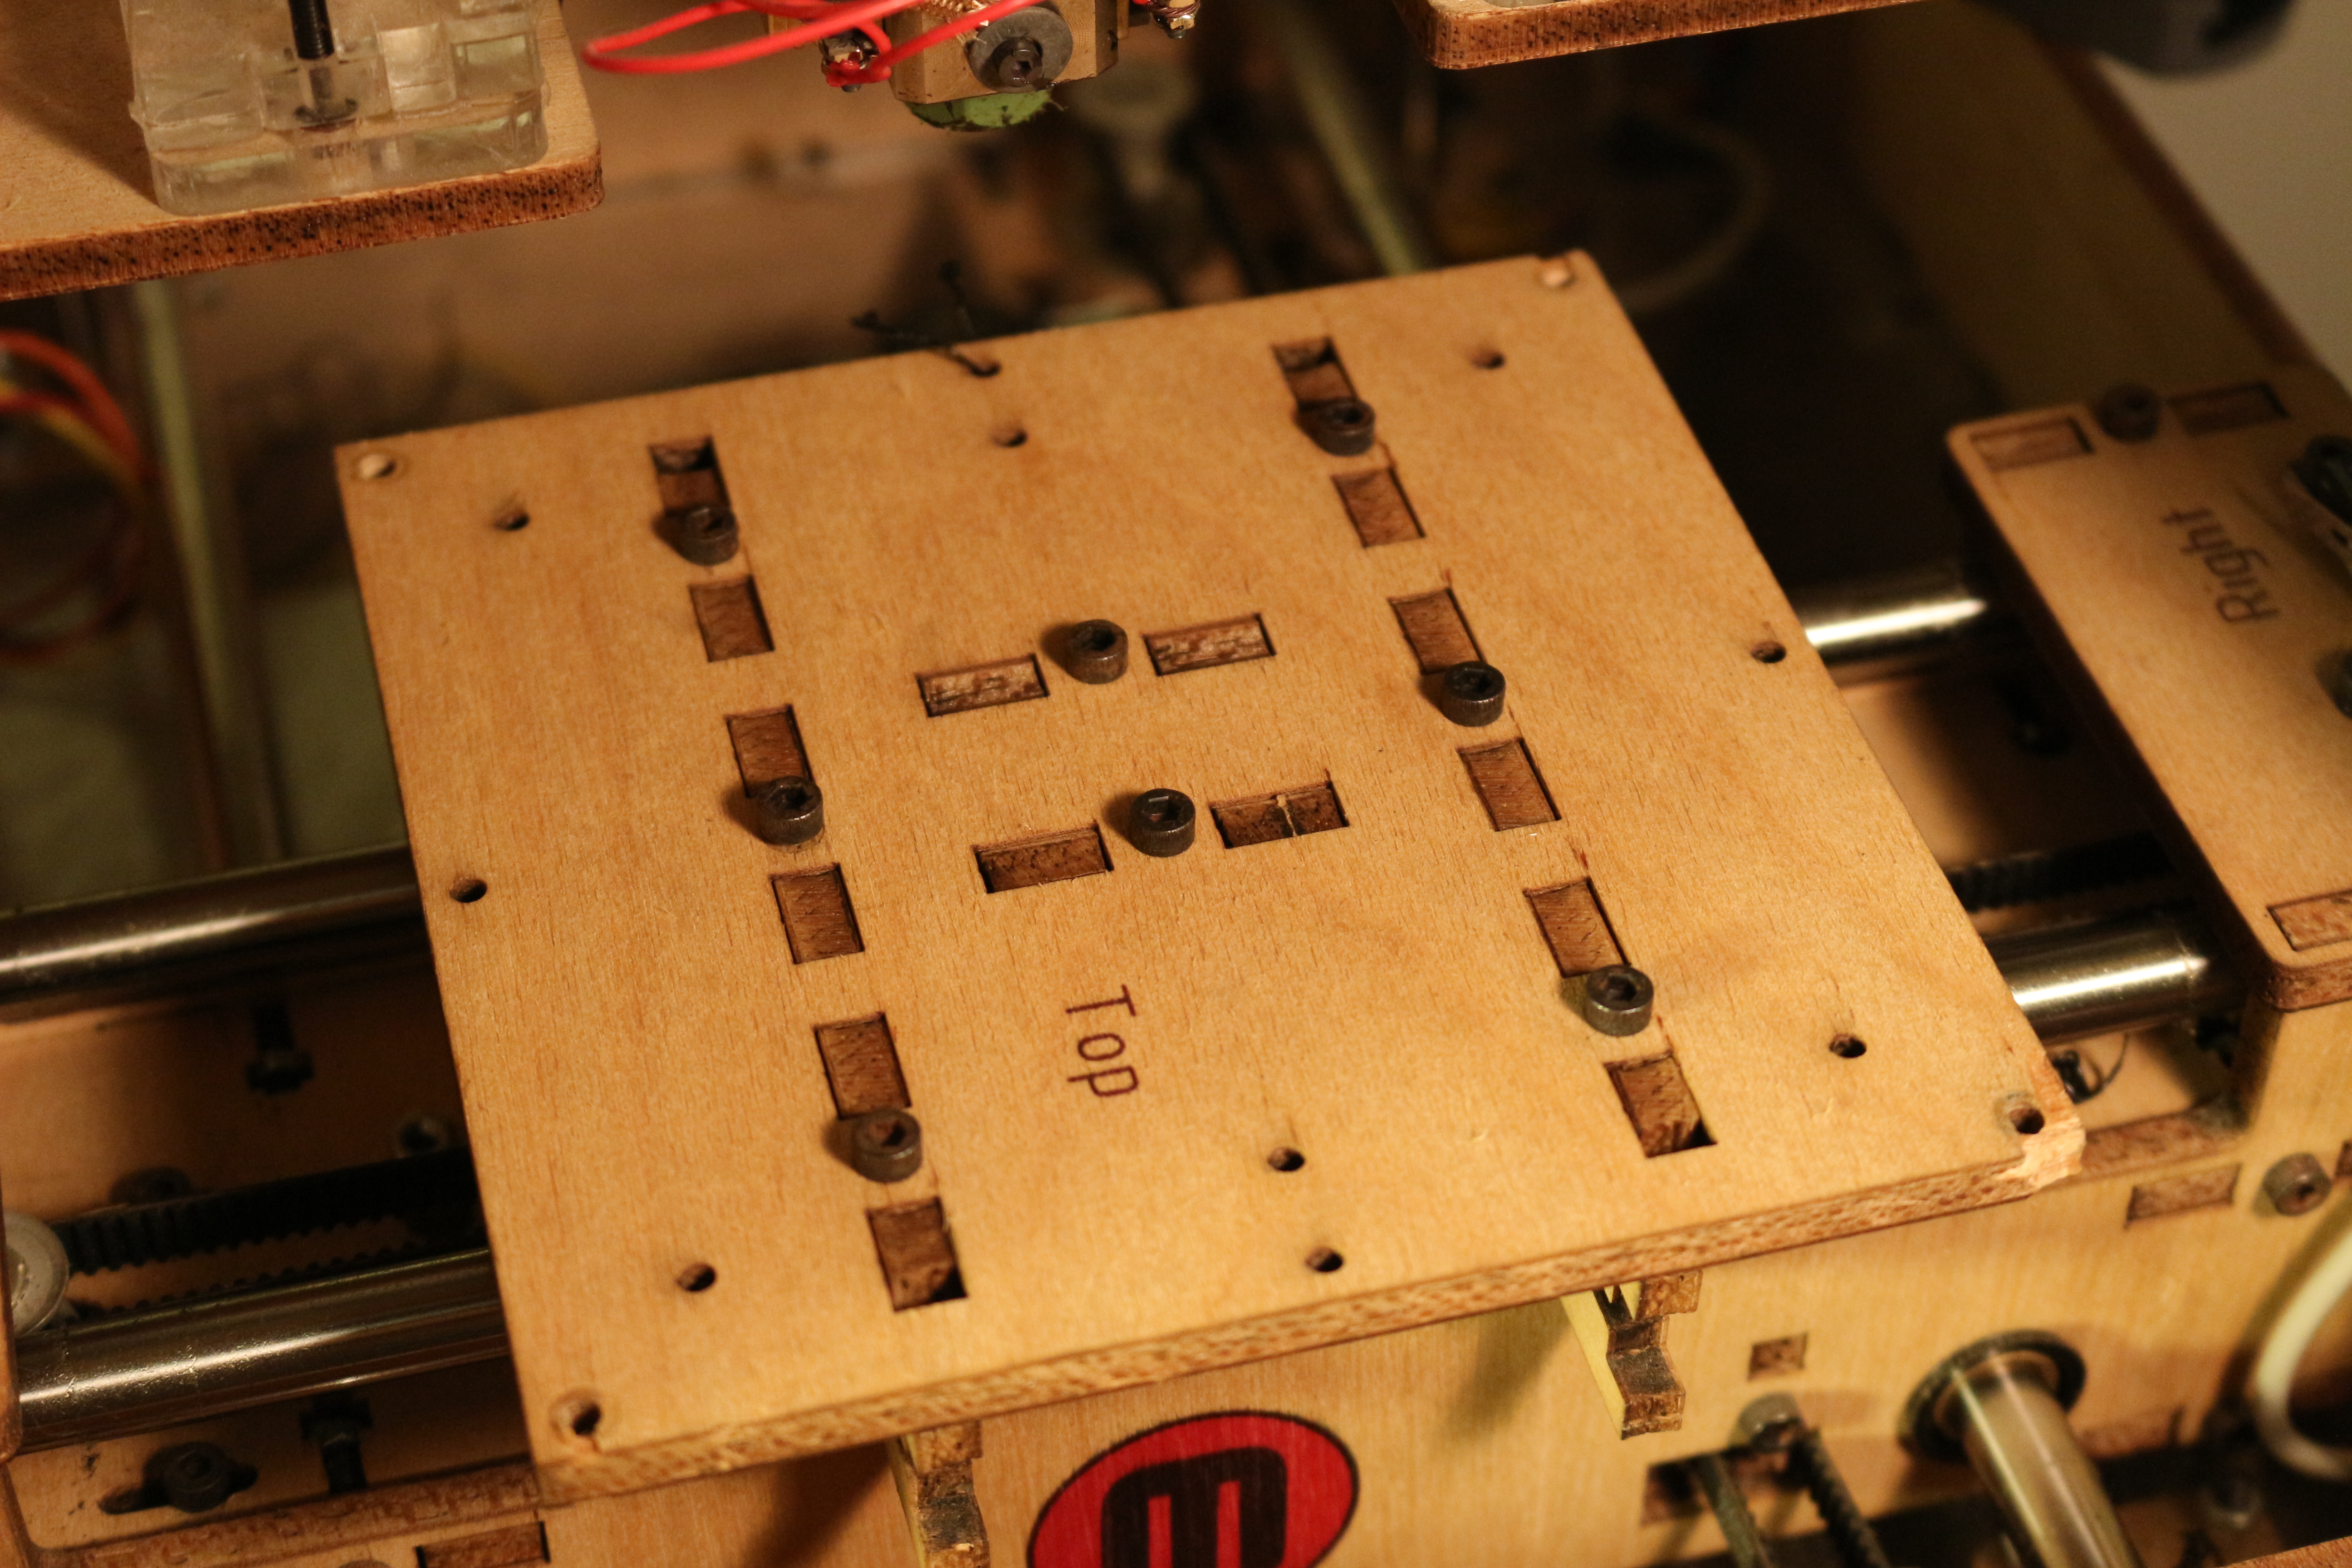
On top of all this, Makerbot also ridiculously overdid things that were T slotted. This is a 3d printer- that means there is basically no force up on the table in the Z axis (or really any force downwards, other than gravity). The build platform is held on by no less than 8 T nuts. These nuts are in tiny nooks and crannies. The build platform is actually fixed not by the nuts, but by gigantic mortise and tenon joints. MBI could have nixed most or all of the nuts in favor of letting gravity do its thing and hold the joint together, but opted for T slots upon T slots. This introduces a manufacturing problem because it means that the holes have to be even more accurate, as the holes for the T nuts have to line up. This is easy to achieve with laser cutting, but it is a small waste of laser time.
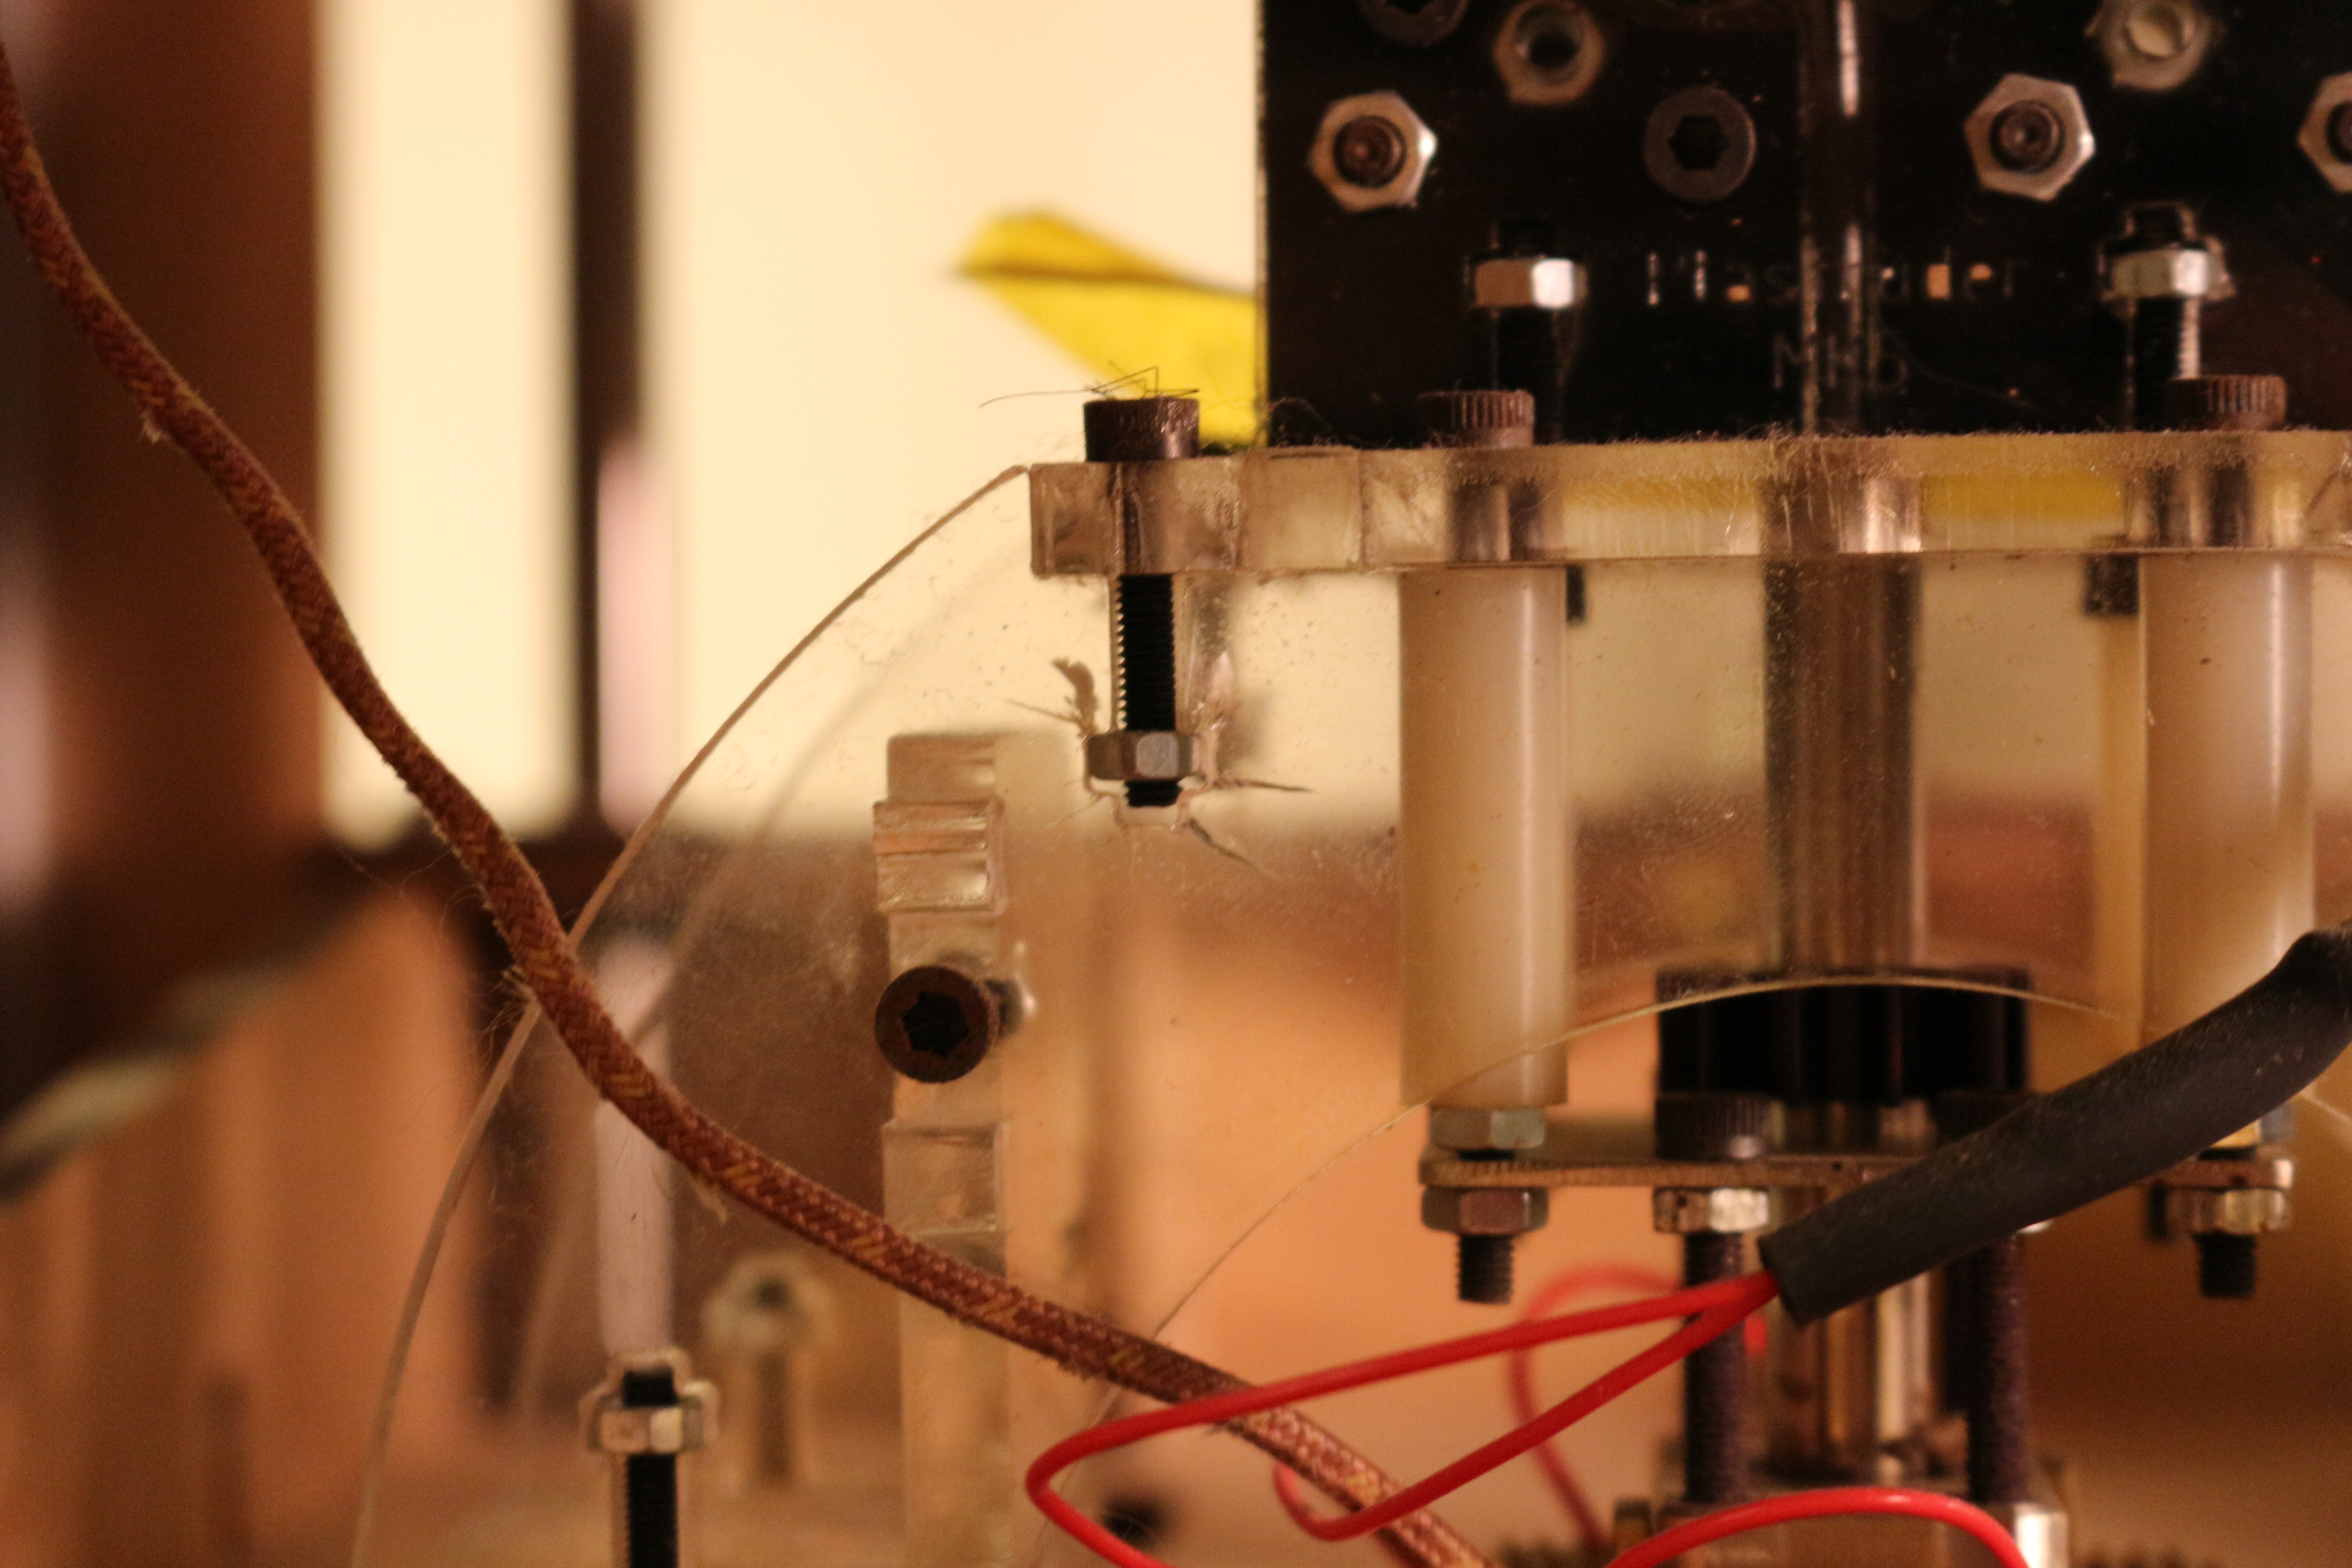
Keerrack
My final gripe is the use of acrylic to hold up the hot end. Acrylic is pretty tough, but the sharp stress concentrating corners on the T connections inevitably lead to cracking, which is not surprising.
I could go on and on, but much like cameras, the best 3d printer is the one you have with you!
