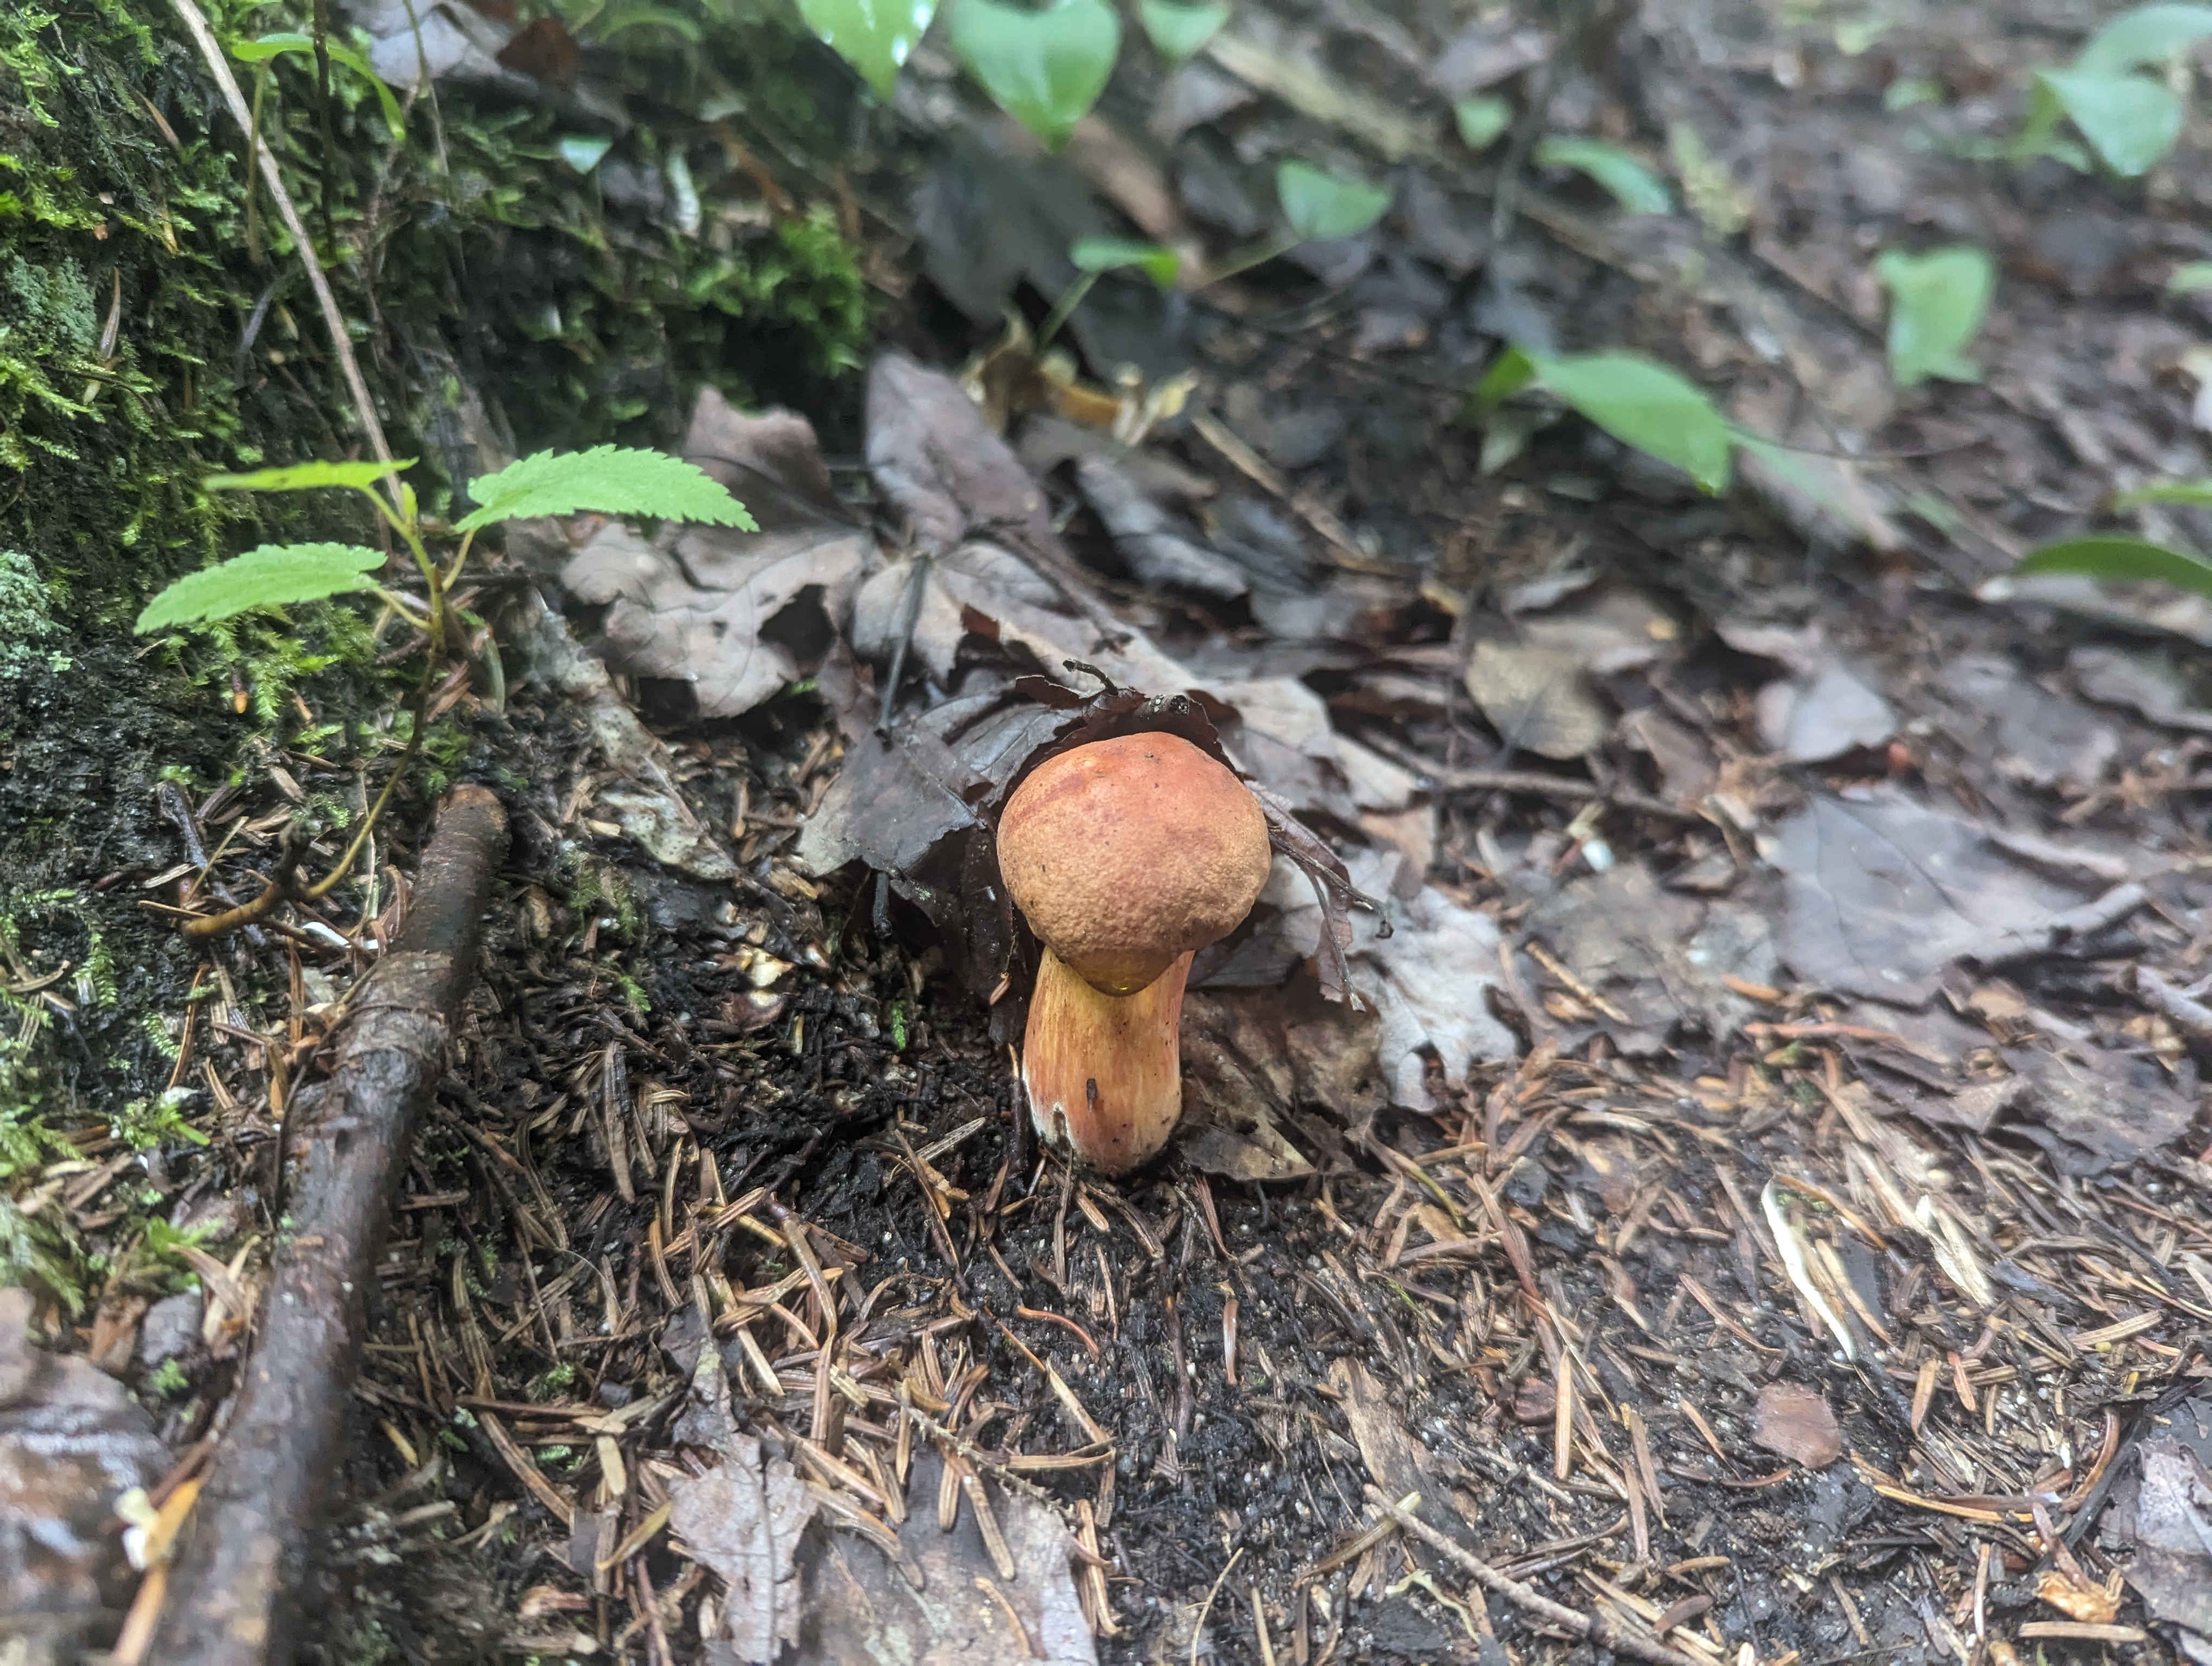
While rainfall has been blocking climbing, it has been causing a lot of mushroom fruiting in the white mountains. This latest trip was theoretically to go climbing at cathedral ledge (which did happen), but it came with a heaping side of foraging.
Among the fungi I found were: red cracked boletes, trumpet chanterelles, and regular chanterelles. I also found a number of boletes that I found difficult to ID, and a vase-shaped fungus that people call a scaly vase- these are rumored to be inedible, so I did not eat them.
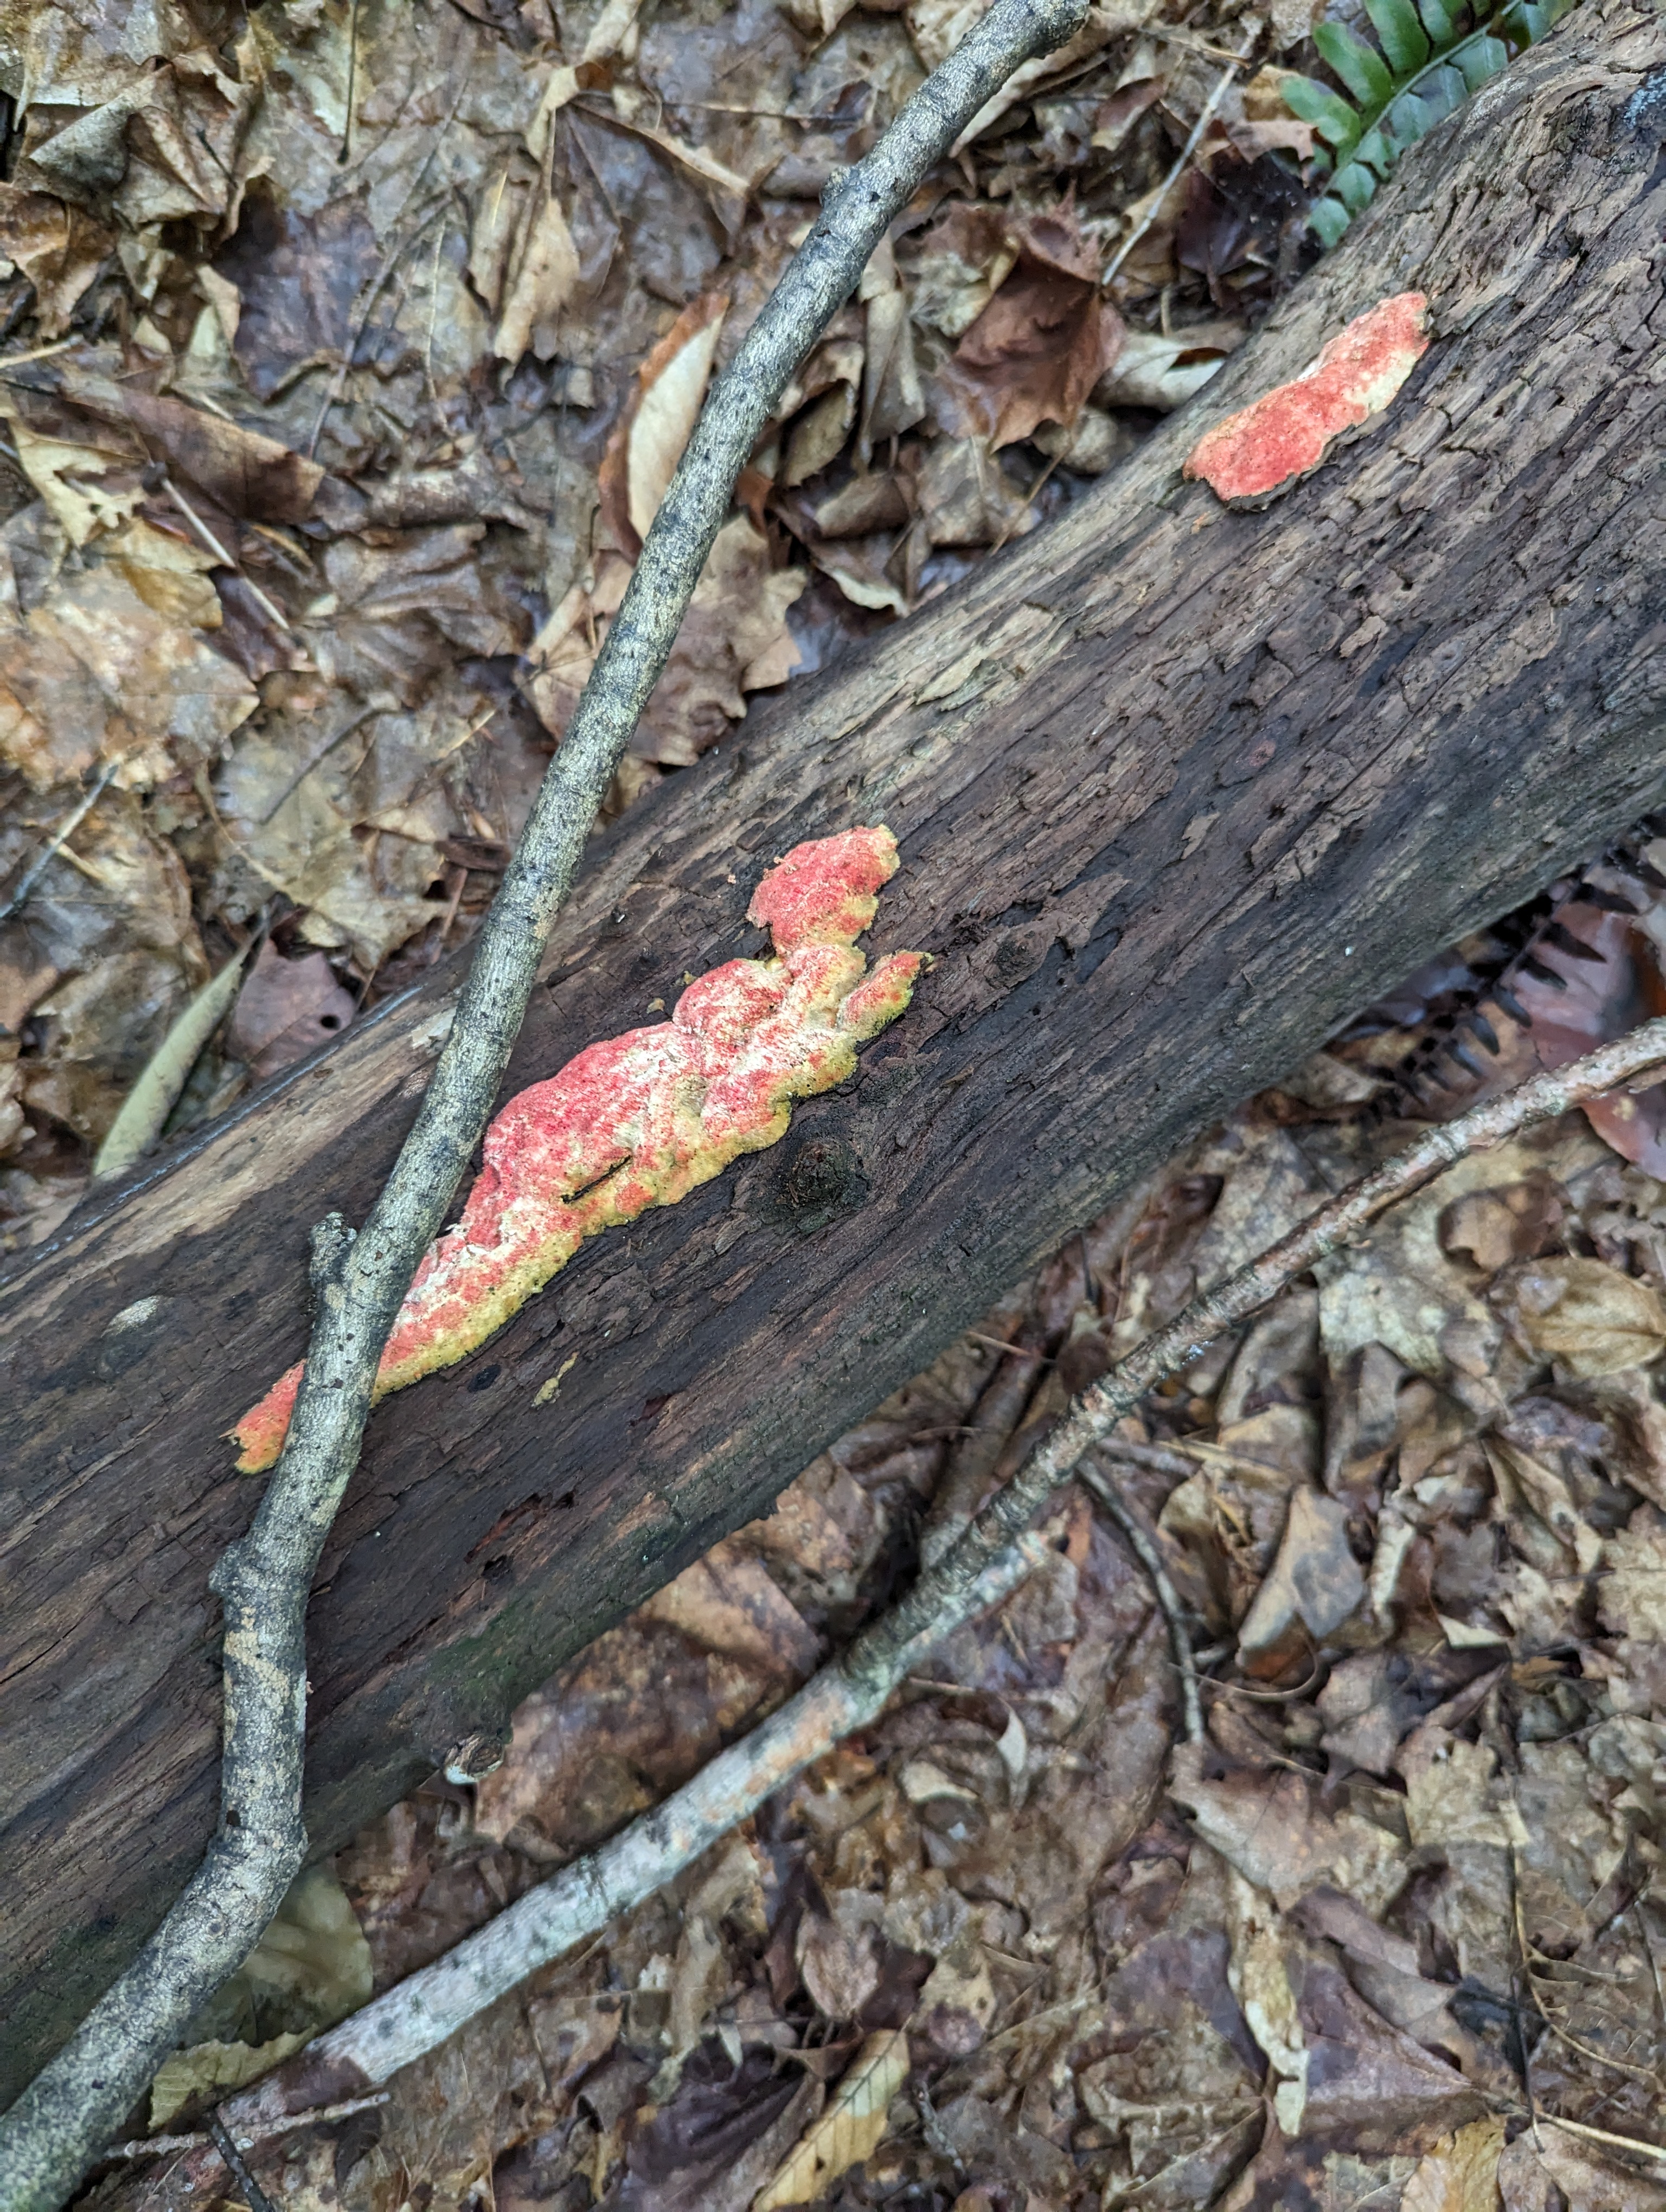
People seem to be on the fence about the red cracked bolete- in my opinion they are certainly food.
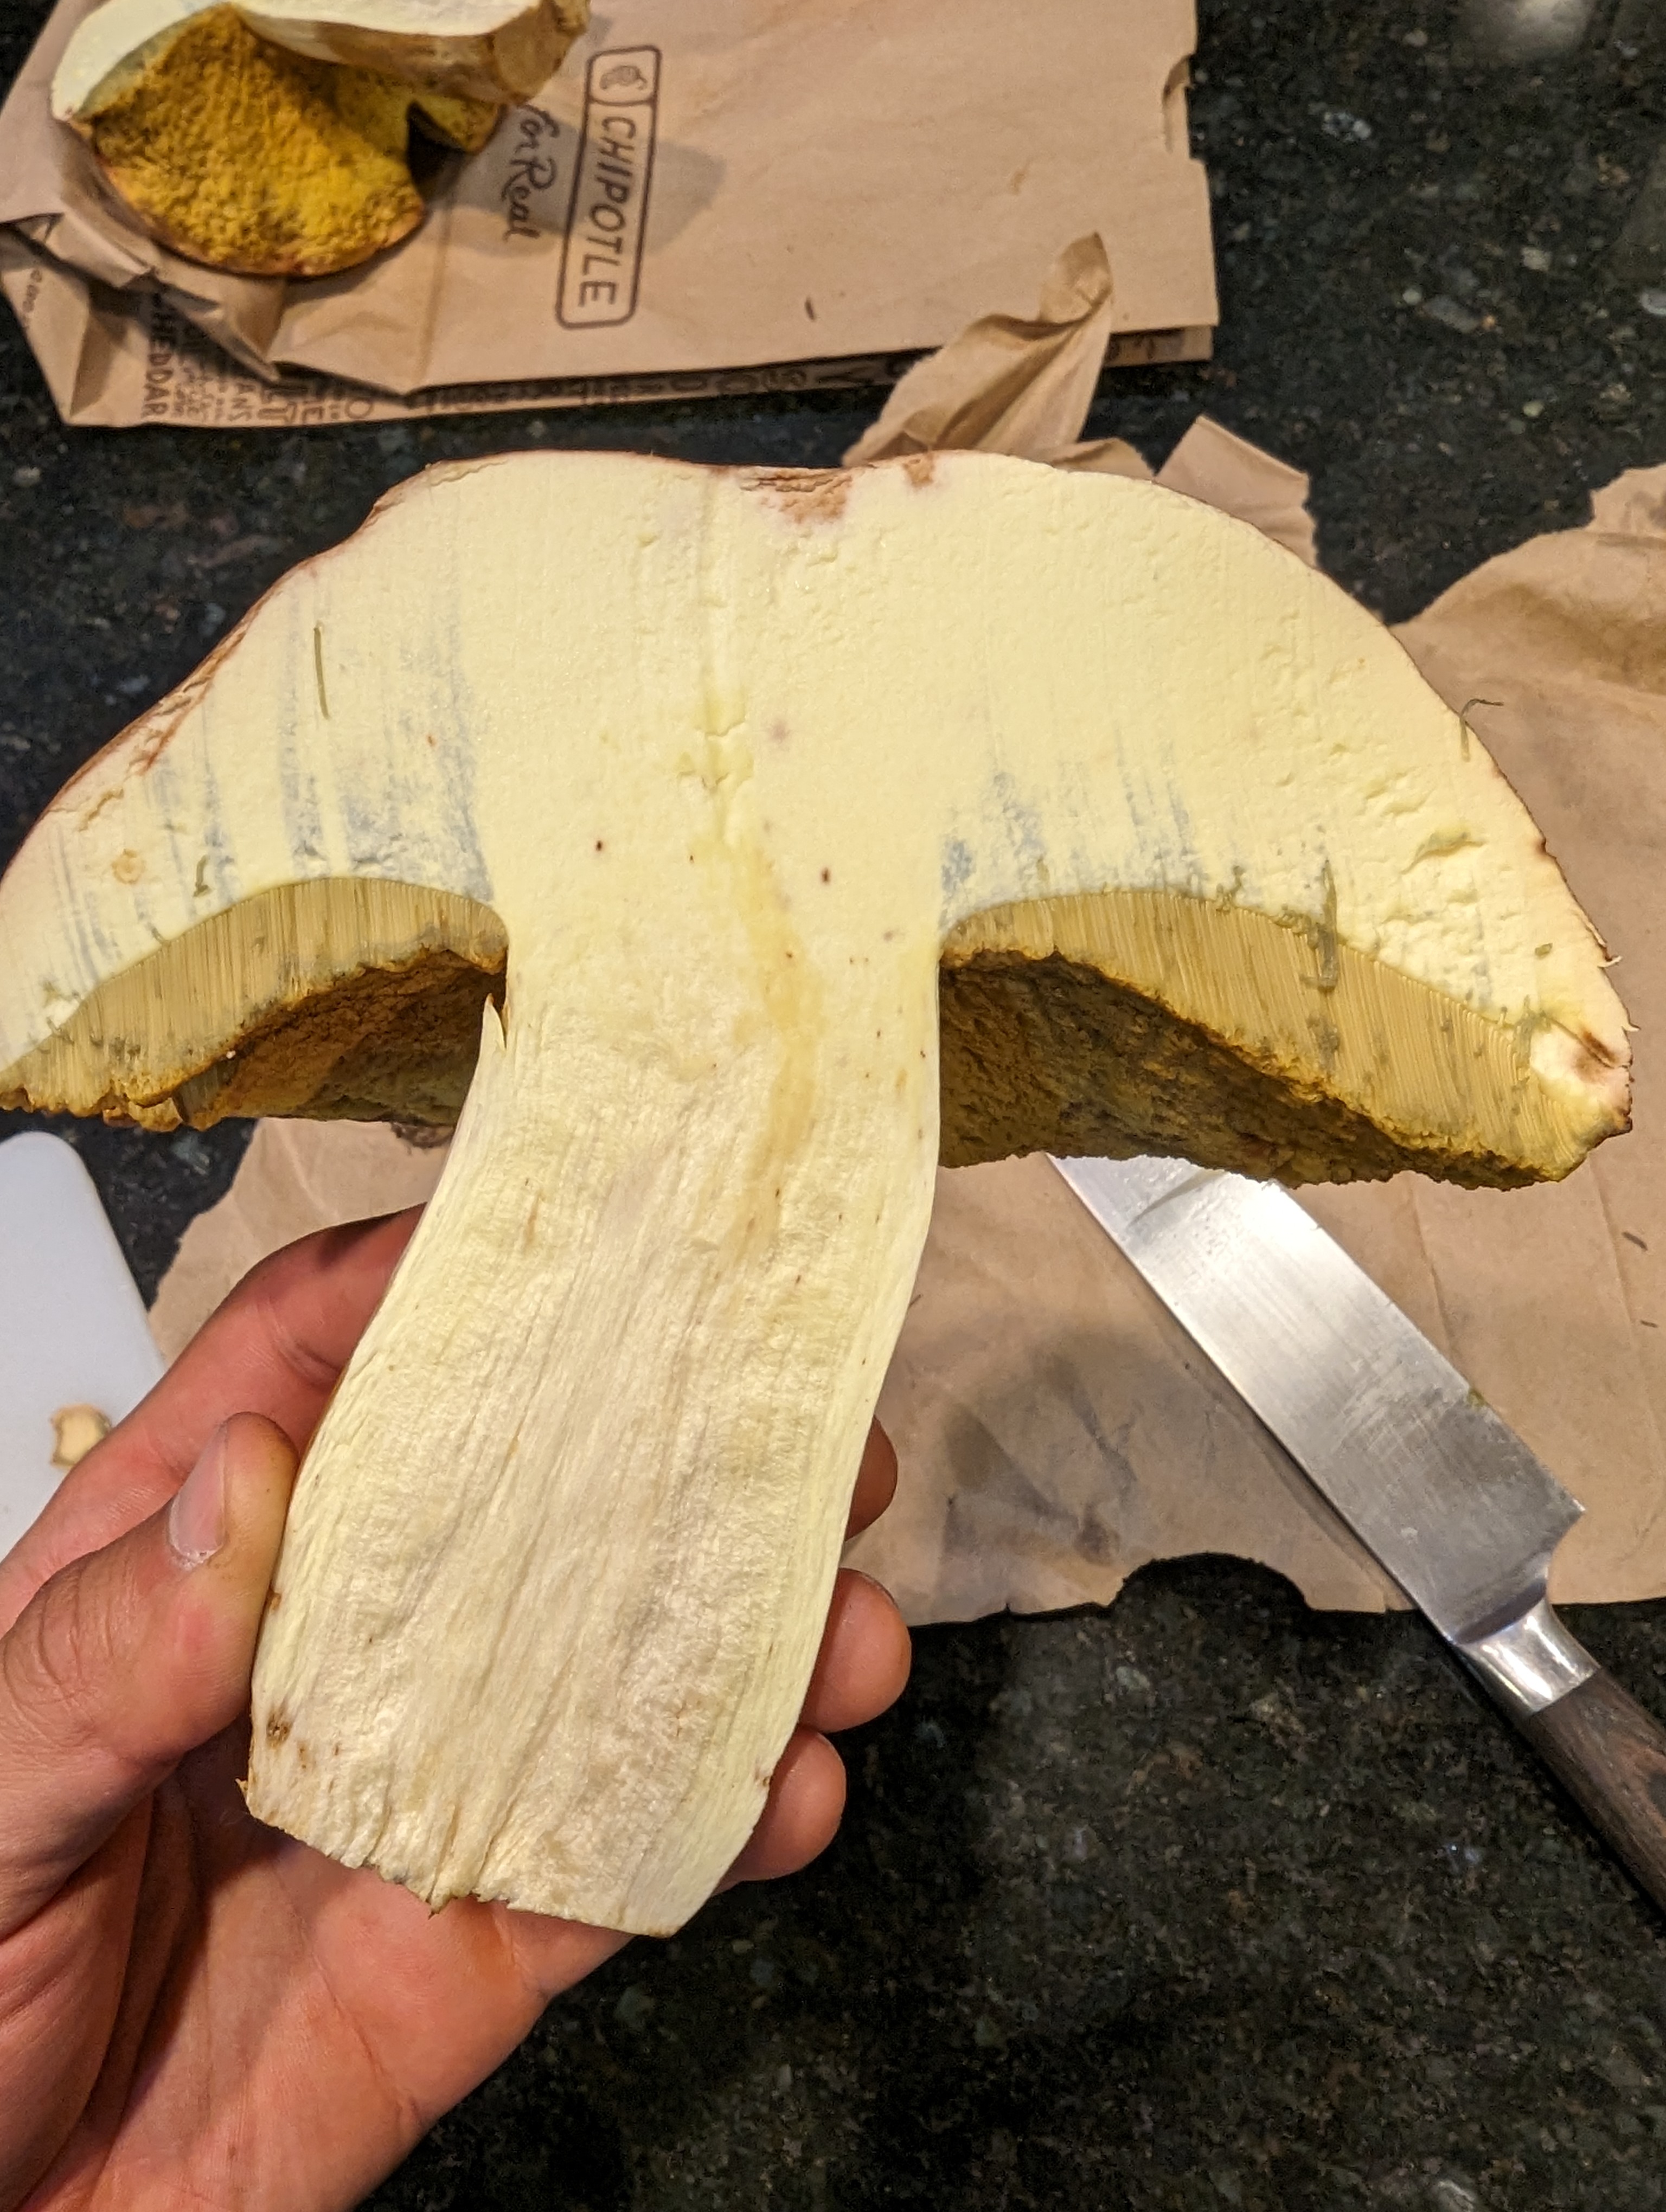
Novelty-sized Bolete
This thing was huge-easily 7″ across, with the dark bluish staining on the cap where it was cut and green staining on the yellow tubes/pores on the bottom. the cap was cream colored with brown. It looked tasty but without a positive ID, I decided not to eat it.
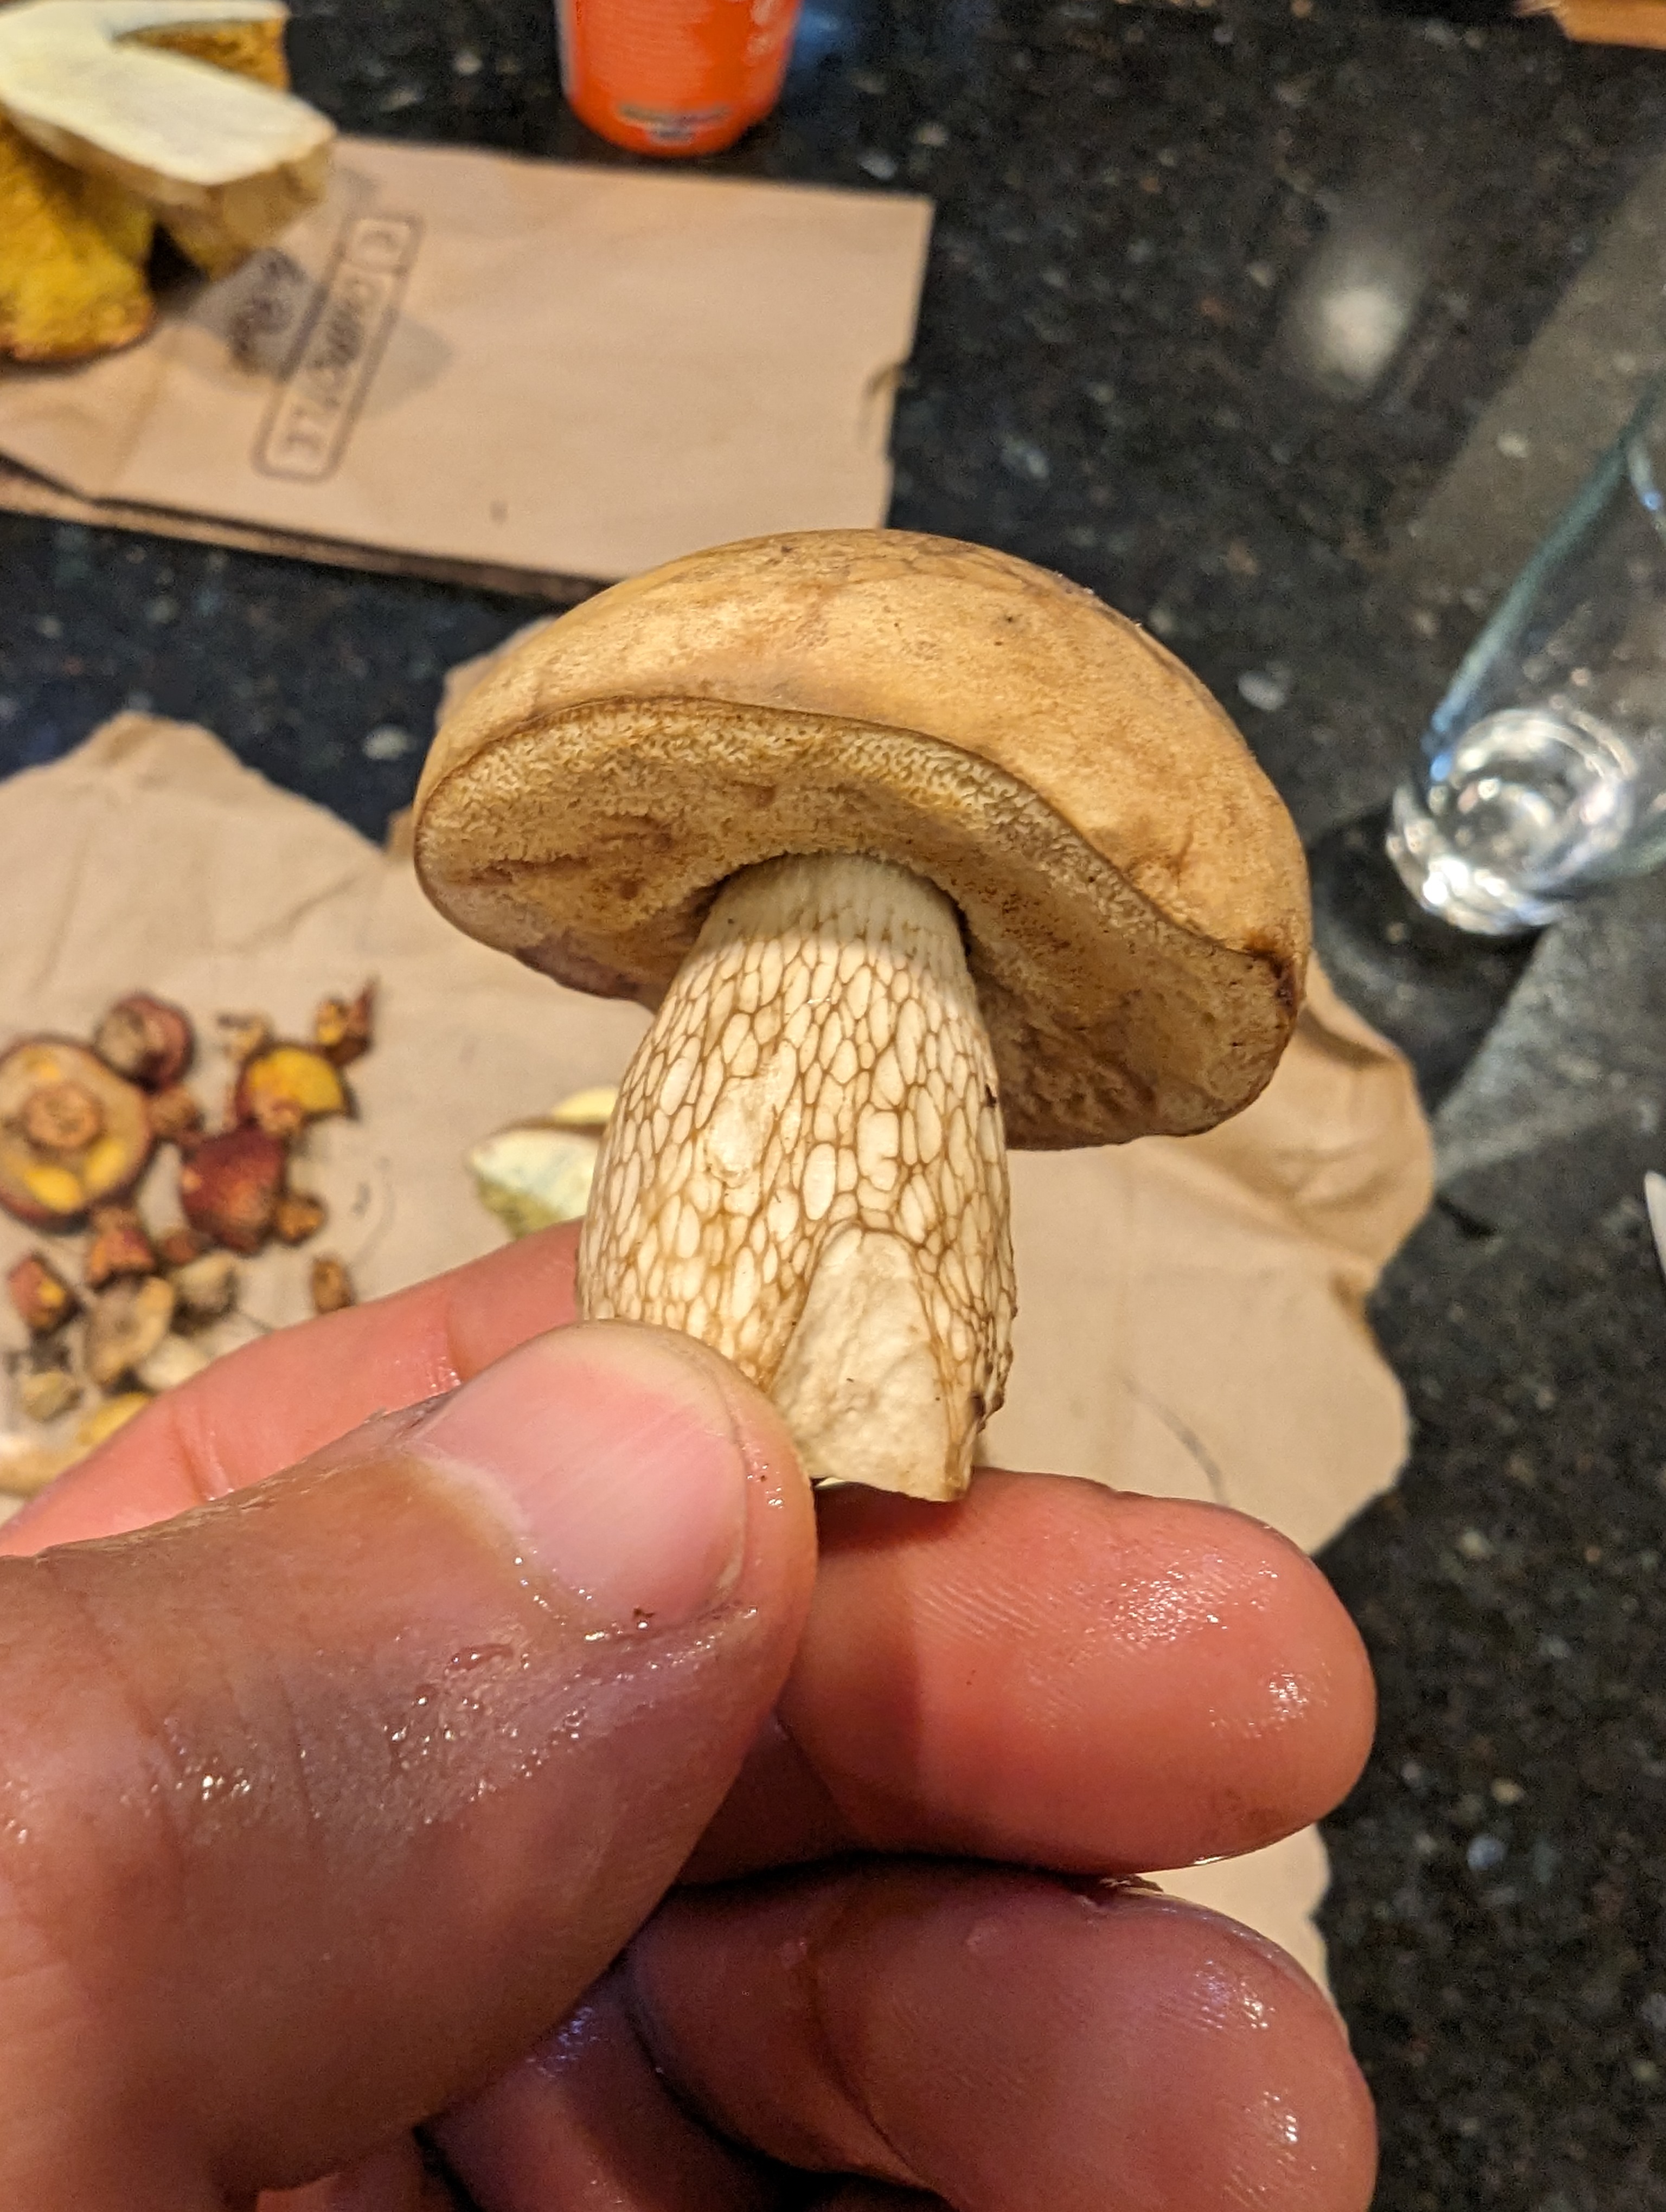
Mystery Bolete
At first I assumed this was a cep due to the “netting” pattern, but the flesh seemed to bruise. I have not figured out what it was, but maybe once I am more familiar I will figure it out!
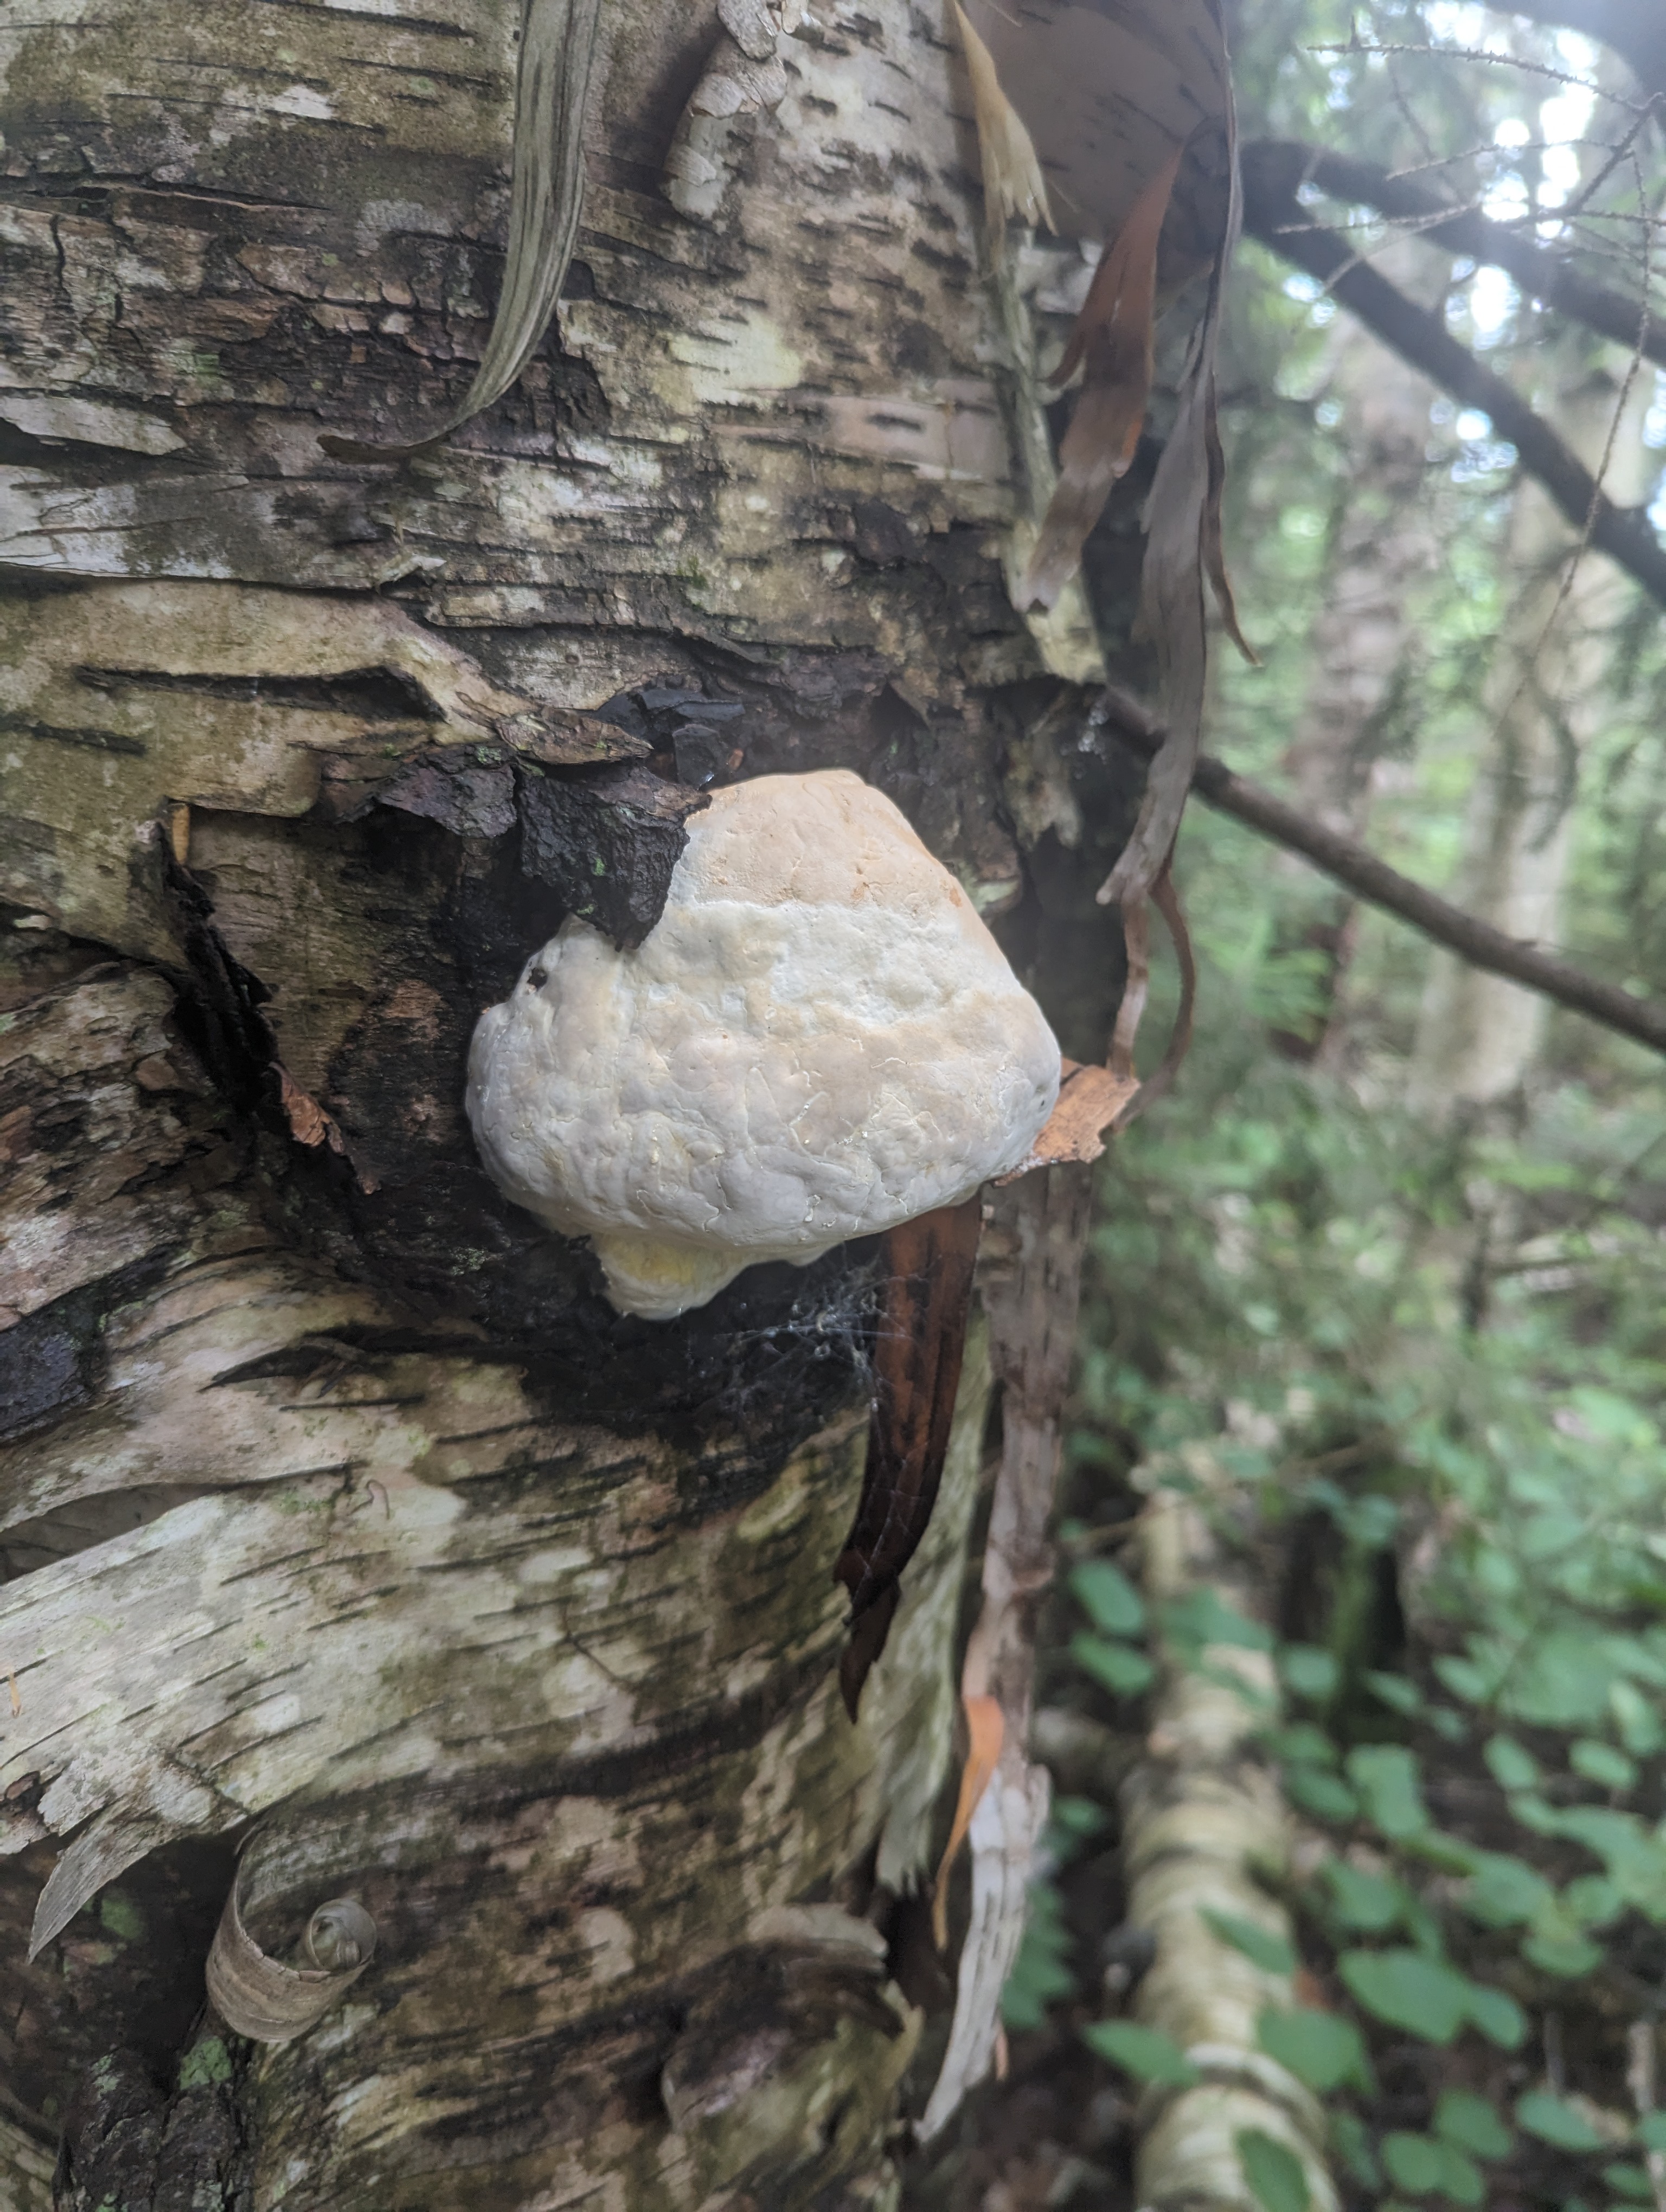
With all the rain that has been happening this summer, mushroom foraging seems to be going quite well. I have already casually encountered Chanterelles, and horn of plenty in pretty high traffic areas- but this was my first time finding a giant polypore – the creatively named black-staining polypore.
A few steps from the edge of the rumney parking lot I found a few large clumps of grey and white mushrooms. I know that most large polypores are ok to eat, and after misidentifying them as hen-of-the-woods I realized I had a different mushroom on my hands.
The giveaway was the “black staining” nature of the mushroom- breaking off a little piece, or bruising the mushroom causes it to blacken. The fronds (?) are also a lot wider and meatier than hen of the woods, closer to 4-5″ across and not very symmetrical. These are edible, and I second the general opinion of many posts online suggesting that it is preferable to eat them when young. These became a very mushroomy broth, and a few choice fronds were baked/stewed (confirming chewiness).
I was curious to see what the lingonberry plants looked like up on Franconia ridge. To this end, I took a high speed nature walk up the falling waters trail to middle haystack, over to Lafayette, and then back down to the parking lot.
This trail is an interesting slice of biomes in the notch, and it is (rightfully) one of the most popular trails, coming in at about 8+ miles and around 4k of gain, with good parking, it’s also very accessible.
The falling water trail zig zags up to middle haystack, crossing a stream/waterfall several times. This area is always wet, and due to the recent high rainfall, some of the crossings were a little harder to navigate.
Once gaining the ridge proper, the forest drops away and you are in the alpine of the northeast! The soil is sparse and rocky, well drained and likely acidic. This supports two plants that I am interested in: Lingonberries and Blueberries.
Nature Notes from the ridge
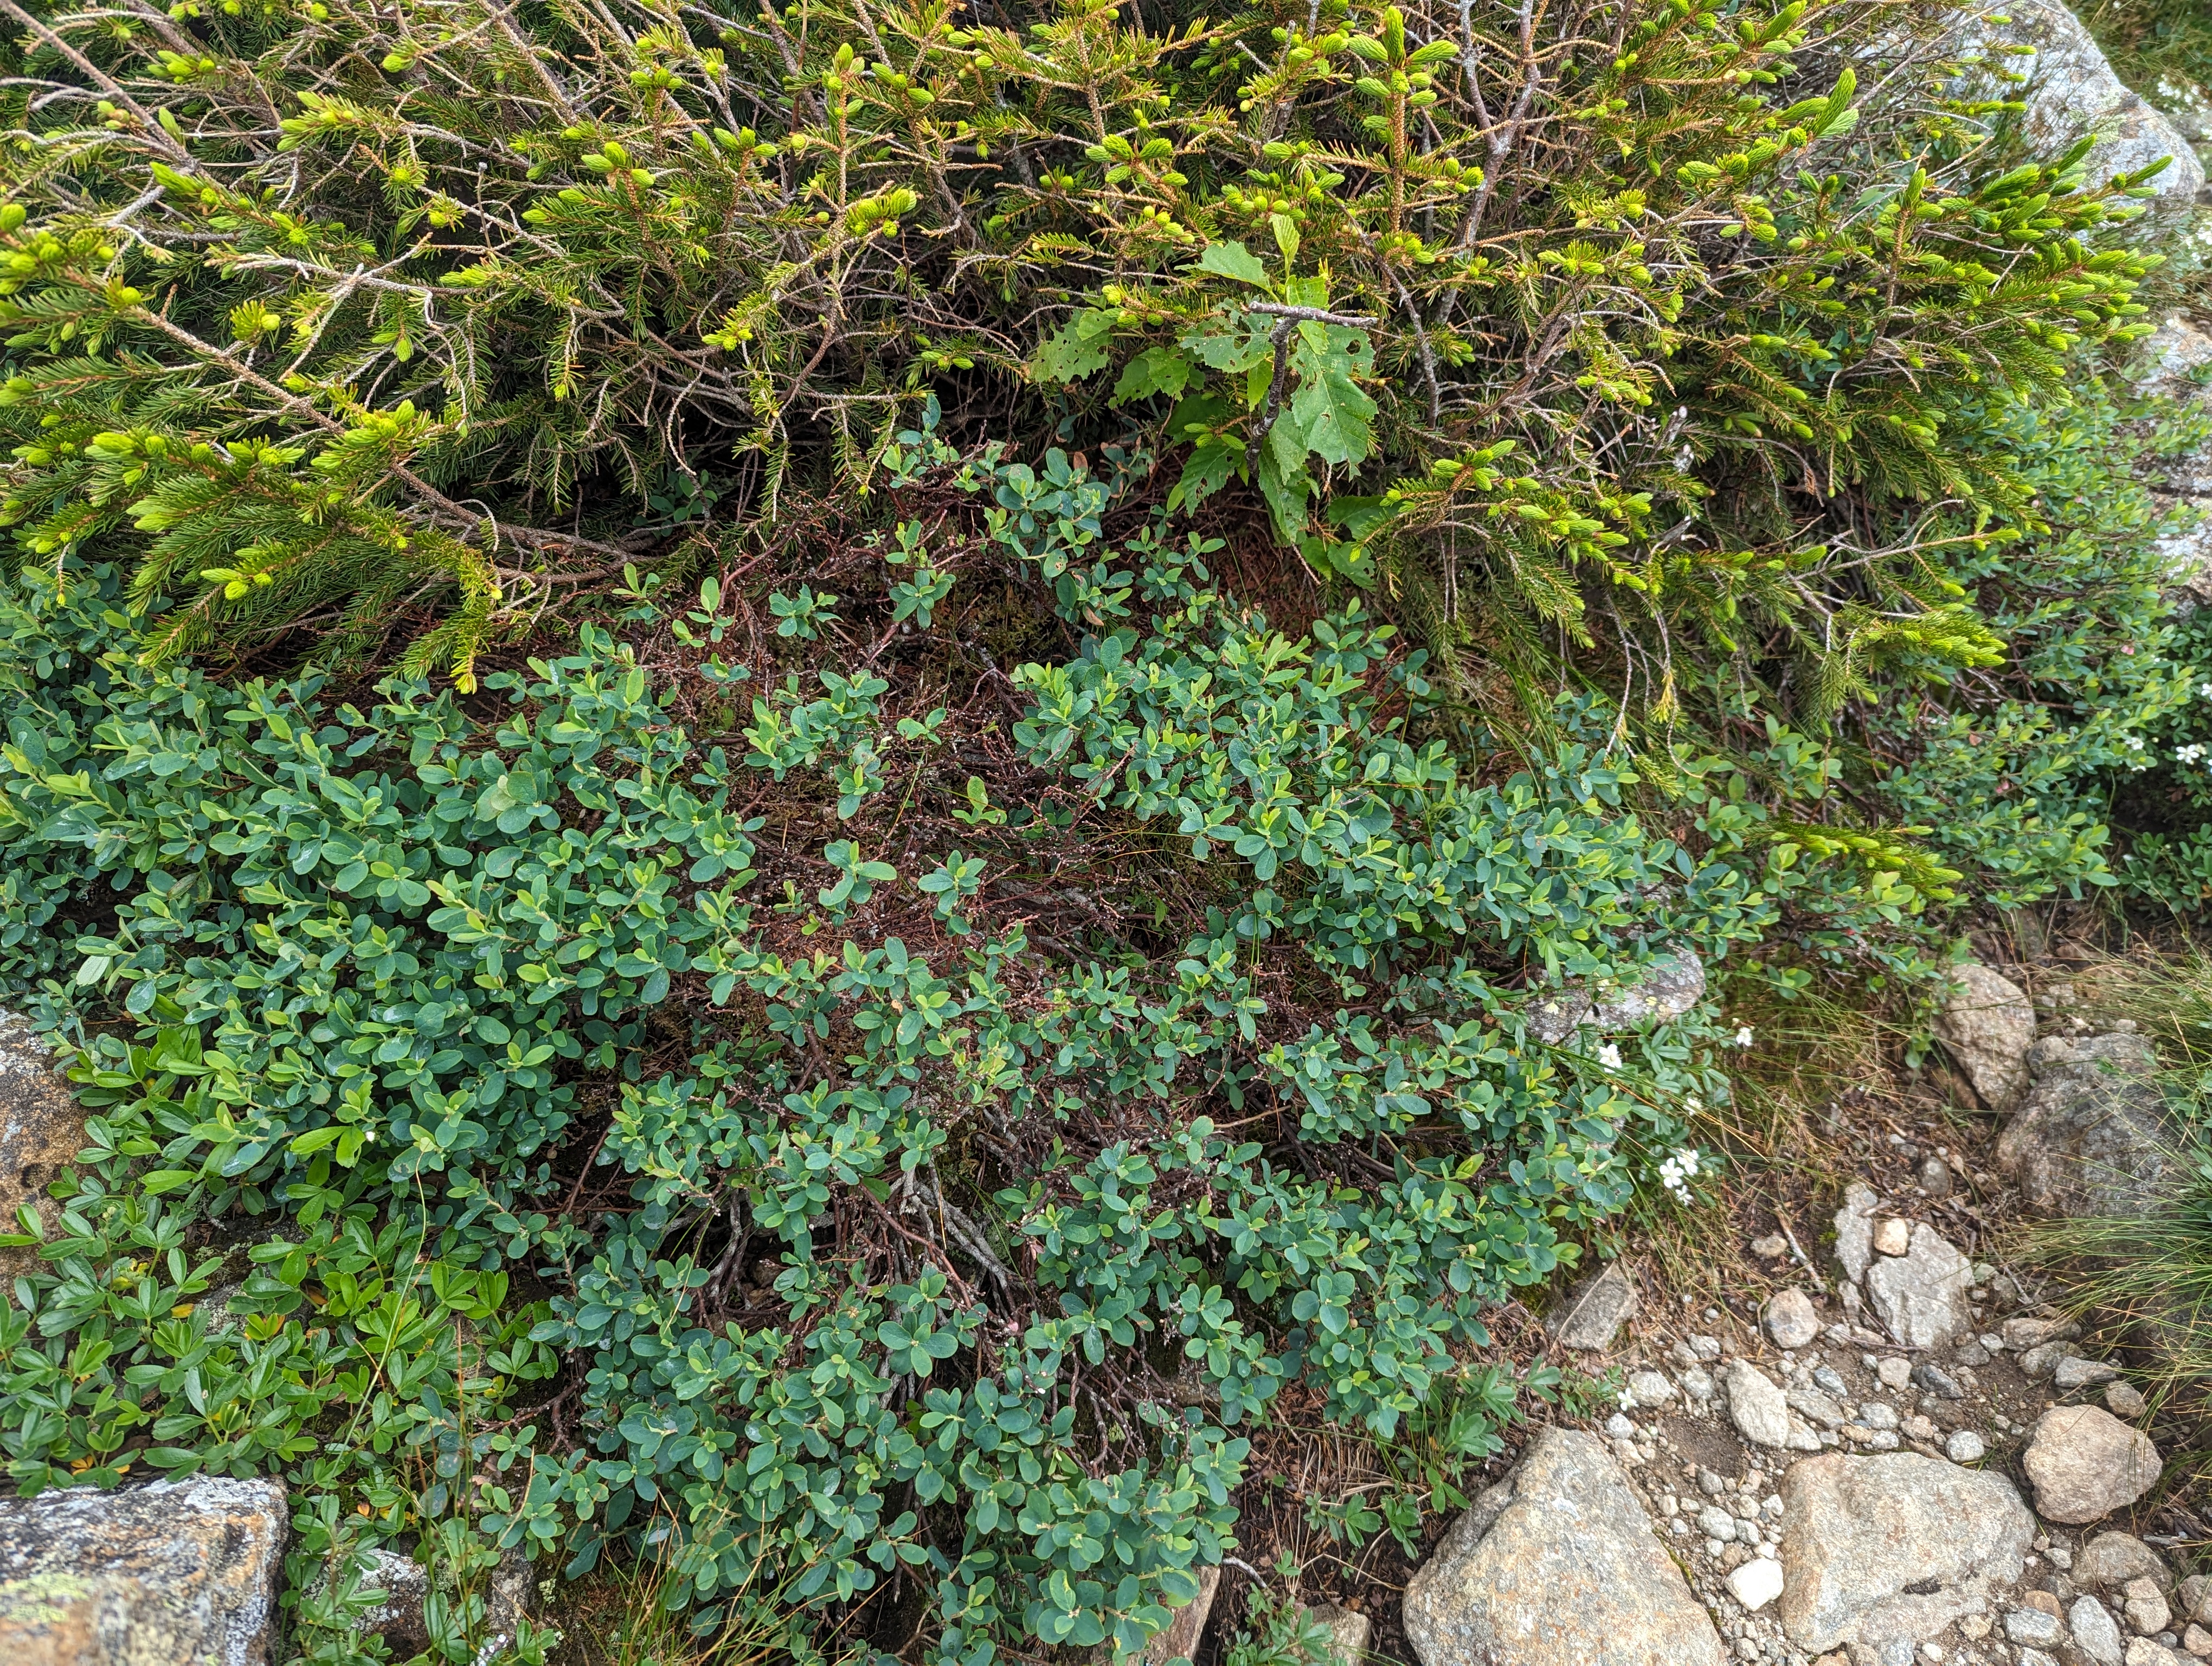
beefy blueberry bush
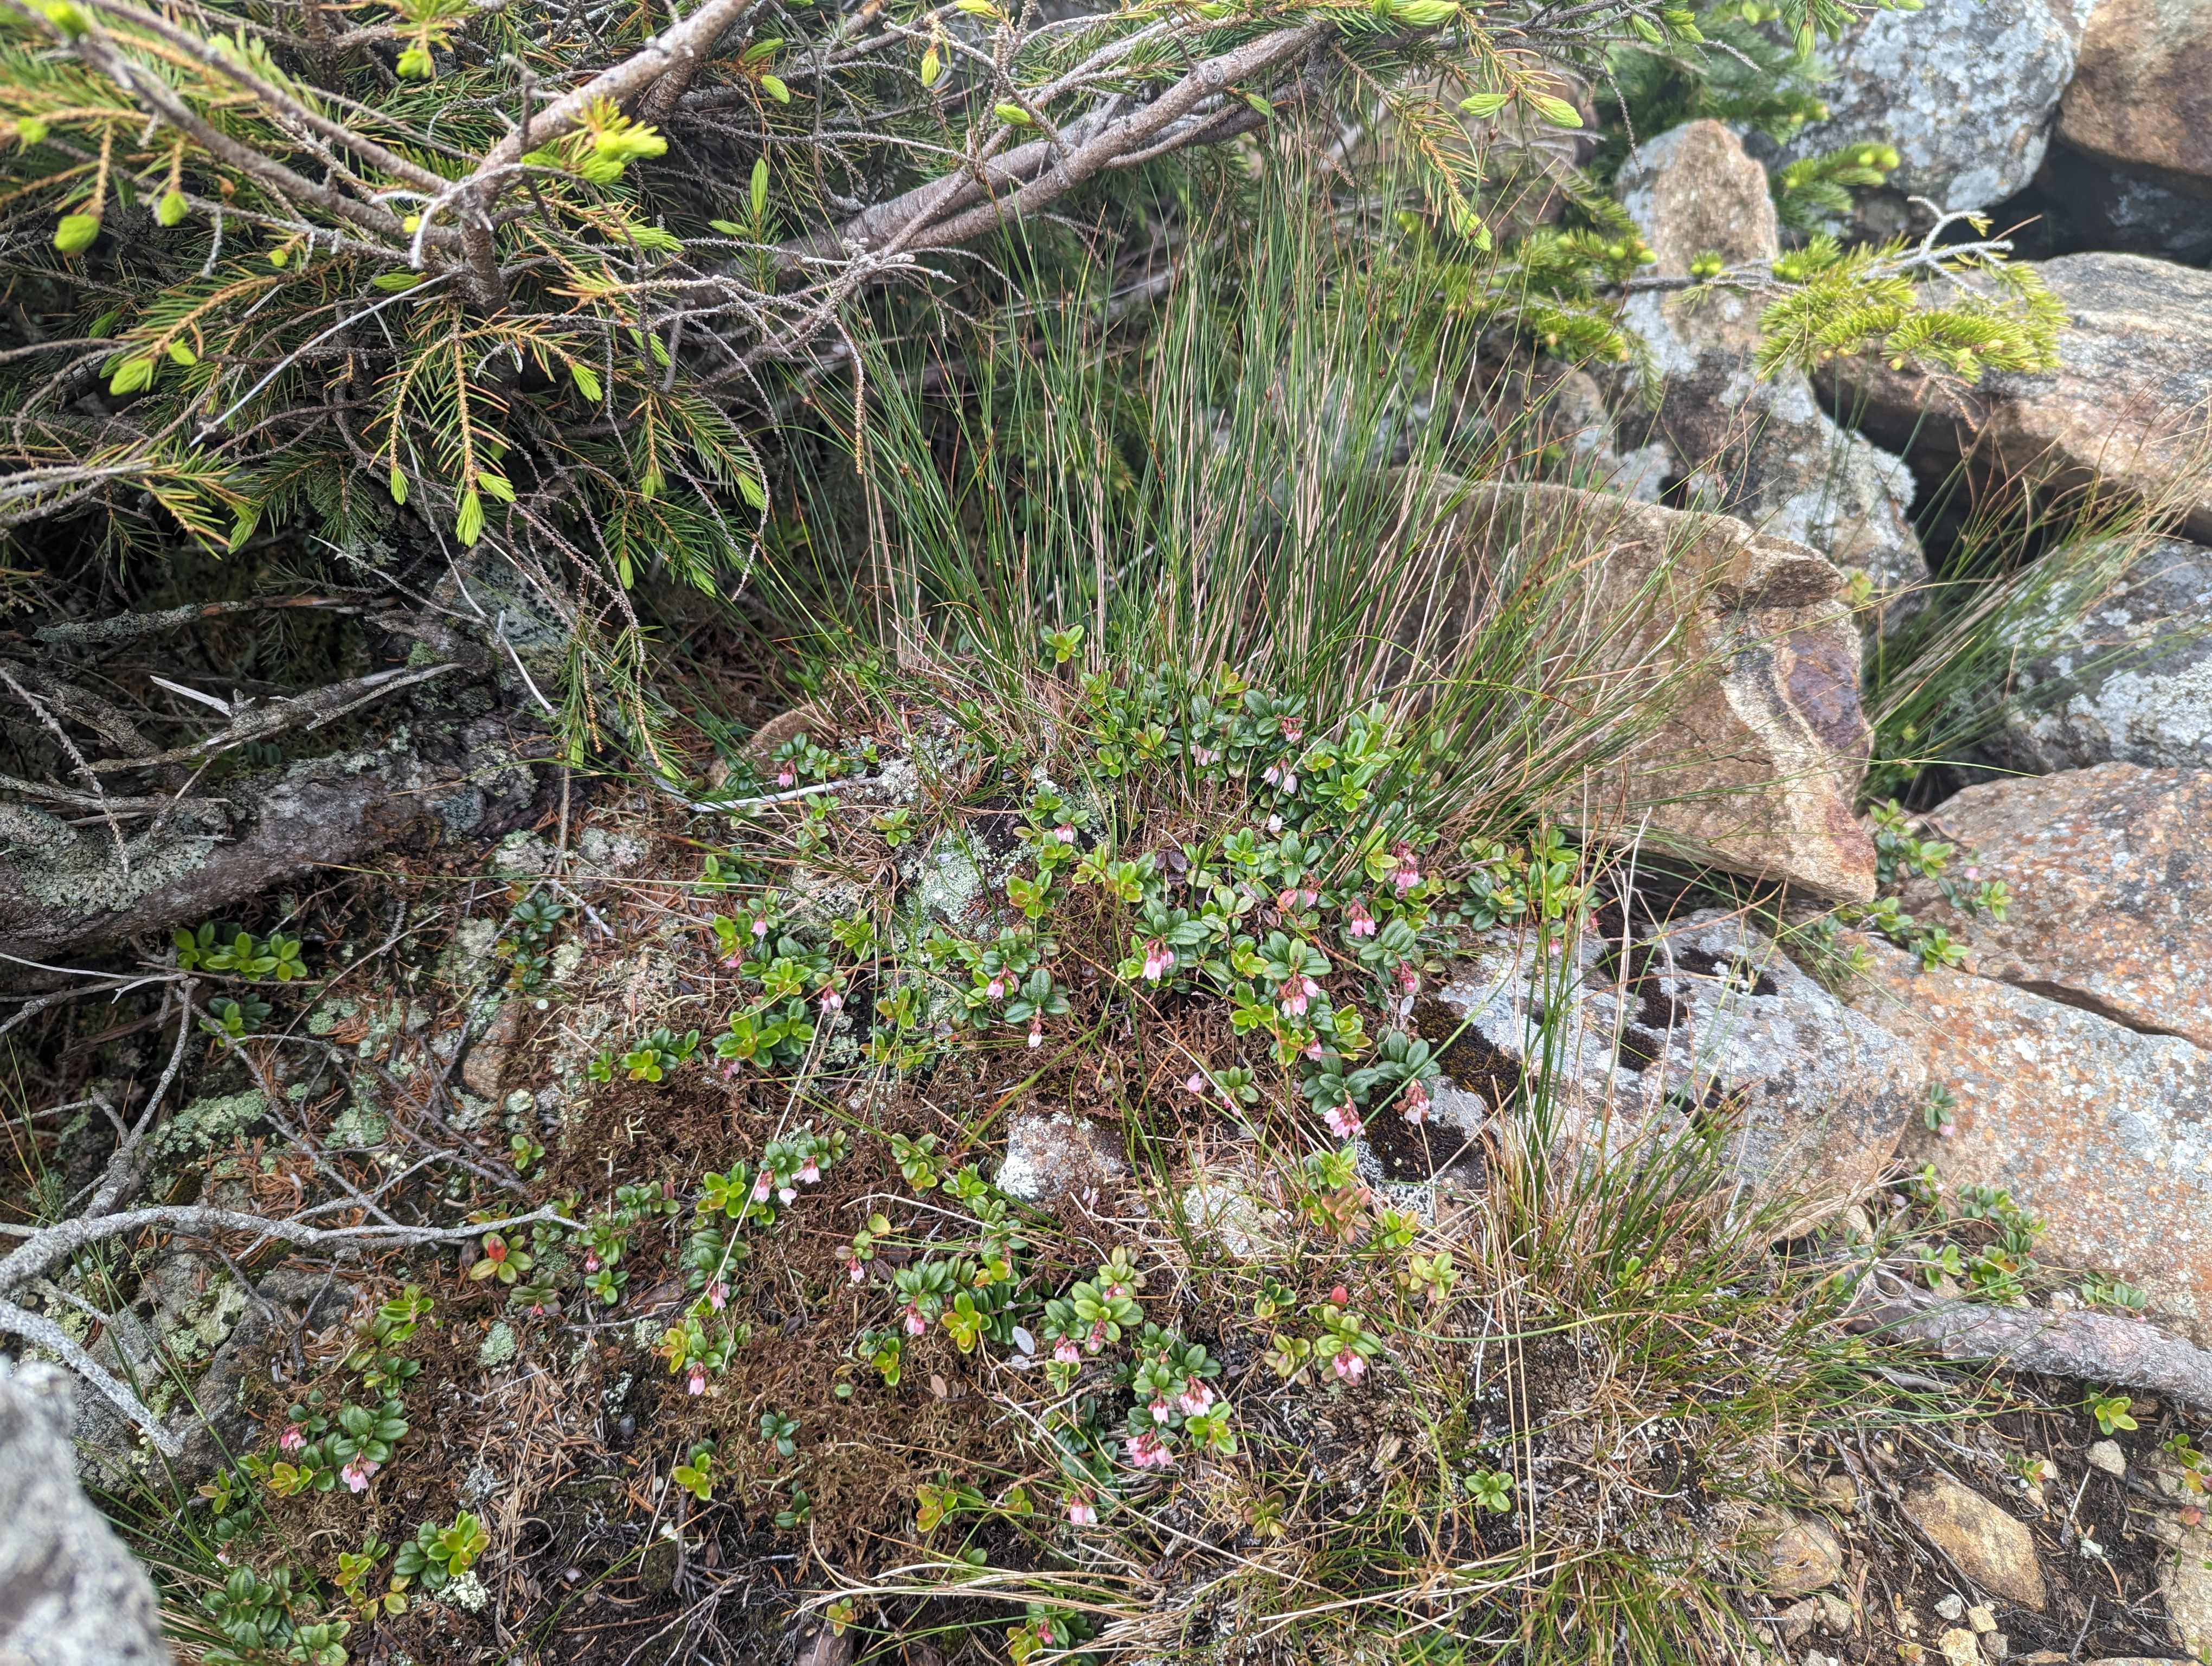
In contrast to the alpine garden trail/general mount Washington environ, the lingonberries/blueberries here seem to be a lot smaller. I suspect that is because there is a lot less soil due to the ridge being pretty exposed to the elements. Most lingonberry bushes were much smaller, with the plants being more individual instead of large mats. The blueberry bushes were low to the ground, but still large. Both the lingonberry and blueberry bushes are just starting to flower, although there were a few unripe adventitious blueberries hiding in the brush.
small lingonberry bush
Interestingly, the blueberries seem to dominate here. The bushes are large and healthy looking, and there seem to be many more blueberries than lingonberries. I wonder why that is. I stayed on the trail since its a high traffic area- maybe blueberries have some advantage in taking over disturbed territory? who knows.
Nature Notes from the Bridle Path
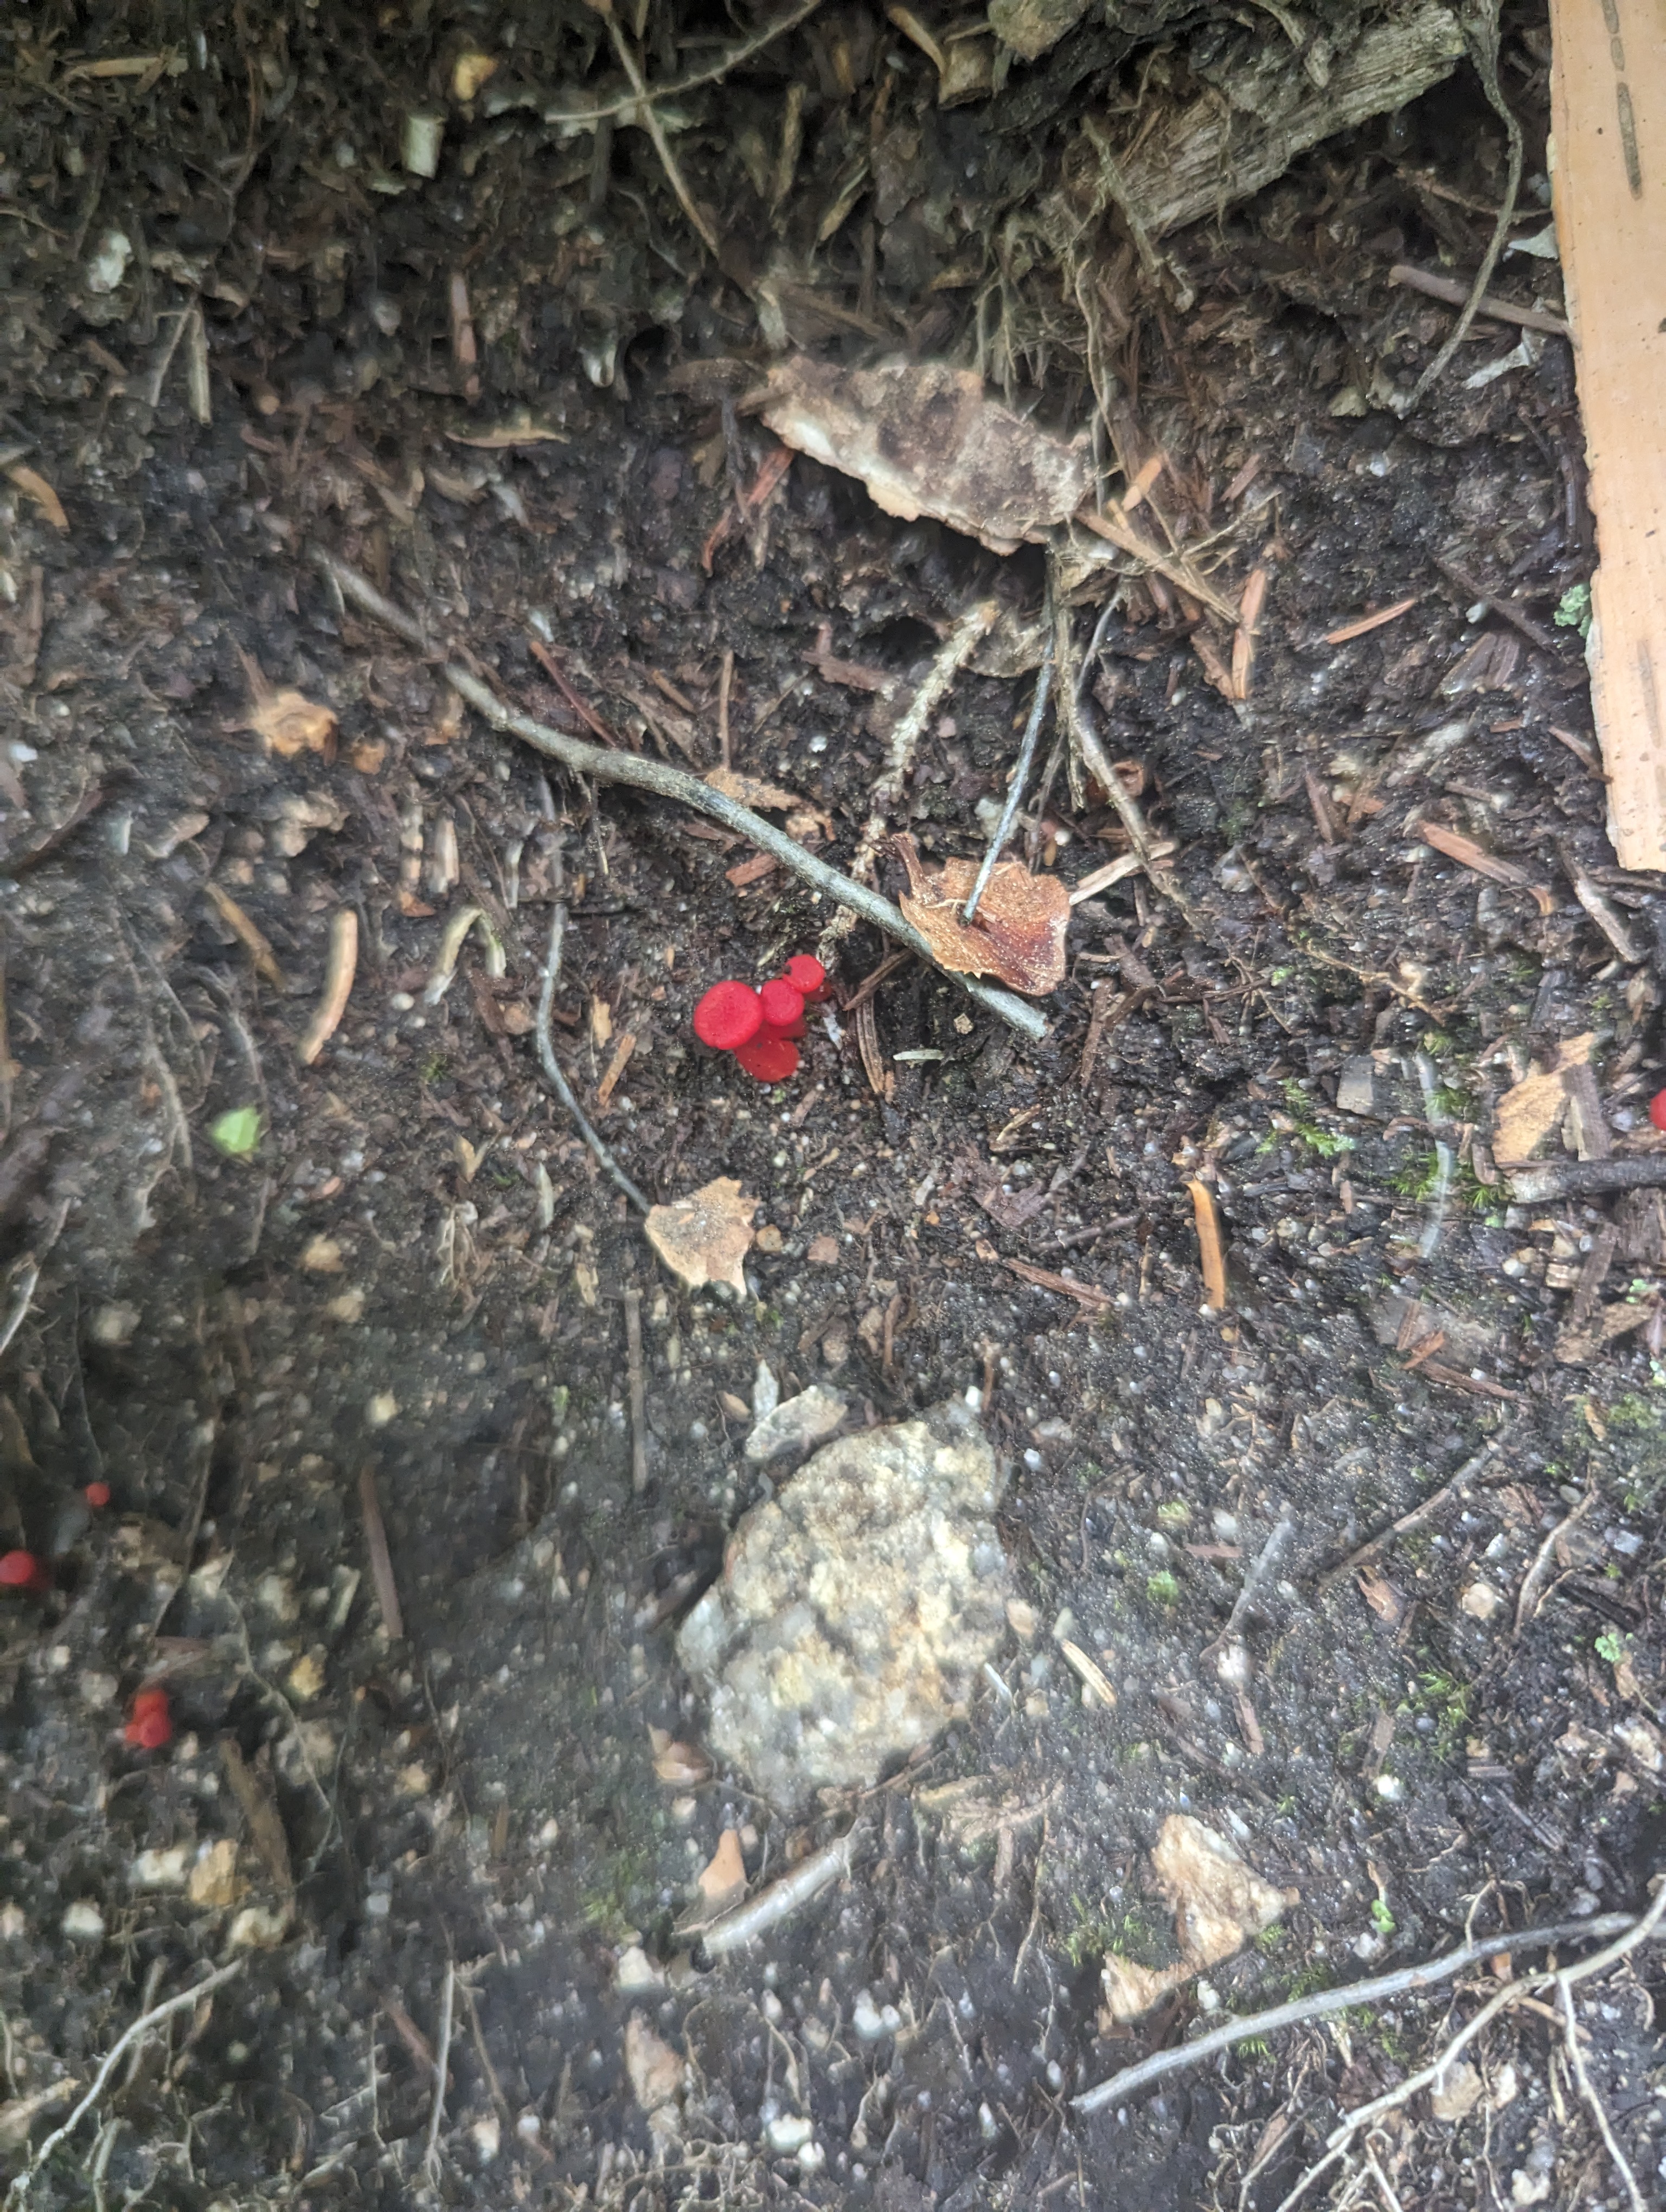
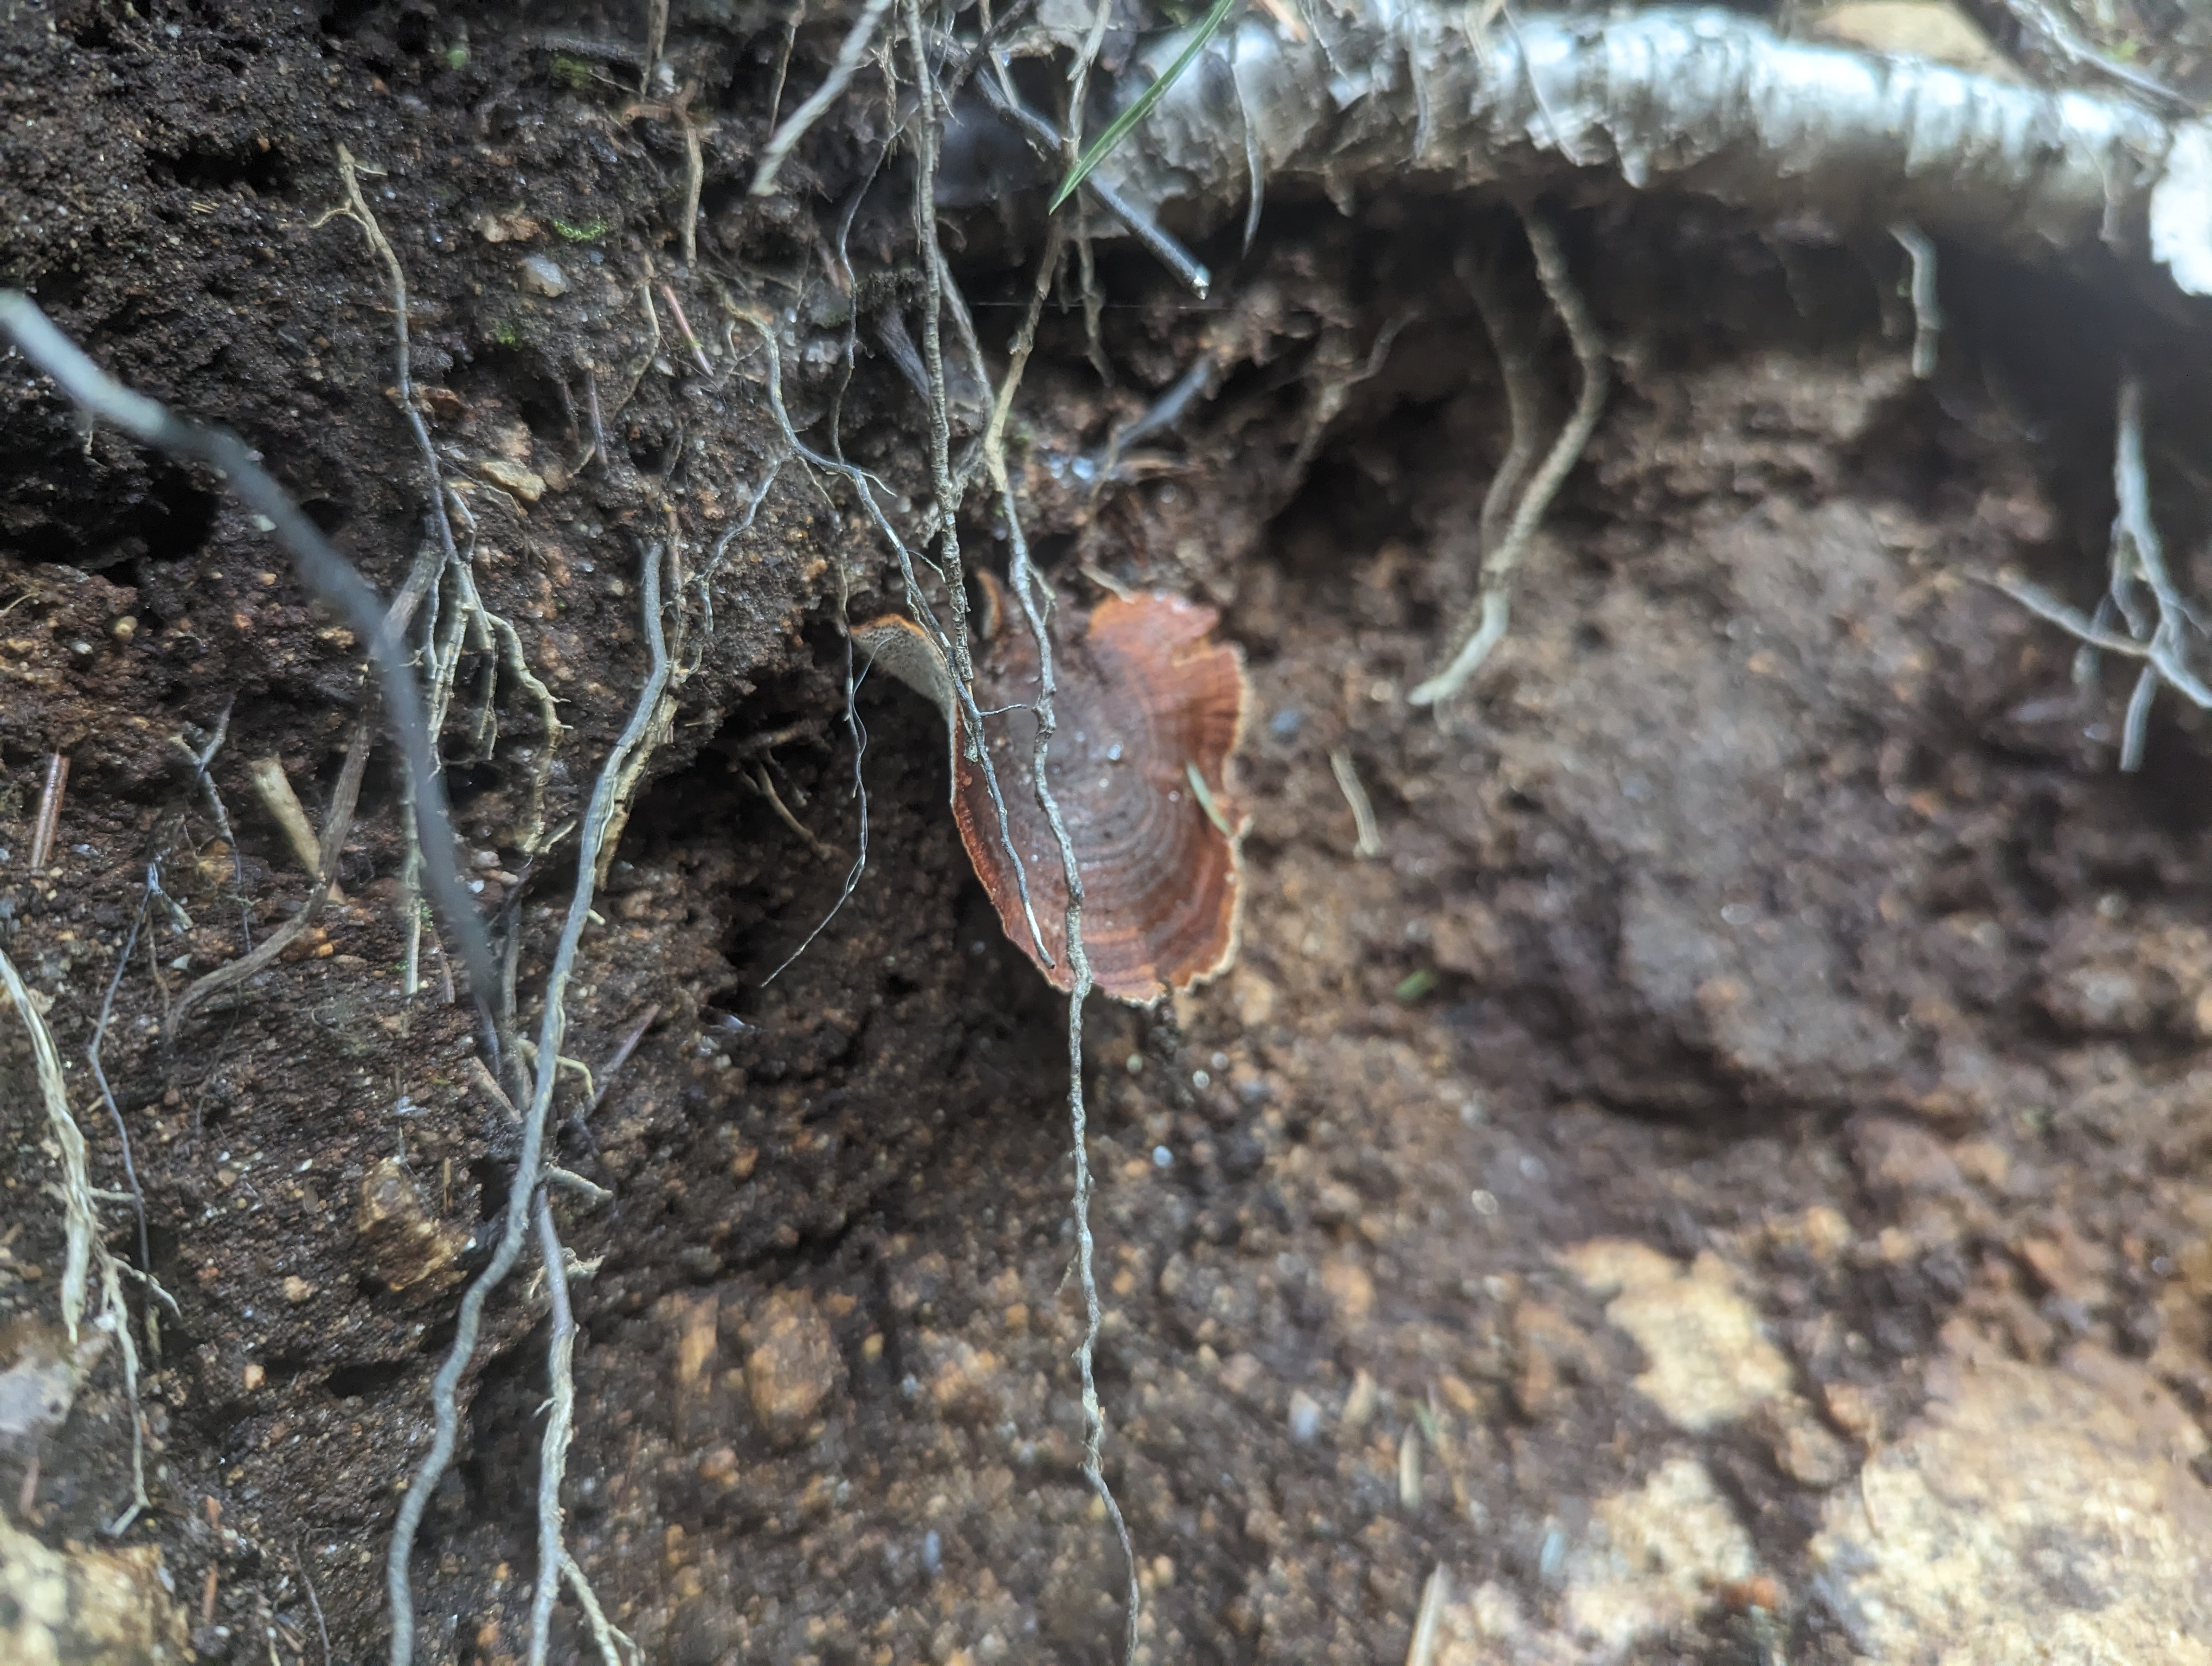
Due to the absolutely torrential rainfall that the northeast has been experiencing, the forest is DAMP!
That means there are a ton of mushrooms fruiting. I don’t really know anything about these, but it was interesting to see. Some of these are from a small forest down the road from the ridge.
Trail/Nutrition Notes:
This hike took about 2 packets of gu and 2 packs of gummies, and just under 3L of water. It was hot hot hot! Falling water trail is fairly steep and rocky/slippery, but once on the ridge its smooth sailing to lafayette. There is a steep/wet/rocky section on the way down from greenleaf hut, but once that is passed it is easy to jog back to the car.
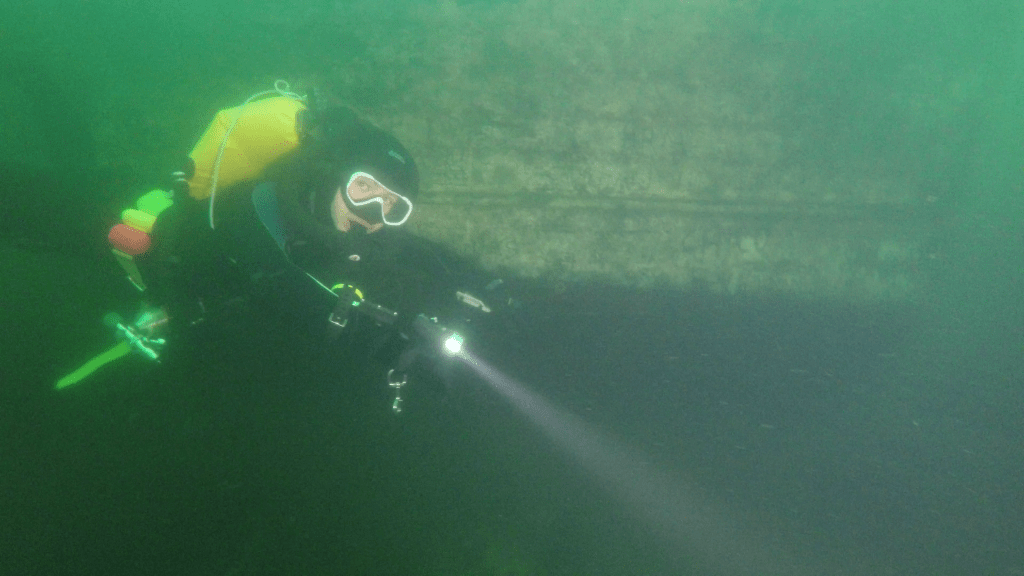
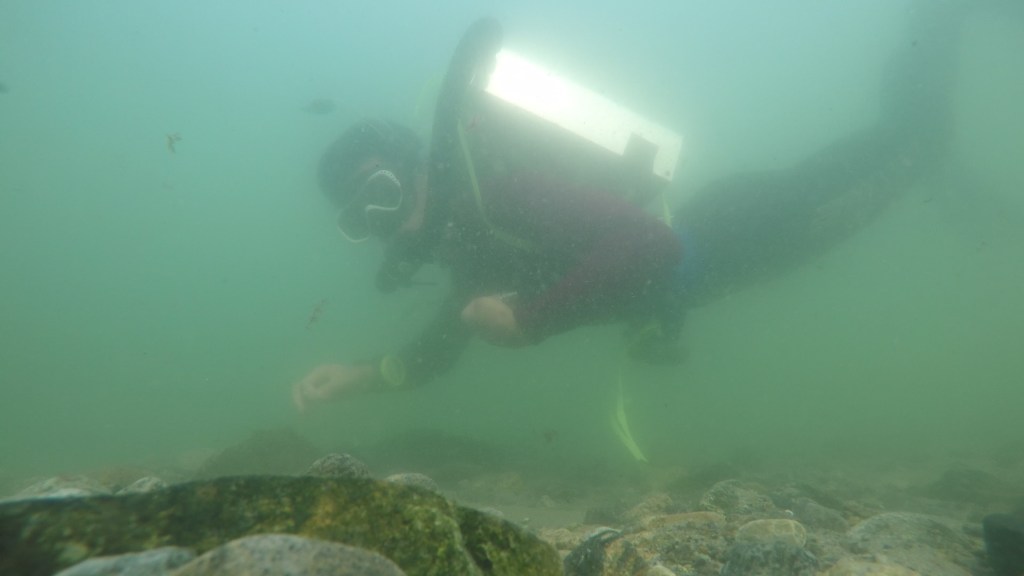
With the I.D.I.O.T completed and with waterproofing tested in shallow and fairly deep (80 ft) water, it was time to go take it for a spin in “the deep”. The (purposely) sunken boat in Hathaways ponds seemed like the perfect place to go- there’s stuff to see, and places to swim.
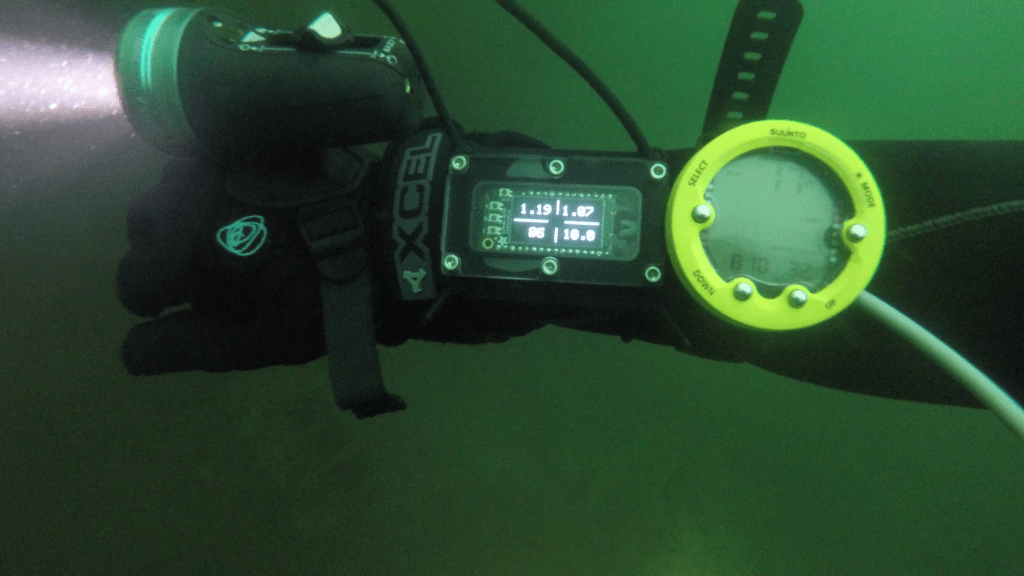
The logistics of a “deep” oxygen rebreather dive were not as simple as one would hope. Since the counterlung is also used for buoyancy, it is not easy to accurately predict the volume needed (without prior experience). It is also hard to descend when you are several lbs positively buoyant. It was decided to descend on a buddies O/C and then breathe the normoxic gas from O/C into the counterlung to provide a reasonable PO2 at depth. This worked more or less perfectly, giving me a rough PO2 in the 1-1.4 range.
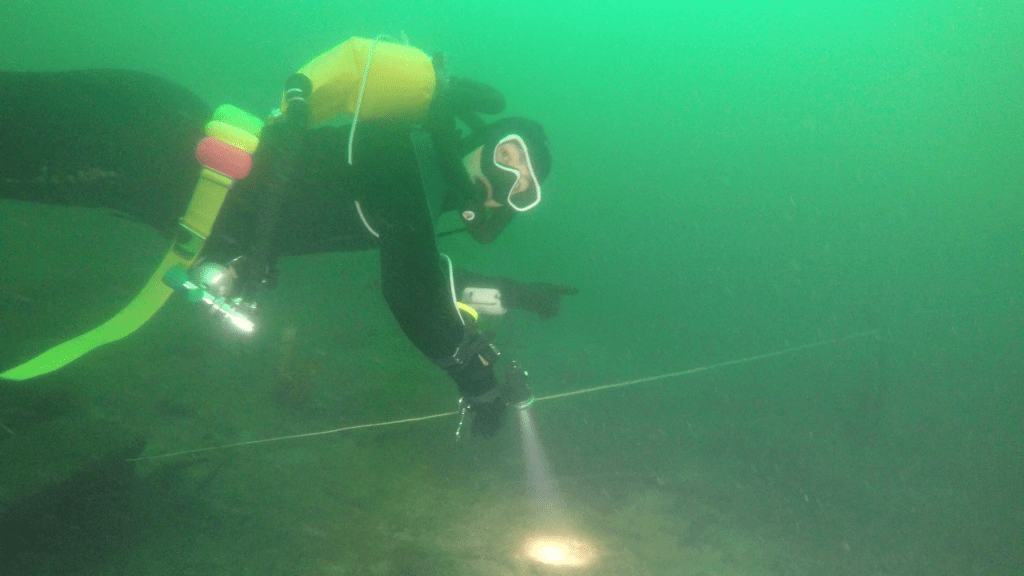
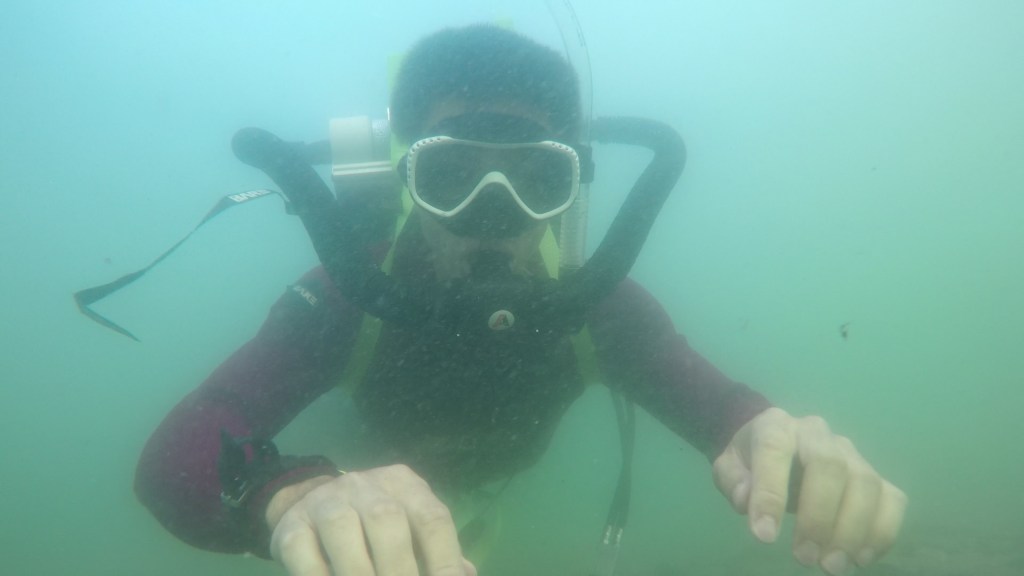
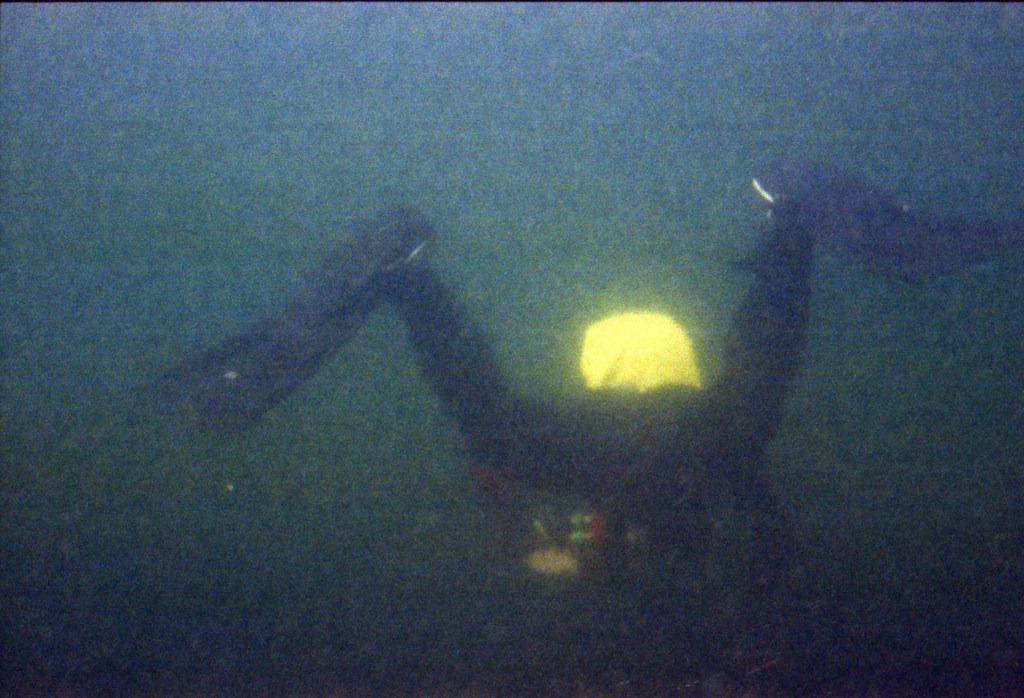
Time to follow the string
After completing a swim around the boat, we followed the line across the great murk of the pond to shallower waters (and lower PO2s). However, due to trying to attain neutral buoyancy some gas was exhaled, causing PO2 to increase when the loop was re-inflated. So we made a stop at the “deep” (30ft) platform to take on some more good normoxic air to bring the PO2 back down to oneish. I expected the loop to get a bit rich as I vented air and played with buoyancy on ascent.
2020 a pond Odyssey
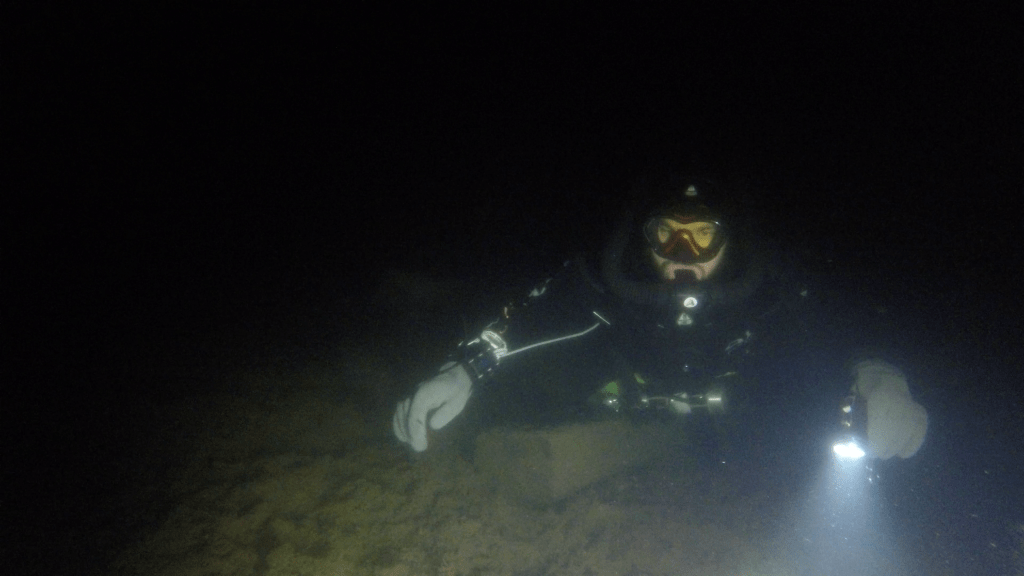
From the deep platform we continued along the string to a shallow platform, the mirror, and eventually even found a nice (underwater) chair to sit in.
A motley crew
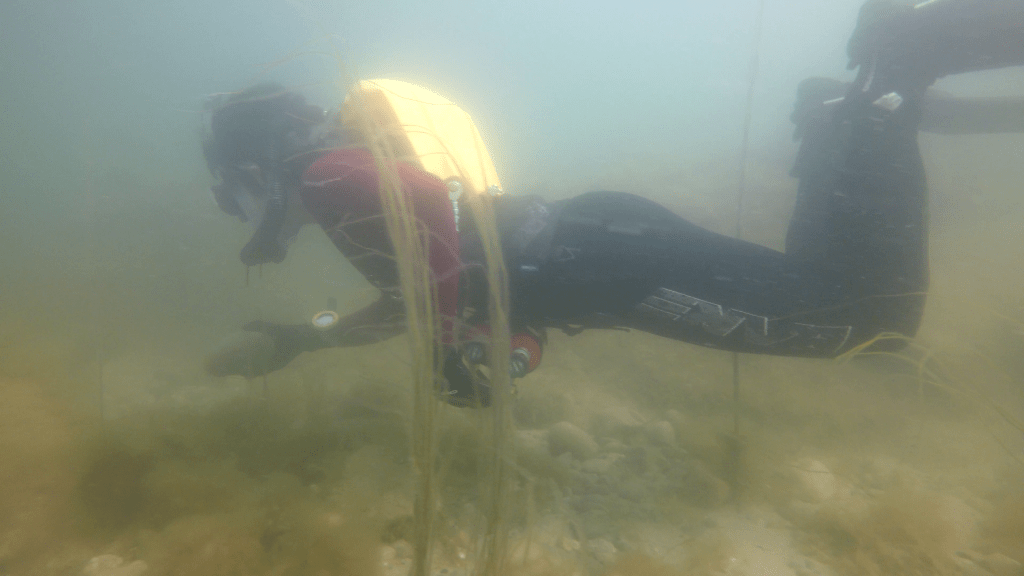
With the deep testing completed, we headed back to the beach and swapped gear so my buddy could check out the rebreather in shallow water.
Dive #2
Looking very dramatic in <3m of water
Things seemed to be going well until my buddy got a taste of the ol caustic cocktail when he inverted slightly. This caused him to call the dive. Neither of us can figure out where the leak came from since on my dive there was only a little bit of water in the CL after 40 minutes. His flood was at least ~1L of water, which is a significant flood. This underscores the need for backup at all times when diving the rebreather, and this is obviously a reason why people don’t run around breathing off of a single AL6 all the time.
Blowing up my rebreather 😦 + performance notes
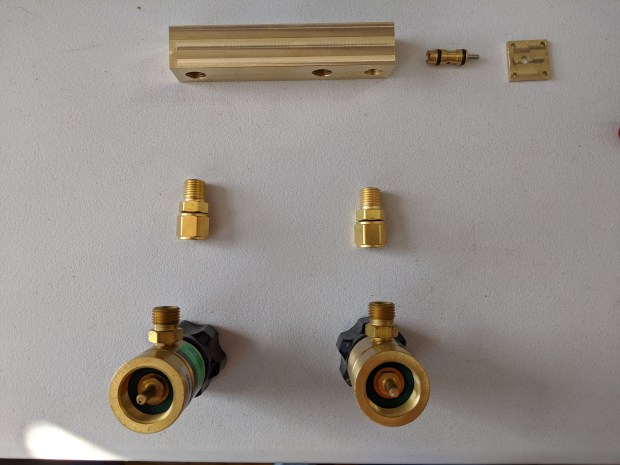
Integrated Dive Information Oxygen Transmitter
I’ll start with the exciting part- performance. I used about 800 PSI from my AL6, which is about 1.6 CF of oxygen for a ~45 minute dive. This was supplemented by 2-4 big breaths from O/C, which would be about the same volume. the dive profile was straightforward, straight down to 40′ and then a slow ascent to the surface.
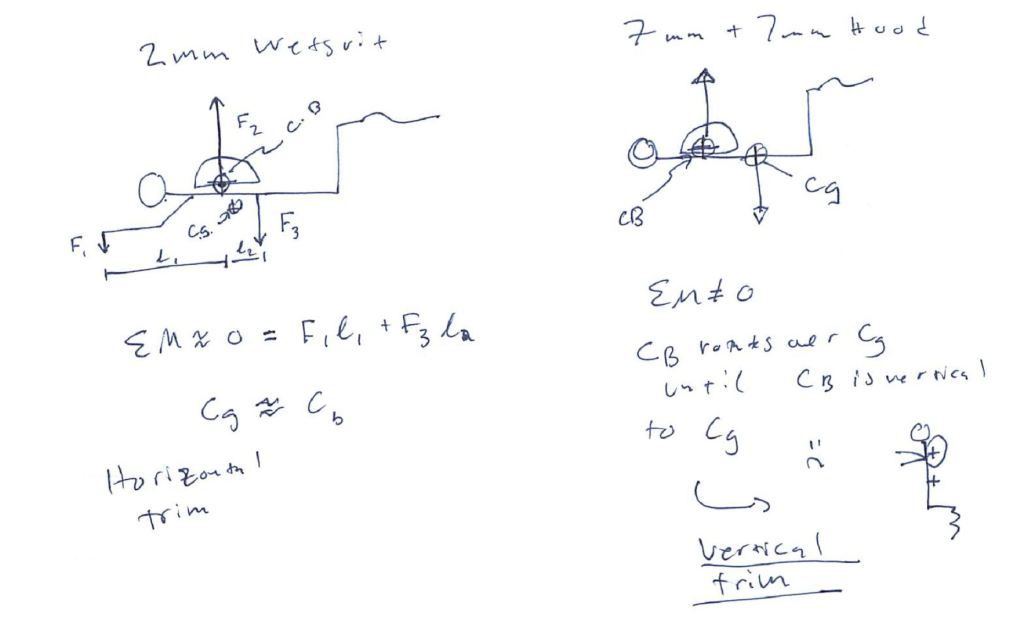
some sketchy math. Basically diver center of gravity will tend to center itself under the center of buoyancy.
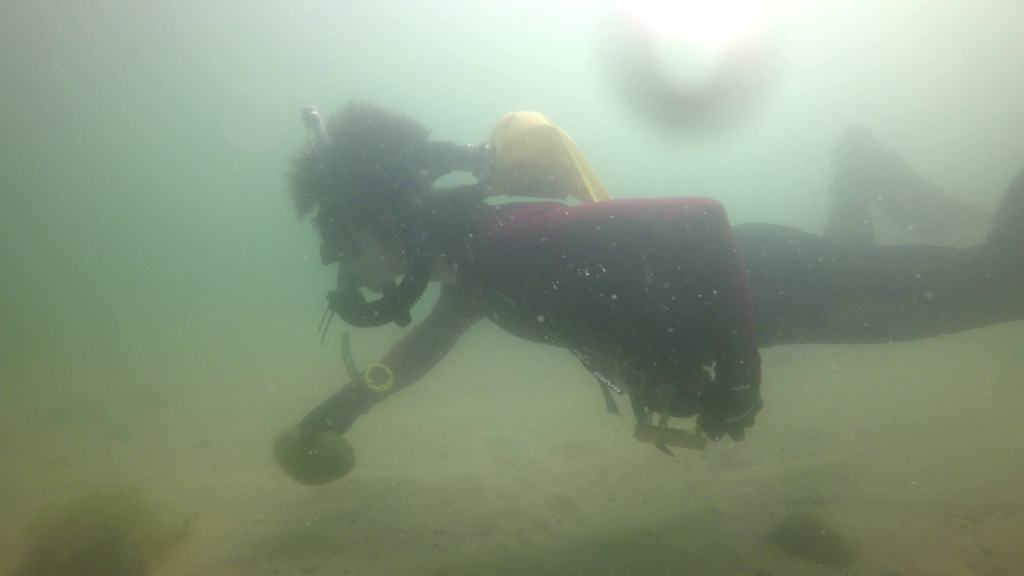
I was overweighted with 25lbs with my 7mm hooded vest and 7mm wetsuit with booties. This caused my trim to be basically vertical, and the cl volume needed was essentially the whole counterlung. This is because there is no huge cylinder strapped to my back during the dive, so the belt and counterlung create a huge moment on my body. This means I have to swim to stay in trim, which makes for a bit of a frantic dive. Reducing overweighting would help, but really what I need is to move the weight up to my back. On previous dives with a ~2mm wetsuit I held a rock far out in front of my body, which gave the weight of the rock enough leverage to counter the small amount of weight I was wearing. With 25 lbs, it seems unlikely that I will be able to balance that out without moving the weight.
Blowing up the rebreather was much less extreme than it sounds. I tried to dewater the flooded rebreather by pressurizing the counterlung- what I forgot to do was to open the vent, so I just popped the counterlung. Not ideal! But it should just be a matter of buying another drybag and cutting some holes to replace the counterlung.
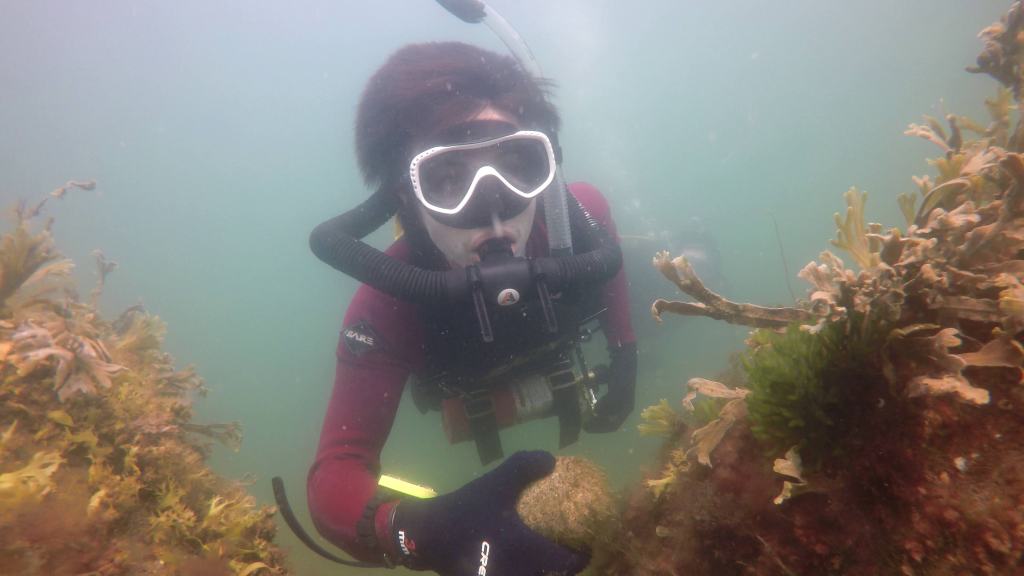
It was nice to finally give the I.D.I.O.T a real test and to on a really interesting dive. I hope to return someday soon with my own diluent addition!
Holding onto the rock of great buoyancy, in the Atlantic
After feeling a bit like a snail in a shell in my last rebreather, I decided I wanted to make something a lot smaller and more ergonomic. Hence the next generation of the rebreather being called the Nudibranch- Latin for “naked lung”. A suitable name for a design with a scrubber-in-lung and with the counterlung unenclosed in a shell.
Improvements over i3
I knew there were some features I wanted to keep from the previous revision, and some things that needed to be improved. The materials for example, all proved to be robust and appropriately resistant to chemicals. the manual add valve (MAV) functioned well, and the counterlungs were of a comfortable volume. Scrubber duration was adequate as well. However, there were some issues with i3:
Bulky design
Difficult to reach gas controls
MAV hard to locate
Low gas volume
Assembly took too long
With a focus on simplifying the assembly, i4 looks and feels more like a simple rebreather rather than some kind of science project.
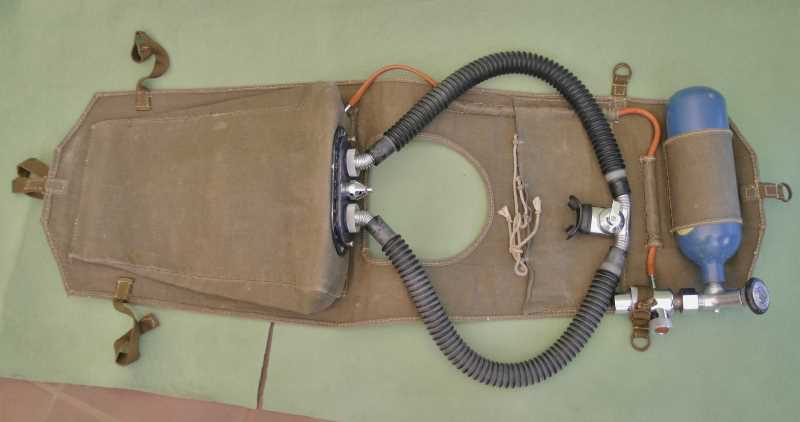
The main inspiration for the new design was the Drager Model 138 rebreather. This model was famously used by Hans Hass in the Red Sea and later went on to be a “sport rebreather” diving system used for leisure, re-branded as the barrakuda or medi nixie. It turns out that it got a lot of things right.
One of the interesting aspects of the model 138 is that it is mostly cloth. When working at the scale of the human body, the cost of materials and the size of parts can add up quick. The last rebreather was encased in a large aluminum shell bolted to an 80/20 frame. This frame covered the gas cylinder, as well as two 8L couterlungs. Since the scale of these parts is cm, the small offsets to accommodate things like the counterung bulkheads or the gas addition fitting took a lot of room. Wrapping that all in aluminum made the shell quite bulky. comparing the two units above, you can see that i4 is much smaller.
The breathing hose routing is a lot cleaner, since the hoses run over the shoulder instead of straight outwards. This means I need less hose length. In the future I hope to convert to 1.5″ diameter hoses that are ~6 in shorter, for lower work of breathing.
Gas Volume/Valve Access
The Model 138 also has front mounted gas, which means all the valves and controls are easily accessible to the diver. They also are not mounted on a whip/hose like on the i3. With the i3 it was possible to “loose” the MAV since it was not mounted to anything.
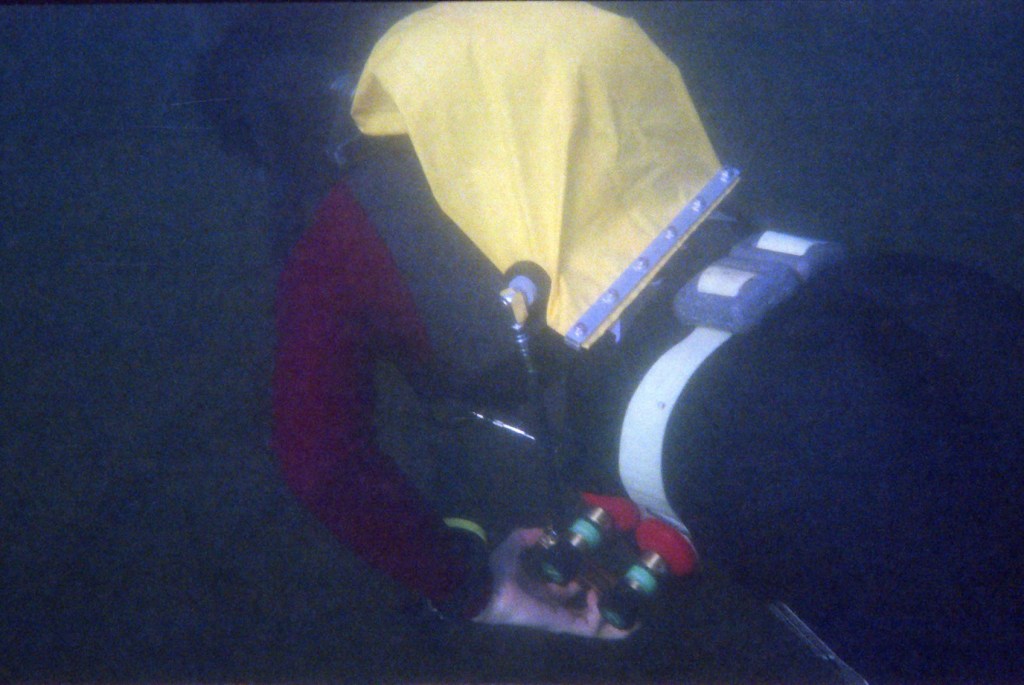
Swapping bottles/shutdown- Photo taken with a nikonos on 400 speed film
The i3 valve was accessible, but it was extremely challenging to reach and required flexibility. On the i4, the valve is in the front and stationary, and only requires one intermediate hose compared to the two for the i3.
I knew from my previous design that I wanted a lot more gas so that I could stay underwater longer. I still haven’t figured out the best way to reliably get oxygen fills, so I stayed with the hardware store welding bottles, but I doubled up on them. More can be read about that here.
Ultimately, the only real issues I had with this design were MAV related. The gas regulators seem to restrict the flow far more than the old regulator, which makes the counterlung fill very slowly. It also seems like they cut off at a higher pressure, leaving a significant amount of gas left over in the tank. This makes buoyancy and breathing comfort a challenge, and limits range. However, twice as much gas is twice as good, and dives up to 45 minutes have been conducted without complete gas exhaustion.
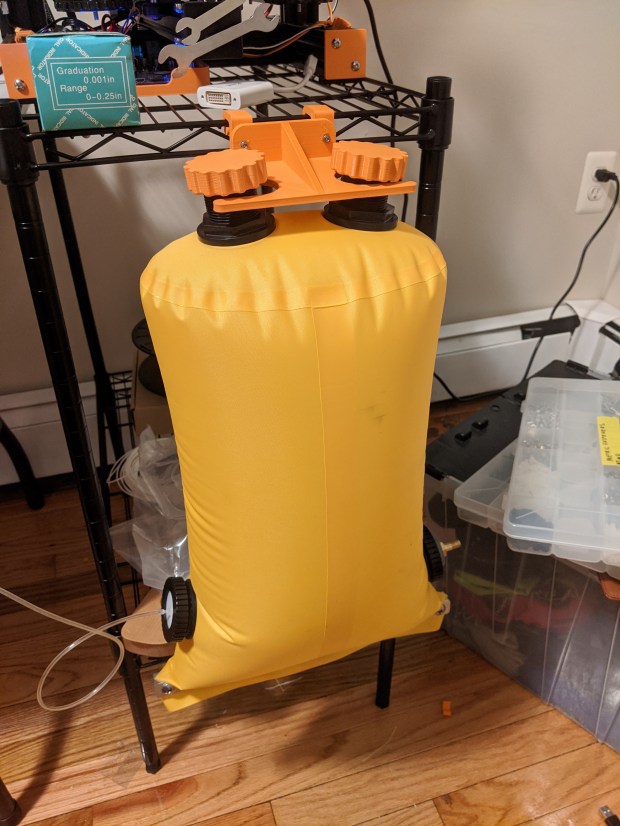
Counterlung material selection and design
This is really the complicated part, and its particularly fraught since it is where all of the rebreather magic happens. The bag must be, relative to the demands of the dive (duration, pressure, volume of bag) completely watertight and made of a waterproof material. Some leak rate is permissible, but it has to be low. In order to capitalize on pre-existing materials and advanced technology, I decided to use a drybag. The other options are to sew a bag and seal it, heat seal a bag, or sew and completely impregnate a bag with silicone.
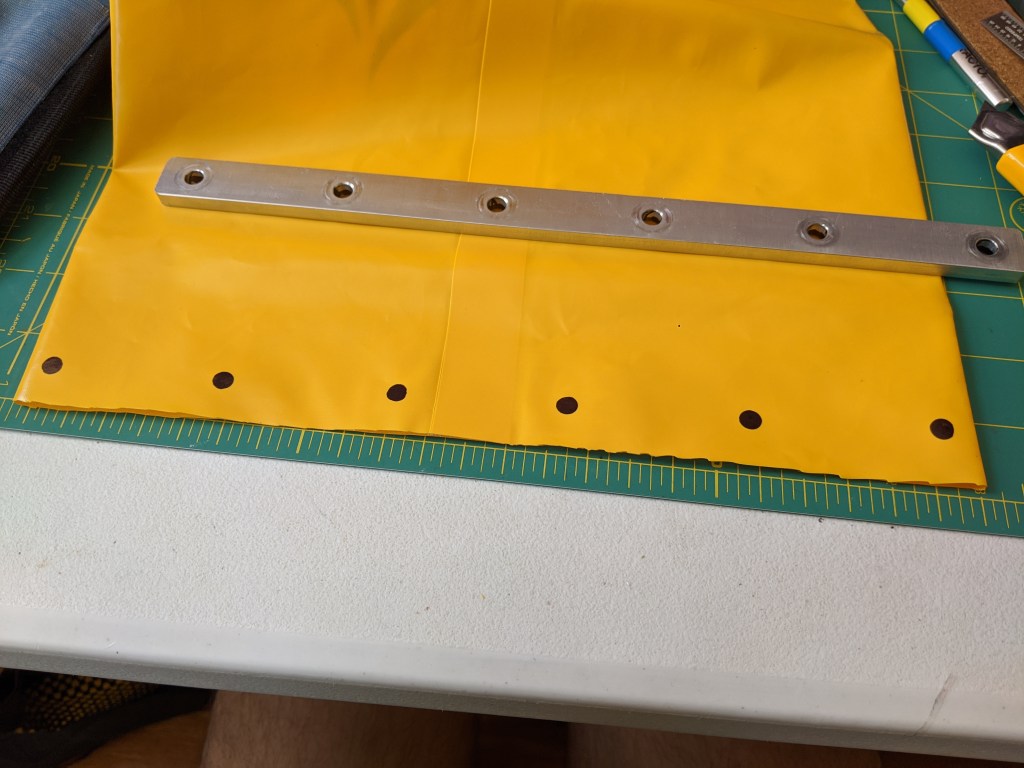
Sealing the end of the bag
Since I managed to find an appropriately sized drybag, I ended up just buying one. Testing of several bags revealed that the stock roll-top seals of dry bags are inadequate. Specifically, the way that most of them close is by clipping the ends together and rolling them shut. While this is fine for splashes or even putting it ontop of water, submerging the bag will squeeze the air out of the wrinkles created by bending the rolled up seal.
Without bending the seal, it is possible to get good enough contact between the two sides of the bag that it will form an airtight seal. However, the particular bag I chose had stiff mounting points for the buckles- these interfered with collapsing the seal in that area, and provided a leak path. Absolutely fine for a drybag, but not good enough for a counterlung.
By removing the stiffener and making some aluminum clamps, I was able to seal the bag well enough. I flipped the bag inside out so the smooth urethane coating was on the inside of the bag, instead of the textured nylon surface. Additionally, it is important that the bag material was very thin so the seam in the material does not disrupt the seal.
This is really a dream for scrubber access and drying since the whole lung can be rinsed and turned inside out to dry.
Making holes in the bag
I knew there would need to be at least 3 penetrations into the bag- inhale, exhale, and gas add, in addition to the large hole in the bottom. all of these of course, are leak paths!
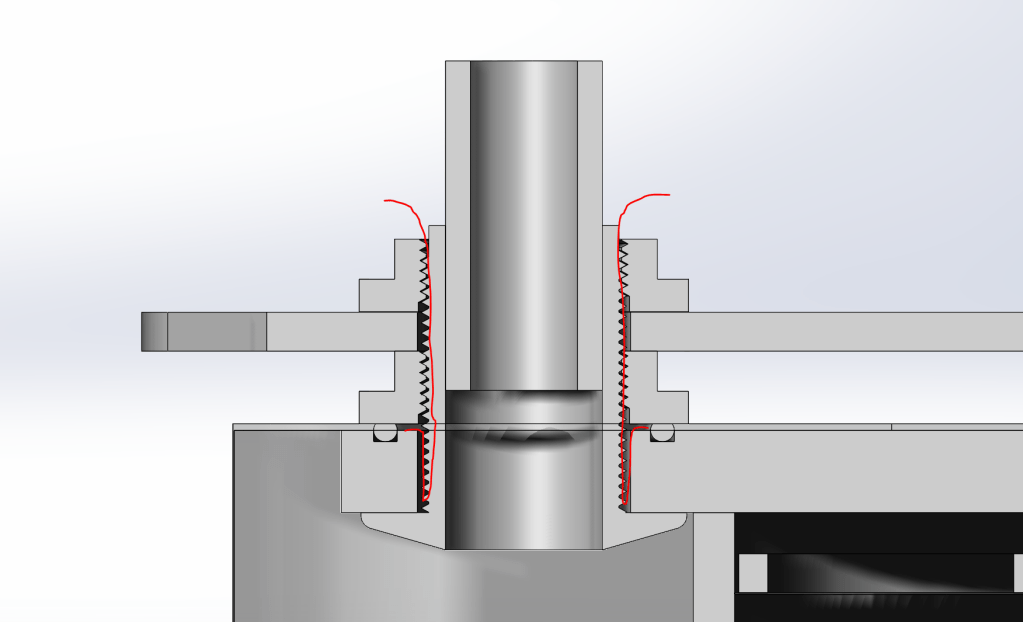
The inhale and exhale penetrations are sealed with these (put link here) handy PVC bulkhead fittings, which conveniently fit a piece of 3/4″ pipe stub on one end to attach the breathing hose. Instead of the stock gasket, I used an oring and a retaining groove. The gaskets that were provided may have worked, but I wanted to be sure that I could get good contact along the whole circumference. The provided gaskets had a rectangular cross section and were hard- requiring a lot of force to seal. The replacement orings are soft, have a reduced cross section, and a much finer surface finish.
As you can see in this diagram, some water is actually allowed into the bag via the threads on the bulkhead fitting, but it is stopped by the oring and the glue on the bulkhead.
The other hole is a standard dump valve/BCD inflation port. These were “successfully” used on the i1 and i2 rebreathers- successful in that they did not leak, less successful in terms of actual diving.
The modified component is the small white disk under the spring
The last (and yet tested) item is the drysuit exhaust valve/ overpressure relief valve. Once installed properly, this should help avoid over pressurizing the lungs on ascent. Its stock cracking pressure is adjustable between 3-10″ H2O, but by modifying the spring spacer I bumped it up to 8-16″ H2O. This is probably the leakiest of all the valves because it requires a large hole- a larger hole is harder to seal because the seal is longer. Usually these are installed with a sort of large rubber washer with a C-cross section. The material the seal is attaching to goes in the open part of the C, and the washer is glued in. Since I don’t have that washer, I haven’t installed it yet and I have been avoiding overpressure via the “oro-pharyngial” valve.
Leak Testing
Intensive leak testing (more here) allowed me to validate the design before committing to a whole build. That was important, because a lot of things did not work initially. For example, I couldn’t apply enough torque to the brass thumbscrews to seal the bag, so I had to switch to a nylock nut. Another example is that the original gasket for the bulkhead seals was determined to be inadequate.
Harness
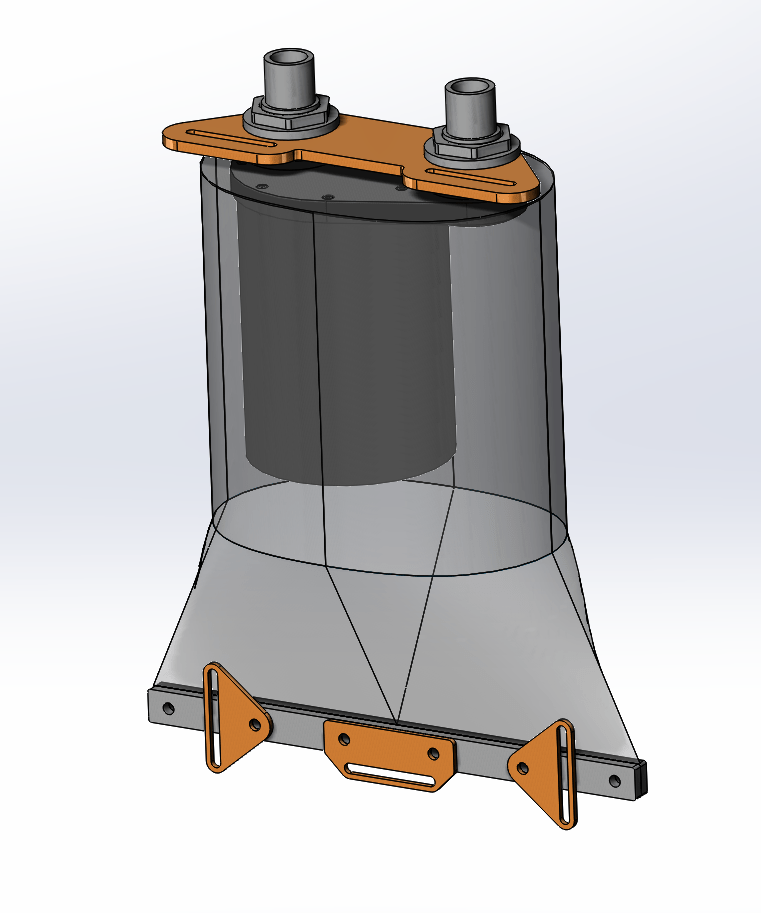
harness hardpoints highlighted in orange
Just like with i3, the last thing I was really prepared to deal with was attaching this to my body. Unlike the i3, I knew that this challenge was coming. I considered something like a vest a la model 138, but that would require buying a few yards of fabric and knowing what to do with it, and getting a sewing machine. Instead, borrowed some inspiration from an oxydiver design (link) and backplates and designed in slots for a hogarthian harness. In the end, I actually think this is better since it is now compatible with all kinds of 2″ webbing accessories.
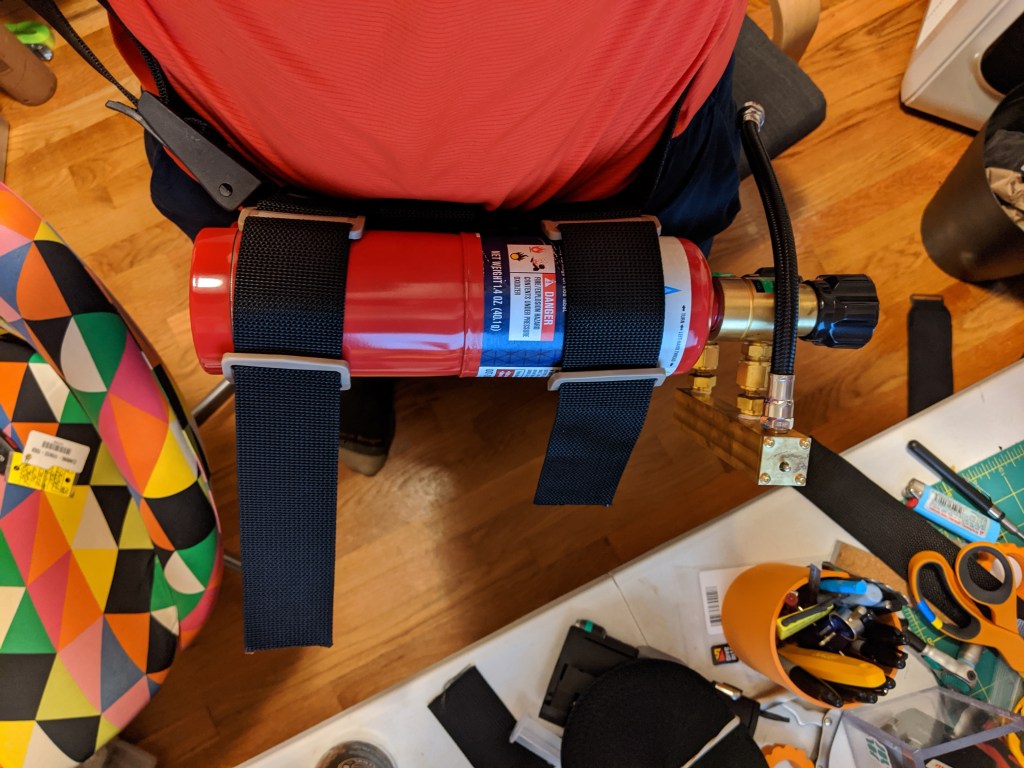
Divers view of the gas
Of course, there is no backplate, and the gas is mounted on the front of the diver. After playing around with a bucket of sliders and clips I came up with a simple loop around the two canisters, with a 2″ long loop at one end to put the waist strap through.
Performance/Reflection
Another gem from the Nikonos
This rebreather is actually very fun to dive. I would actually consider diving this over OC on shallow dives. However, no project is ever perfect. The three things I will likely seek to improve in the inevitable i5 are:
Terrestrial O2 regs rust and fail. O2 is expensive in small disposable bottles, and having a million of them around is silly. There is also no SPG. Normal scuba cylinders and regs are far superior.
No place to put an inflation cylinder for drysuit. Even in 20′ of water I think I would prefer a drysuit over wet- especially if I were to dive in the winter.
People say YERGONNADIE if you dont know your PPO2. There is some merit to this claim, but I feel it is not likely if you respect the depth limitations of an o2 rebreather.
A lot of these changes or issues have implications- if you have an inflation cylinder, why not make it breathable as backup? If you add oxygen sensing, why not add that breathable cylinder as dil? If you give an engineer a cookie…
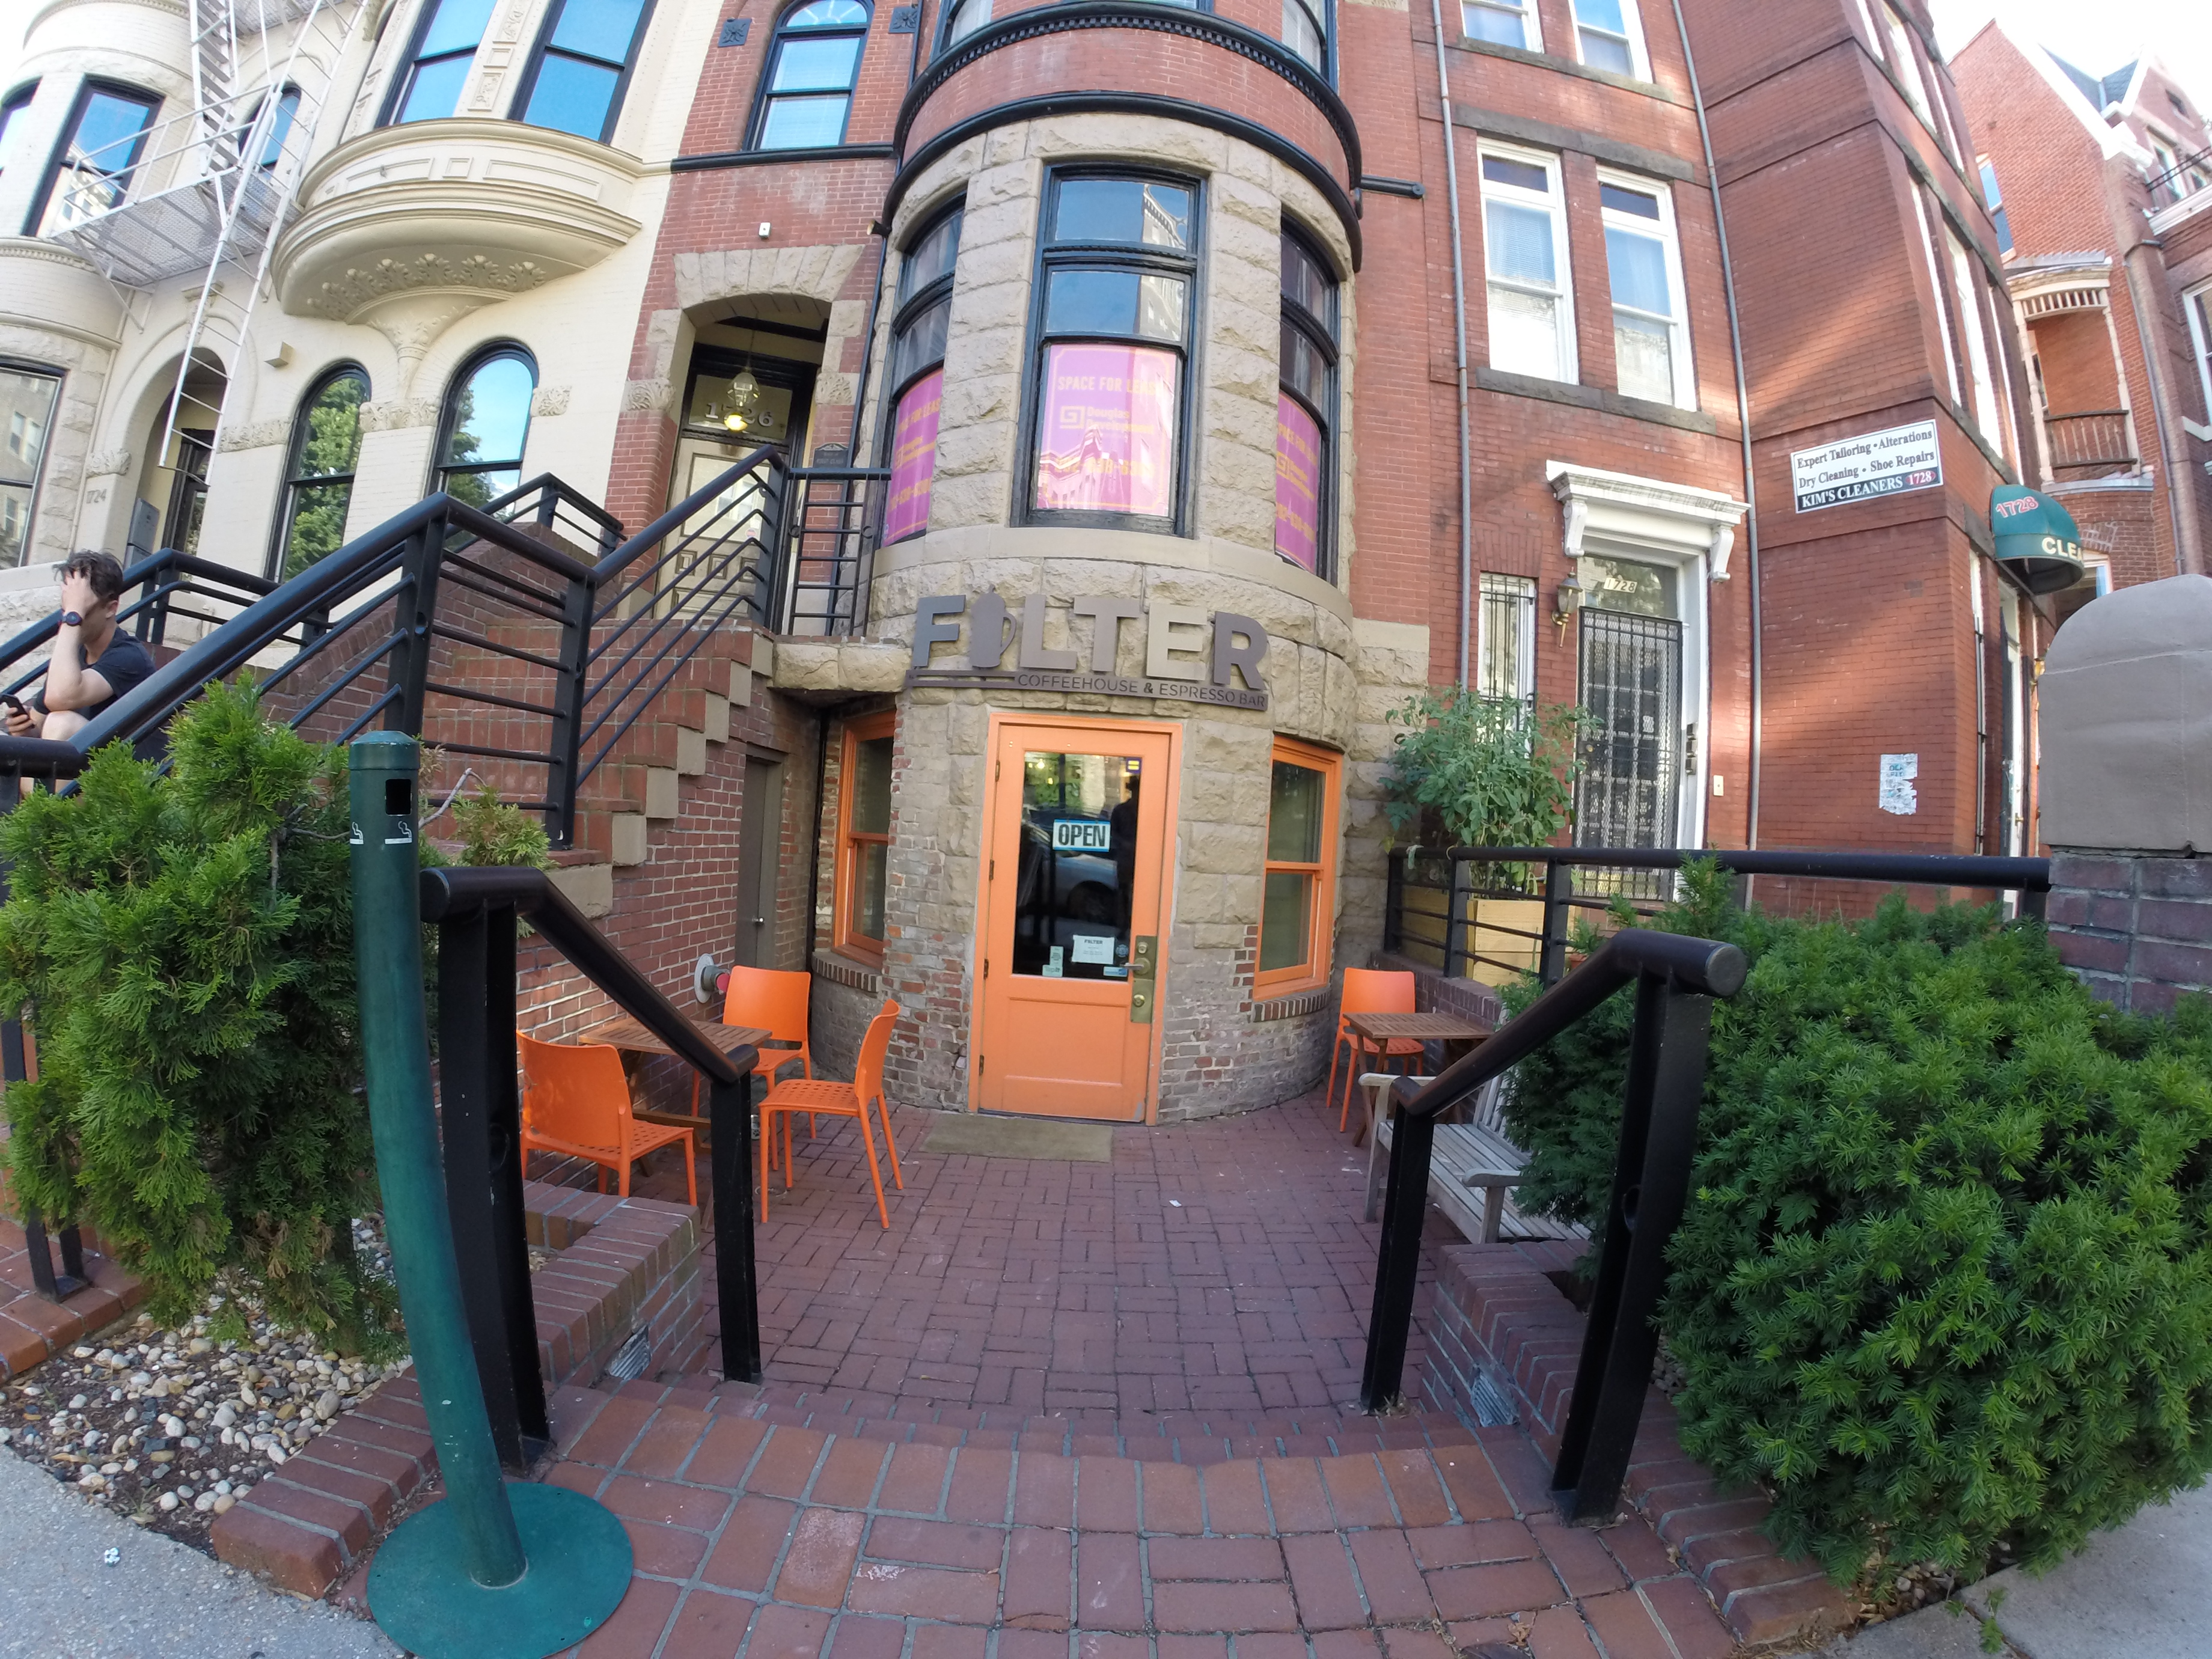
Filter Cafe was second on my “outliers” tour. It was near a train stop, but one that was relatively out of the way- Dupont Circle on the red line. After a lovely train ride and eventual departure from the air conditioned bliss that is the D.C. metro, I hoofed it a few blocks to Filter Cafe which is situated in what amounts to a back alley off of the main street. It is bizzare street- just back entrances to buisnesses (dry cleaners and the like) with people smoking on them, then a small coffee shop.
Filter Cafe would be at home on Newbury Street in Boston. It shares a lot of architectural themes that you find at places like Wired Puppy or Sofa Cafe, which is to say it is a garden level shop with a few patio tables out front, with a long, brick lined interior containing few tables. It even has a bay window as an entrance. Unlike Boston, it was still insanely humid and hot and I arrived to find it full of people seeking air conditioned asylum there, so I had to sit outside. Also, Newbury street is not a back alley.
Since I got there in the afternoon, I was compelled to order a pour over (no drip coffee is available in the afternoon). Like Newbury street, this was expensive. I opted for what I hoped would be a fruity African blend, which was served in a small cup with the Filter logo silkscreened onto it. It was black on the outside, with orange enamel on the inside. The coffee was acidic and smoky, without much fruityness to balance it out. It had a lingering minty aftertaste, but your milage may vary. Overall not a bad cup of coffee, just not my favorite flavor.
Since all thirteen indoor seats were taken, and I didn’t want to sit on a windowsill, I ended up sitting outside pondering the insanity of drinking 10 ounces of hot coffee in the brutal DC heat. Fortunately, this gave me a chance to assess the patio situation. The options were two faux-cedar folding tables accompanied by pop-orange plastic molded chairs, or a weathered white oak bench. I opted for a chair at an empty table, and hoped that someone left the inside before I finished my coffee.
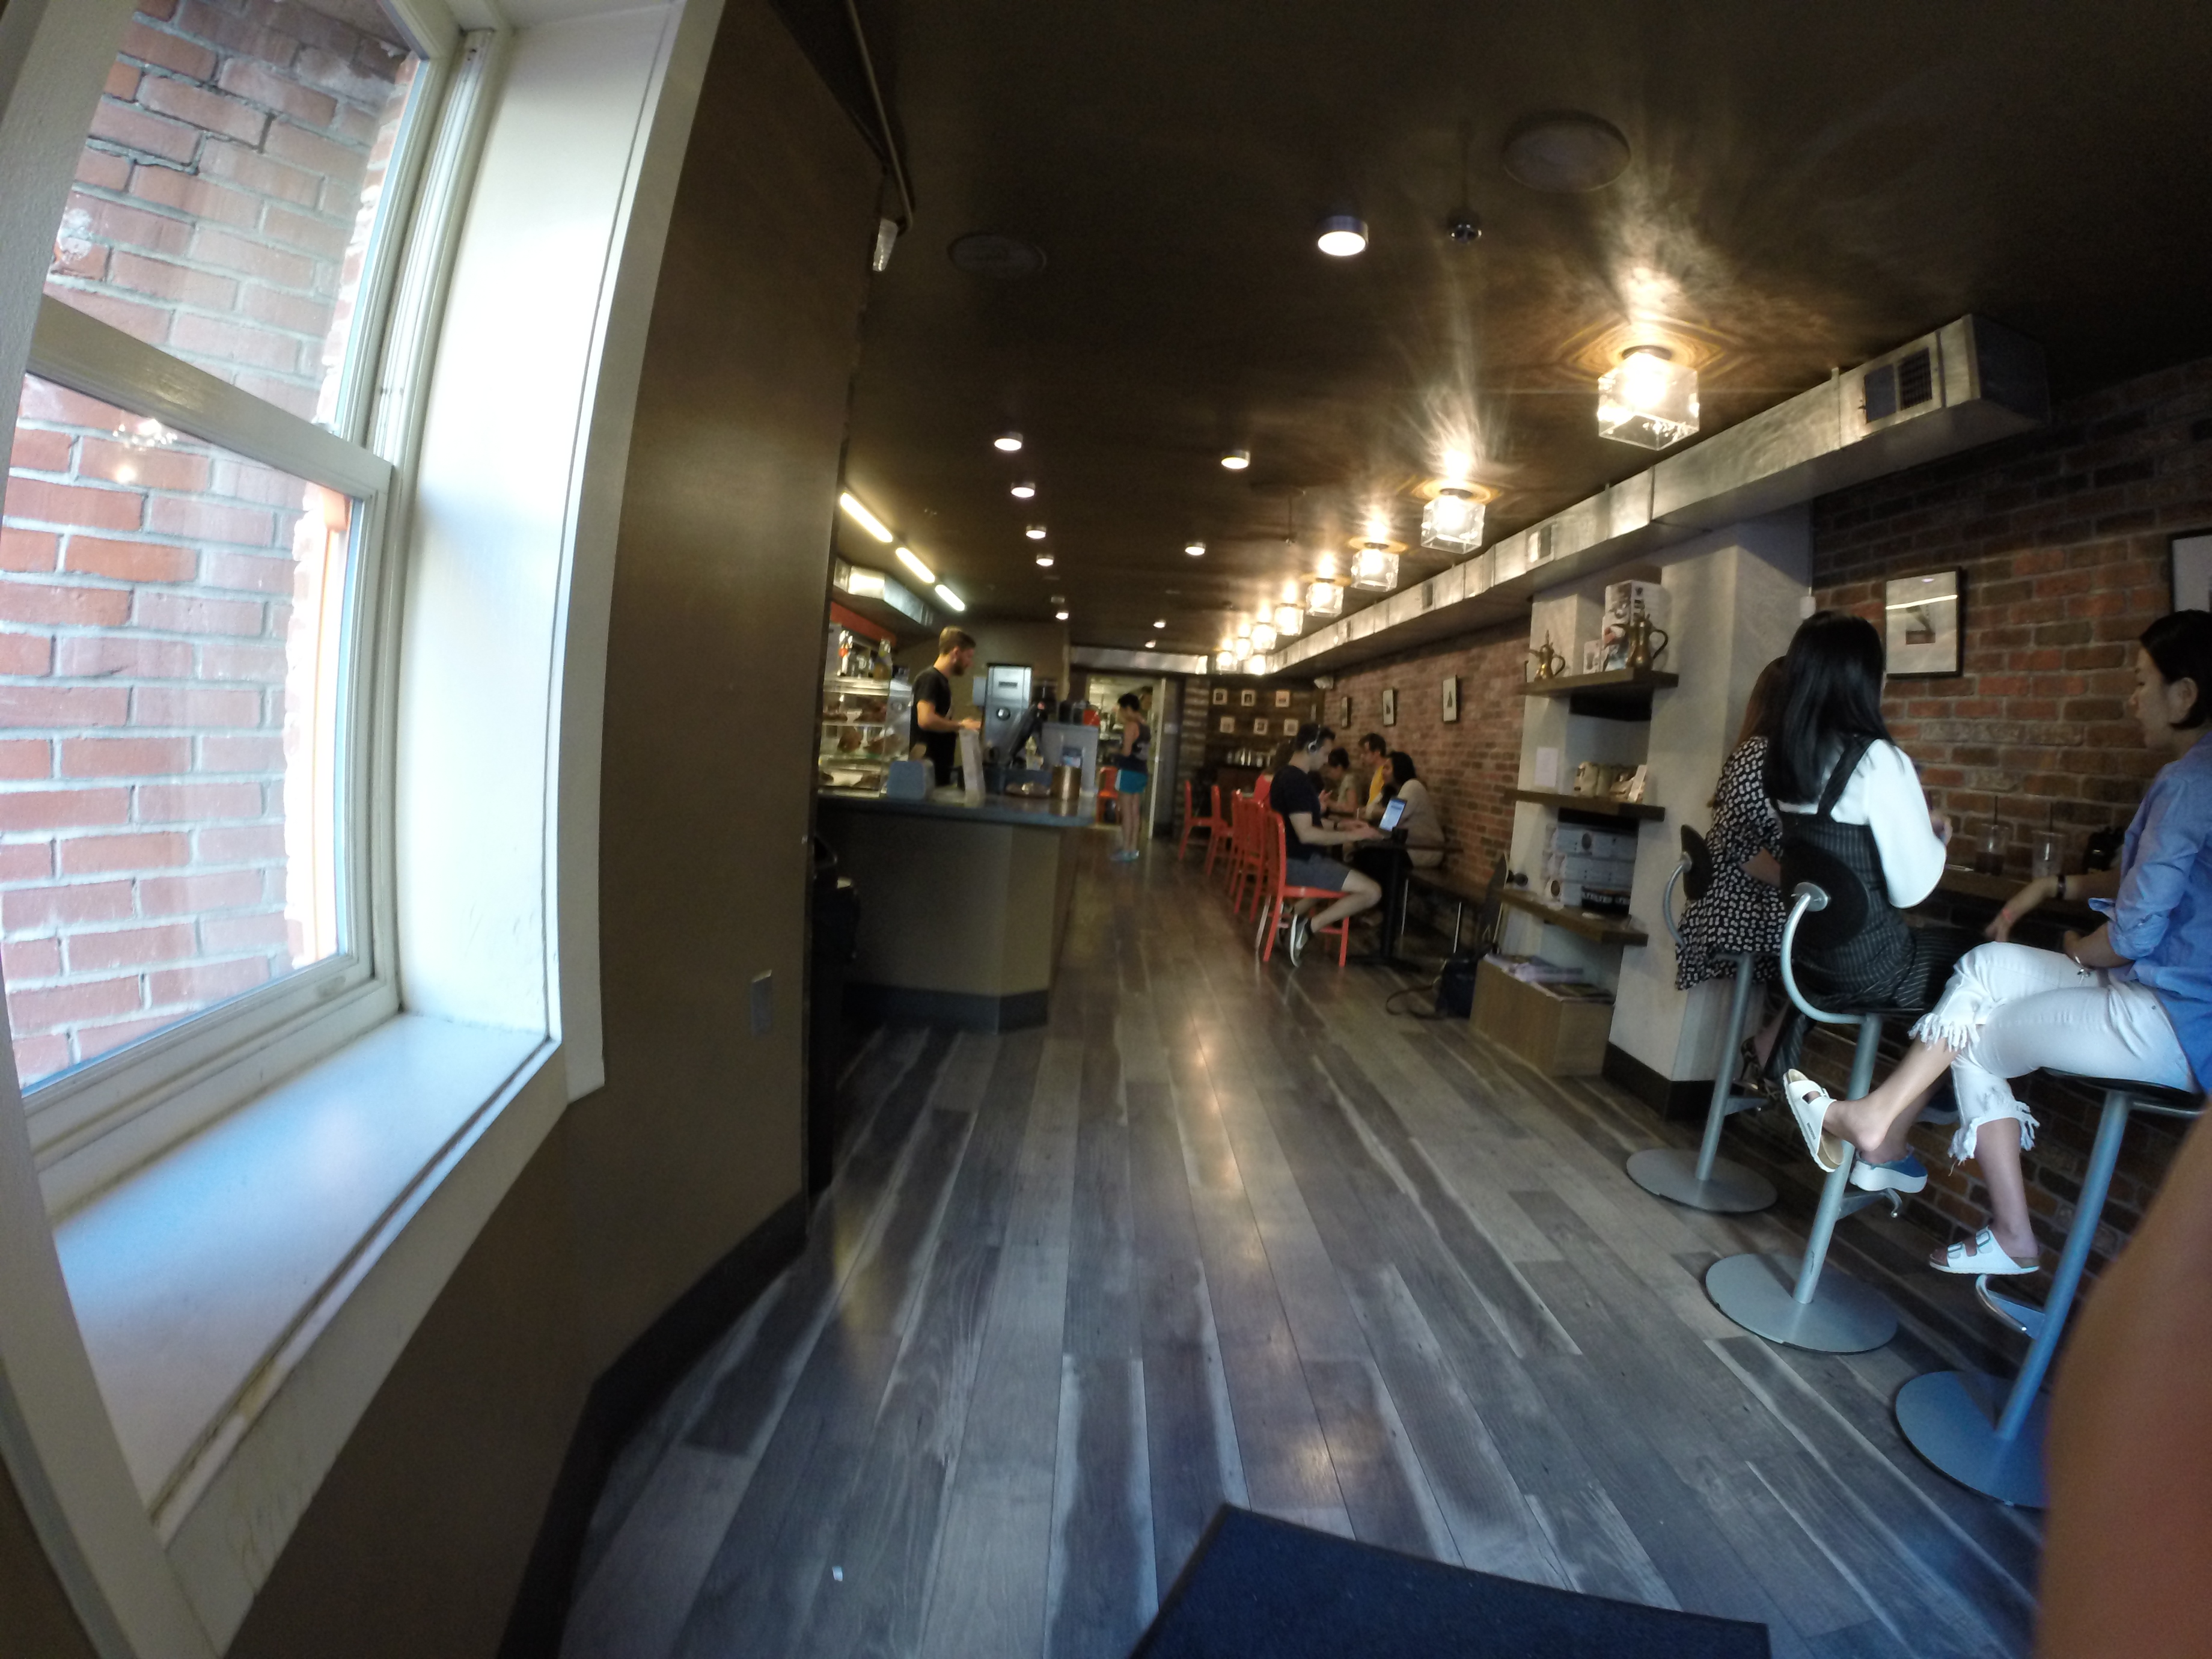
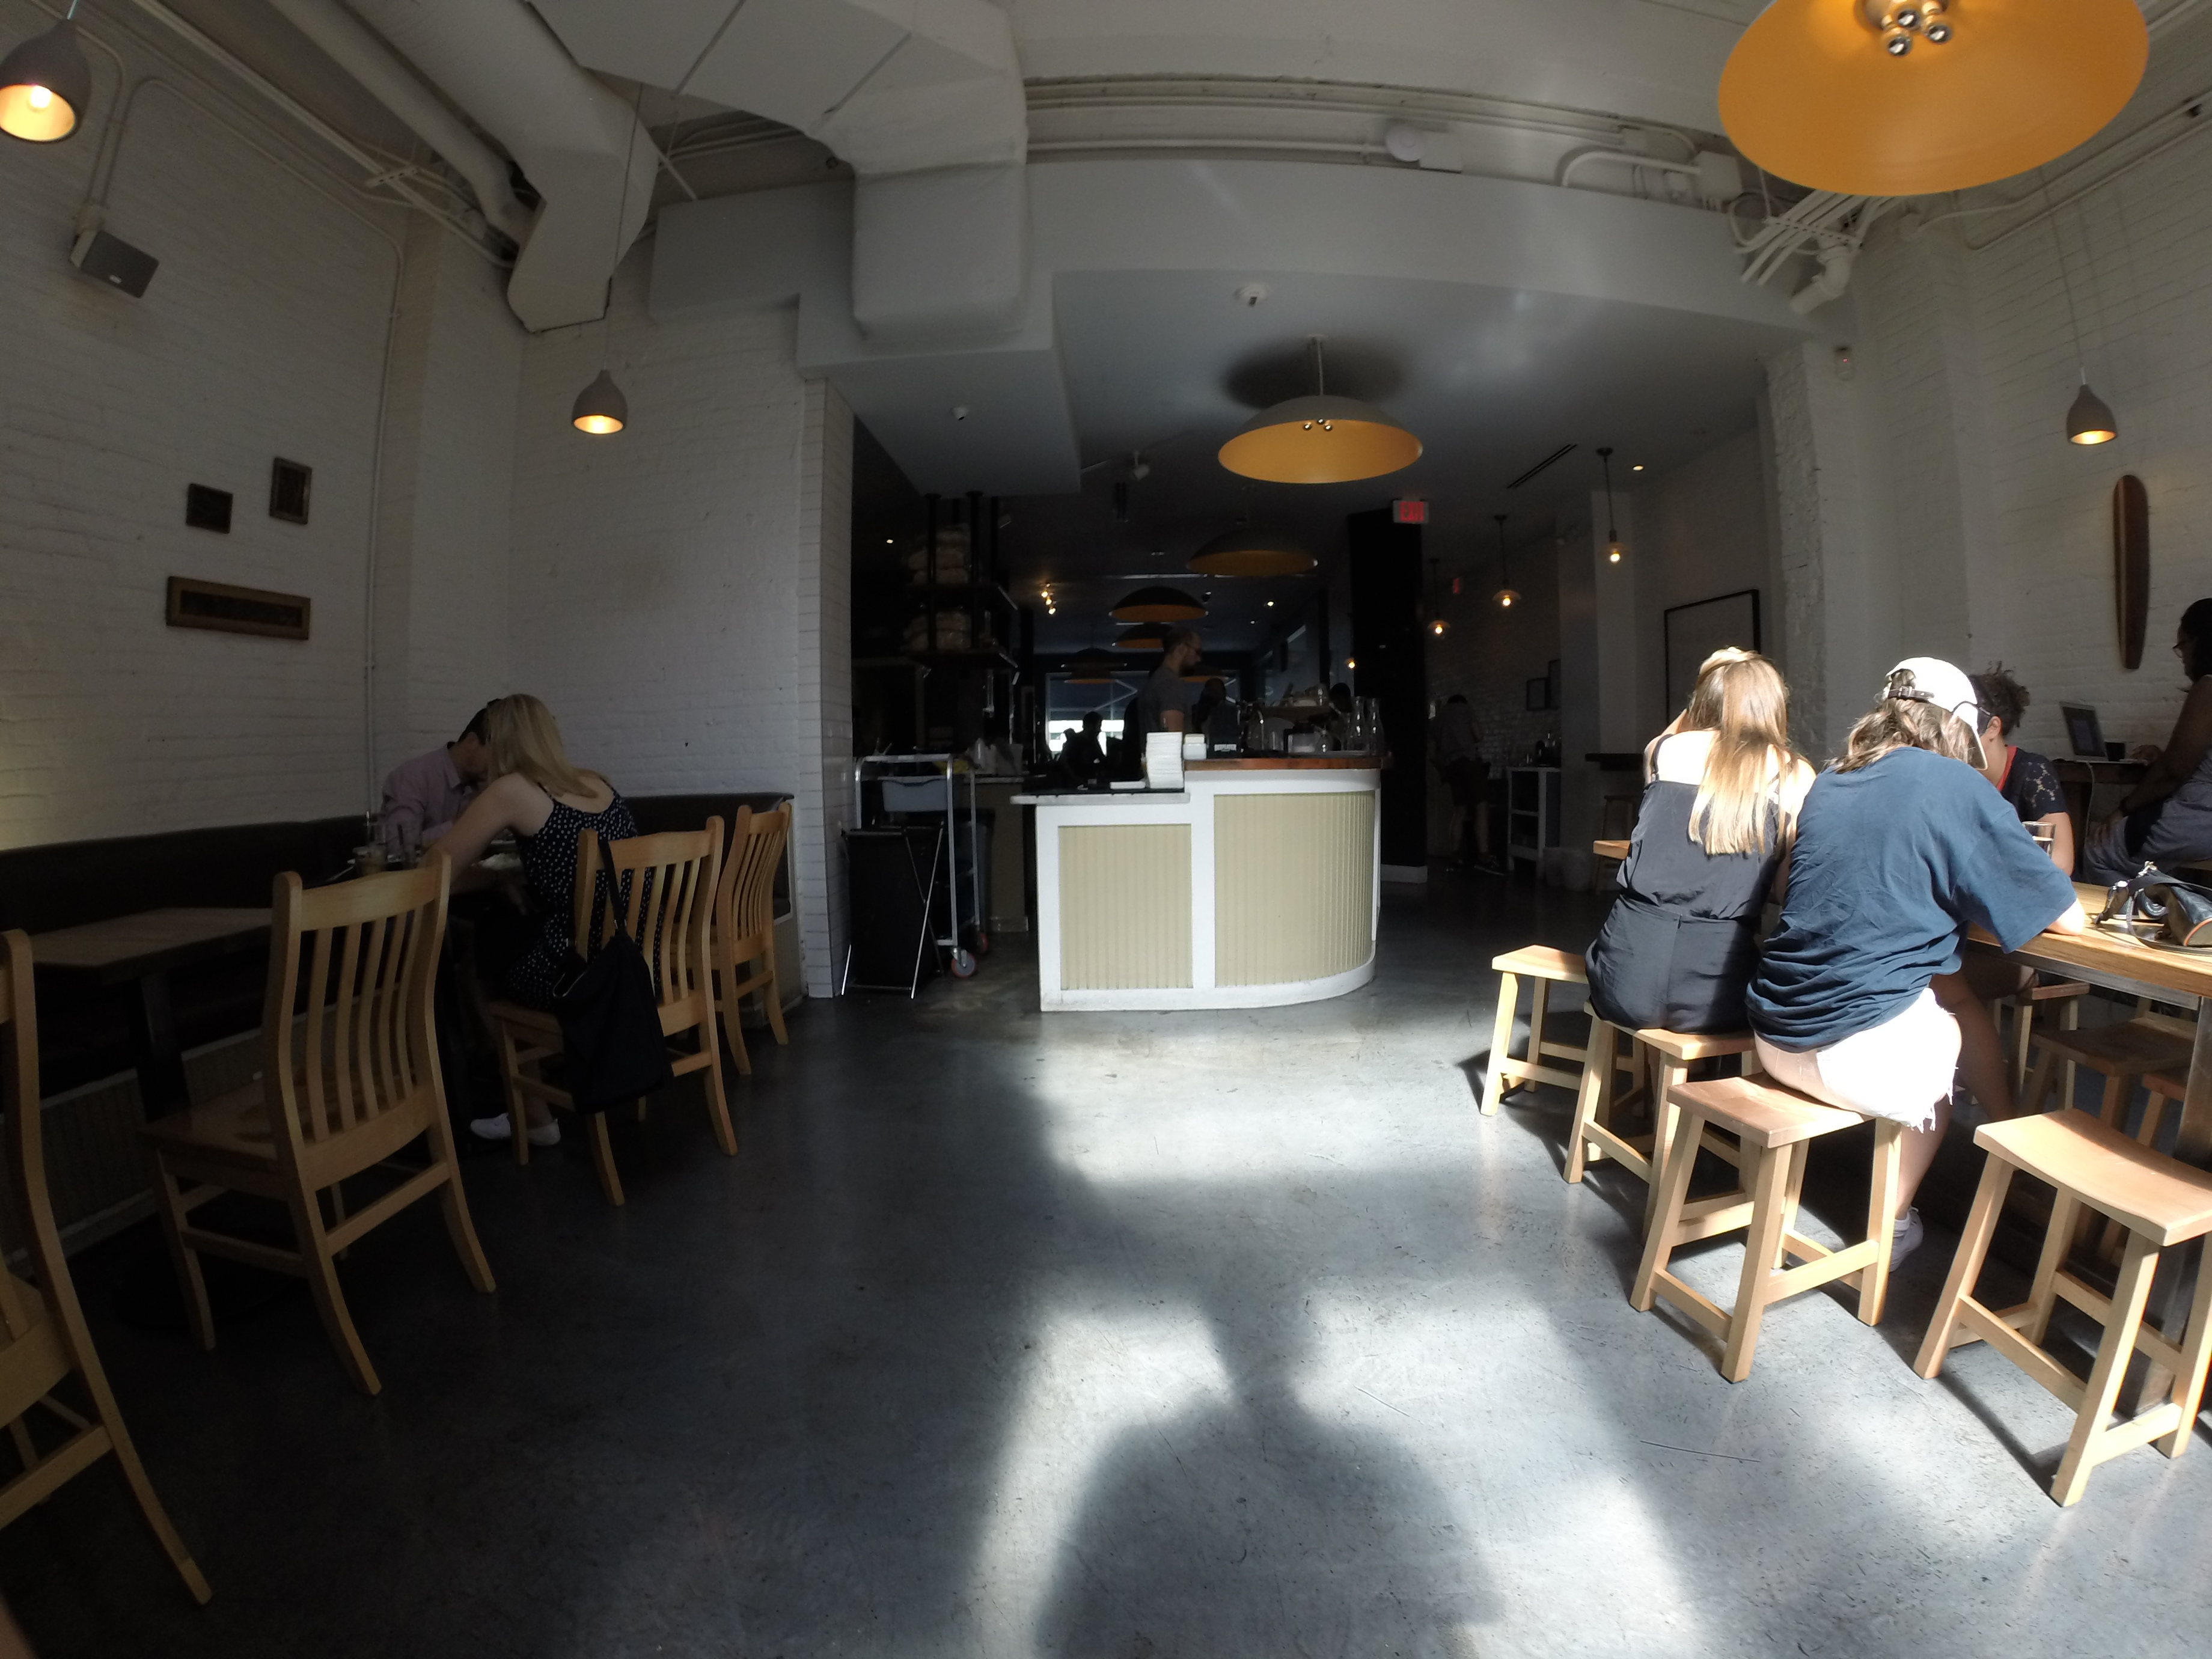
That’s the whole thing! 13 seats, weird lights, coffee bar
At some point, I noticed few people leaving so I swooped in and took their seat in the refreshing air-conditioned room. The indoors is your typical long brick room, on the right there is seating, including a bench with five tables and five chairs (10 seats), as well as a small 3 seat bar with stools. The left is occupied by the coffee counter, including pour over station, espresso, and pastry area.
The chairs are red, which matches their custom printed vinyl-wrapped La Marzocco, and the bricks. The rest of the place is made of various kinds of wood stained in slightly mismatched walnut colors. The low ceiling, air conditioning, and dark wood give it a cool, underground feeling, although I bet in the winter this turns into a cozy, warm space quite easily.
The lighting was dim, contributing to the cool cave-like feel, but the upside-down glass light shades projected crazy (but totally static) patterns on the walls. The light temperature was warm from bouncing off all of the walls, which definitely put some points in the warm/cozy column.
I think one of my favorite parts was a printed poster (on plain A4 paper) that declared “My body is like a filter, coffee goes in and sarcasm comes out”. That and they also have a bathroom (possibly a legal requirement in DC).
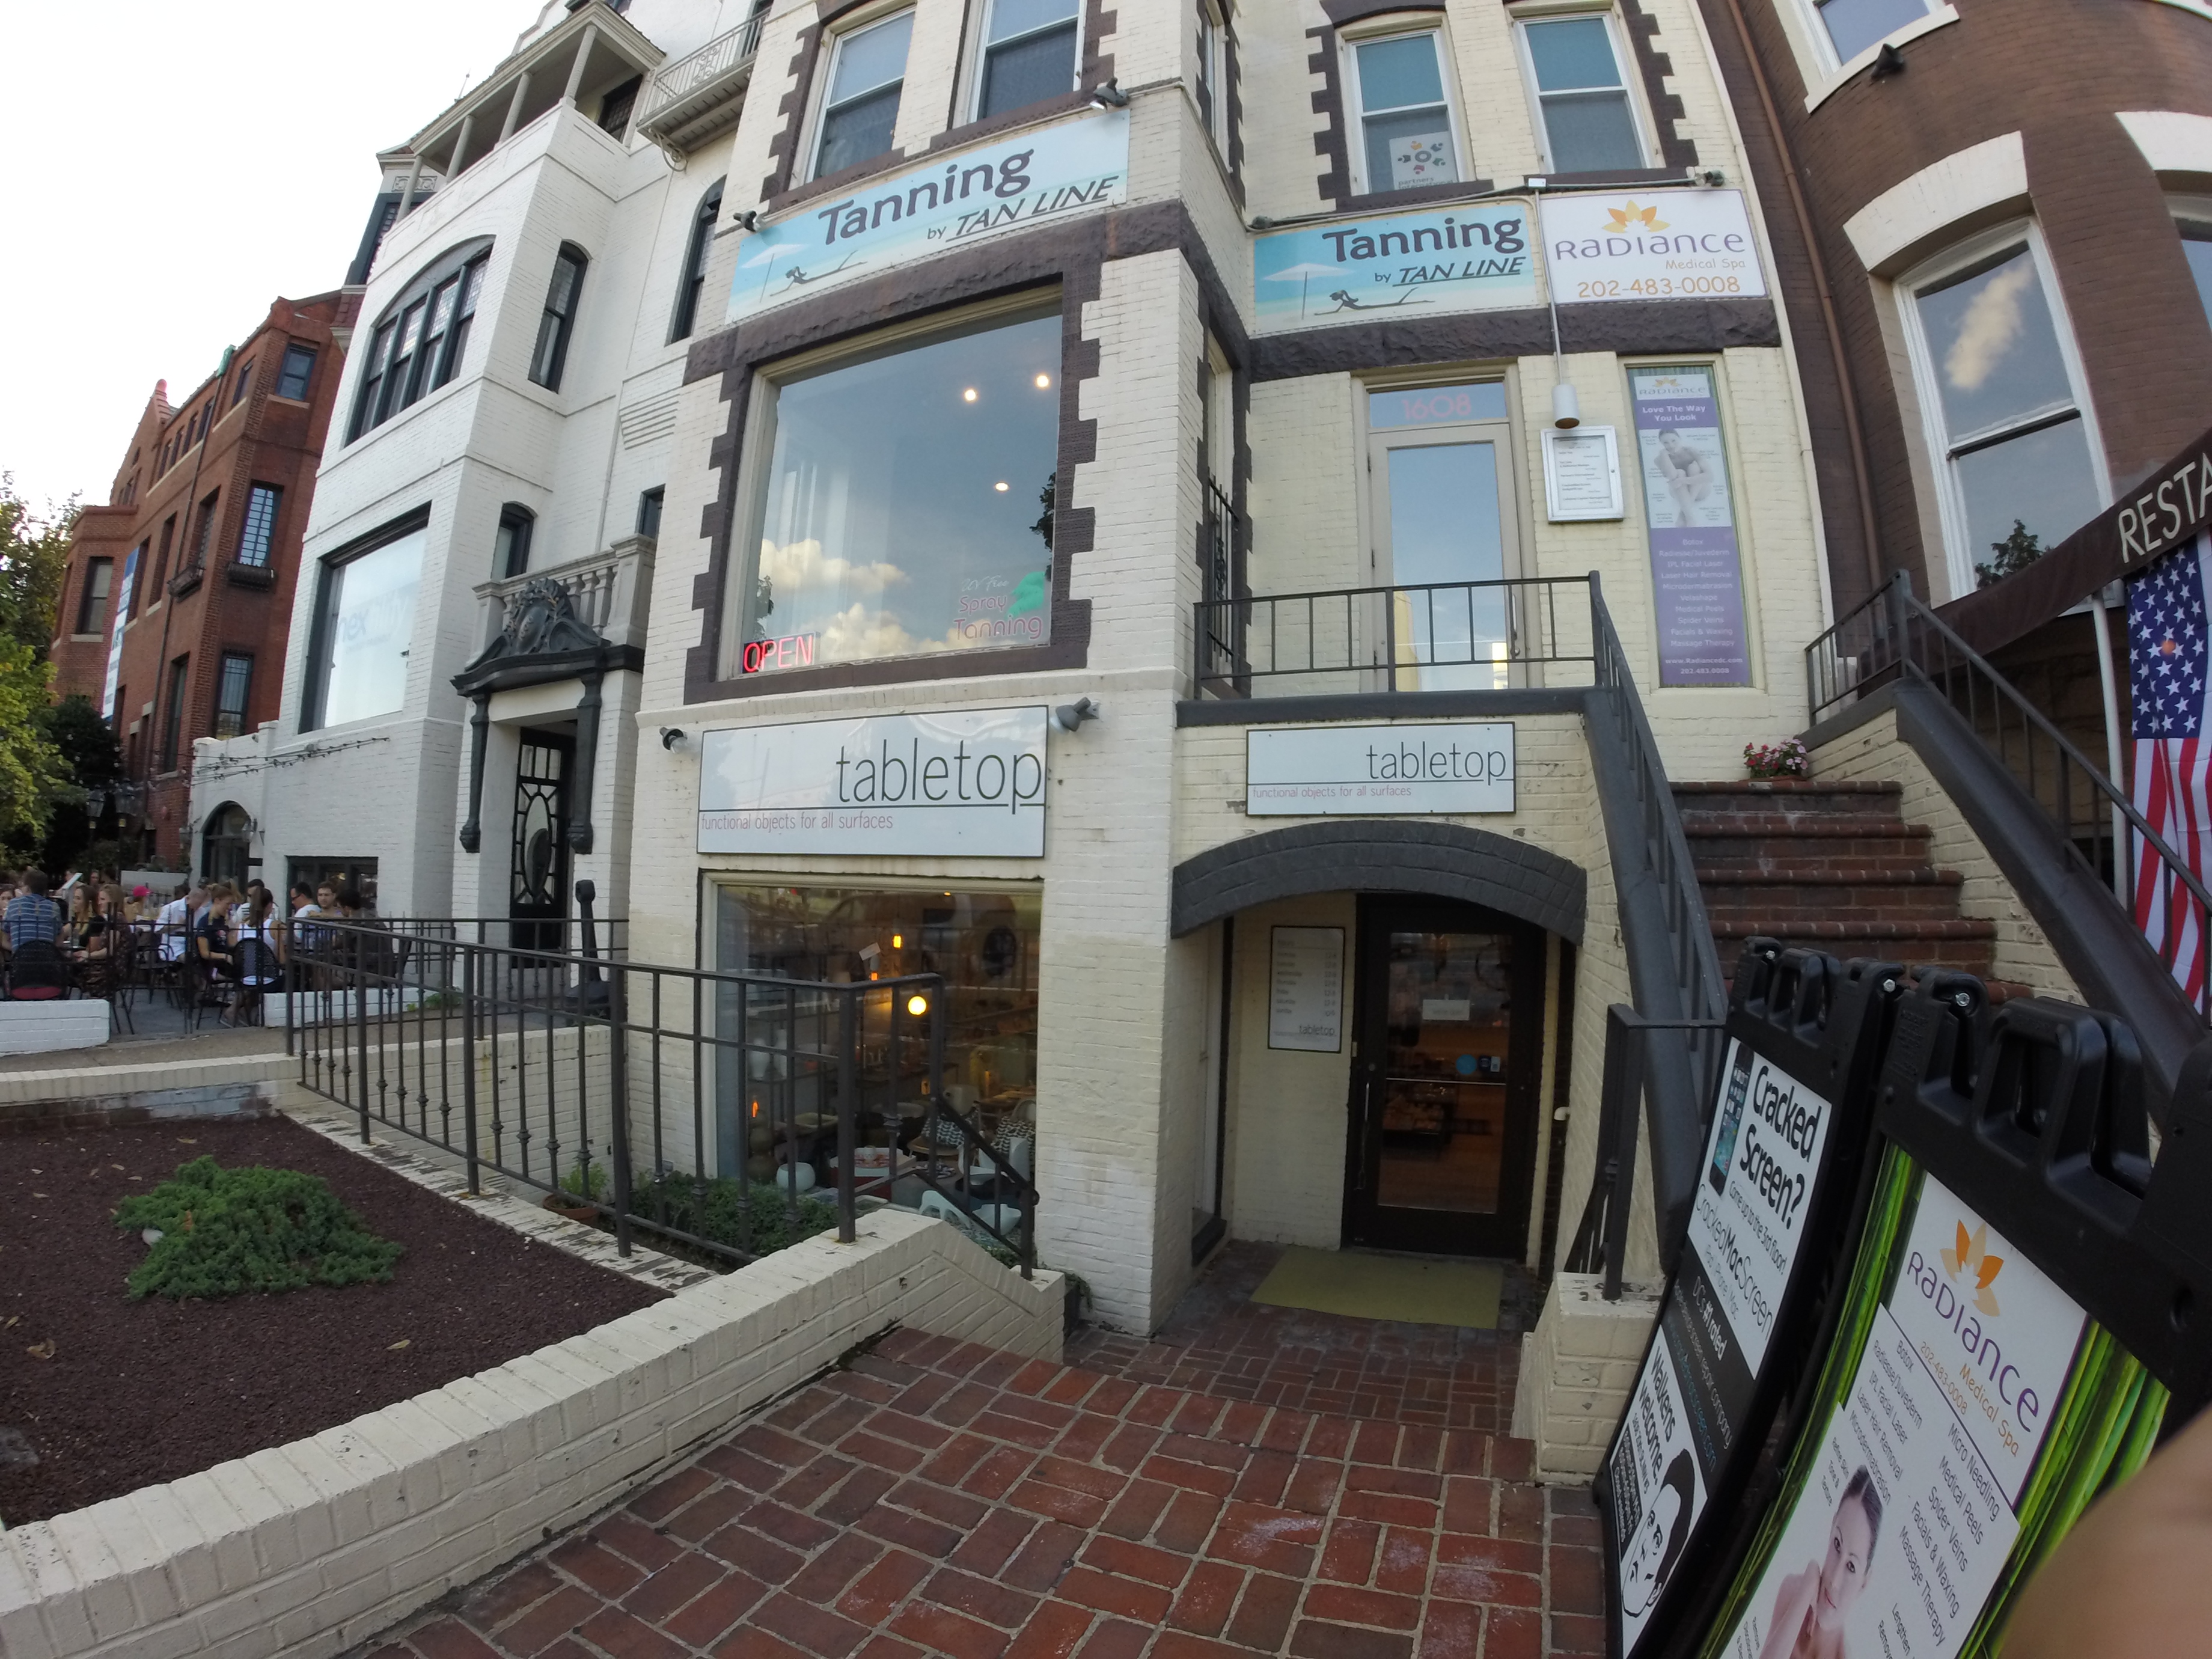
Purveyors of “Functional Objects For All Surface”
On the way back to the train I stopped at “Tabletop” to pick up a new notebook- I had filled up my last page and I needed more space for the rest of the shops!
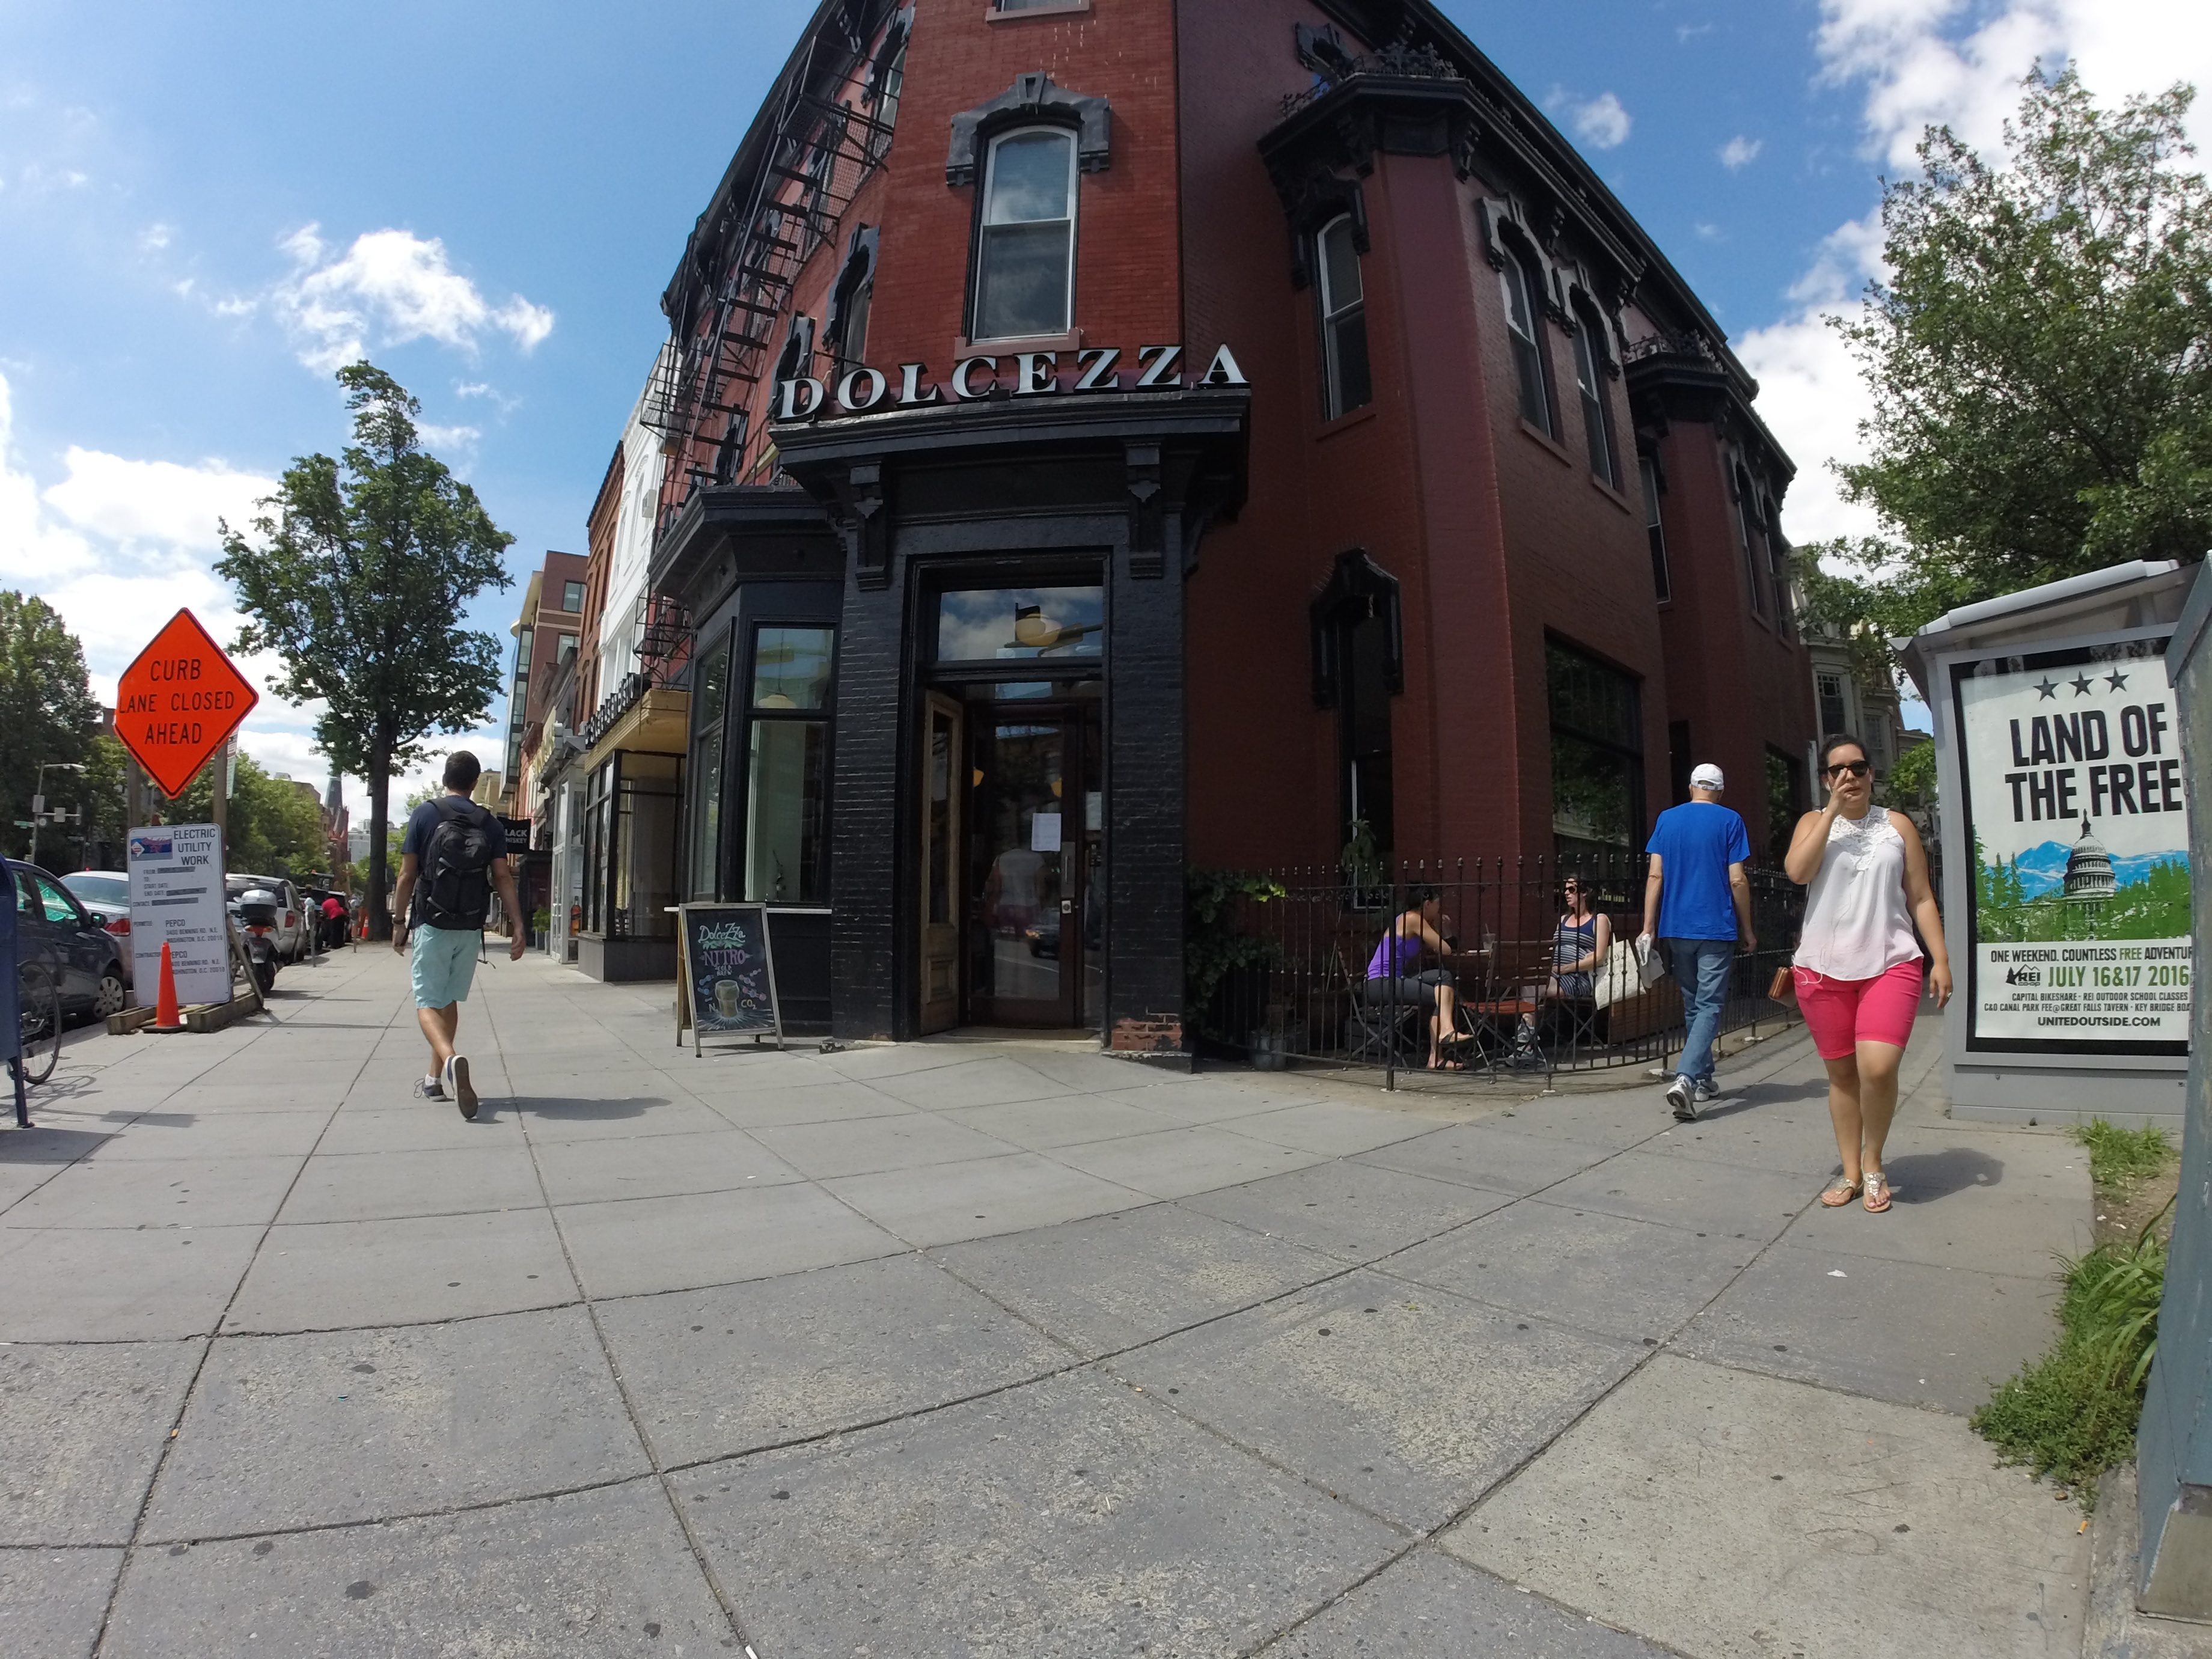
On my way from Slipstream to a bus stop, I ran into yet another cafe! As I mentioned, part of the rules of coffee travel is that if you see a real cafe, you have to go. And so I went.
Dolcezza is a gelato bar and espresso shop. It is spotlessly clean, and extremely cold inside. All of the places in D.C. have some kind of air conditioning, but only here was I verging on uncomfortably cold. As in, bring-a-jacket winter-is-coming cold. but it was also a relief from the humid and hot outdoors, so it was bearable.
I had an espresso shot. Unlike the rest of the country, all the esprsssos I got in D.C. were actually single shots- not double shots. Typically in Boston/LA/SF I see an “espresso” being pulled as a double shot for americanos and espressos, but in D.C. they were all just single shots.
The shot was served in a brown, thick walled espresso cup with matching saucer. Surprisingly, there was no sparkling water to go with it, although other people seemed to get some. The coffee was very acidic, with a fruity finish and a sweet aftertaste- I think it was stumptown hair bender roast.
The interior
The cafe is laid out around a long bar with gelato and coffee. A doorway protrudes into the space in the middle of the bar, creating to bays for small tables and chairs (pictured). The floor is white tile and is quite clean. Overall, it reminds me of a very clean ice cream parlor or train station. The tables are marble-esque, and the chairs are stained red wood upholstered with red leather, or wood stained to match the chairs. Both are comfortable enough.
I believe this is supposed to be an Italian styled place, and it does seem like it would be at home in the north end in Boston. It does seem like a place where you could come and comfortably read the paper or meet up with someone, but I think the gelato (which I did not try) is their real strength, not coffee. If I went back, I would have to try it.
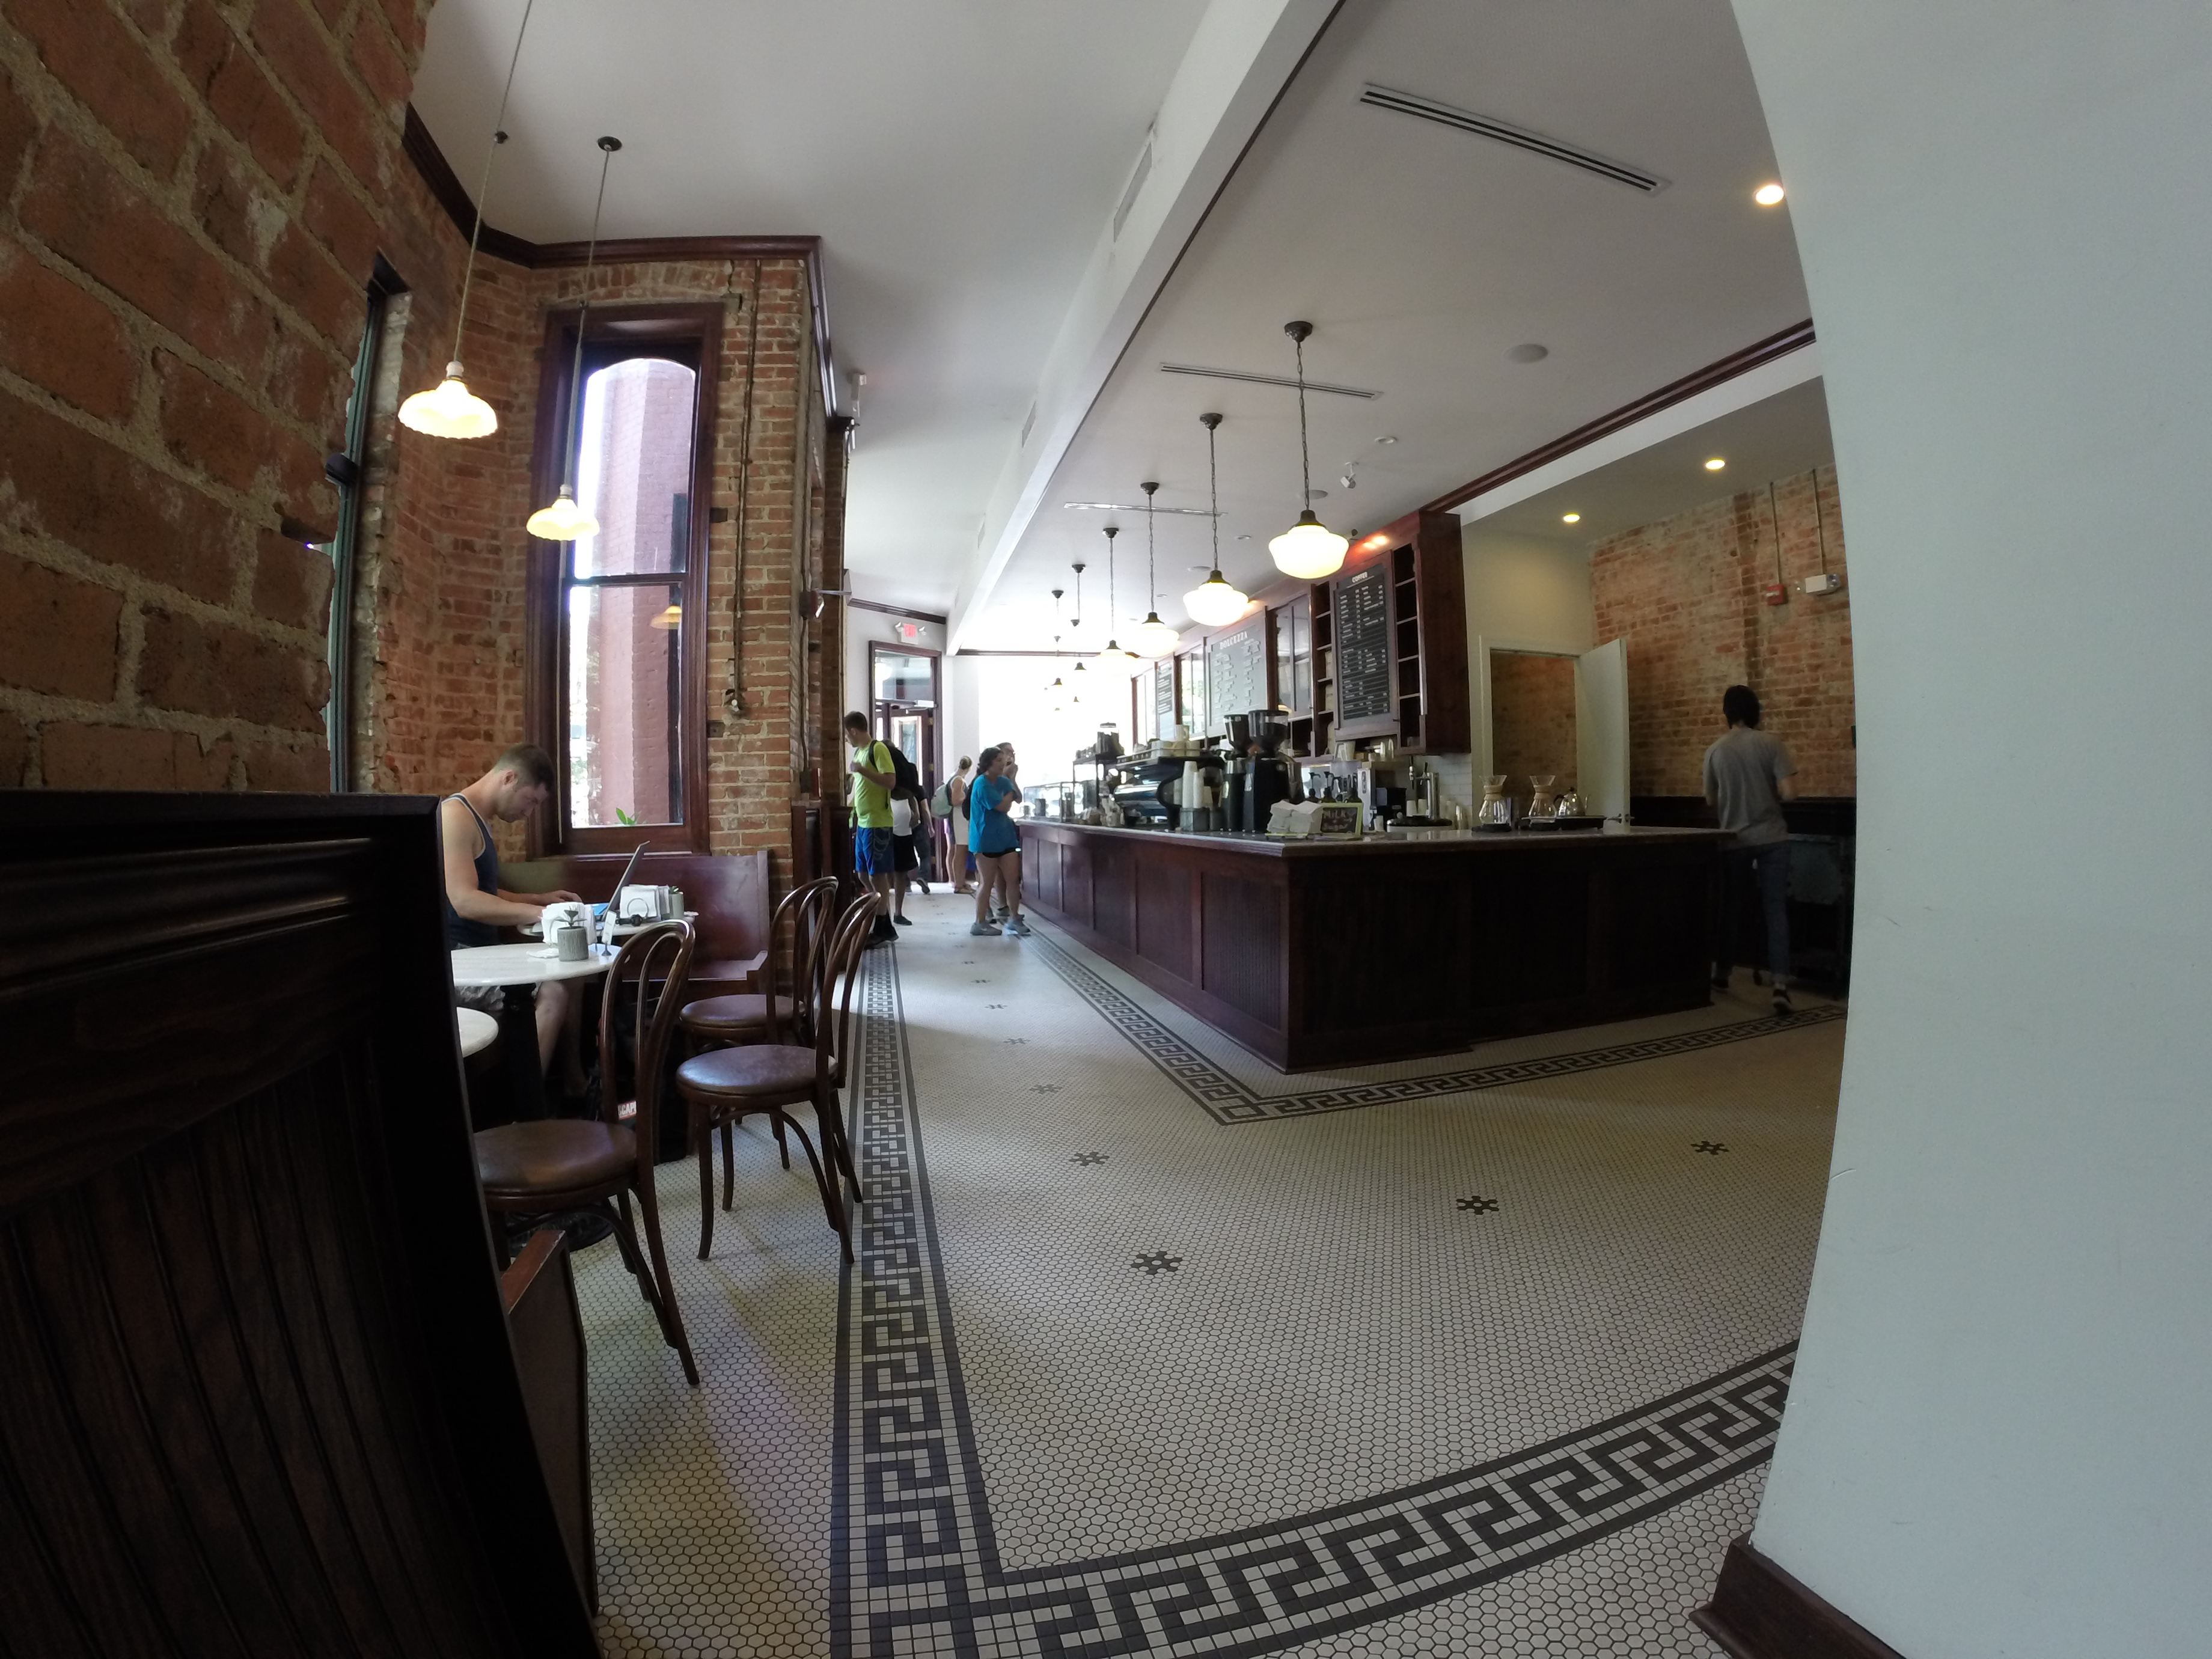
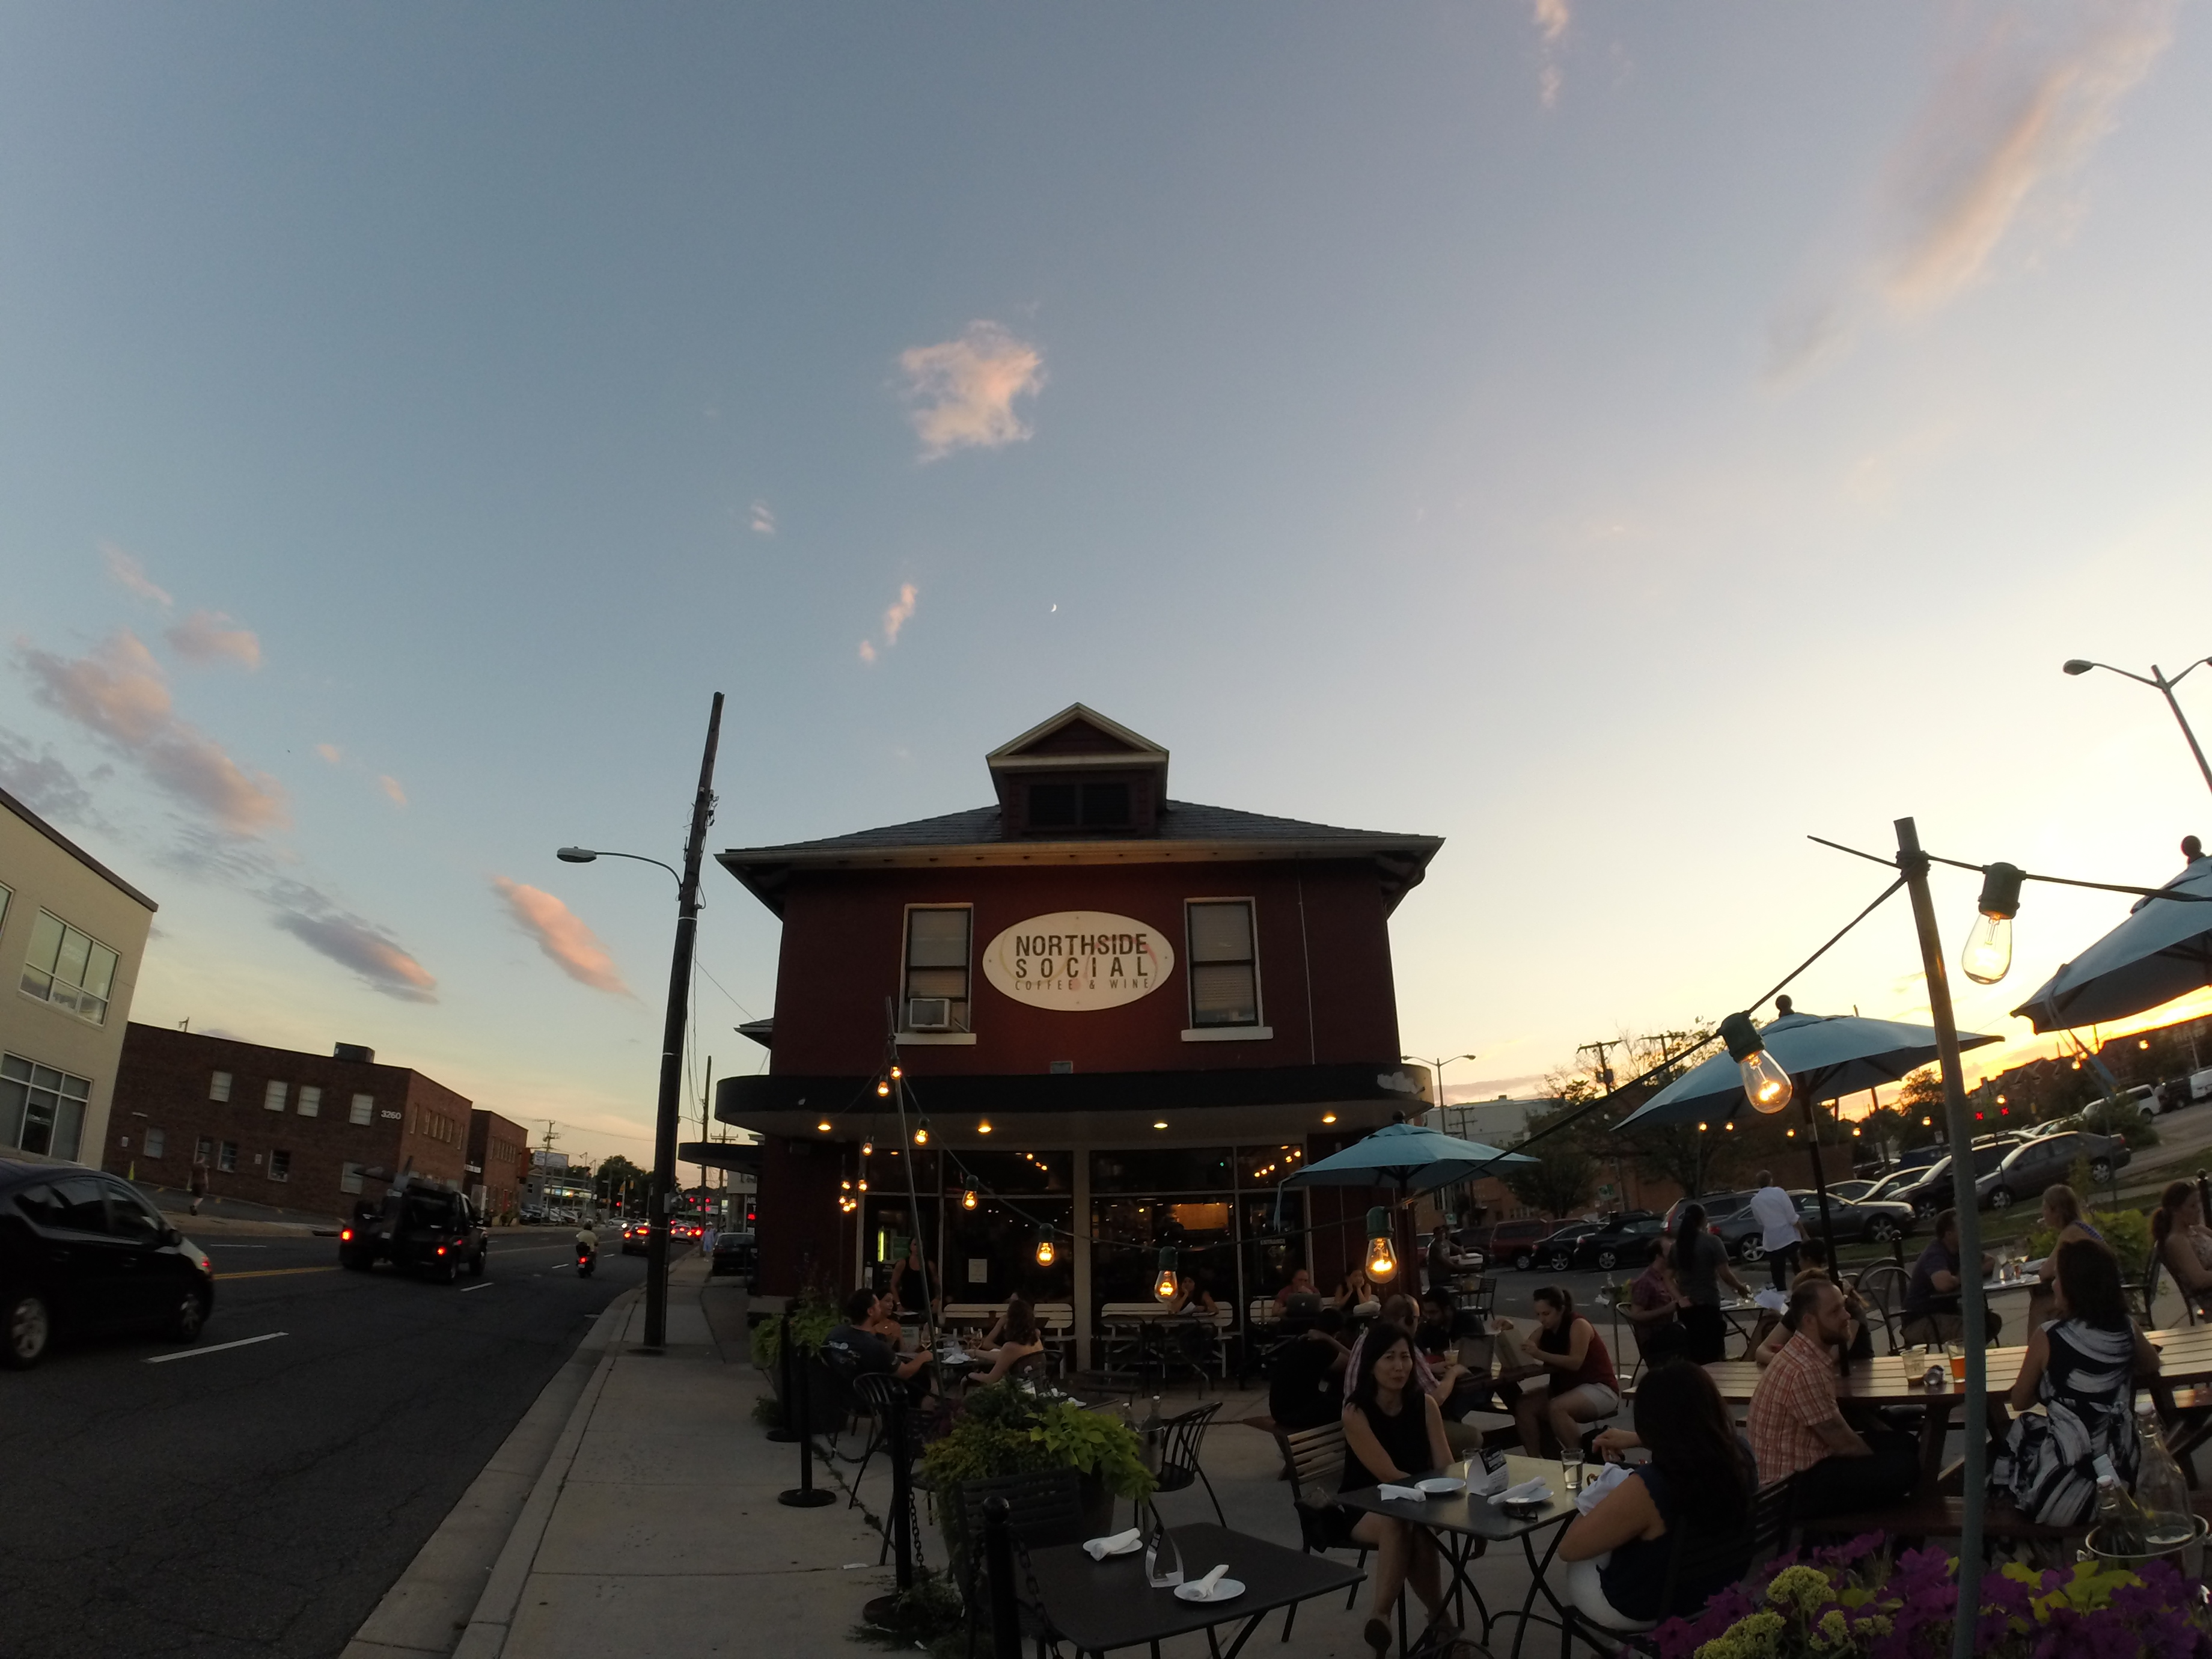
Northside Social, or “NoSo” is out in what might be considered the suburbs of Washington D.C. It is a huge building, boasting ample patio seating, a huge first floor, and a second floor which is a wine bar (with an espresso machine). It is certainly the biggest coffee bar I visited on my trip, and it is open late because of the wine bar- this made it the ultimate destination for my day 1 trip, since I could arrive at just about any time and still expect the place to be open.
I had a cup of drip coffee, roasted by intelligentsia. I may have been a little exhausted and buzzed at this point, but I would describe the coffee as smoky and acidic, with a fruity aftertaste. It is worth noting that there are two options for drip coffee- a regular cup, and a “mug” of coffee which is two 10 oz mugs of coffee (one refill). I am impressed by how considerate and innovative they are with this offering- this is the only place I have seen something like this on the menu, almost explicitly inviting you to stay for as long as possible.
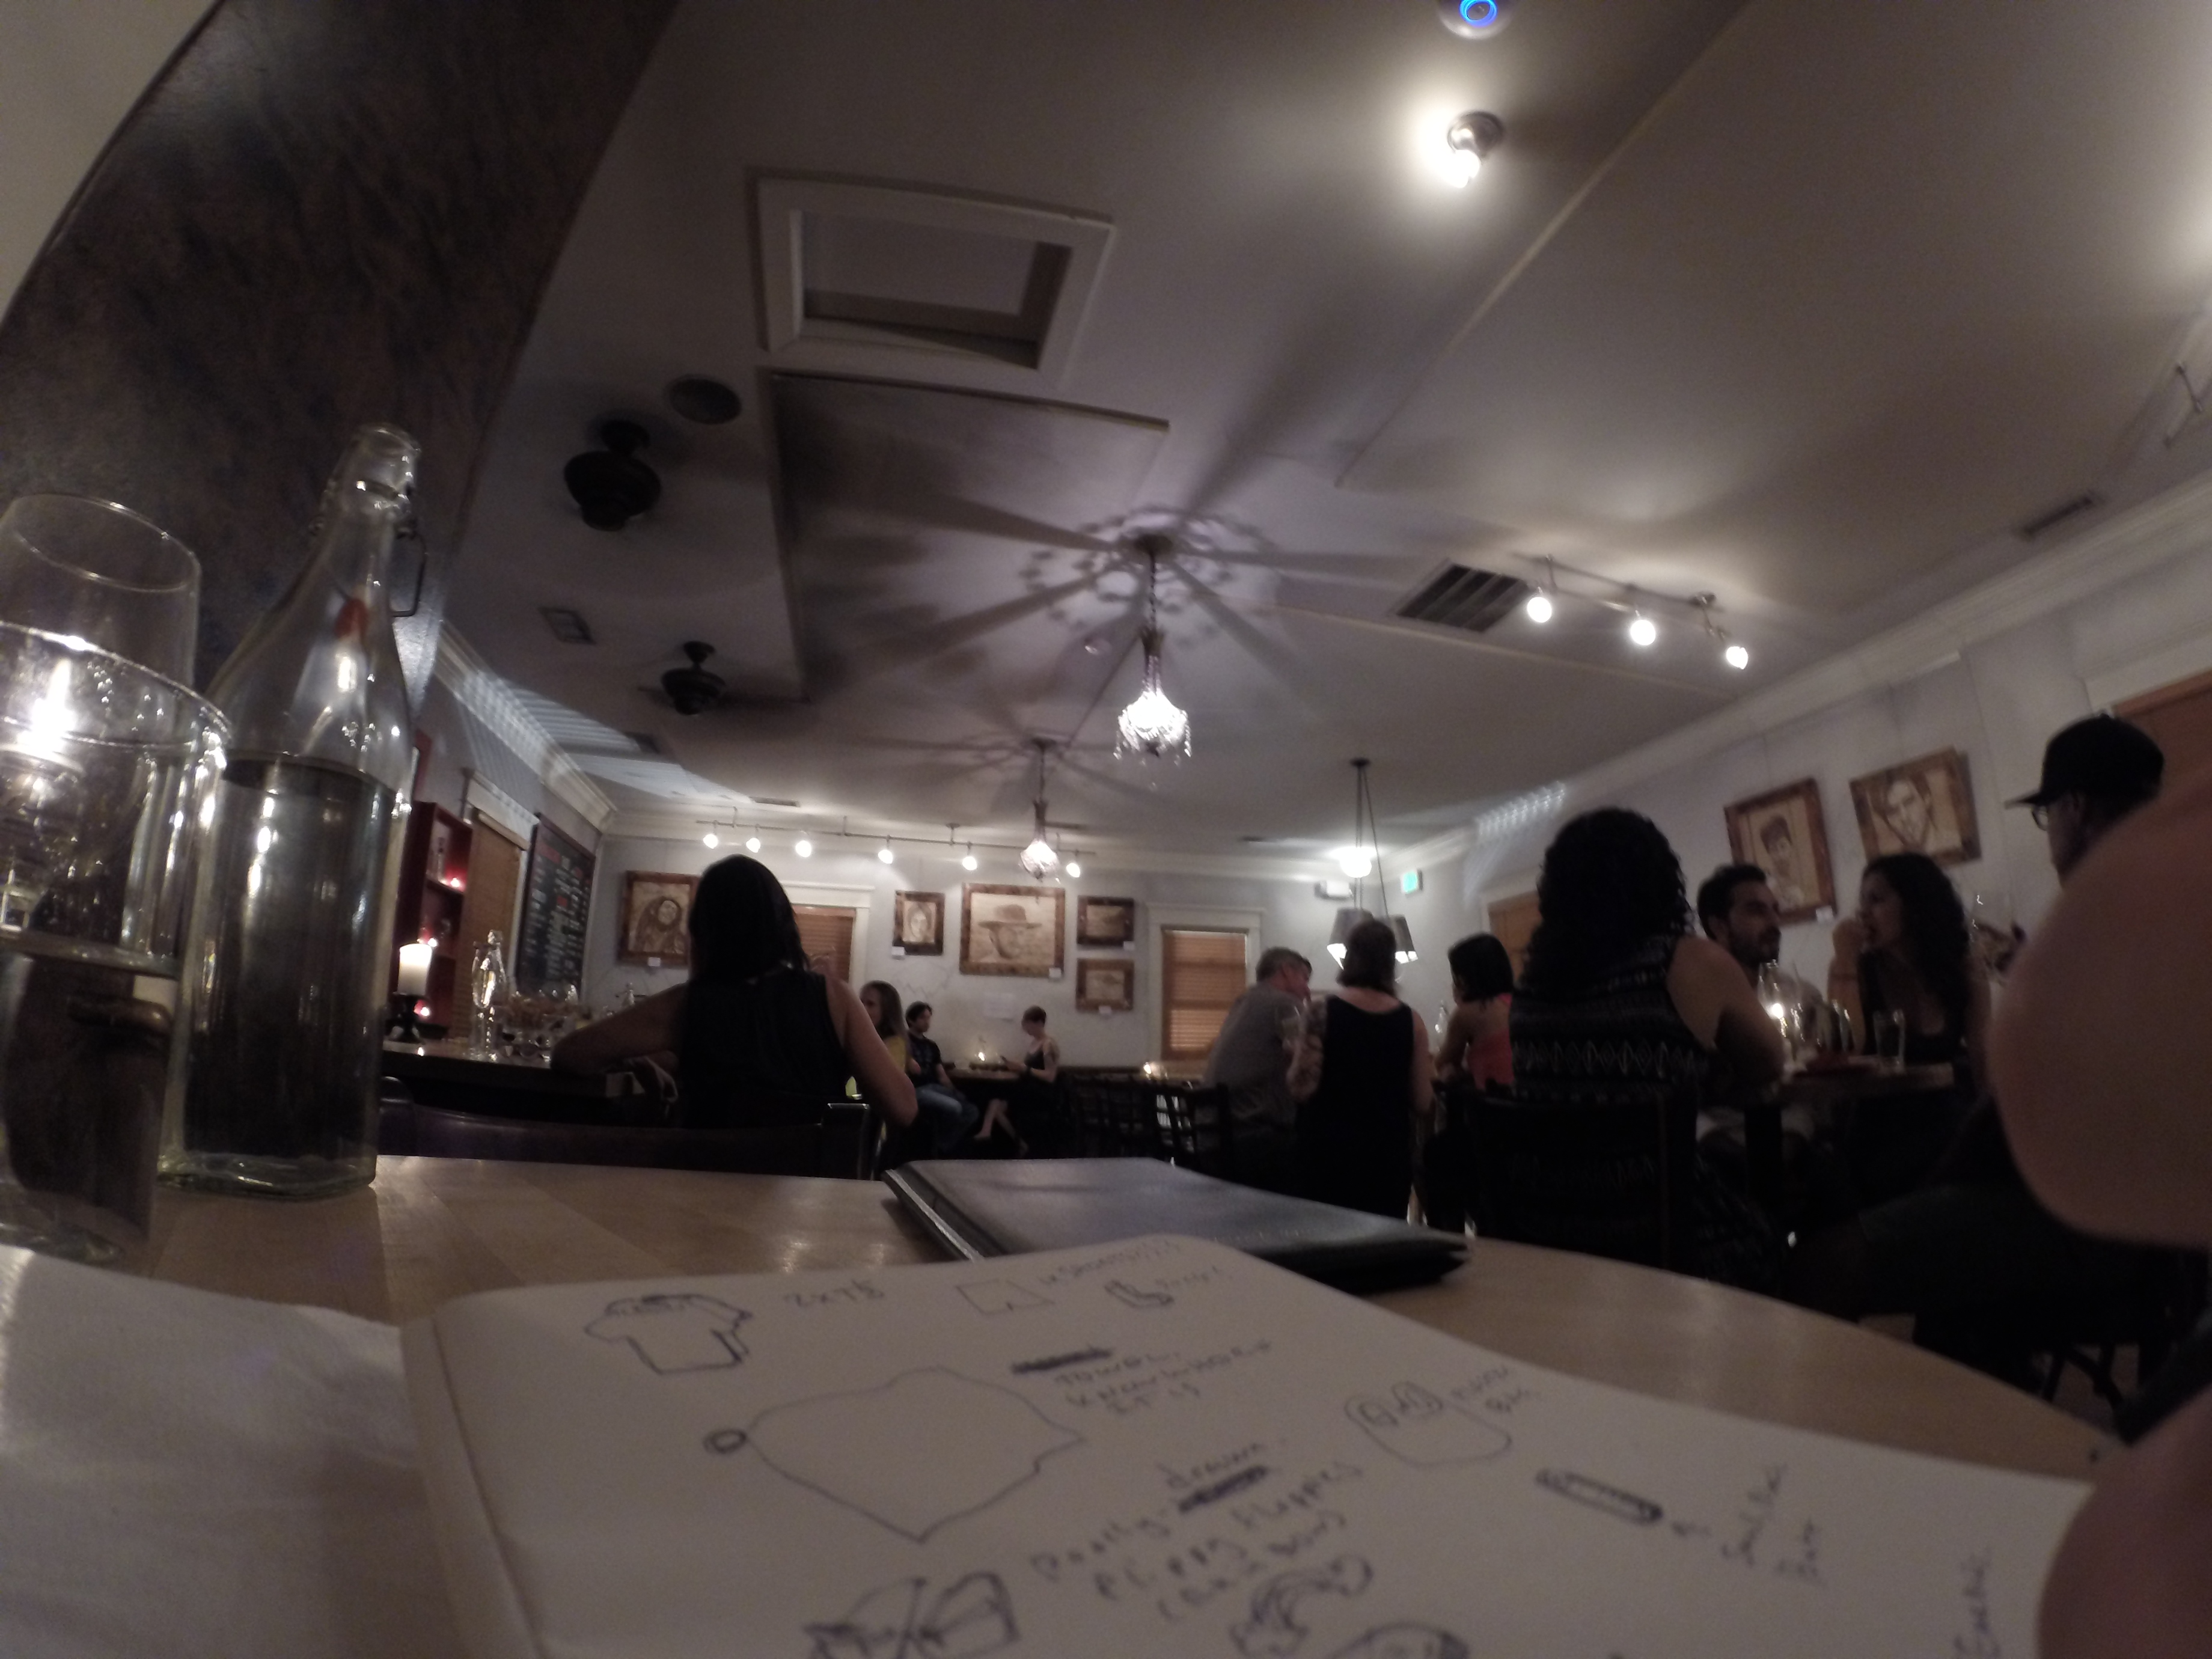
2nd Floor/Wine Bar
The inside of the cafe is tastefully decorated in coffee-drip paintings of famous actors and personages. The tables are wooden, and plentiful. Towards the back of the cafe the tables get little less uniform, but they is still a ton of seating. The second floor wine bar is decorated with more paintings, and is furnished with light wood tables and bar stools. If you look carefully, you can see Clint Eastwood in the photo above.
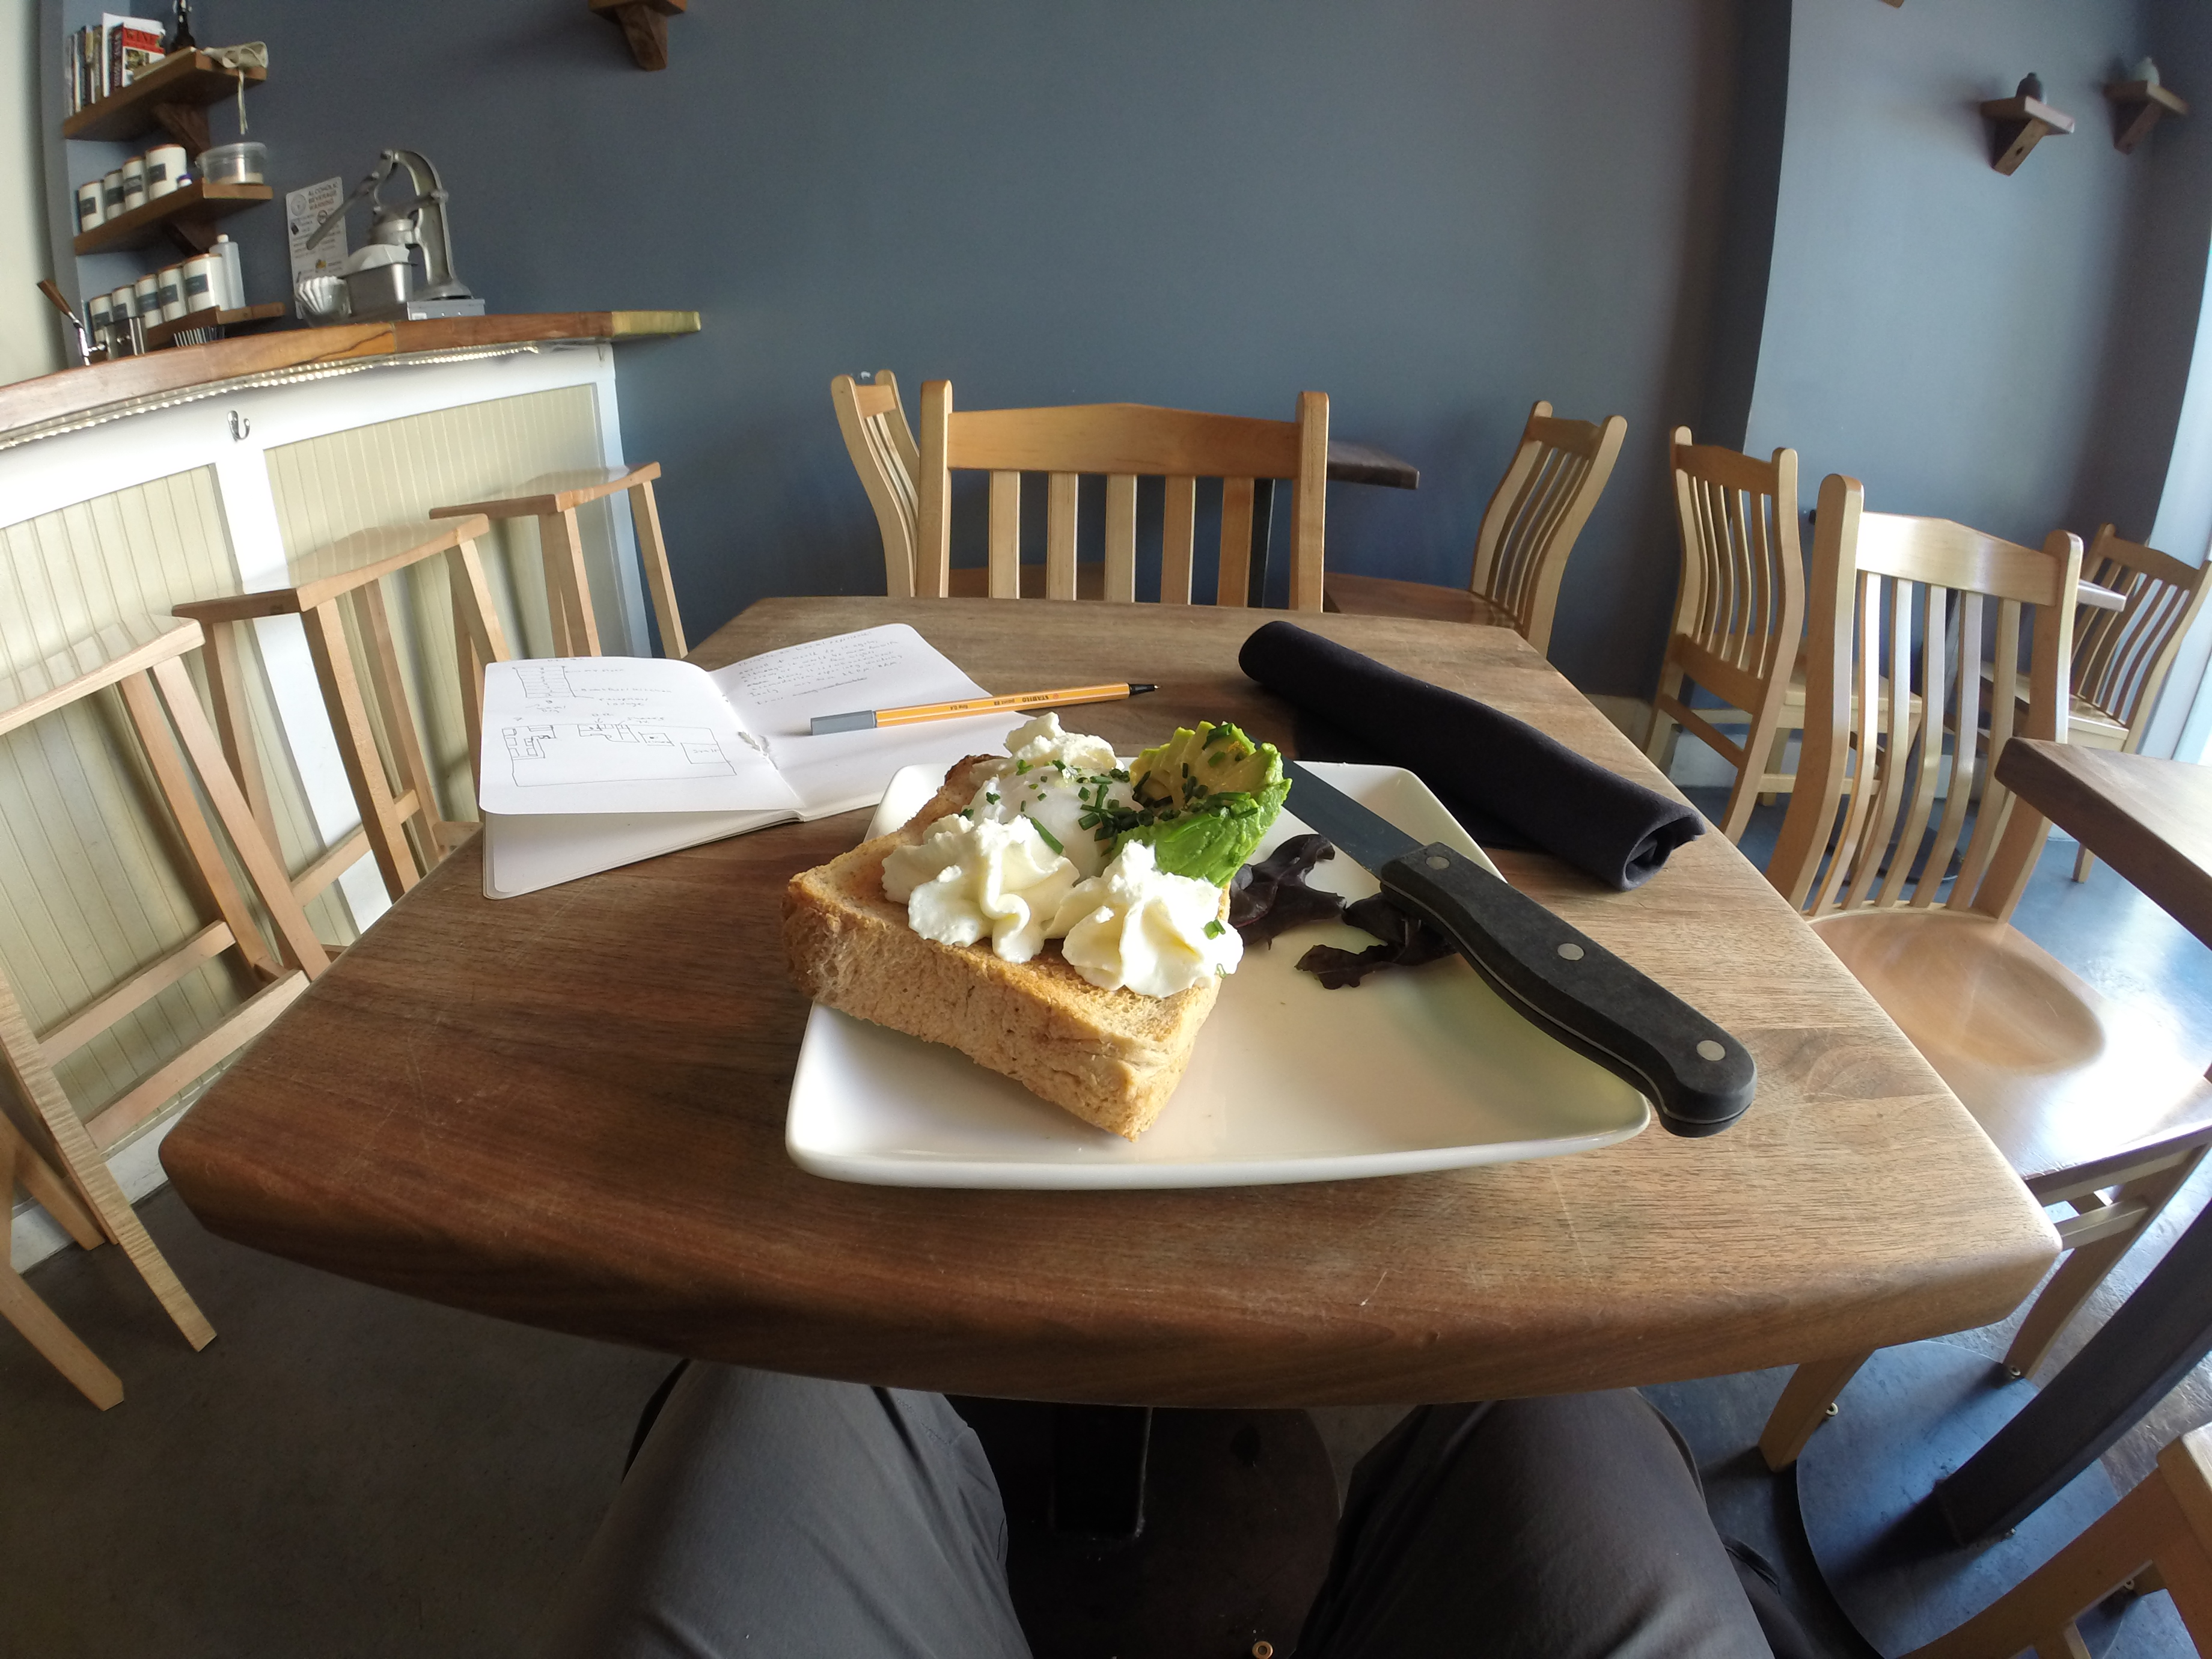
The wine bar was equally as inviting and as accommodating as the coffee bar. I ordered a highly modified and delicious grilled cheese for dinner, while I made some notes on my trip so far (pictured above).
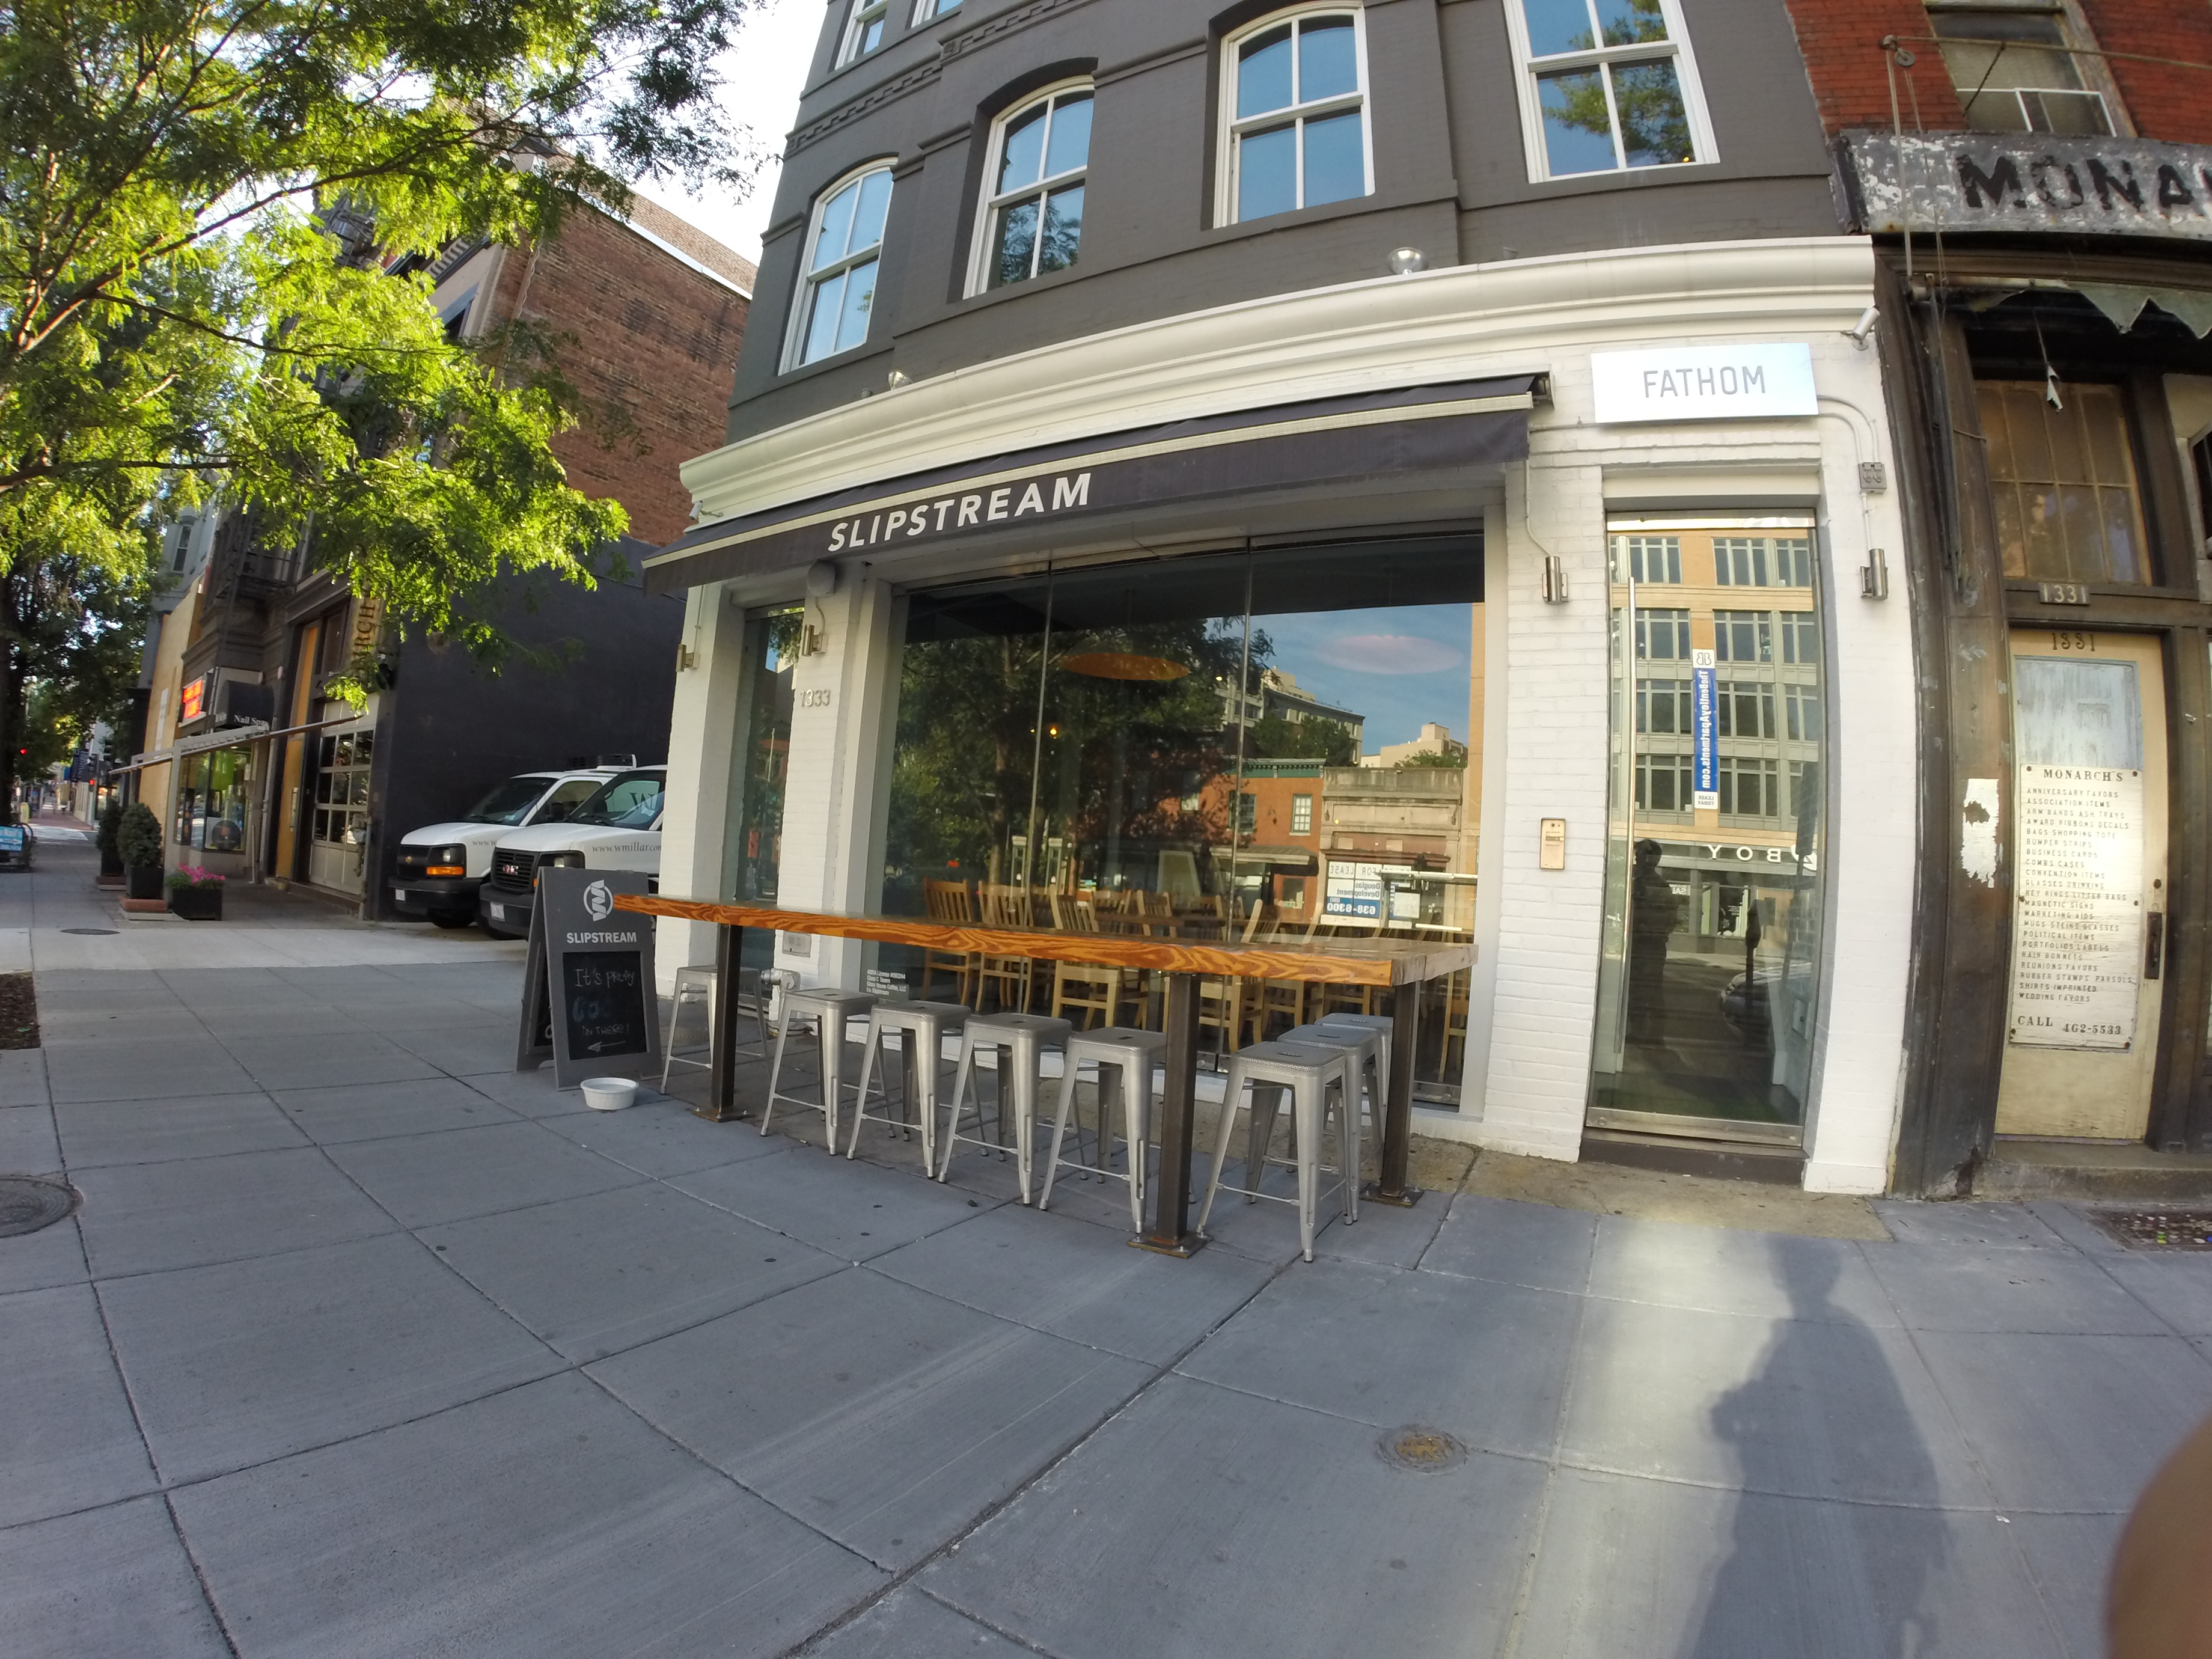
Slipstream was not on my original list, but as I was headed to compass coffee on day 2, I passed it. One of the rules of coffee travel is that if you come across a decent looking cafe, you must go- so I went!
It turned out to be a great decision. First off, I was hungry, and their breakfast food options were much better than any of the other coffee shops I visited that day. Second, they have good coffee, as well as coffee cocktails- not something you see everyday (or ever, in MA). I was sorely tempted to try one of the coffee cocktails, but it was 8 A.M. and I had a long day of coffee ahead of me, so I opted for my gold standard of coffee comparison- a cup of black drip coffee.
toast for breakfast
The coffee is apparently roasted by “Madcap Coffee” and it is balanced between sweet and acidic. It is not unlike el gallo blend, but it is balanced instead of acidic. It was served in a notneutral lino coffee mug, which is actually a fairly normal looking white mug.
The bar stools and chairs are a light colored wood, while the tables are stained a dark walnut color. I think this brings attention to the weighty tables, over the chairs, which are comfortable but unremarkable.
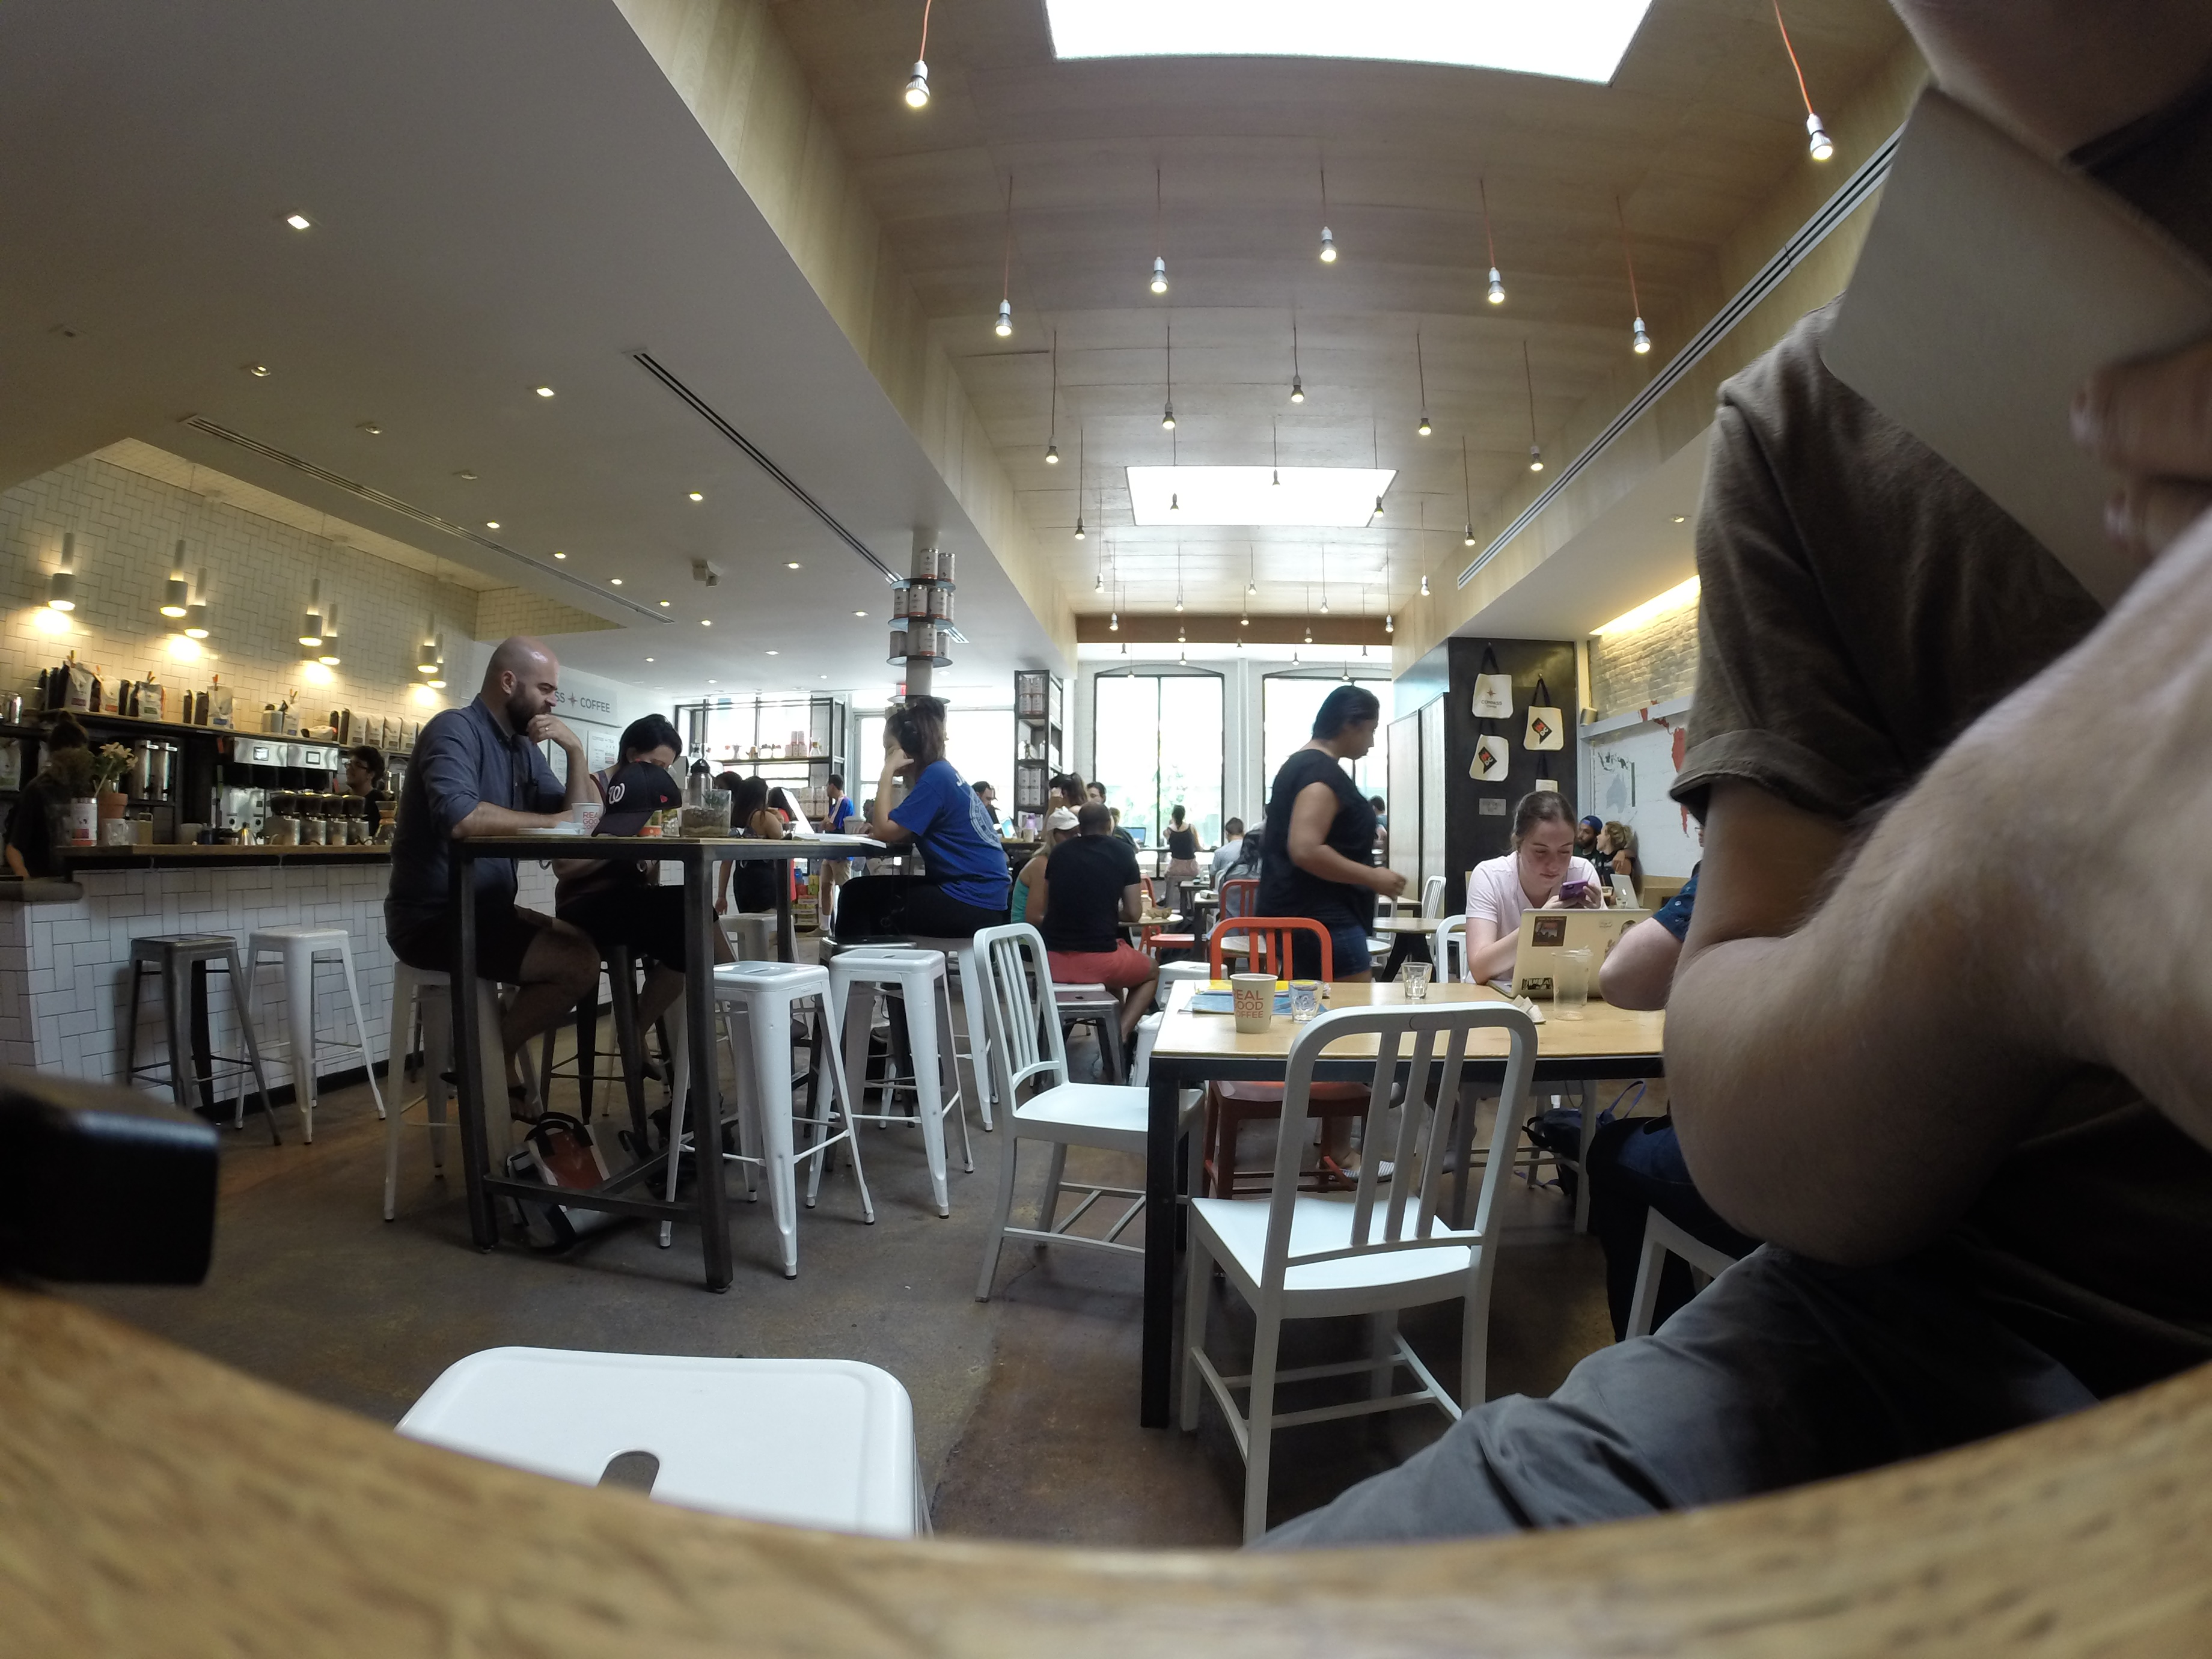
The back, under the skylights
The lighting is interesting and worth noting, since the place is a single large chamber that serves as both a brunch spot, a bar, and a coffee shop. It is modern and clean, with lots of glass, wood, air and light. Most of the light is provided by the floor-to ceiling windows at the front of the cafe, as well as the skylights at the back of the cafe. The rest is rather dimly lit by reflected light from the outdoors, and more indirect lighting from large domed reflectors on the ceiling. This means that there is little in the way of direct lighting, making the inside seem soft. In the daytime this gives it a cool, shady feeling, and I imagine at night it gives it a nice bar ambiance.
I am very happy that I made the stop at slipstream. I ended up with a full stomach and plenty of time left to explore the rest of the city.
Compass was my first planned coffee stop for the day. The location I visited was just a few bus stops from the Dolcezza. It is a single-story brick building packed to the gills with coffee products, seating, and what appears to be the compass coffee roasting operation.
I ordered a small drip coffee, which was made with their cardinal blend, and a saag-paneer filled pastry, similar to a bao. The pastry dough was sweet, and the sag-paneer was spicy and bizarre, but in the best way. The coffee was smoky and sweet, a little acidic but not very fruity. The coffee was served in a paper cup.
Roasting operation
I sat at a bar in front of their coffee roasters. Like slipstream, light was provided mainly by numerous skylights and windows rather than with artificial lighting. This, combined with the brick, gives the place a warm glow. The place was pretty packed, with a long line when I arrived. But there was plenty of space inside, and I think pretty much anyone who wanted a seat got one.
Sitting area
As you can see in the photo, they have pretty much every kind of cafe chair, ranging from various heights of 4-legged metal stools, to orange and white metal chairs. The wood was mostly light colored pine and veneer, which was complemented by the white paint and tile. The somewhat high ceiling and skylights give it an airy, clean, and open feeling. this feeling conflicts somewhat with the general cramped mess and busyness of the floorplan.