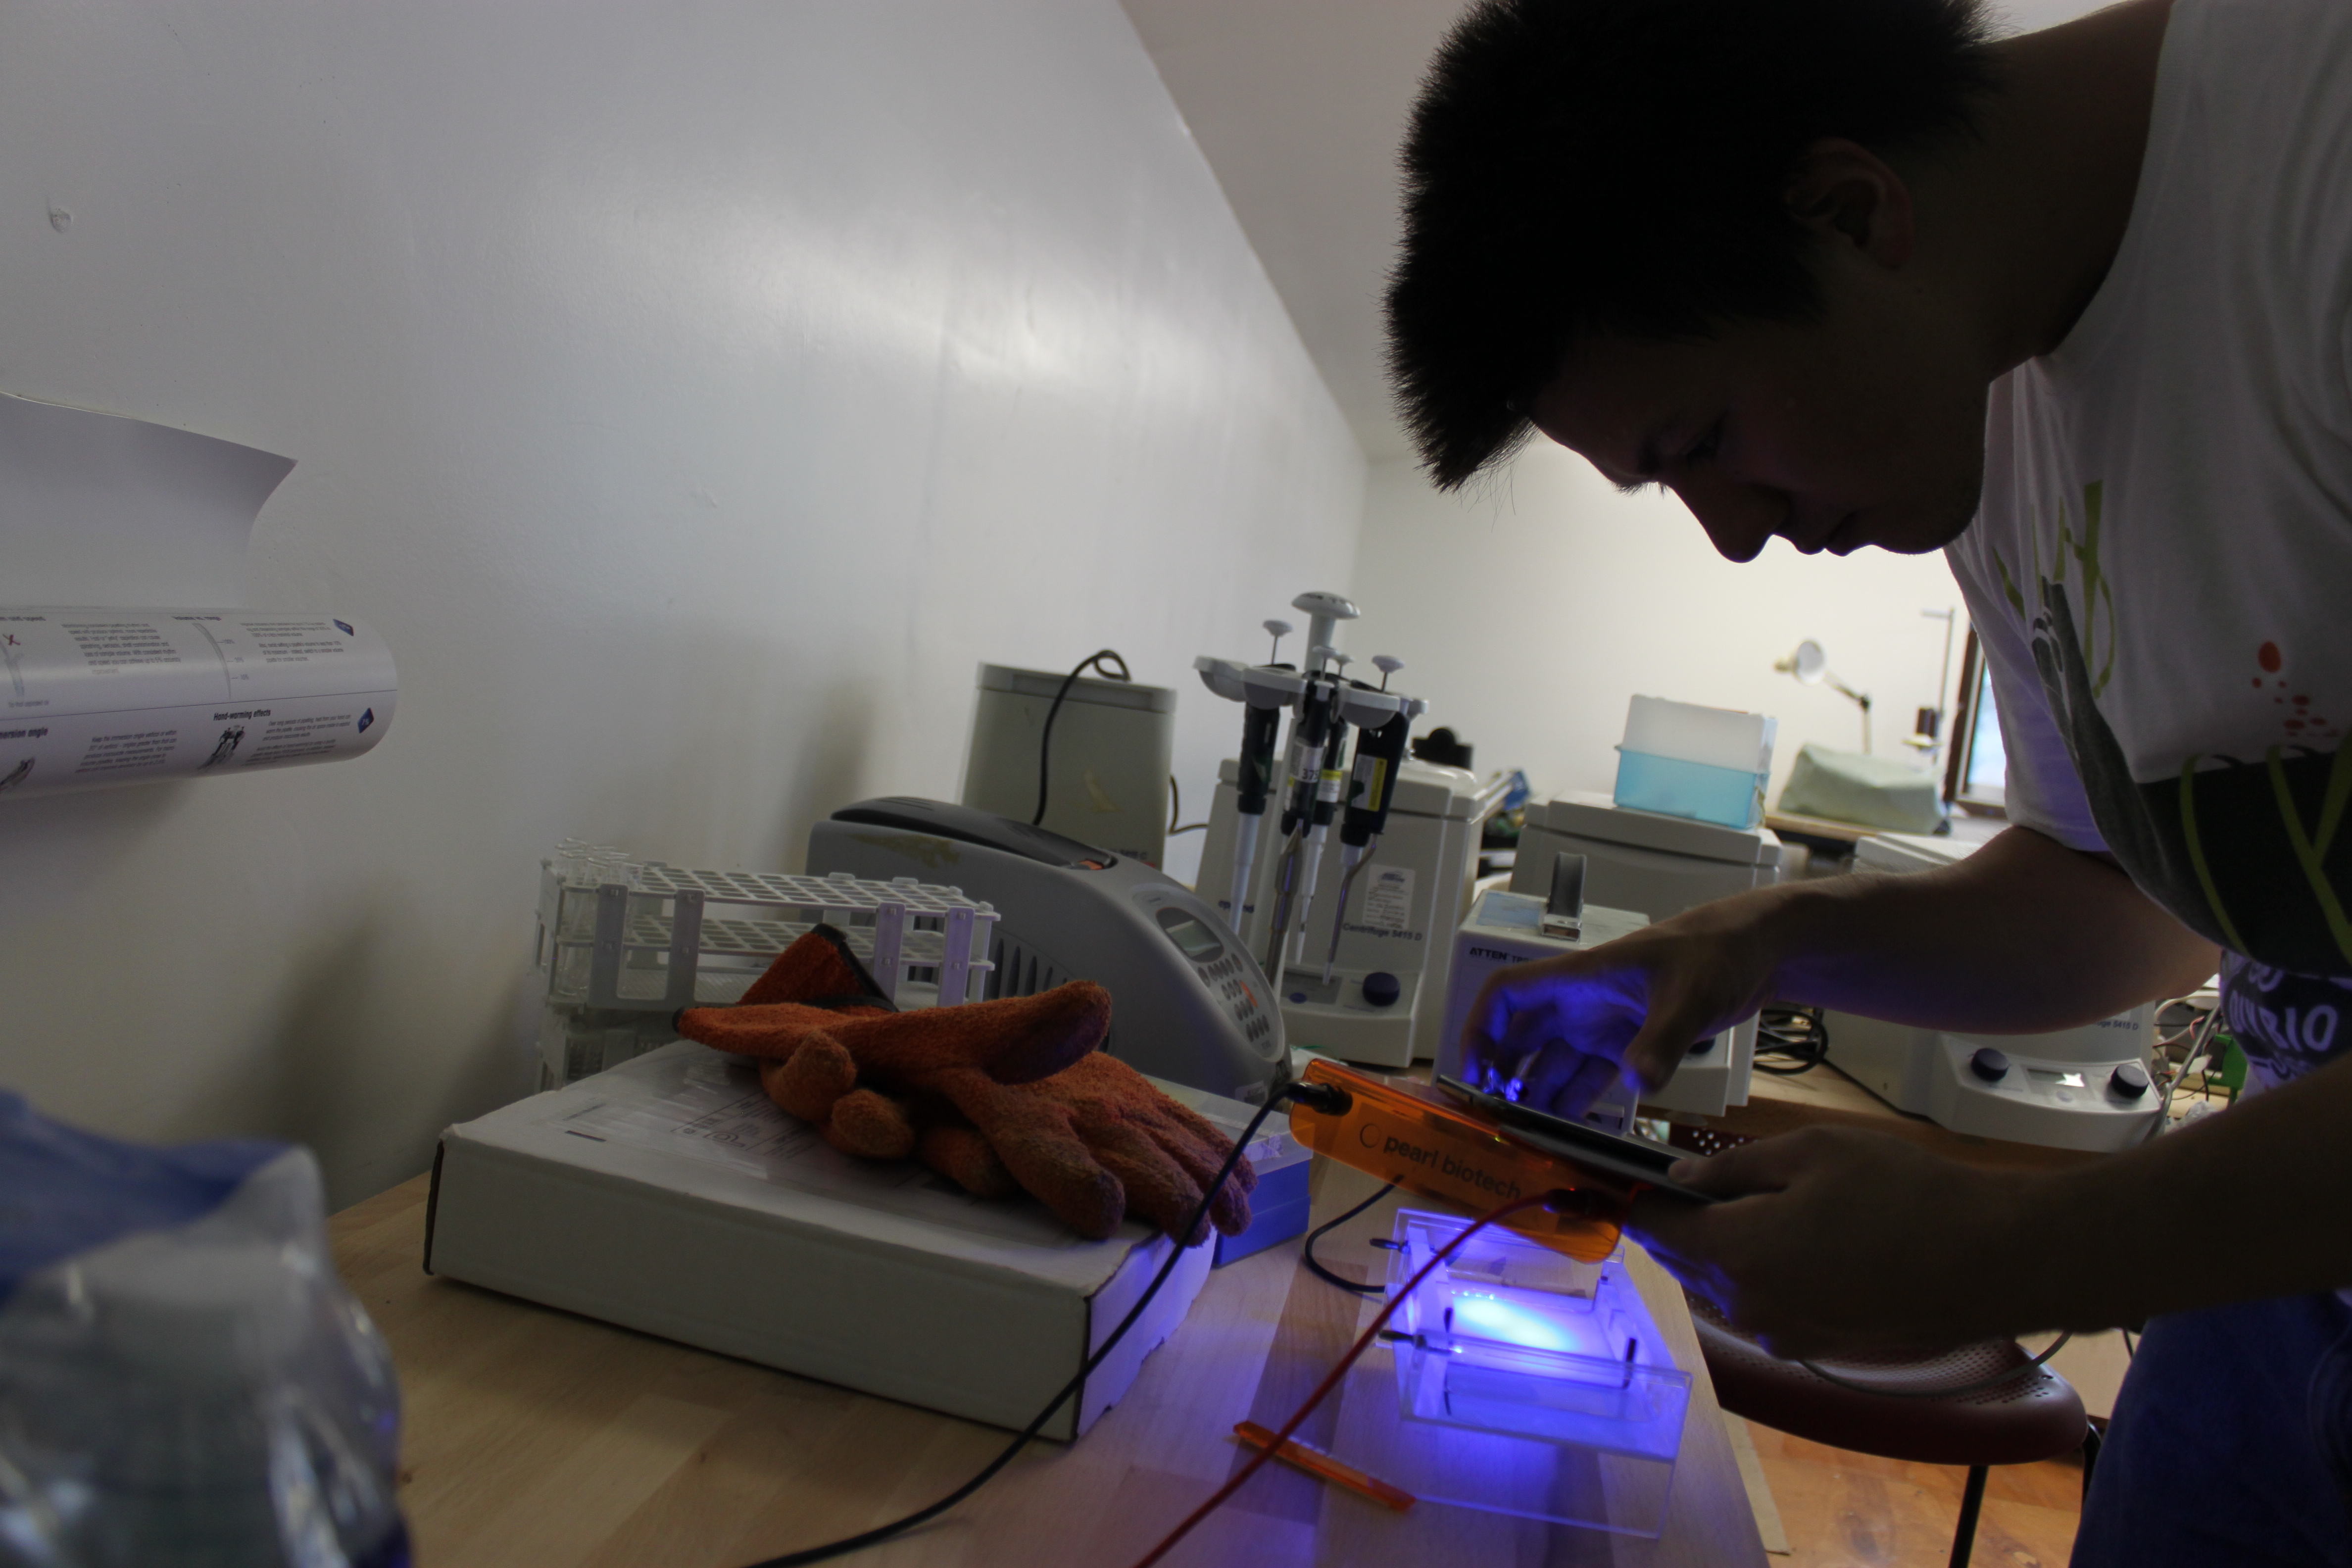
As you probably know, I have been a little obsessed with gel electrophoresis lately. I have challenged myself to design and market a low cost, elegant tool for electrophoresis, including a power supply and an illuminator. This post will focus on what I learned from testing several different light sources as gel transluminators/illuminators.
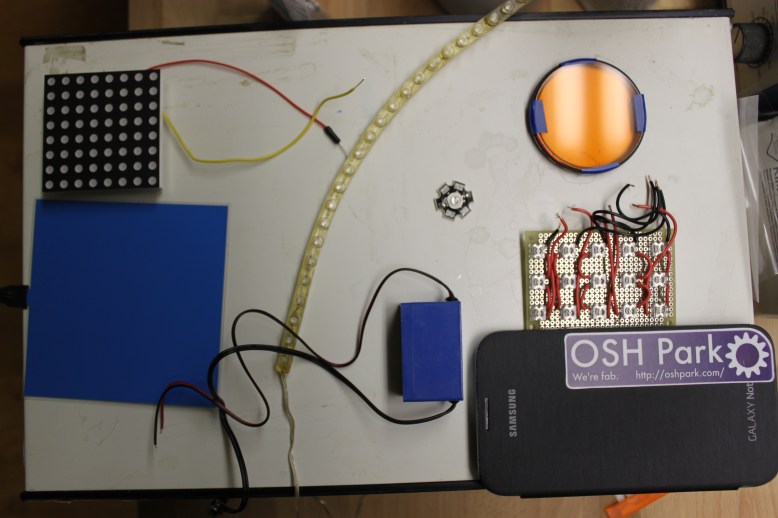
upper left, 8×8 panel. lower left, EL panel. Middle, 24 led car strip, 1W LED, inverter. Right top, lens filter. Right middle 3×5 LED panel, lower right cell pone.
The various light sources I tested were:
- Electroluminescent panel, powered with 12V inverter
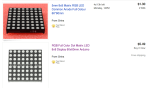
- 8×8 off-the-shelf RGB LED matrix
- 3×5 DIY blue LED matrix
- 1W Blue “star super ultra brigh wide angle high power” LED
- Samsung Galaxy note II on this page
- 24x long 12V car accessory LED strip
- Dell latitude E6410 screen again, on this page
- 2 Radioshack LEDs
The four criteria I will be judging these illumination on are:
- Brightness. It is critical that you are able to see the bands and even photograph them
- Even distribution of lighting. It is critical that the light be evenly distributed, both for photography and for comparing intensity. Bright spots can also back-light DNA and make it impossible to see.
- Ease of use. It is important that the device be easy to set up, and safe to use. Bare wires and sketchy electrical connections are bad.
- Cost. Cheaper things tend to be more attractive. Folks on a budget tend to care about this!
Now, if you are the TL;DR type, I will tell you flat out what my top choices are. The Brightest is the 1W LED, provided you can get it running. I used a bench PSU and it drew ~.3A at ~3V. The most even is the EL panel, this thing is amazingly even.. Ease of use ends up being a toss up between EL panel and cell phone. Cheap ends up being a toss up between car LED string and cell phone, depending on what phone you have. Definitely read the in depth analysis of each option though, because there are a lot of pros and cons hidden in these generalizations.
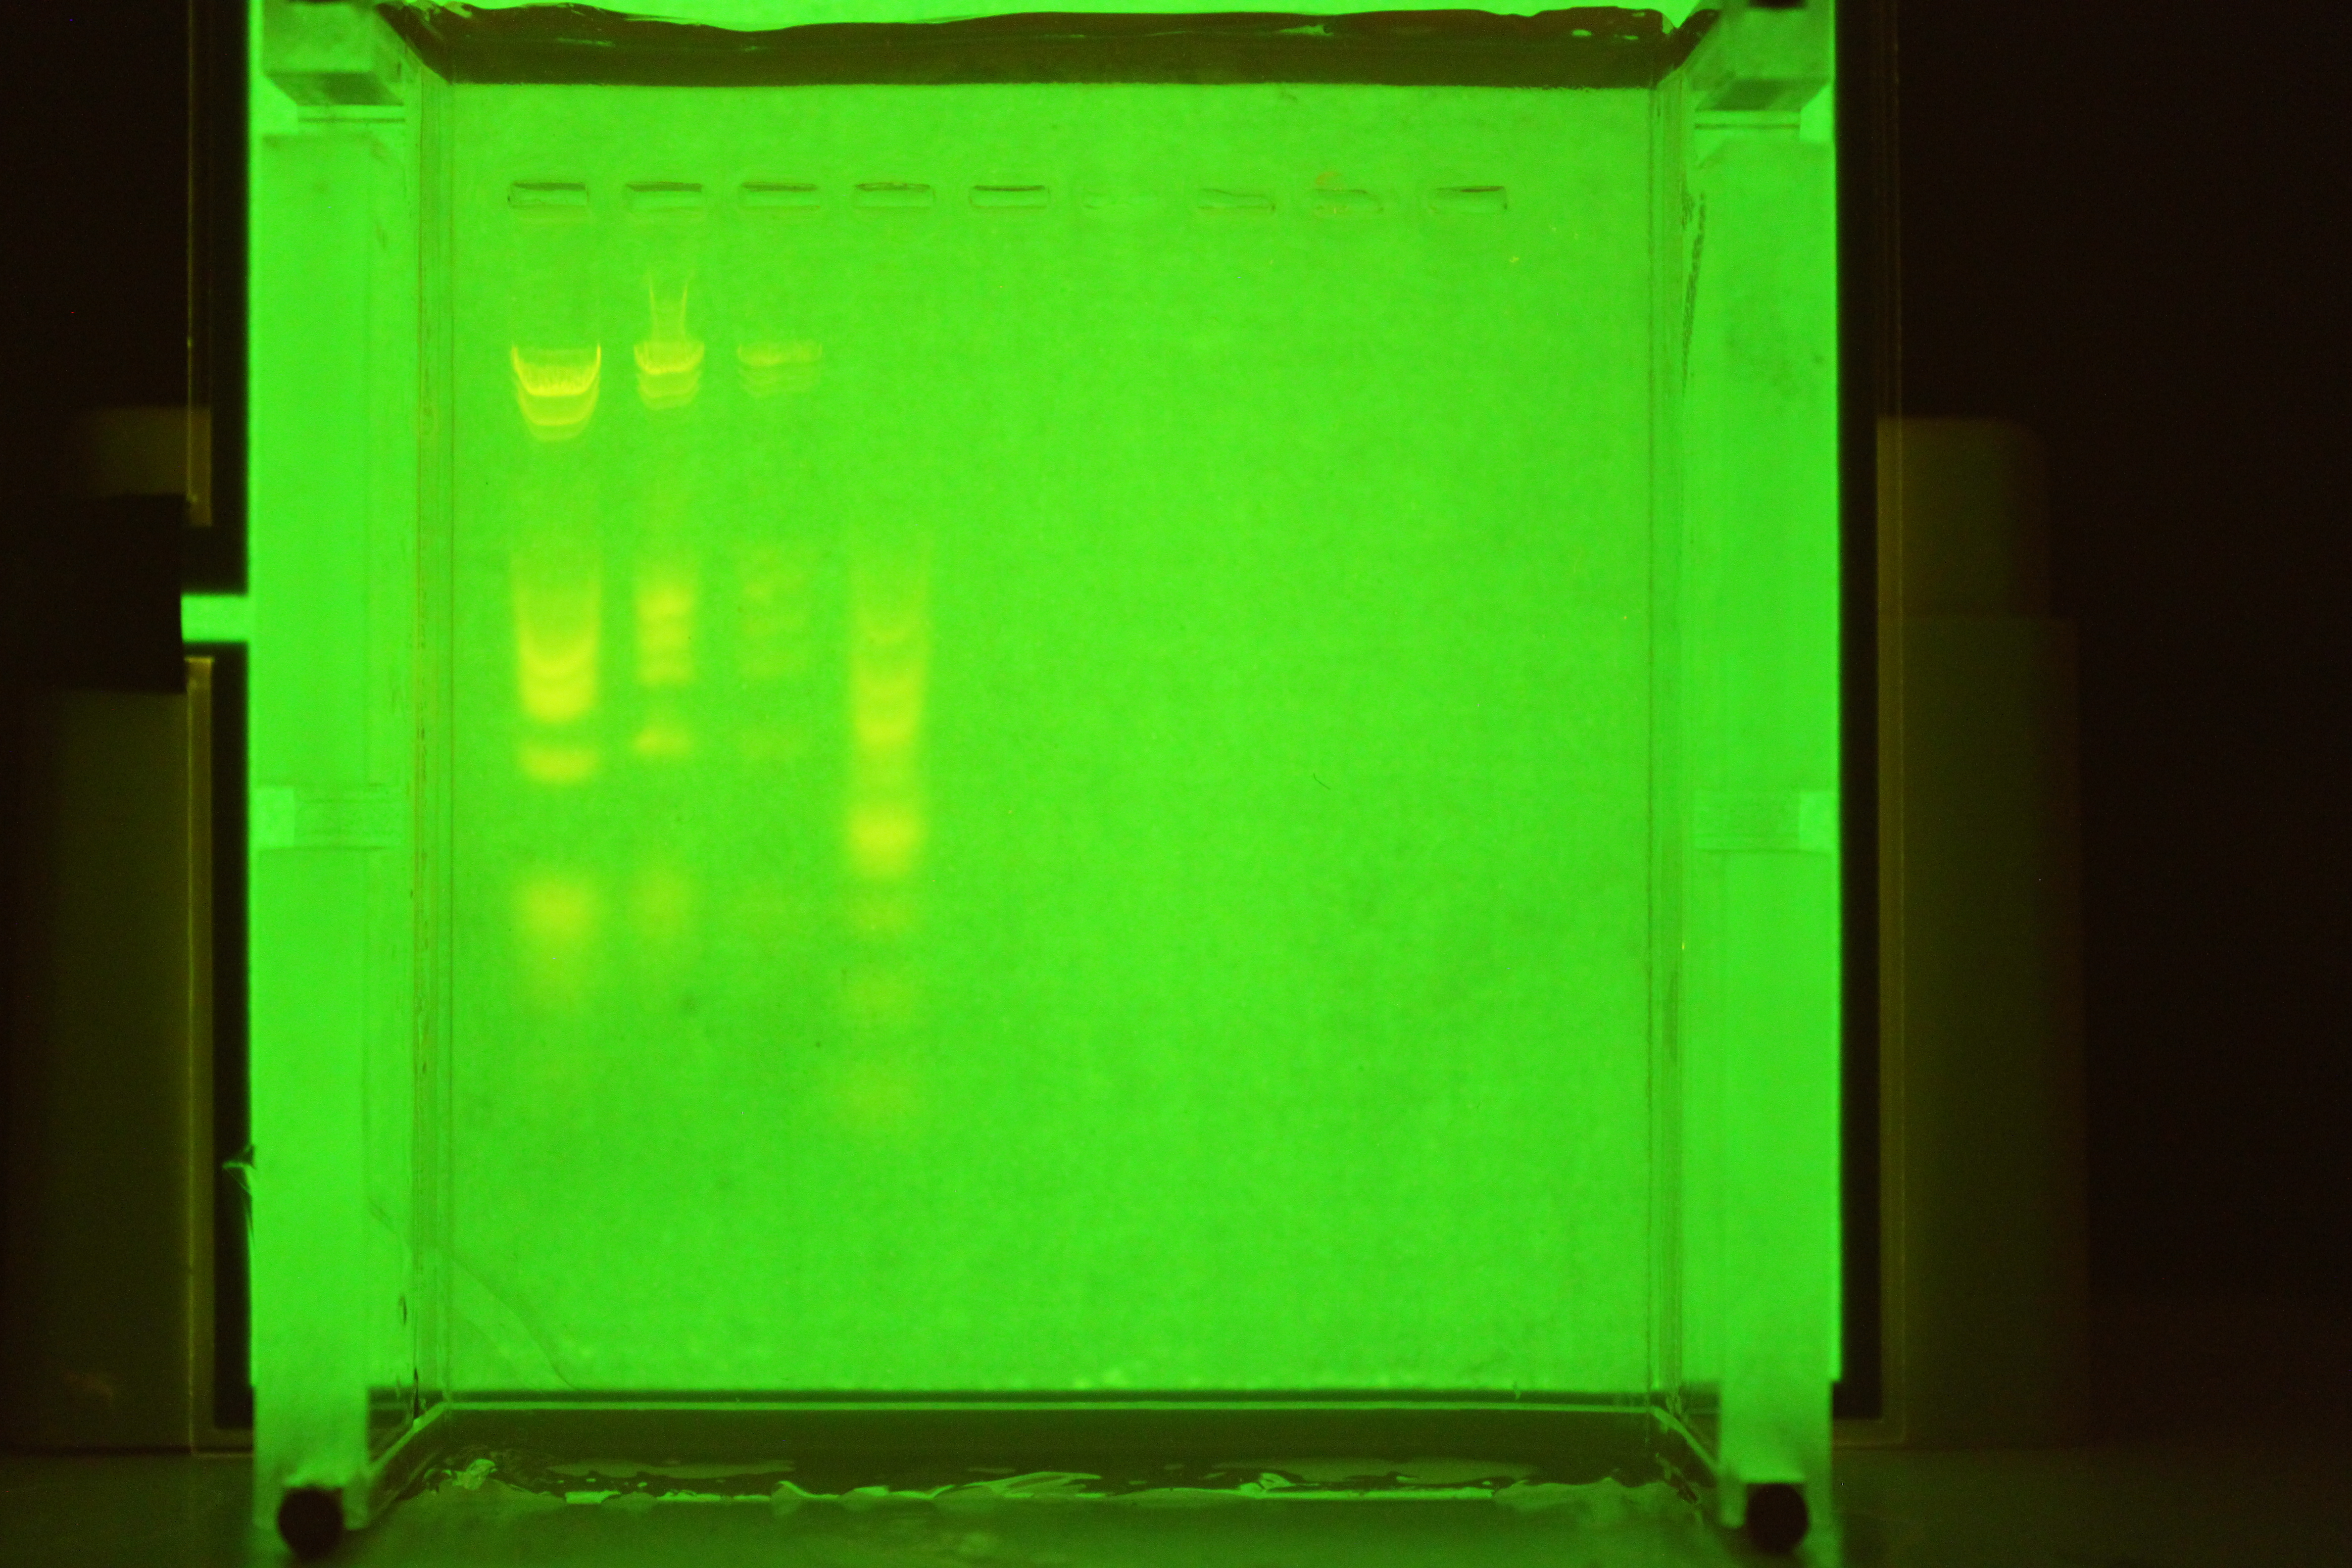
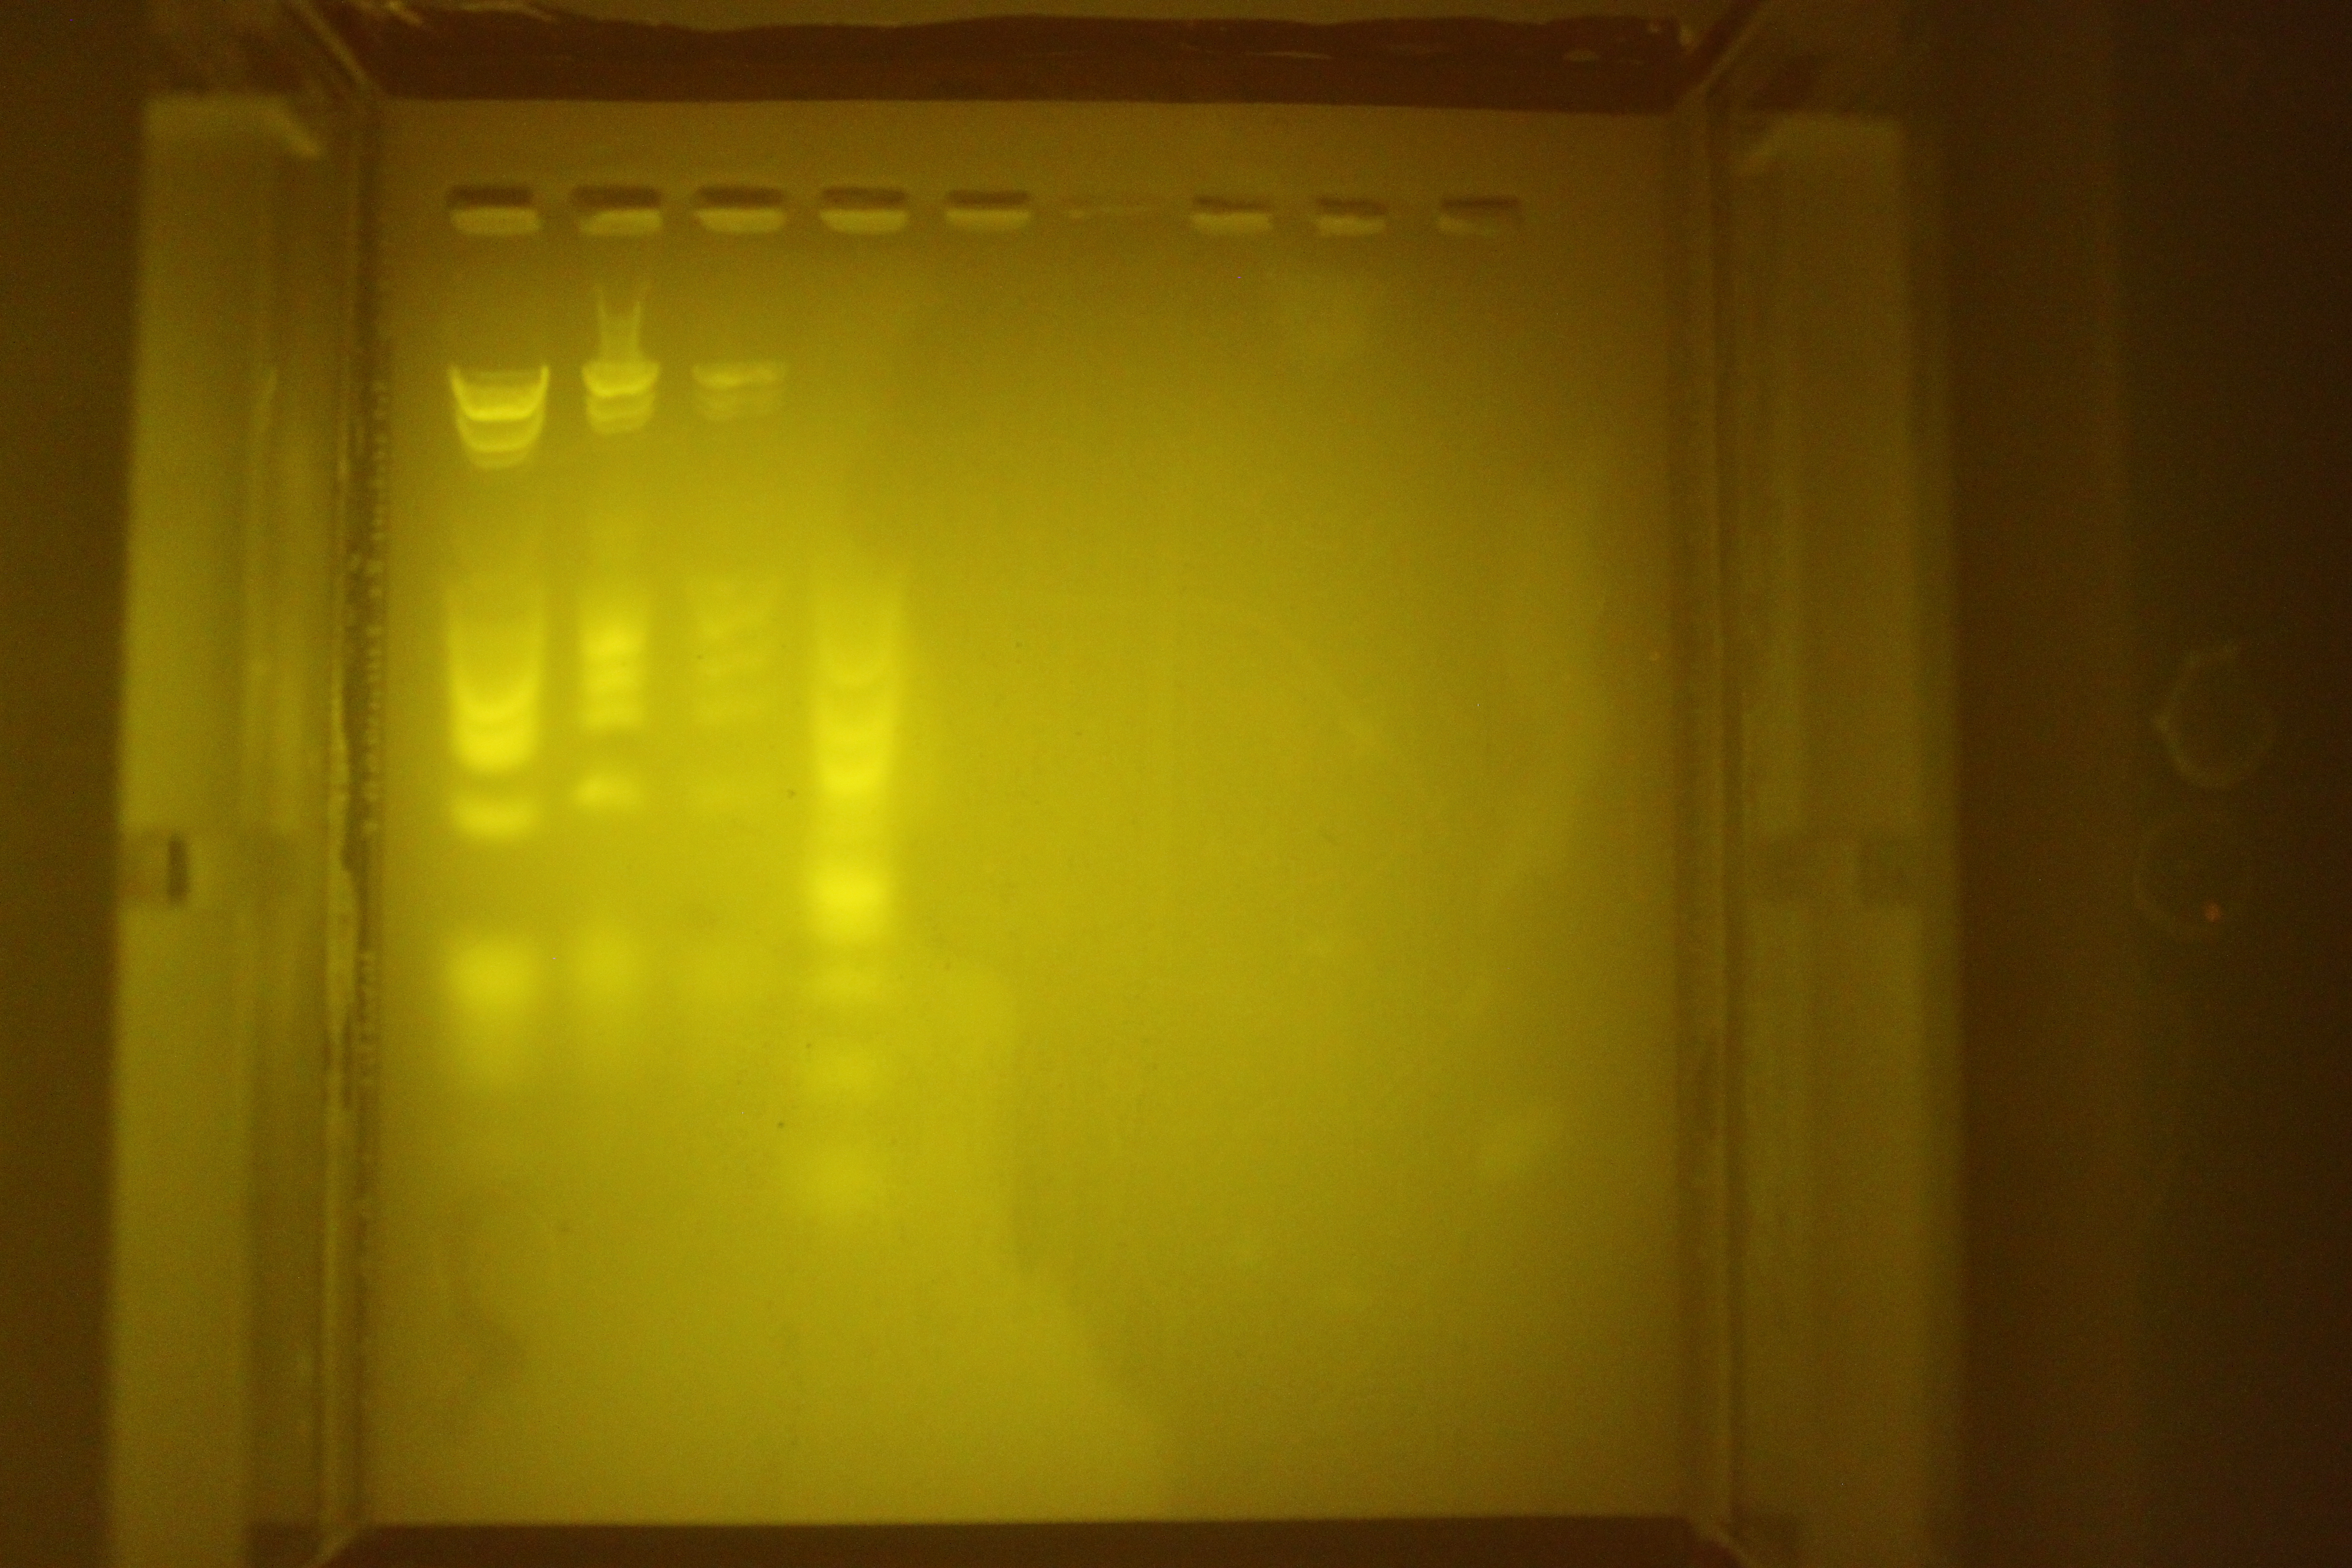
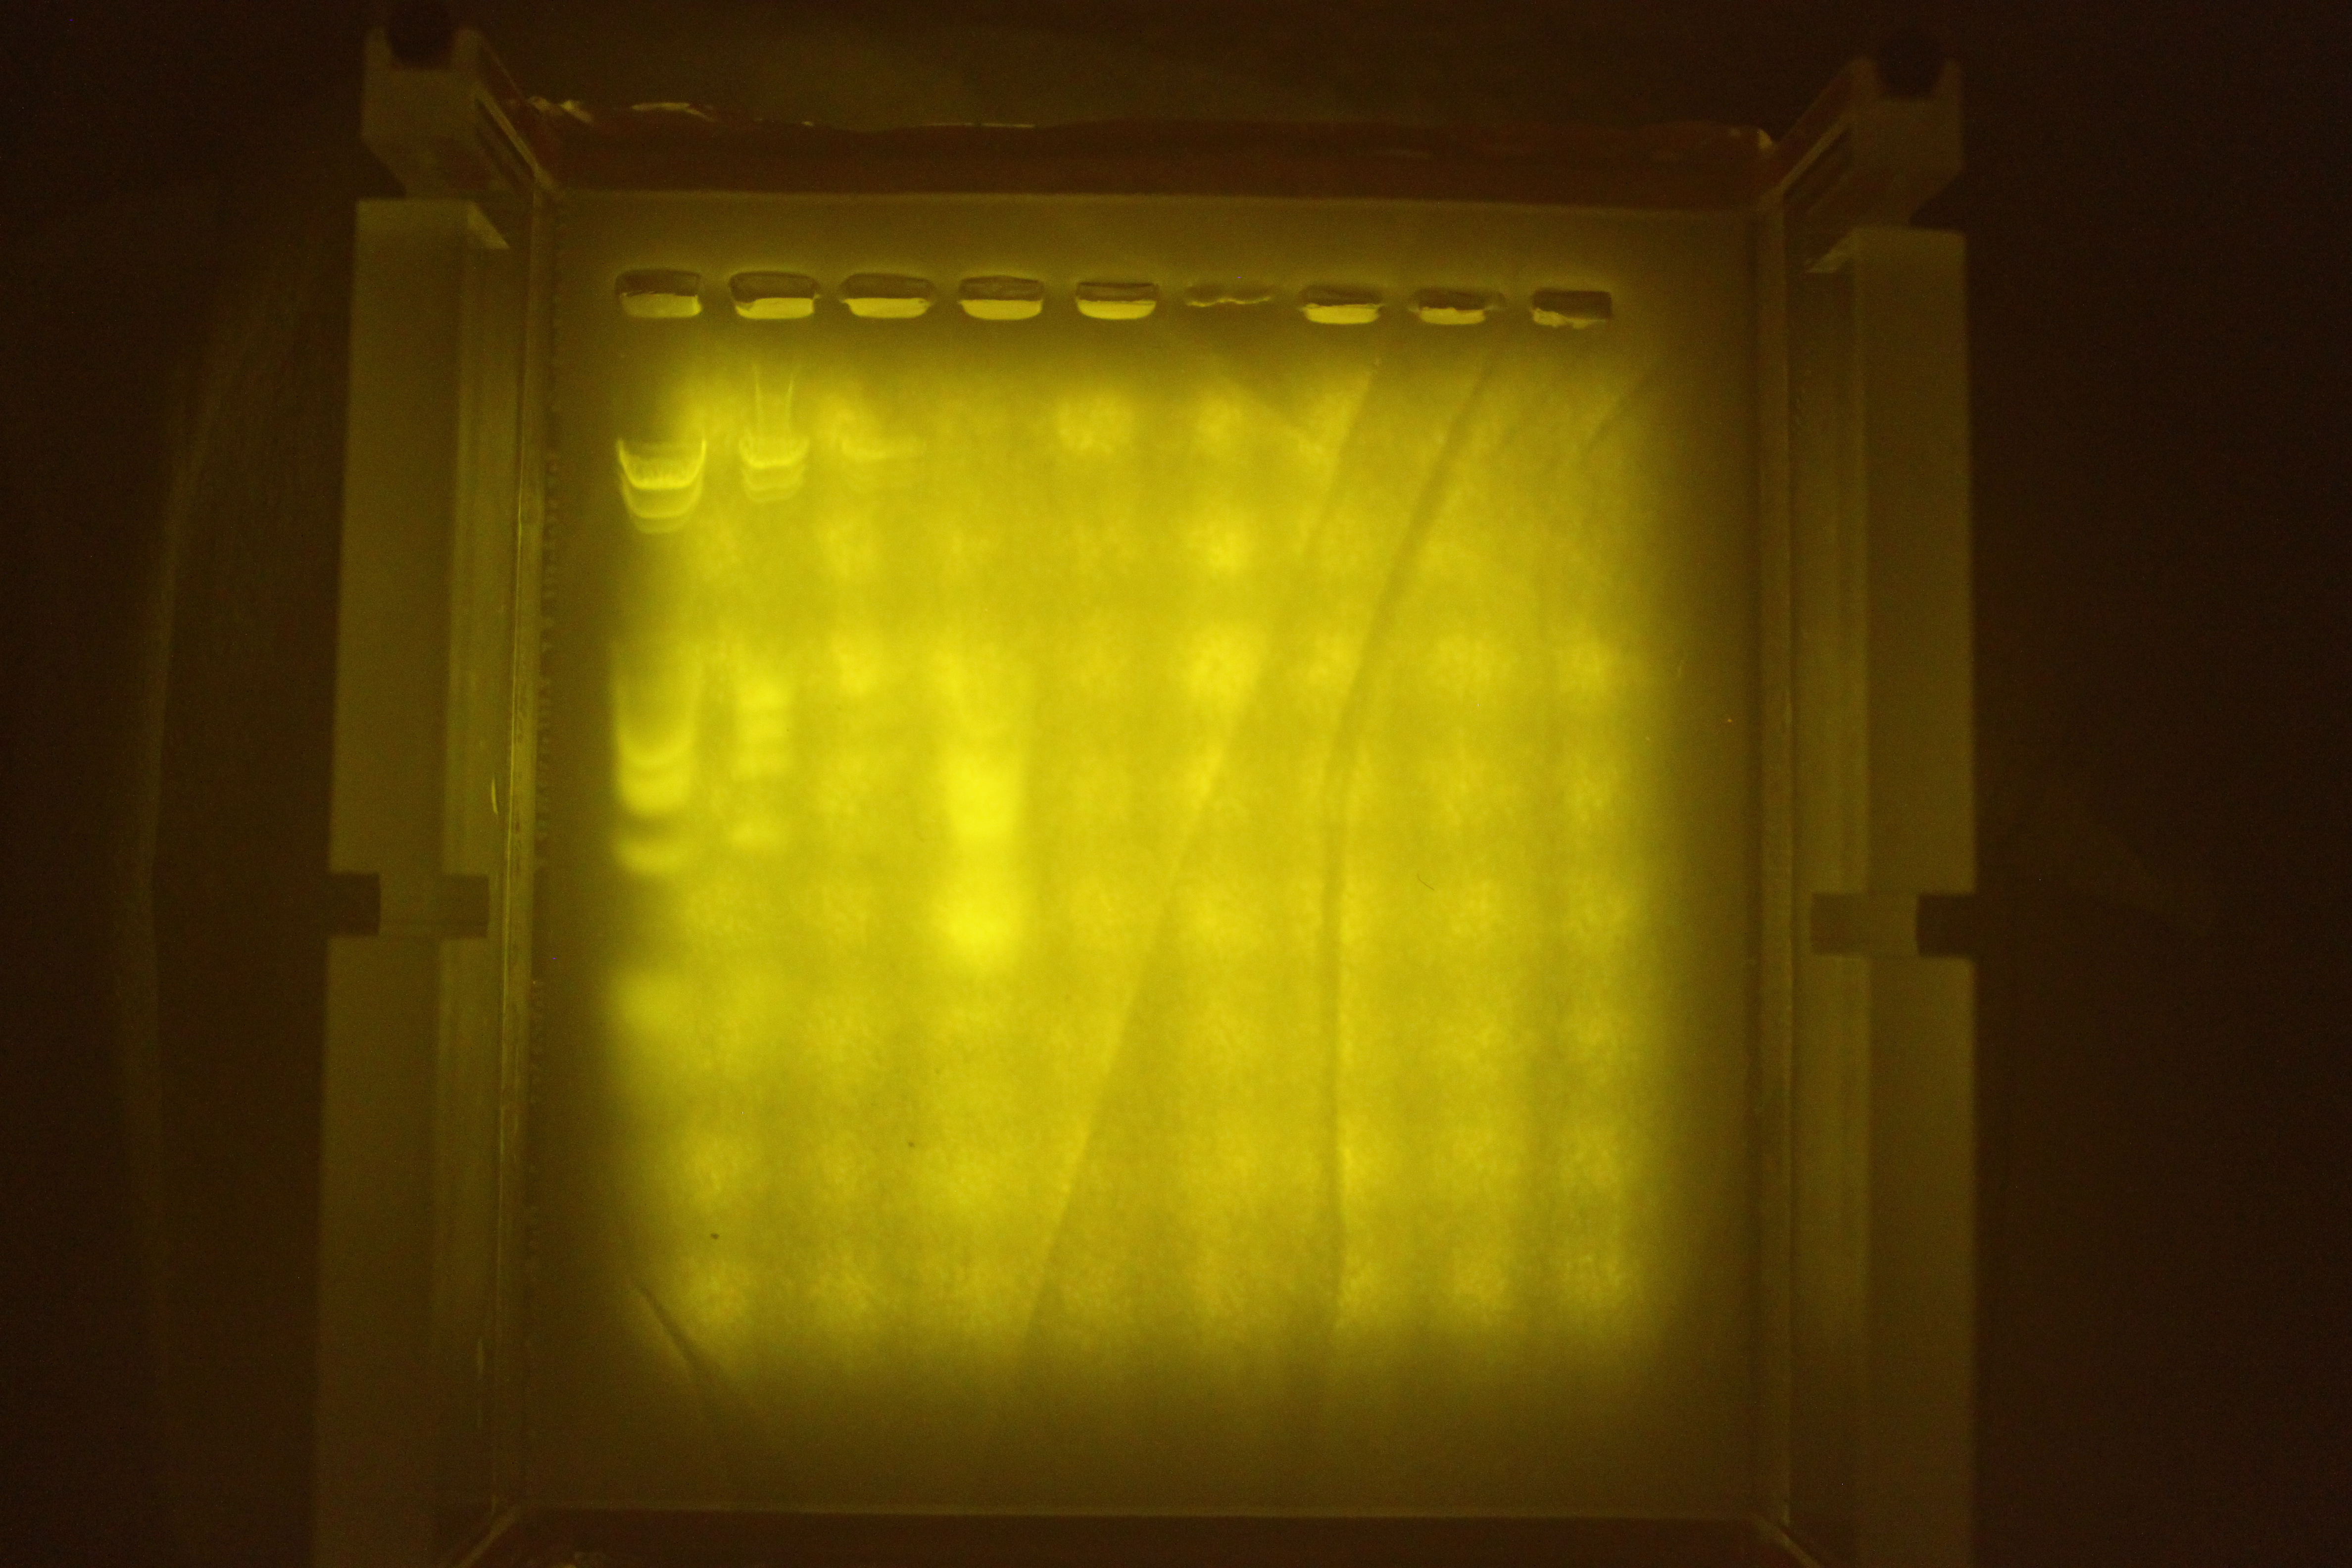
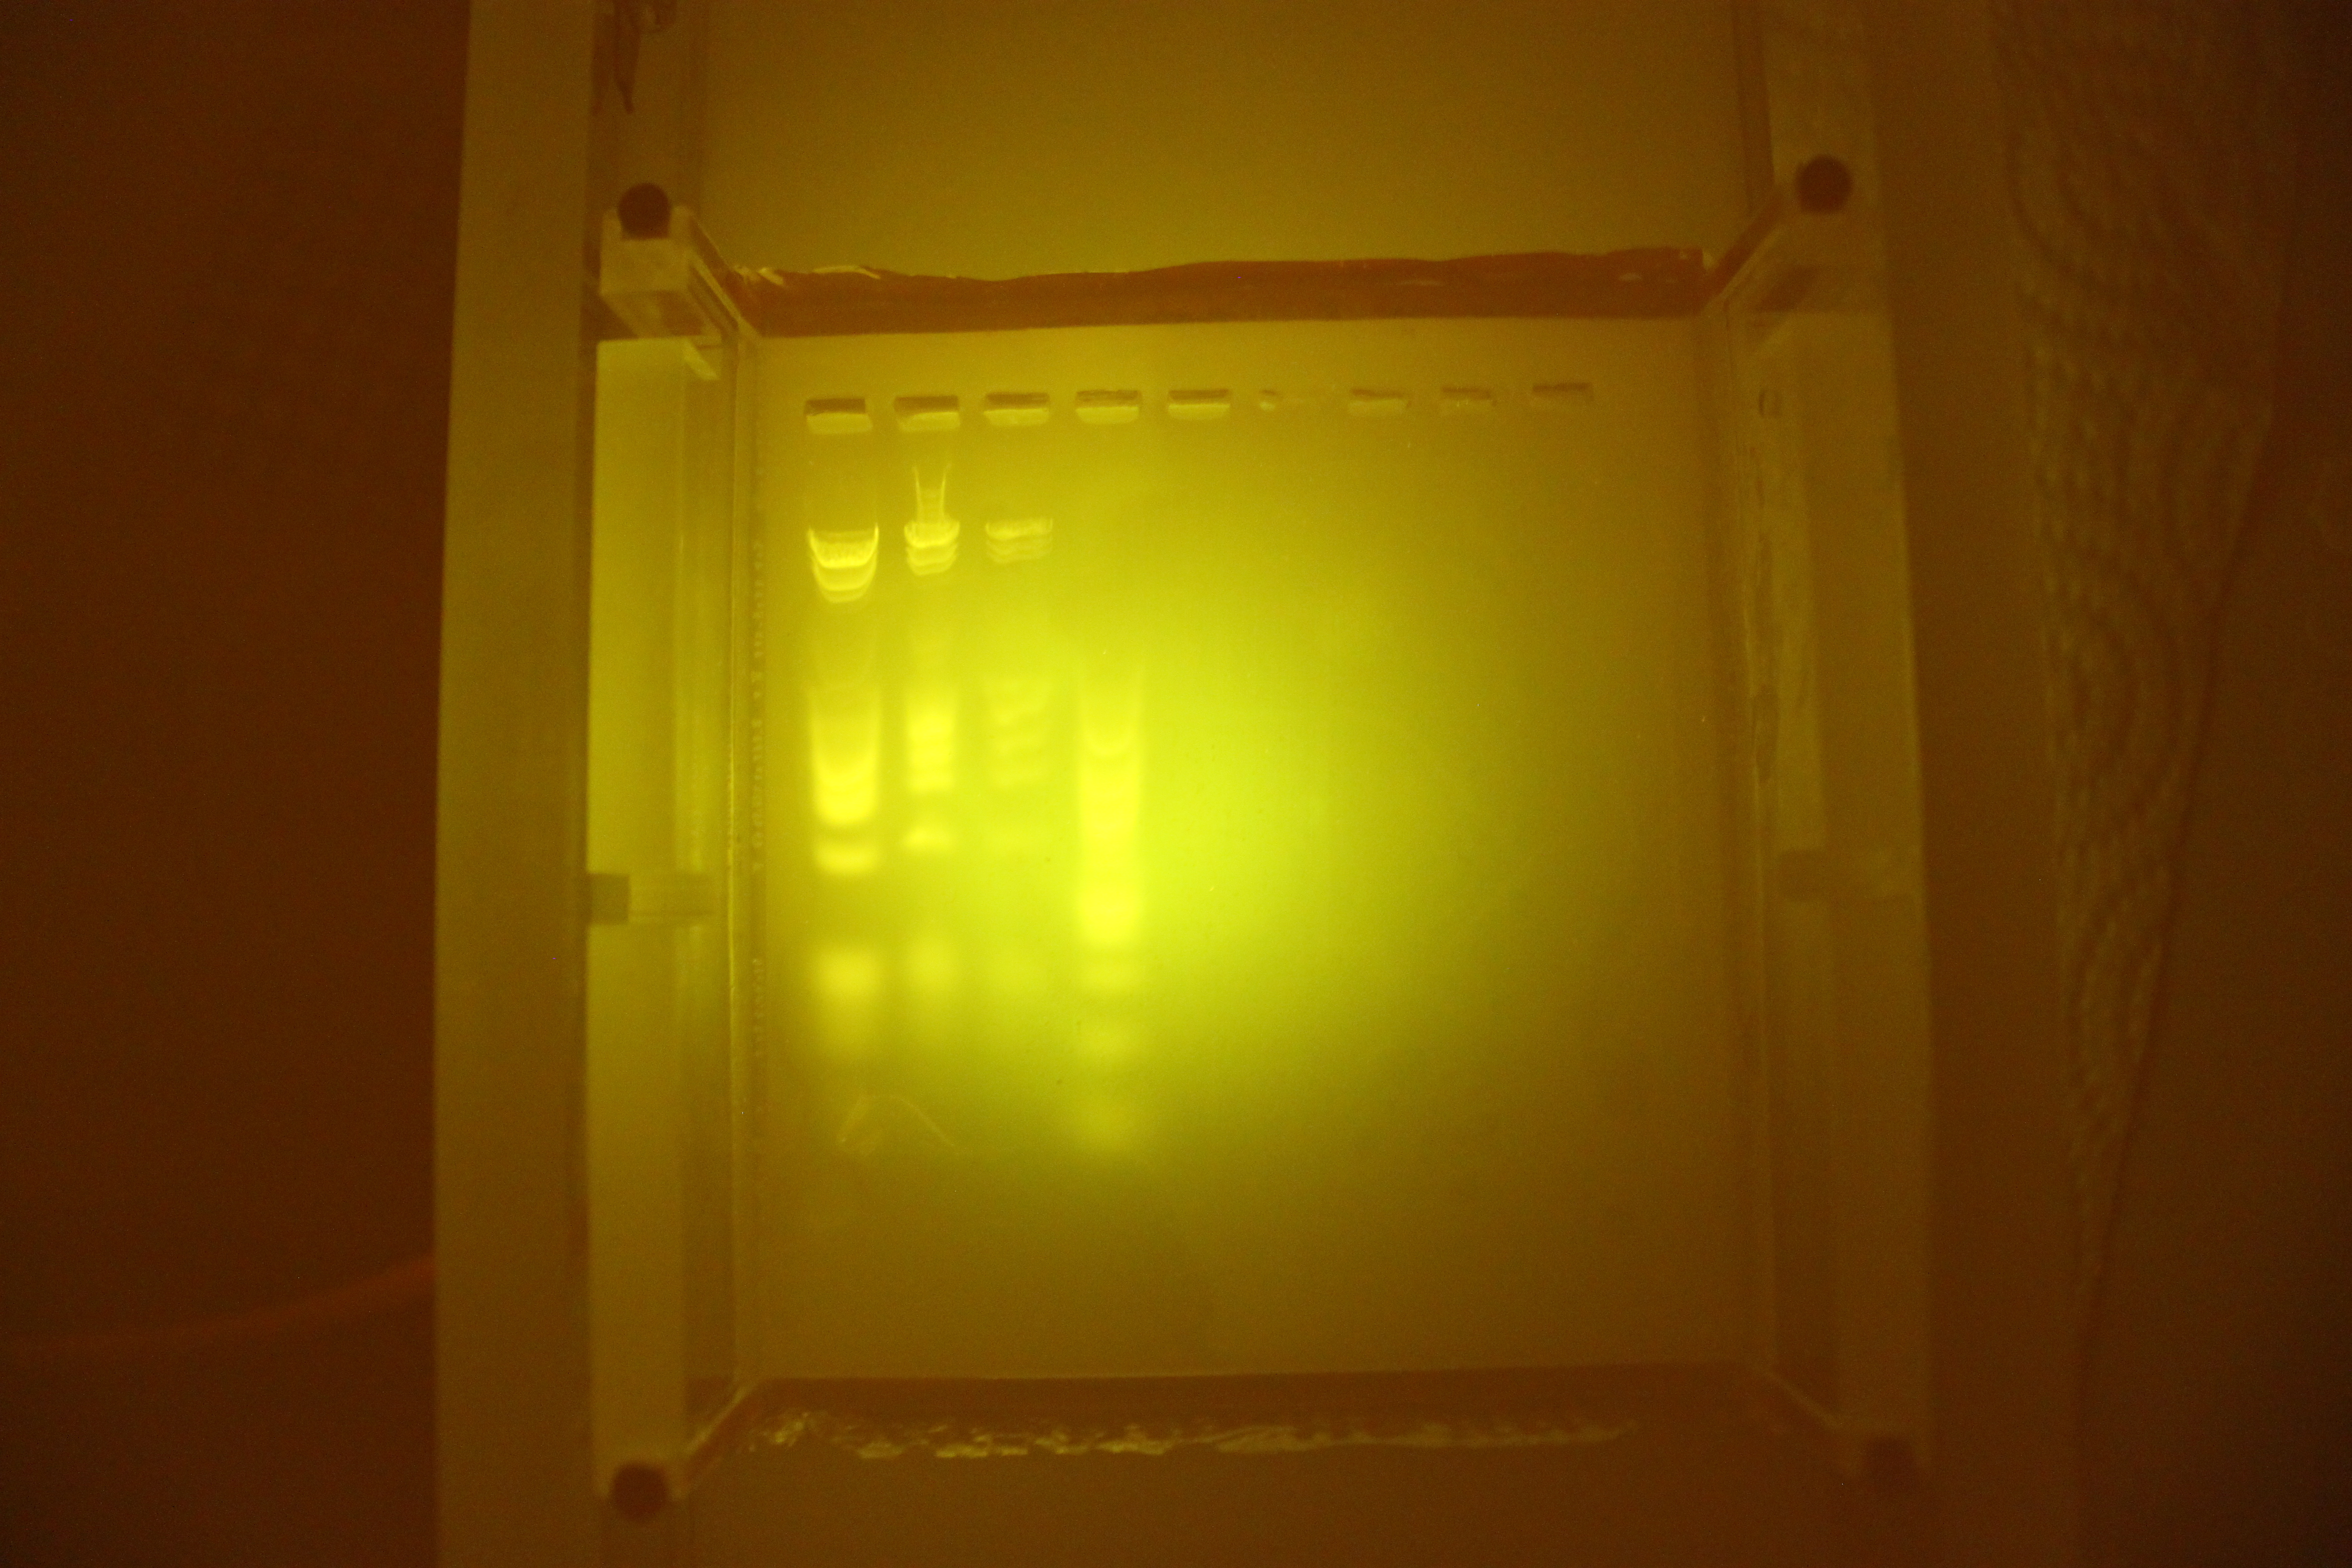
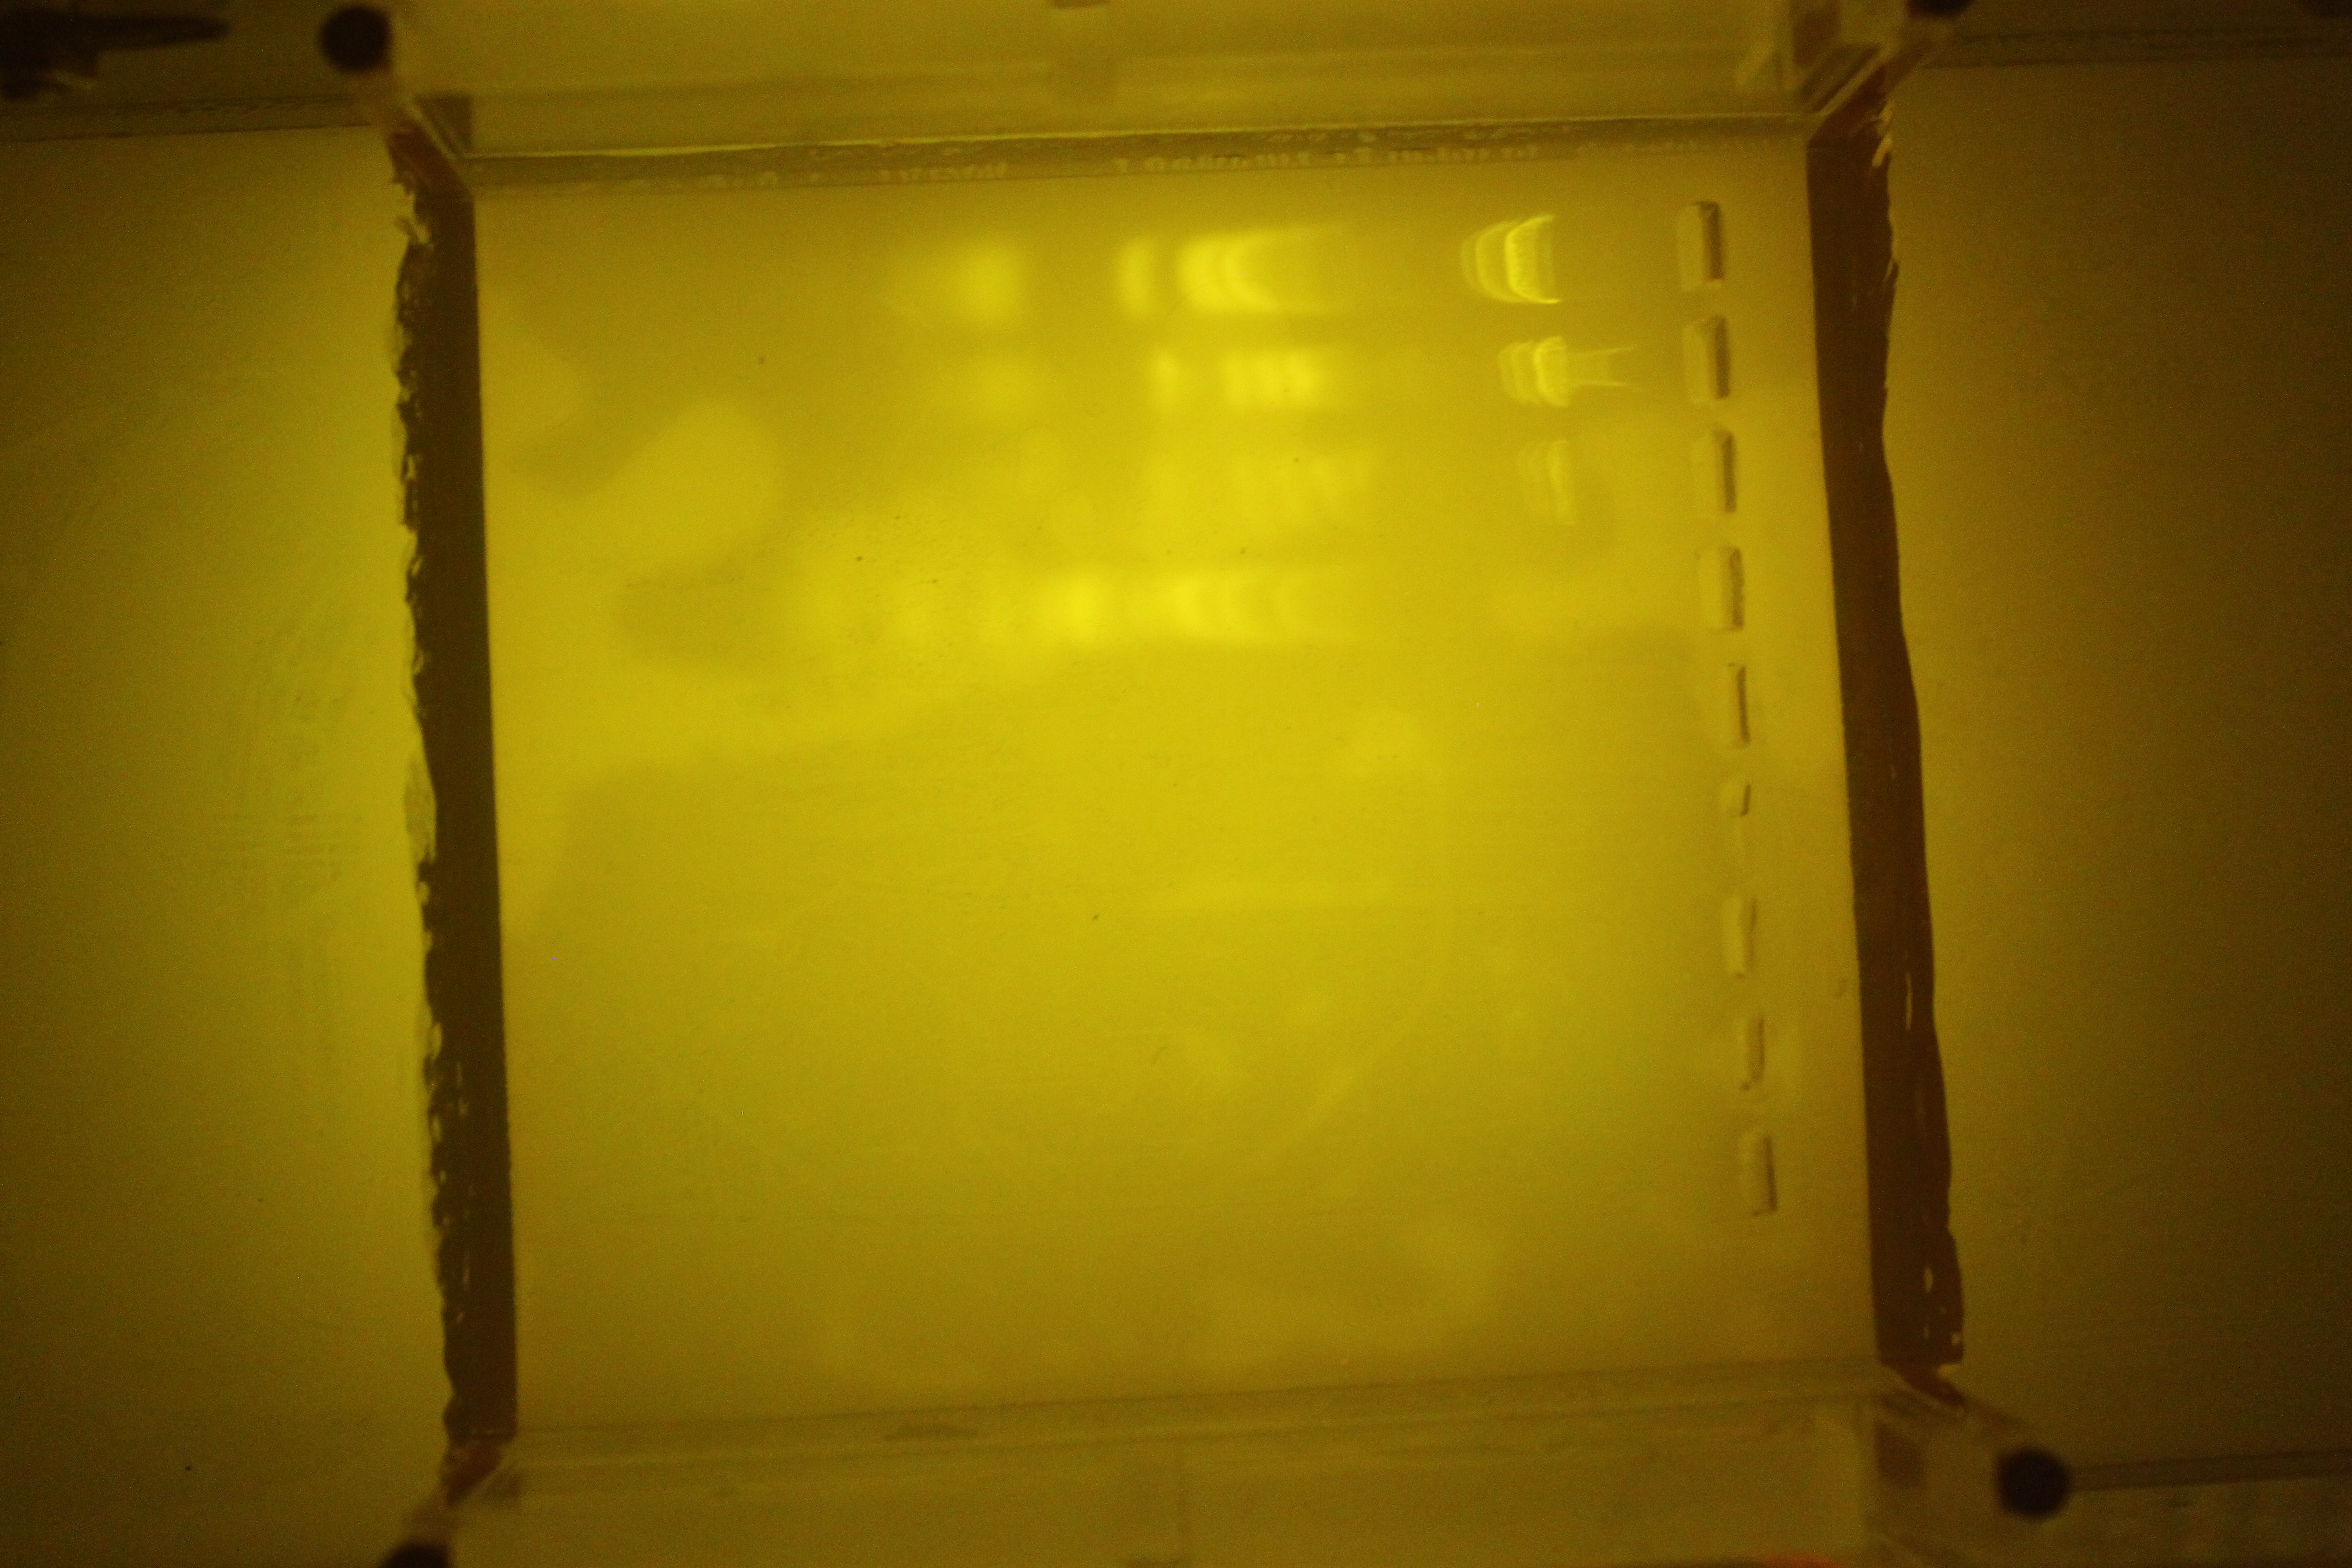
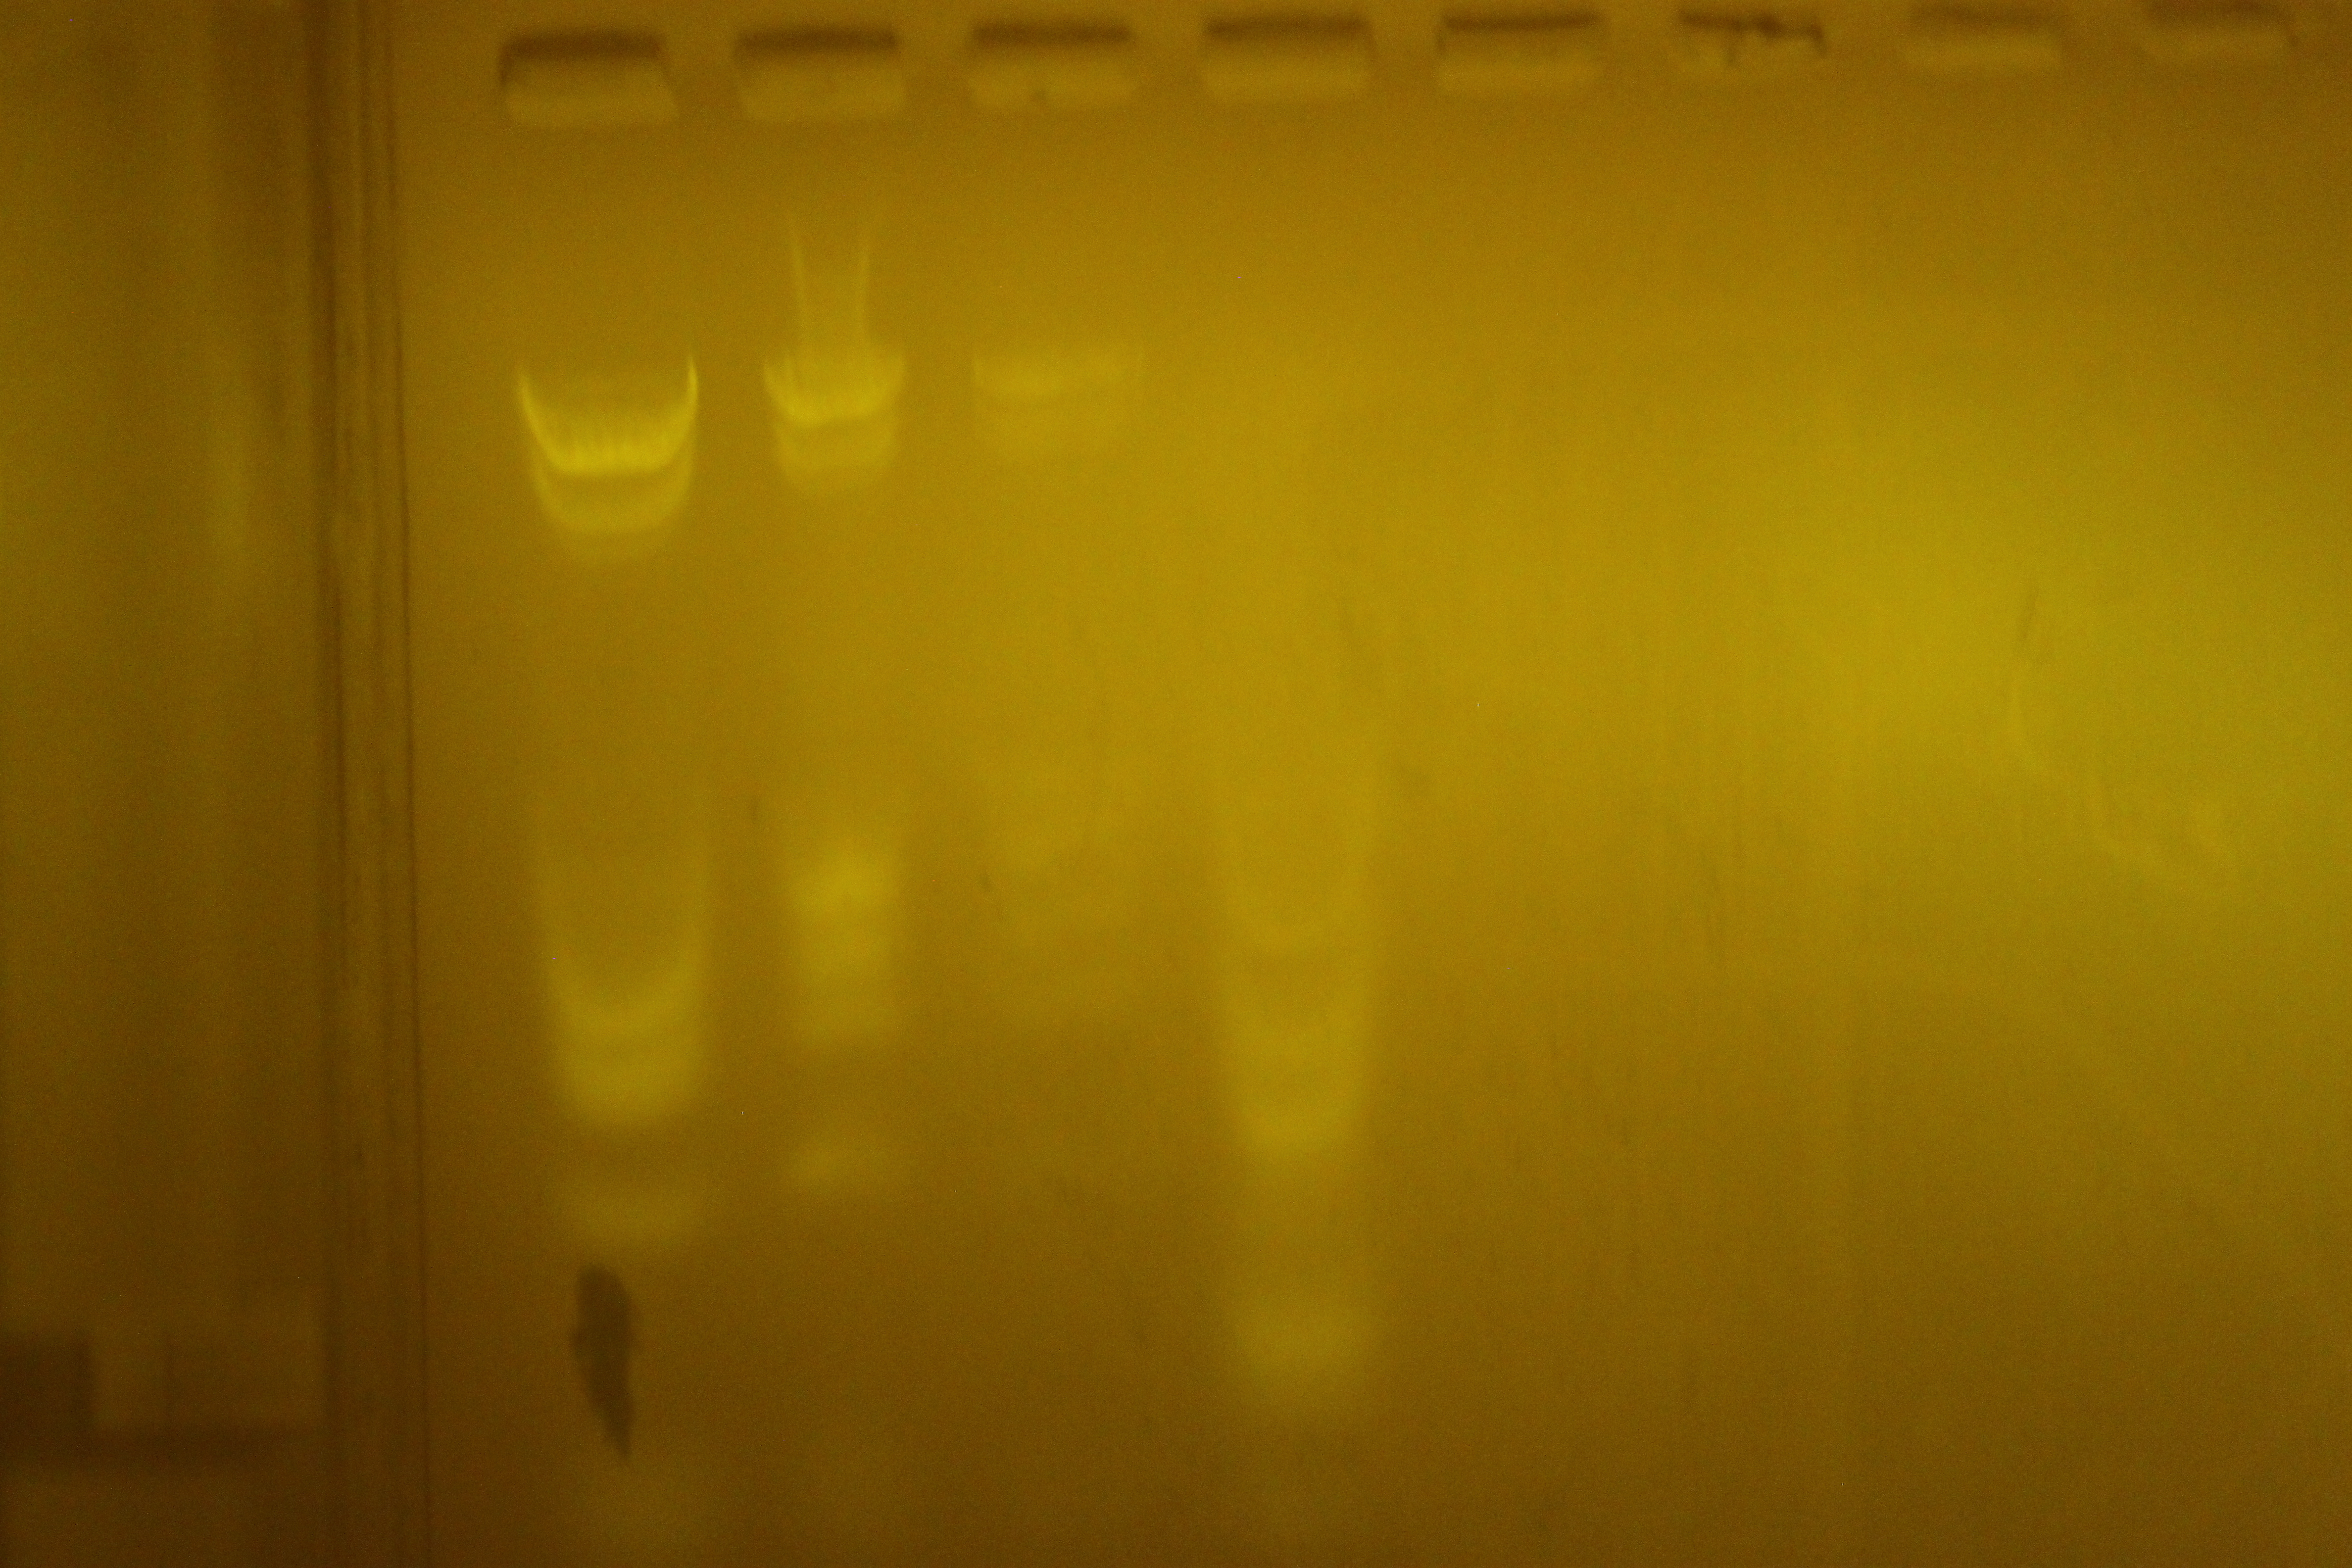
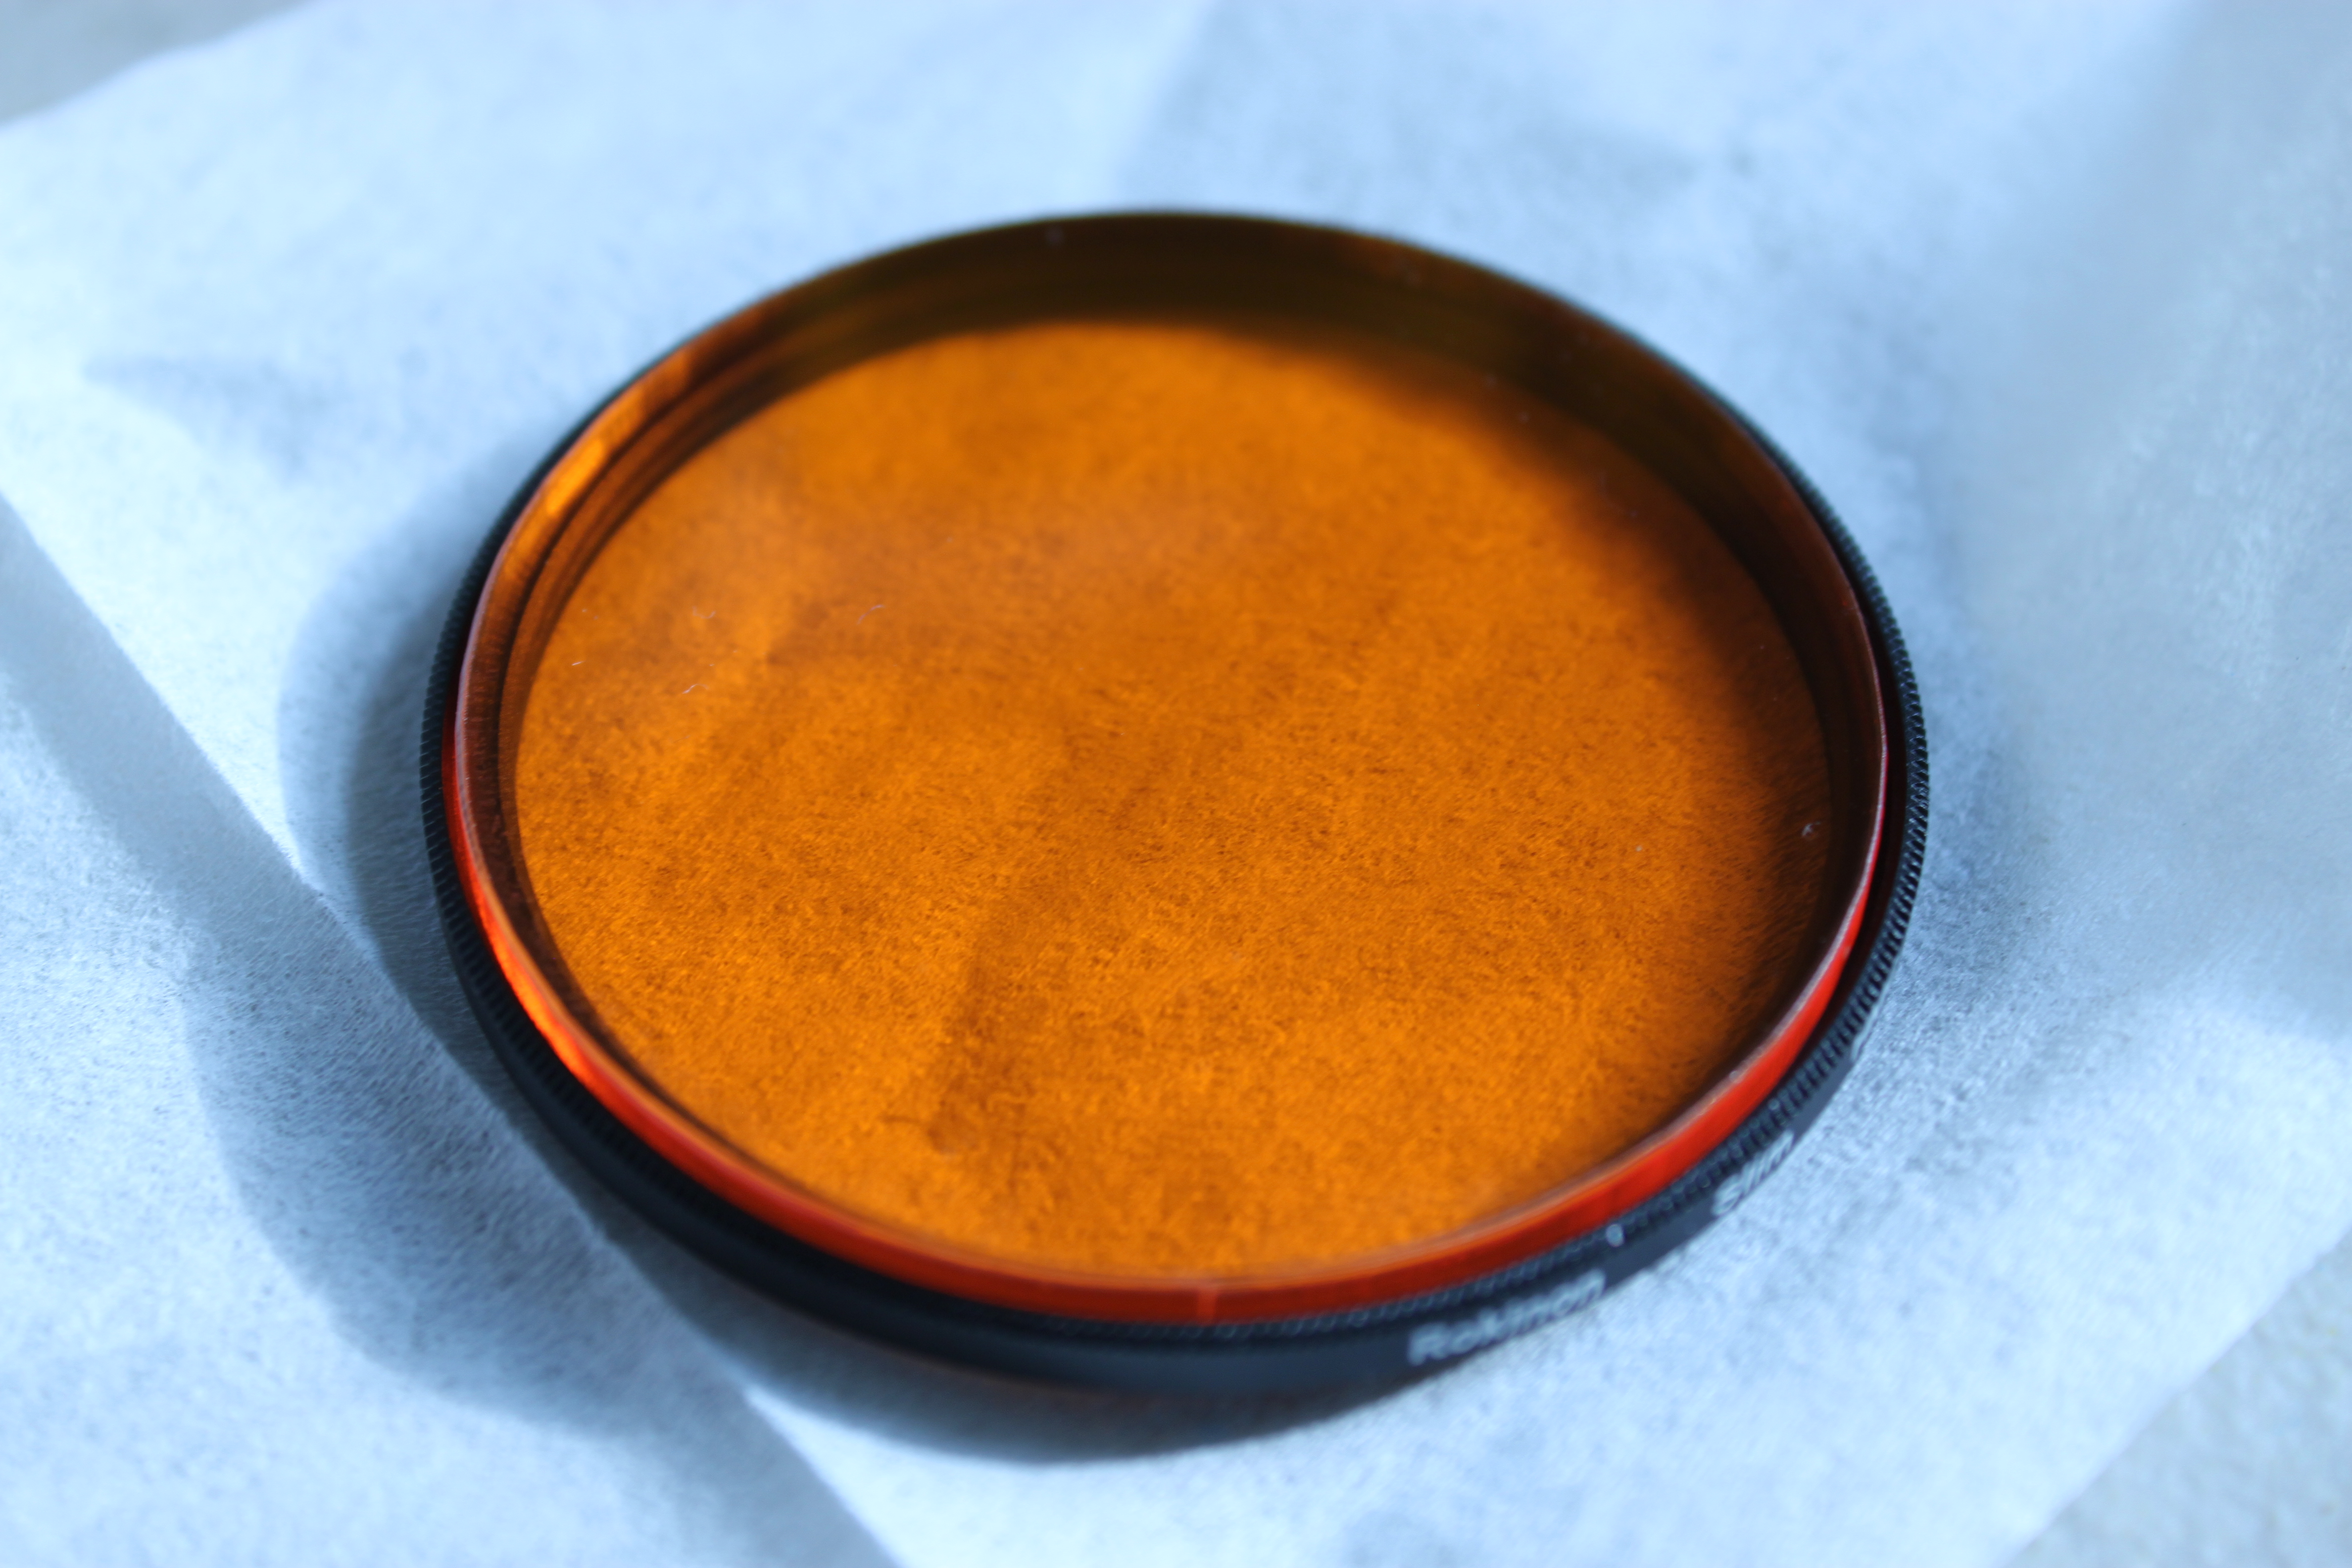
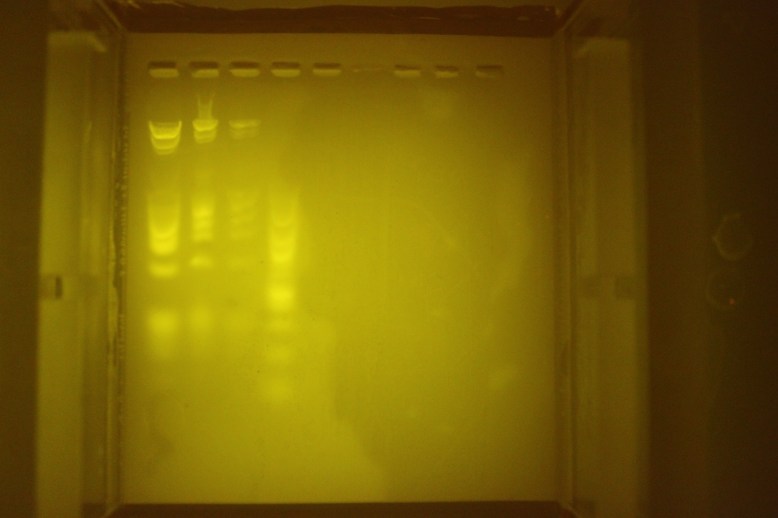
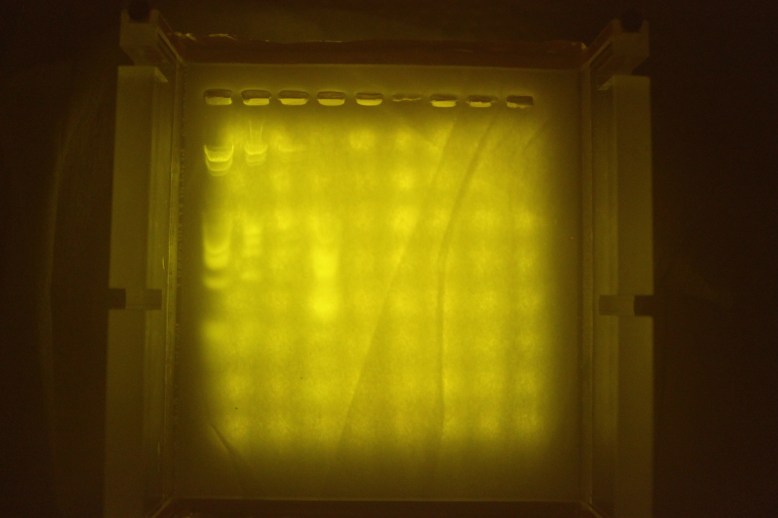
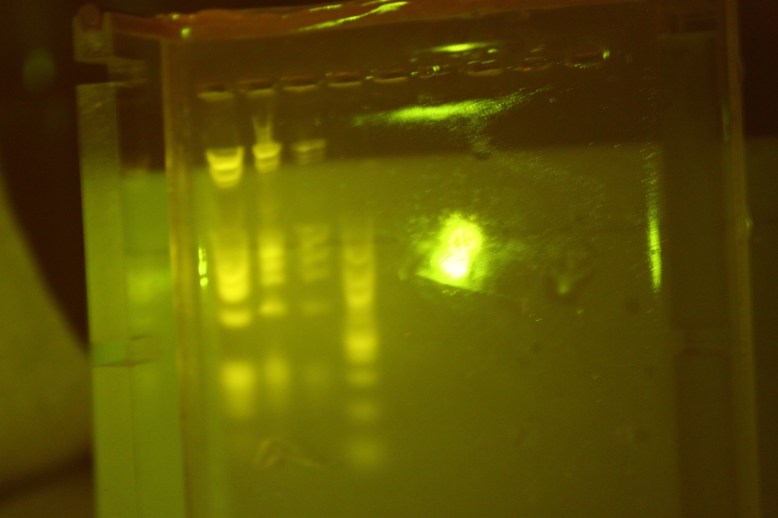
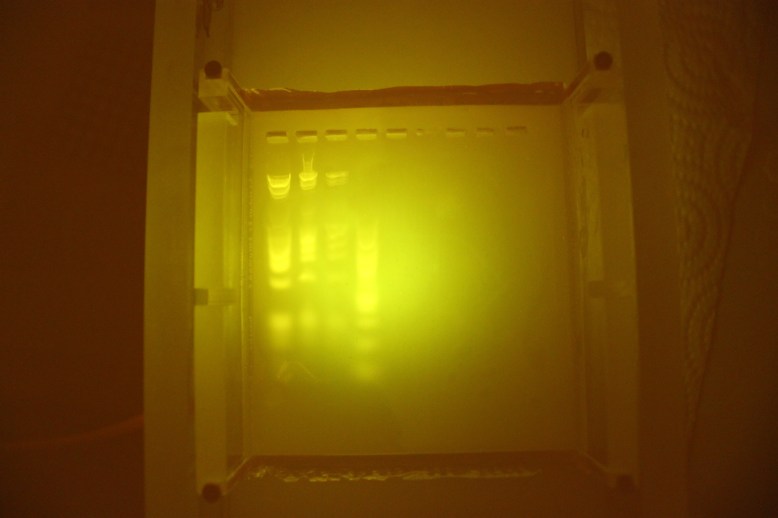
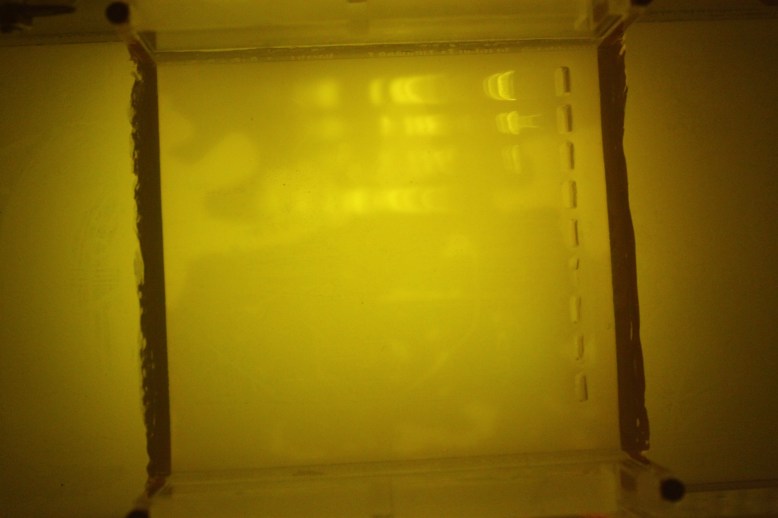
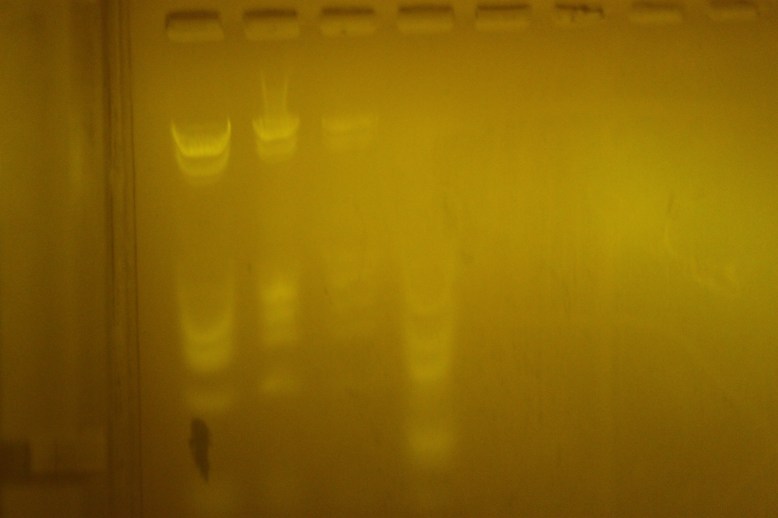
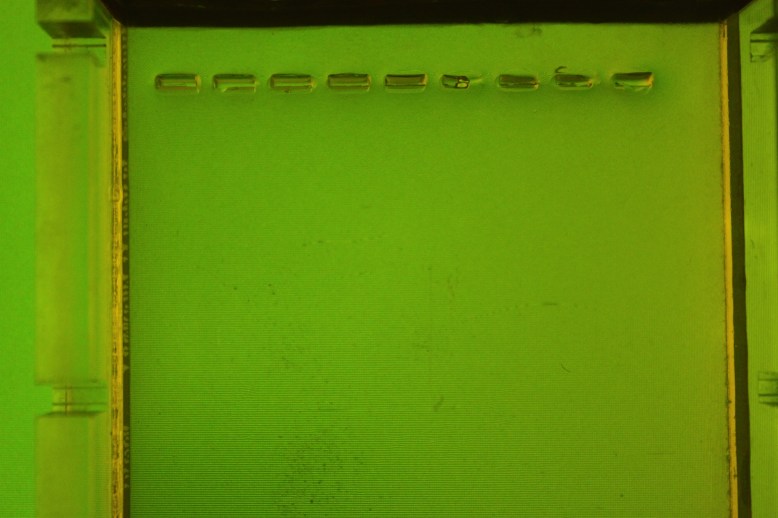
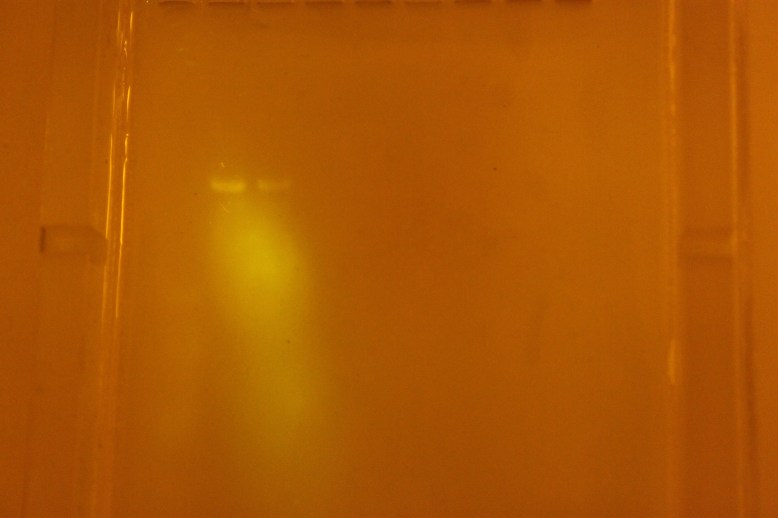
Notes about photography and the test gel: All photos were taken with a Canon T1i with a 35-55mm lens (iirc). Some were taken with manual focus, and some with autofocus. I used the filter mentioned in this post to take the pictures, as it would be cumbersome to set up a filter for every shot. The gel columns, from “left to right” are 1ug quickload broad range ladder (NEB #N0303), .5 ug of the same ladder, .15 ug of the ladder and 1ug of 100 bp ladder (NEB #N3231). I was run for about an hour at 100V, averaging 50ma in 1% TBE 1% Agarose gel, and in TBE buffer. However, I suspect the gel concentration is actually on the high side, possibly as high as 3-5%.
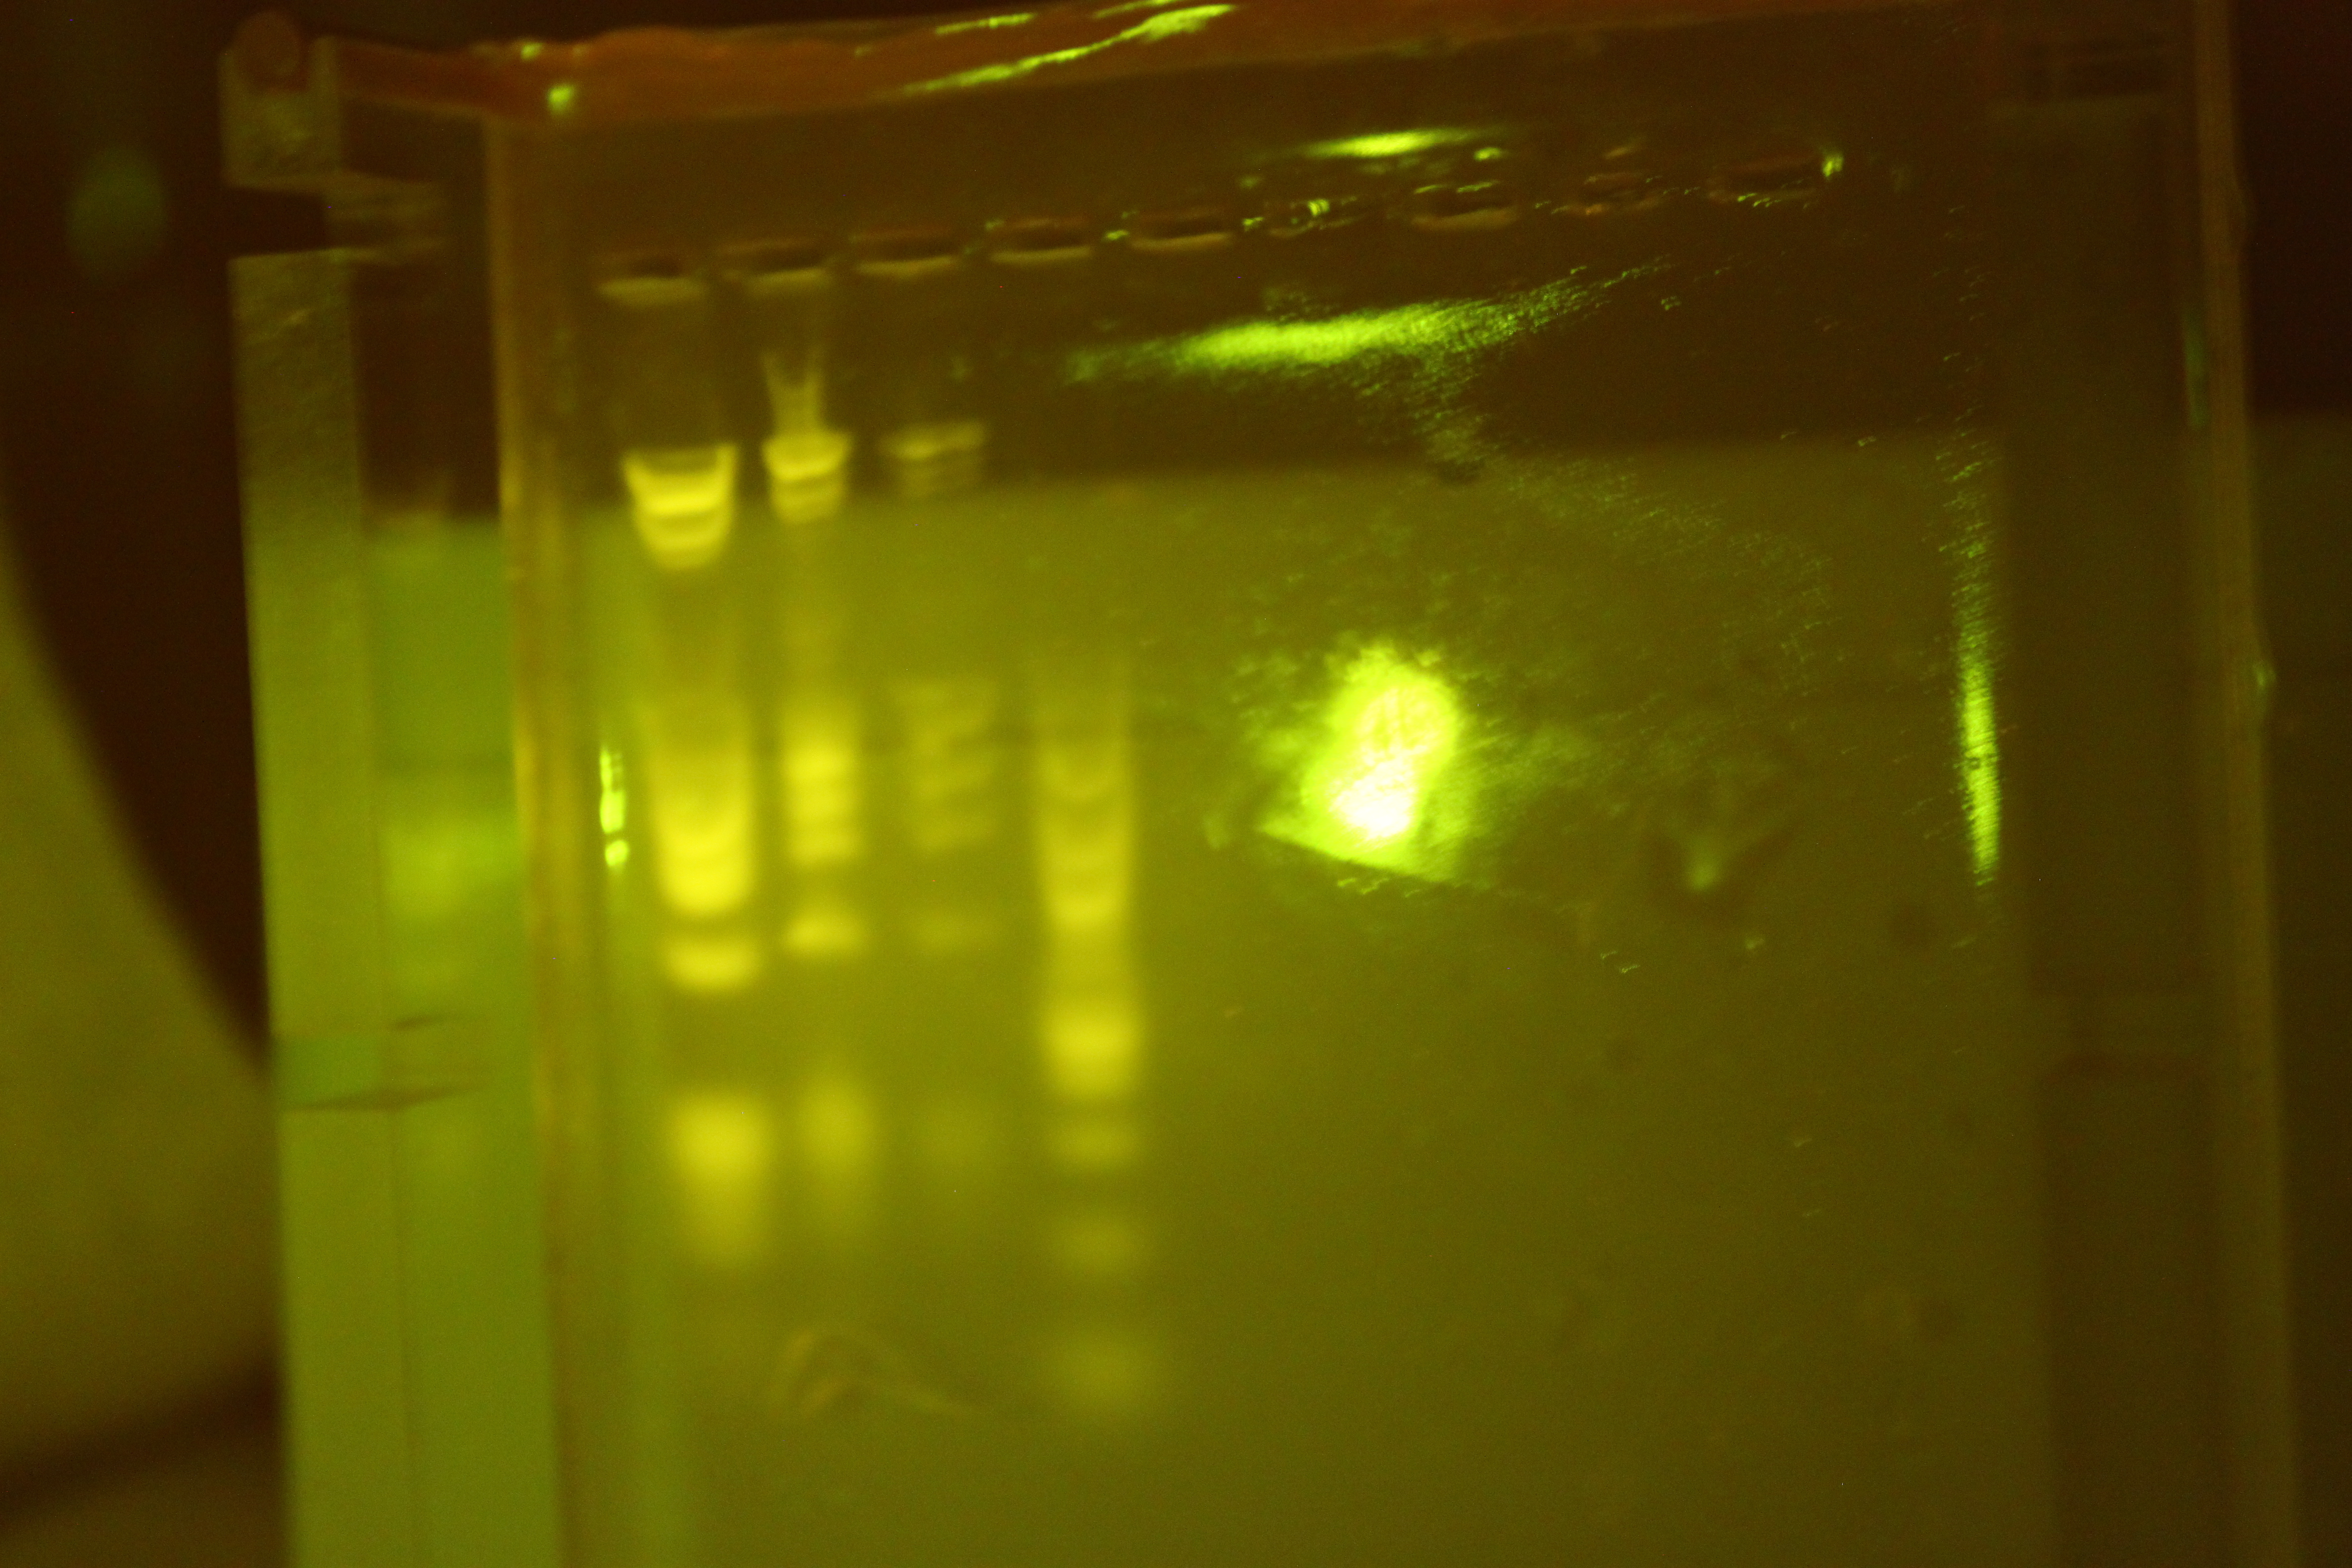
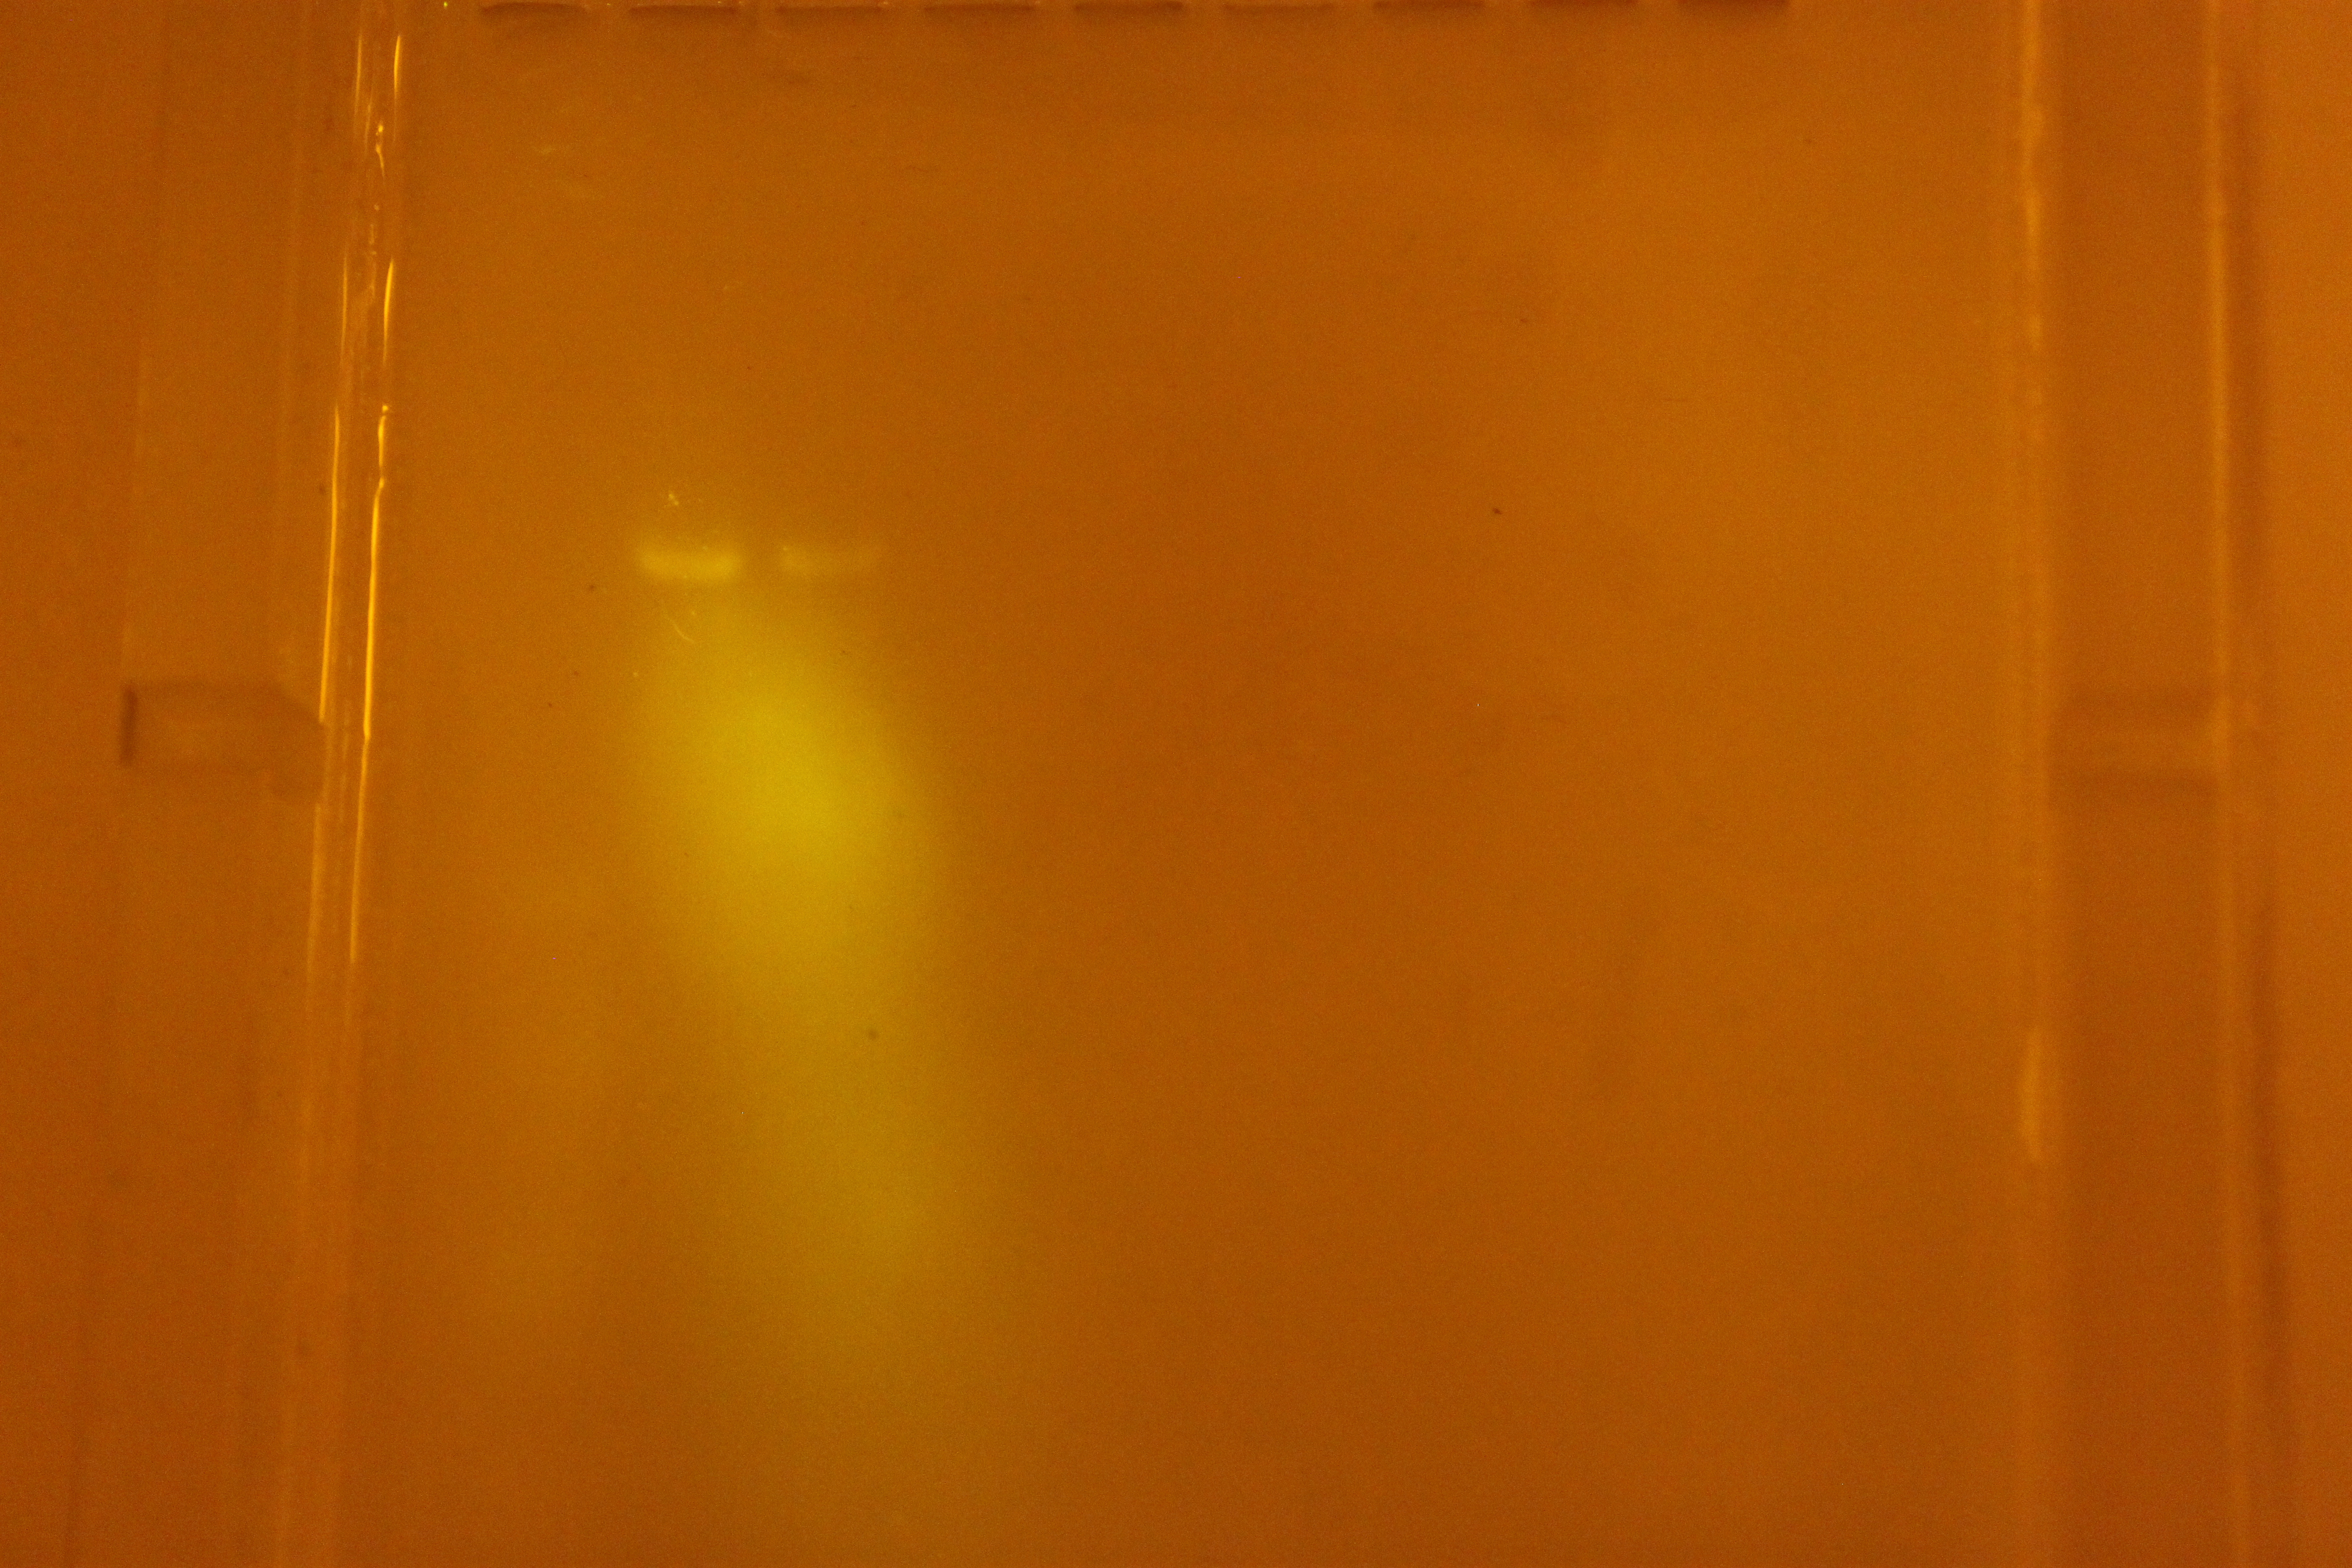
Even without a filter, your eyes and even the camera can pick out bands on the left.
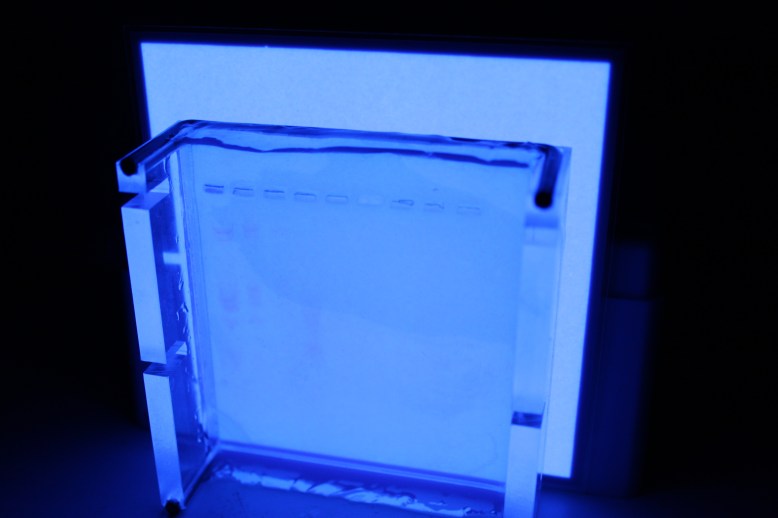
The EL panel turned out to be my favorite. It provides a perfectly evenly illuminated 4″x4″ square, and is nearly paper thin. It is so even that in the dark, you can see the bands without filtering. LEDs tend to make it impossible to see this because they cause too much contrast, and small details like the fluorescing of the bands get ignored as noise or washed out.

Super even, plenty bright, extremely thin
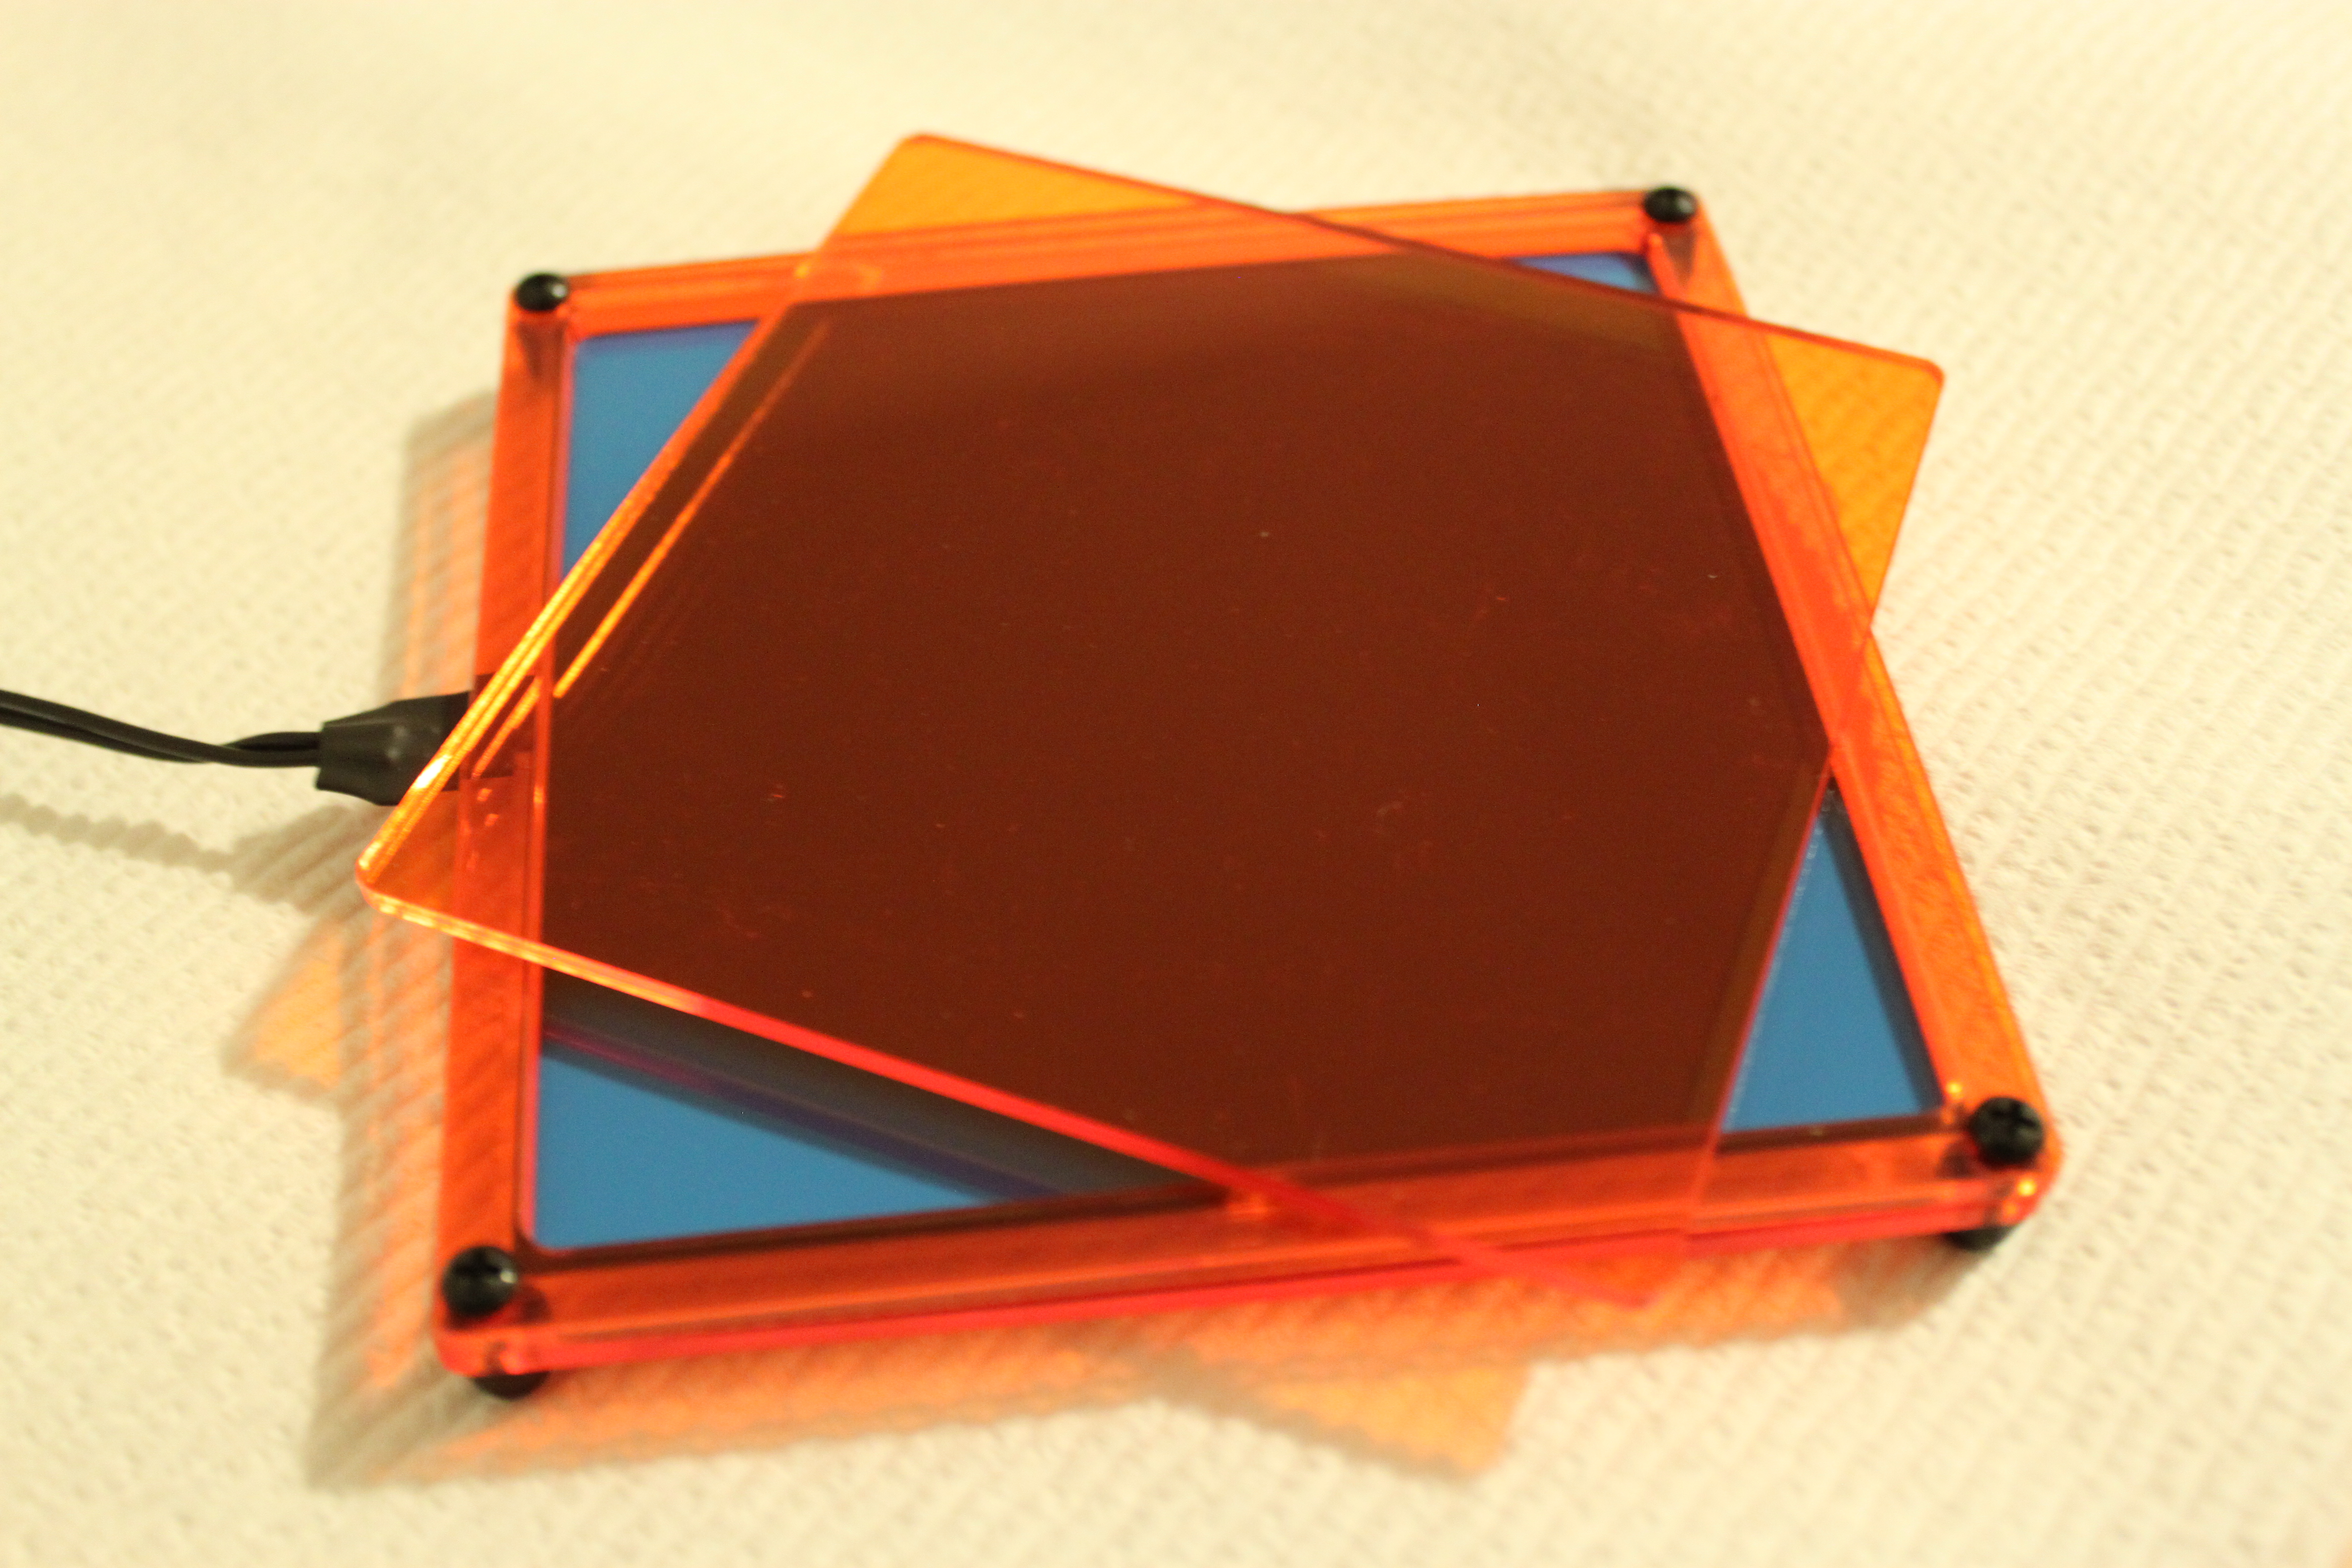
Have I mentioned how EVEN it is? This is without any kind of diffuser. It is mad thin too- about .020 inches, which is roughly 4 sheets of paper. This stuff is pretty amazing for this. If you over-volt the inverter by 5 or 6 volts, it is even brighter! You can get these reasonably cheap from china (~$10-20) or you can grab them from adafruit with an inverter of your choosing for about $25, where the panel costs $13. Overall score:
Brightness: 4/5 Could be brighter, over-volting makes it look better
Evenness: 5/5 the most even
Ease of use: 5/5 works out of the box
Cost: 3/5 could be cheaper, but I would say it is worth it.

Very uneven, but very bright.
This is the 8×8 panel. It draws almost an amp at 3.2V, and it runs off of 5V USB power as quite nicely. A big problem with this light is that it is not even, and that it is too bright, and washes out the fluorescence of the samples. A diffuser helps with the uneven lighting and the high contrast between the lit LED and the dark panel. I tried a paper towel (bad), some thin foam packing material (bad) and a piece of white plastic (good). With the plastic, it is quite even towards the center, but it is smaller than the gel so it is not as good on the edges.
Diffused with translucent plastic, notice vignetting on top and right edges.
Check out the corners here, where it is kind of dark. The panel is not as big as the gel, so it vignettes the edges.
Diffused with some packing foam.
This is the packing foam, as a comparison. The LEDs shine through and make it really hard to see lane 3 and 4.
The breakdown for the LED panel is:
Brightness: 5/5 way, way super blind-you bright.
Evenness 3.5/5 Can be OK in the middle. Probably ok if that is all you can get.
Ease of use: 2/5 requires soldering, reading a datasheet, and hoping your power supply cant provide enough power to blow them up
Cost: 5/5 if you have a soldering iron, wires strippers, and wire, and can read a datasheet this is a great deal! It is about $6 on ebay.
Really bright, and reflects a lot. This is the best shot I got of front-on illuminaiton.
Next up is the 1W LED. This thing is a beast! I am definitely going to save it for projects later, but it kind of sucks for gel illumination. It is just too bright, and a point source of light is no good for this. You would need a longer path length to the gel than is practical for what I want to do to prevent extreme vignetting. It also creates extremely bright reflections if pointed at a gel.
aaaah, uneven!
This is what it looks like diffused. Its not particularly useable, as it is even less even than previous LEDs.
Brightness: 11/5 this is blinding if you look at it for too long.
Evenness: 1/5 basically as far from even illumination as you can get.
Ease of use: 4/5 if you have a PSU, you can get these with a heat sink and just alligator clip them.
Cost: 5/5 These are pretty cheap, $10 will get you 10 LEDs on heat sinks. You could probably light a whole room with them.

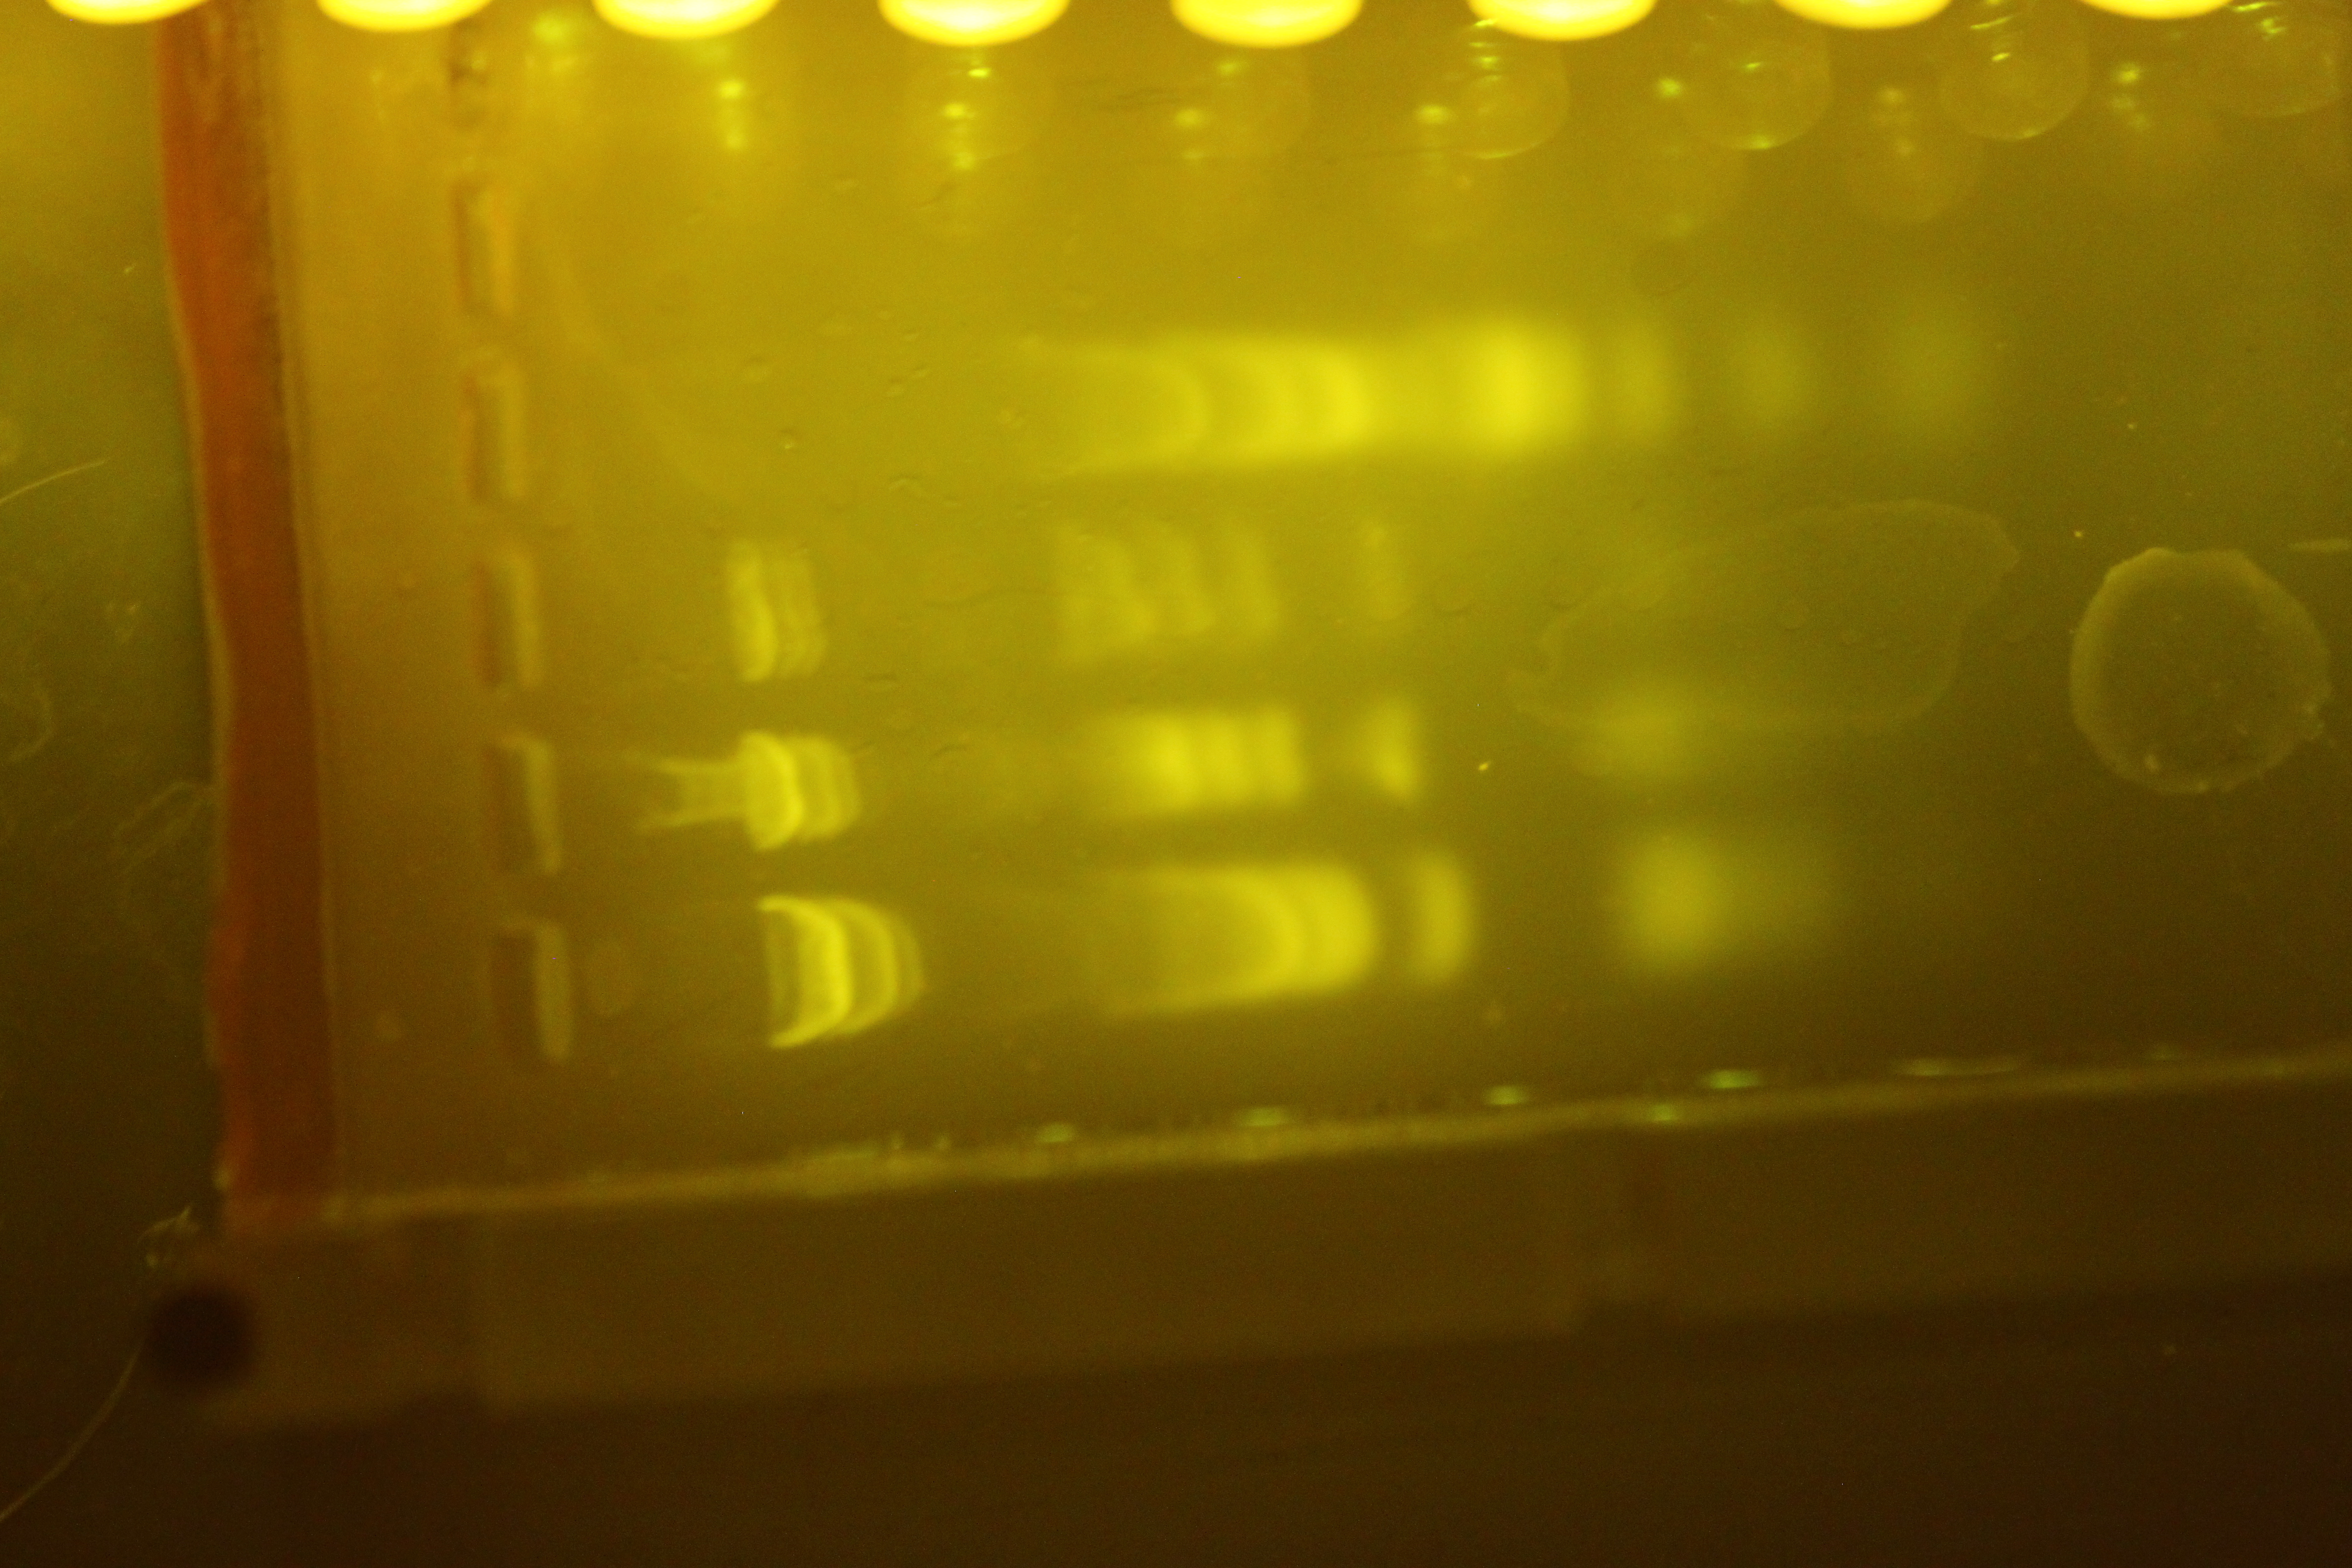
5×3 showing how hard it is to see the over-lit portions.
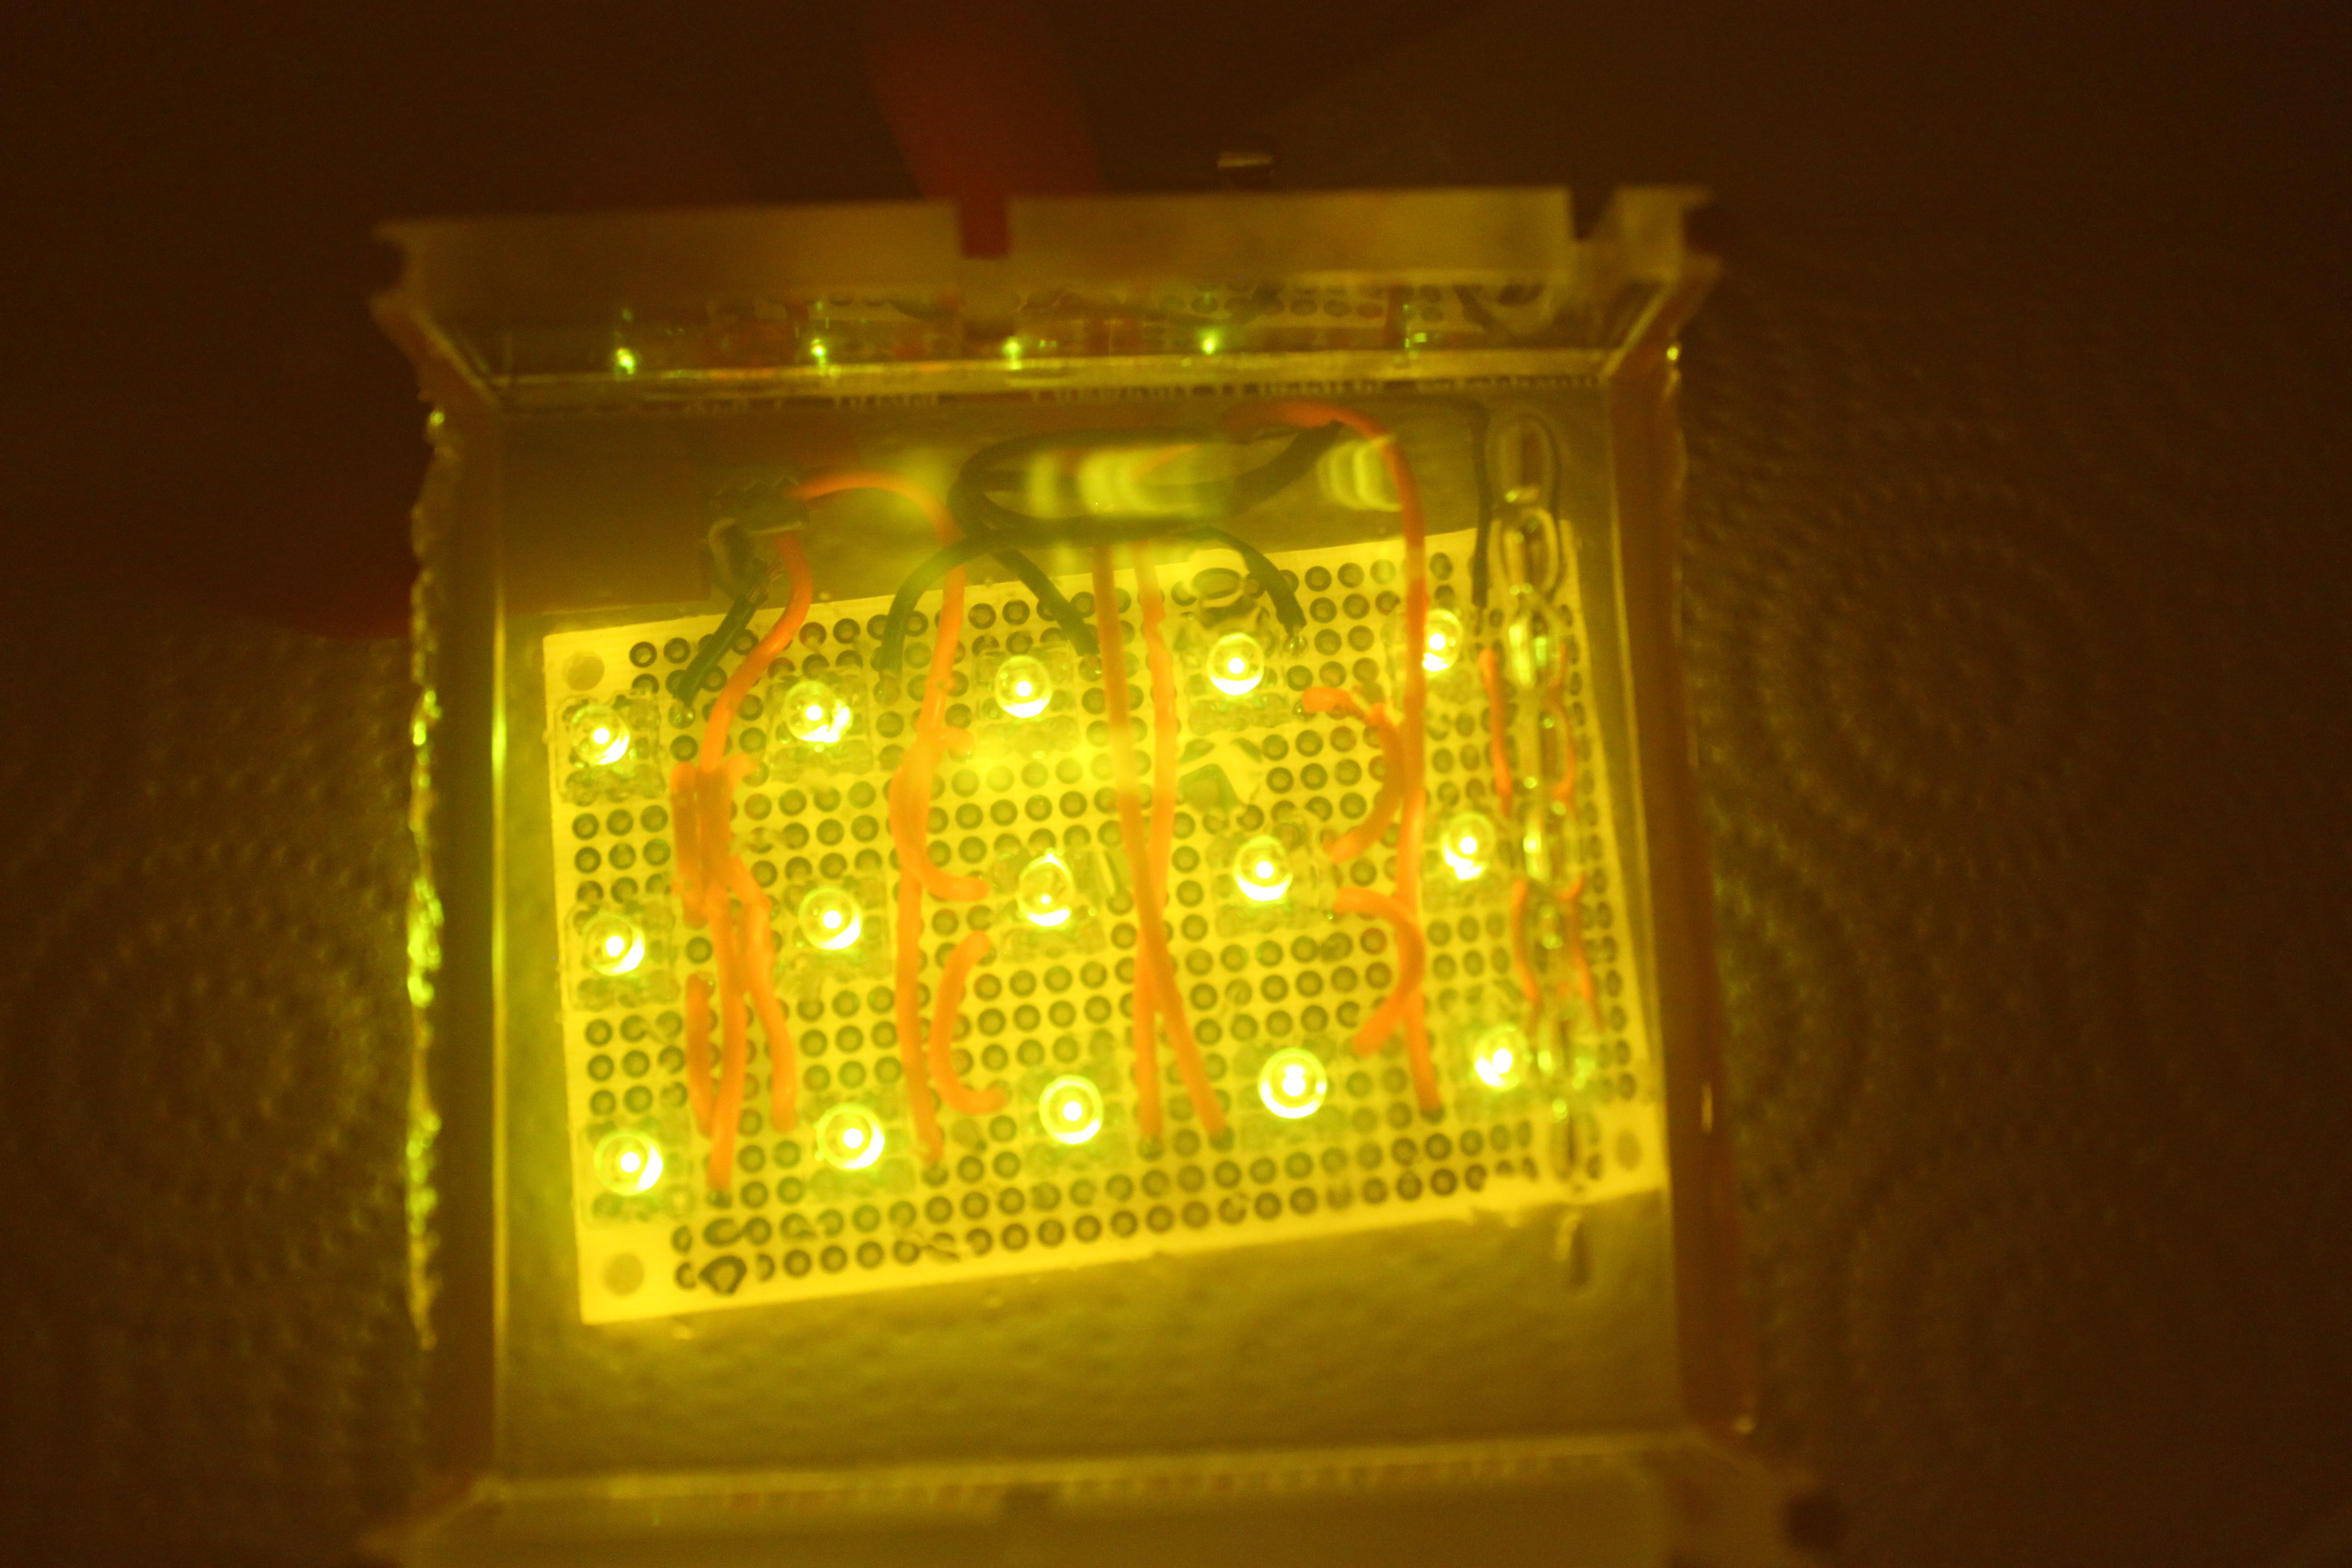
Next up is a good LED option if you already have the parts lying around. Its just a 3×5 array of LEDs. I happened to have “piranha” style LEDs so that is what I used. There are 5 rows of 3 LEDs. it runs quite happily at 12 V .3 A. Li3ke most of the LED options, it is not very even and tends to blow out the highs and make it impossible to see your DNA.
3×5 oriented the same way as above picture under diffuser. Note top to bottom of image drop off in intensity.
Again, like most LED options, it is much improved by diffusion through some translucent white plastic, but again like most LED options, there is some unevenness in lighting.
Brightness 5/5 very bright.
Evenness: 3.5 comparable to led matrix from ebay when diffused
Ease of use: 1/5 lots of components. Build this only if you have the parts already
Cost: 2/5 You need so many different tools and things to make this, there is no way it can be cheaper than the $5 8×8 panel. You need wire, protoboard, a soldering iron and roughly $10 in LEDs! On the other hand, if you have this stuff lying around it can be cheaper than the other potions.
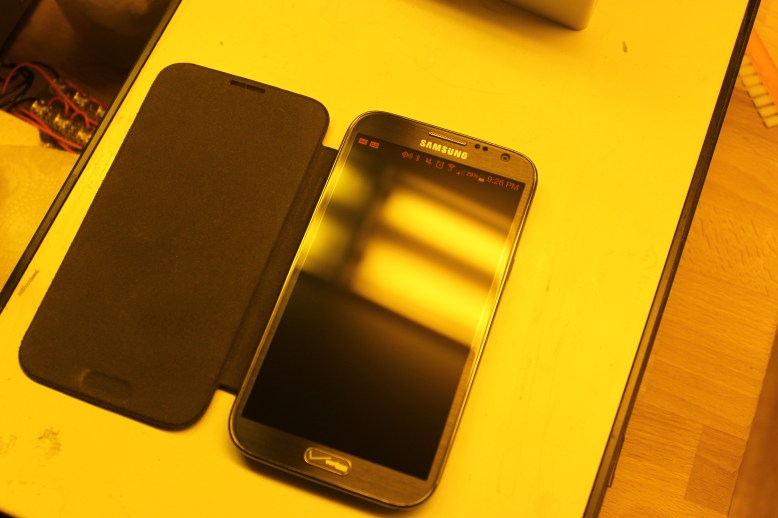
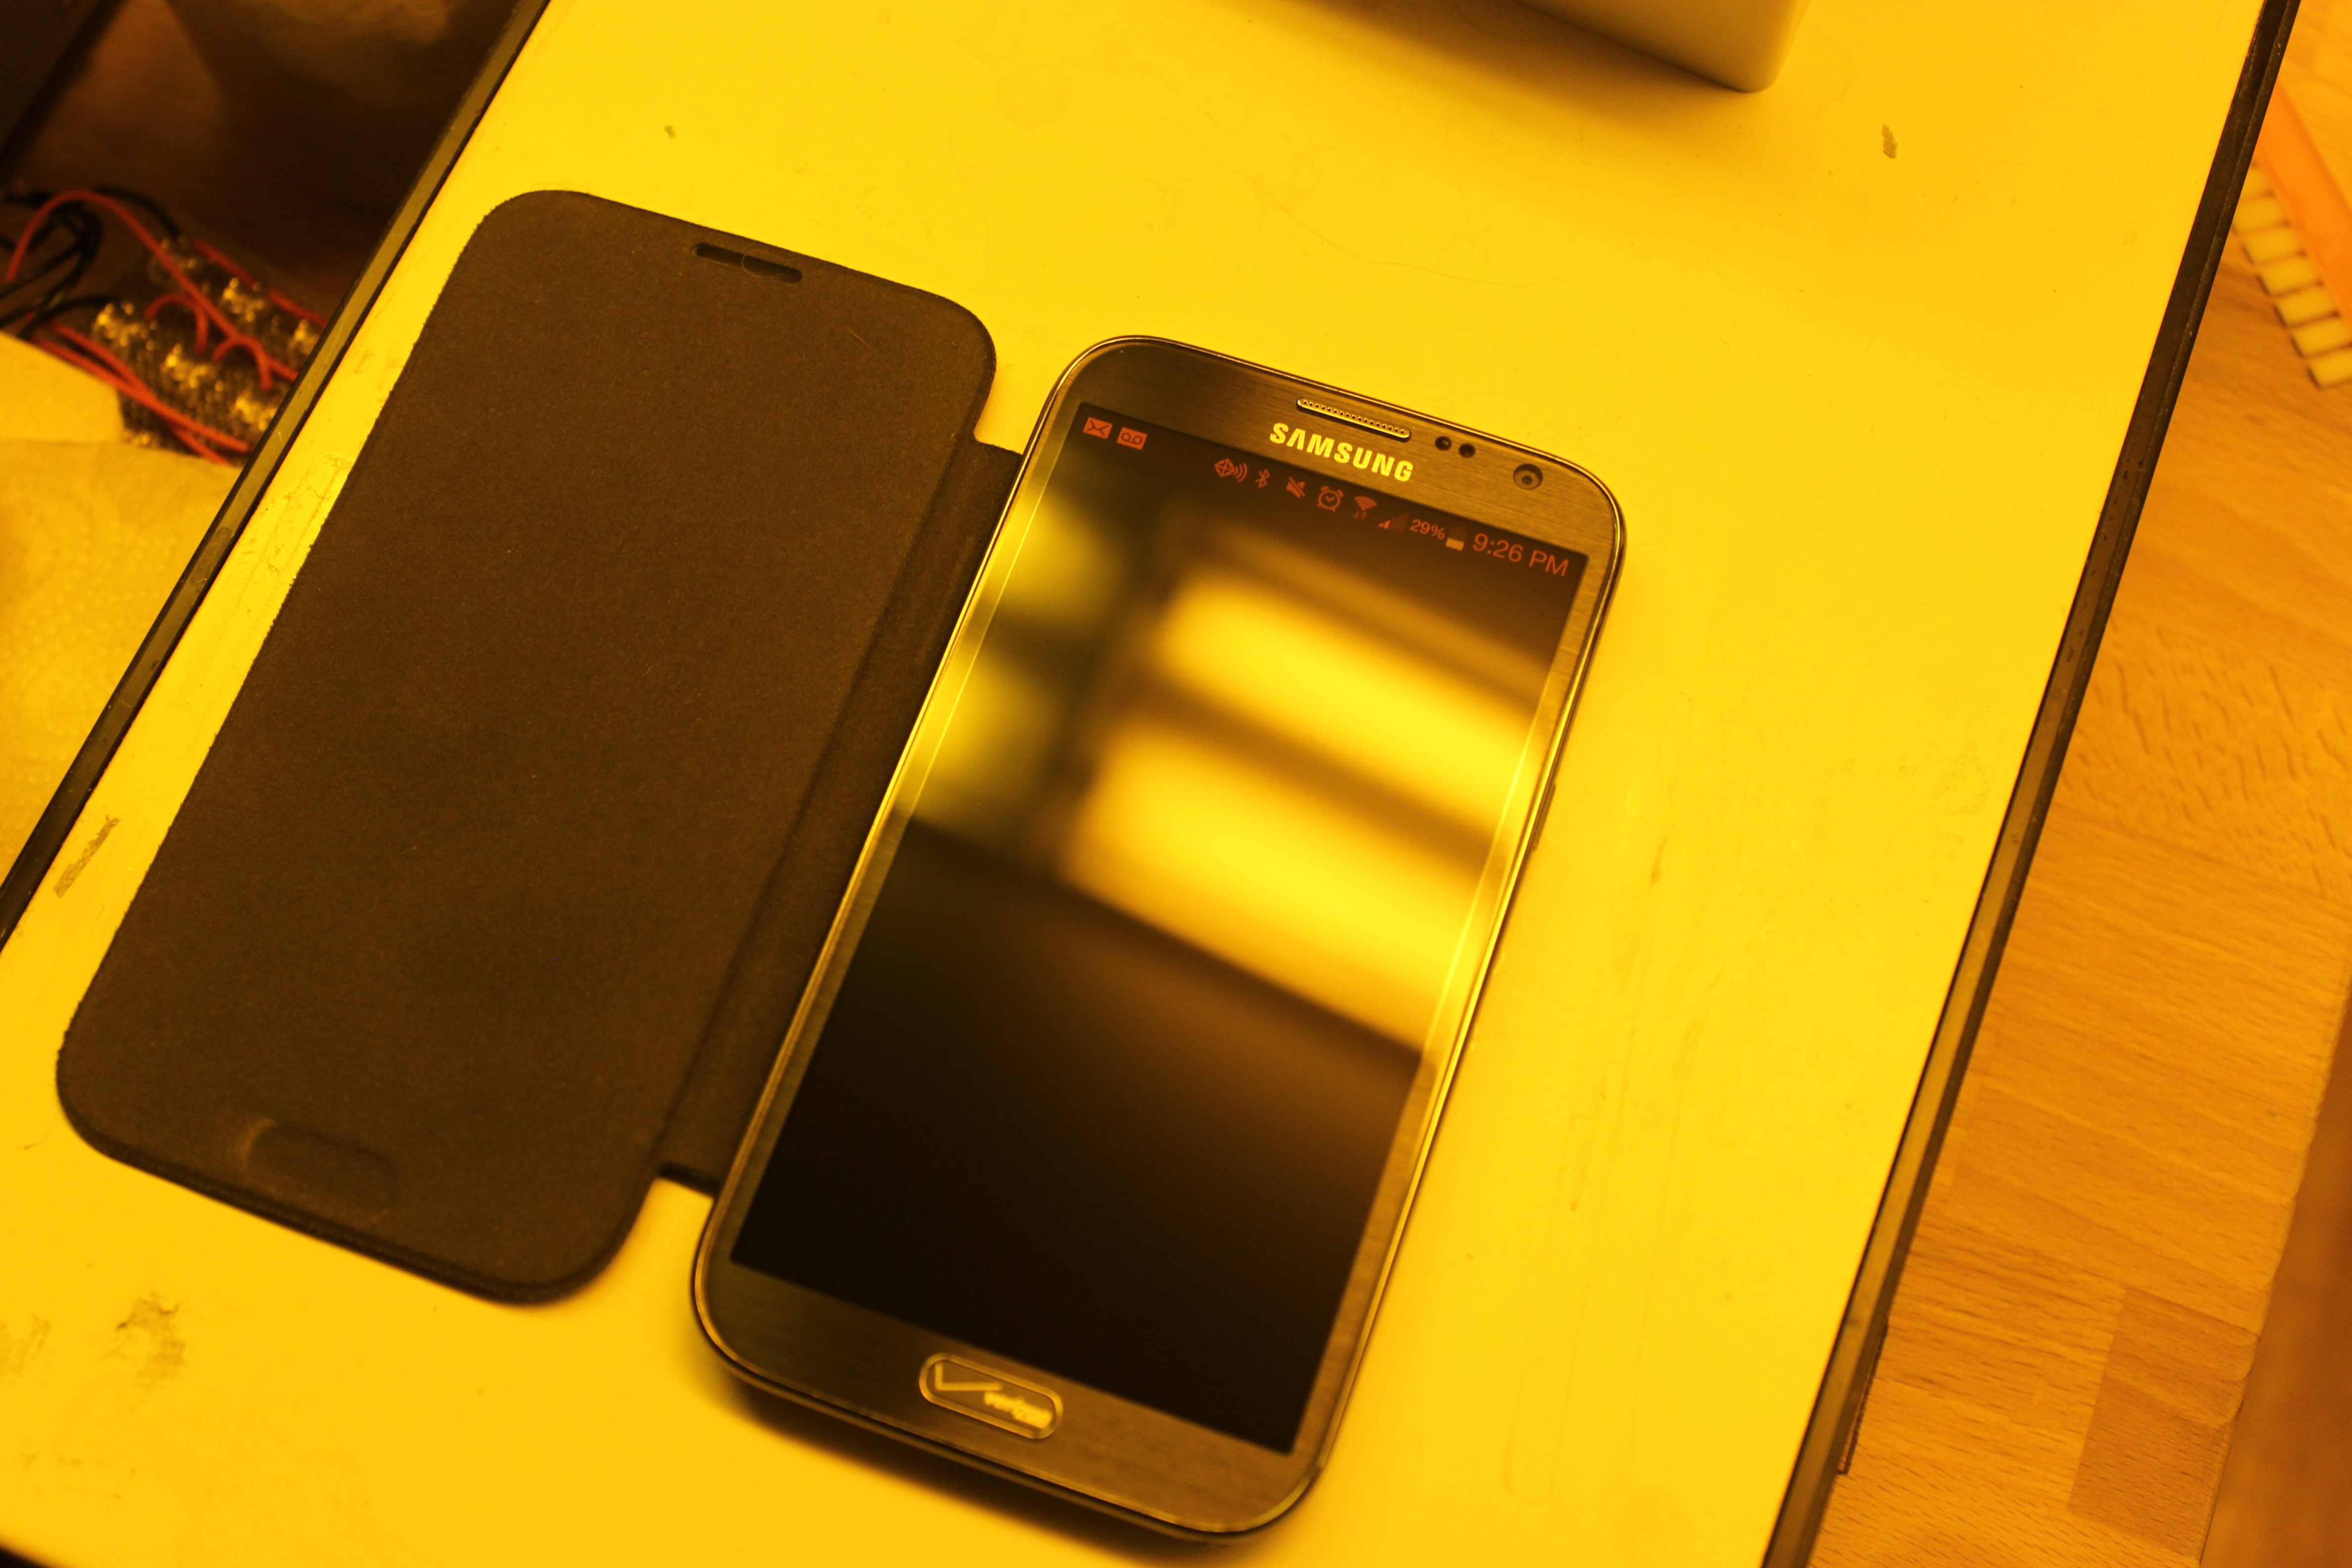
That’s no cell phone, its a transluminator!
That’s right! Cell phone. I was able to use my Samsung Galaxy Note II as the light source for translumination. I just plopped the gel tray down on my screen. I didn’t have a tripod or anything, so they came out blurry, but you can see that there is definitely enough light. Depending on what you have lying around, this could be pretty cheap or pretty pricey. I recommend trying your own phone to see if it works.

Blurry, but that is my fault. Definitely enough light for a photo.
Blurry, but definitely enough light. It was fine for use with just my eyes and a filter. It would be cool to use this as a transluminator, because you could add a scale or other useful stuff in the background.
Brightness: 3/5 useable
Evenness:5 just as even as the EL panel, but phones tend to be a little smaller.
Ease of use: 5/5 Just google “blue”, and pull up a picture of a blue test color.
Cost: 2/5 this is a pricey phone, but it comes down to if you have a phone or not, screen size and if you want to test it. I would be interested to know if your phone works.

Toplit Gel. This works suprisingly well, and gives you a lot of bang for your buck. Lots of reflections though.
Next up, sketchy car accent lights. These are the kind that go under and inside of cars to give them a blue glow. They are extremely cheap and can be had for under a dollar or two with free shipping on ebay. These suck for transluminating (through the gel) but produce decent results when shining on the gel from above. However, there are three problems with these lights. First, illuminating the gel from above creates reflections. Reflections are bad, because they can wash out or appear to be bands. Second, they are long and stringy so it requires quite a bit of wrangling to get them to be where you want them. And finally, they are cheap and delicate- I just started using this strand, and some of the lights have already started to flicker and go out when it is bent. I would rate these as bright, but not as bright as any of the other LEDS.
notice the arc of light in the diffuser
Gel lit through a diffuser. Useable, but not very even. The strand has a top left-to bottom right arc, and if you look at the picture, you can tell.
Brightness: 4/5 not as bright as the other leds
Evenness: 3/5 not even, even if diffused, since they emit a rather narrow beam, the illuminated area tends to follow the strand.
Ease of use: 3/5 no assembly, but it is tricky to get them to stay where you want them
Cost: 5/5 Super cheap. Costs about a dollar, with FREE SHIPPING! woah.
Hmm. Didn’t work!
This is my computer. Surprisingly, it did not work as an illuminator. I am not sure why! Here is a picture anyways.
Ah, ye olde radioshack blue LEDs. Not a bad option if you are desperate, but the lighting is totally uneven, and they are expensive for what they are. Most of my previous pictures on bosslab.org or here were taken with blue leds of this sort, or with the previous car led string.
Brightness: 3/5 not very bright.
Evenness: 2/5 not very even at all.
Ease of use: 4/5 Easy to get the day-of, and pretty easy to wire up.
Cost: 4/5 no way they should cost that much, but then again, it’s radioshack.
I am torn between the EL panel and the 8×8 LED panel for the gel box I want to release. The 8×8 would require a lot more pieces and assembly to make it easy to snap together for the user- including at least 1 PCB, some resistors, soldering assembly (both through hole and SMD) and an additional diffuser. The EL panel just needs a power hookup, and since the boost converter runs on 12 v already, it just needs to be wired to a switch. On the other hand, the 8×8 panel is really cheap. If you are a beta tester (or not), let me know what you think!