
The Olympus XA with several panels removed
I have been shooting the olympus XA recently, and it is a wonderful camera. It is small enough to fit in my the pocket of my jeans, but it makes nice big pictures with its fast f/2.8 lens. When shooting, all the important controls are at your fingertips. Some would say, given that it has a full-on rangefinder, that it is the poor mans leica. Having never tested a Leica, I wouldn’t know.
However, it does have a few niggling issues. There is no bulb mode, which makes taking more than 10 second exposures impossible. There is also no remote release, which means that when I put it on my pocket tripod I can still get shutter shake, and I have to run into the frame if I am taking a group shot with people. A remote release adds a lot of hackability, like triggering on motion, or at a particular time of day. It would also make it possible to use the +1.5ev setting with a timer. Some people also complain about focusing with the small rangefinder patch, but it is less of a big deal to me.
Finally, there are no filters available for it. Now I didn’t realize how important this was until I took some pictures in my suite. They are a horrible greenish color- and filters could help with this, except that there aren’t any.
In order to figure out the feasibility of hacking on some of these missing features, I found a donor camera to take apart. It seems to be plagued by the mysterious and dreaded lens fungus, so I decided that since I couldn’t sell it, it would be donating its body to science.
If you are going to attempt this, I suggest grabbing a copy of the repair manual found here. It does an ok job explaining the teardown, but real photos and notes are definitely useful. It goes without saying (but I will anyway) that if you are going to do this, you are responsible for whatever damage happens to your camera. That being said, it is an amazing piece of mechanical engineering.

The first part to go (and the last one back on) is the base plate. It is attached to the bottom by five screws- three shorter ones on the right of the picture, and two longer ones on the left. One of the longer screws is hiding under the options lever in the upper left part of the camera.

If you pull up on the bottom cover, it should come off. This is the inside of the cover. The only thing that might stick is the selection lever- but there is no firm mechanical connection there.

Here is the inside of the bottom of the camera. It already looks pretty exciting! If you are having battery/power/self check problems, this is a good way to take a really good look at the battery holder and test for (or clean out) any corrosion.
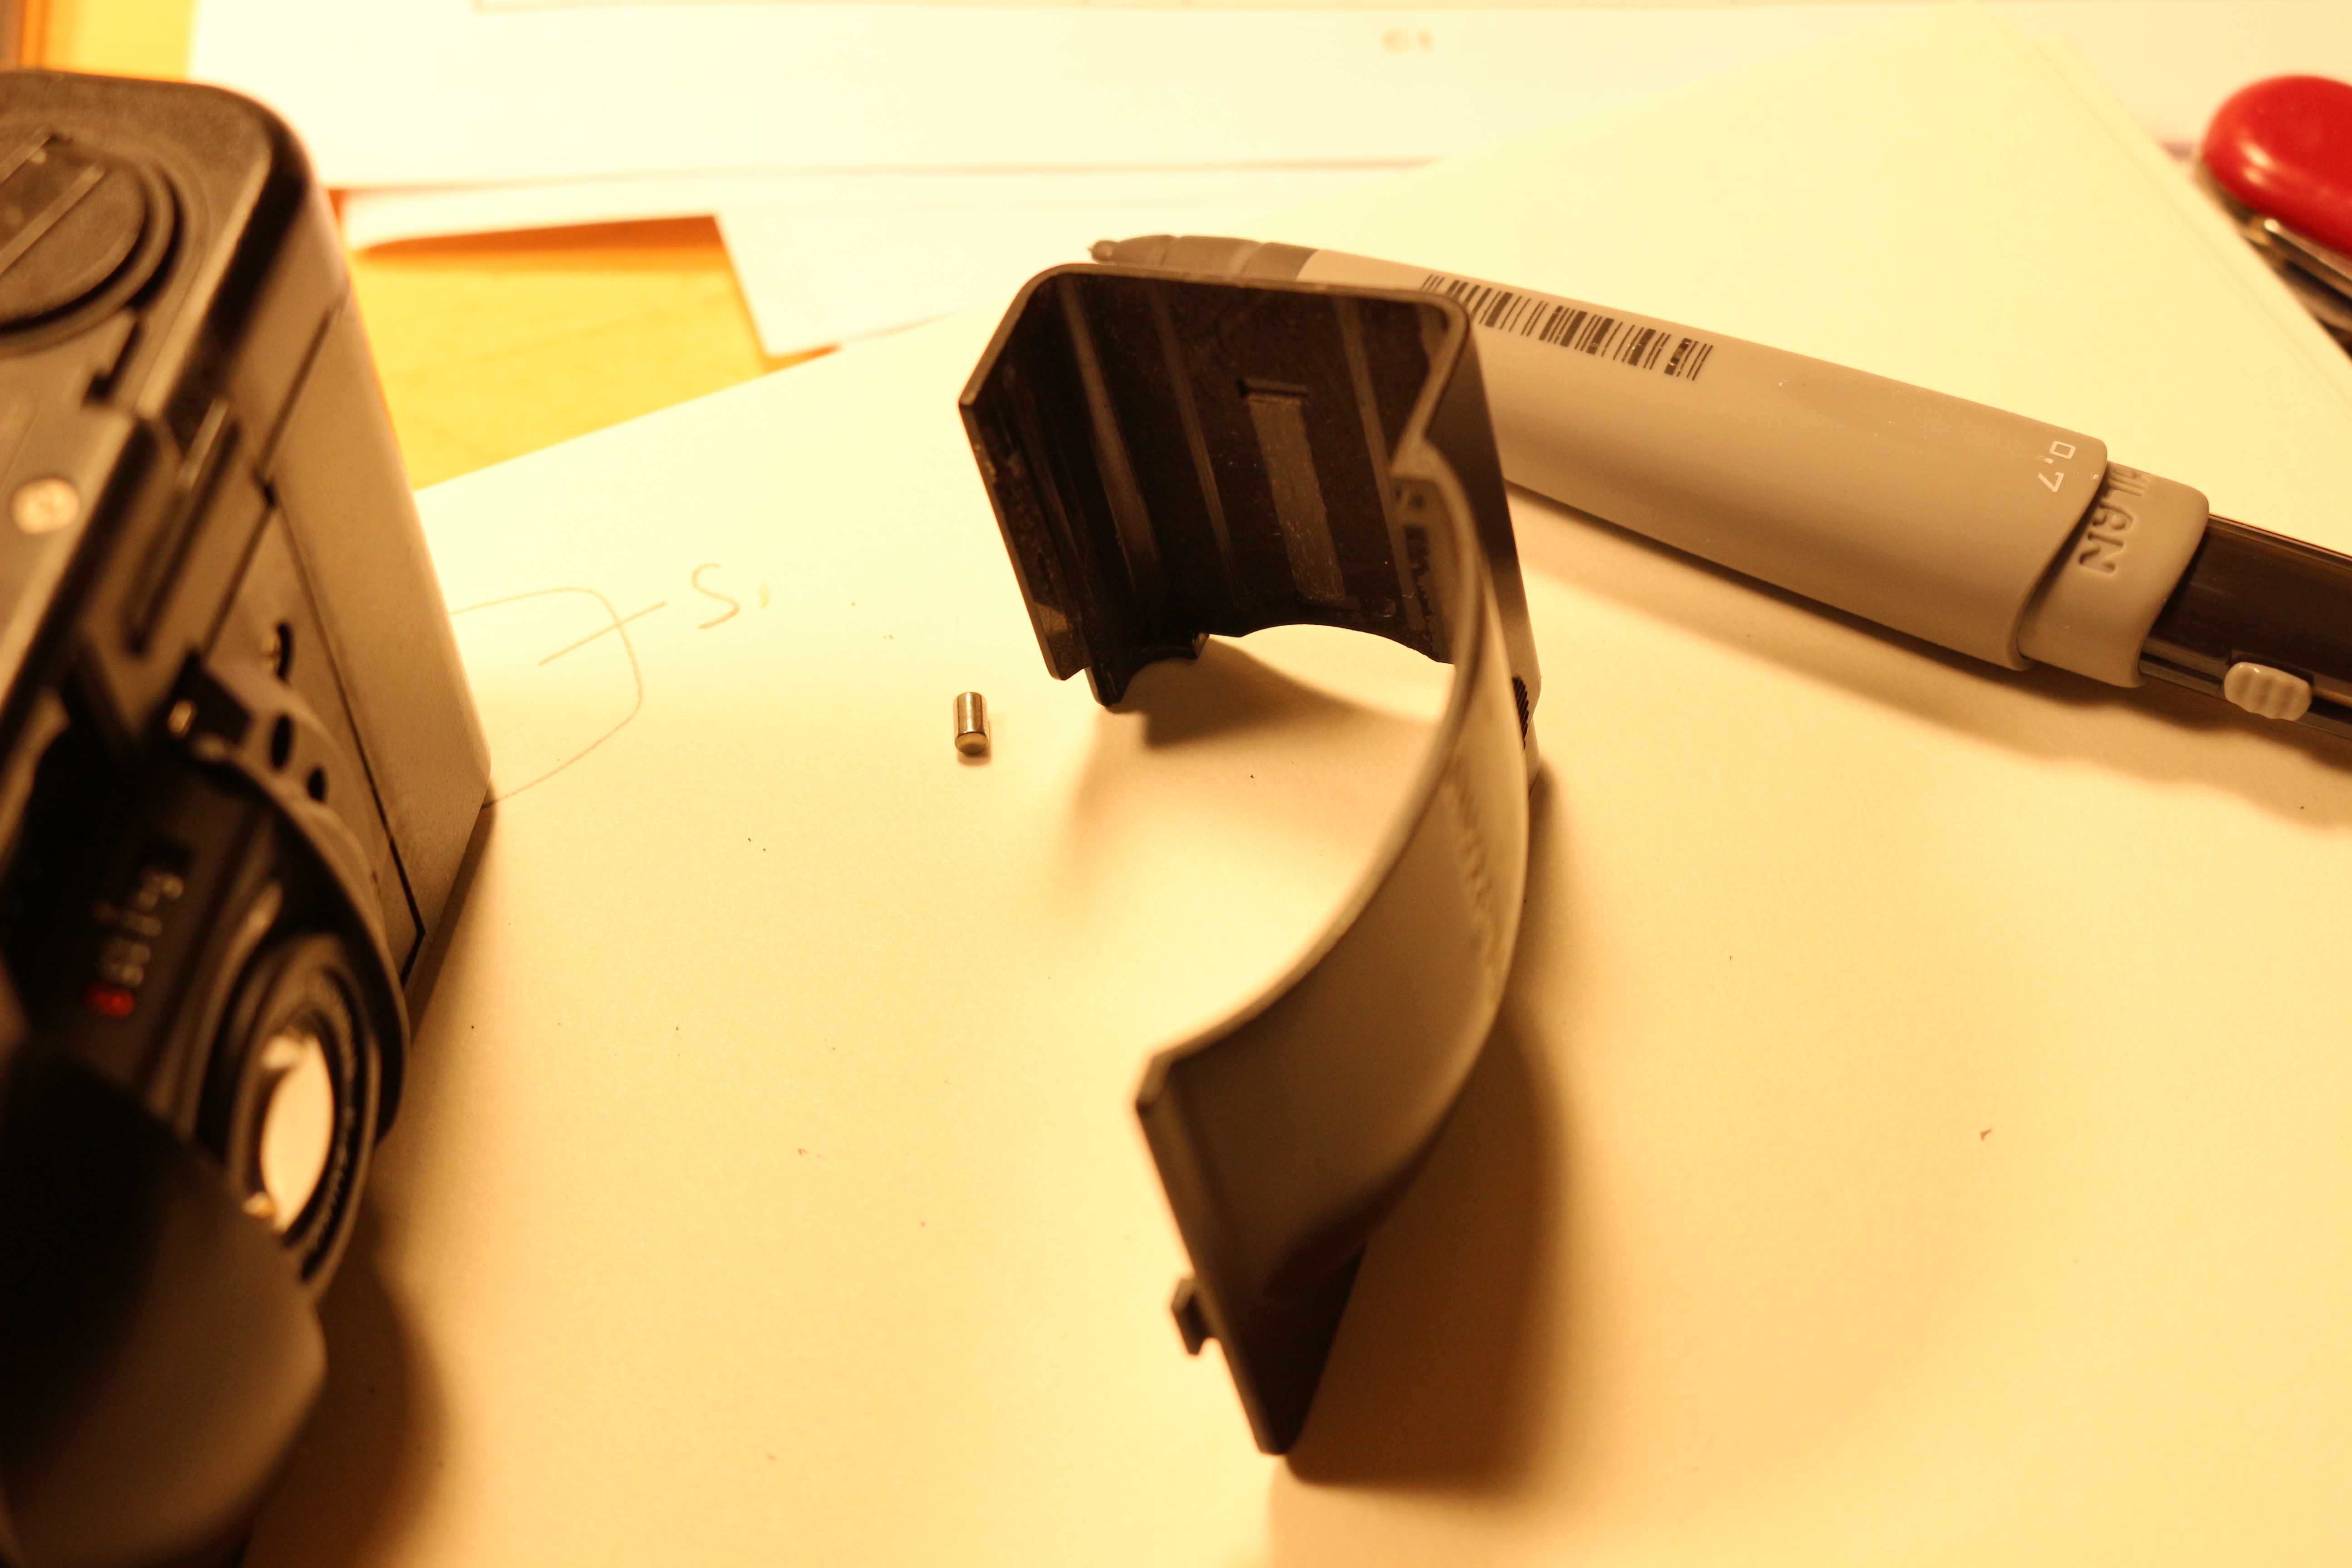
A groove in the bottom plate holds the sliding door on, via the hook you can see at the bottom of the cover in this photo. Once the bottom is gone, the sliding door can be removed by gently prying the bottom part of the door upwards. It should pop right out, but be careful not to let the tiny roller bearing escape (and it will).
The next step is to remove the rewind lever. This is pretty simple- just unscrew the bolt right in the middle.

Next is the top. The first thing to do is to carefully pry up the iconic red shutter release. It is fastened to the camera via some kind of glue. With that removed, the only things keeping the top on are two more screws in the well of the rewind lever and a conspicuous screw next to the rangefinder window (on the back side of the camera).
The Olympus XA with several panels removed
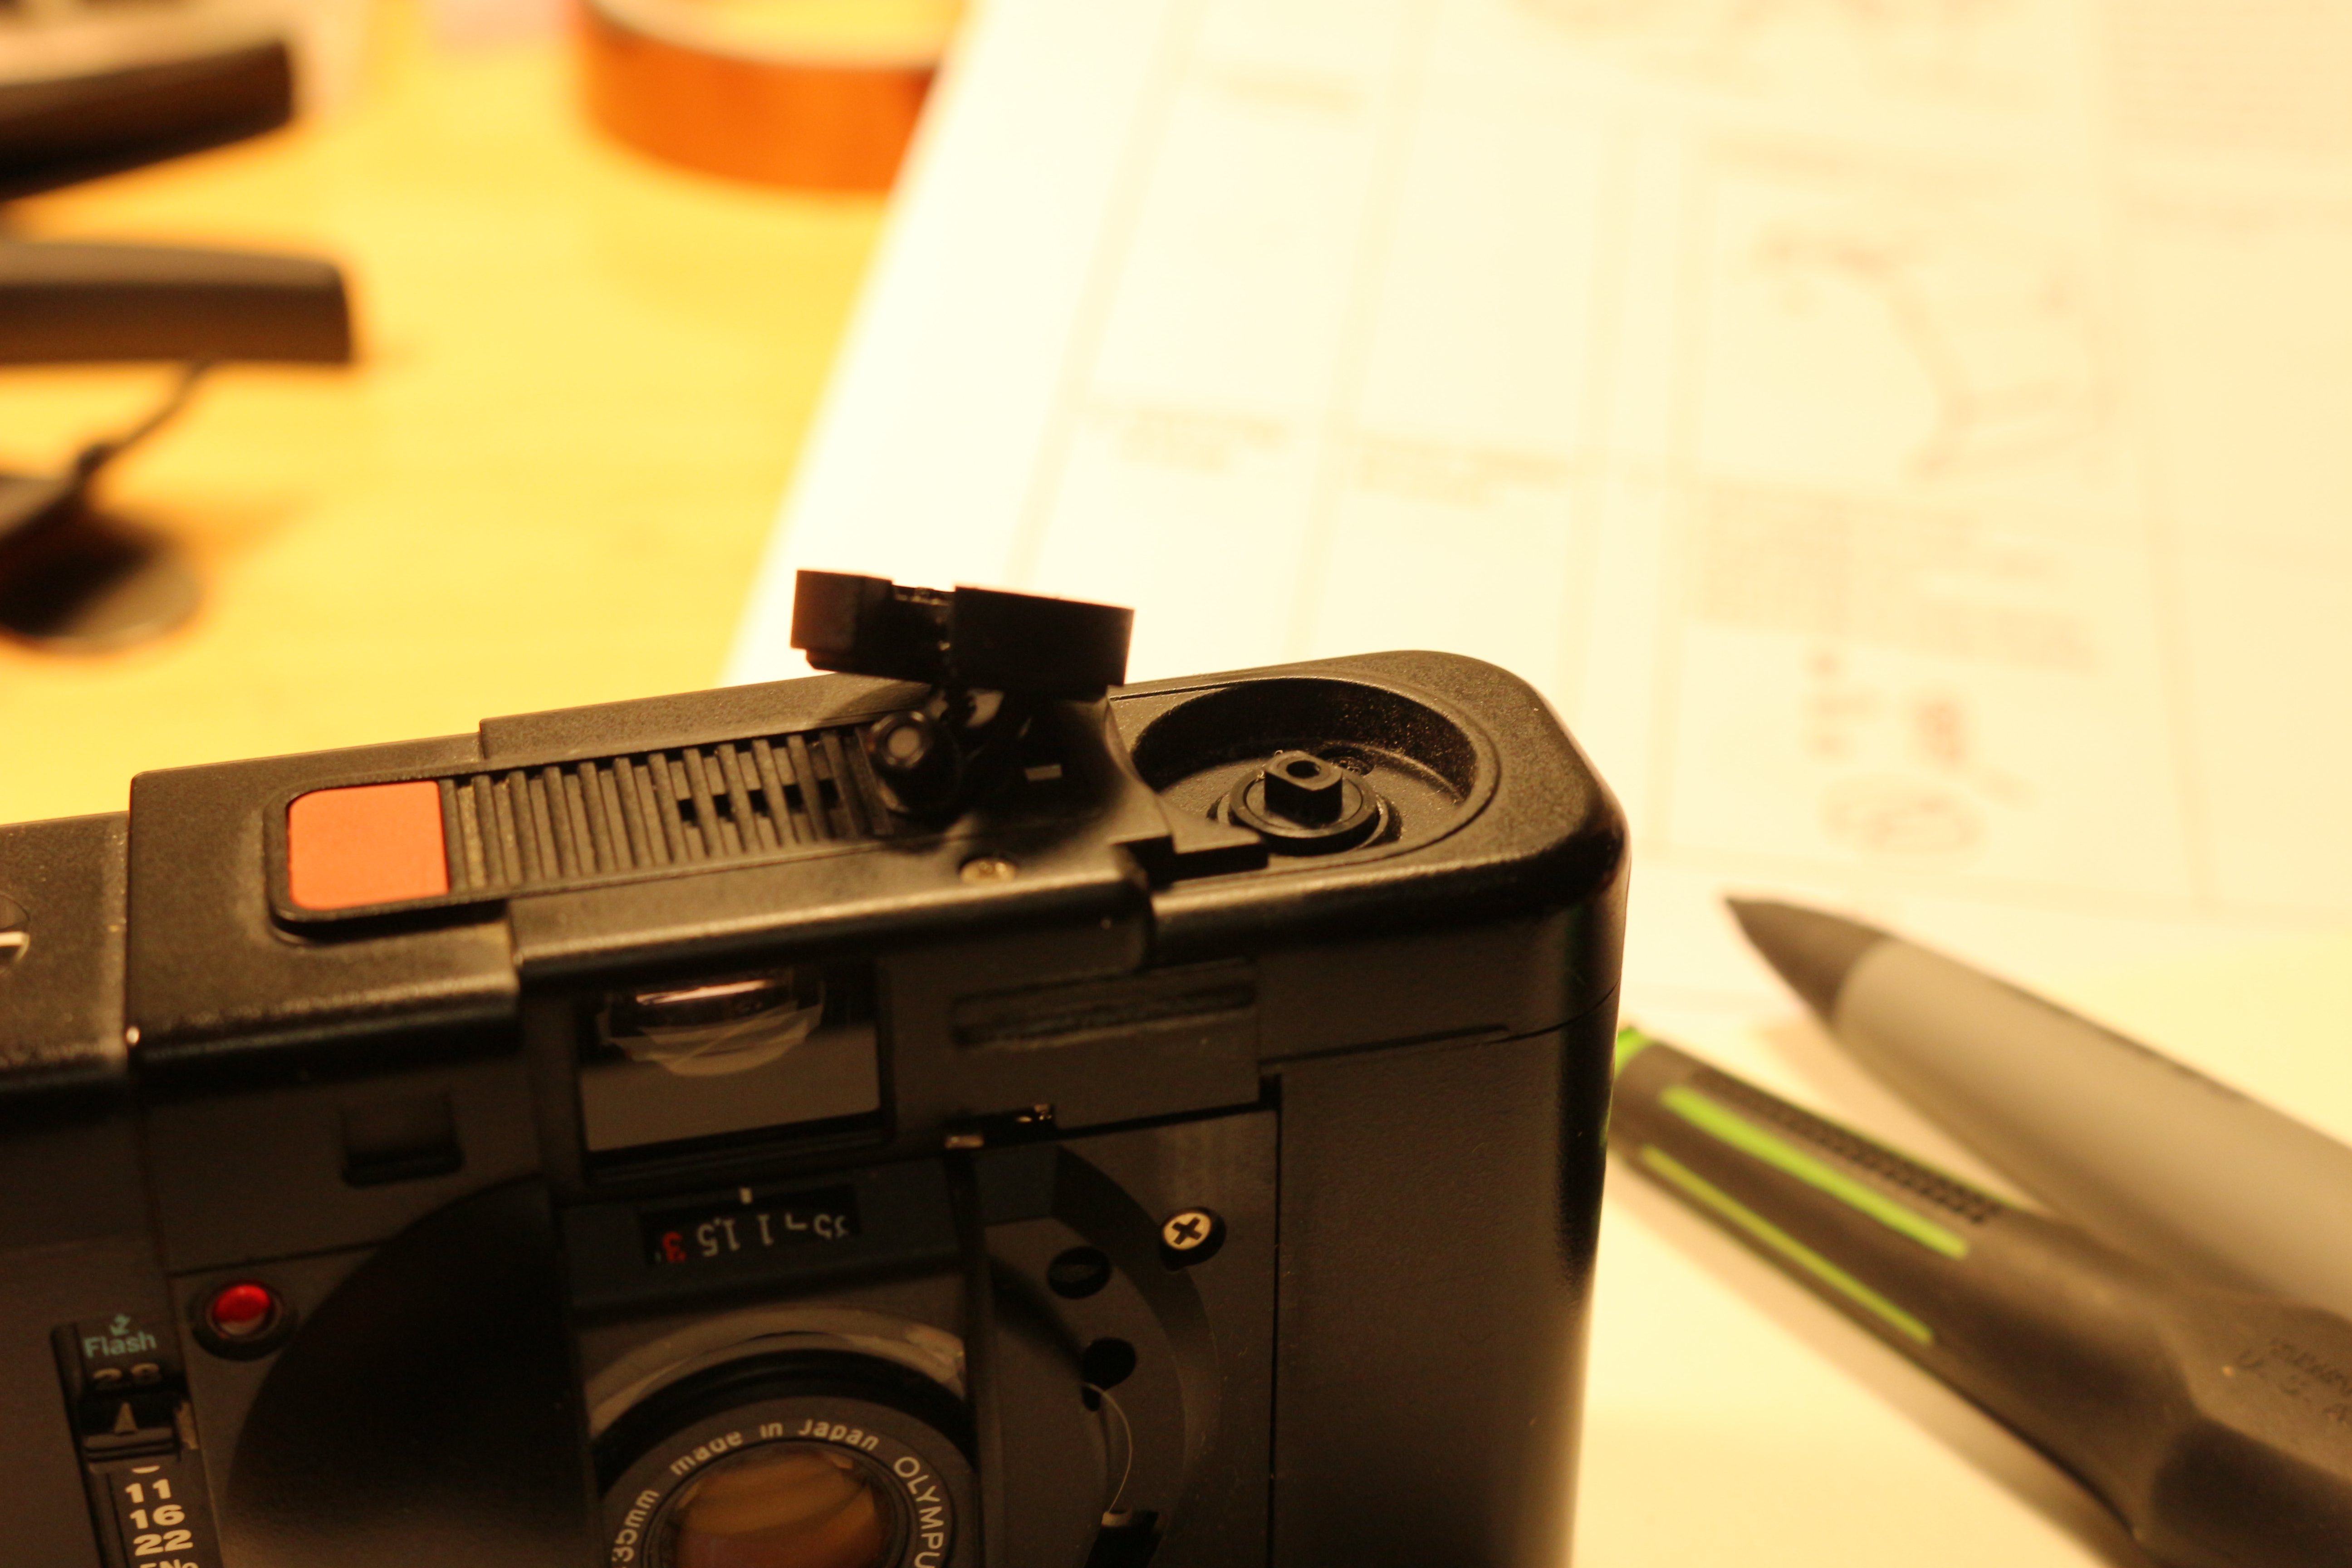
The next thing to go is the front panel. A few obvious screws hold it in. This gives you access to the front of the lens and the CdS cells that control exposure, but I didn’t need to tear into it further because it turns out that the front plastic on the lens is threaded onto the brass that holds the front element! Score, if I want to add a filter. Could turn a metal adapter to replace the plastic that would mate with a filter. The only complication would be adding ev compensation to the meter, without using the 1.5 ev lever. I wouldn’t want to use the lever because then I would loose some flexibility if shooting with a filter.

Reassembly is pretty straightforward, except for the shutter release button. The shutter release it both loved and hated by the users of the camera- it is oh-so-sensitive, but it also wears out and is not very tactile- it is a lot closer to a membrane switch than a modern DSLR release. Personally, I like it, and when I took the camera apart I decided not to just superglue it in. Instead I used the large mating surface of the shutter release and the button face to put on more adhesive than was originally used, but at a lower strength. Hopefully this allows me to take the button out more easily next time.
