Secret Knowledge: REVObots

Recently, the leadershio of the REVO (Research on Electric Vehicles at Olin) club approached me and asked me to drop some secret knowledge on them.  While they have had some experience with EVs, they have no real EE background, and a very limited embedded/microcontroler background, and they wanted me to fix it.

Over the next few days I developed a 6-class course that would get their feet wet in the direction of building and understanding useful devices on an EV, or really any platform using a microcontroller, and even some that don’t (motor drivers and such).  I will be using the arduino platform for what it was intended; as a simple teaching platform.  The six classes are based around these learning goals:

  1. Explain what a mcu is, what it is good for, and what kind of hardware capabilities they have as far as PWM, ADC, timers and counters.  Explain what an arduino is, and build the secret knowledge arduino.
  2. Explain basic sensors that depend on resistance (thermistor, photoresistor) and current (photodiode) work.  Explain digital sensors, show an example with the 1-wire protocol.
  3. Explain various control schemes: on/off, proportional, differential, and integral.  Explain how to actually use them in hardware, using examples like the laser poejector.  Focus on quadrature encoding.
  4. Explain how to control big things like motors or AC current, with little things, like microcontrolers.  This will be all about BJT transistors, H-bridges, and relays.
  5. Explain how to talk to other devices via serial and USB.  This will be pretty theory-heavy, but we will have a USB example.
  6. Putting this all together, we will finish building a small robot and have it do some kind of task.

These six classes will be spread out over six weeks, and each will have both a lecture and a lab portion with a deliverable.  This is similar in structure to the other Secret Knowledge projects, but it differers in a few ways that will hopefully help deal with the problems of students not coming to classes, and students not retaining knowledge.

The difference here is that class is predictable.  Each week of TSK before was planned on the fly, materials were sourced from a withering stockroom, and everything had to be dirt cheap.  This made it hard to say what we would be doing from week to week.  The predictability makes it easy to know when to be where.  There is also a big carrot dangling at the end of six weeks when the students actually finish the robot; this will hopefully help eliminate the week-to-week variation of interest.

To help with the knowledge retrieval after the class is through, I will be putting together a guide ahead of time, with stuff people will learn each week.  Ideally, each deliverable will also be structured as a working example of the concepts covered in the class, and seeing everything work together will help cement the knowledge.  Most of the material will just be me throwing mud on a wall and hoping some sticks; the idea is that people will at least know where to start projects with mcus once this is all said and done.

I will be blogging more about this here as the class begins and things are done.  Classes will be recorded and posted on youtube.  In the Secret Knowledge tradition of flying-by-the-seat-of-ones-pants, and living on the gritty edge of barely being on time, right now I have a two week lead time before the class starts.  Better get going!

Making a Knife From a File: The Blade

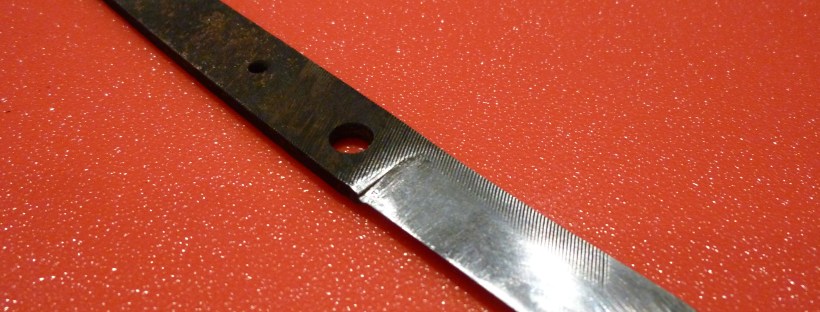
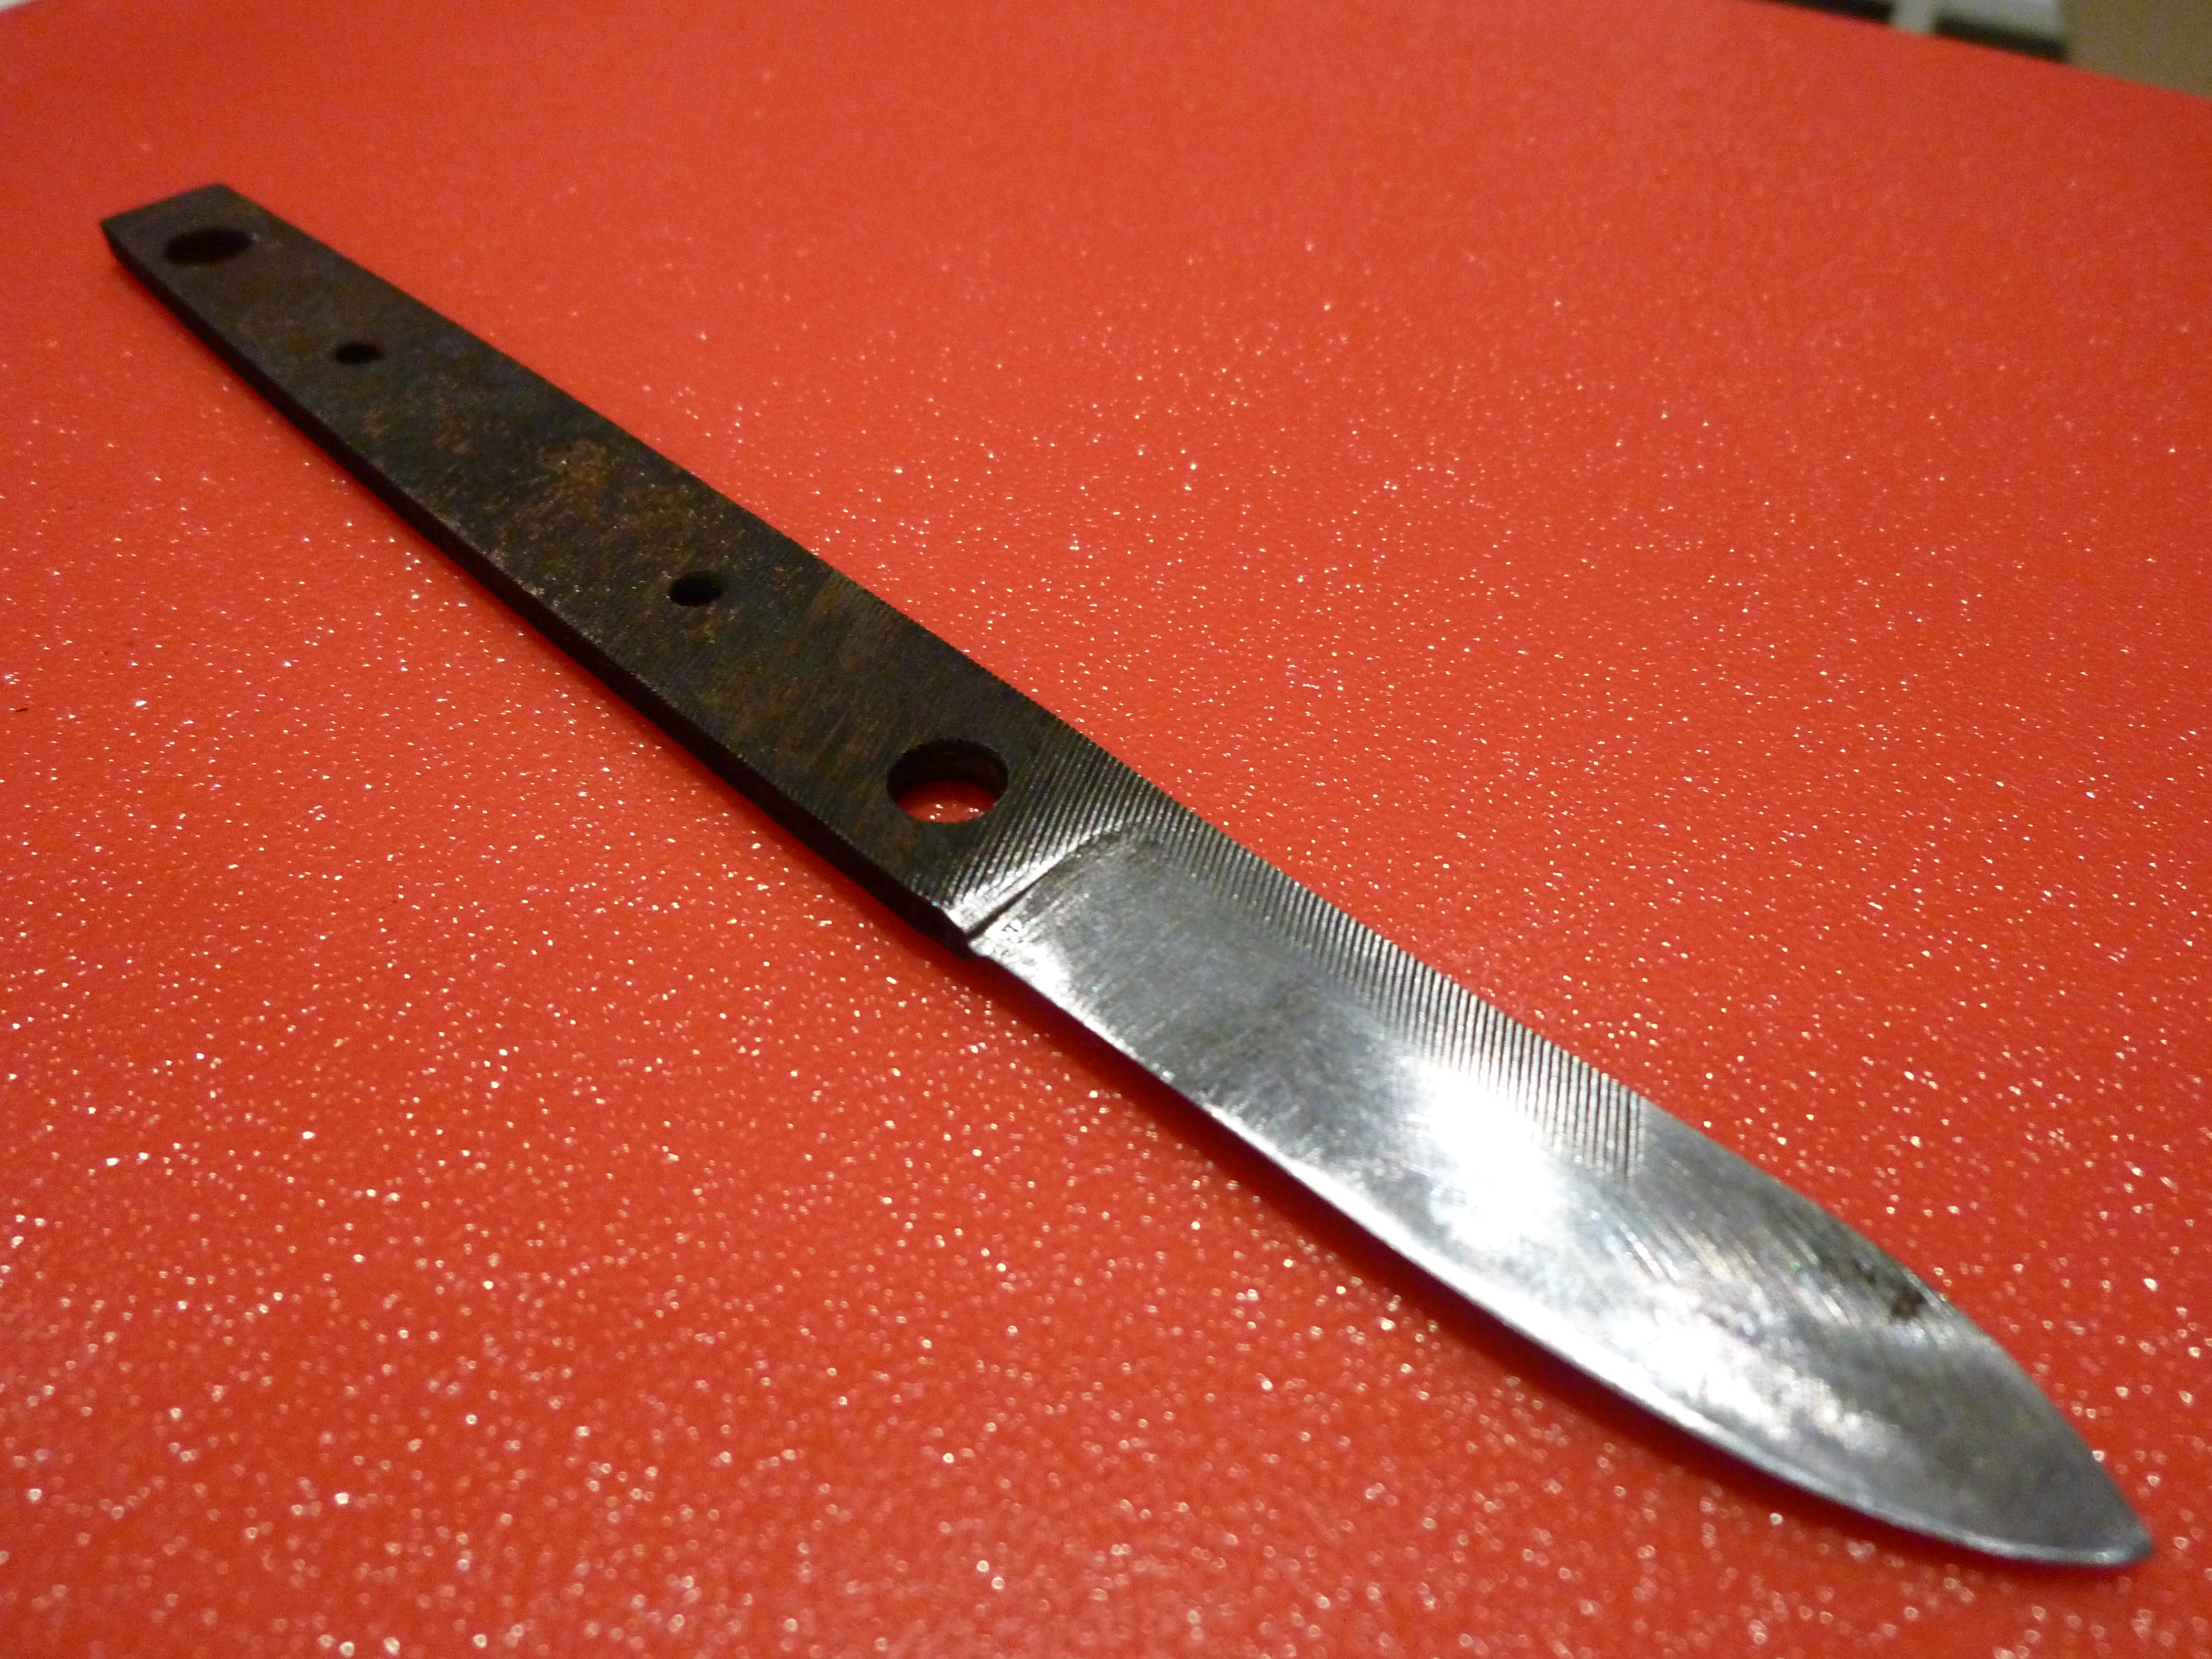
The nearly-done blade

I decided that I was going to make myself a knife from a file.  There are many guides on the Internet that tell you how to do this, but this one will be mine.  This part of the guide is going to explain the process that I used to design and make the blade from start to finish in great detail, unlike the other guides that are out there that say something vague like “quench” and “heat treat at 425”.

The first thing you should do is decide what you are going to do with your knife, and exactly how it is going to look.  I only did the first bit, and sorely regretted it later.  Since you are going to make the knife from a file, I would suggest going out and buying one.  I used a 6″ Nicholson bastard file, which was about $5 at OSH.  I based on what I have read on the web and knife making forums, Nicholson files are W1 (W-1?) steel, which is water or brine hardening.  Beware the dollar store file!  Some of them are not high carbon steel, but low carbon steel that has been case hardened.  You wouldn’t want to waste days of work just to have a soft knife, would you?
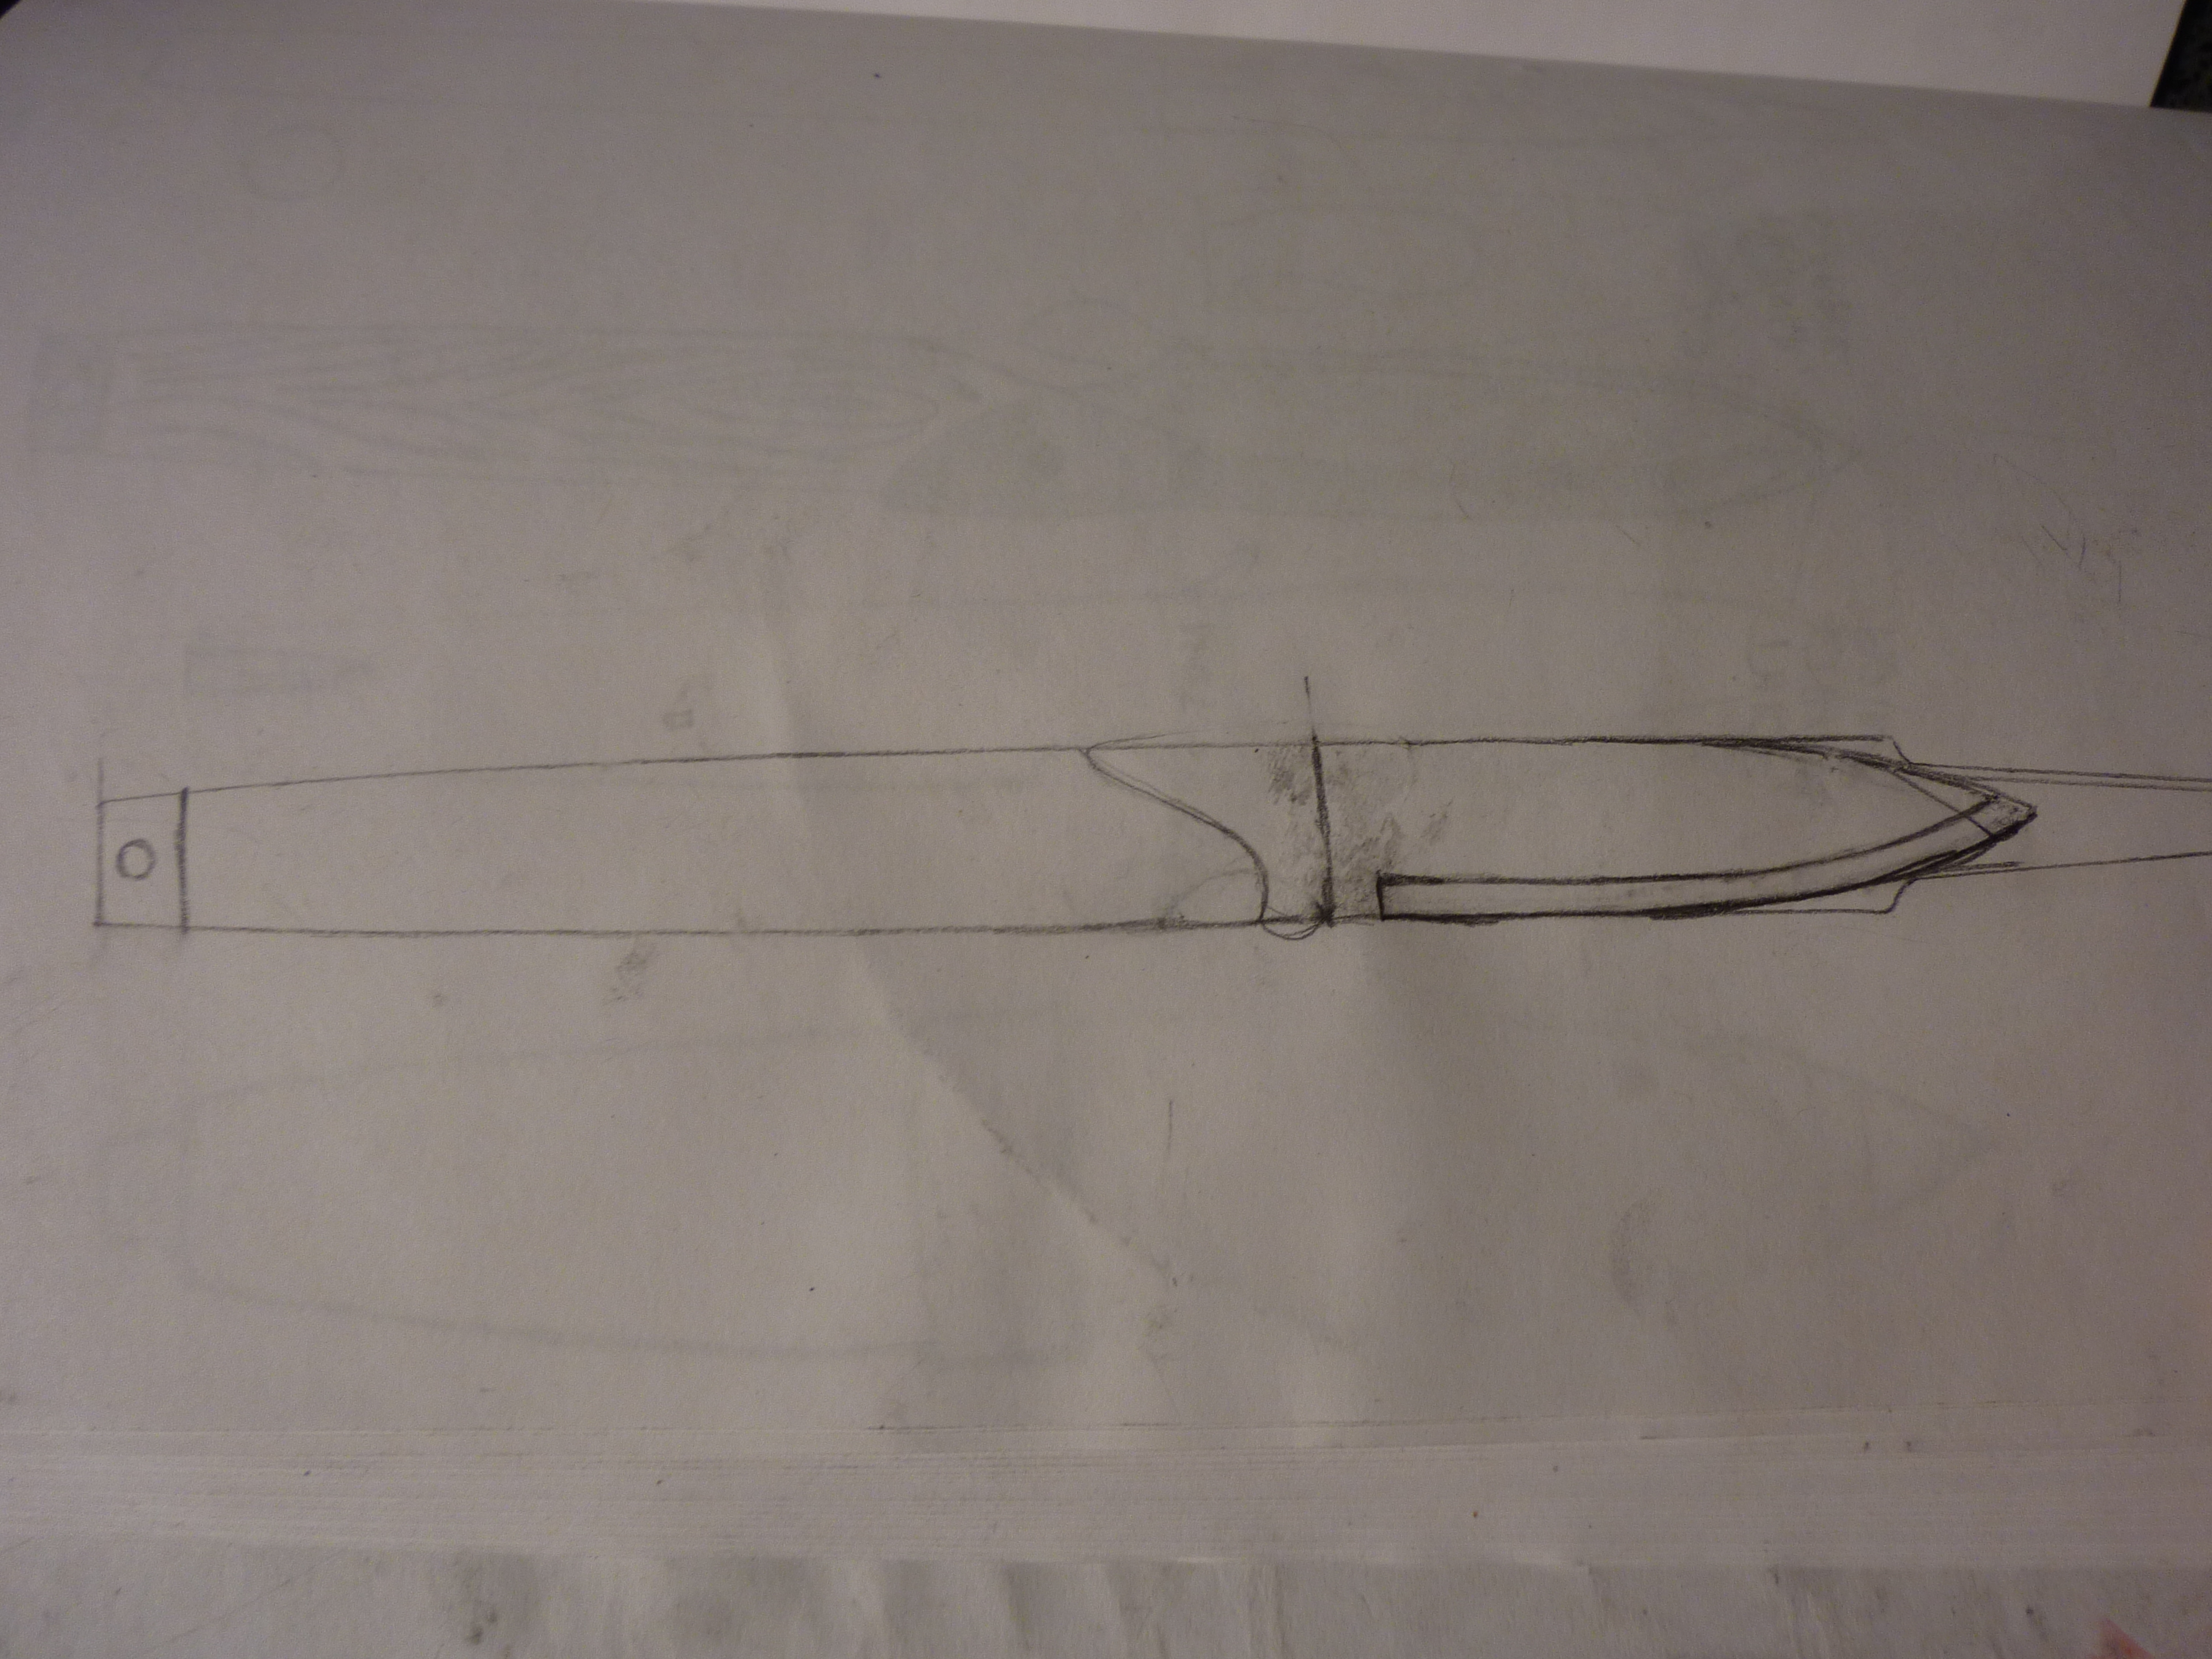
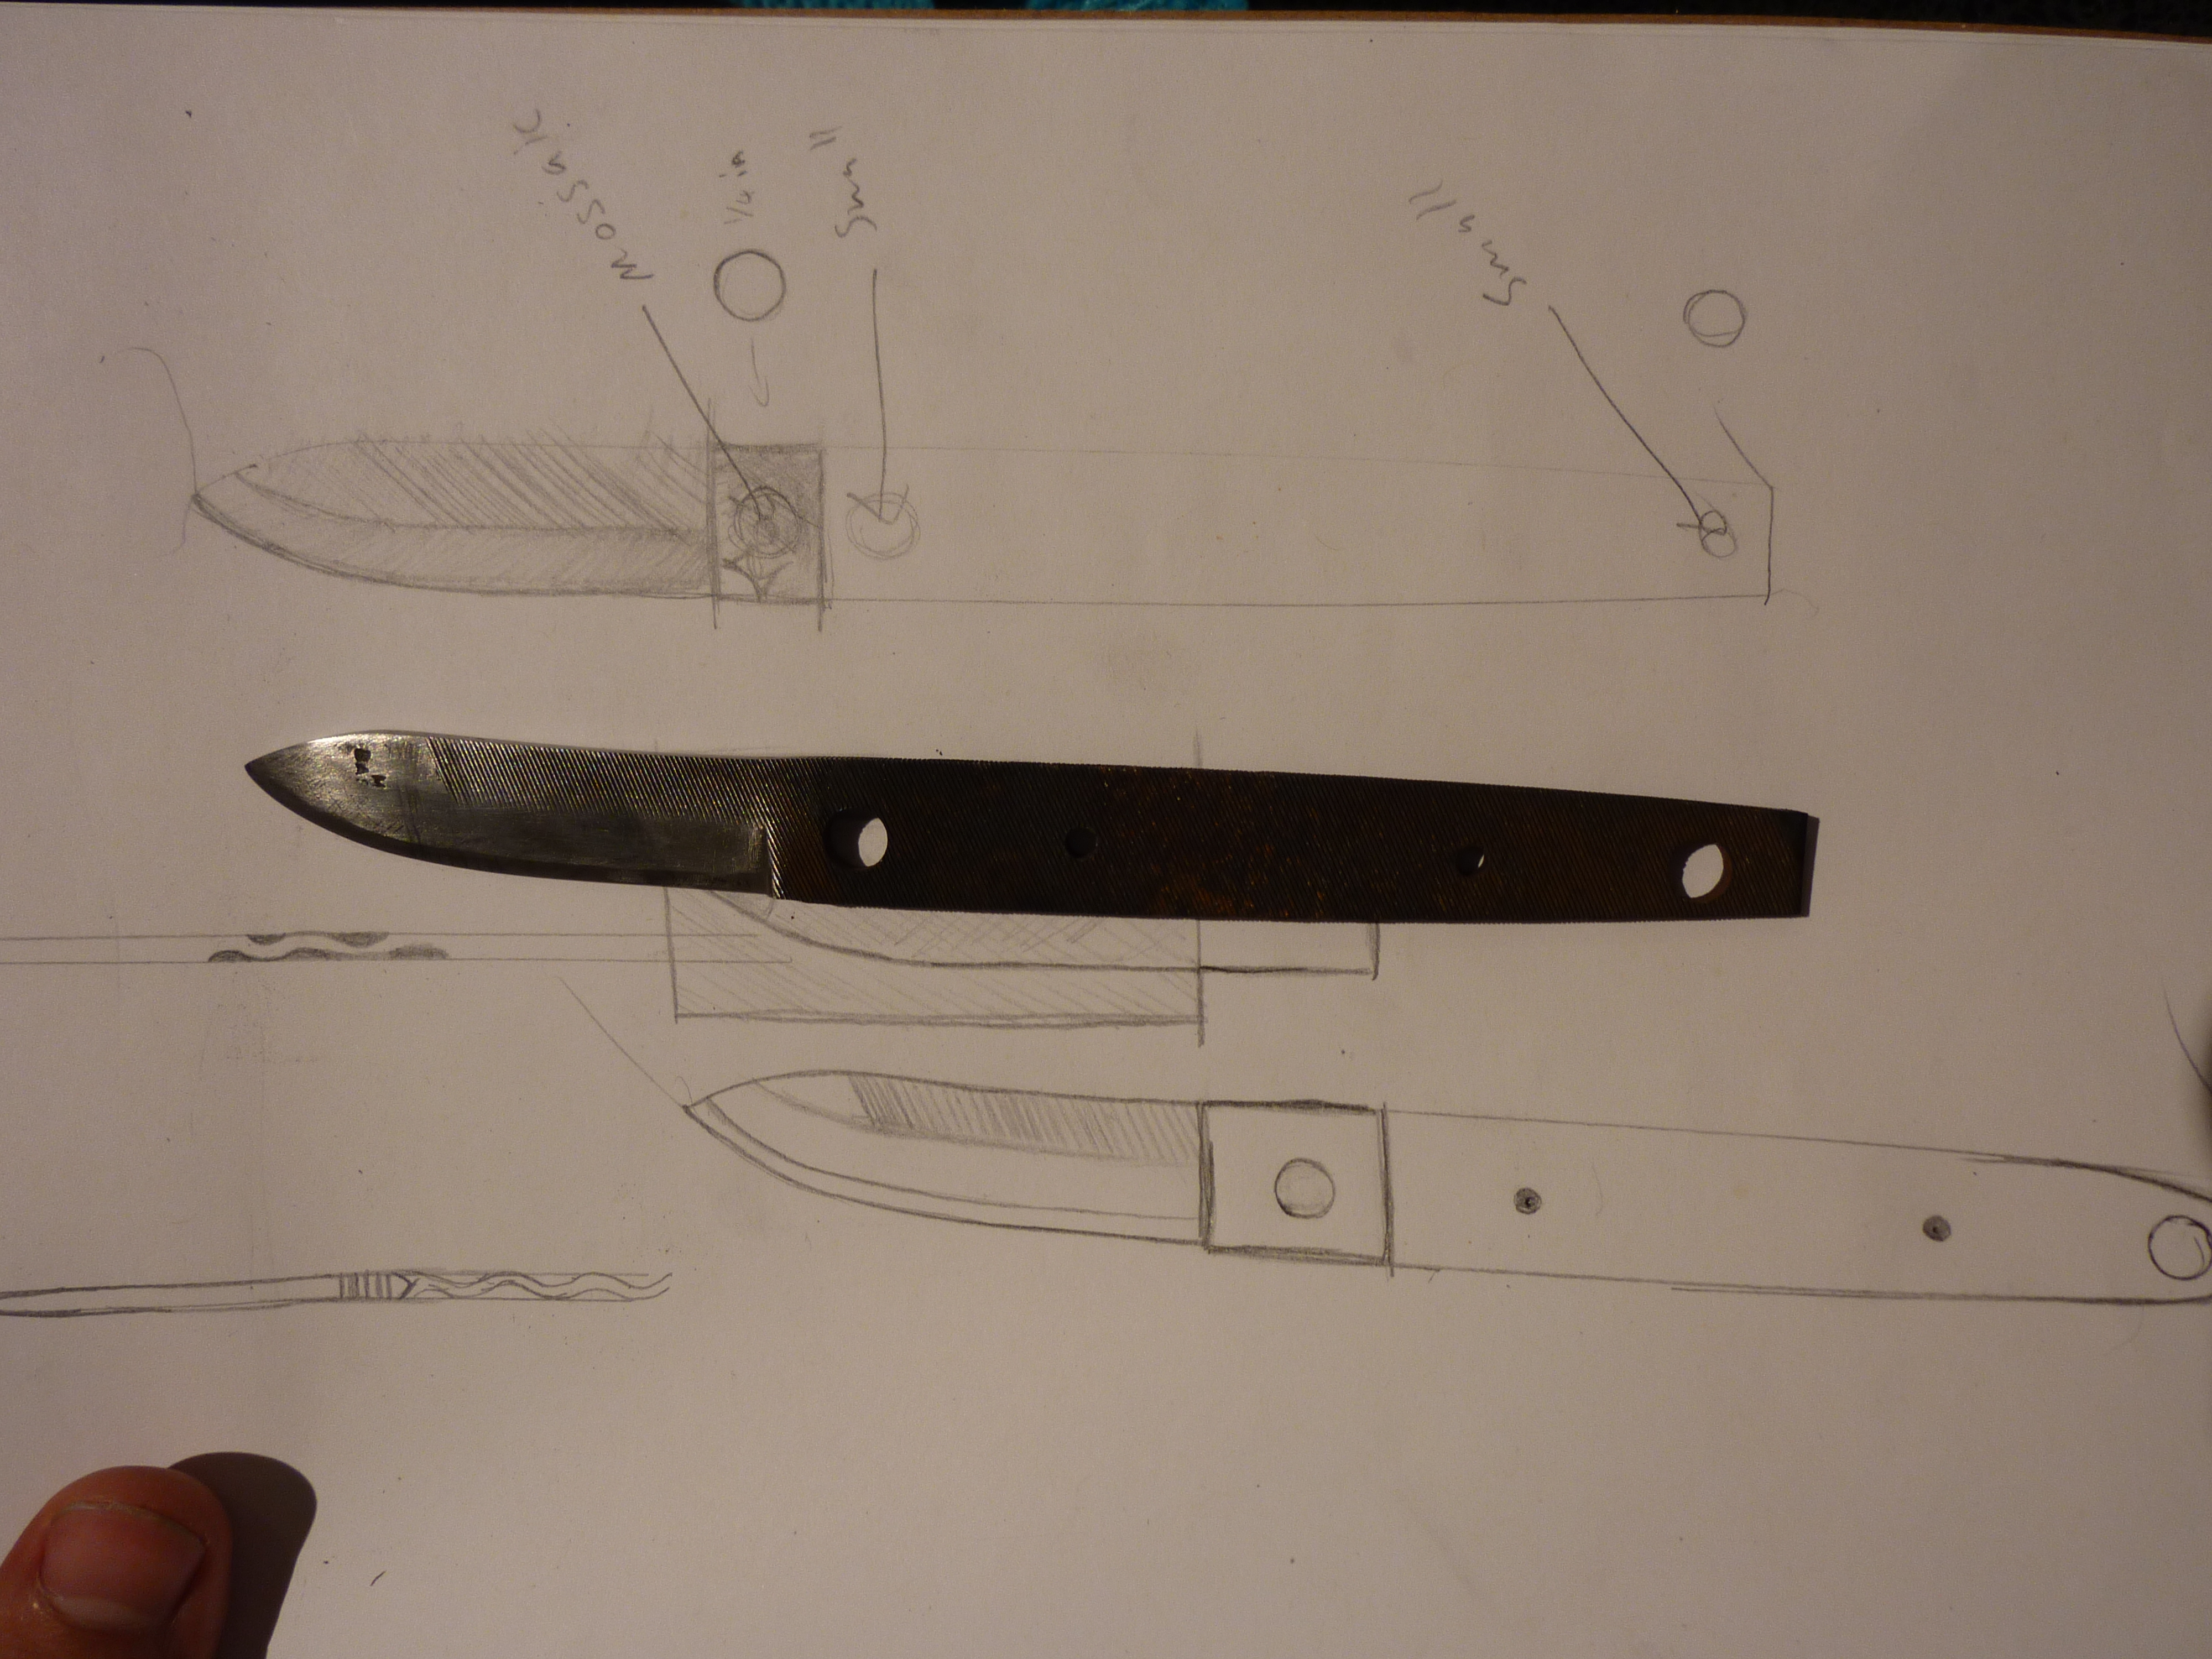
I liked this design I liked the best.  You can see the outline of the tang of the file on the right.

Trace the file out on a piece of paper.  Hold the file in your hand and figure out how big of a handle you want.  Decide if you want a depression for your index finger or thumb.  Think about the work the blade will be doing, and how long you have to finish the blade, and what your skill level is with the medium.  I have a lot of experience filing things, but none with forging or heat treating, so I went with a thick, durable blade, with a slightly finer edge for slicing, scalpel-style.  It should be good for cutting up fruit and opening boxes, which is what I normally use my (current) knife for.  I also wanted to try to use some mosaic pins, and this got me in trouble because I did not take them into account in my design.

Straight air-coolin’

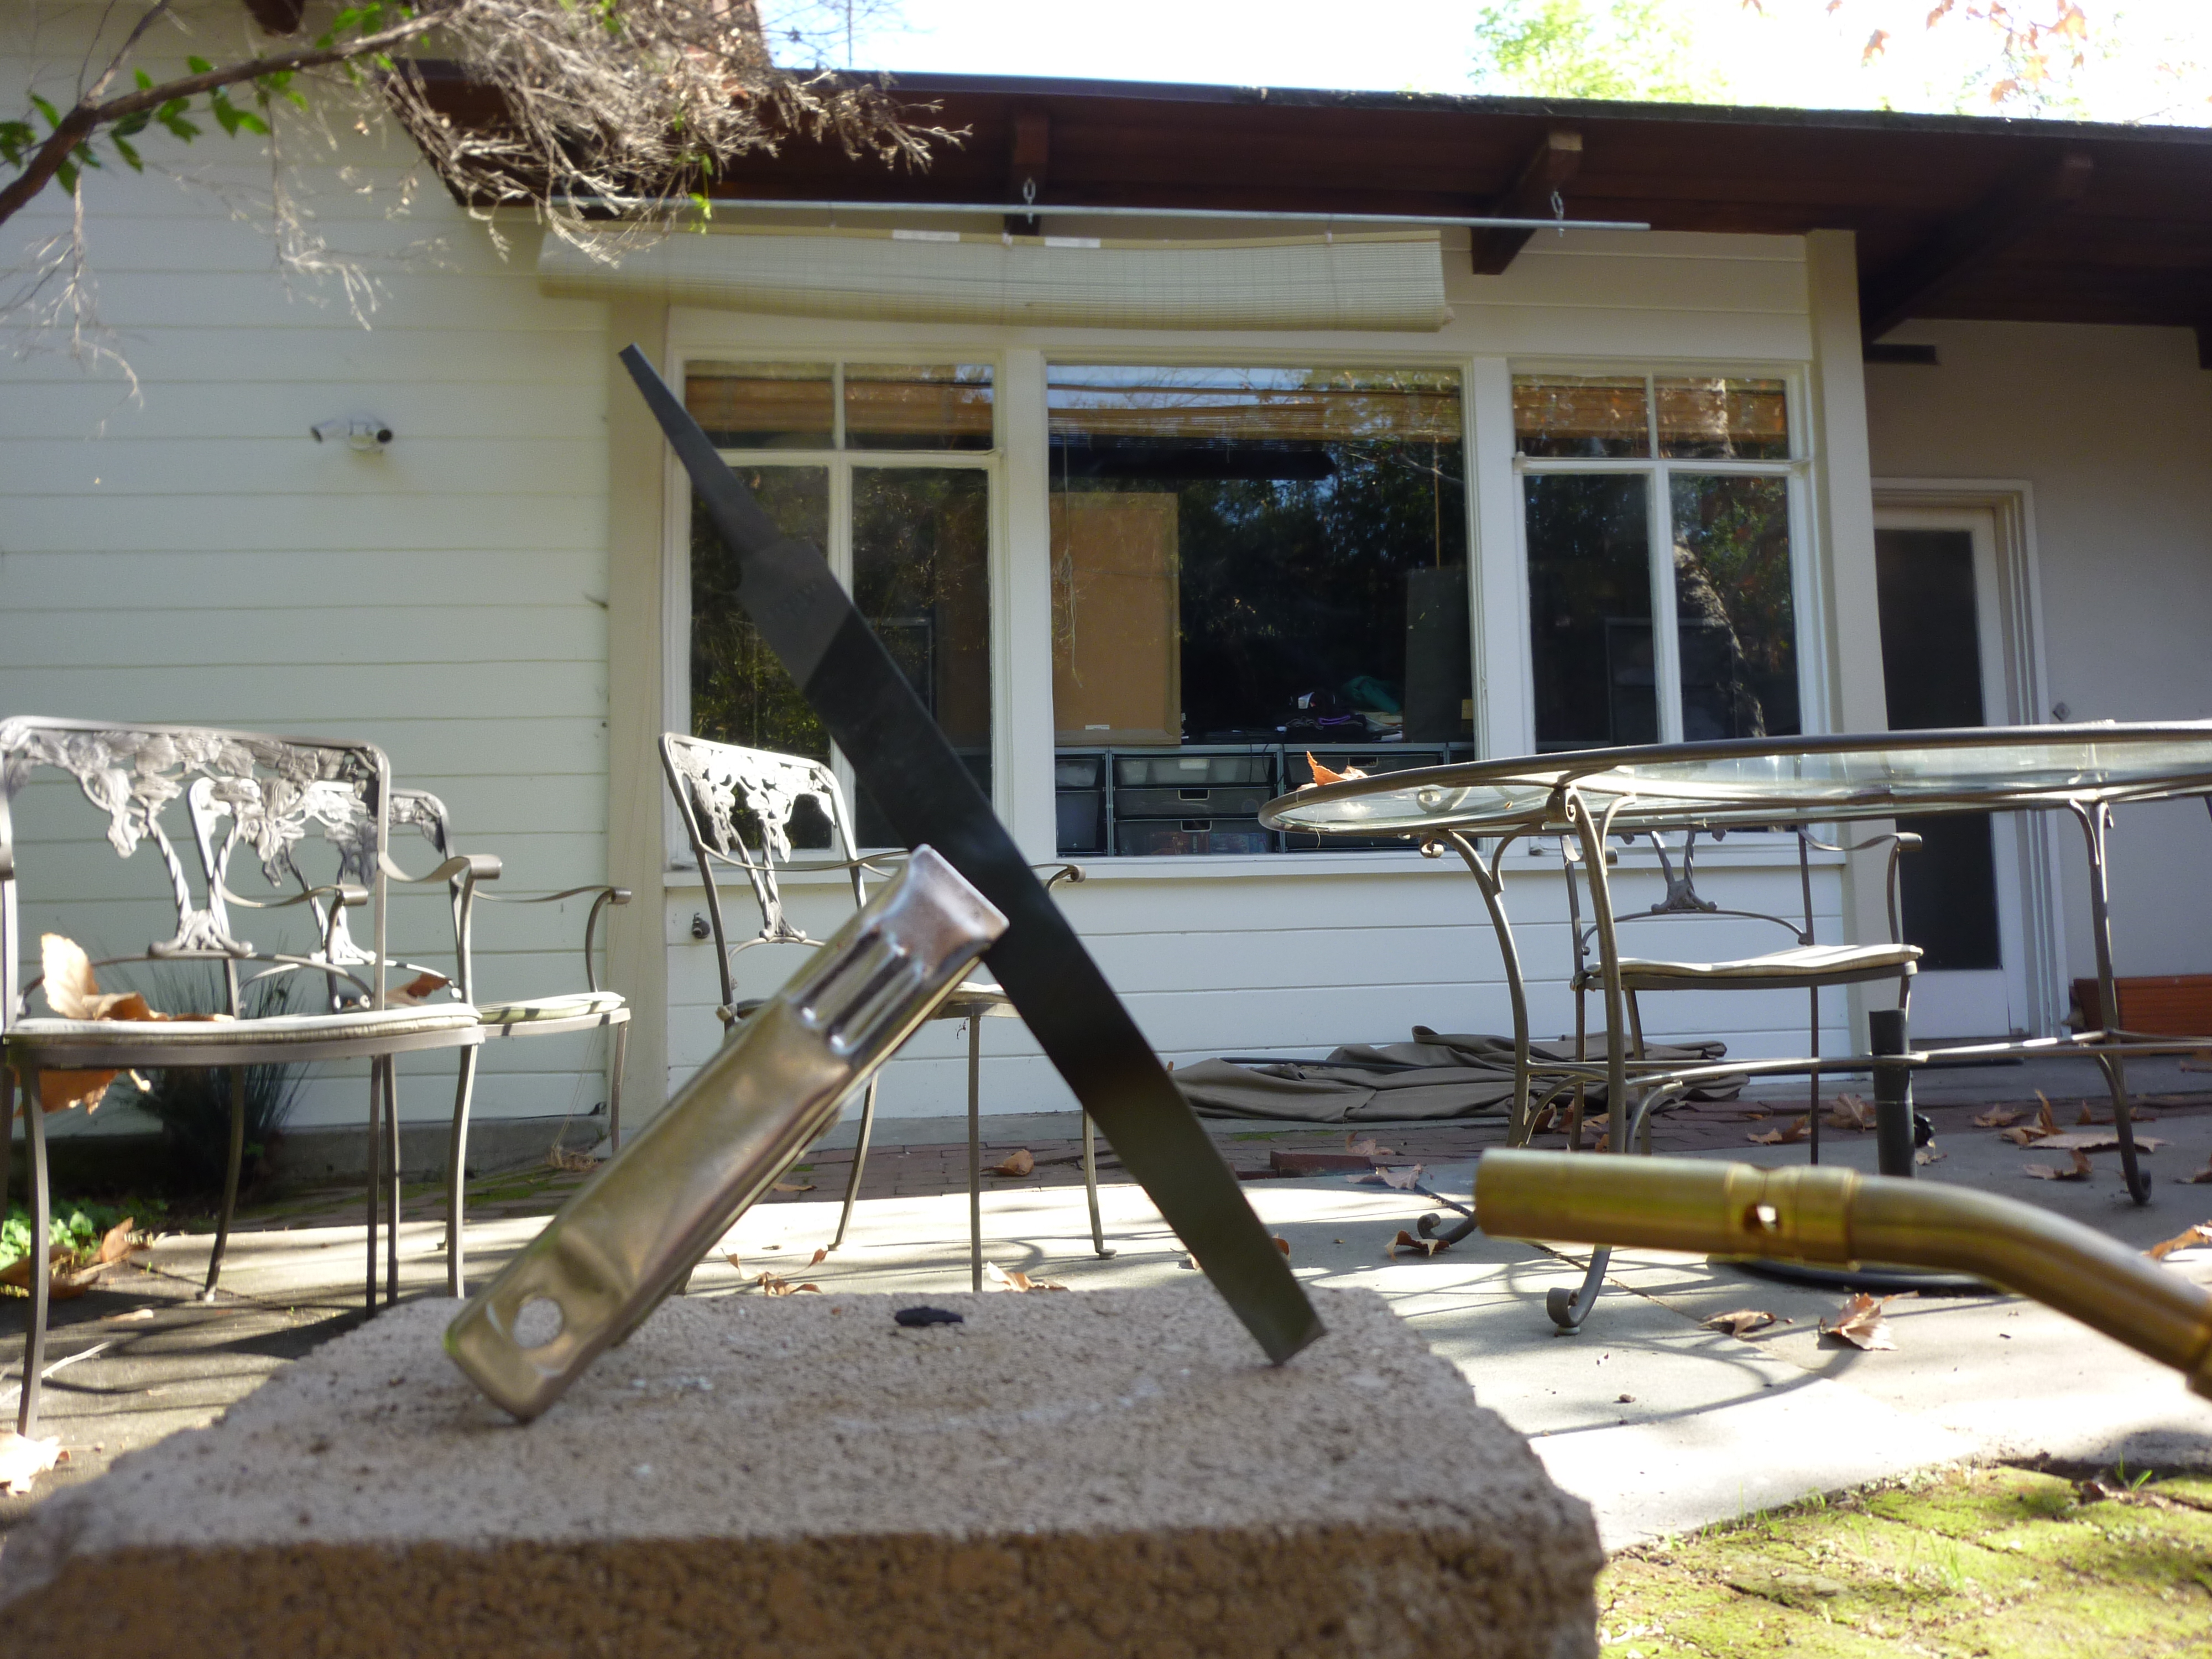
Once you settle on a design, you will need to anneal the file before you can start to remove the material.  Remember, you never want to rub your files on each other because they will get dull.  This is because the metal is incredibly hard.  Annealing softens the metal so that you can grind/file it off more easily.  The way to anneal steel is to heat it up and let it cool VERY SLOWLY.  How hot it gets and how long you it cool play into how soft it gets.  I heated mine up to a dull red hot and let it cool in air, and it was soft enough for me to work with.  You can also just leave it in your forge and let it forge-cool, but you will have to wait until long after all your charcoal goes out before you can touch it.
The knife after some rough grinding

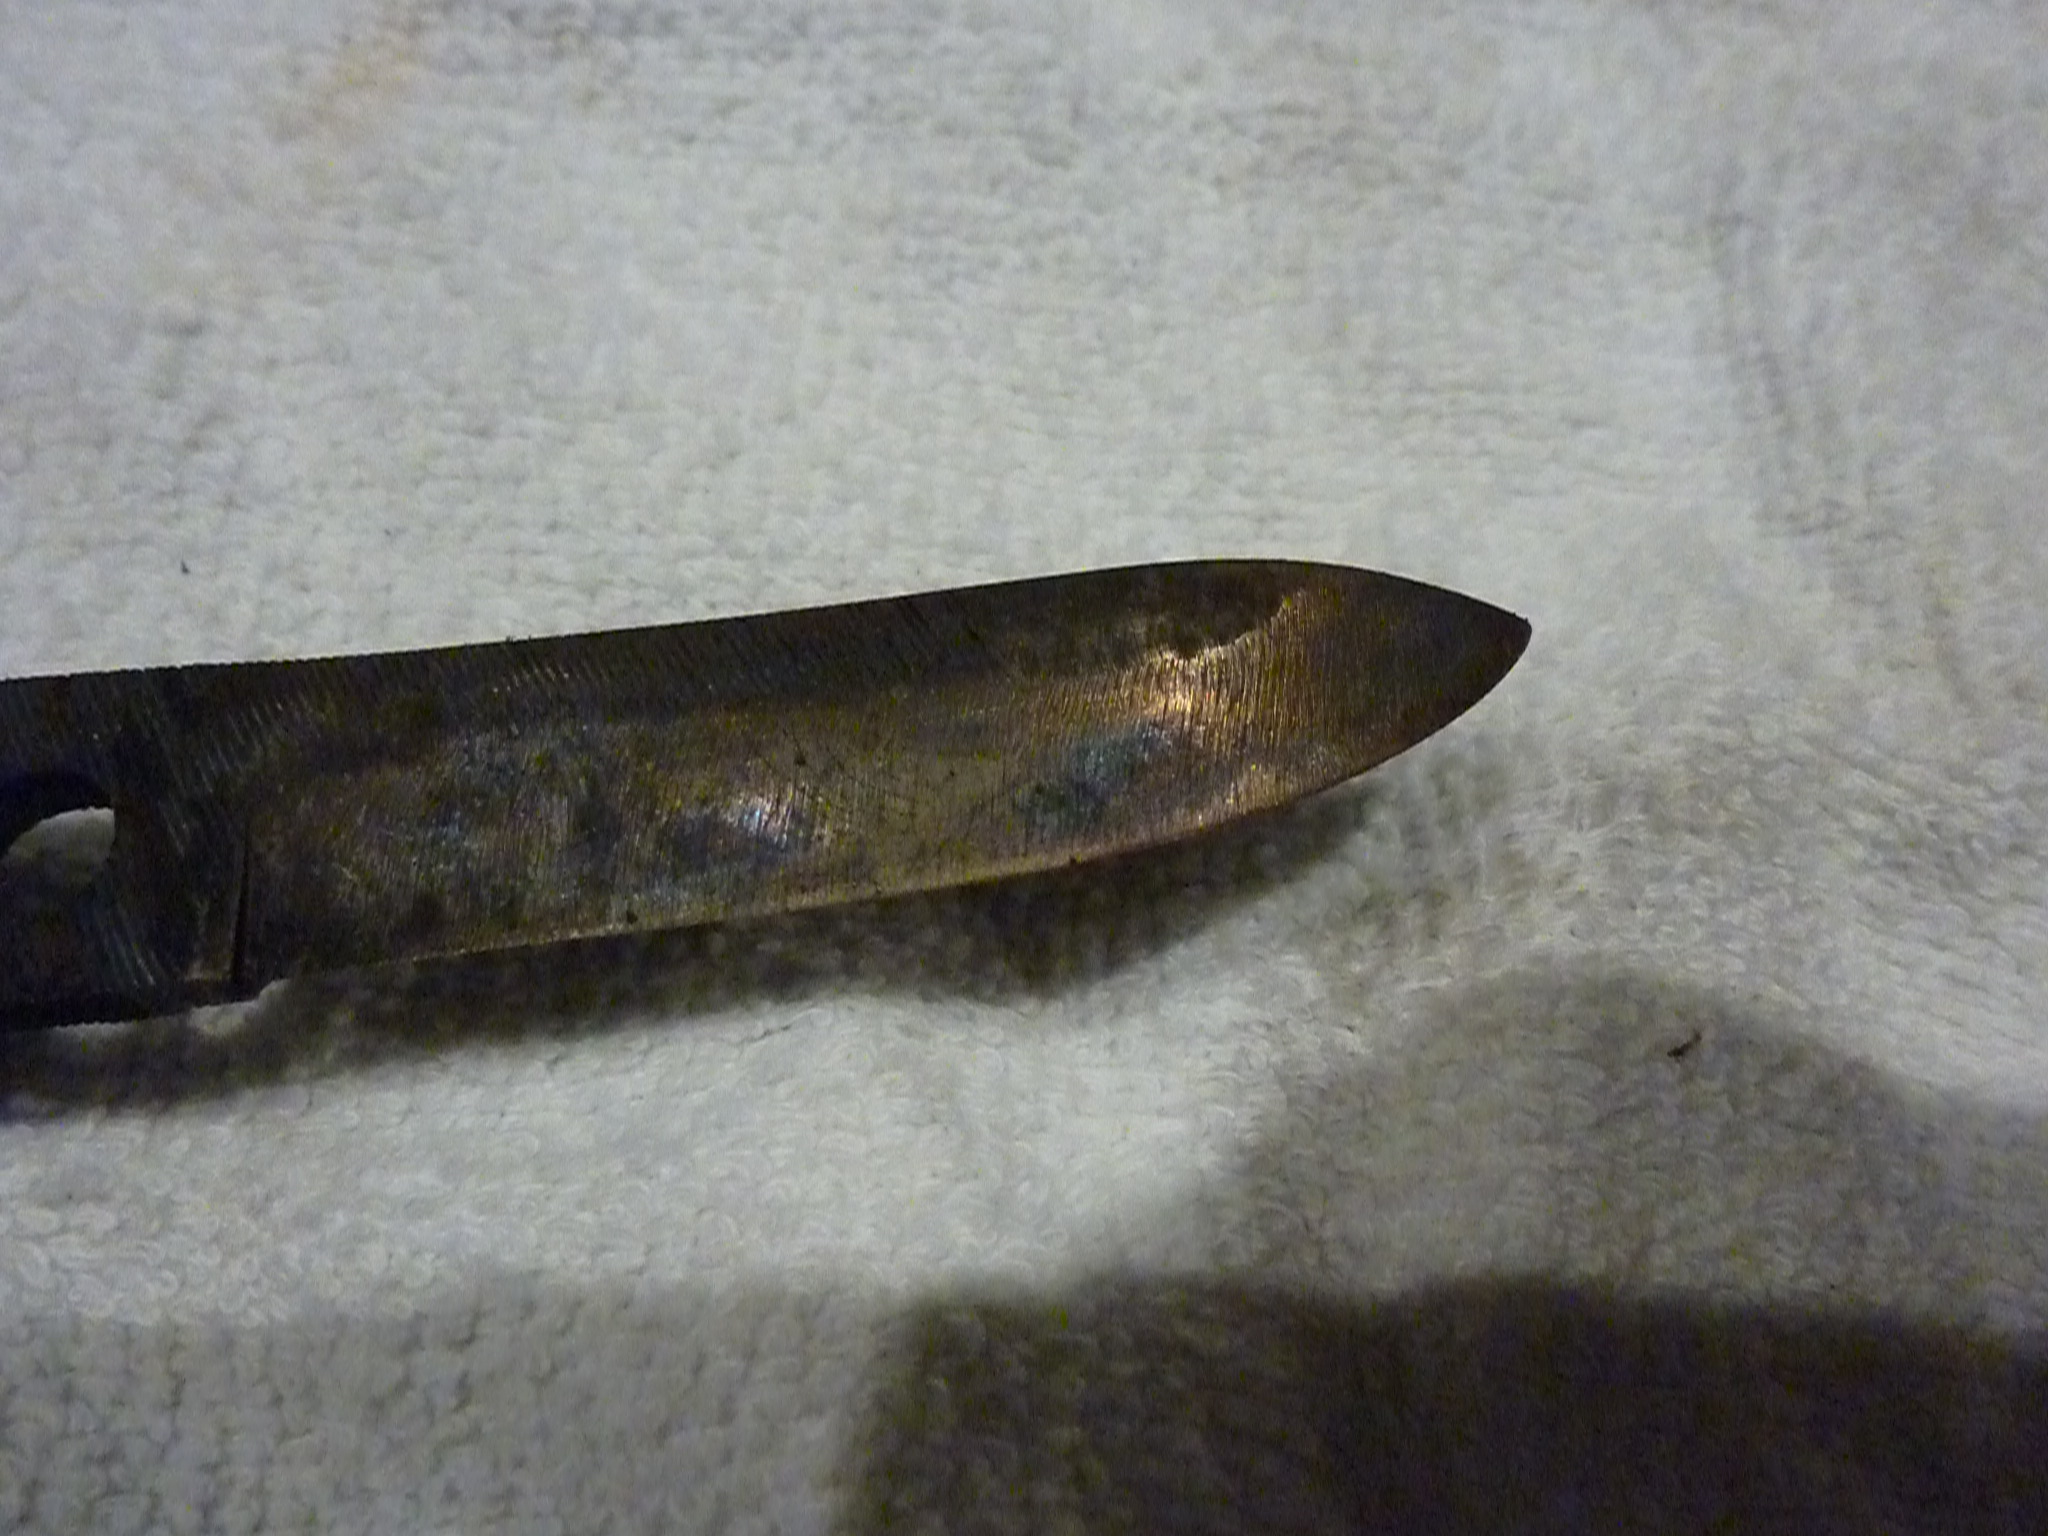
Here I have used the grinder to do some stock removal.  It is best to keep the steel cool during this process by dipping it in water.  As you can see, the blade got very hot during this grinding process, causing some tempering colors to begin to appear on the blade.  It got so hot that some parts hardened when I dipped it in water to cool it off!  I used a butane torch to heat it up and anneal it again once I started to file.  You can tell the bevel is very uneven right now, because there are several facets that have light reflecting off of them.  This can be a good way to file straight; just file until the whole blade is reflecting light at the same time, or not.  While filing, you should be able to see the color of light and the finish of that particular facet spread across the blade.

Ink test

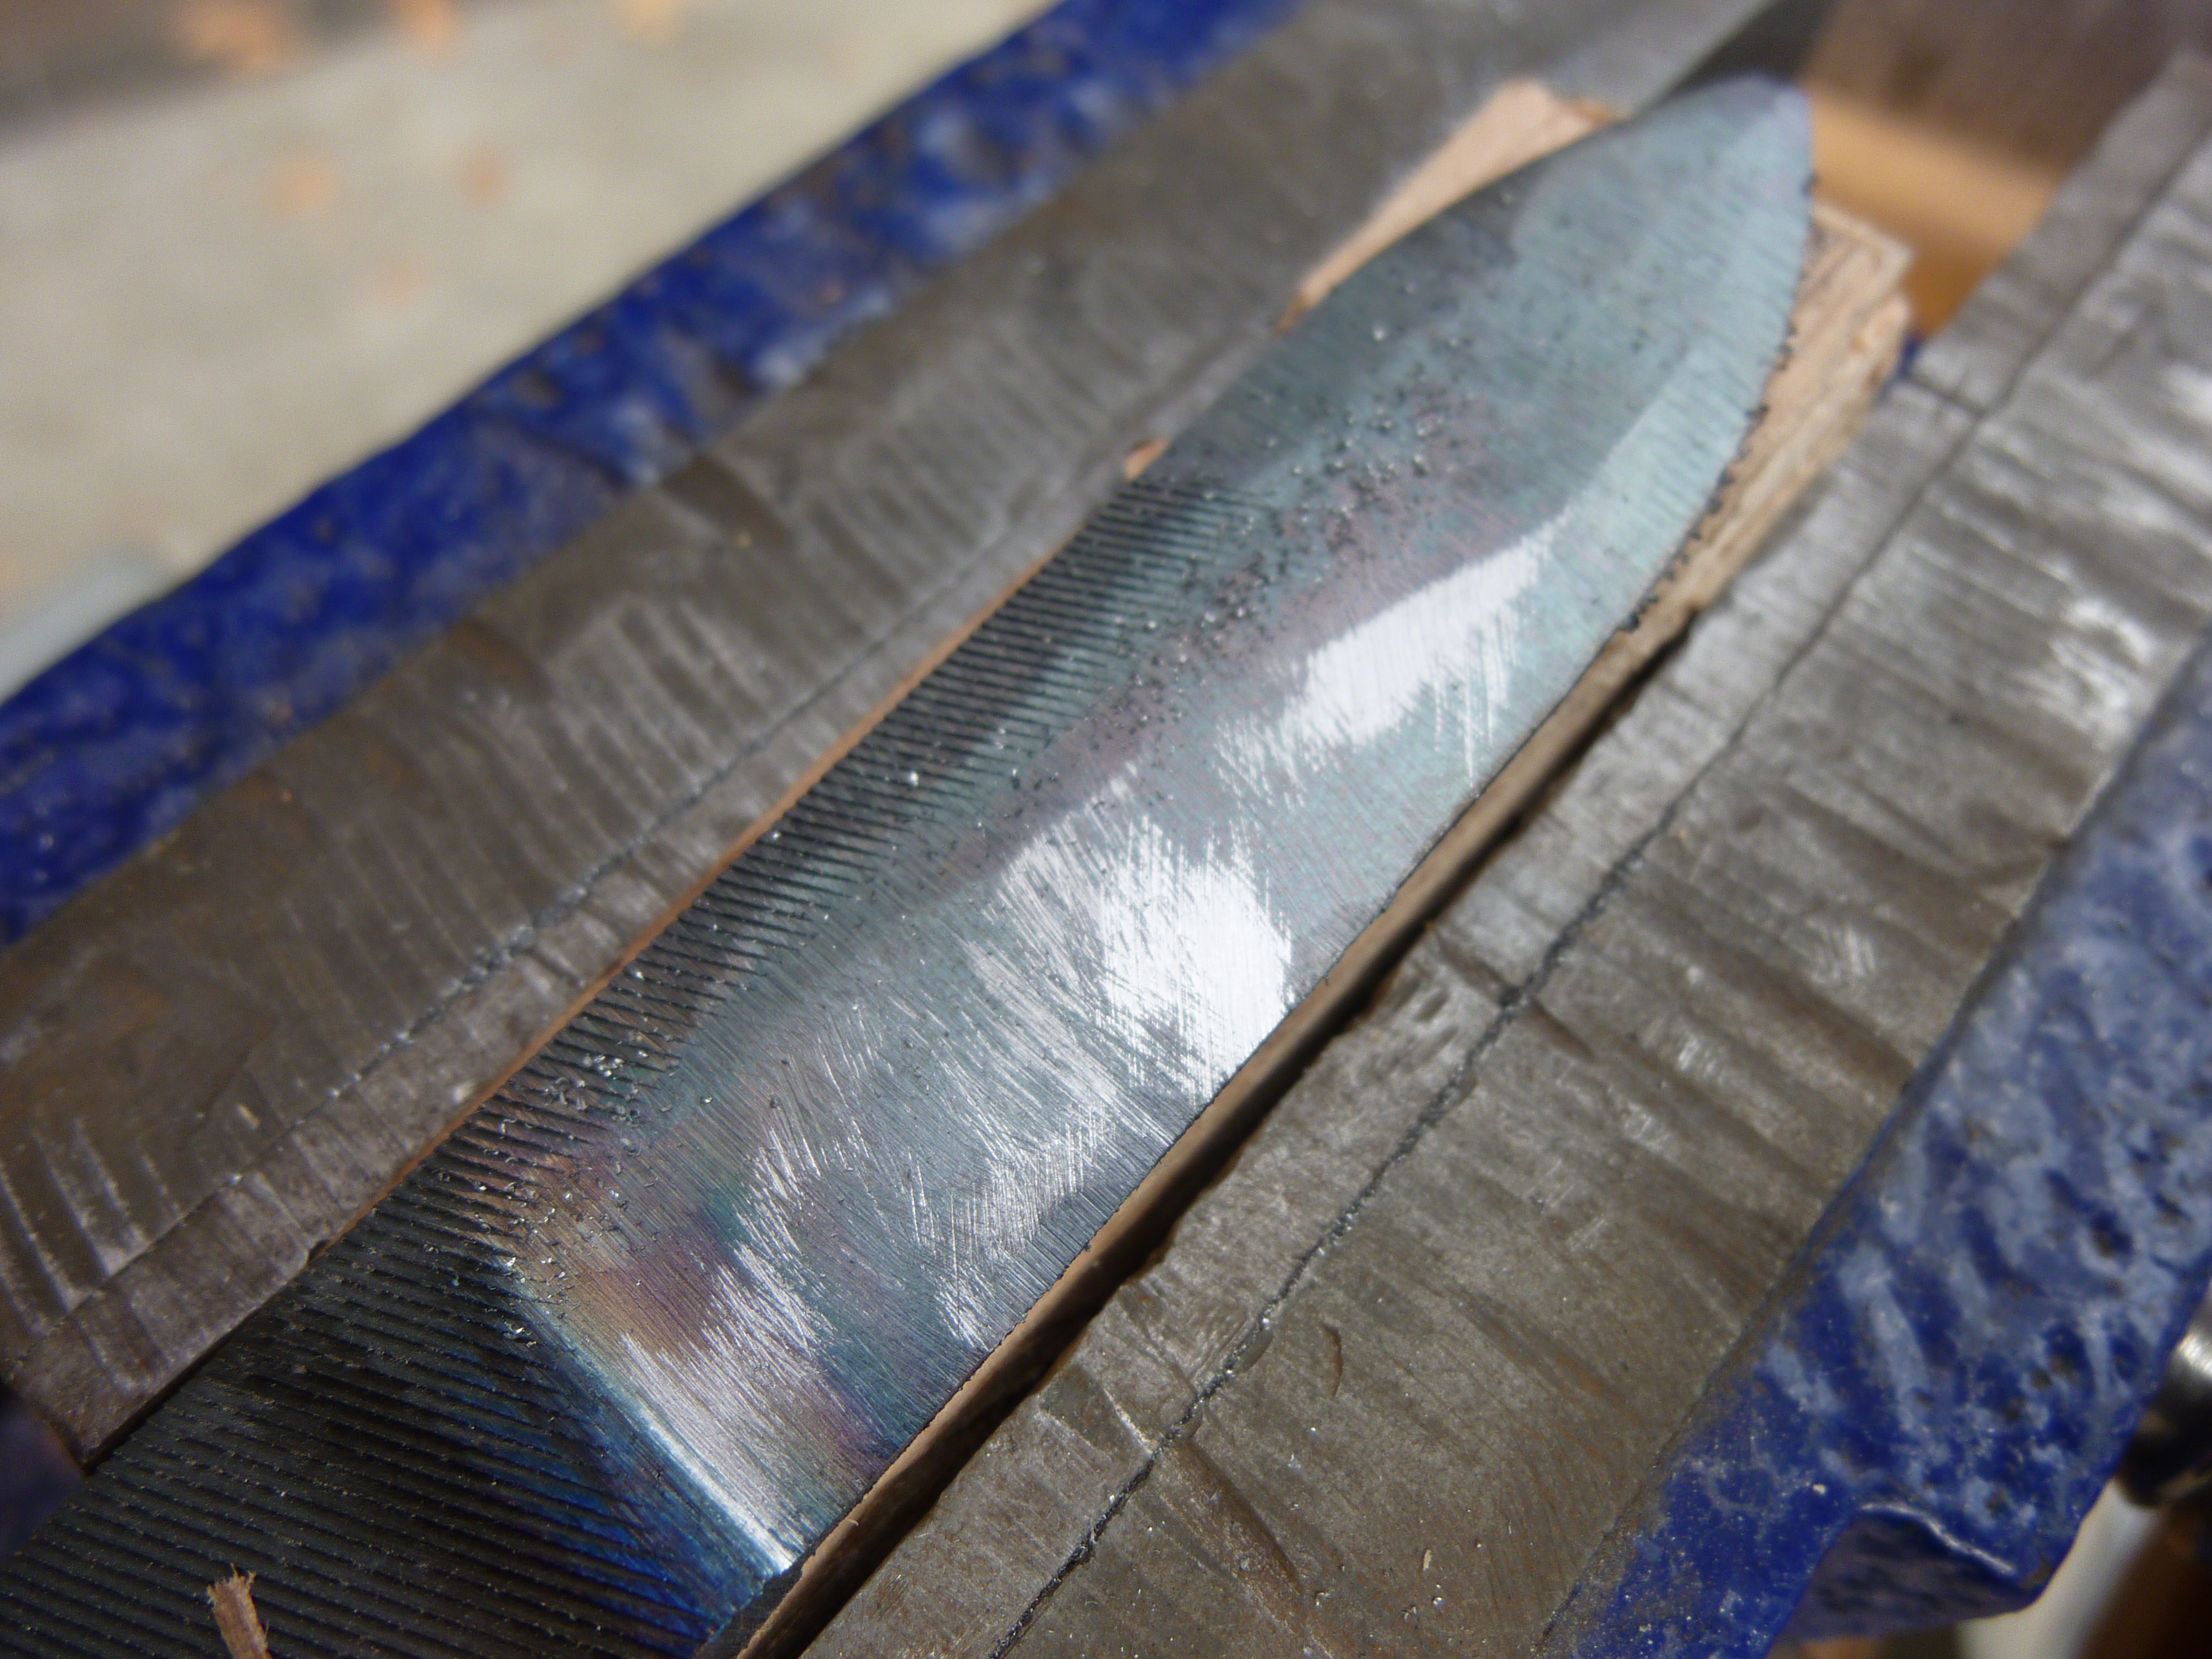
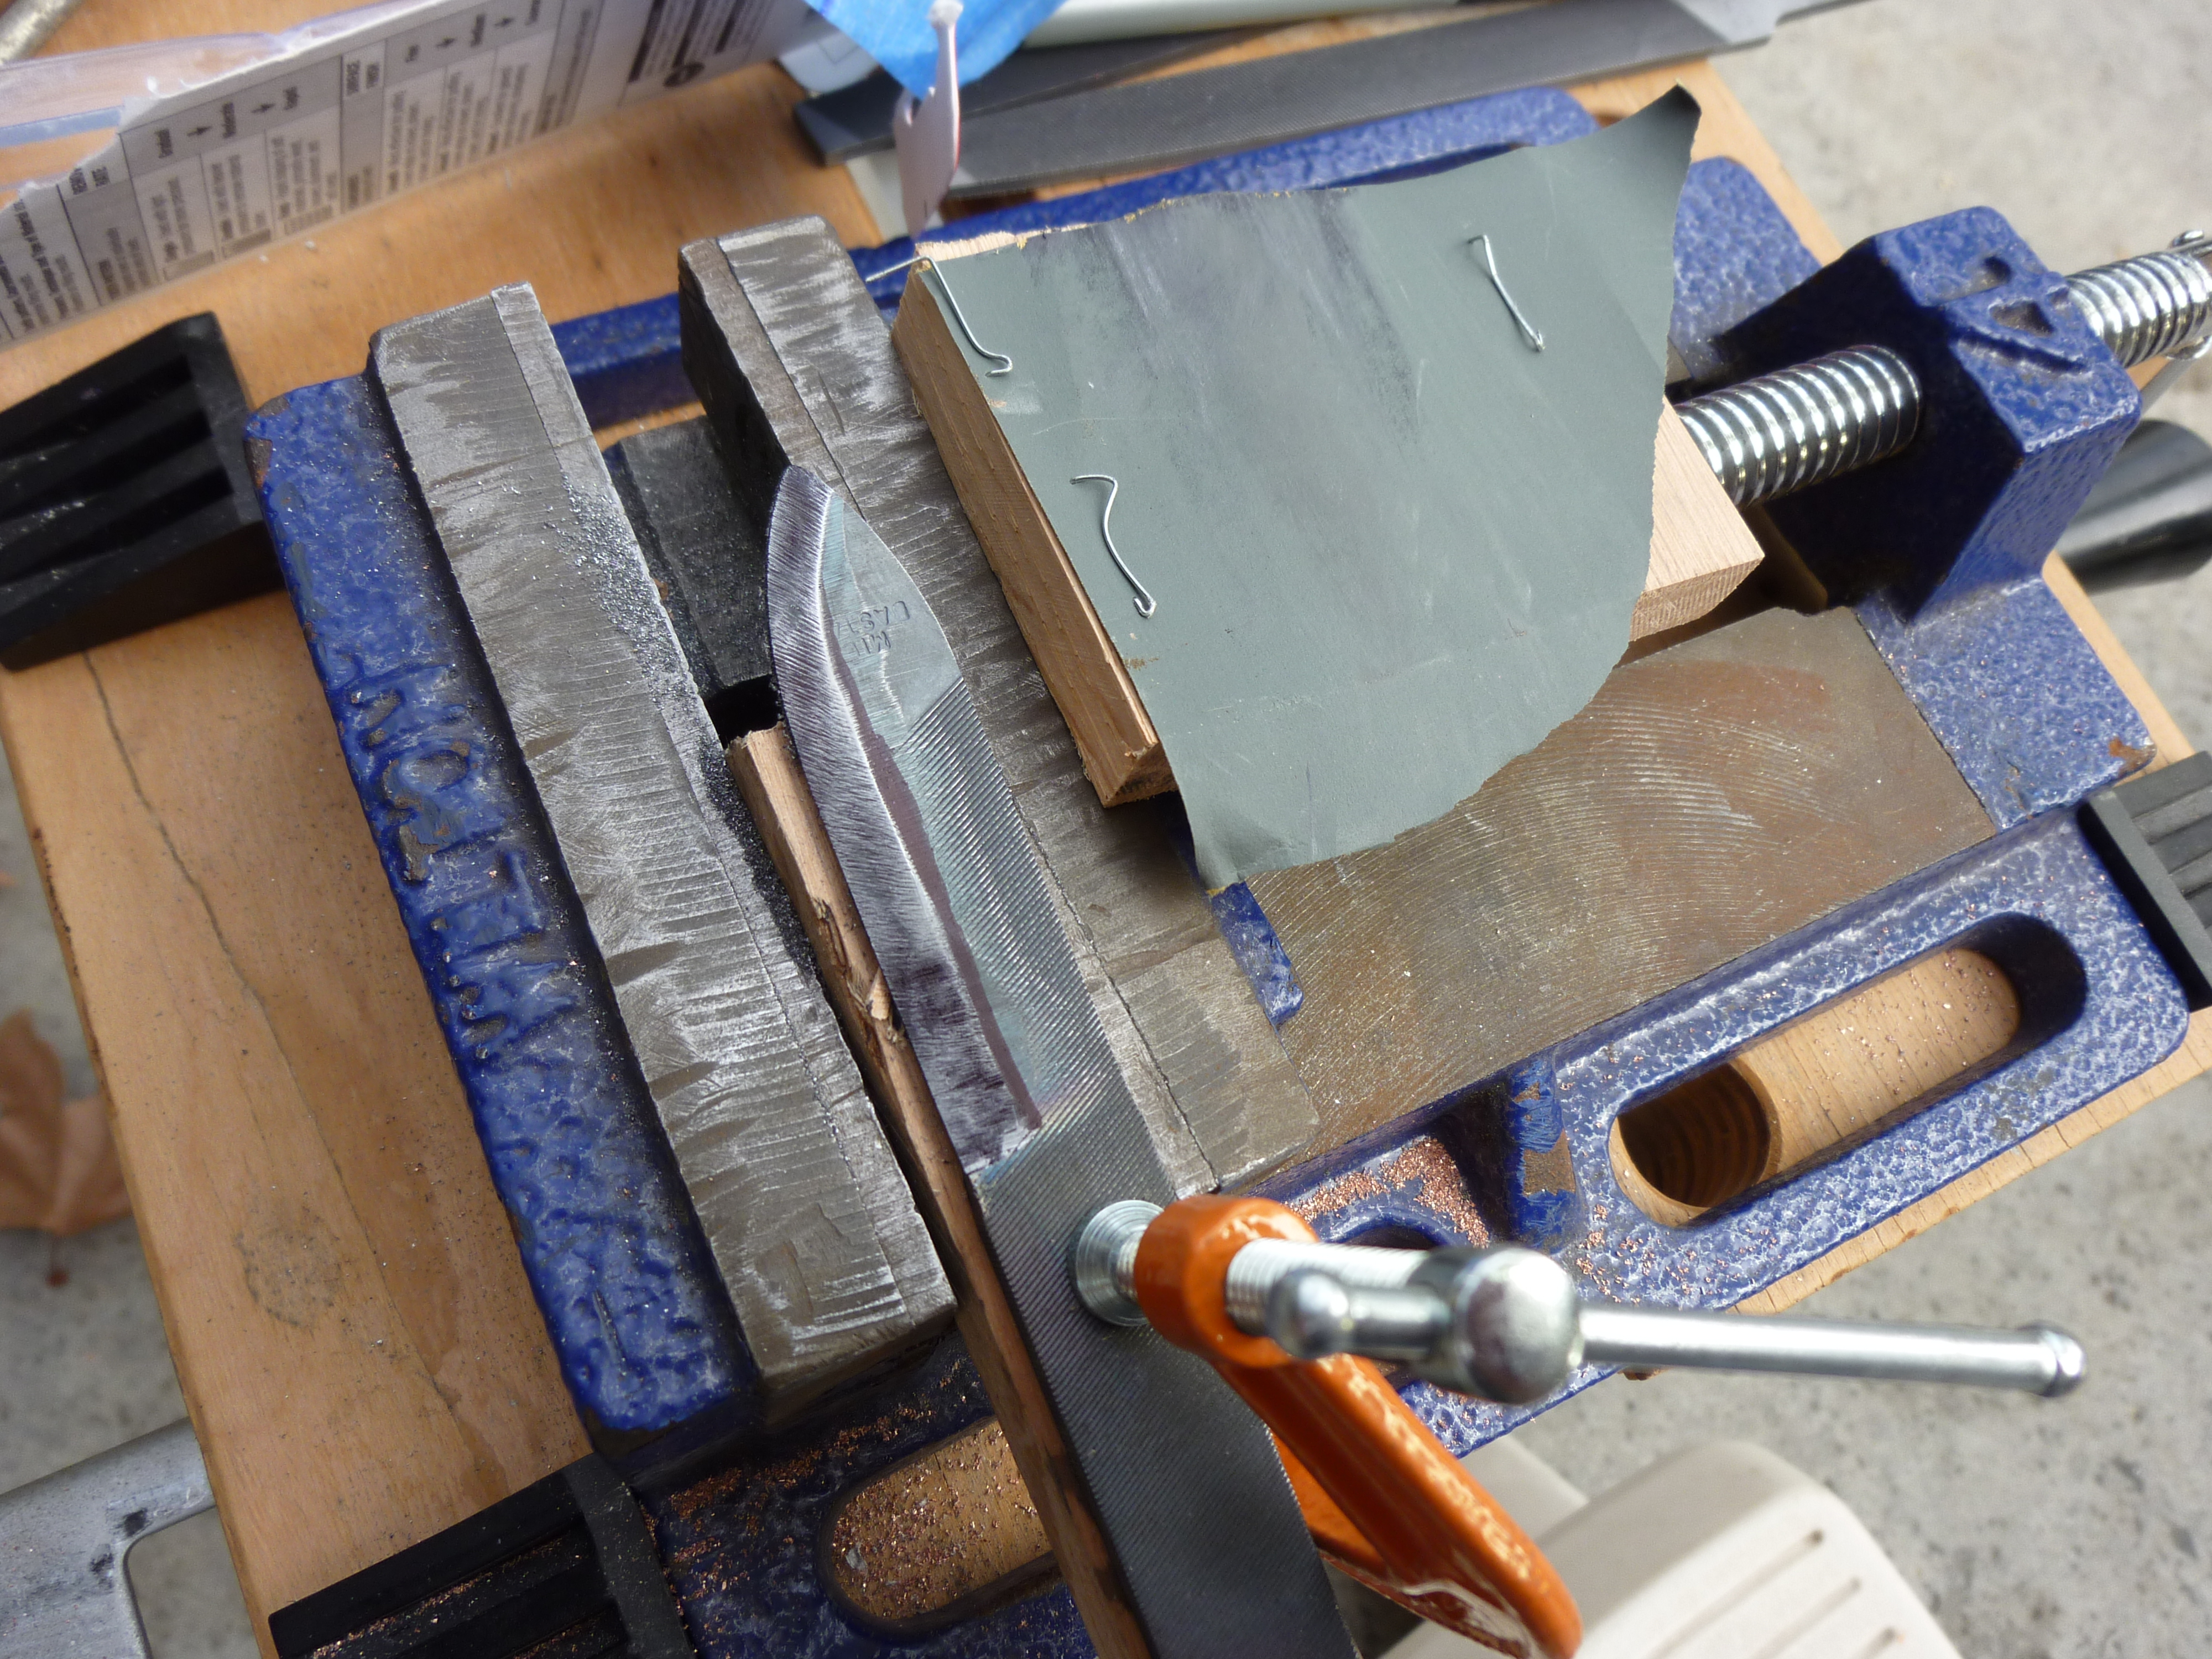
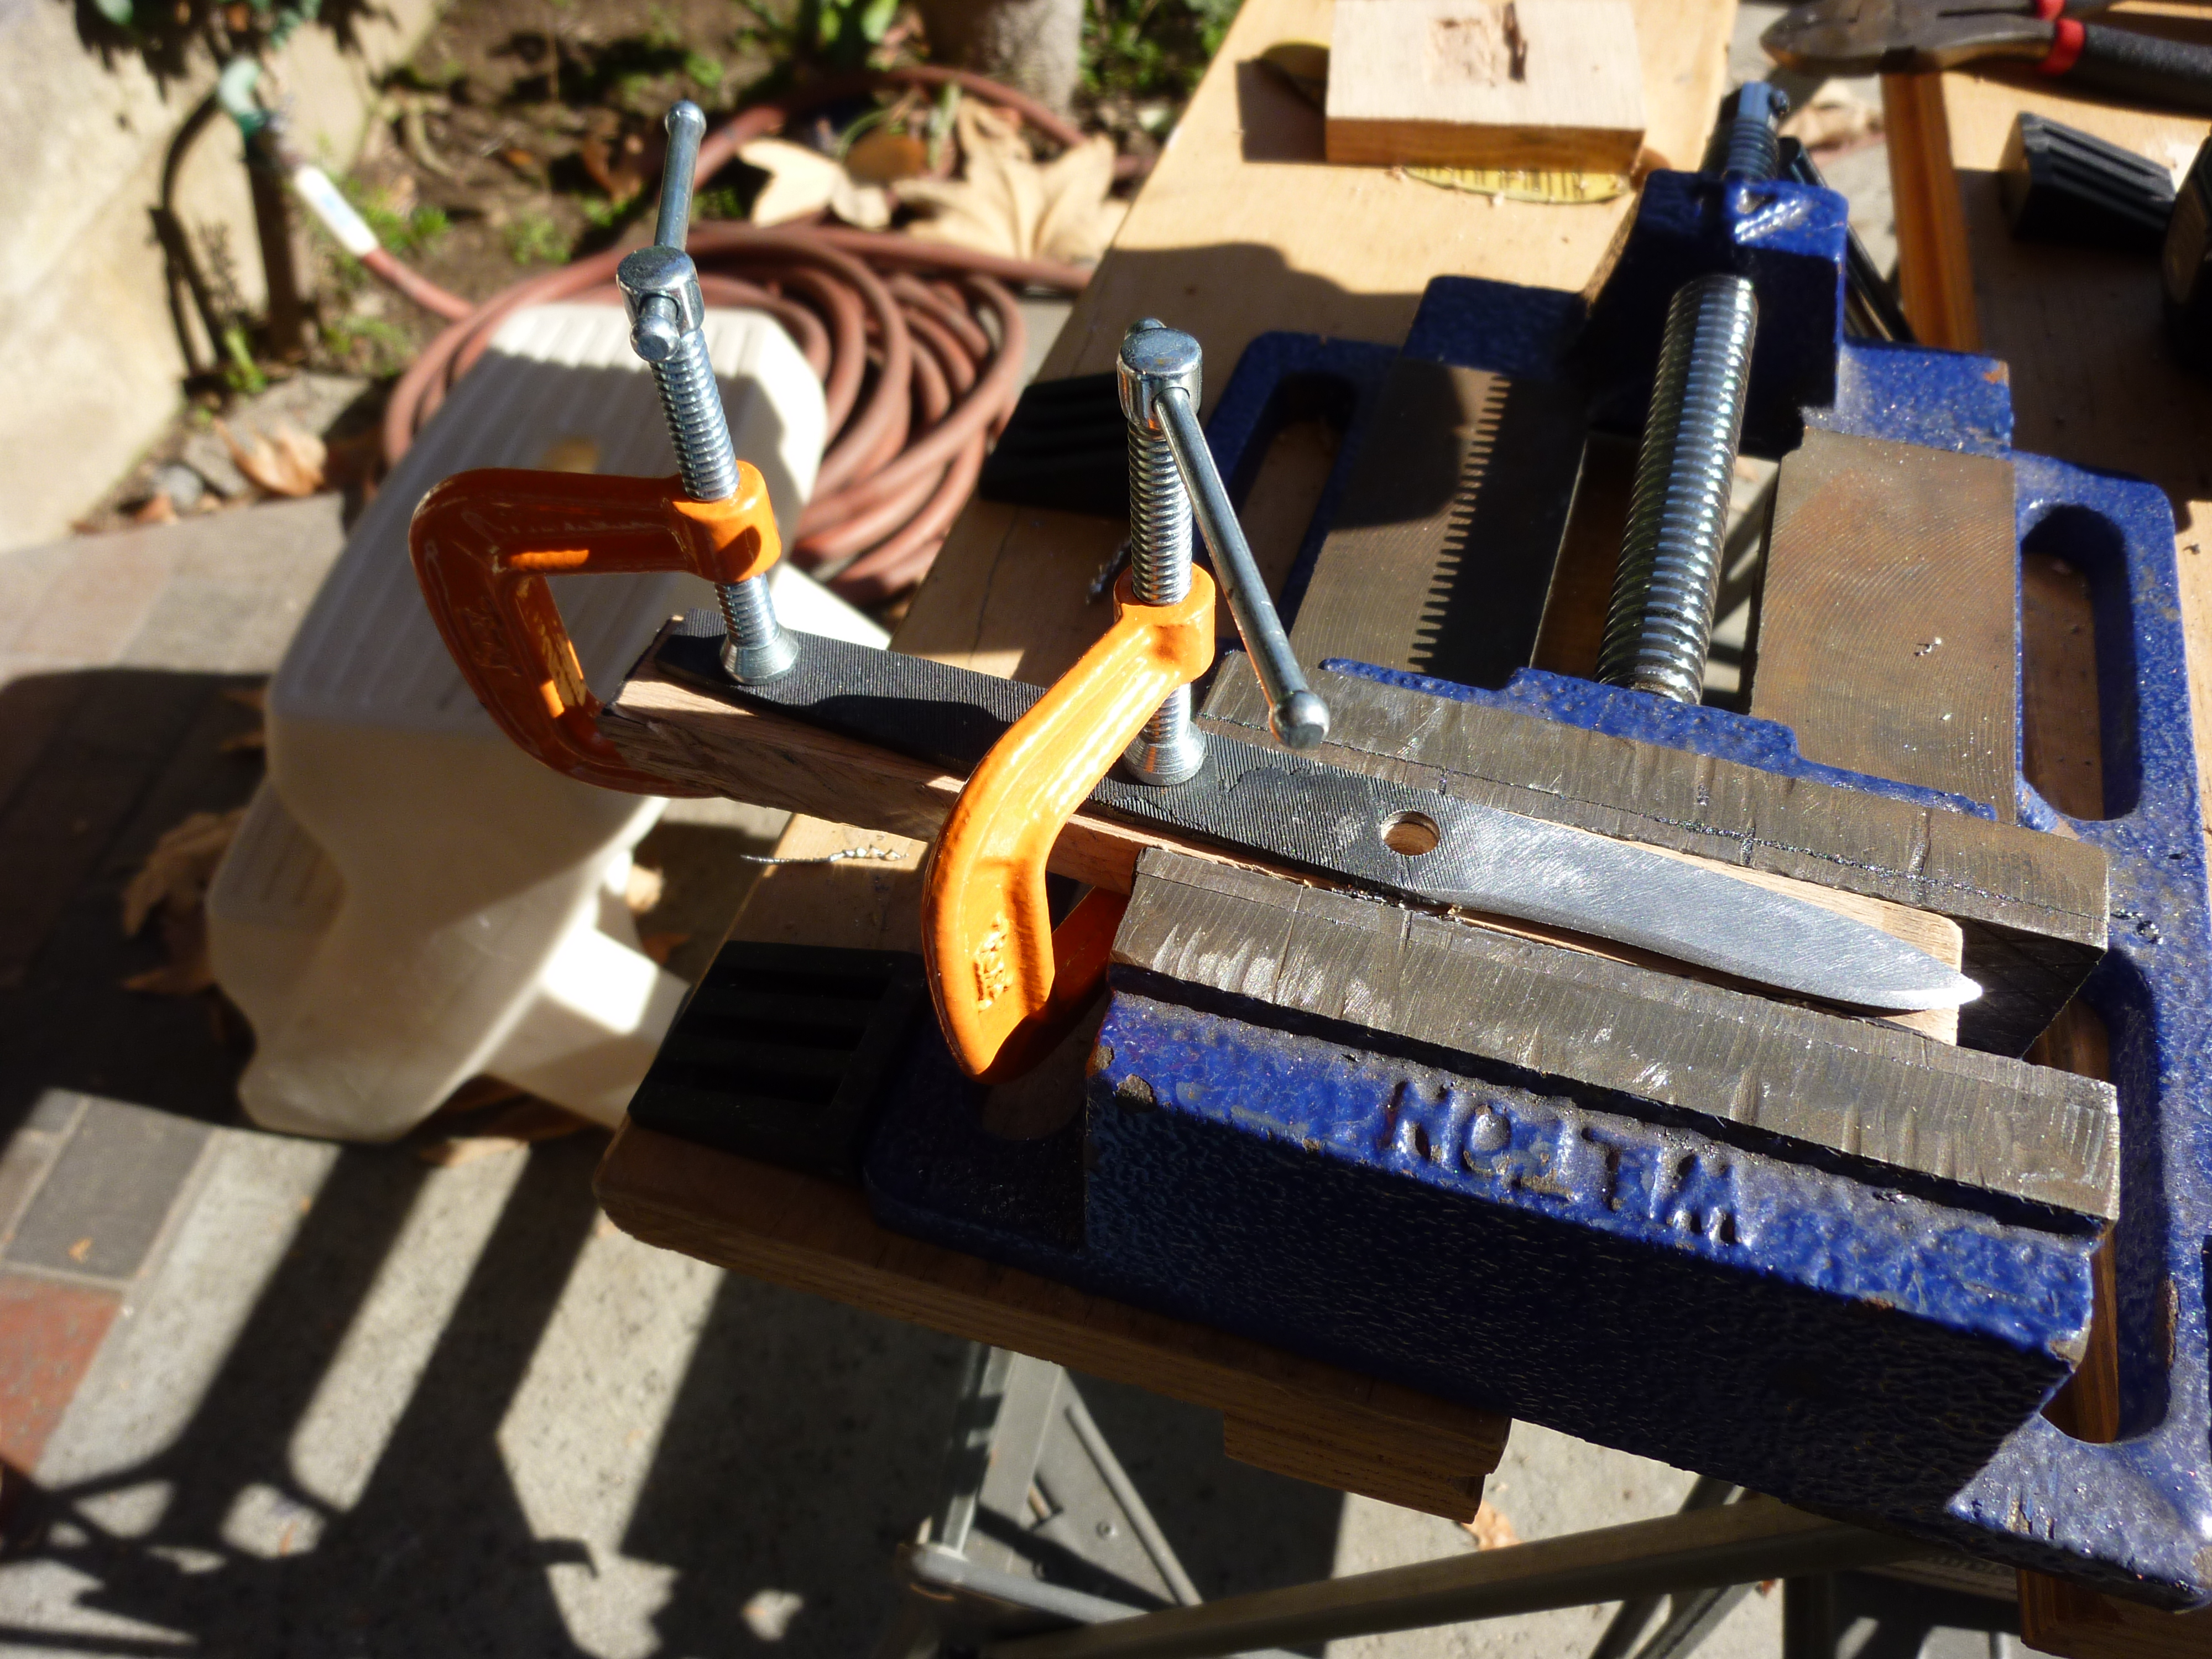
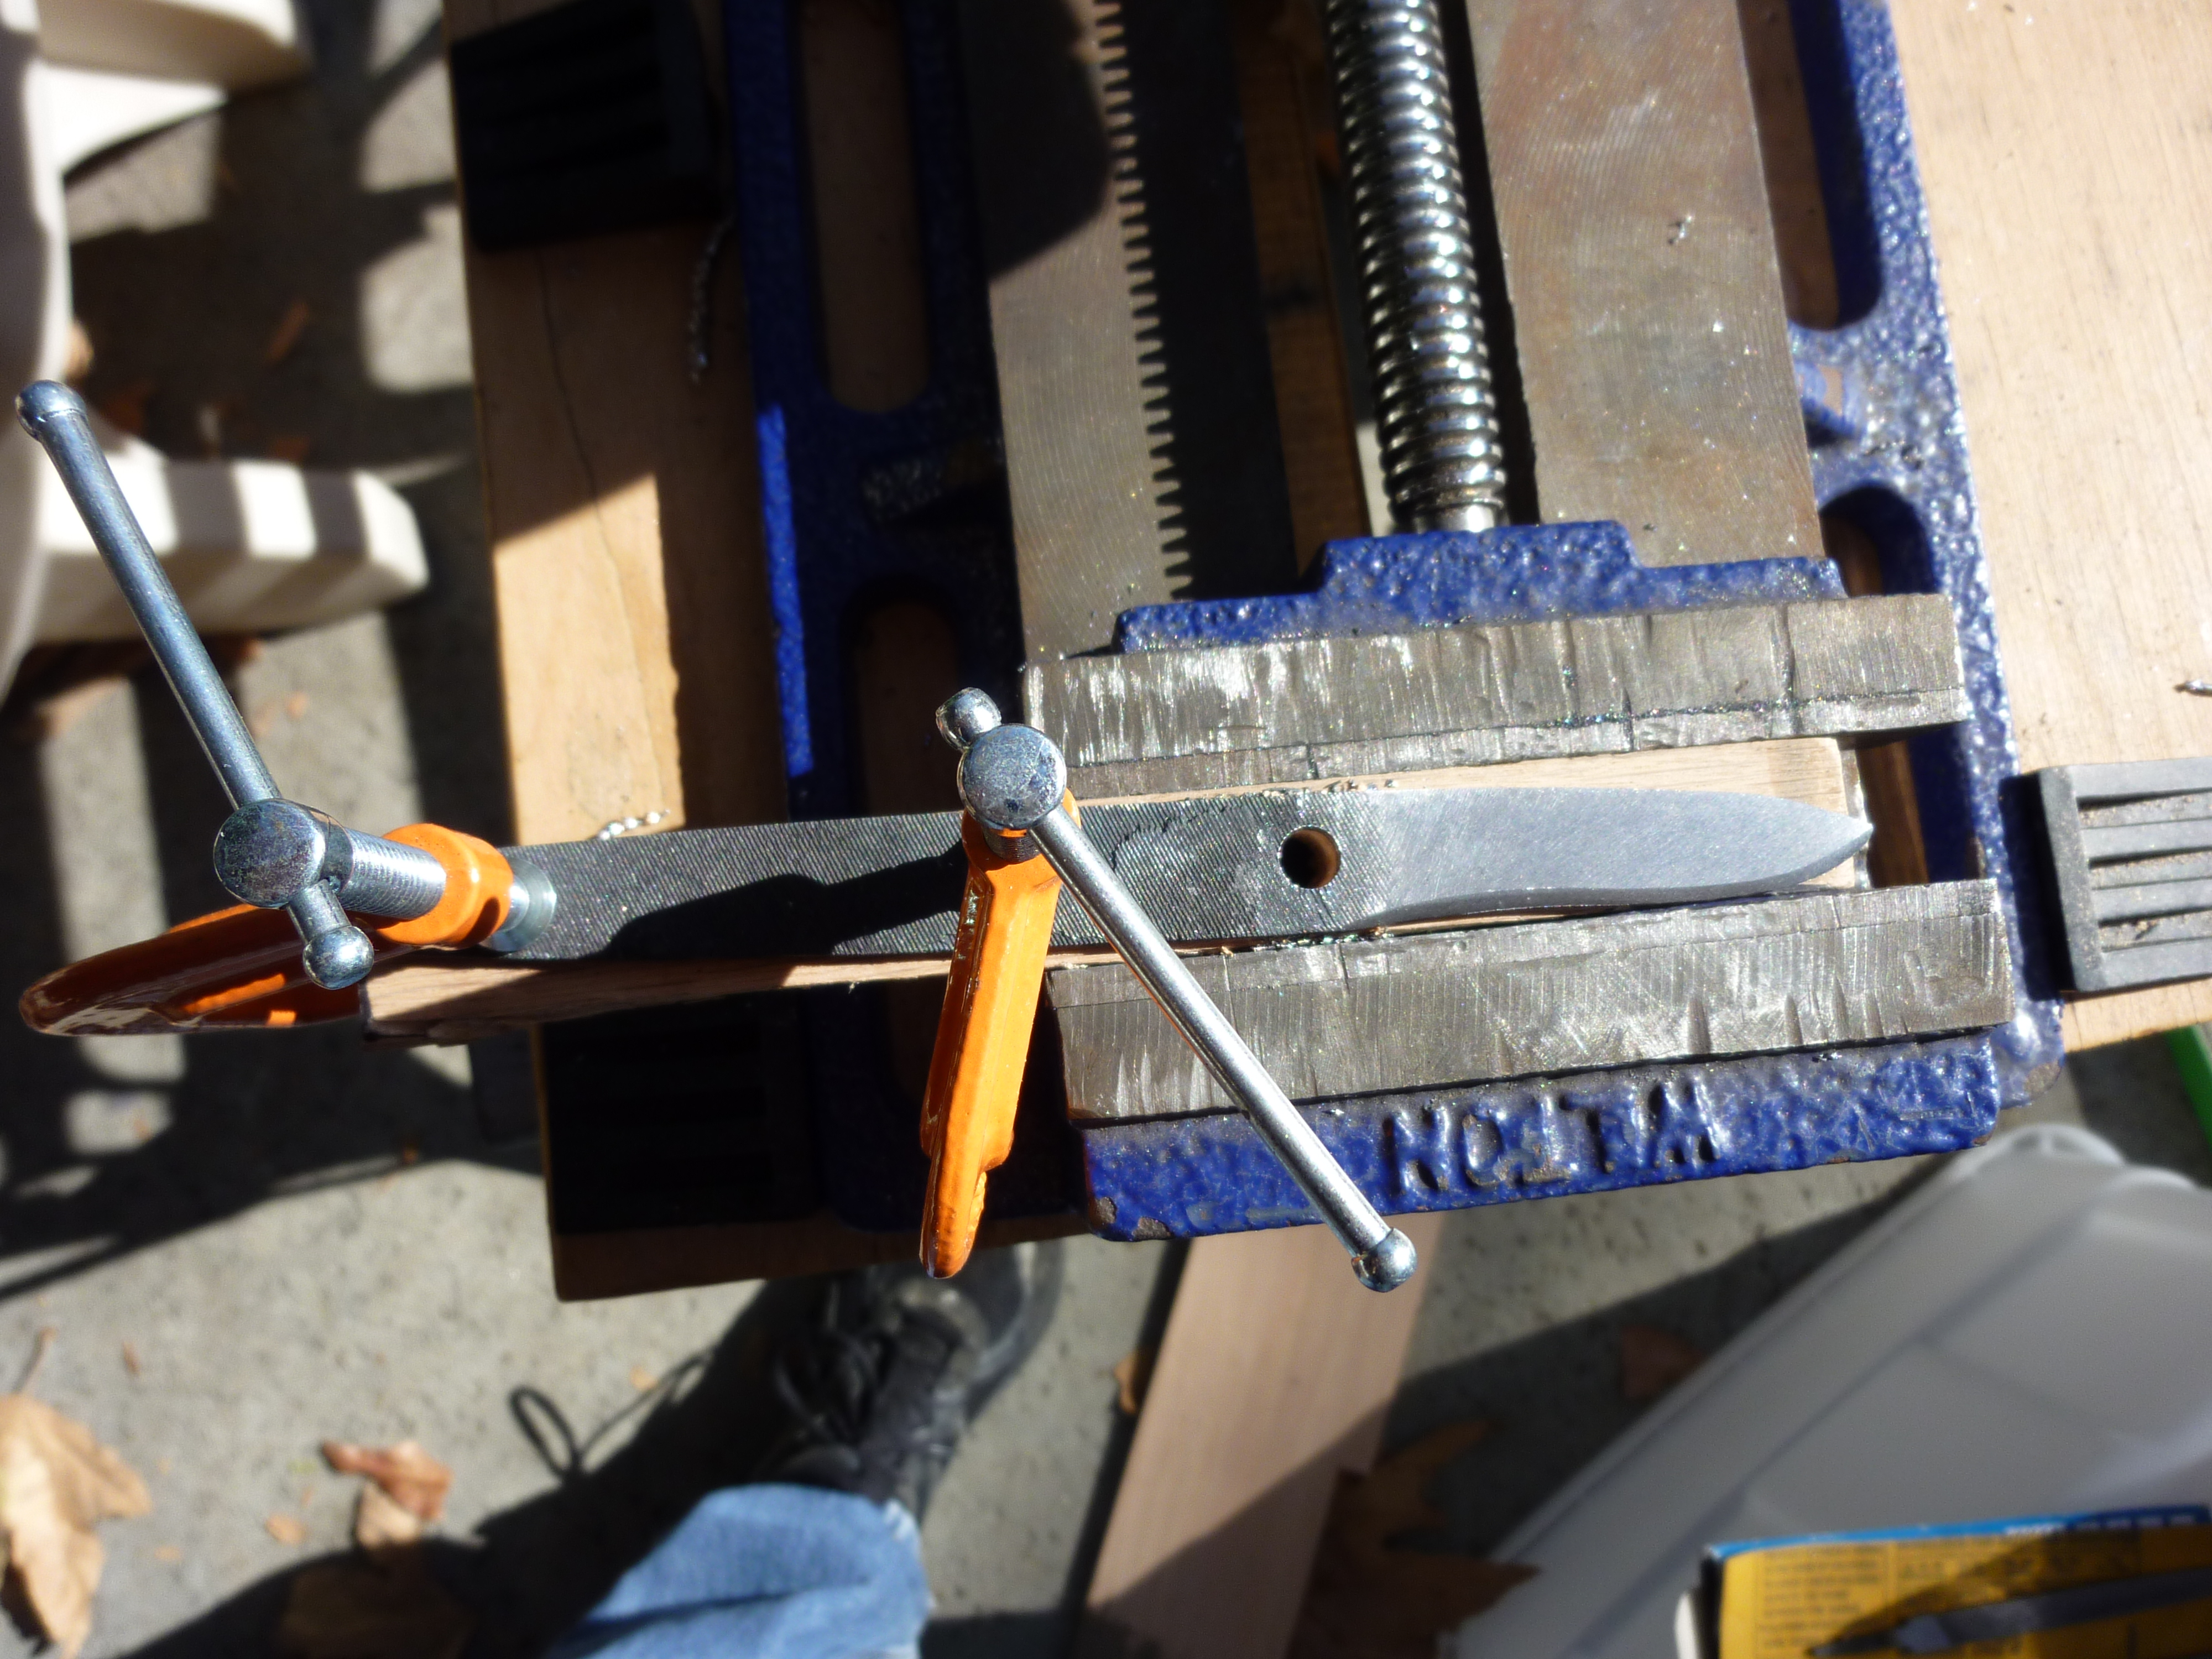
Here is another shot of the filing process.  It is best to keep your knife locked down so you can file the bevels flat.  Here I have C-clamped the knife to a piece of wood, and put the wood in the vice, making it very easy to file the knife without it moving.  You can also see a sharpie line I drew on the annealed blank- this is so I do not remove material past the line, in order to create the correct shape of bevel.  The sharpie that is on the blade is to check for high spots.  I color the whole thing in, and then take a piece of sandpaper stapled to a piece of flat wood, and push it over the blade.  High spots (relative to their surroundings) end up polished, and low spots end up still covered in ink.  You can see this effect in the scratches on the blade, and the edge where the bevel begins, which is relatively higher than the neighboring portions of the blade.  I wanted a thick blade, because I want this knife to be tough.  I was going to have only one bevel on one side, and two on the other so that it would be easy to sharpen for me, as a righty.  This was a mistake, as it turns out, because the single-bevel side always gets scratched by the sharpening stone.  Oh well, you live and you learn.

Setup for drilling holes in the knife mentioned in the over-melted post.

This is also a great time to drill holes for your bolster and handle pins!  I drilled 1/4″ holes  with a hand-held drill.  Hopefully I did them straight-ish.  A drill press is really handy here, but I don’t have one at home.

Heating up to critical

The next step is to normalize the steel.  You do this by heating the blade to non-magnetic and then letting it air cool.  If we had been beating on it with a hammer, this would help reduce the stress in the blade.  Since I didn’t actually beat on it to form the blade, I am hoping this takes care of any stress caused by heating during grinding or drilling.  It does not take too long, and it seems like a good precaution.  Some people normalize up to three times, but I thought two cycles would be just fine given that I did not pound on the blade.

The next step is to harden, and then temper the blade.  This process is collectively called heat treating.  There is a lot of conflicting information about how to do it properly.  The most consistent message I found was to quench in brine, water, or oil, and then stick it in the oven at somewhere between 425-475 F for about an hour, depending on how hard you want your blade to be in the end.

This leaves a lot to be desired.  I found a lot of believable information about the process here, but their process is very specific and it was hard for me to estimate what temperature my blade was.  The process I used was to heat to non-magnetic, quench in brine (recipe: add salt to water until it will not dissolve anymore) using a slicing motion and then polish a small portion of the now forge-scaled and tempered blade.  This was done to make the temper colors visible when I stuck it in the oven at 450 F.  I waited until the edge of the blade to turn a “light straw” color, and pulled it out and let it air cool.  Mine might have been a little dark, but better over-baked than over-melted!

It is starting to look like the knife I designed!

After a little sanding, The blade was looking much better.  It is super effective against fruits, vegetables, and paper, and it even looked a little bit like the knife I planned on making.  After some more polishing, It will receive an nice handle and a bolster of undetermined material, and a couple mosaic pins.

How to Build a Paint Can Forge

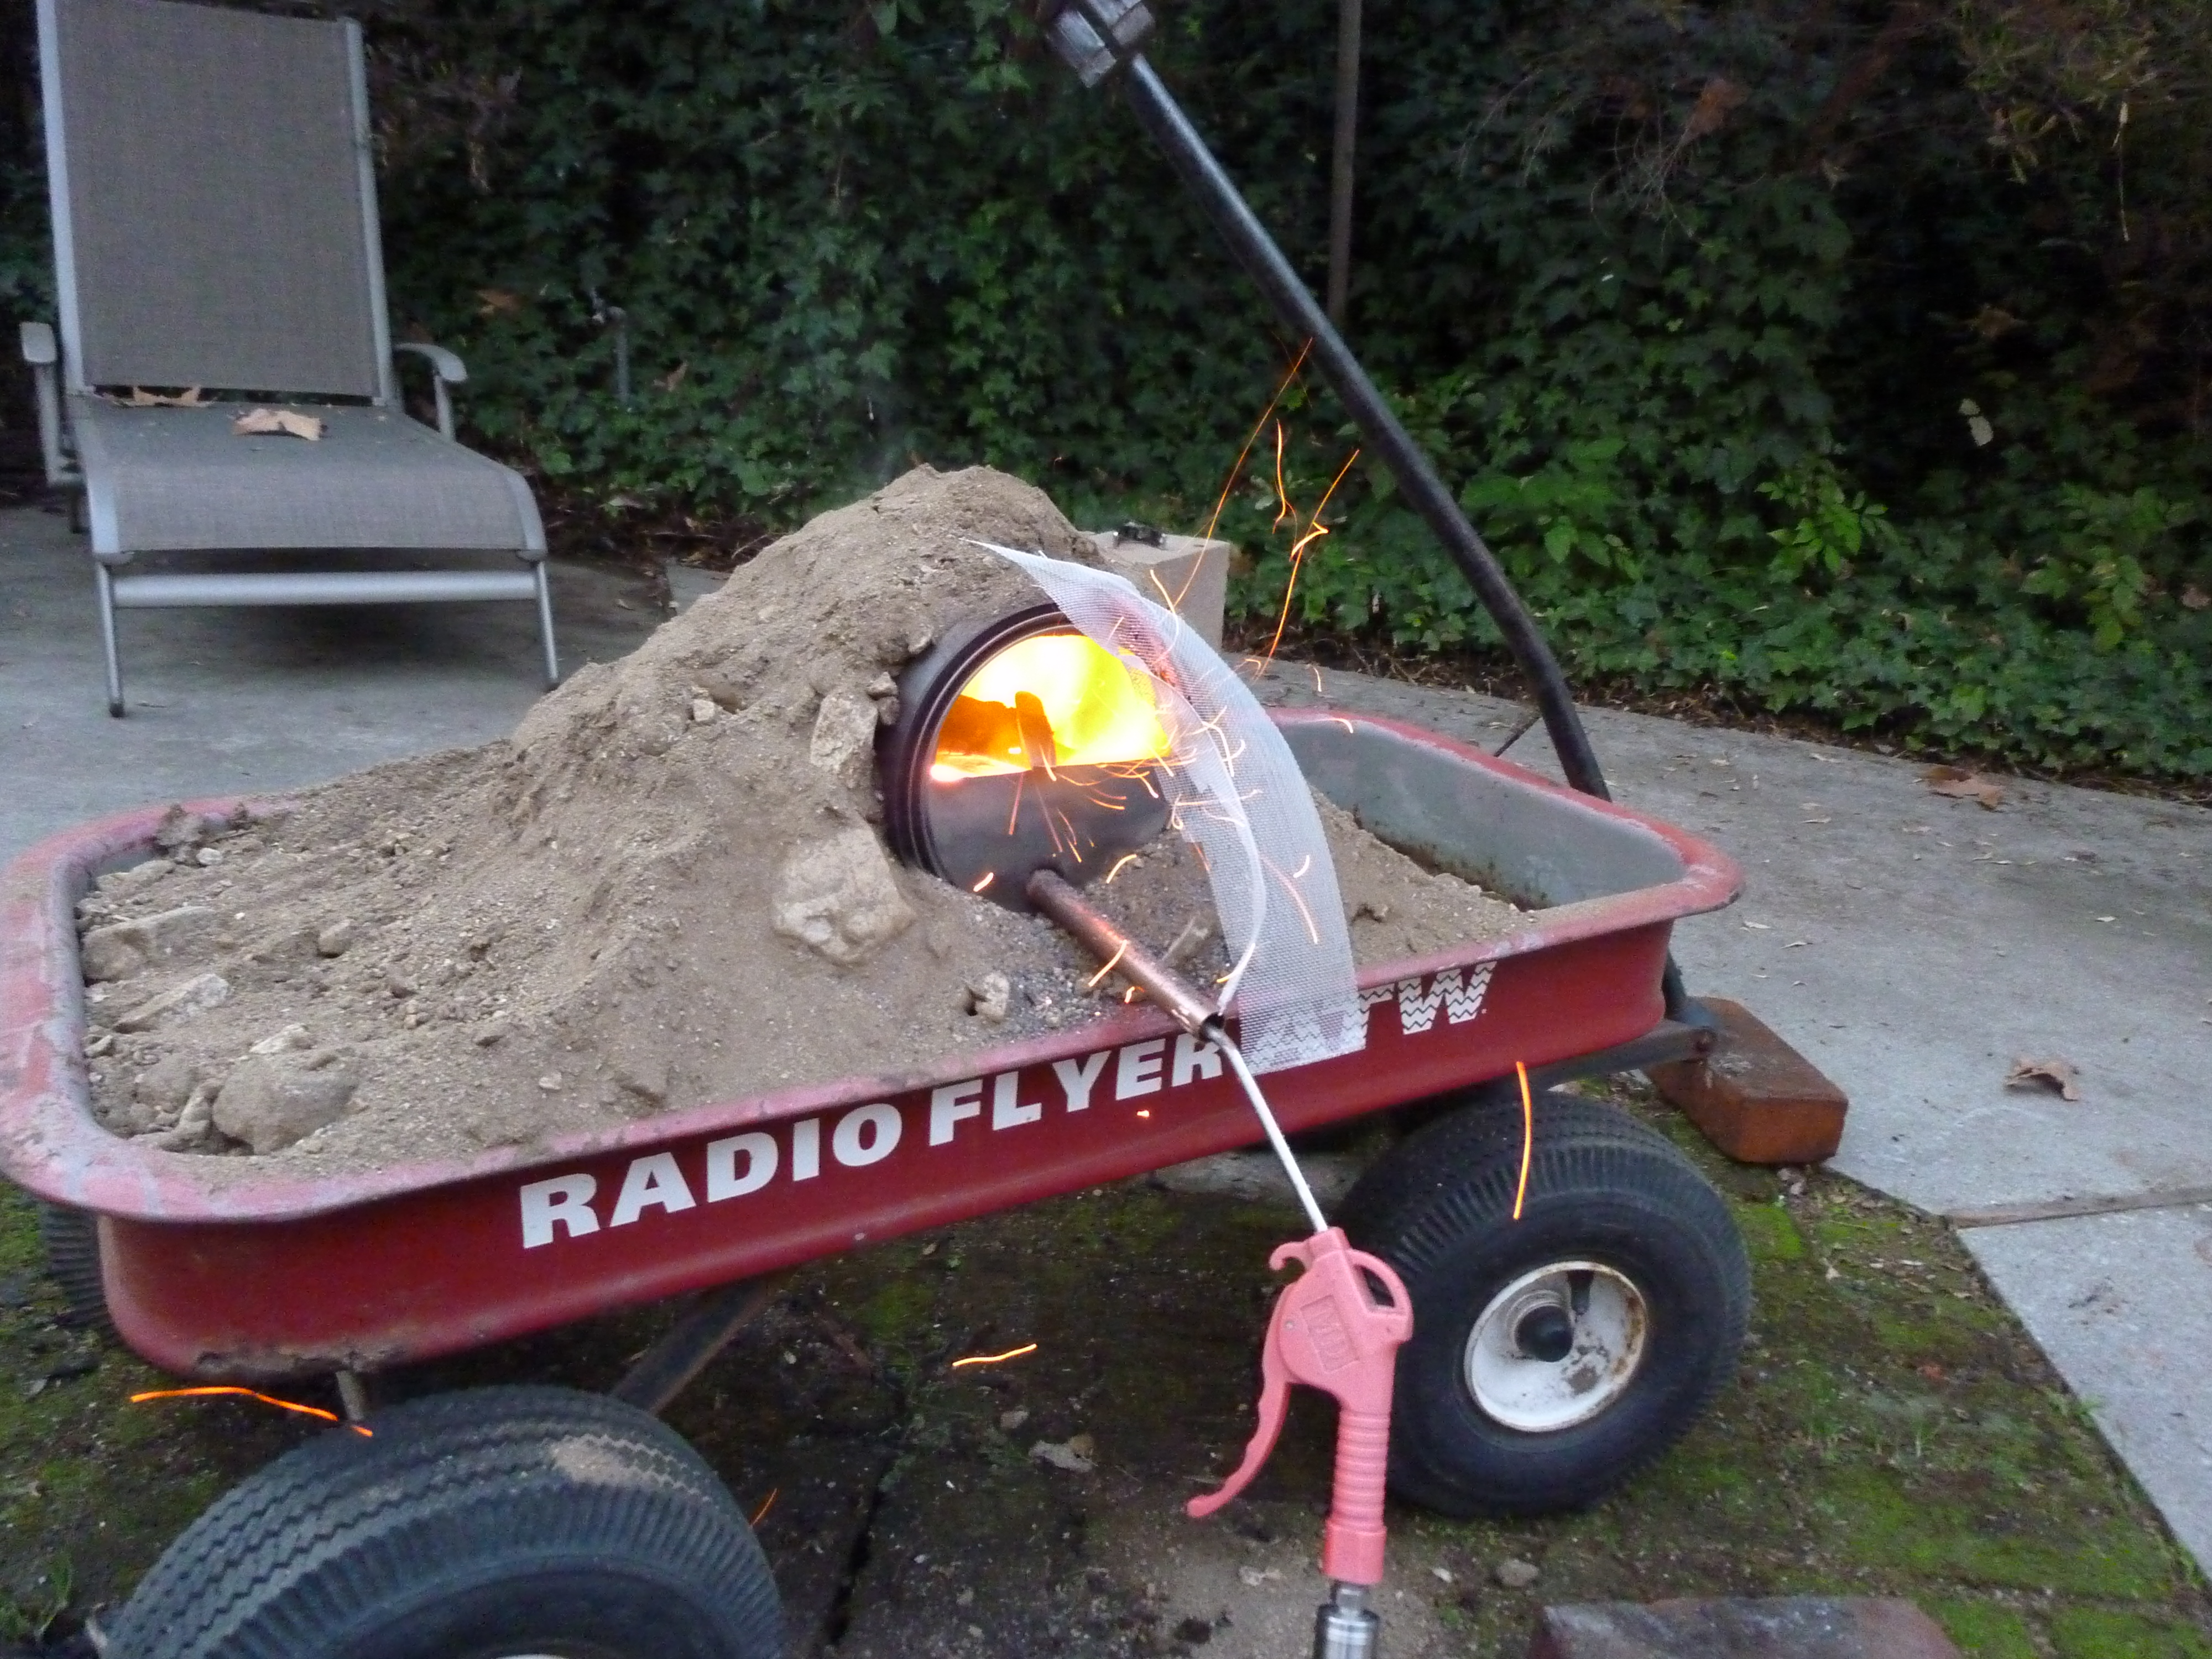
Forge 2.0, WAY better than the porta-pit design

Building a paint can forge is a cheap and fast way to test the waters of forging, which is why I find it attractive.  Even with CA sales tax, my parts list for the much-improved Forge 2.0 was well under $20, including fuel but not including a blower.  This guide will walk you through the construction and operation of Forge 2.0, but does not mean that I am responsible for whatever you do with it.

CONSTRUCTION

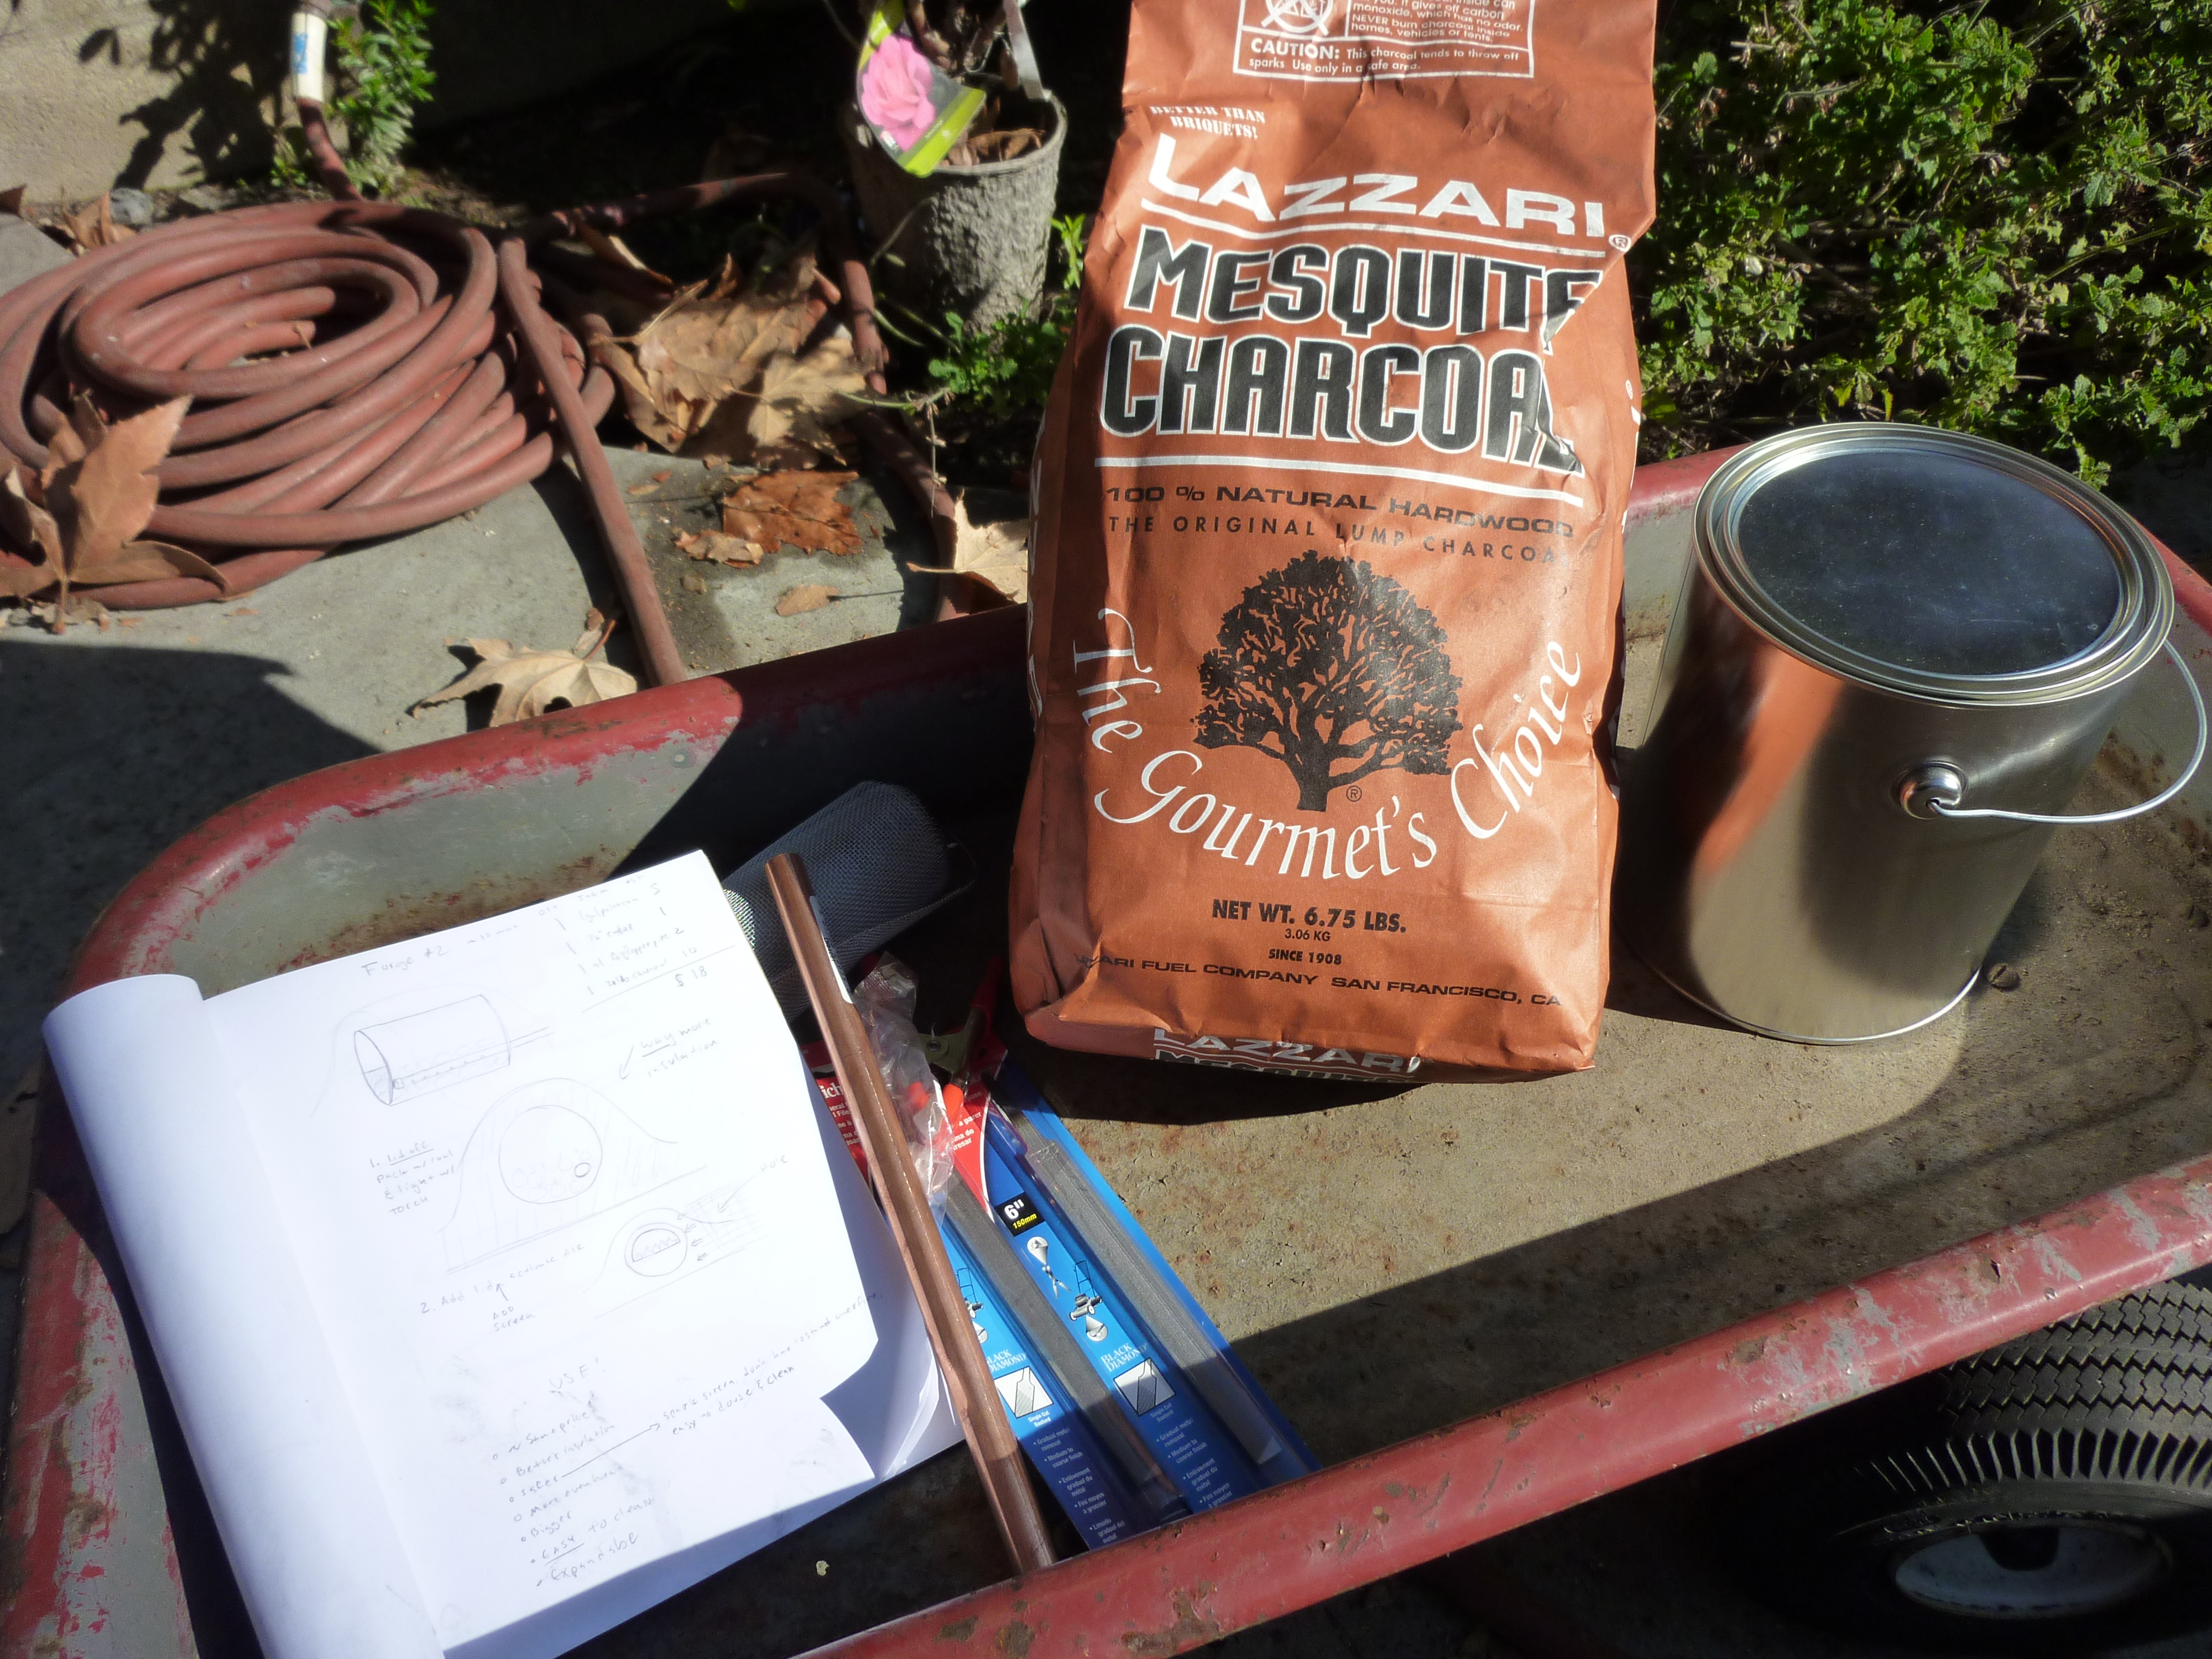
Ingredients for a Forge 2.0

The first thing you will want to do is go to your local hardware store and pick up a few things.  Here is the shopping list, and the approximate price at my local OSH.

  • 1 gal paint can, empty with a lid  $5
  • 1/4″ copper pipe endcap              $2
  • roughly 1 ft 1/4″ copper pipe        $2
  • 7 lbs lump charcoal                     $5

The total here is whopping $14.  Optional items that would really improve the quality and usability of the forge are a source of air input, which can be an electric hair dryer, a shopvac, or in my case, an air compressor.  If you do not want to buy these, then you can also just blow into the forge, but you are going to have to get awful breathy.  You might also want to get a butane torch to light your charcoal, but you can also probably use your kitchen stove.

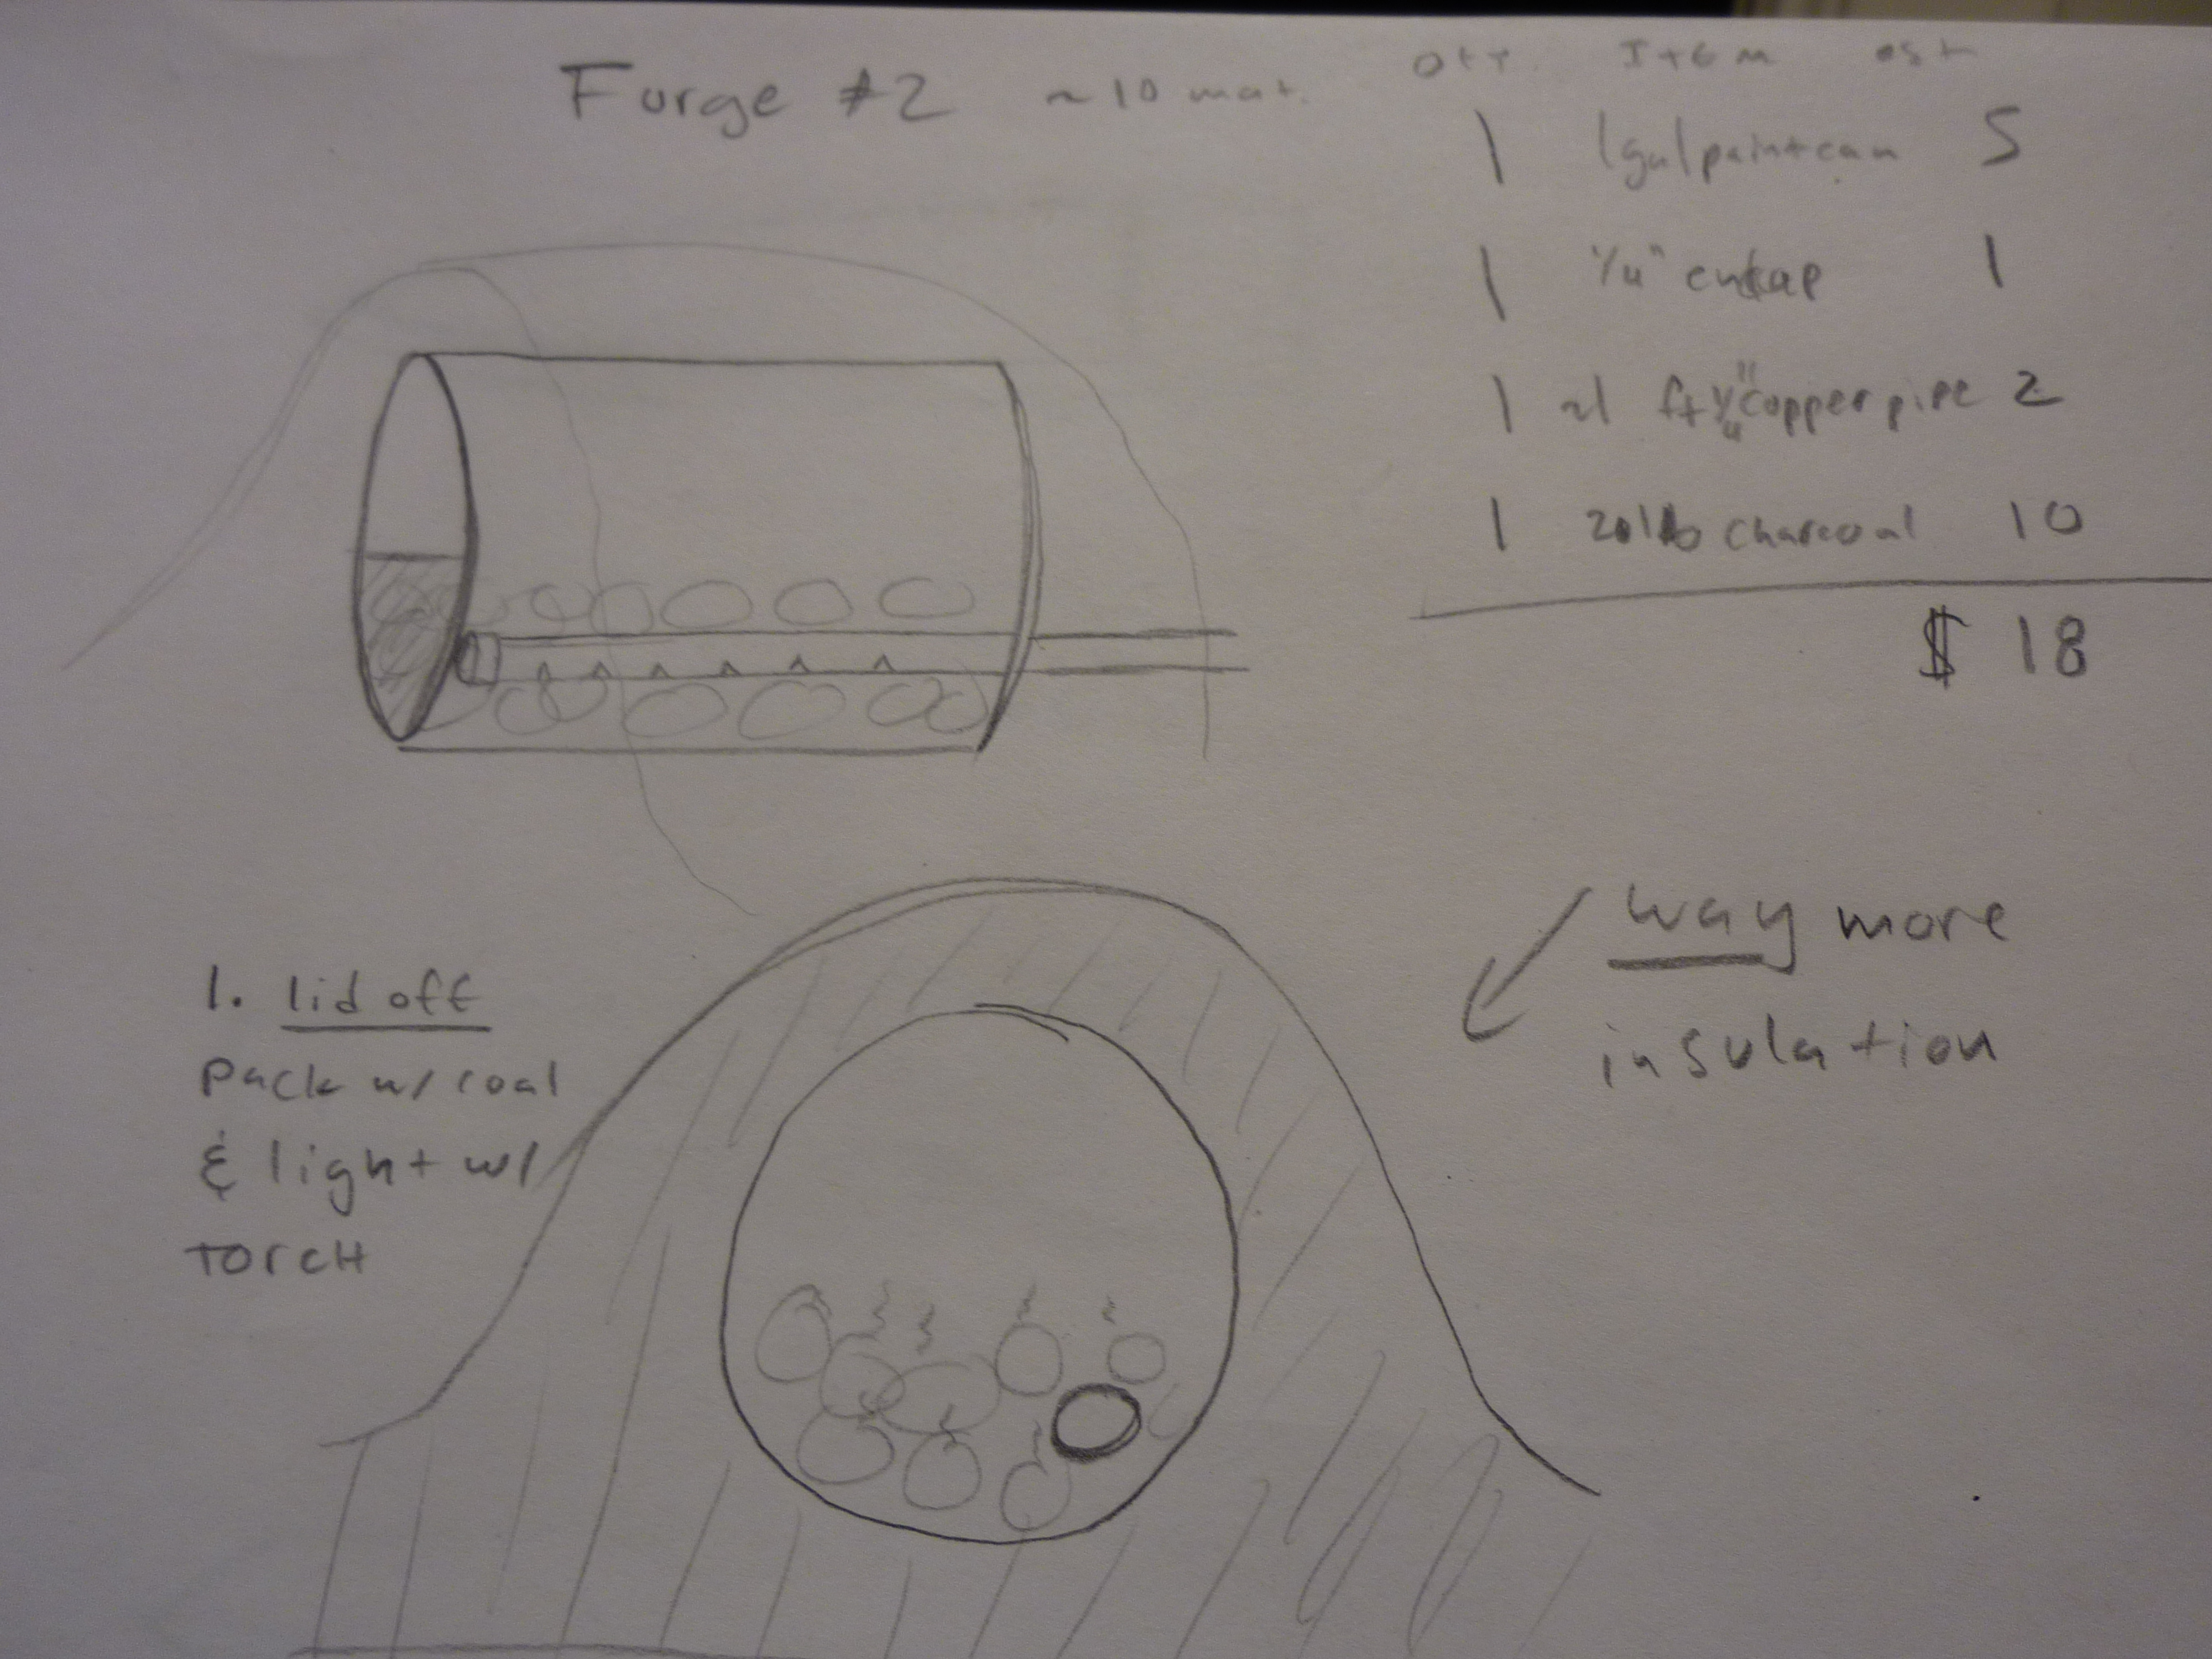
Diagram of the Forge 2.0

Here are some Schematic drawings of Forge 2.0.  It is a good overview of what it should look, inside and out.  Check these out in case you get lost below.  Time to start the build!

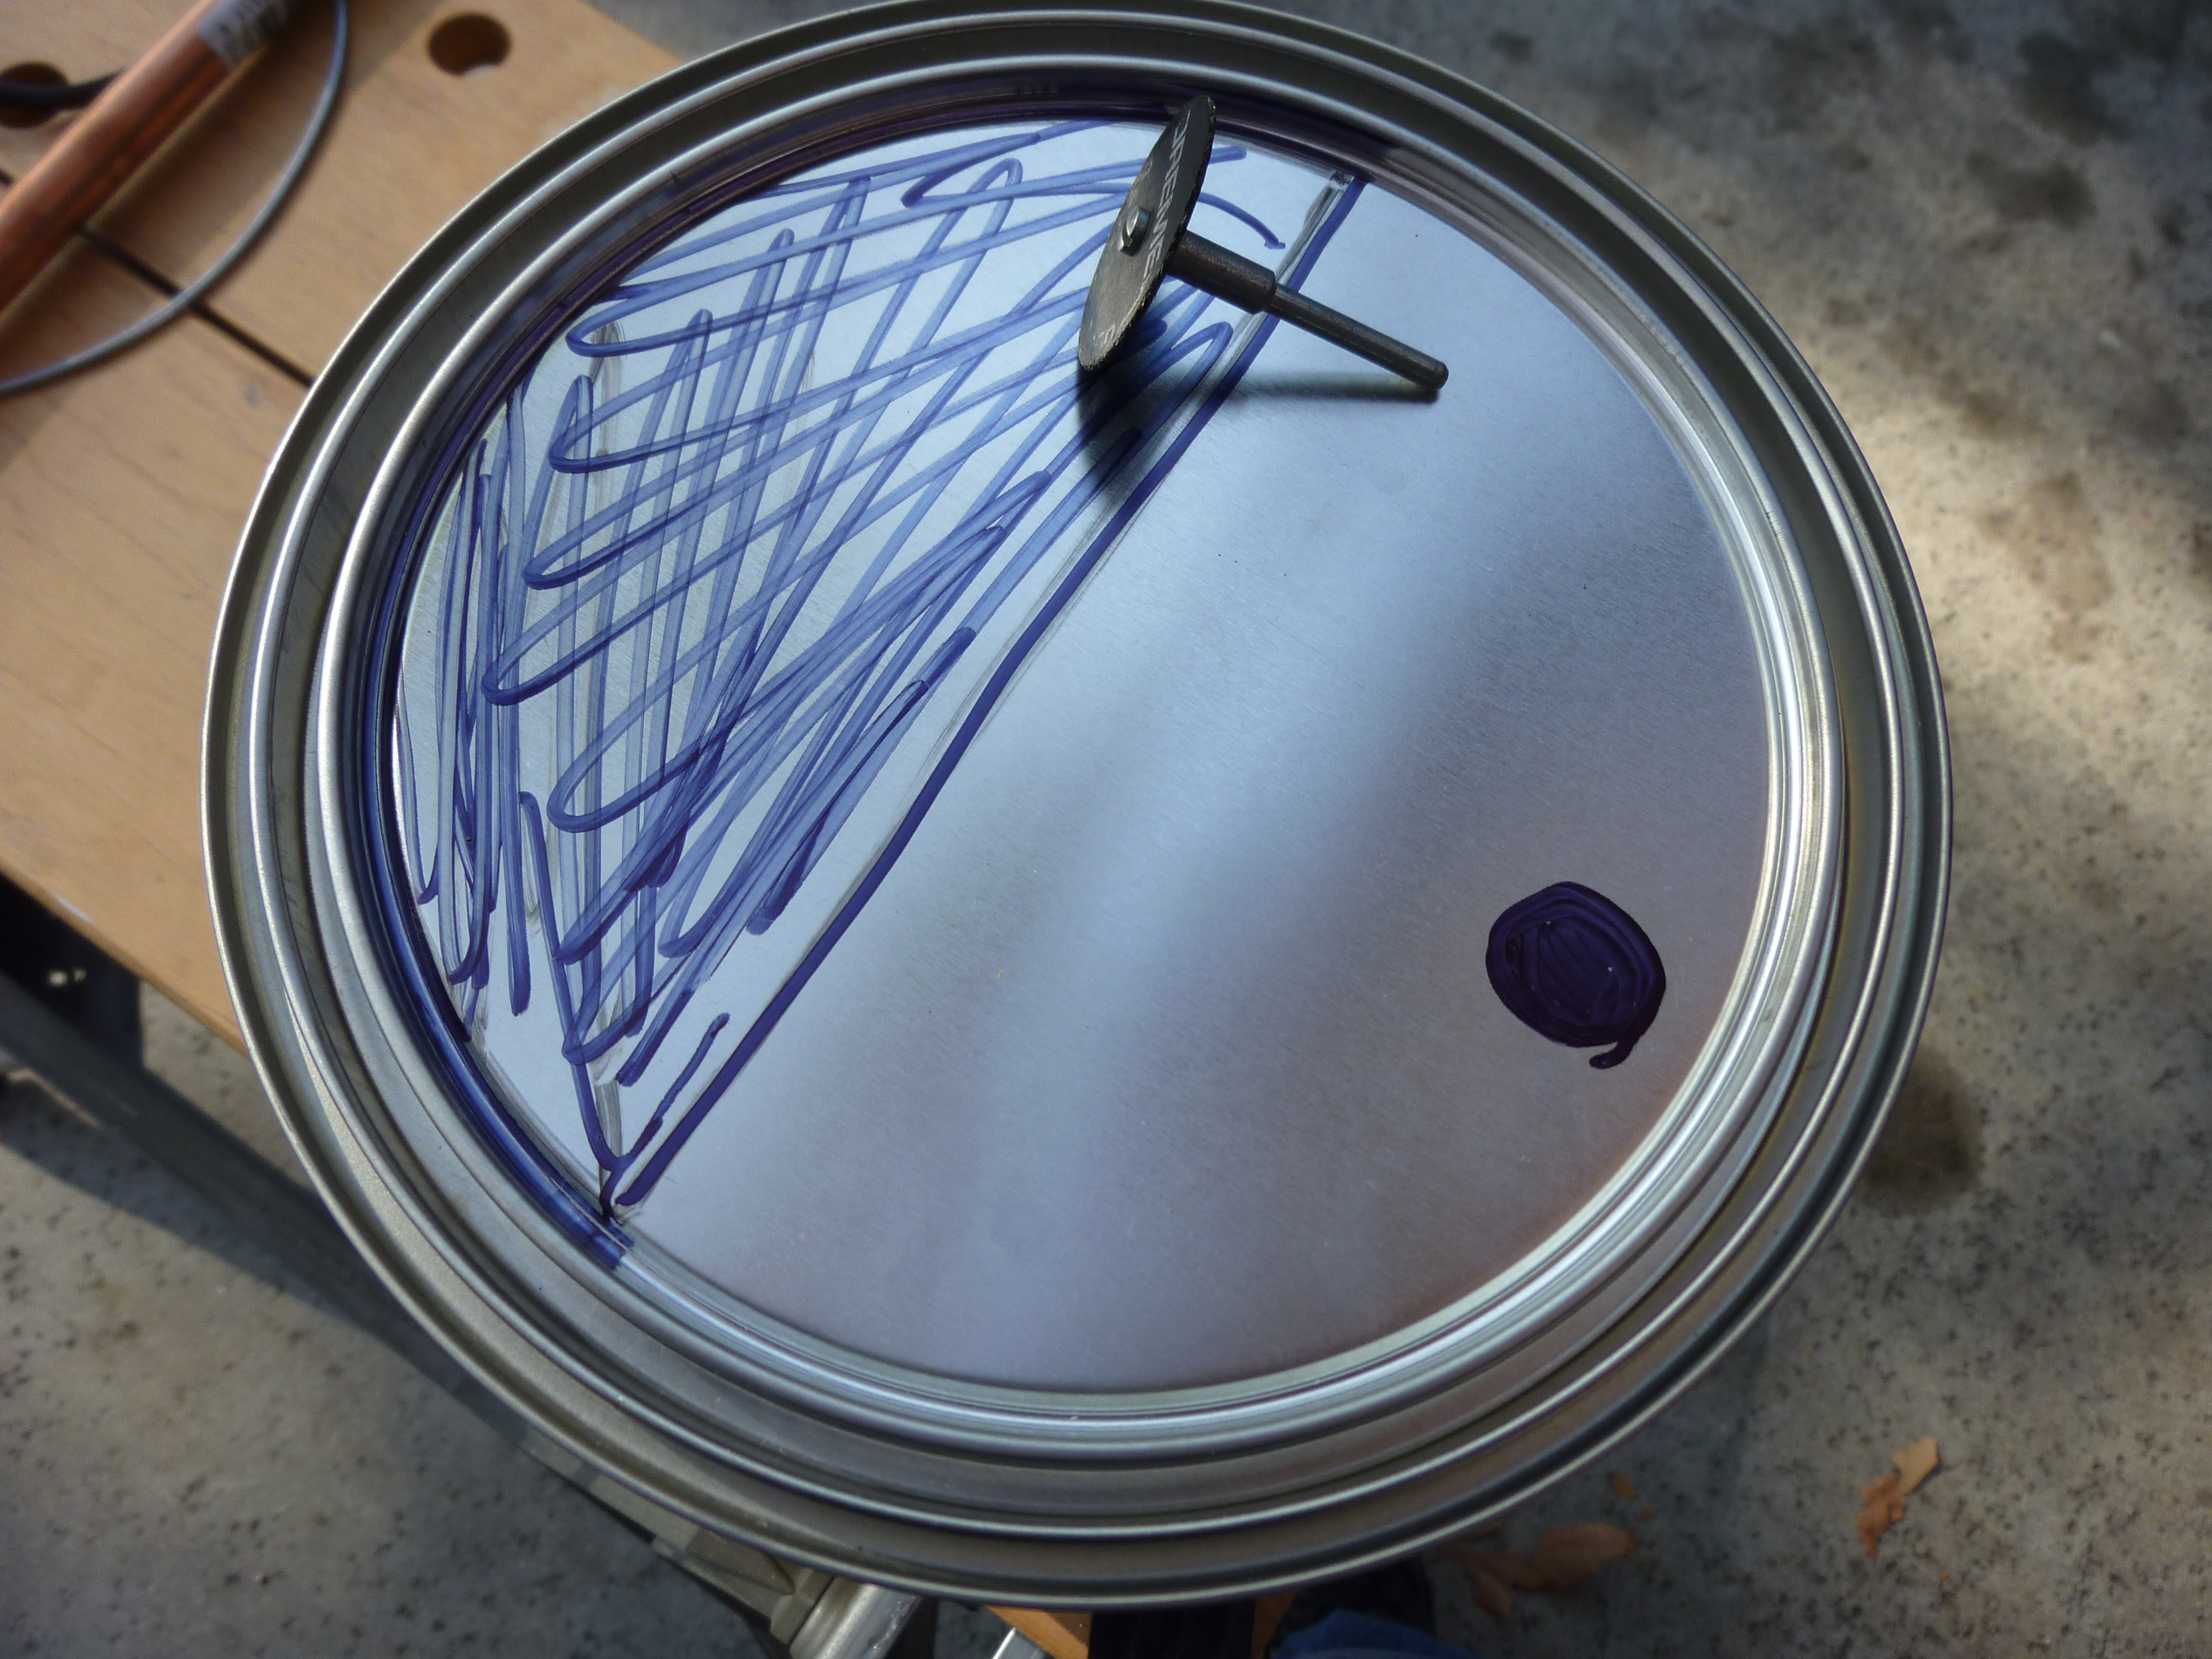
Cut out the black parts to make a face. Or a forge, you decide!

Cut out the shaded areas in the image above on your paint can.  I used a dremel and a reinforced cutting disk, however the lid is thin enough that it can be cut with a knife or scissors.  Be sure to leave the lid intact.  Leaving the lid intact makes it easy to remove and re-attach, for easy loading and emptying of the forge.  You want this in case you decide to douse your fire, or if you need to remove ash.

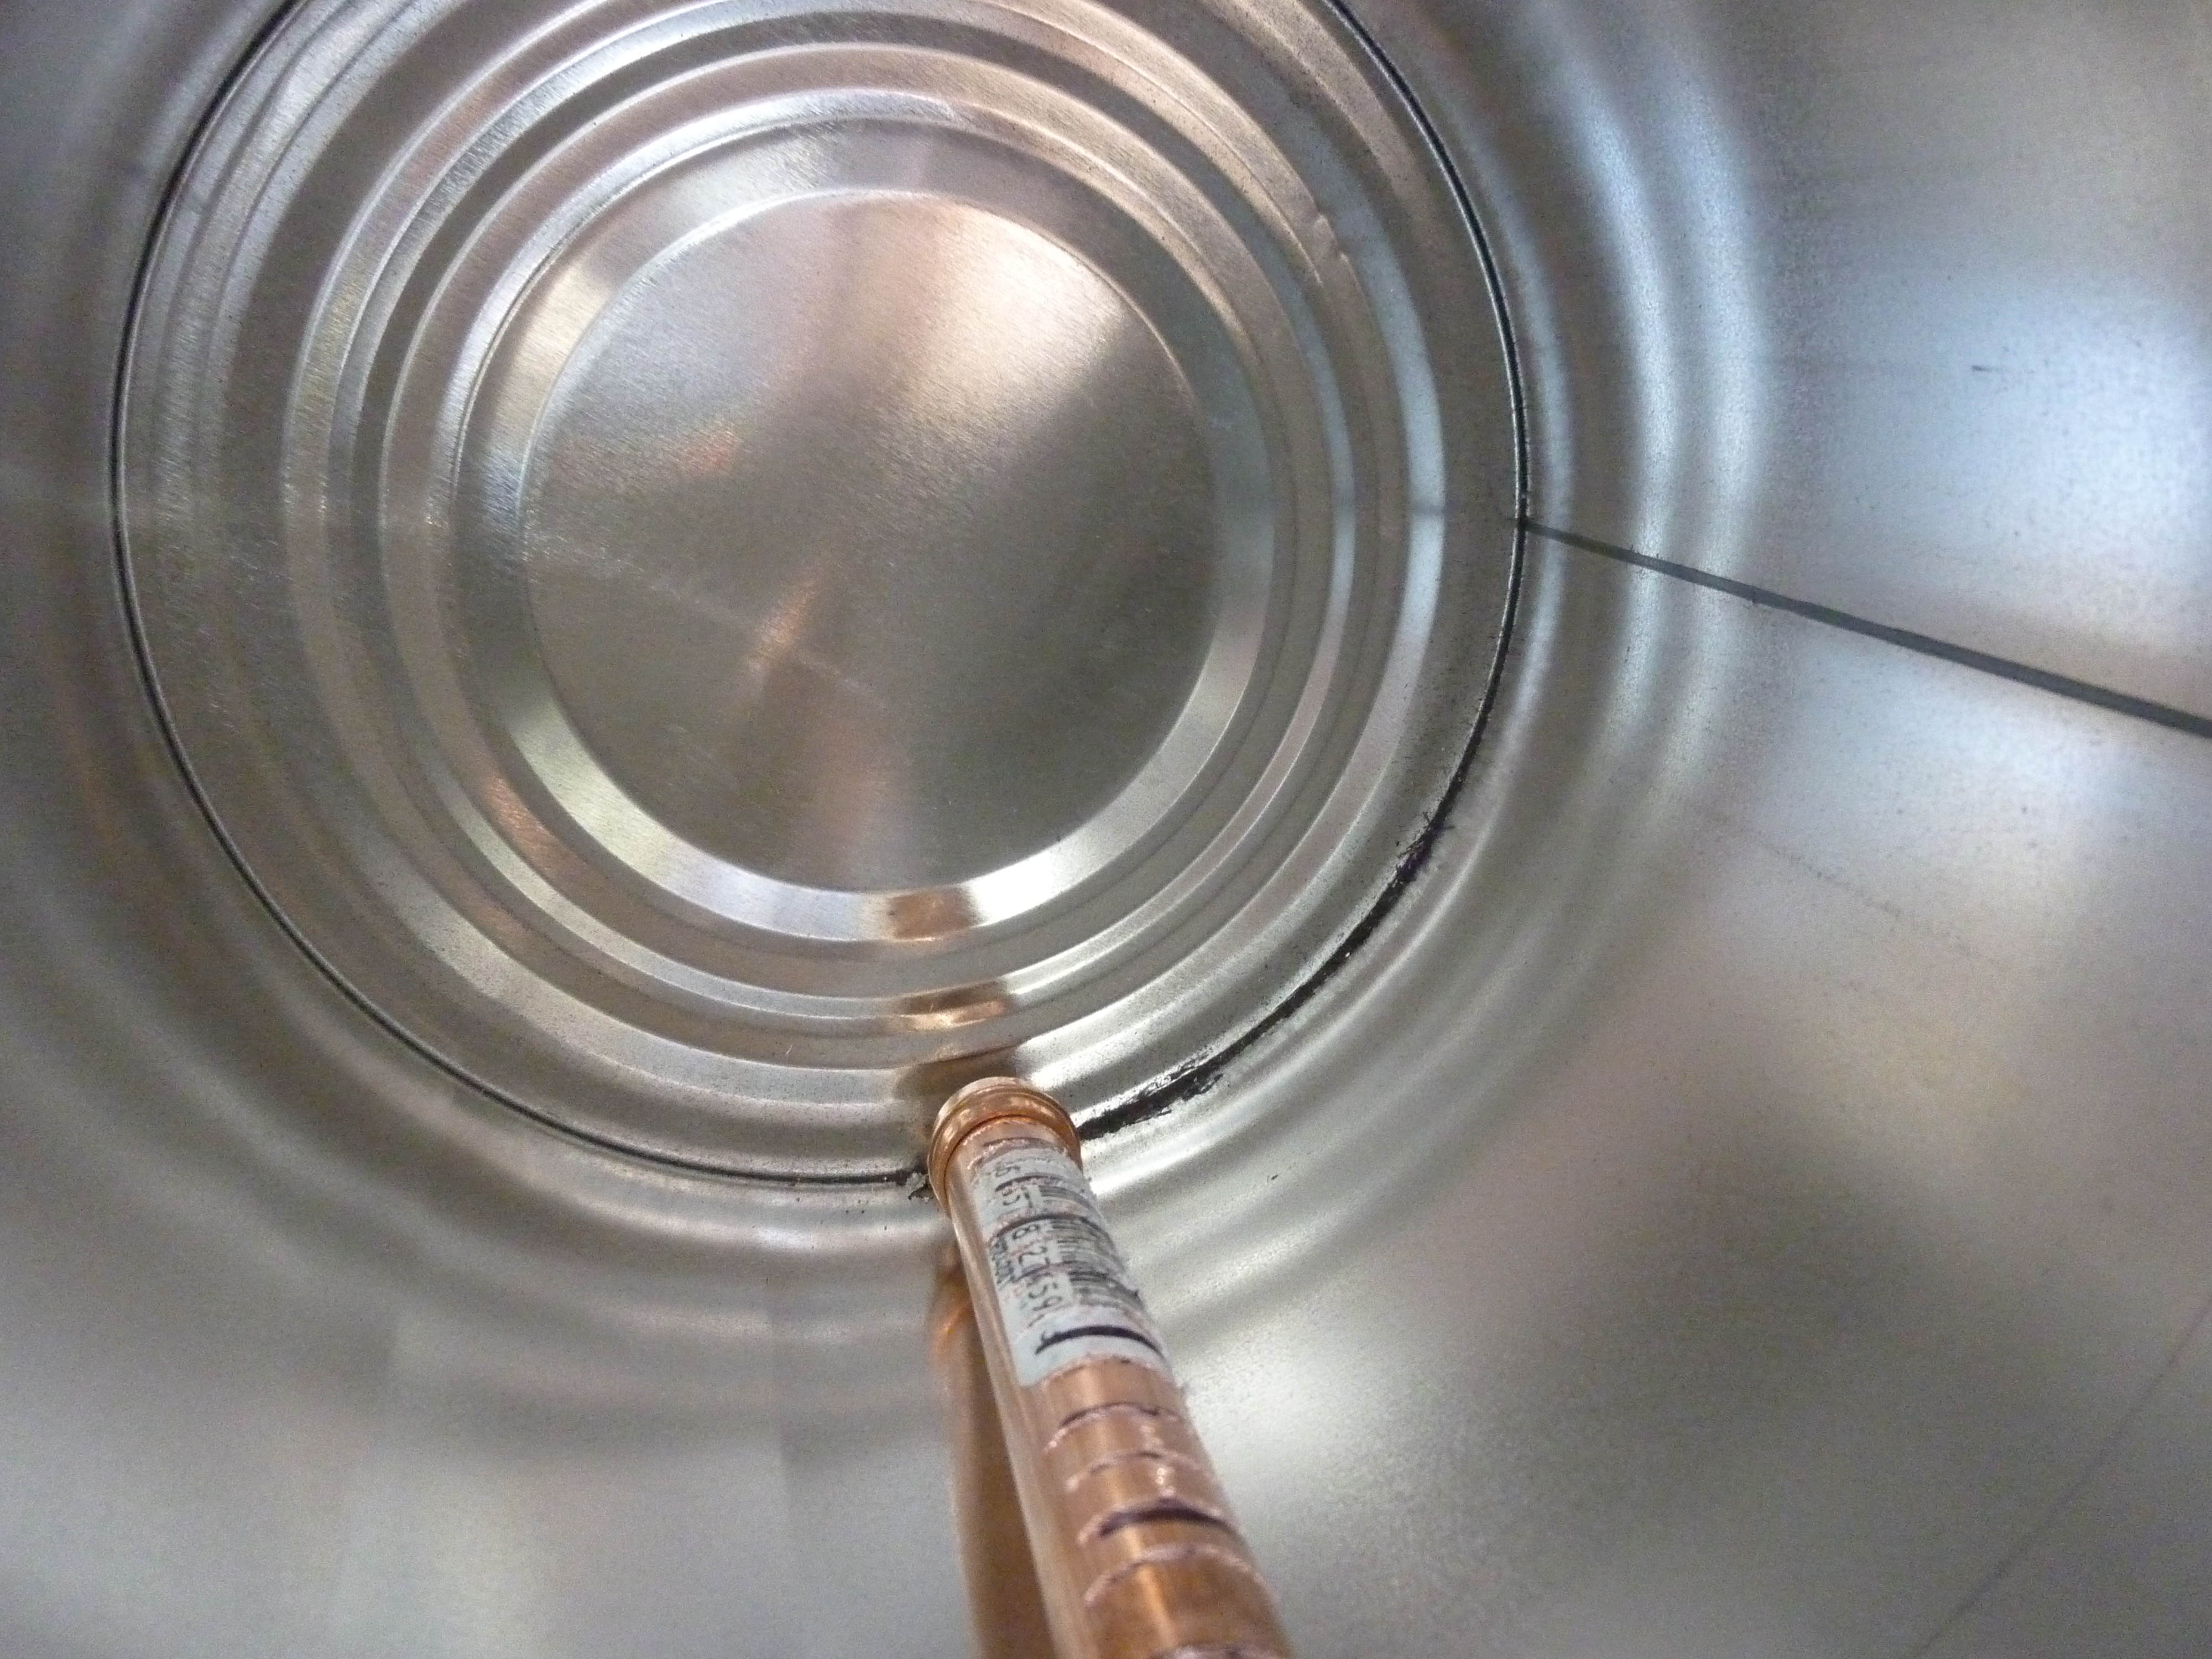
The inside, showing the notched copper pipe

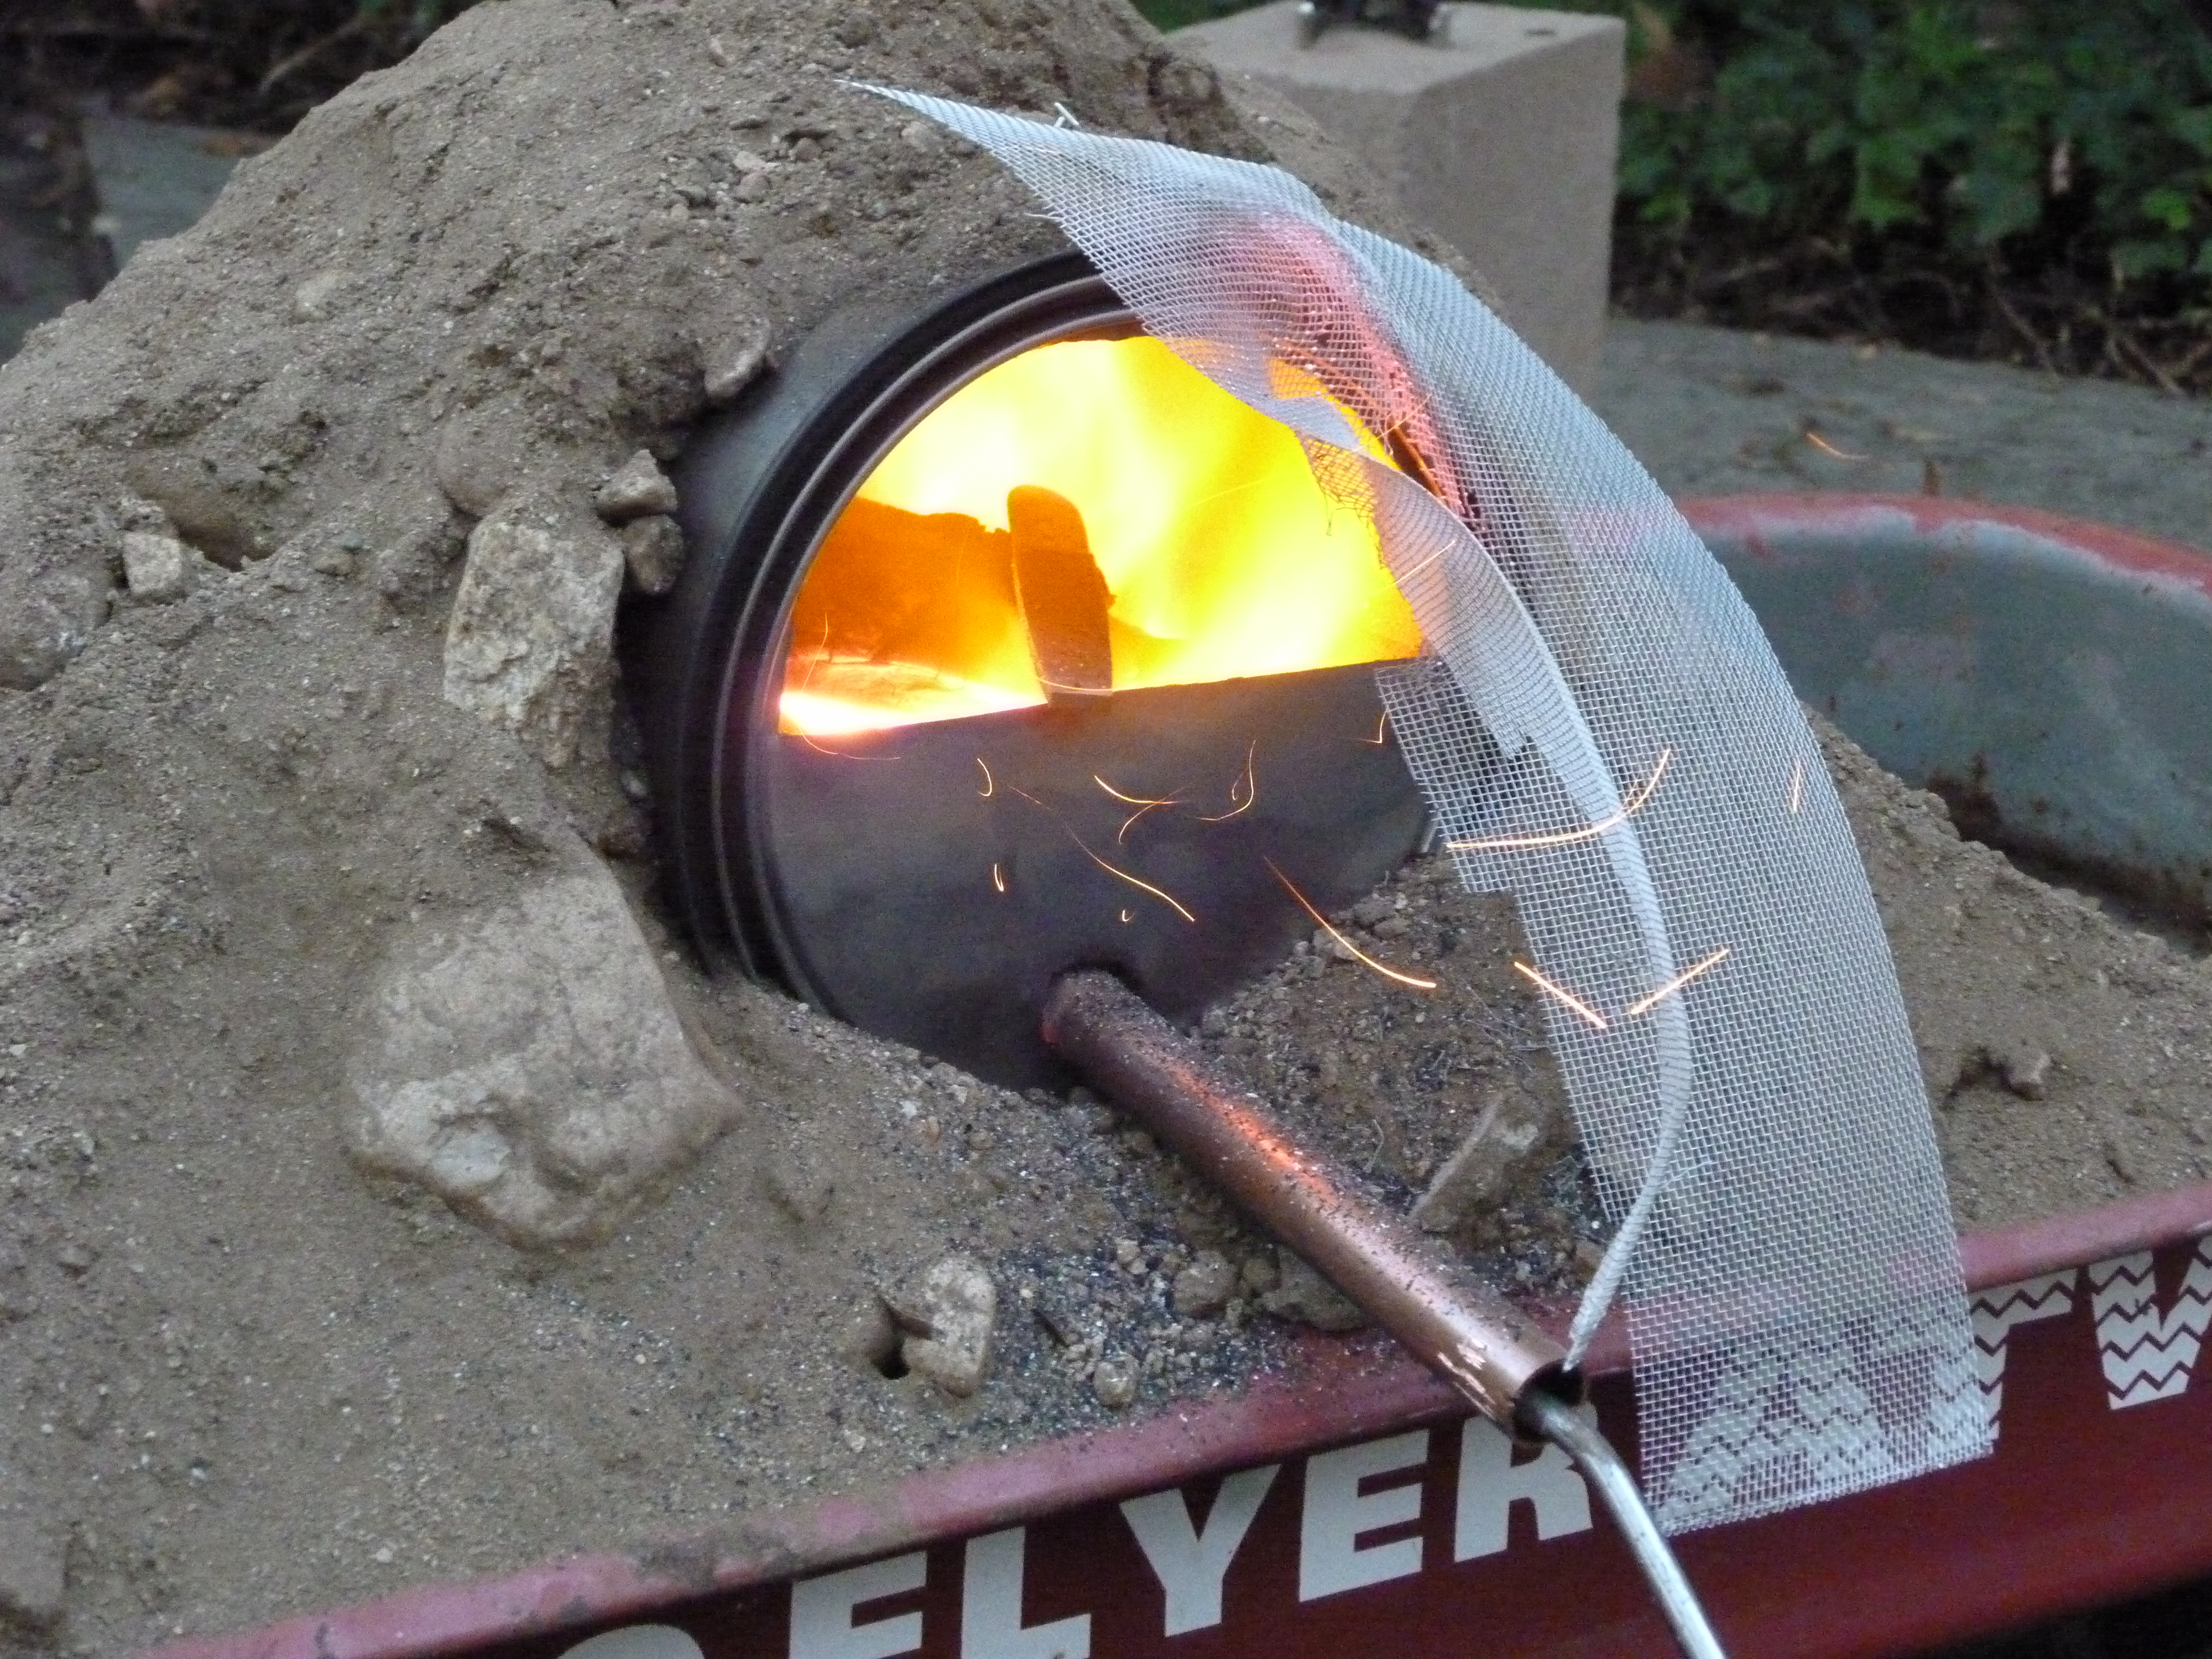
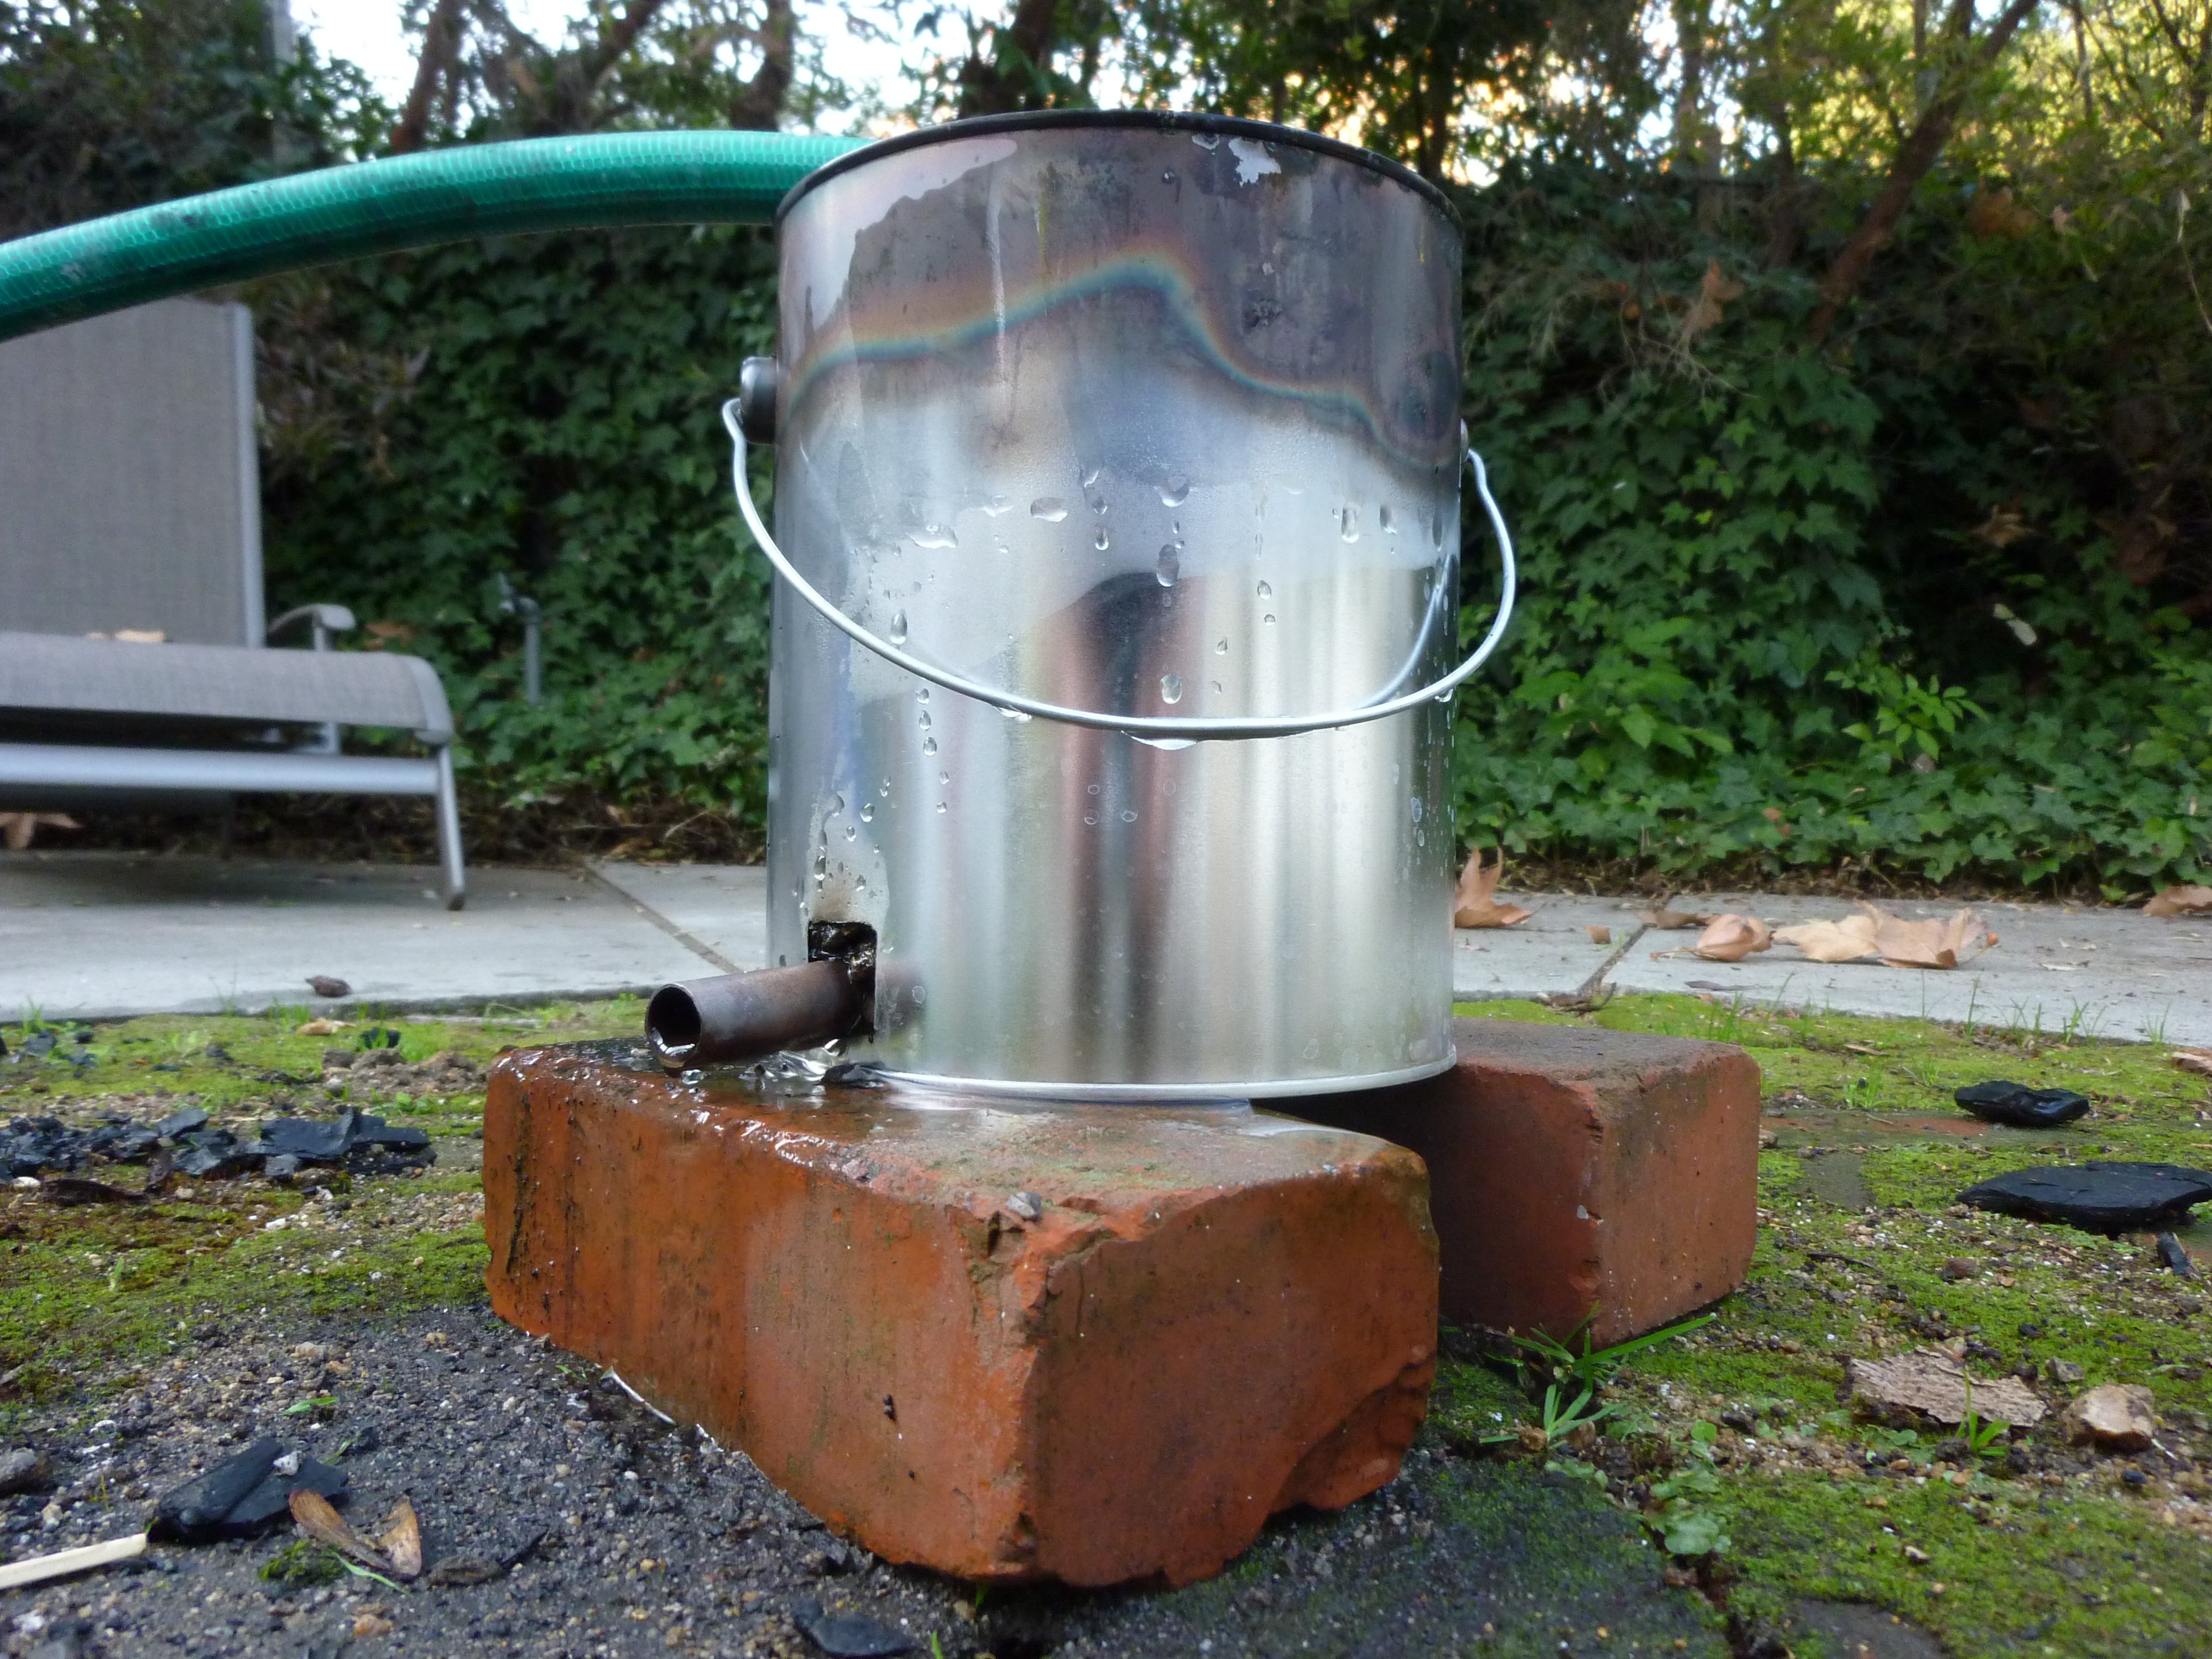
Next, grab that copper pipe and cut some notches in it.  I used a hacksaw for this, but a dremel would also work.  The idea here was that the gas would be distributed along the openings, leading to a more even heat.  It didn’t 100% work, but it seems better than having a single opening.  Then add the end cap, and insert it into the small hole that is cut in the paint can.

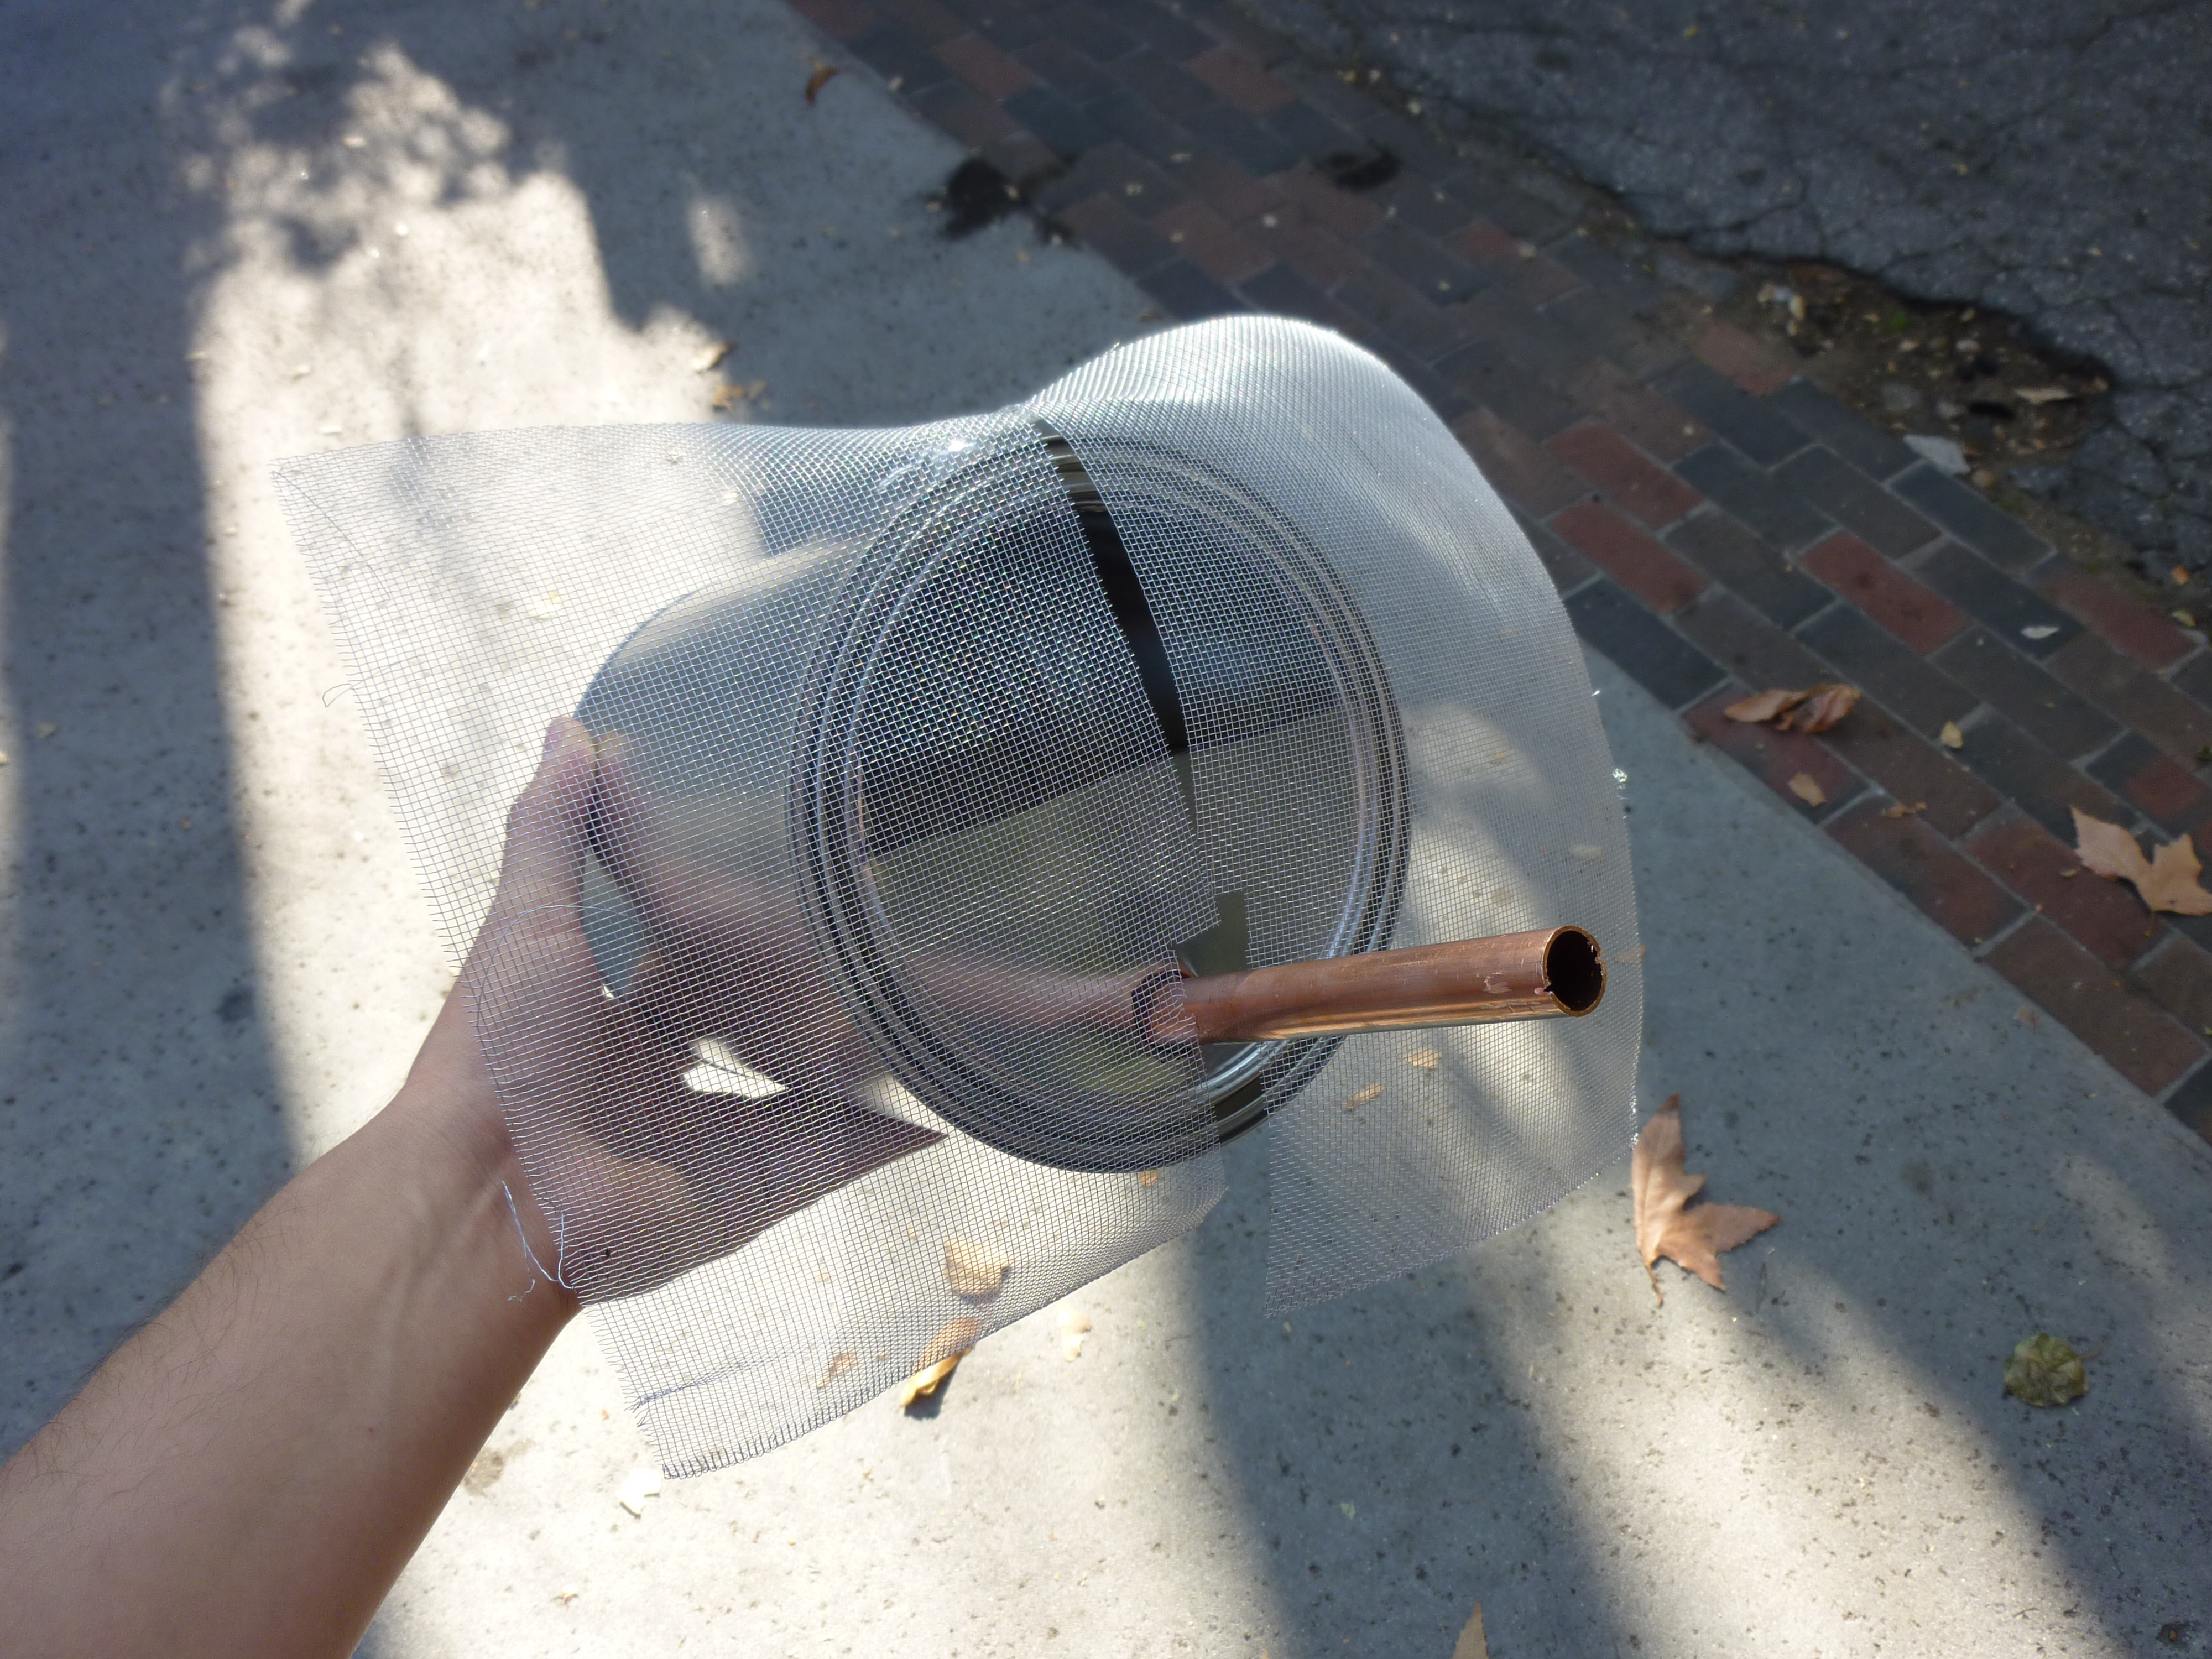
Forge 2.0 almost all put together

You should now have something that looks like the above picture, minus the screen.  The screen was based on my experiences with Forge 1.0 and the sparks/exploding charcoal.  I thought a little aluminum screen would keep the sparks and exploders in.  I was wrong!  After firing the forge up, sparks kept flying out, and the screen somehow disappeared, either by being burnt or sheared off.  If you try to make something that prevents the sparks from escaping, it needs to be much finer than 1 mm by 1 mm, and more heat resistant.  Think bug mesh fine.

The next step is to bed your forge in dirt.  This will prevent it from burning whatever you put it on, and it will help insulate the forge, making it hotter inside.  I had some gravely, sandy dirt from my backyard.  It was convenient to put it in the wagon, for transportation, but the wagon is not necessary.

OPERATION

Keepy your eyebrows safe, yo.

To start your forge, put on safety glasses (or a face shield), long sleeves, long pants, and closed toe shoes.  Preferably, you these clothes should be non-synthetic, as they resist catching on fire better.  Then you want to pack the bottom half evenly with charcoal.  This is a good opportunity to use the smaller bits of charcoal to pack the bottom.  You might even want to separate out the small (smaller than a small potato, or about 1″x2″x2″), medium (about fist size), and large (bigger than fist size).  The large pieces will need to be broken down to about medium size, or they will be too hard to manipulate when in the forge, and will block access to the part of the forge that they are in.

Once packed, you can light the charcoal with a butane torch, a stove top, a charcoal lighter, or probably even lighter fluid.  You want to wait until one of the coals is orange-hot, and sparking/smoking.  If a flame appears, that is even better.  Once the coals are started, you are almost done.

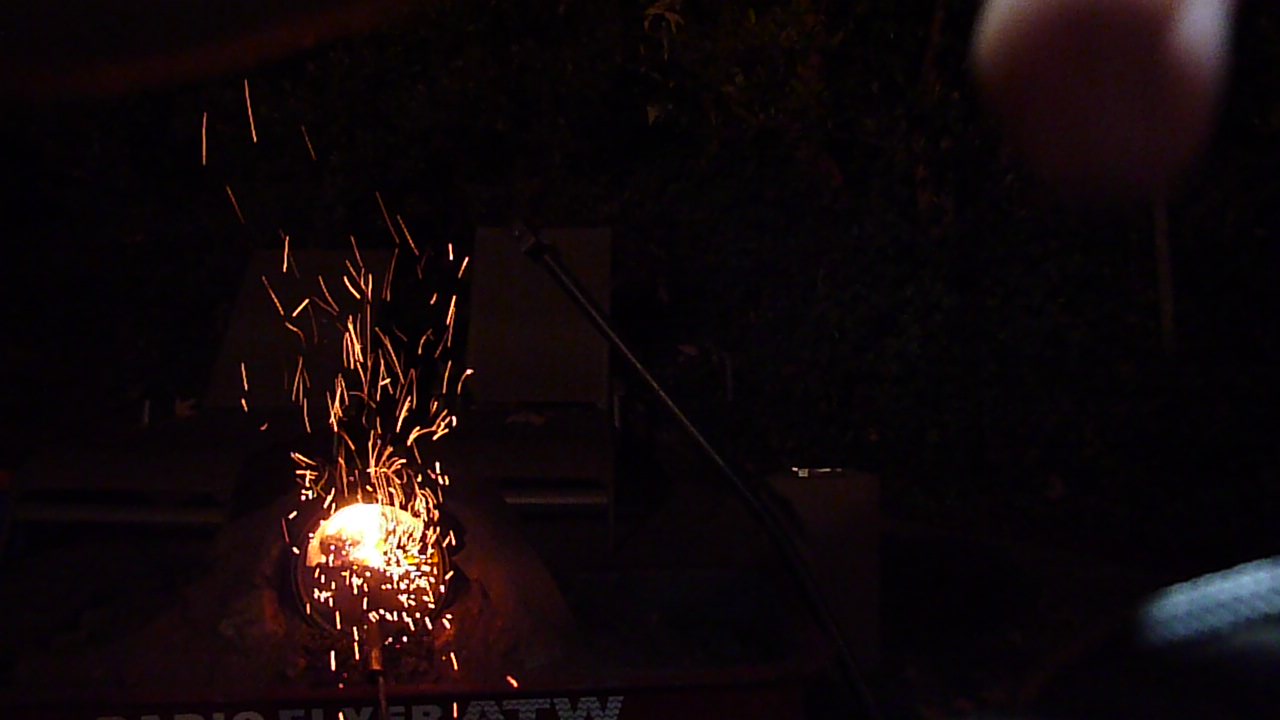
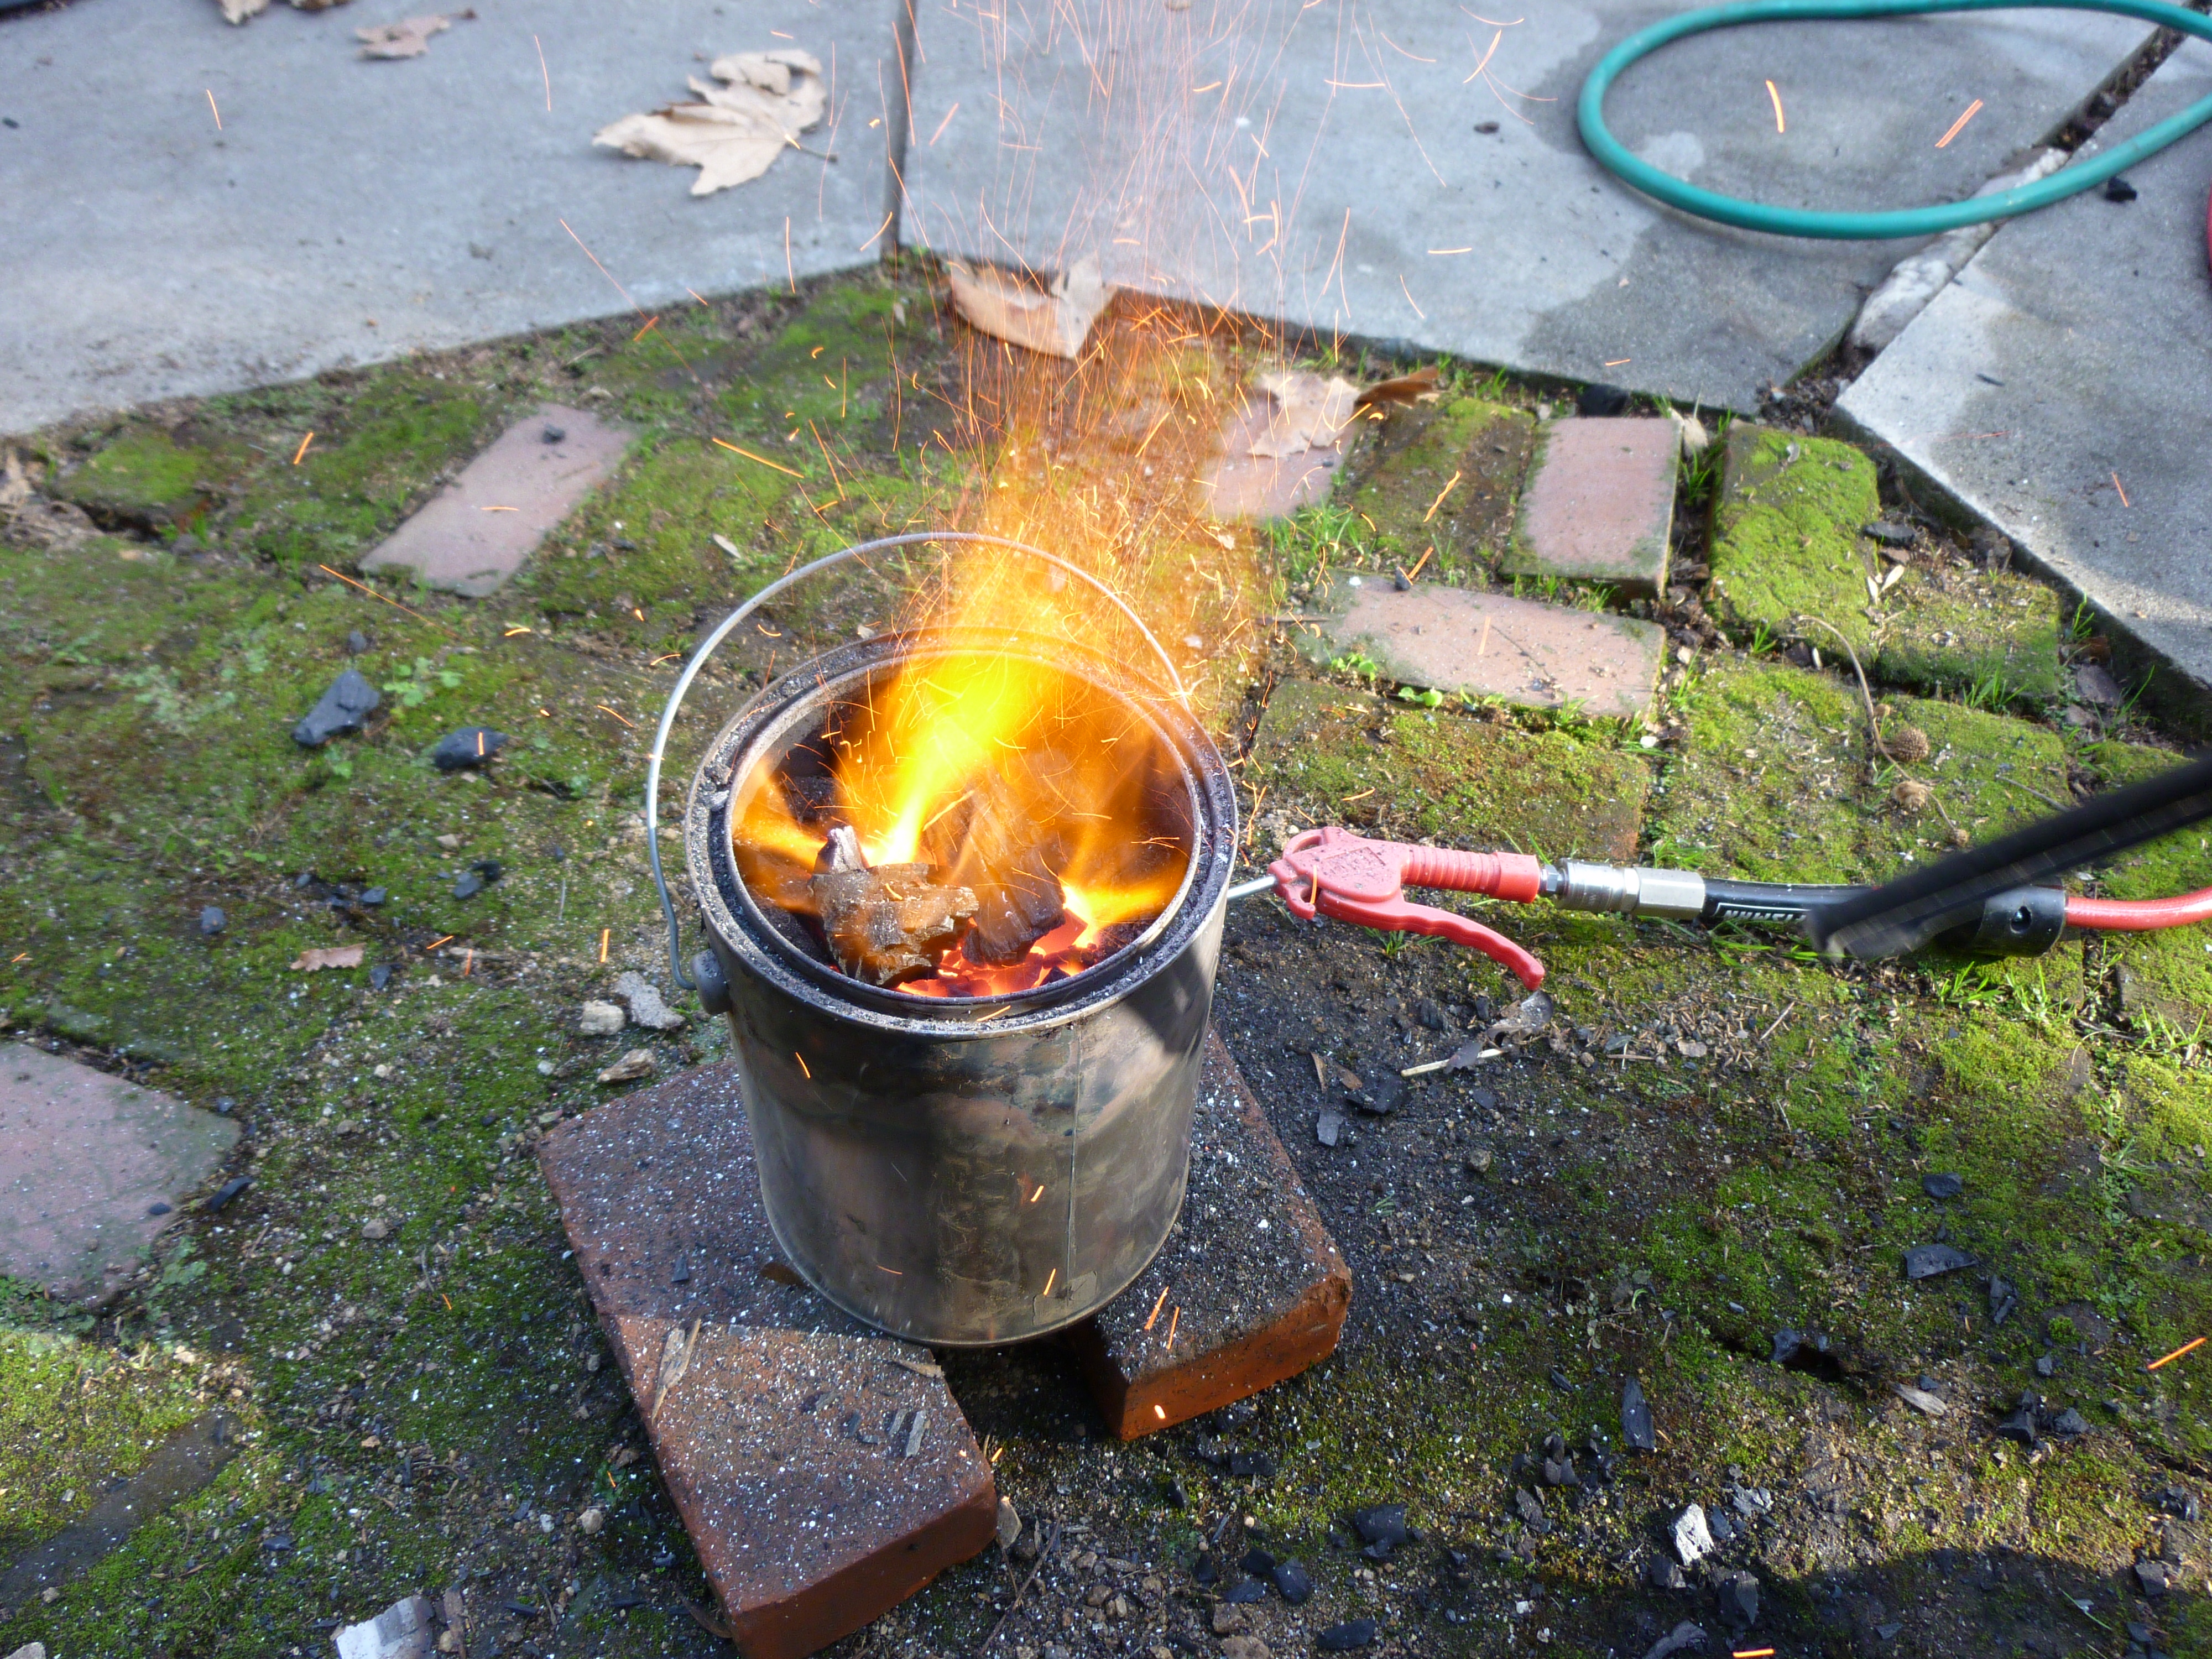
Watch out for sparks! And exploders!

At this point you should turn off your torch, if you have one, and start the air.  It is best to have some kind or choke on the air, so that you can control the heat.  Watch out here, because in the forge 2.0 design vents all the gas out of the large hole at the top.  WATCH OUT.  Occasionally small pieces of flaming charcoal will come flying out and EXPLODE, not to mention the regular sparks that will come out.  Be safe y’all.

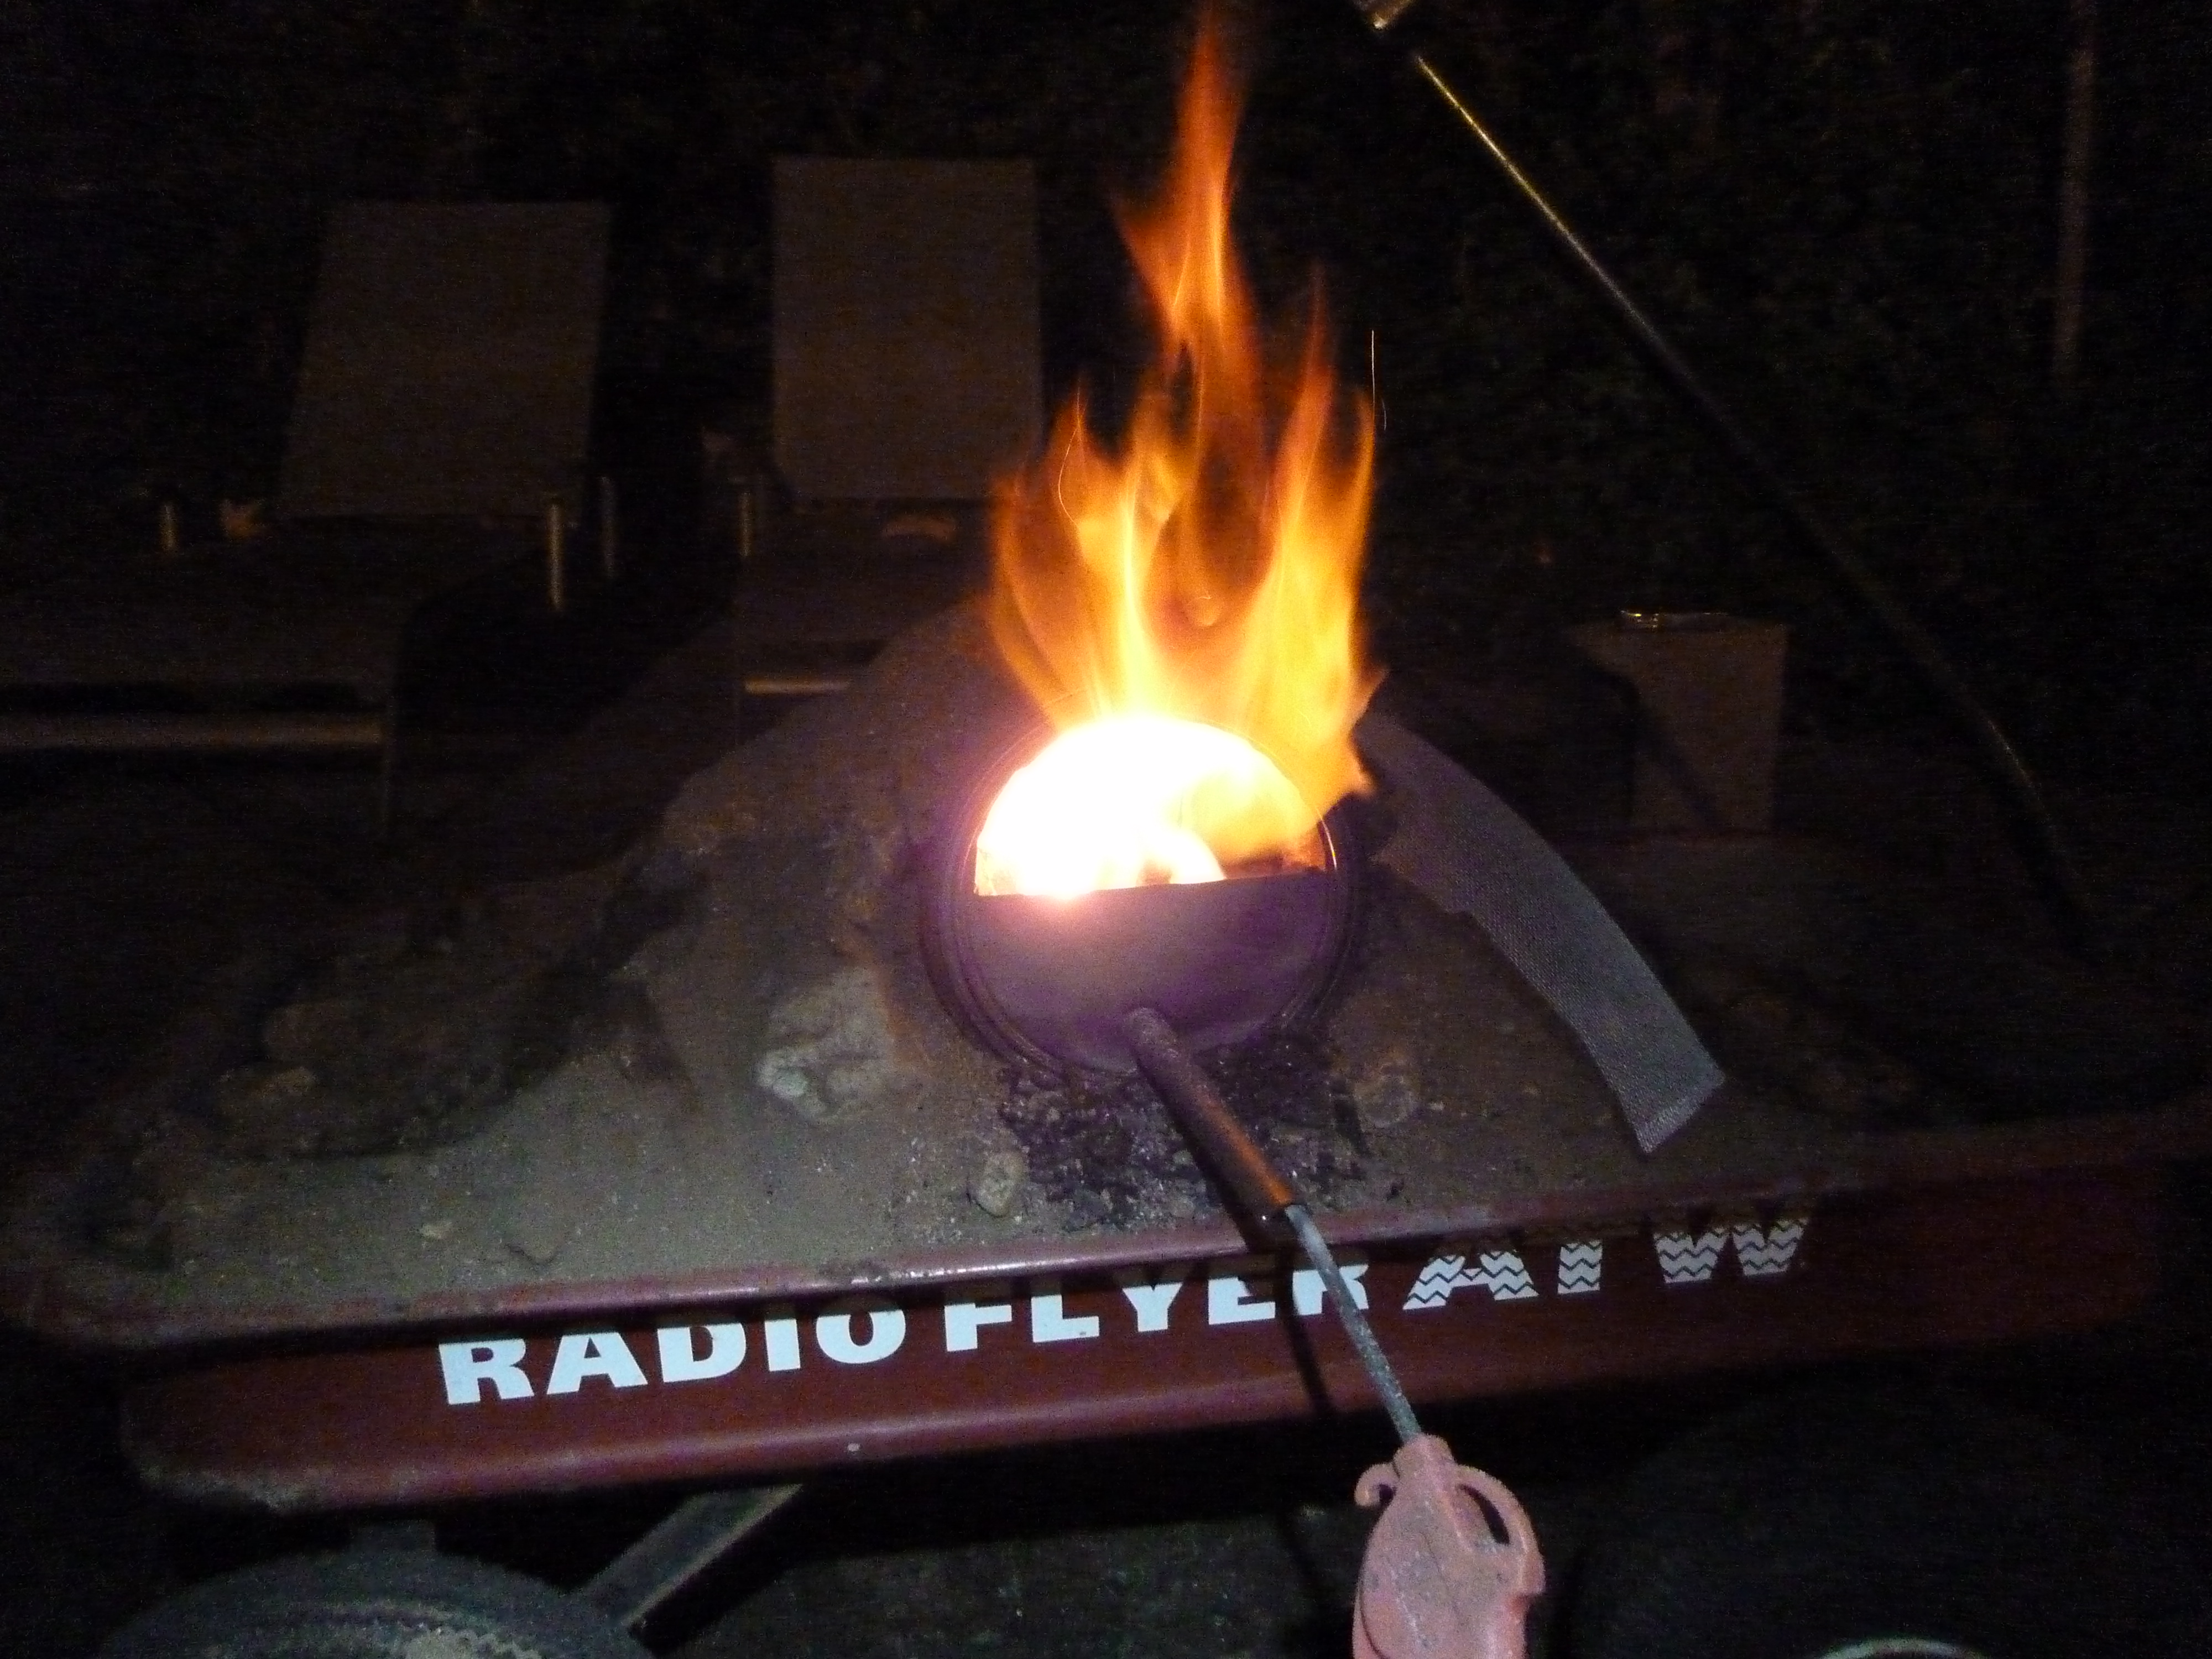
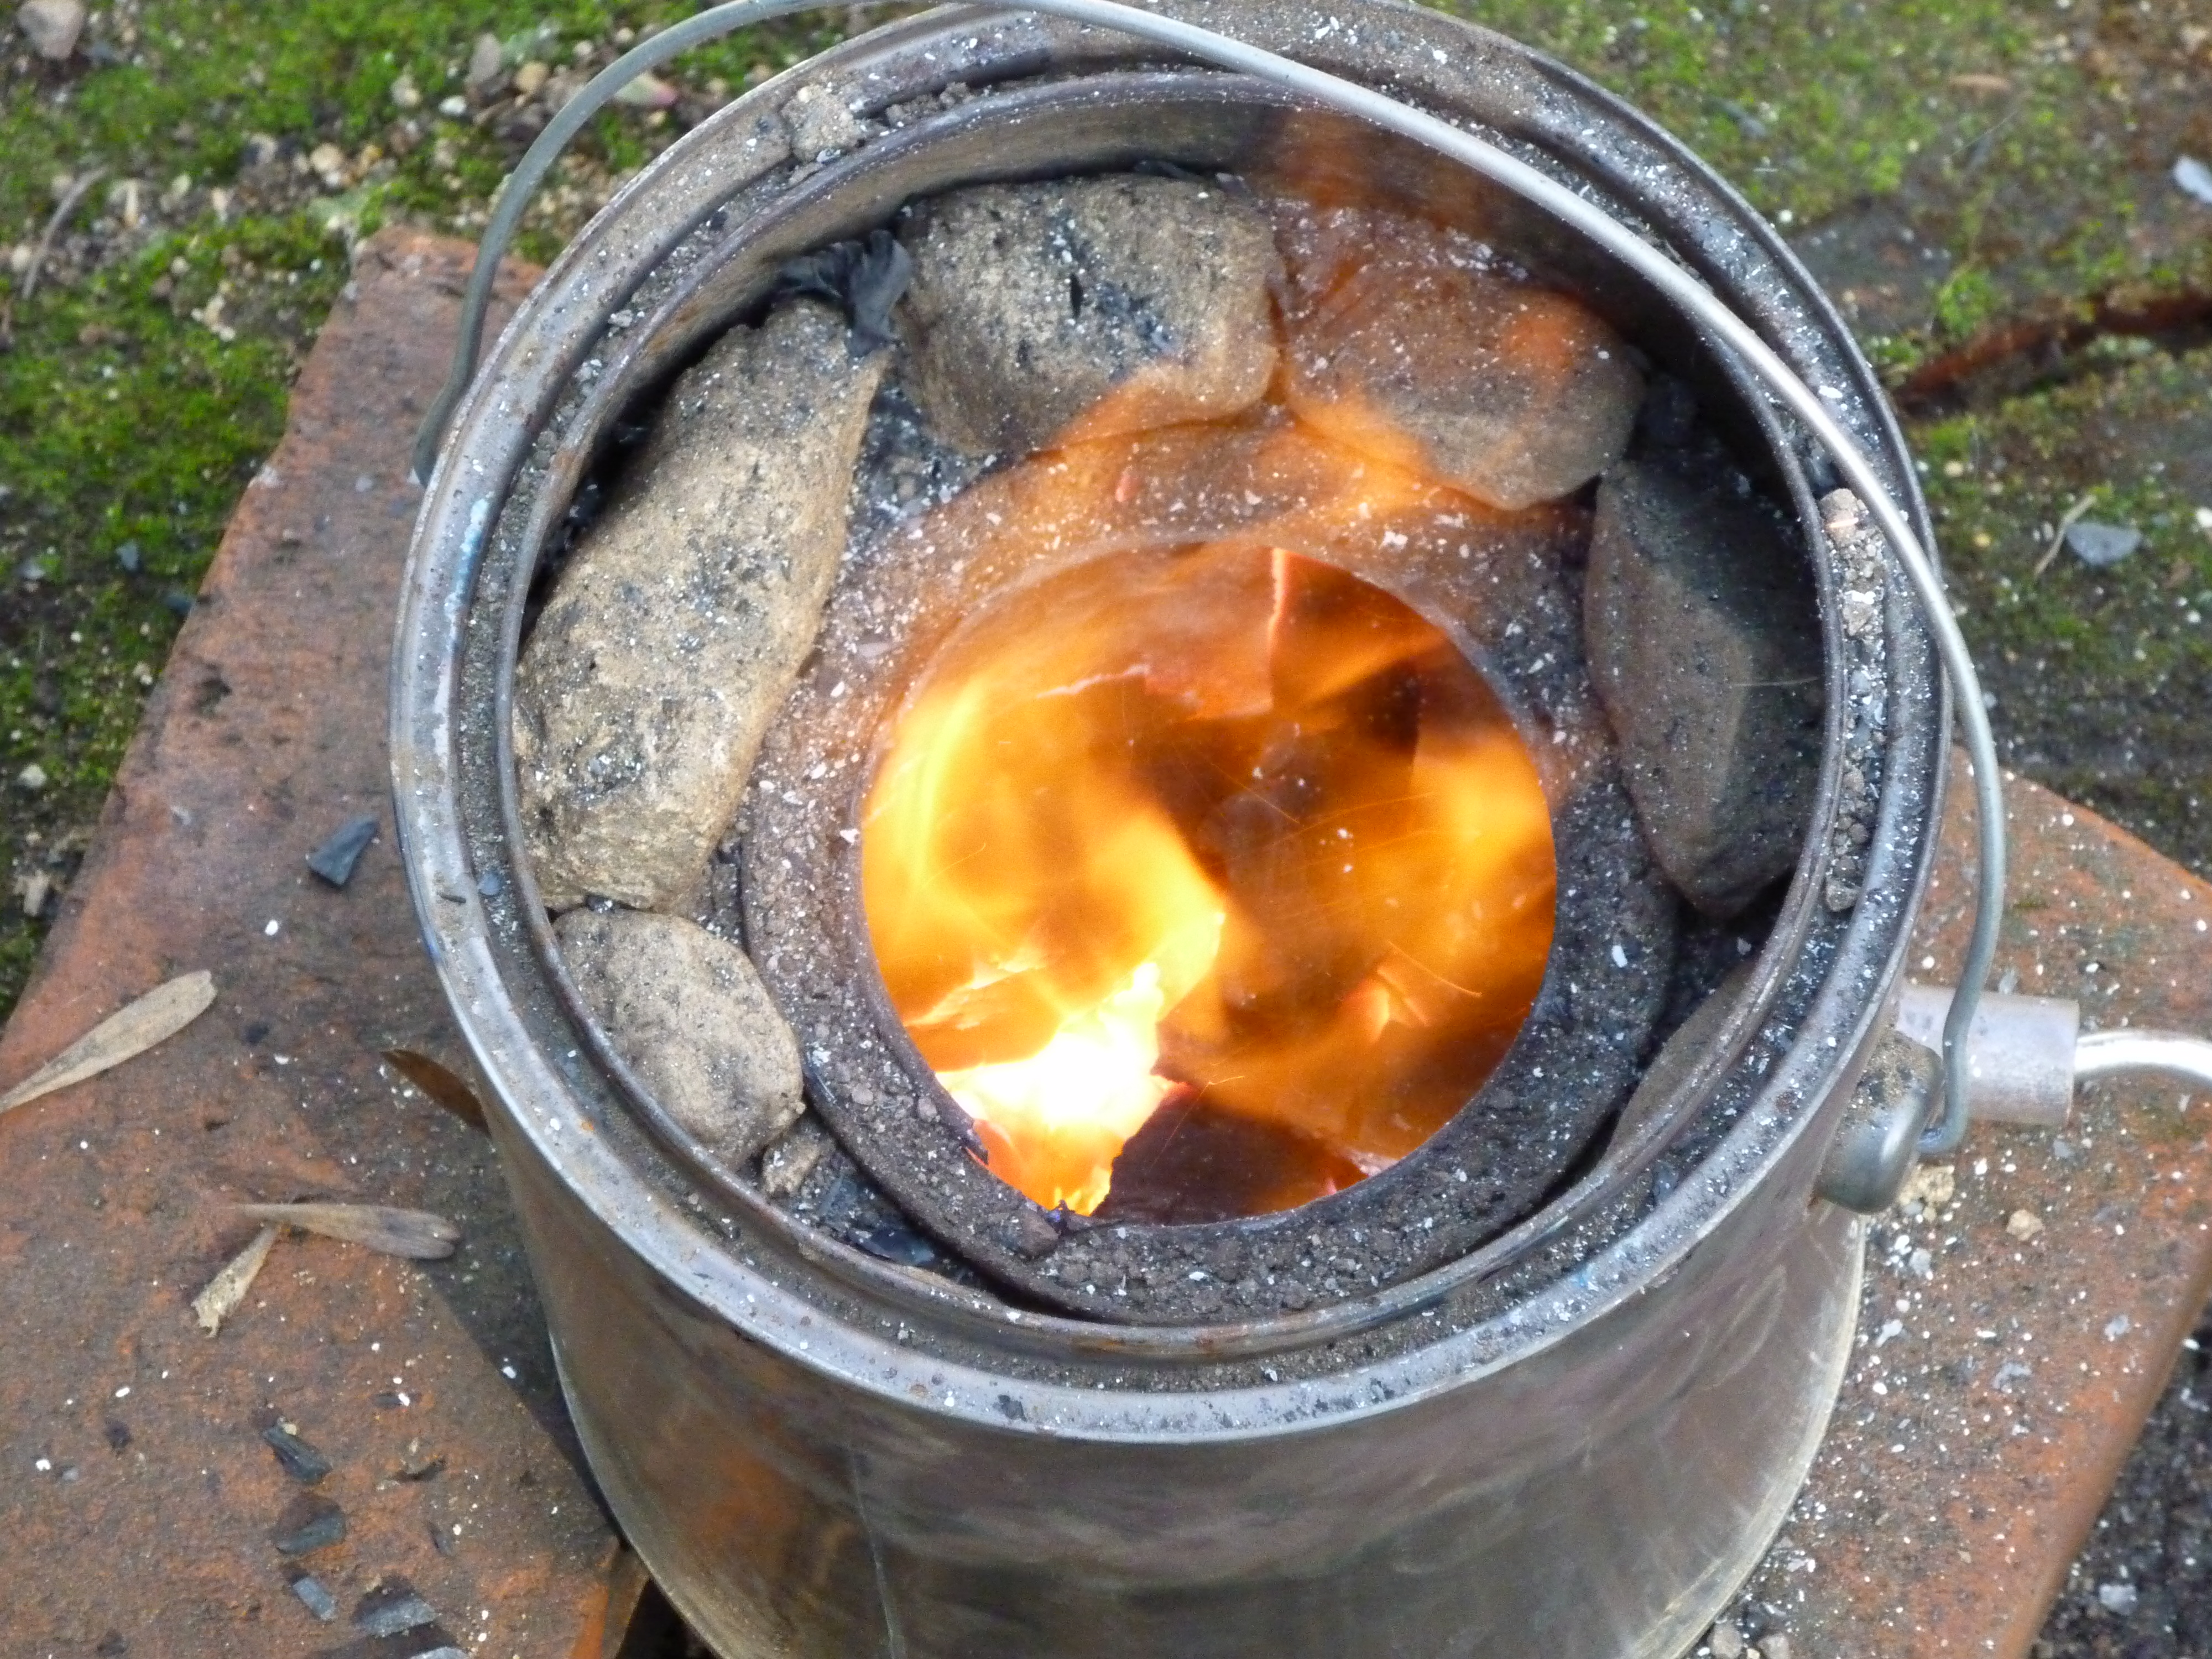
Now that the air is on, you want to get it up to orange hot, and then you are ready to go!

Orange HOT!

Well, that is it on building Forge 2.0!  Good luck using it.  I am going to post up some notes on Forge 1.0 (porta-pit) vs Forge 2.0 and some ways that Forge 2.0 can be improved to be safer and better.

Paint Can Forge Day Three: Hell and Back

My brother decided to go all B&W during the heat-treat.

Forge 2.0 was a huge success, and the new knife is semi-born, and semi-decent Awesome, because i can shave with it.  Gonna have mad razor burn though.

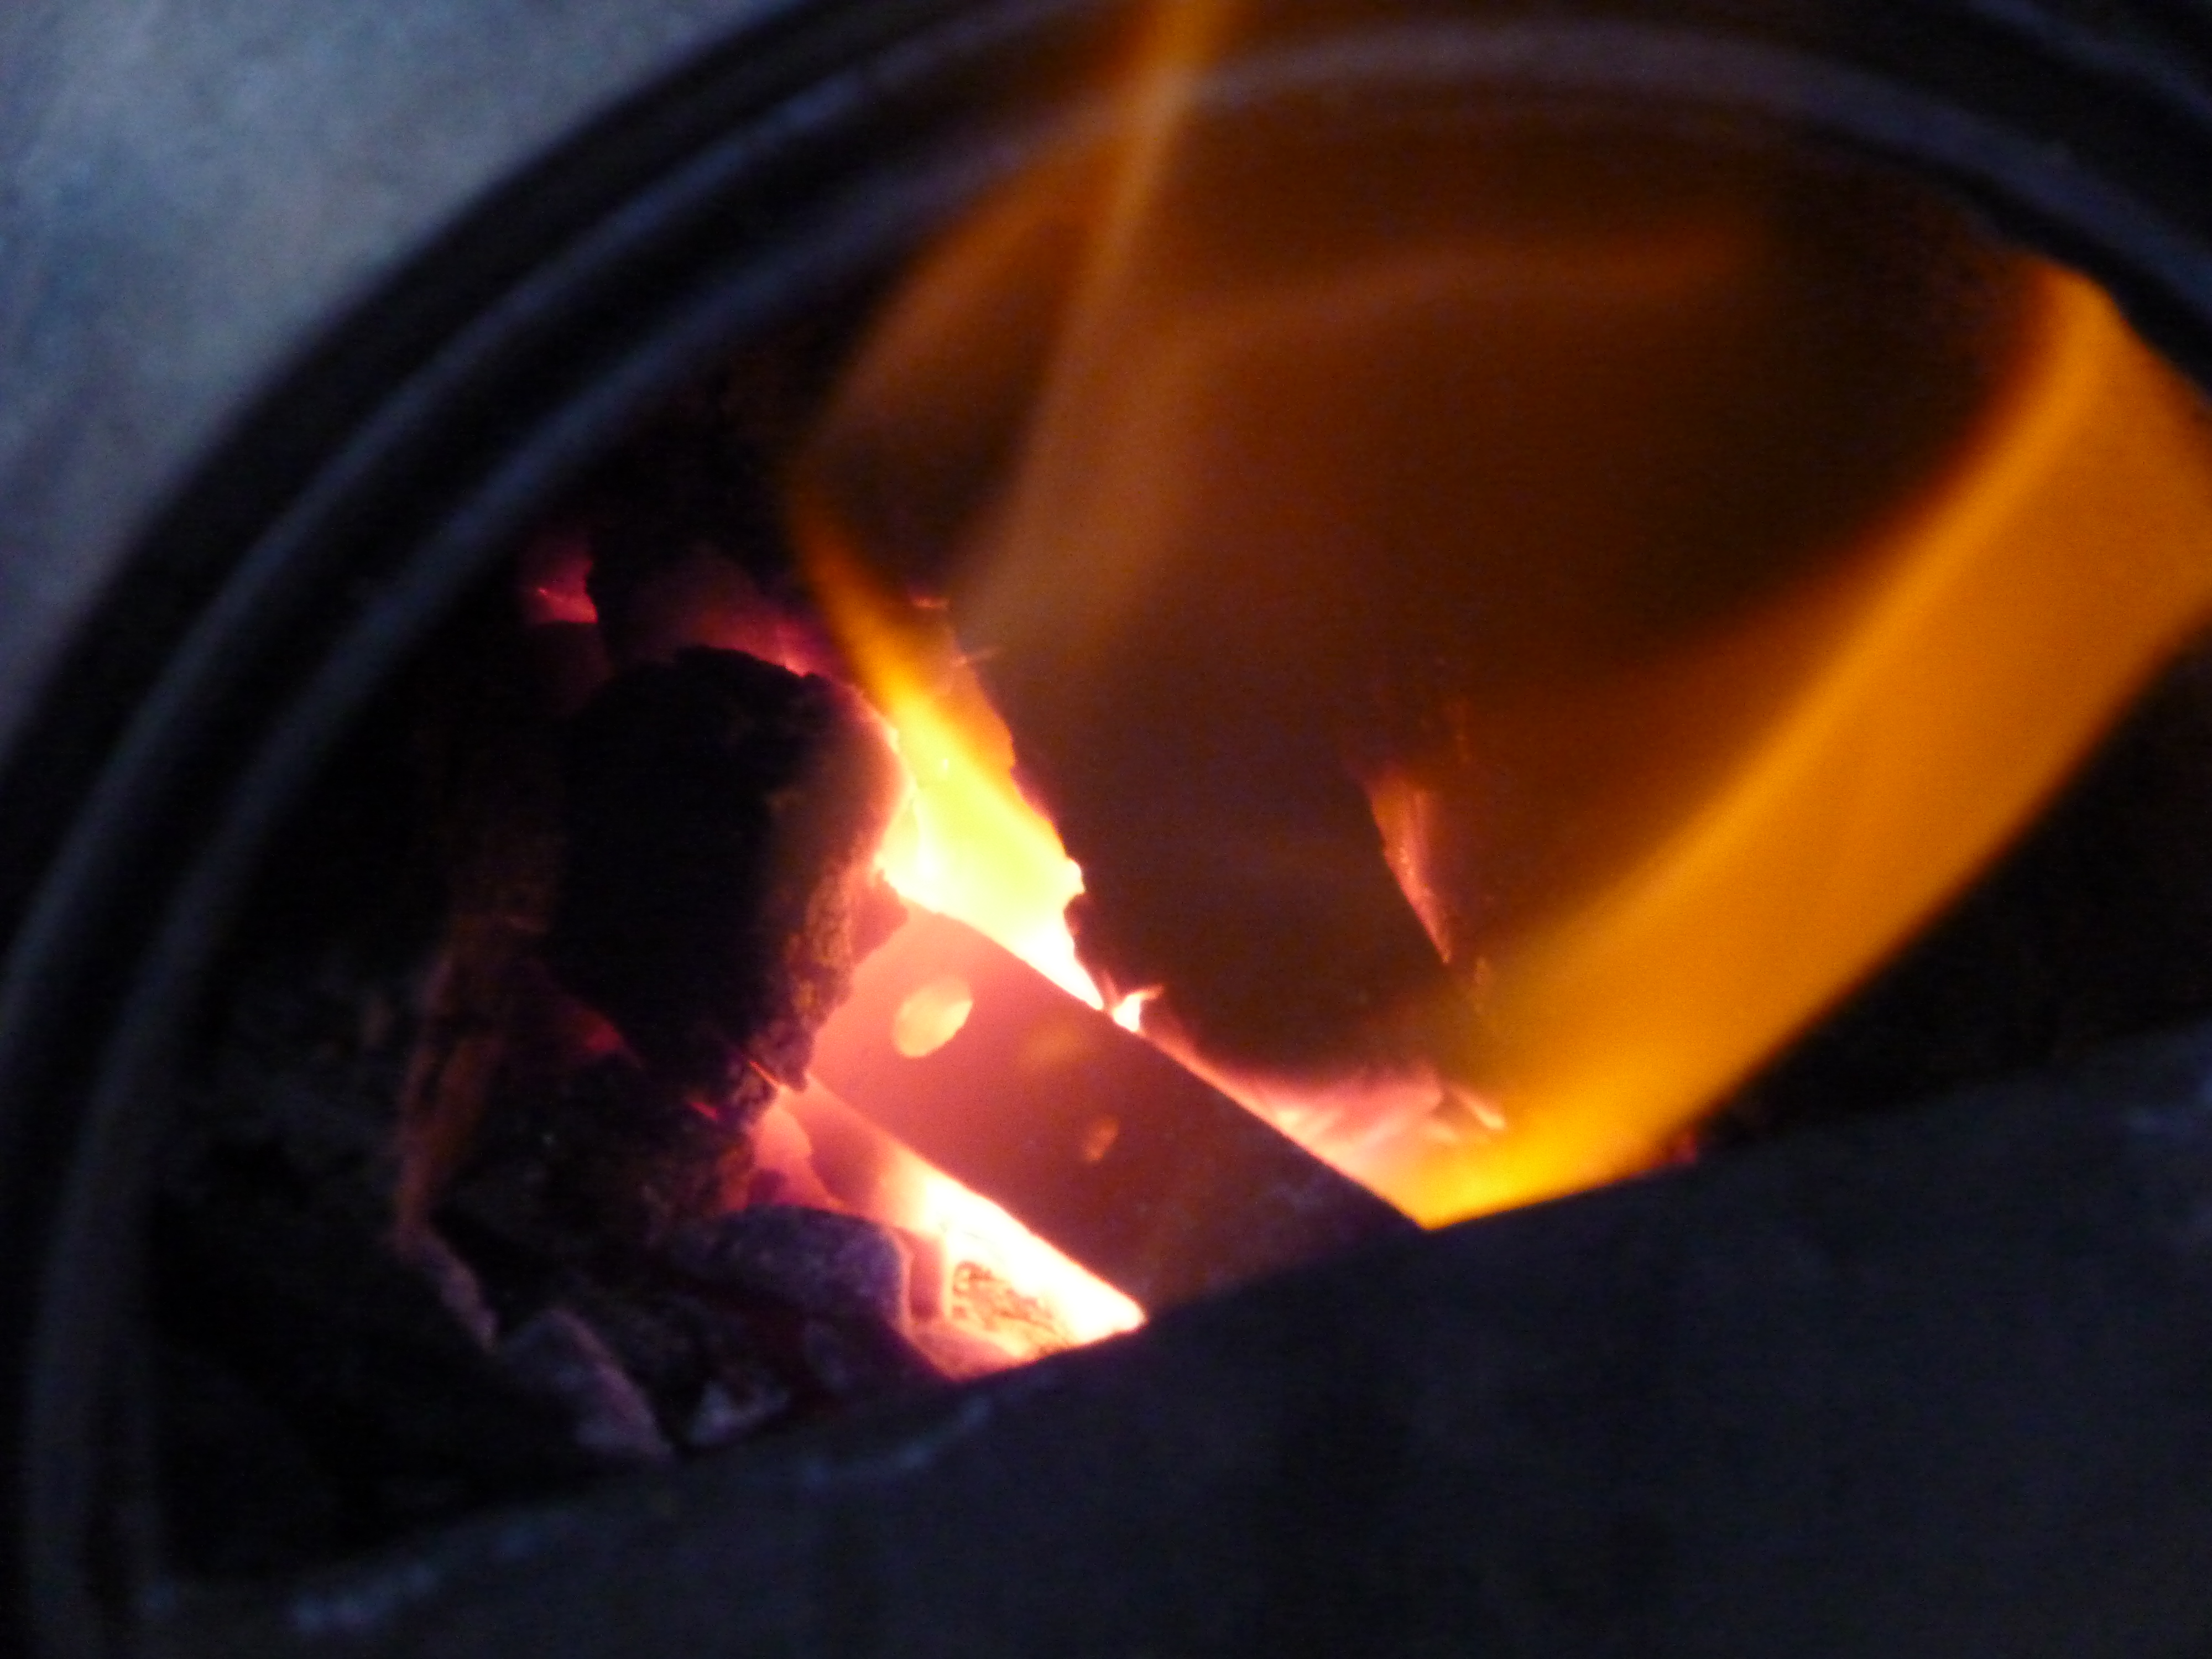
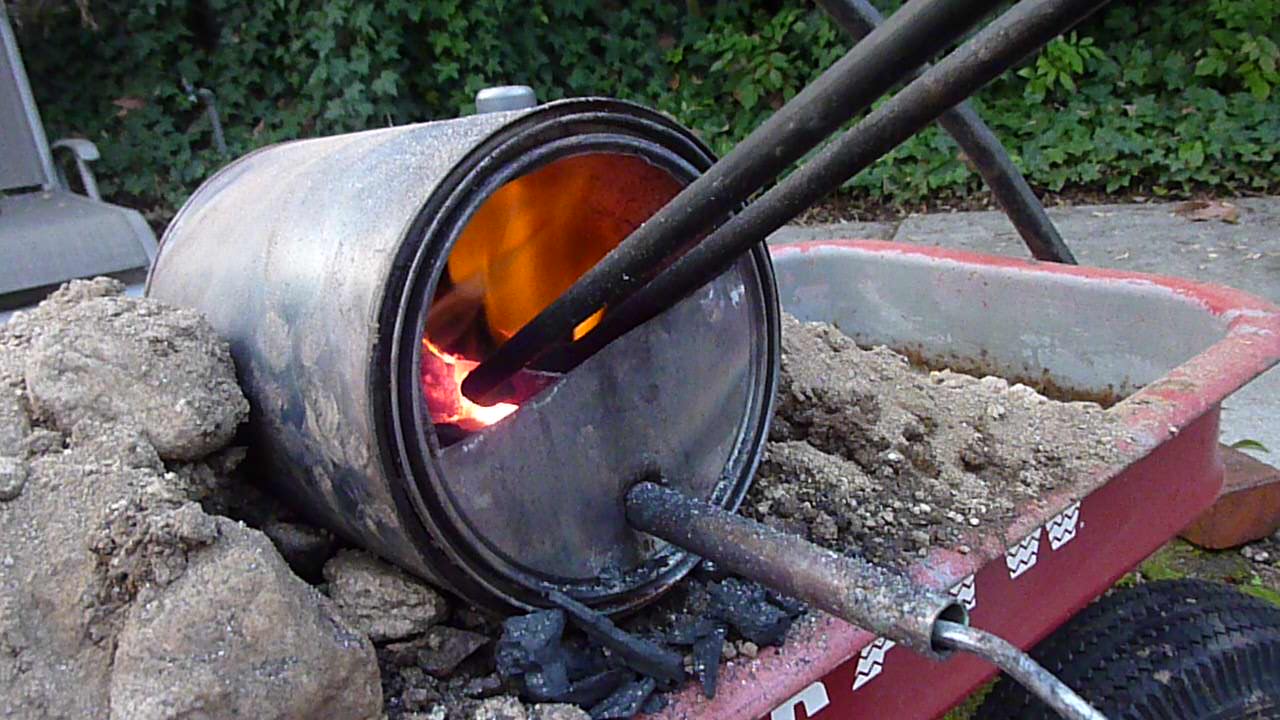
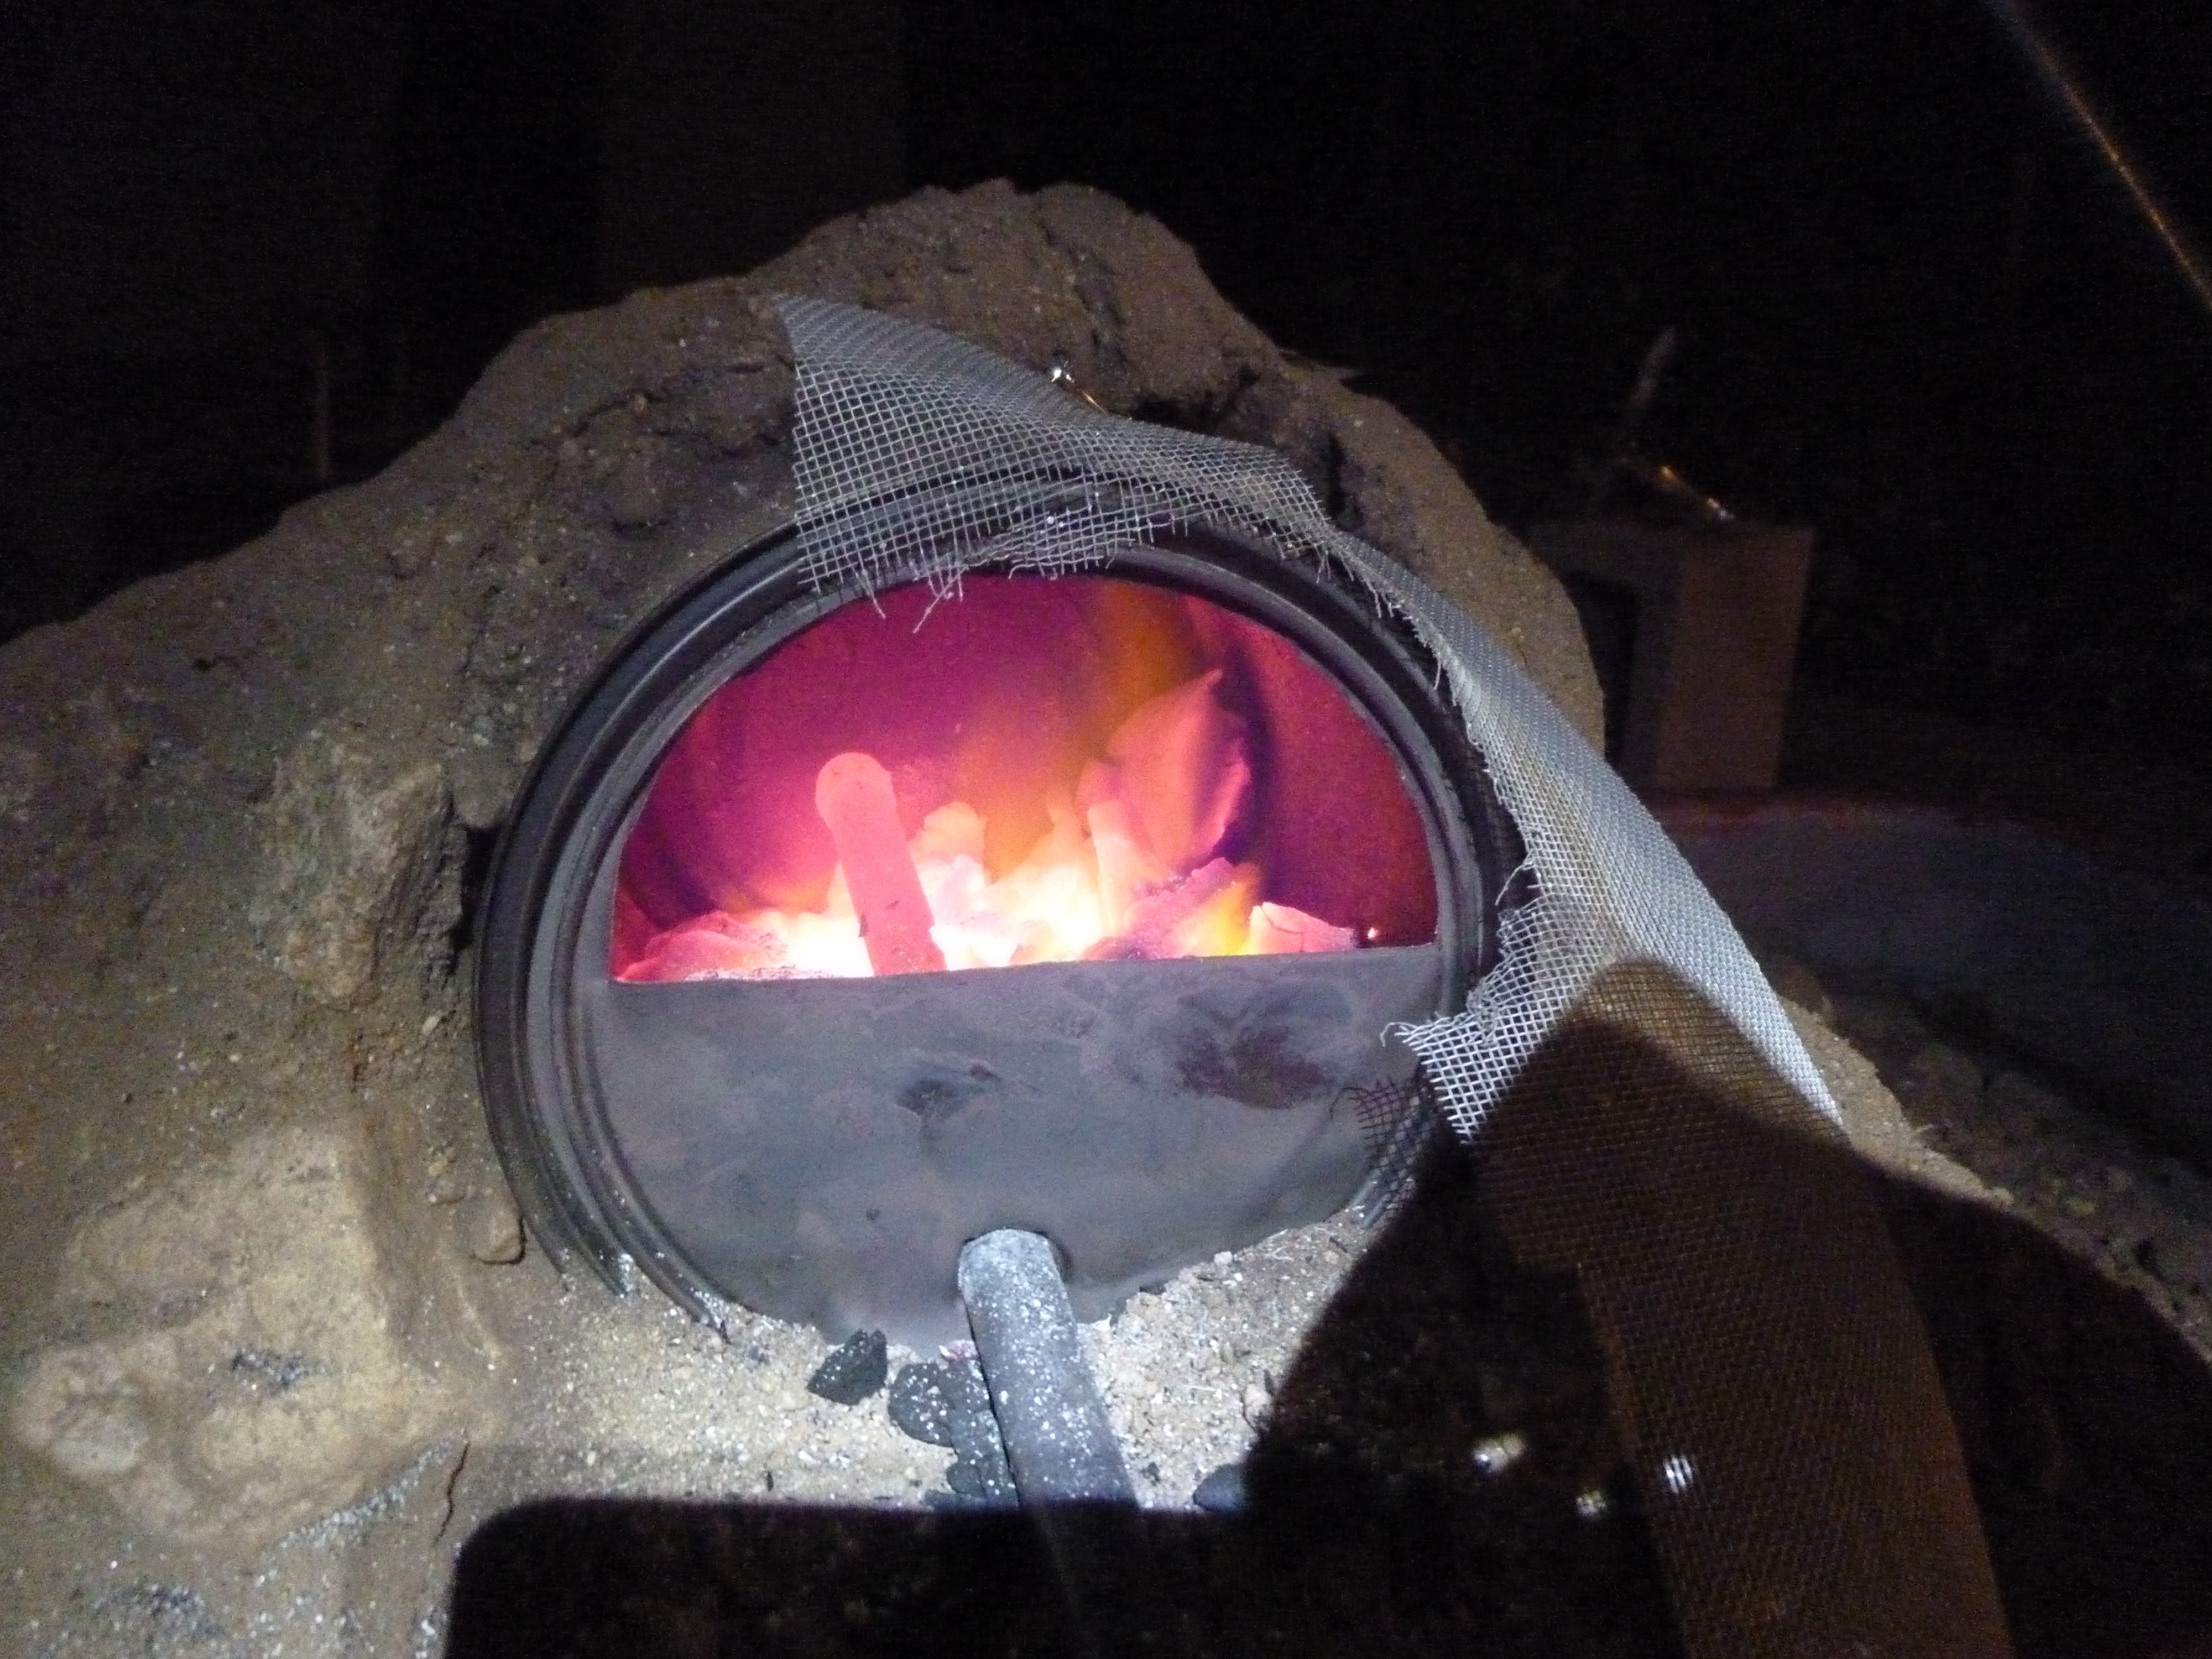
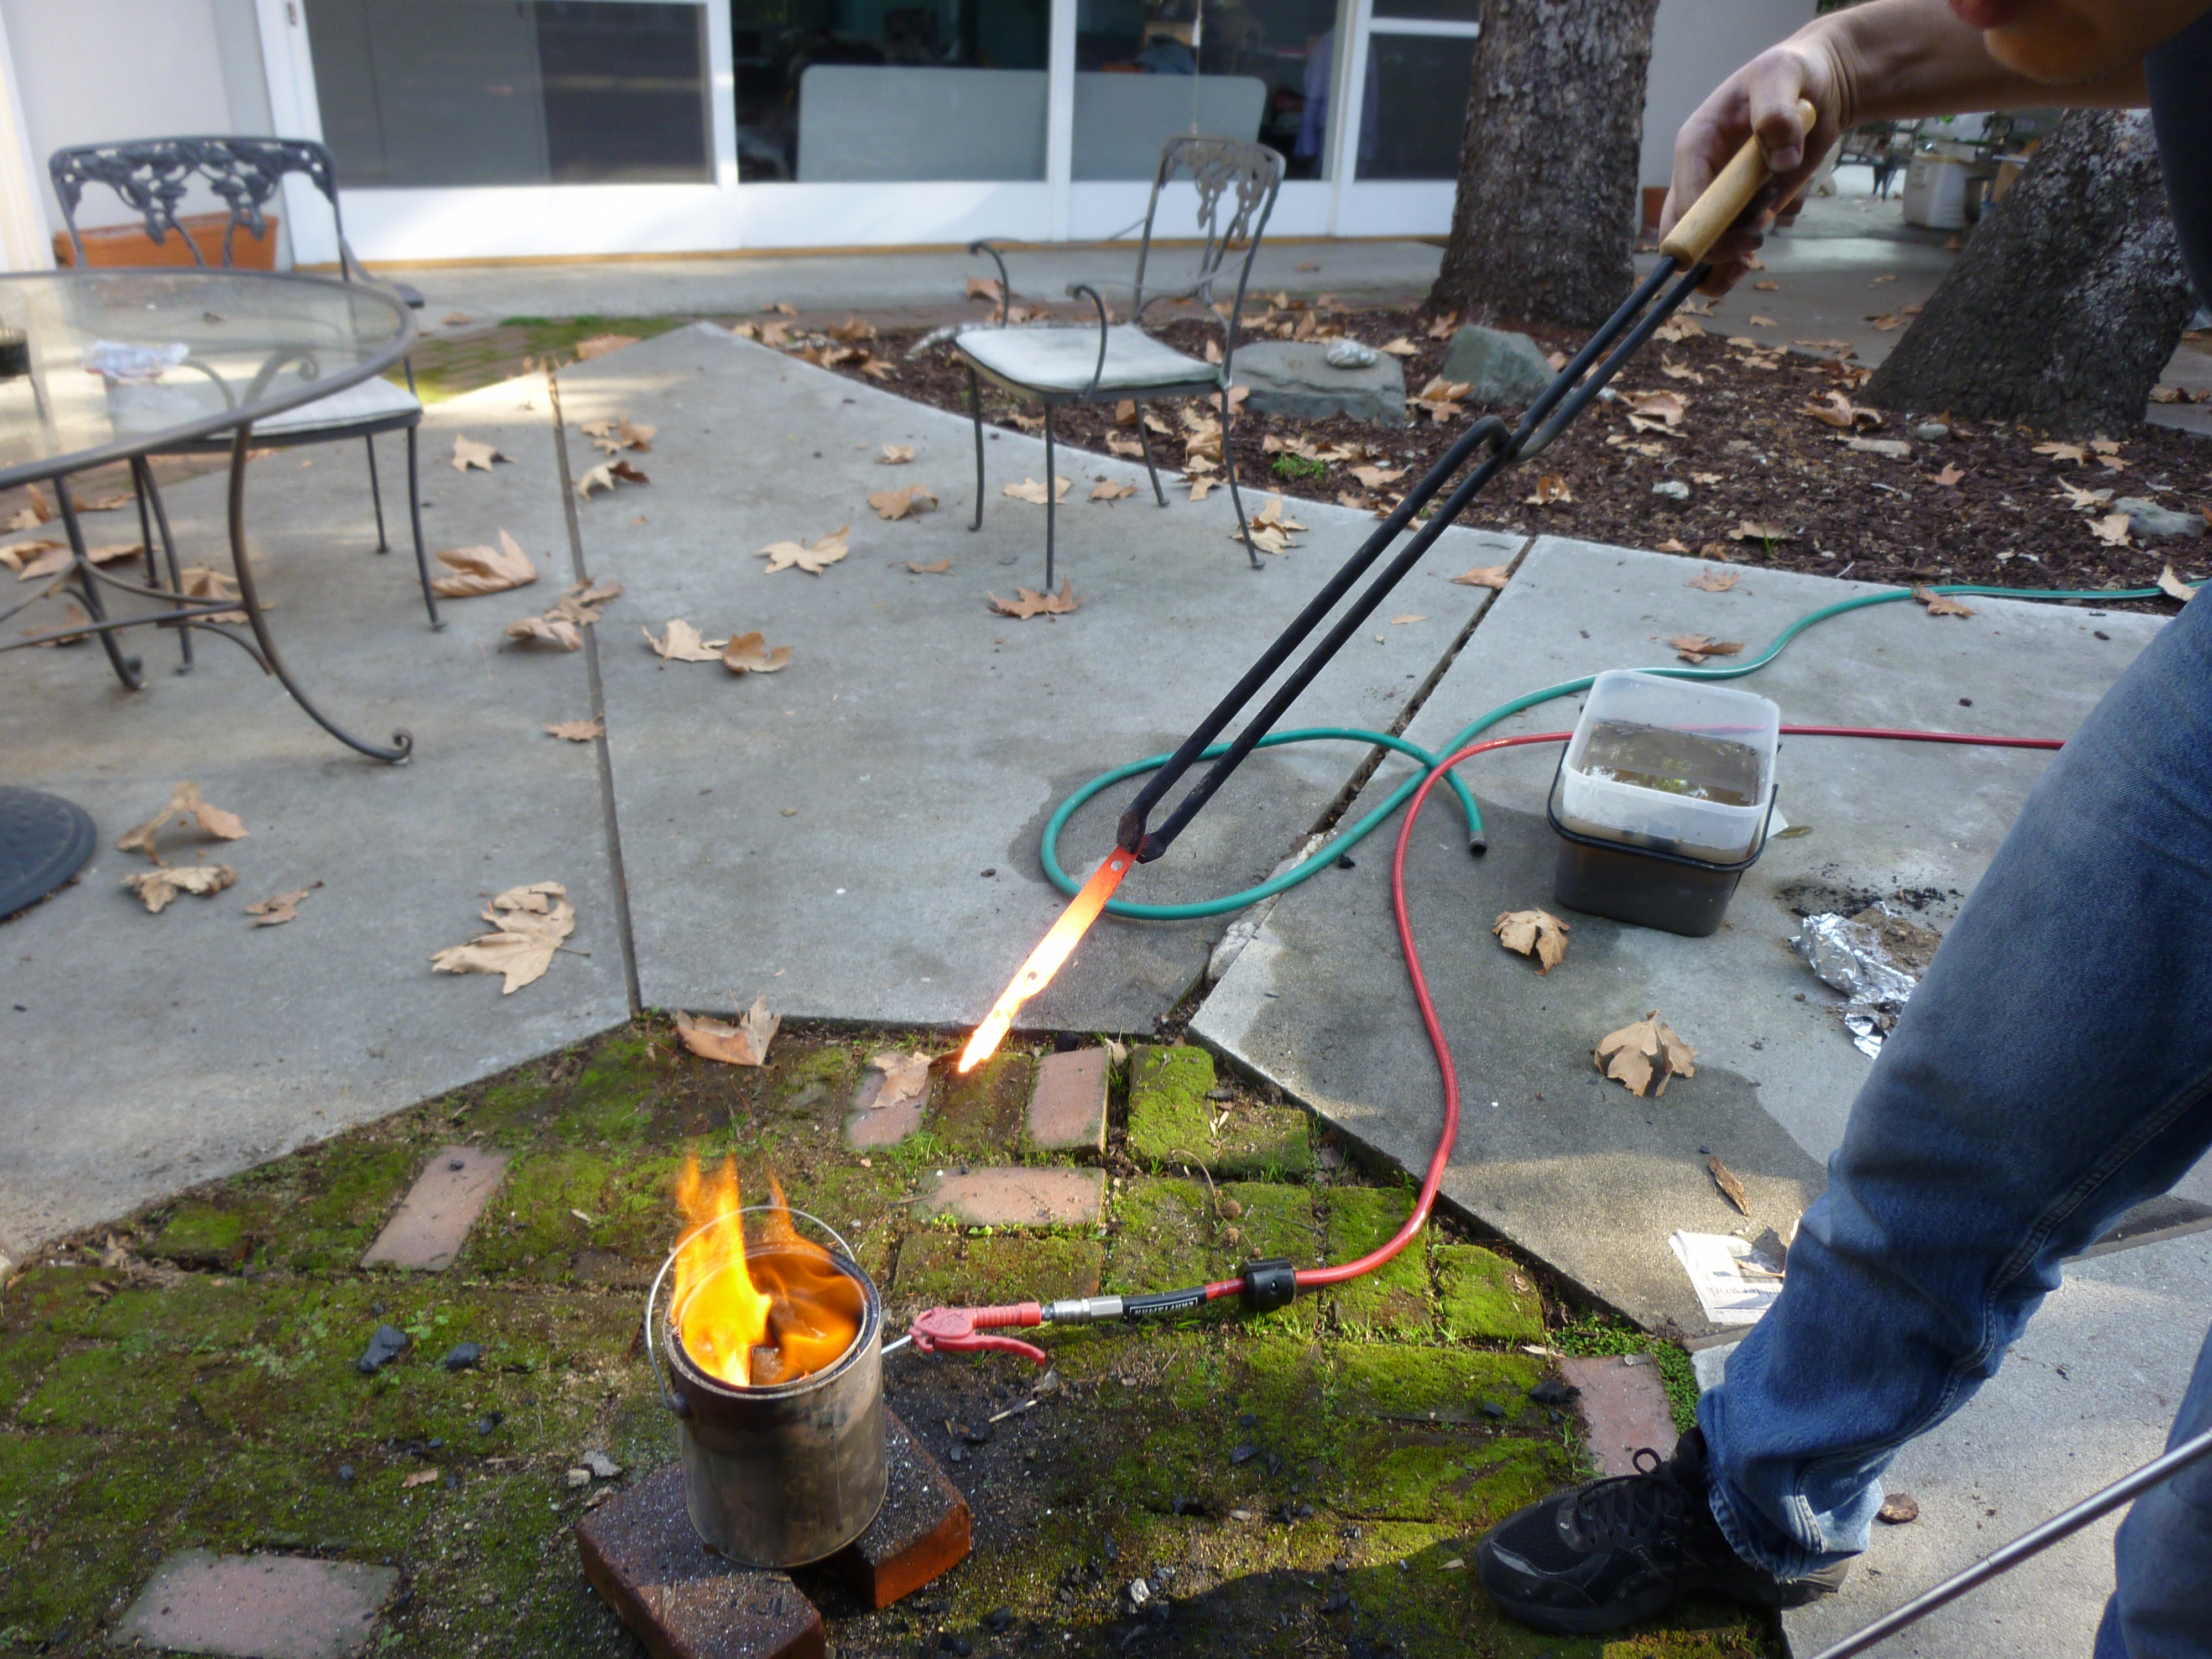
That copper pipe is orange hot. Steel was a similar color, indicating the metal was at about 930 C or 1705 F.

As you can see here, the forge is still freaking hot.  Hot enough to melt or burn off the aluminum screen on forge 2.0.   More importantly, it is hot enough to heat steel to/past the critical point, so that it can be hardened.  I know the blade is harder now…but I am not sure how much harder.  If it proves to be unsatisfactory, I will re- soften the steel, re-file the bevels, and then harden it again.  This will (hopefully) be possible, due to the new Forge 2.0.  More on Forge 2.0 soon, but after a long day of crouching next to this exploder, it is definitely bedtime now.

Paint Can Forge Day Two: Overmelted

TOO HOT! But the whole thing finally did get past the critical point

So today was slightly tragic.  I started the day with my nice, annealed file that I made yesterday.  Grinding (on a rotating bench grinder) went swimmingly, and after touching up the grinds with my not-annealed file, it was looking pretty sweet.

Mr. Knife, clamped down for some drilling

Look at that handsome devil!  Certainly it could be put to use cutting up small fruits, or peeling carrots, or maybe batoning though some balsa wood.  I was satisfied with the shape, reasonably happy with where I was going to mount the handles, and so I fired up the forge to normalize it.  Things went south from here.

The porta-pit in action!

The problem with the porta-pit is that the bottom is too hot, and the top is too cold.  To give you an idea of the gradient, the bottom is hot enough to slag about 3 inches of steel, but after that there is almost no color in the metal.  It is only by strategically building the charcoal up and giving it a lot of air that I can get the whole 6″ hot.  If I do that, I can get a large jet of VERY HOT gas to come blasting out of the forge, heating the whole thing very slowly.  This is still bad, because I want to evenly heat the whole thing, and not destroy my work.

A super hot jet of gas is coming out of the charcoal. The forge has a loud roar at this point, and sparks and exploding charcoal come our regularly

The short of the long here is that my blade got ruined, and this forge needs a redesign.  I am thinking that If I turn it sideways, the charcoal will be spread out evenly along the bottom.  Even if there is a “hot spot”, there will at least be more area than is accessible in this configuration, because right now only the ends of the metal can get hot.

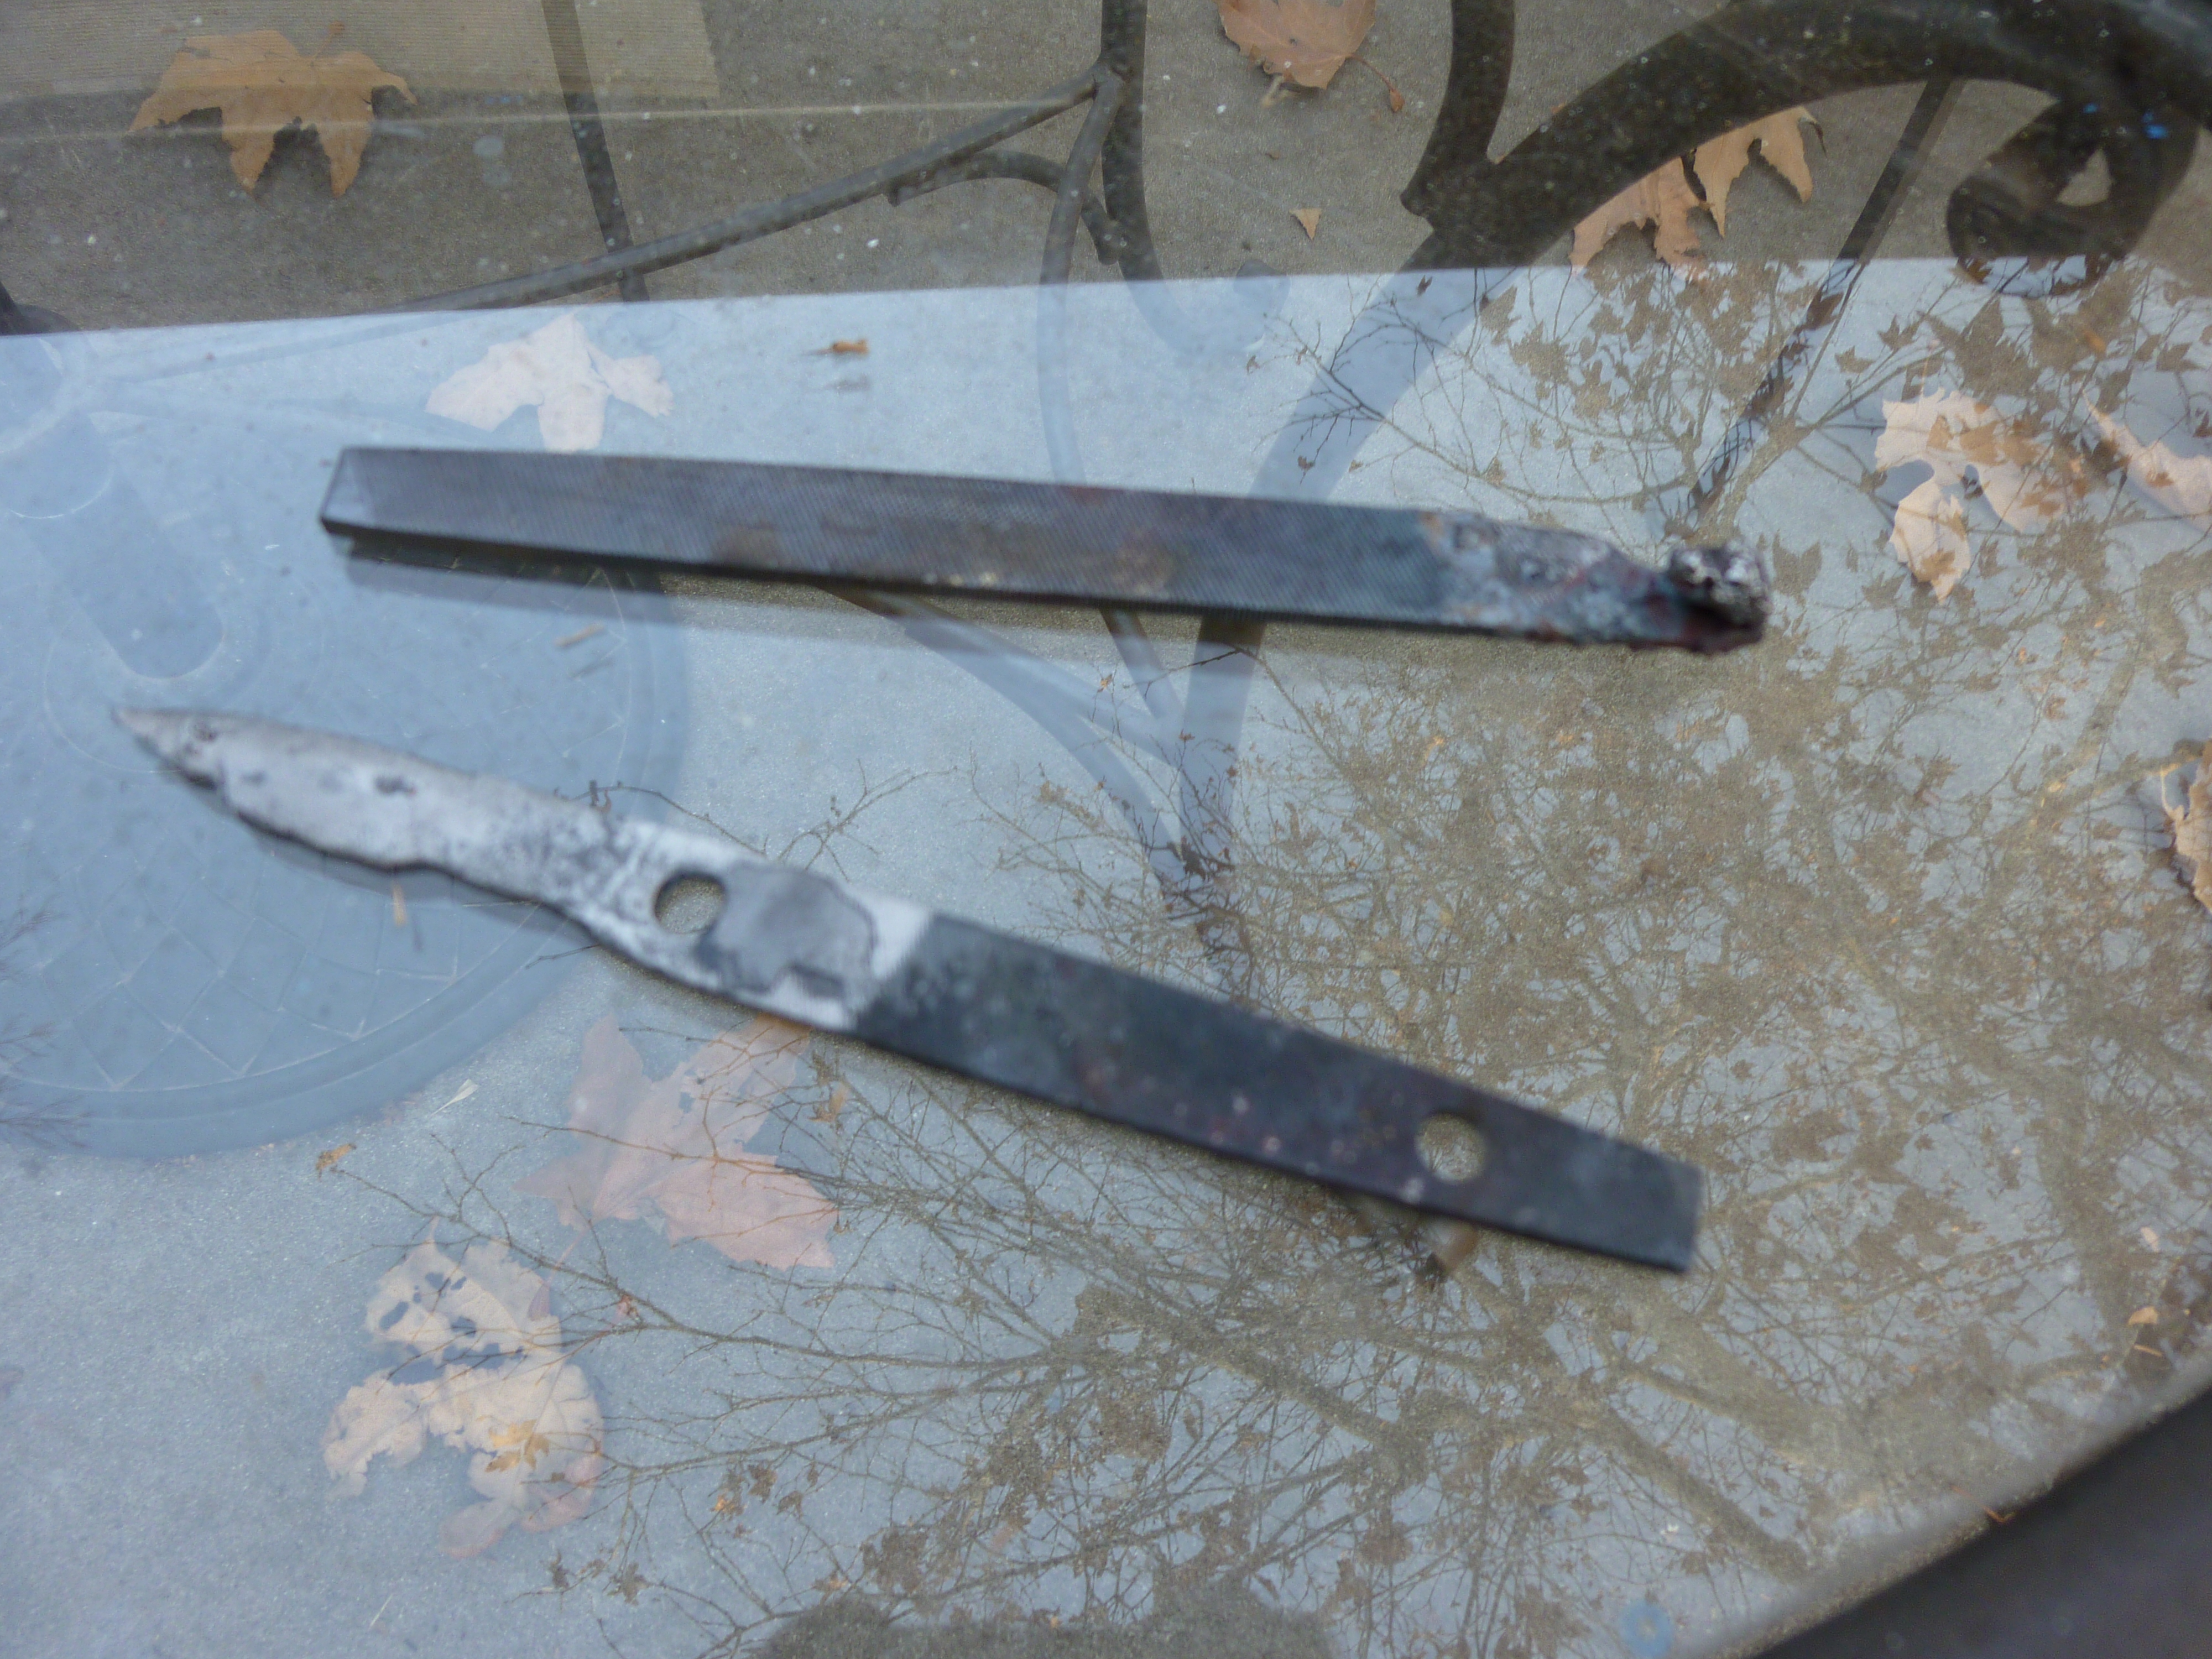
Ruined blades-to-be

Well, that was sad.  time for more testing!

Paint Can Forge Day One: Porta-Pit

The porta-pit of Hell.

I was going to save this post until I had nice scans of my design, cost, instructions and notes on making a knife for a file, and some classy pictures.  However, the cost/awesome ratio of the paint-can forge caught me off guard.

While my total cost for the forge itself was about $50, it could be brought down to maybe $30 by being slightly smarter than I was, and not buying a giant, expensive torch to light the charcoal.

Here is another post-inferno picture:

My setup for annealing

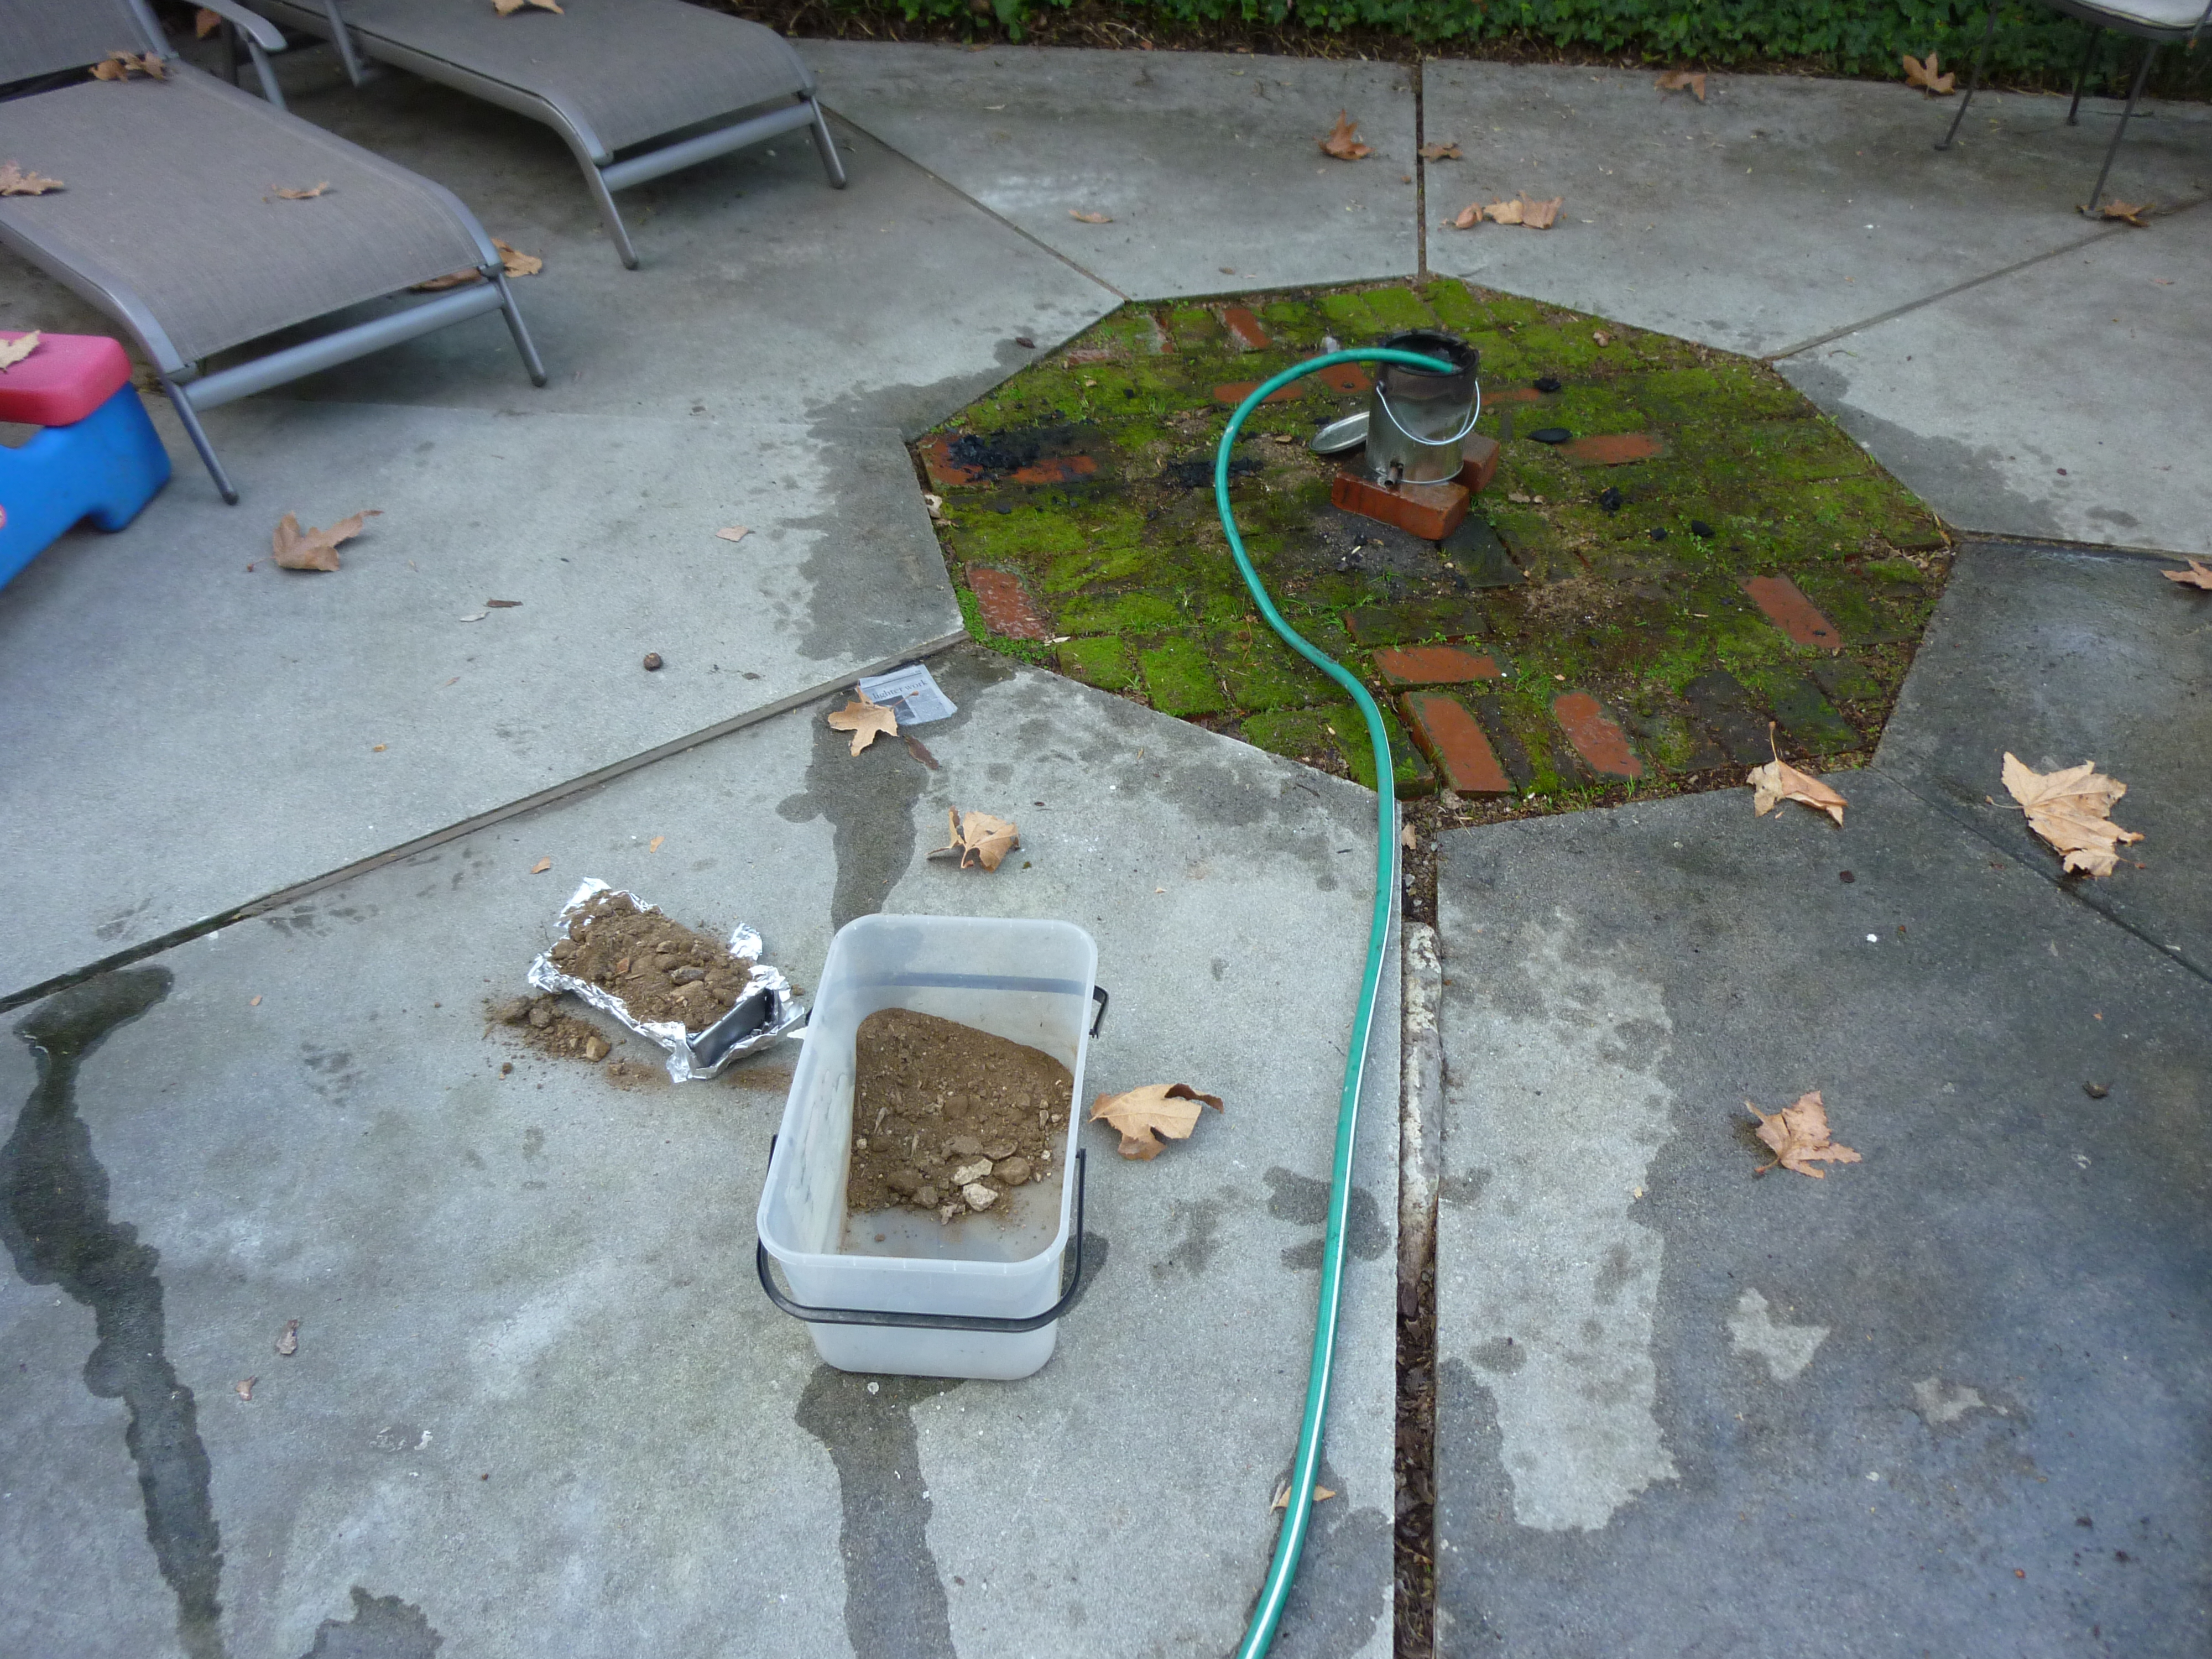
Here is a wider-view of the porta-pit.  The box of dirt is for insulating a file I am annealing, and the hose is cooling off the forge.  The small box of dirt is full of wood ash, dirt, and the file that I heated up to orange.

This thing is pretty awesome.  Details on building will come soon.

Adventure: Kelsey Mine, Part II (In which we actually find The Kelsey)

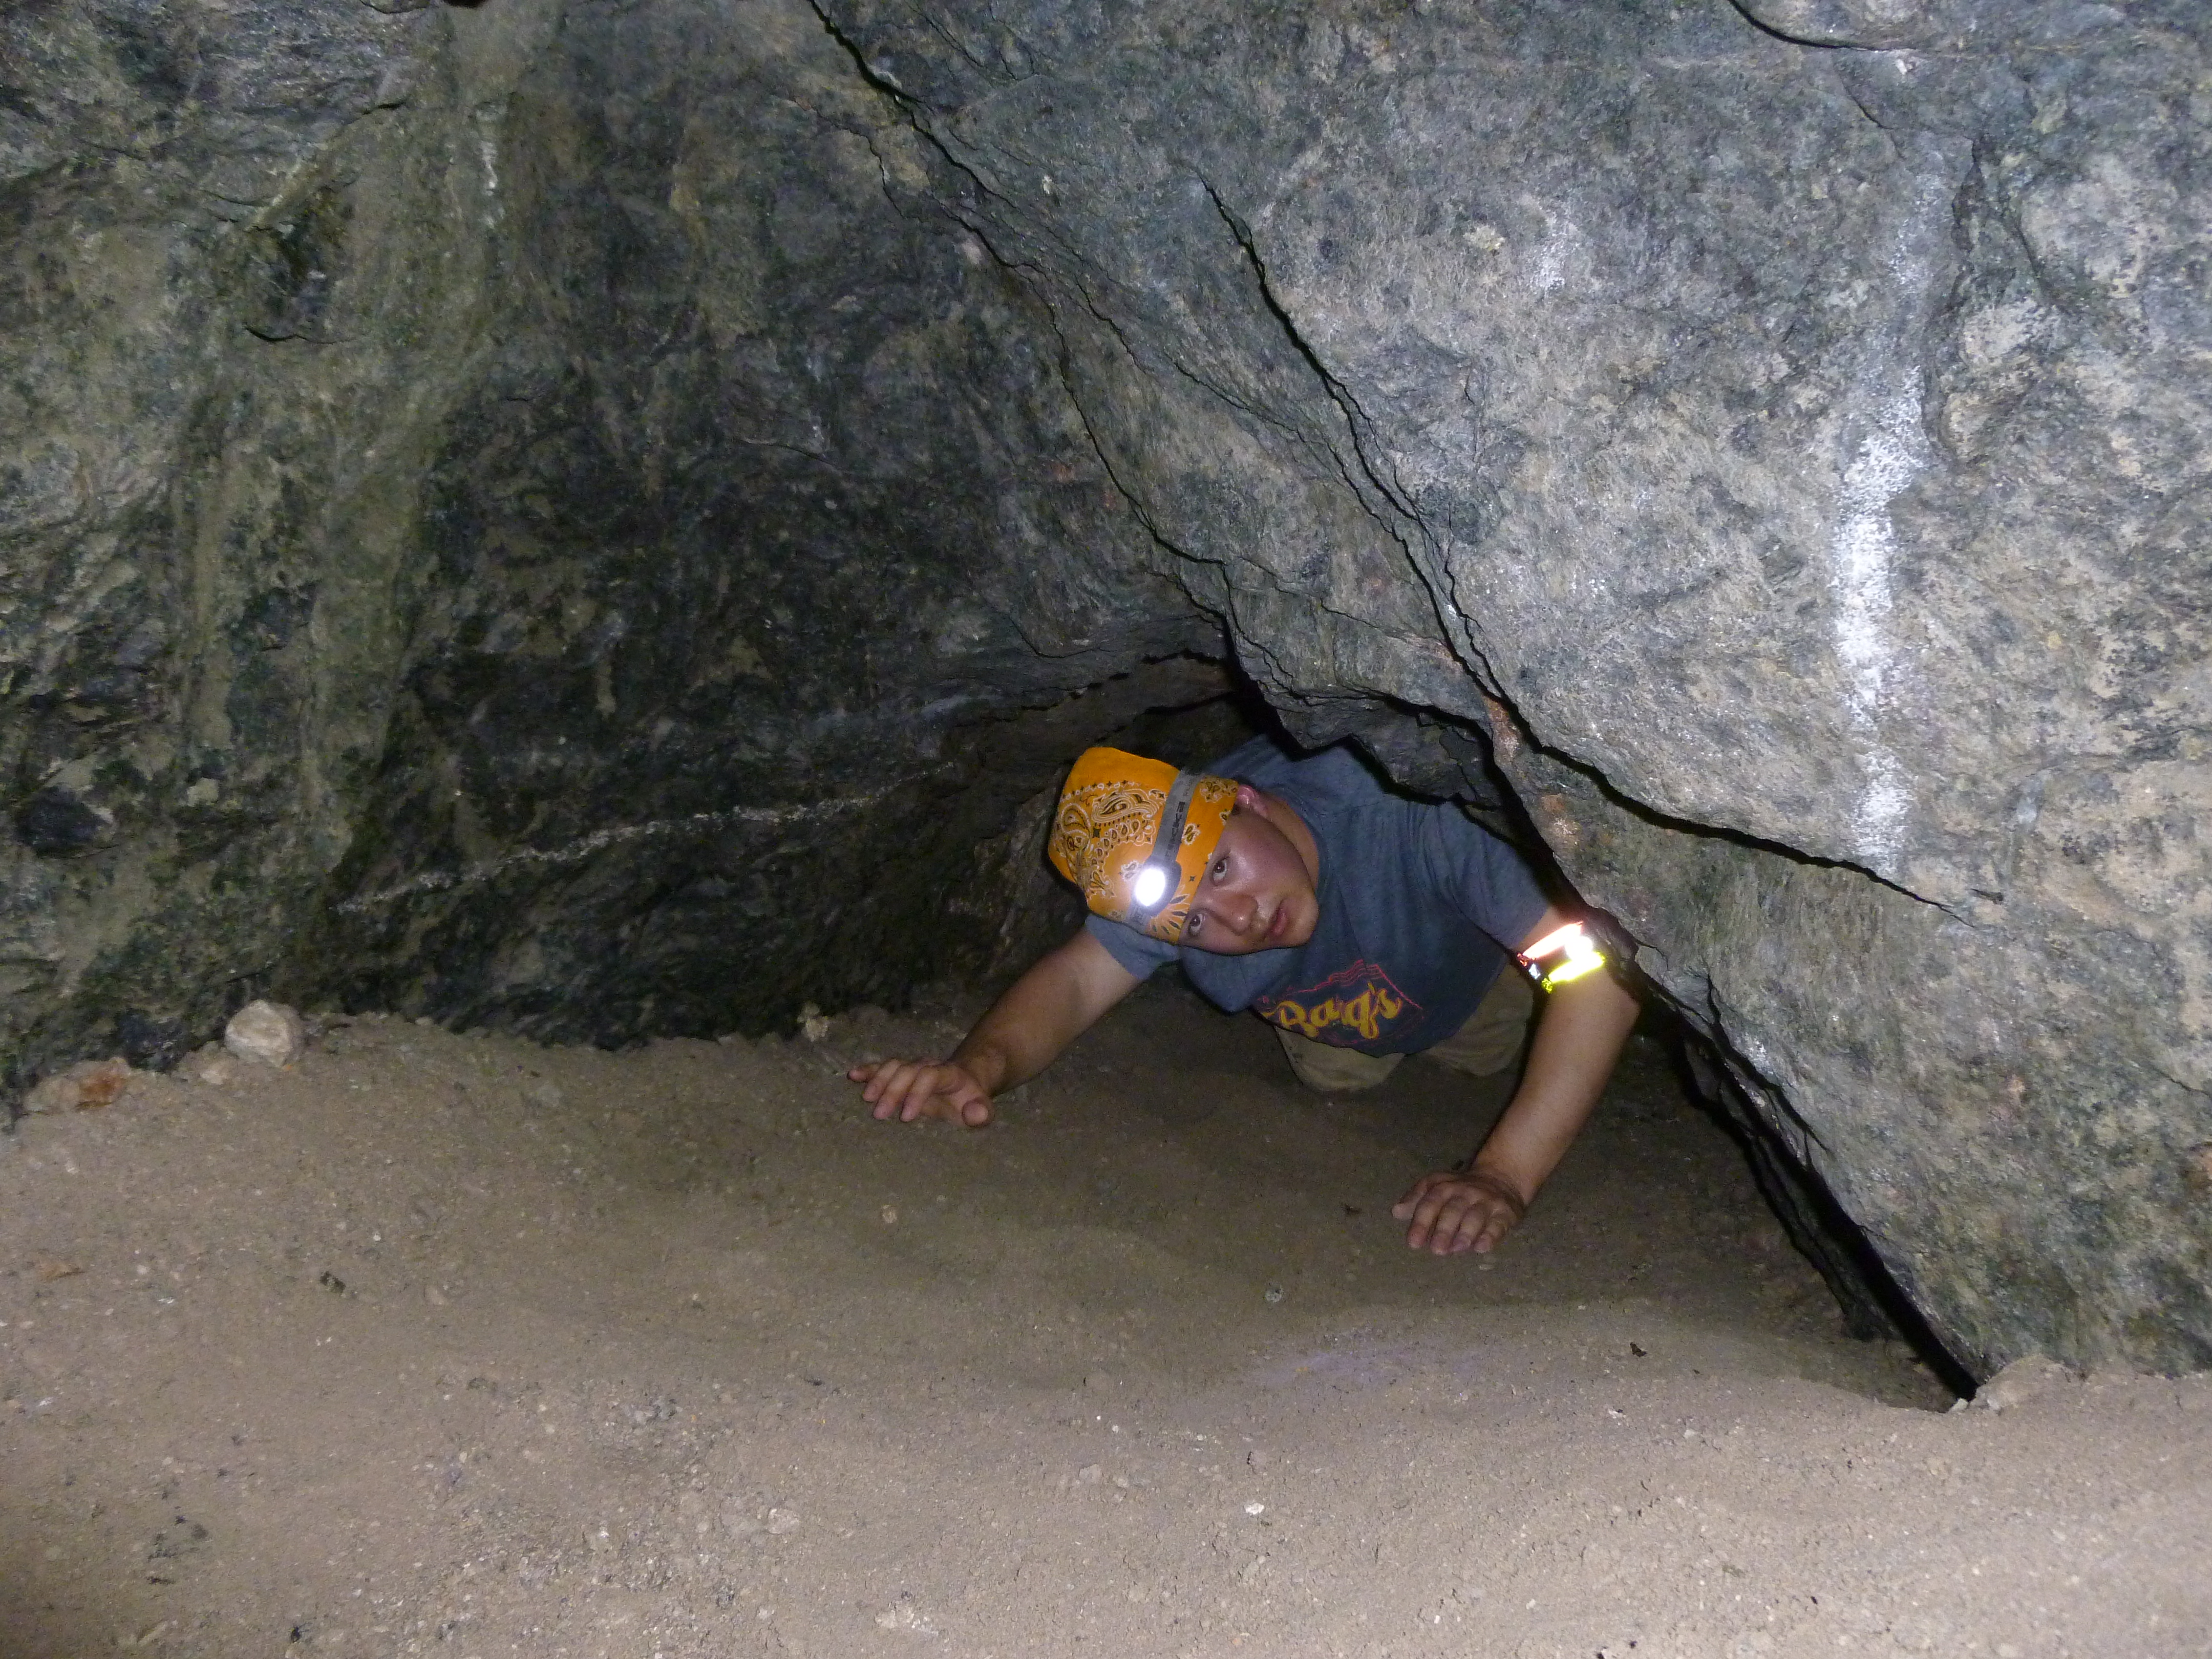
The author crawling out of the bottom passage. Success!

My final trip to the Kelsey mine with Hardee and my brother was successful.  There were several reasons for this:

  • Time.  We started out around 9am and did not return to the car until sunset, around 5pm.  We had barely enough time, and you can never have too much daylight.  START EARLY.
  • Equipment.  We had good hiking clothes, good shoes, water, snacks, spare socks, LOTS OF LIGHTS*, and a medium sized knife for cutting away those spiky vines.  We also had a first aid kit.

*You can never, ever have too many flashlights in a mine.  It is 100% dark in a mine, and the small pool of light created by a flashlight is your only way to navigate, unless you are a bat.  I like to bring an headlight and several flashlights with me, just in case.

Some equipment was unnecessary and only slowed us down.  My brother insisted on bringing a huge stack of rope (of unknown origin) and assorted other 30 year old climbing equipment JUST IN CASE.  You know, because it is safer to rap down a waterfall with no training than to just climb back down.  The only real use for this rope was zip-lining his bag-o-crap down the falls so he didn’t fall down carrying it.

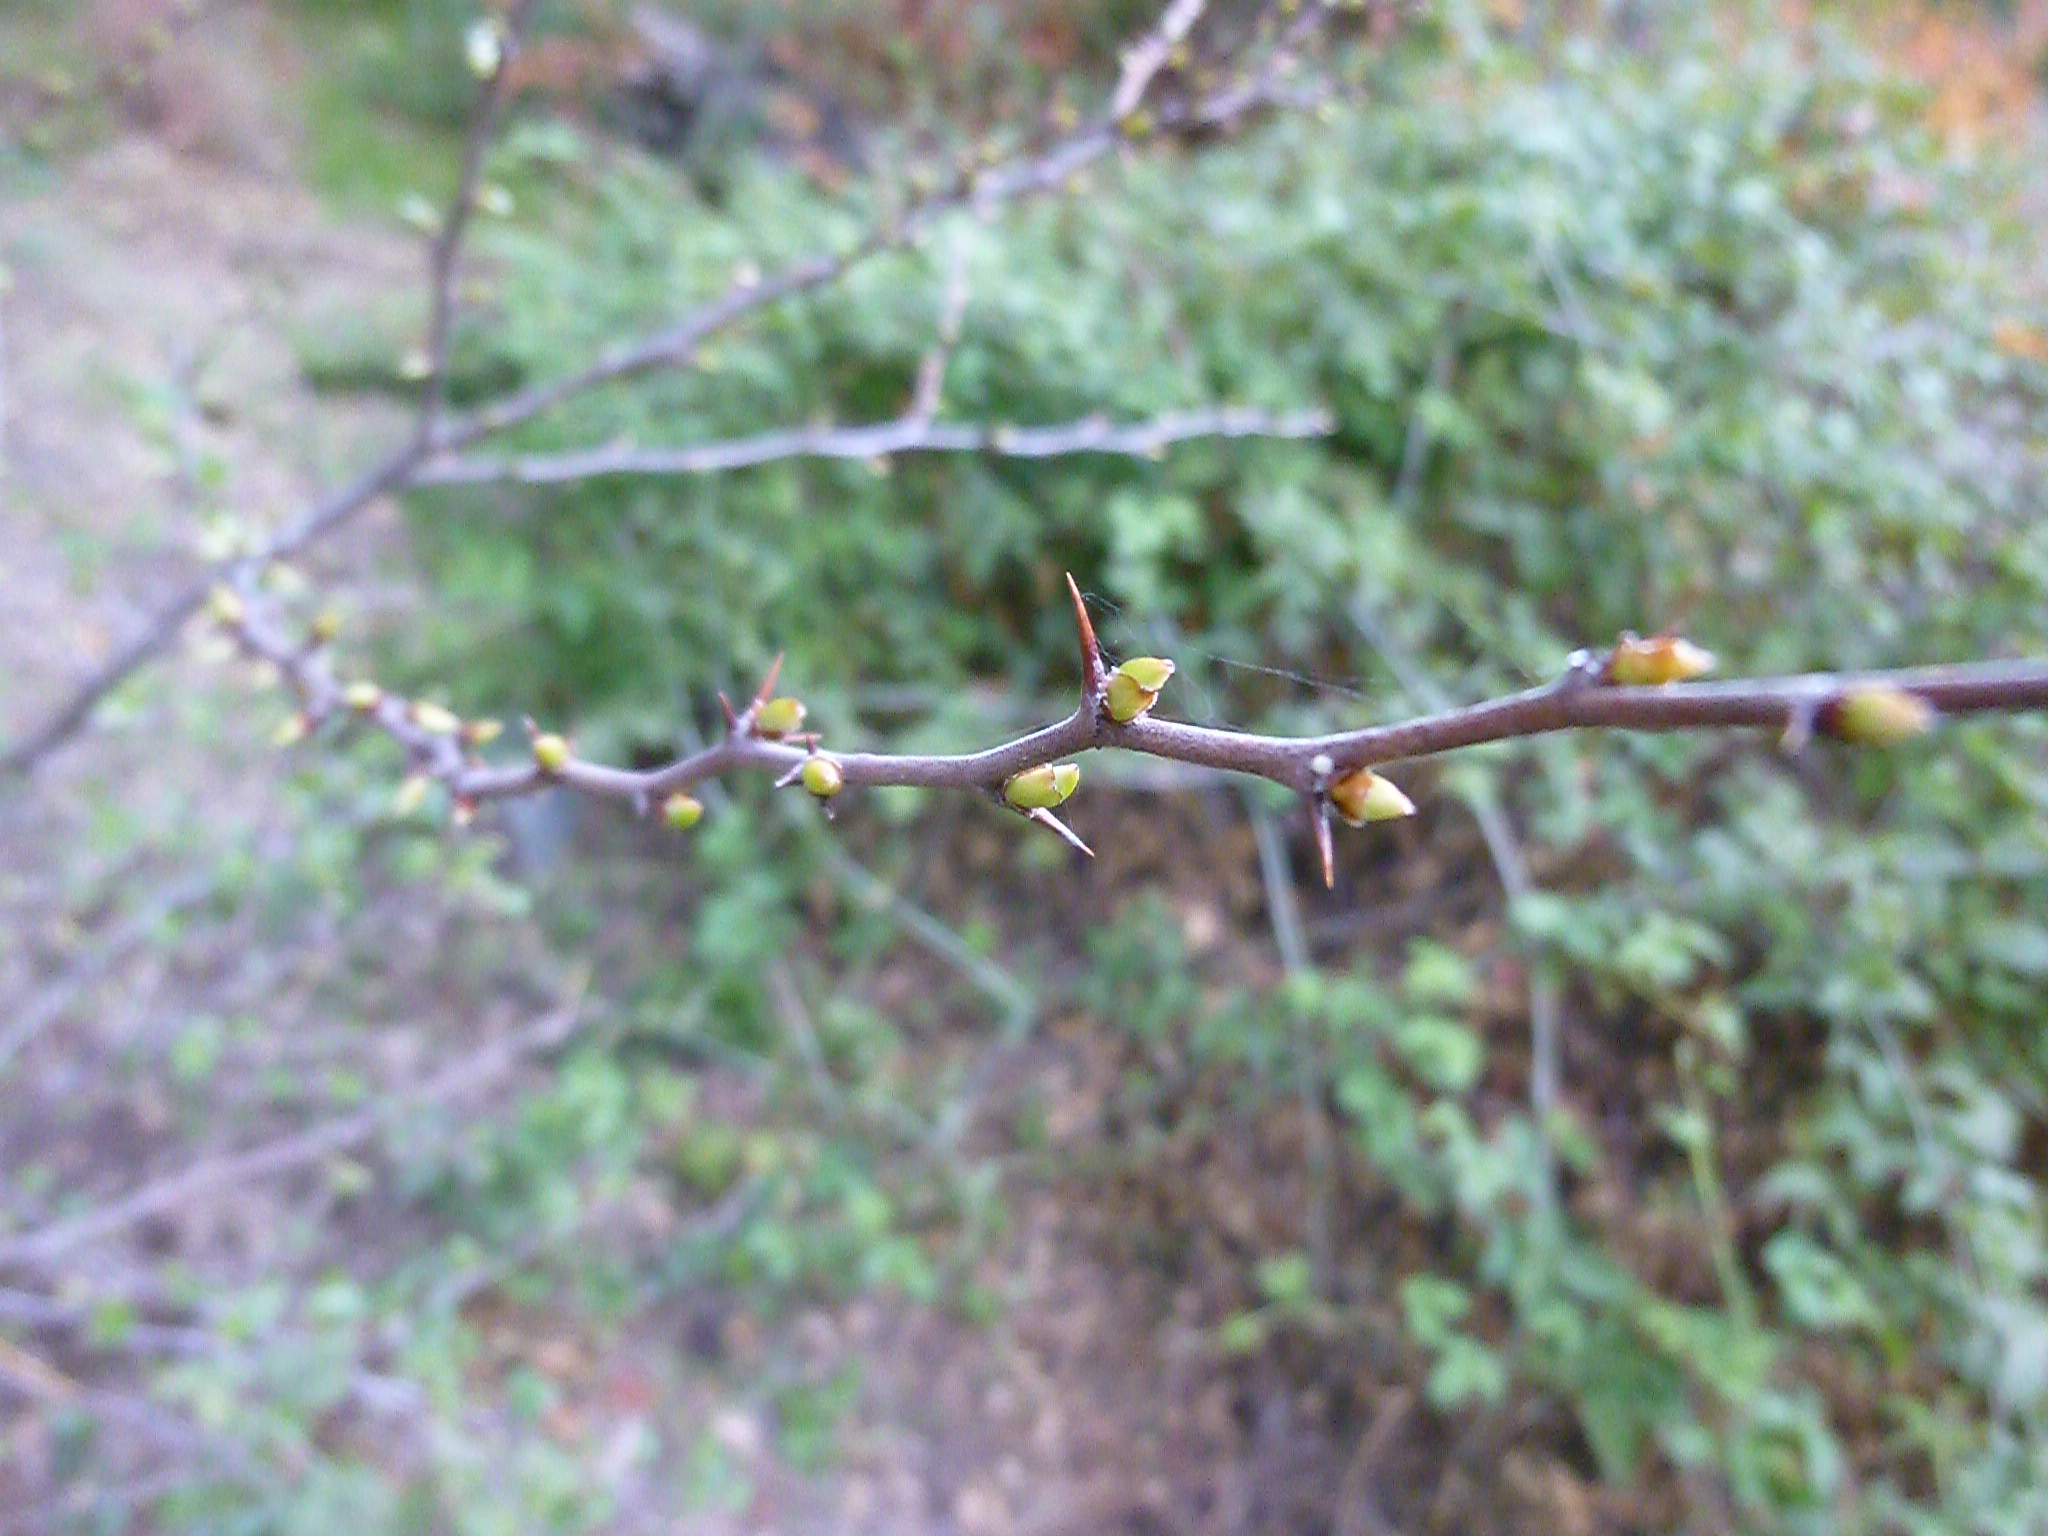
Spiky bushes- watch out!

The major hazards encountered en route to the mine were poison oak, thorny bushes, spiky plants, several very dramatically thin trails with large falls where the truck road appears to have been washed out, and several very unstable creek banks that had to be climbed on.  Hazards inside of the mine include a large, ~3 foot deep pit that that can easily be avoided, and a very steep shaft that leads down to two low crawls, as well as very cold water, LOW CEILINGS and possibly some kind of rotting vegetative mass.

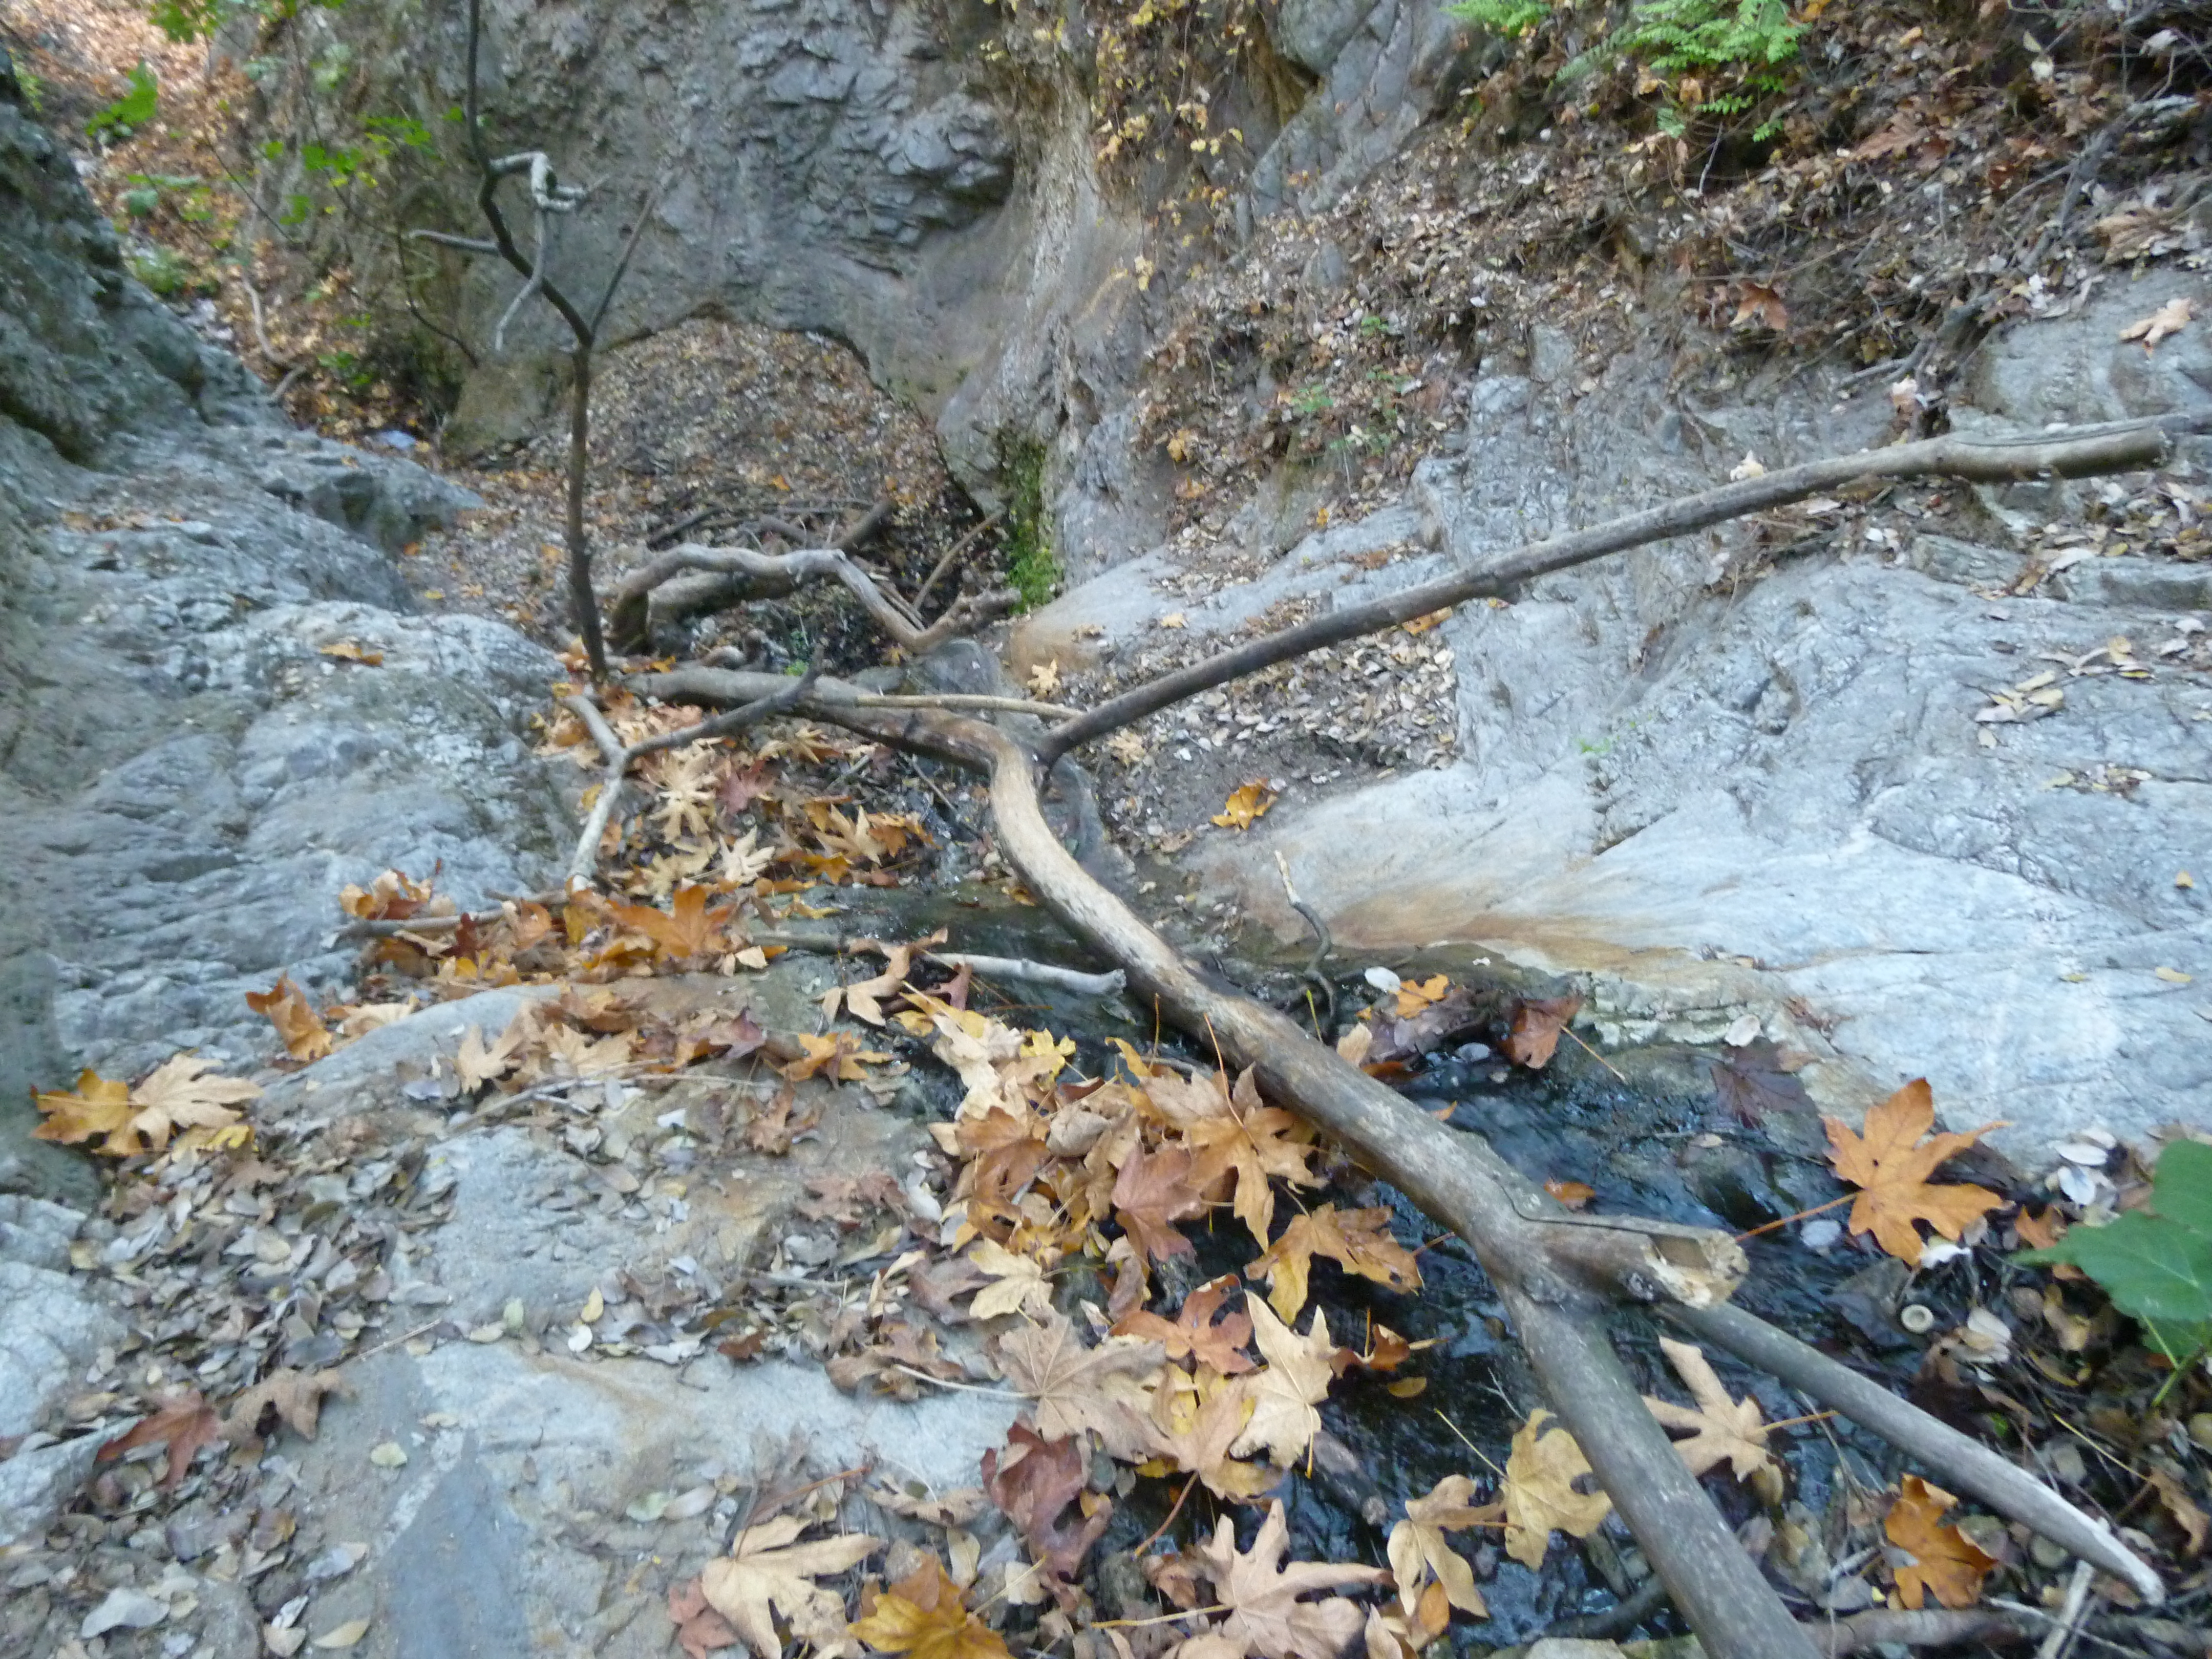
We traveled up silver fish truck road until there was a sharp bend to the left, and then dropped into stream bed to our right.  The soil here on the descent was decently packed, and we eventually got to the bottom.  There were signs of habitation or camping in this area, but from a long time ago.  We headed downstream, until it was possible to clamber up on the opposite bank.  The top of the opposite bank had an old mattress on it.  I can’t imagine hauling that up there; maybe it was back in the days of the truck road.  From the opposite bank we could hear water, and we descended the opposite side of the bank to a flowing stream.  This, I believe, was water canyon.  We crossed the stream here, and continued to trek upstream for quite a while.  The going was slow and involved many steep and unstable creek sides, thorny bushes, and possibly poison oak.  Eventually we arrived at the first waterfall.  The remains of an old wooden ladder are here; we are unsure of who constructed it.

Hardee climbs the first waterfall.


Here began the waterfall climbing.  There are three falls to need to climb to get to the mine.  You definitely want to keep to the left side of the canyon as you head upstream, because it does branch once and the right fork is not the right way to go!  I suspected that we had reached the mine when the next waterfall was too tall to comfortably climb, and there was large, loose talus, possibly made of mine tailings, to our right (we were headed upstream).

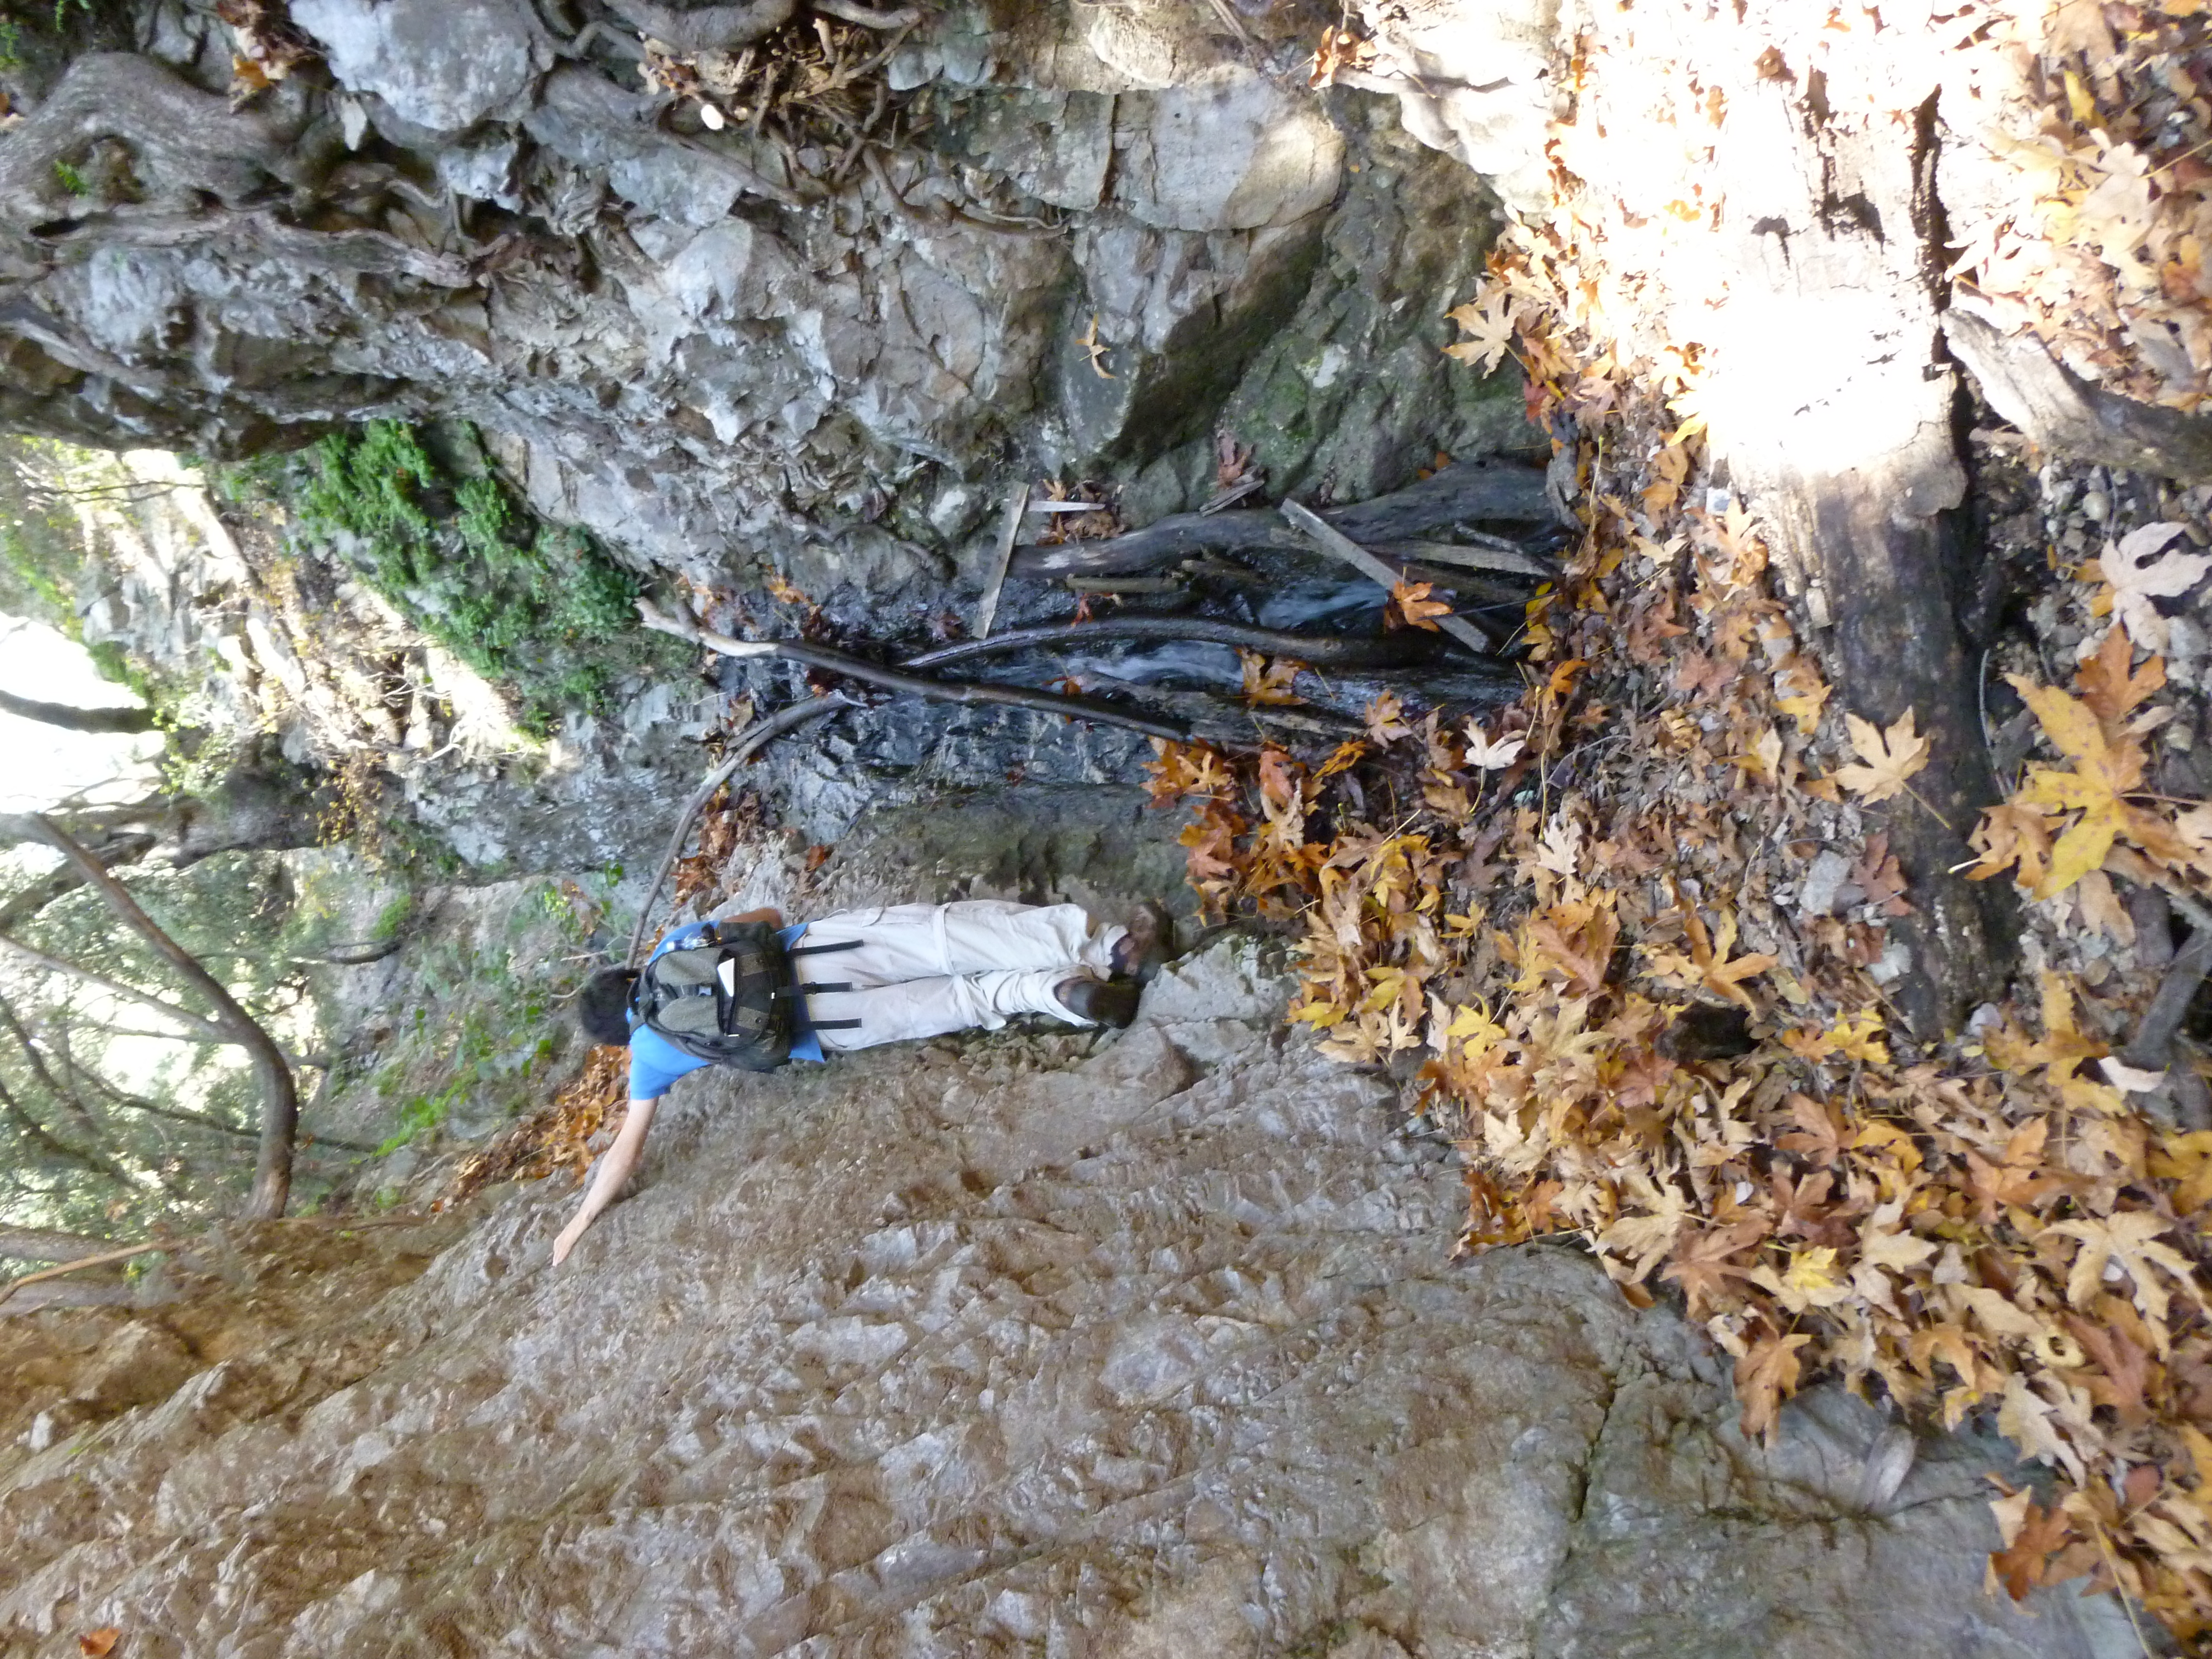
The view from the top of the second falls. The steep, narrow path on the left of the photo appears to be cut out of the rock, and was our ascent route.

After scrambling up the talus, I found the very obvious mine entrance.  There was another entrance or possibly an exploratory tunnel nearby; it did not appear to go anywhere.  The entrance was typically too short for me to stand up in, dark, and unsurprisingly dry, probably due to its elevation above the creek.  After donning our headlamps, grabbing our torches and our map, we were set to enter the mine.  As always, we left our non-essential equipment outside, so we wouldn’t loose it in the mine.

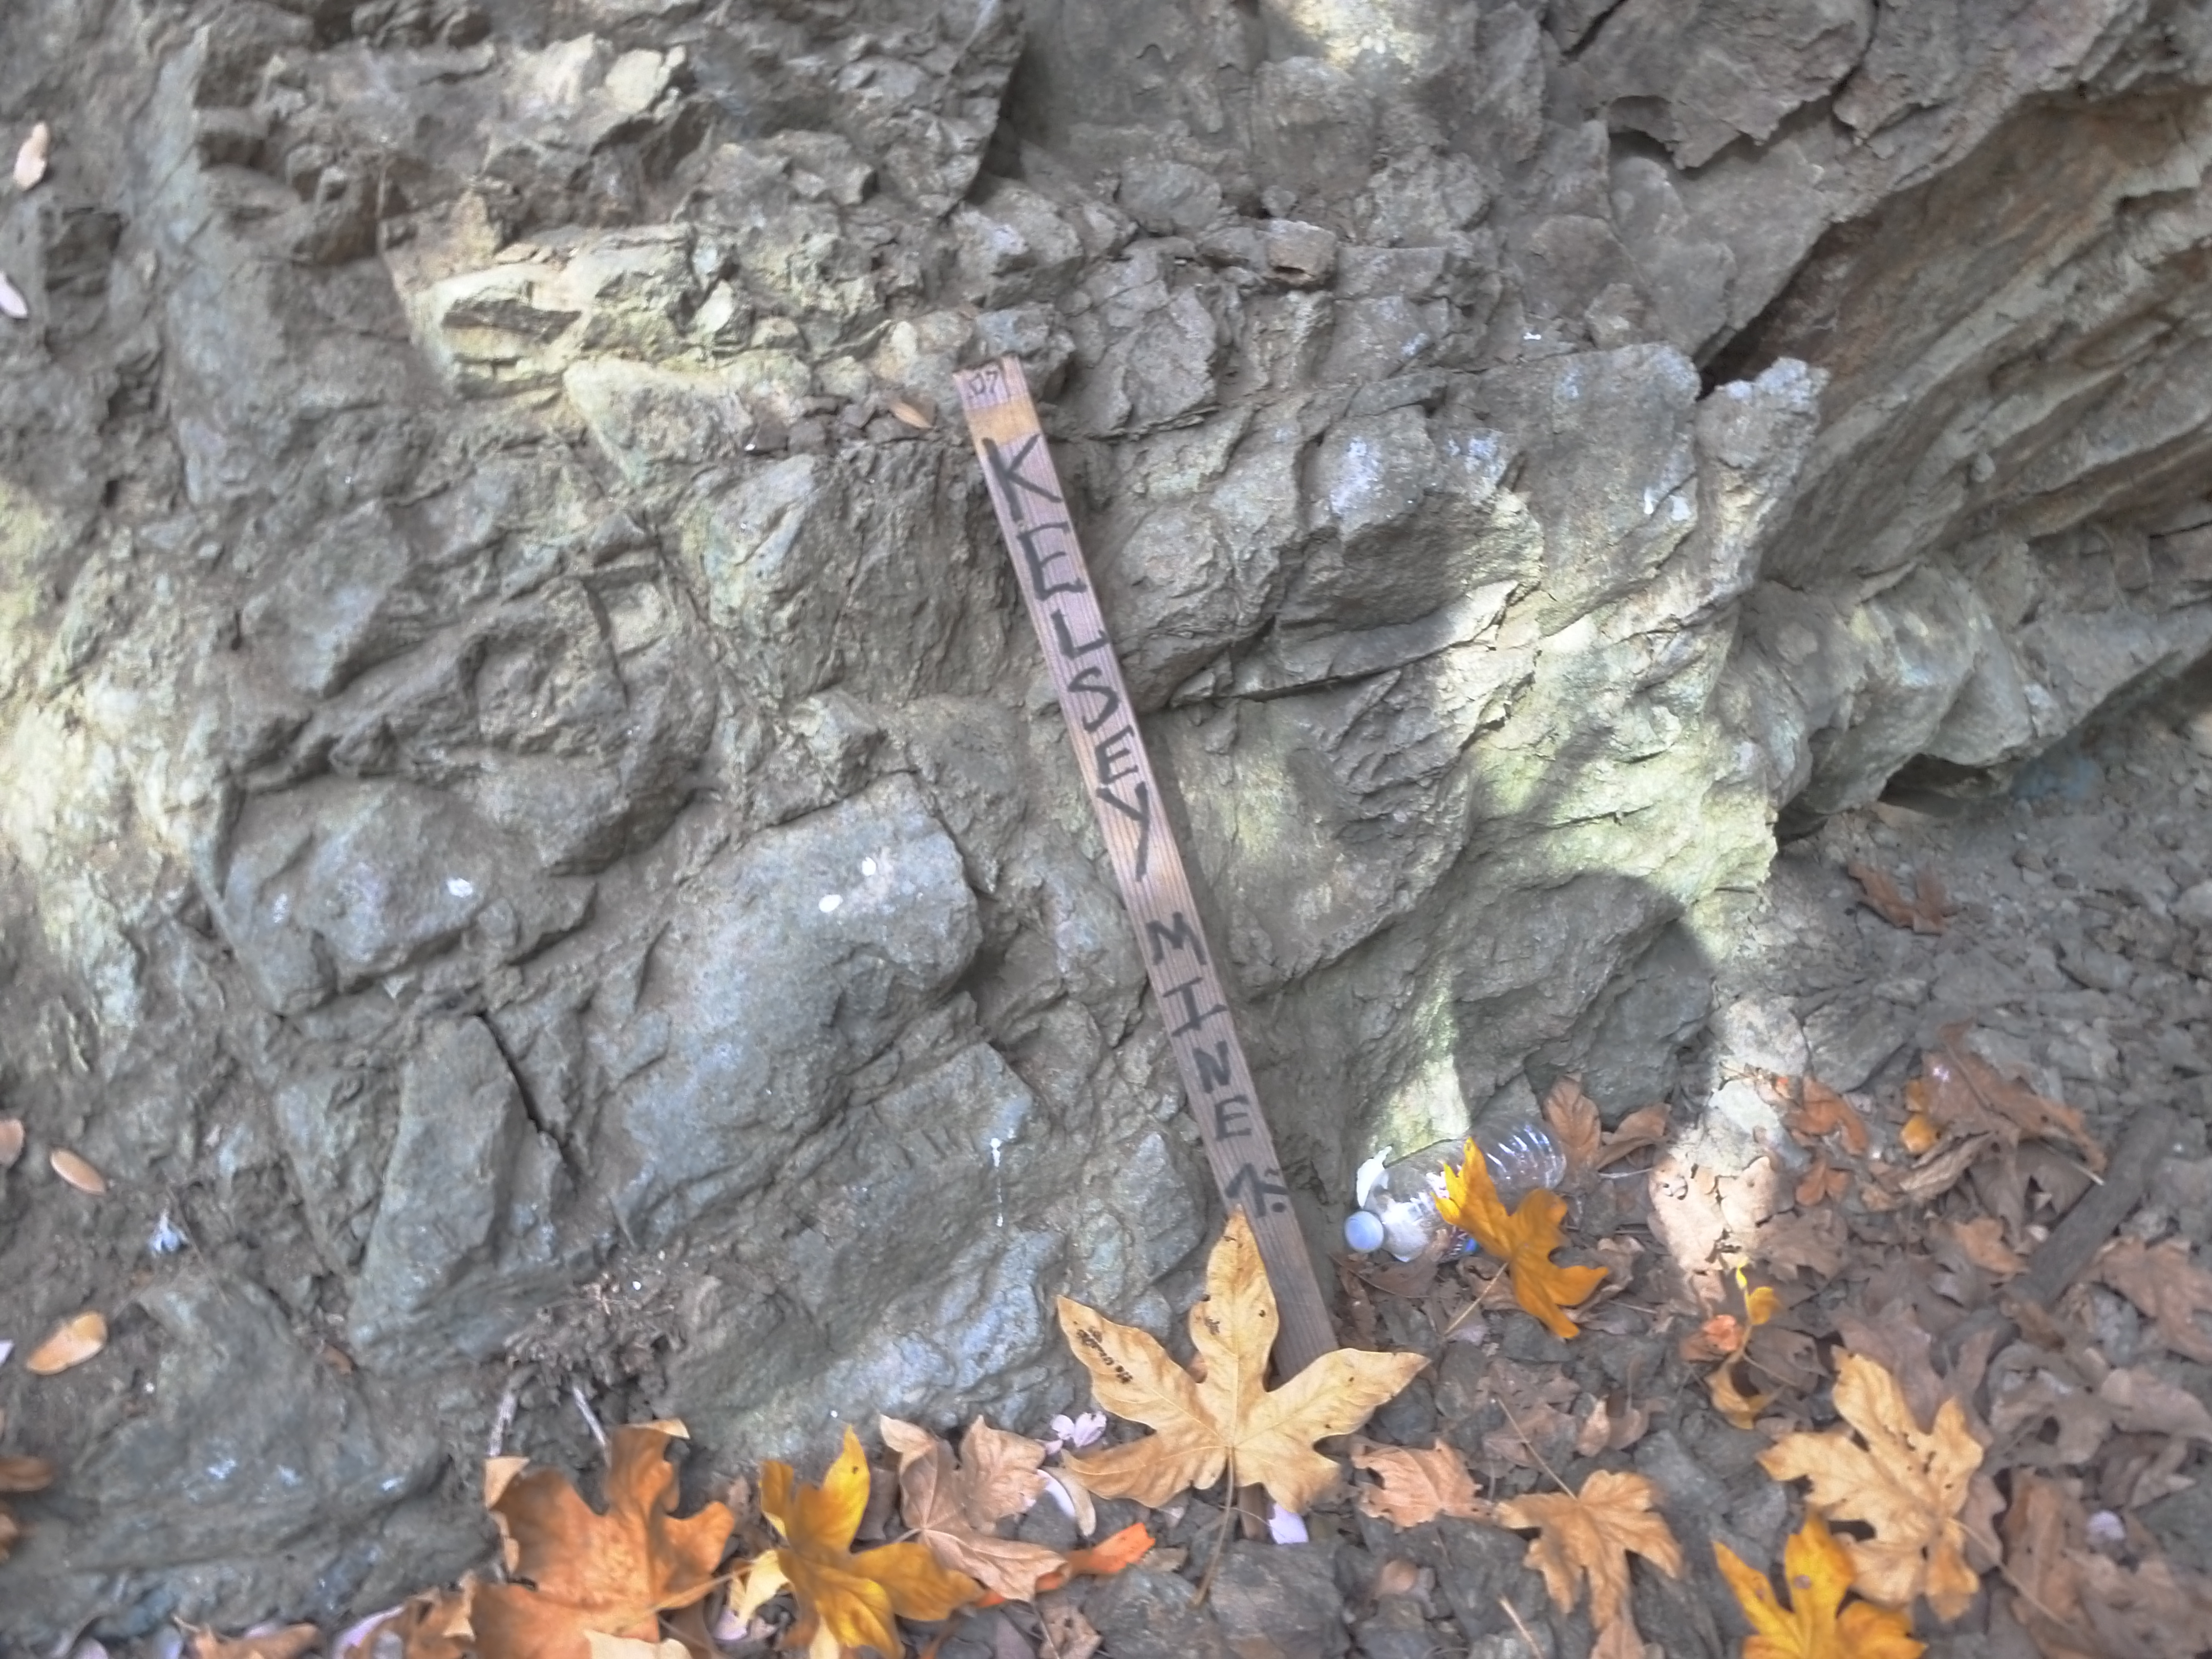
Sign posted outside of the enterance. Ought to say “MINERS MUST BE THIS TALL TO RIDE THE ORE CART”. Watch your head!

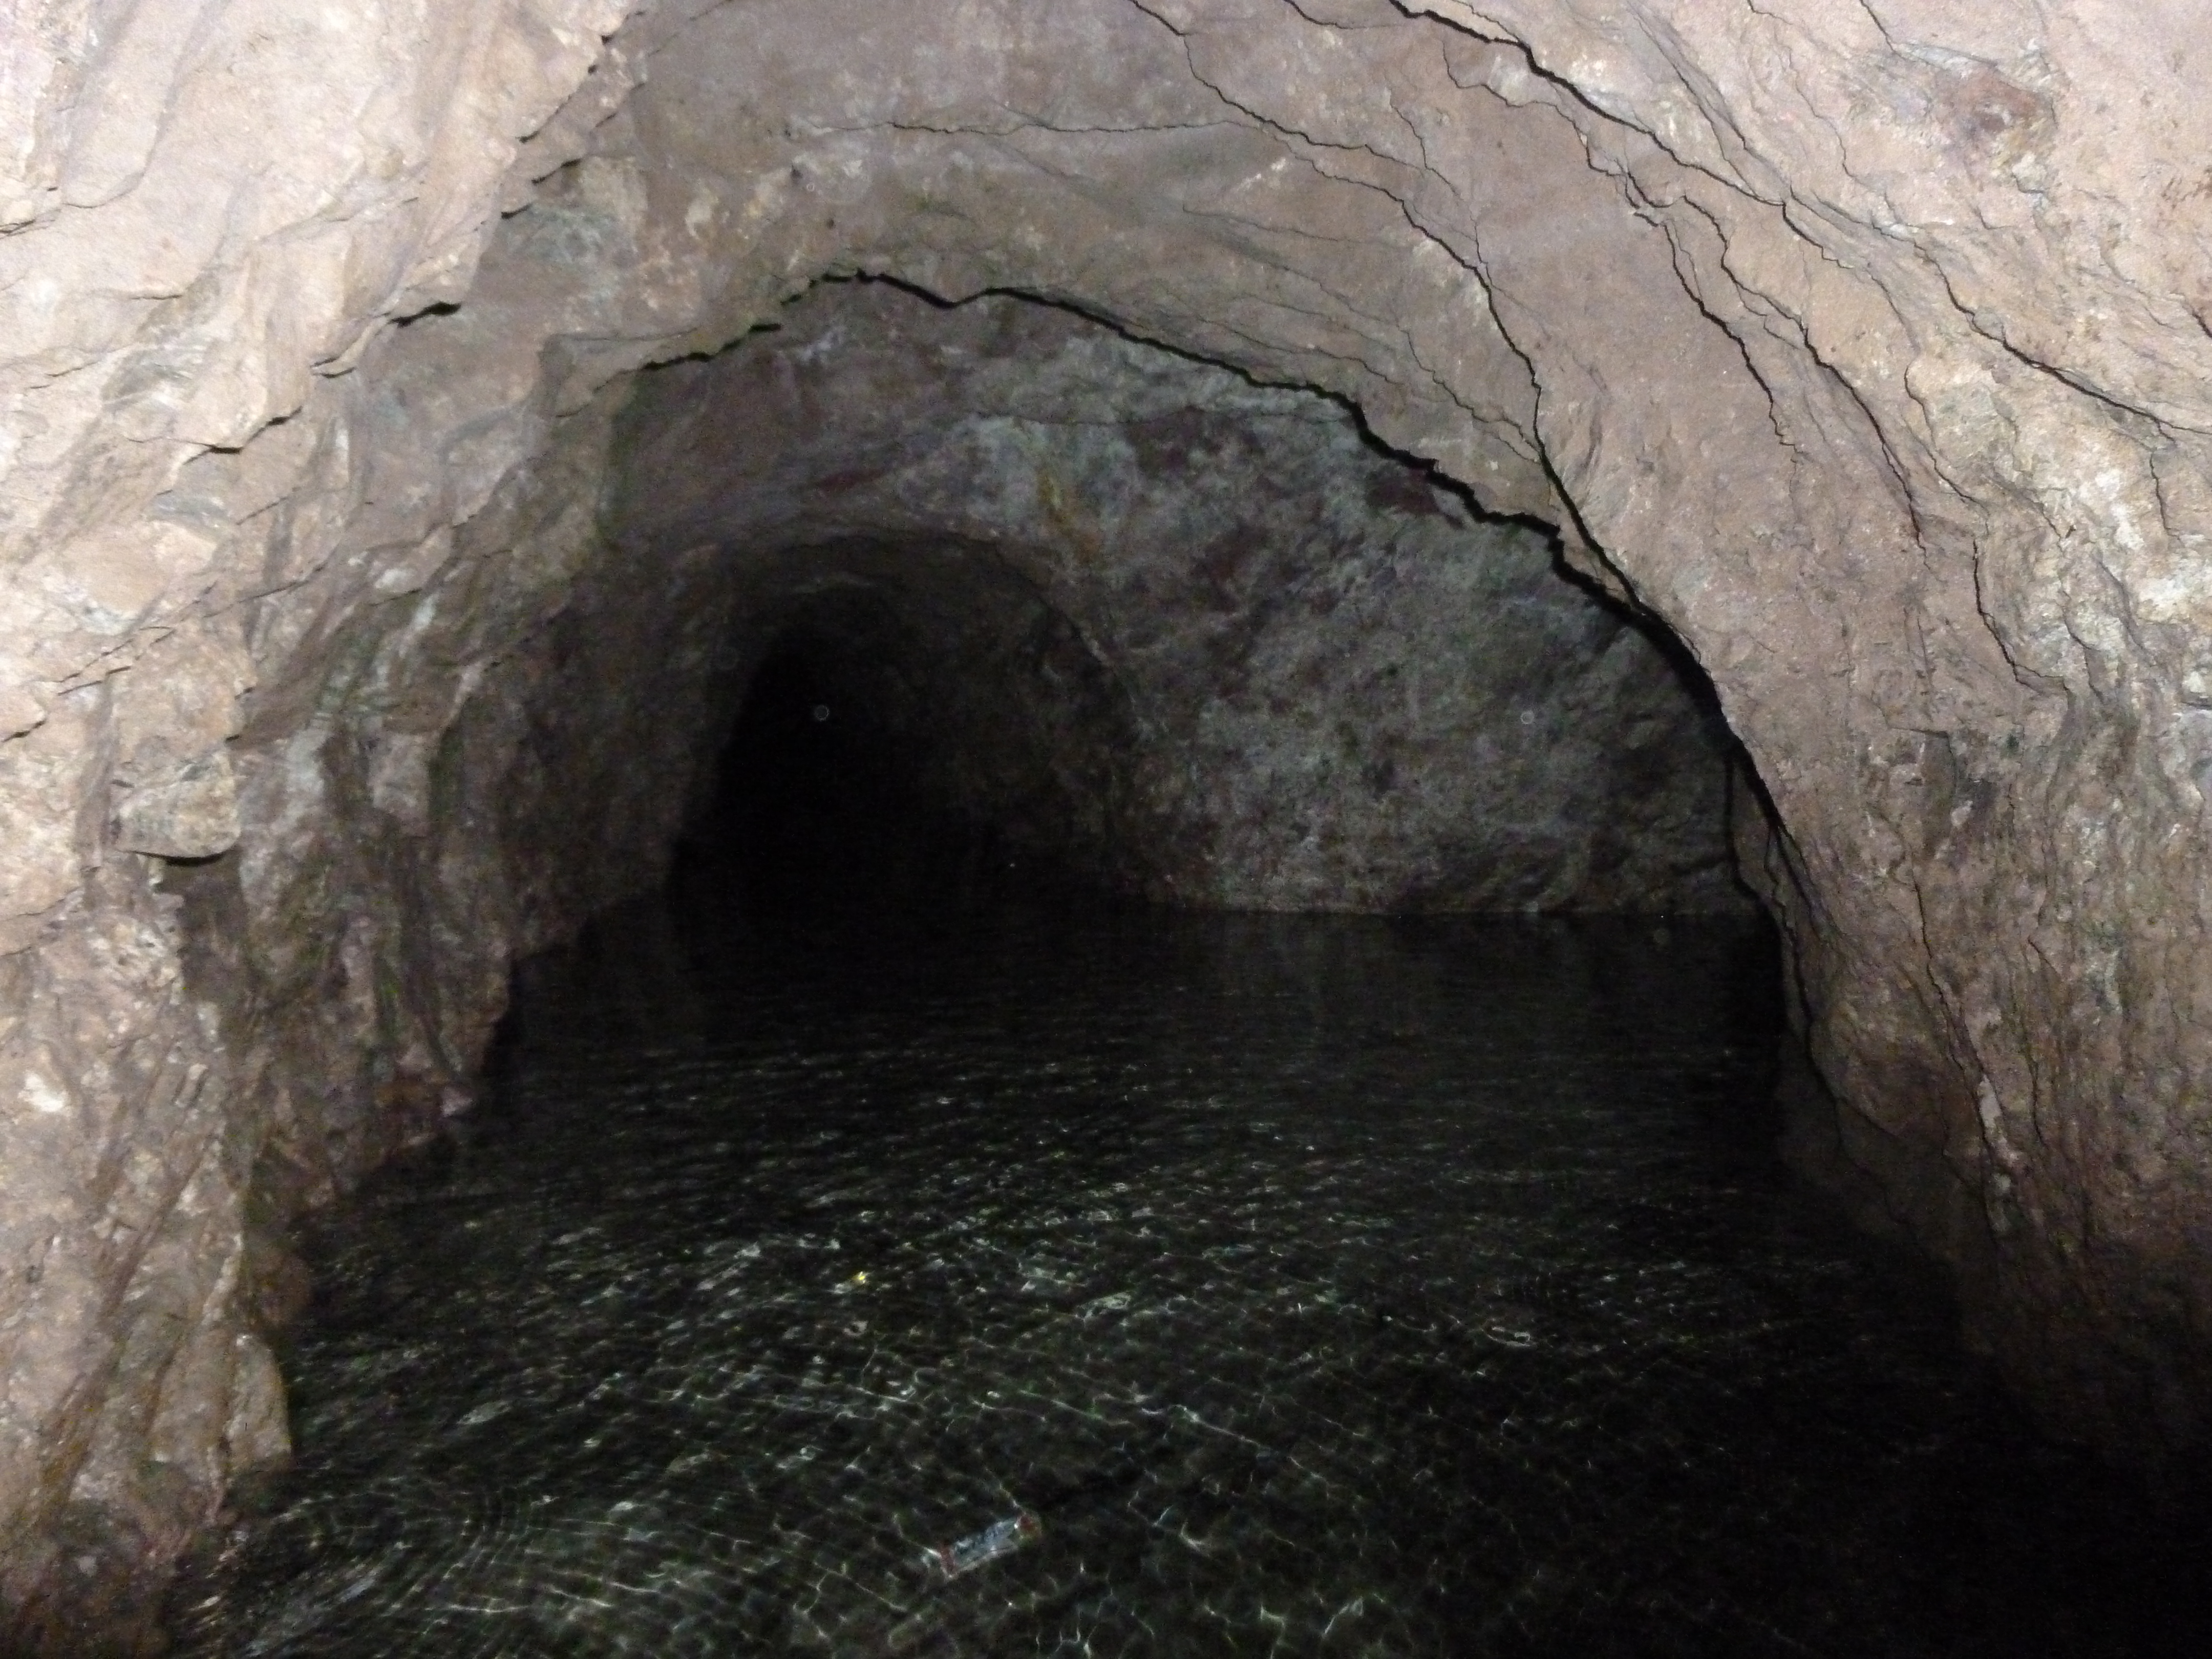
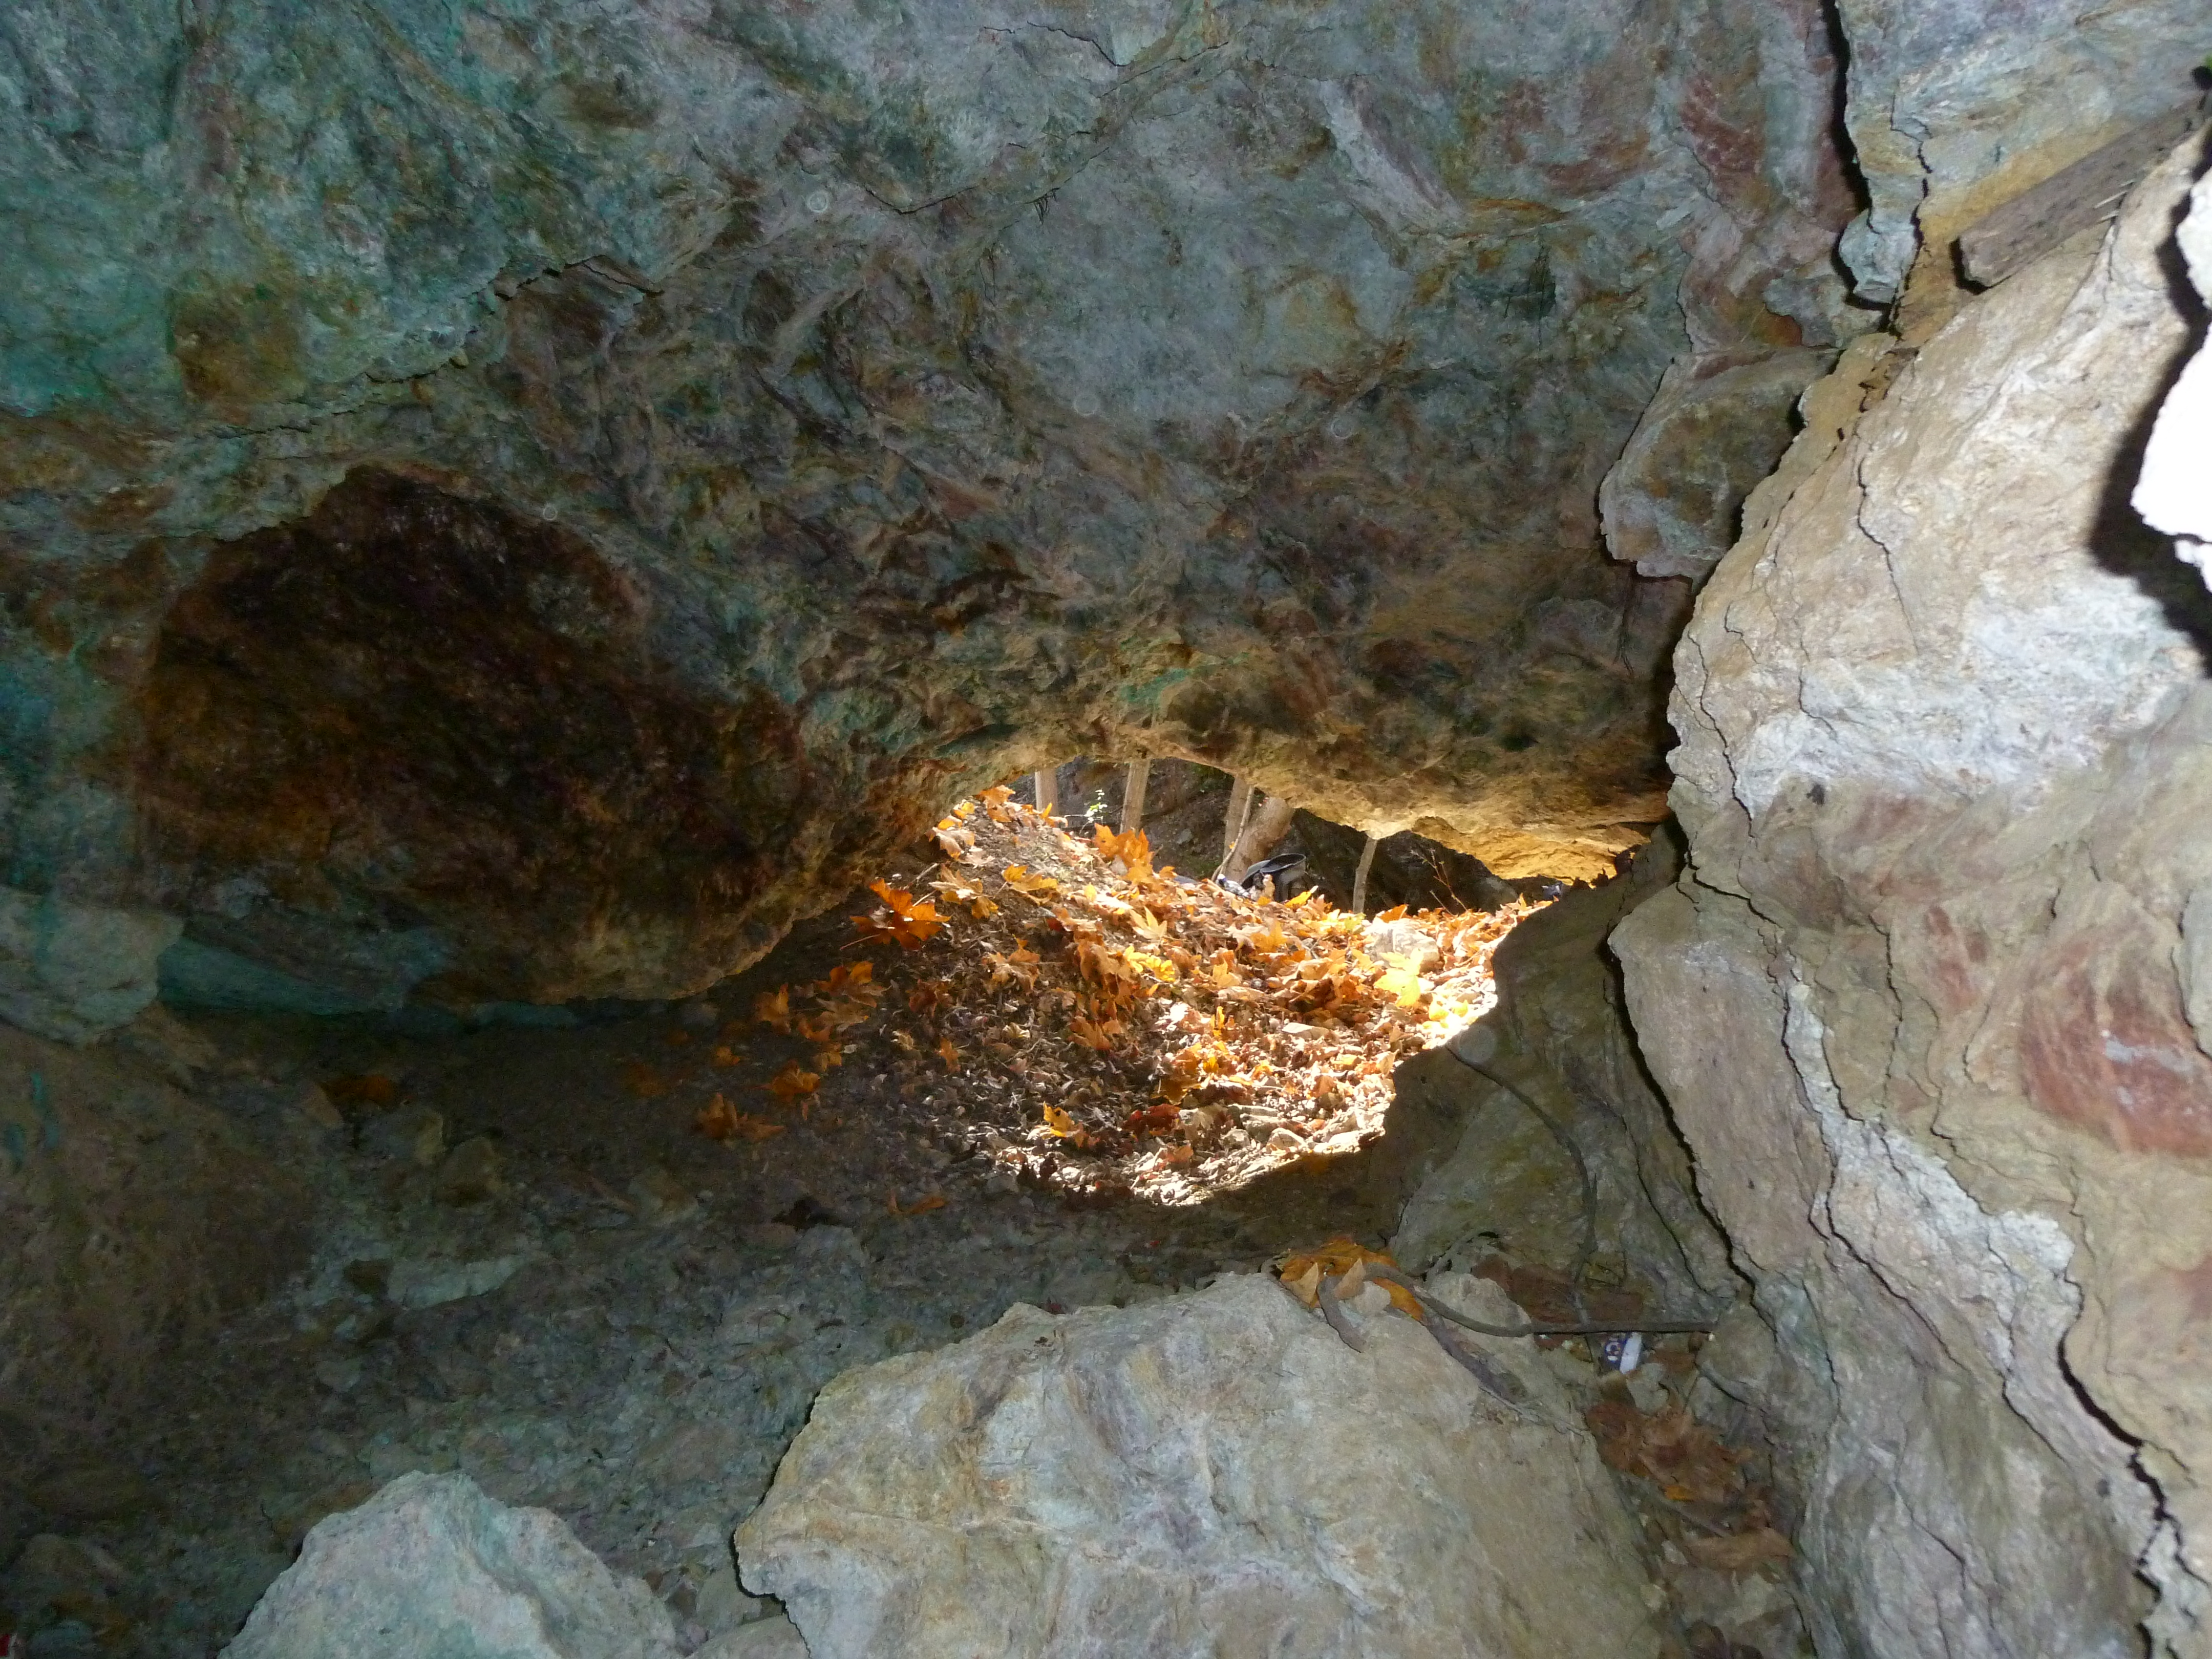
The mine is pleasantly complex, with two levels, a steep shaft, several branches, a high ceiling or two.  Unfortunately there was a lot of litter and graffiti, Compared to what I normally see.  Judging by the (empty) case of bud, the giant neon orange “420”, and the numerous beer bottles, there has been at least one party there.  This was surprising, because of how difficult it was to get to.  Maybe this was not always the case, or maybe there were more ladders in the past.  I think the most fun part of the mine is the lower level.  I got a little claustrophobic, but it was magical to crawl through a low passage and discover a flooded passage, full of freezing, crystal clear water, inside of a mountain.

The flooded passage. Difficult to photograph, but very beautiful.

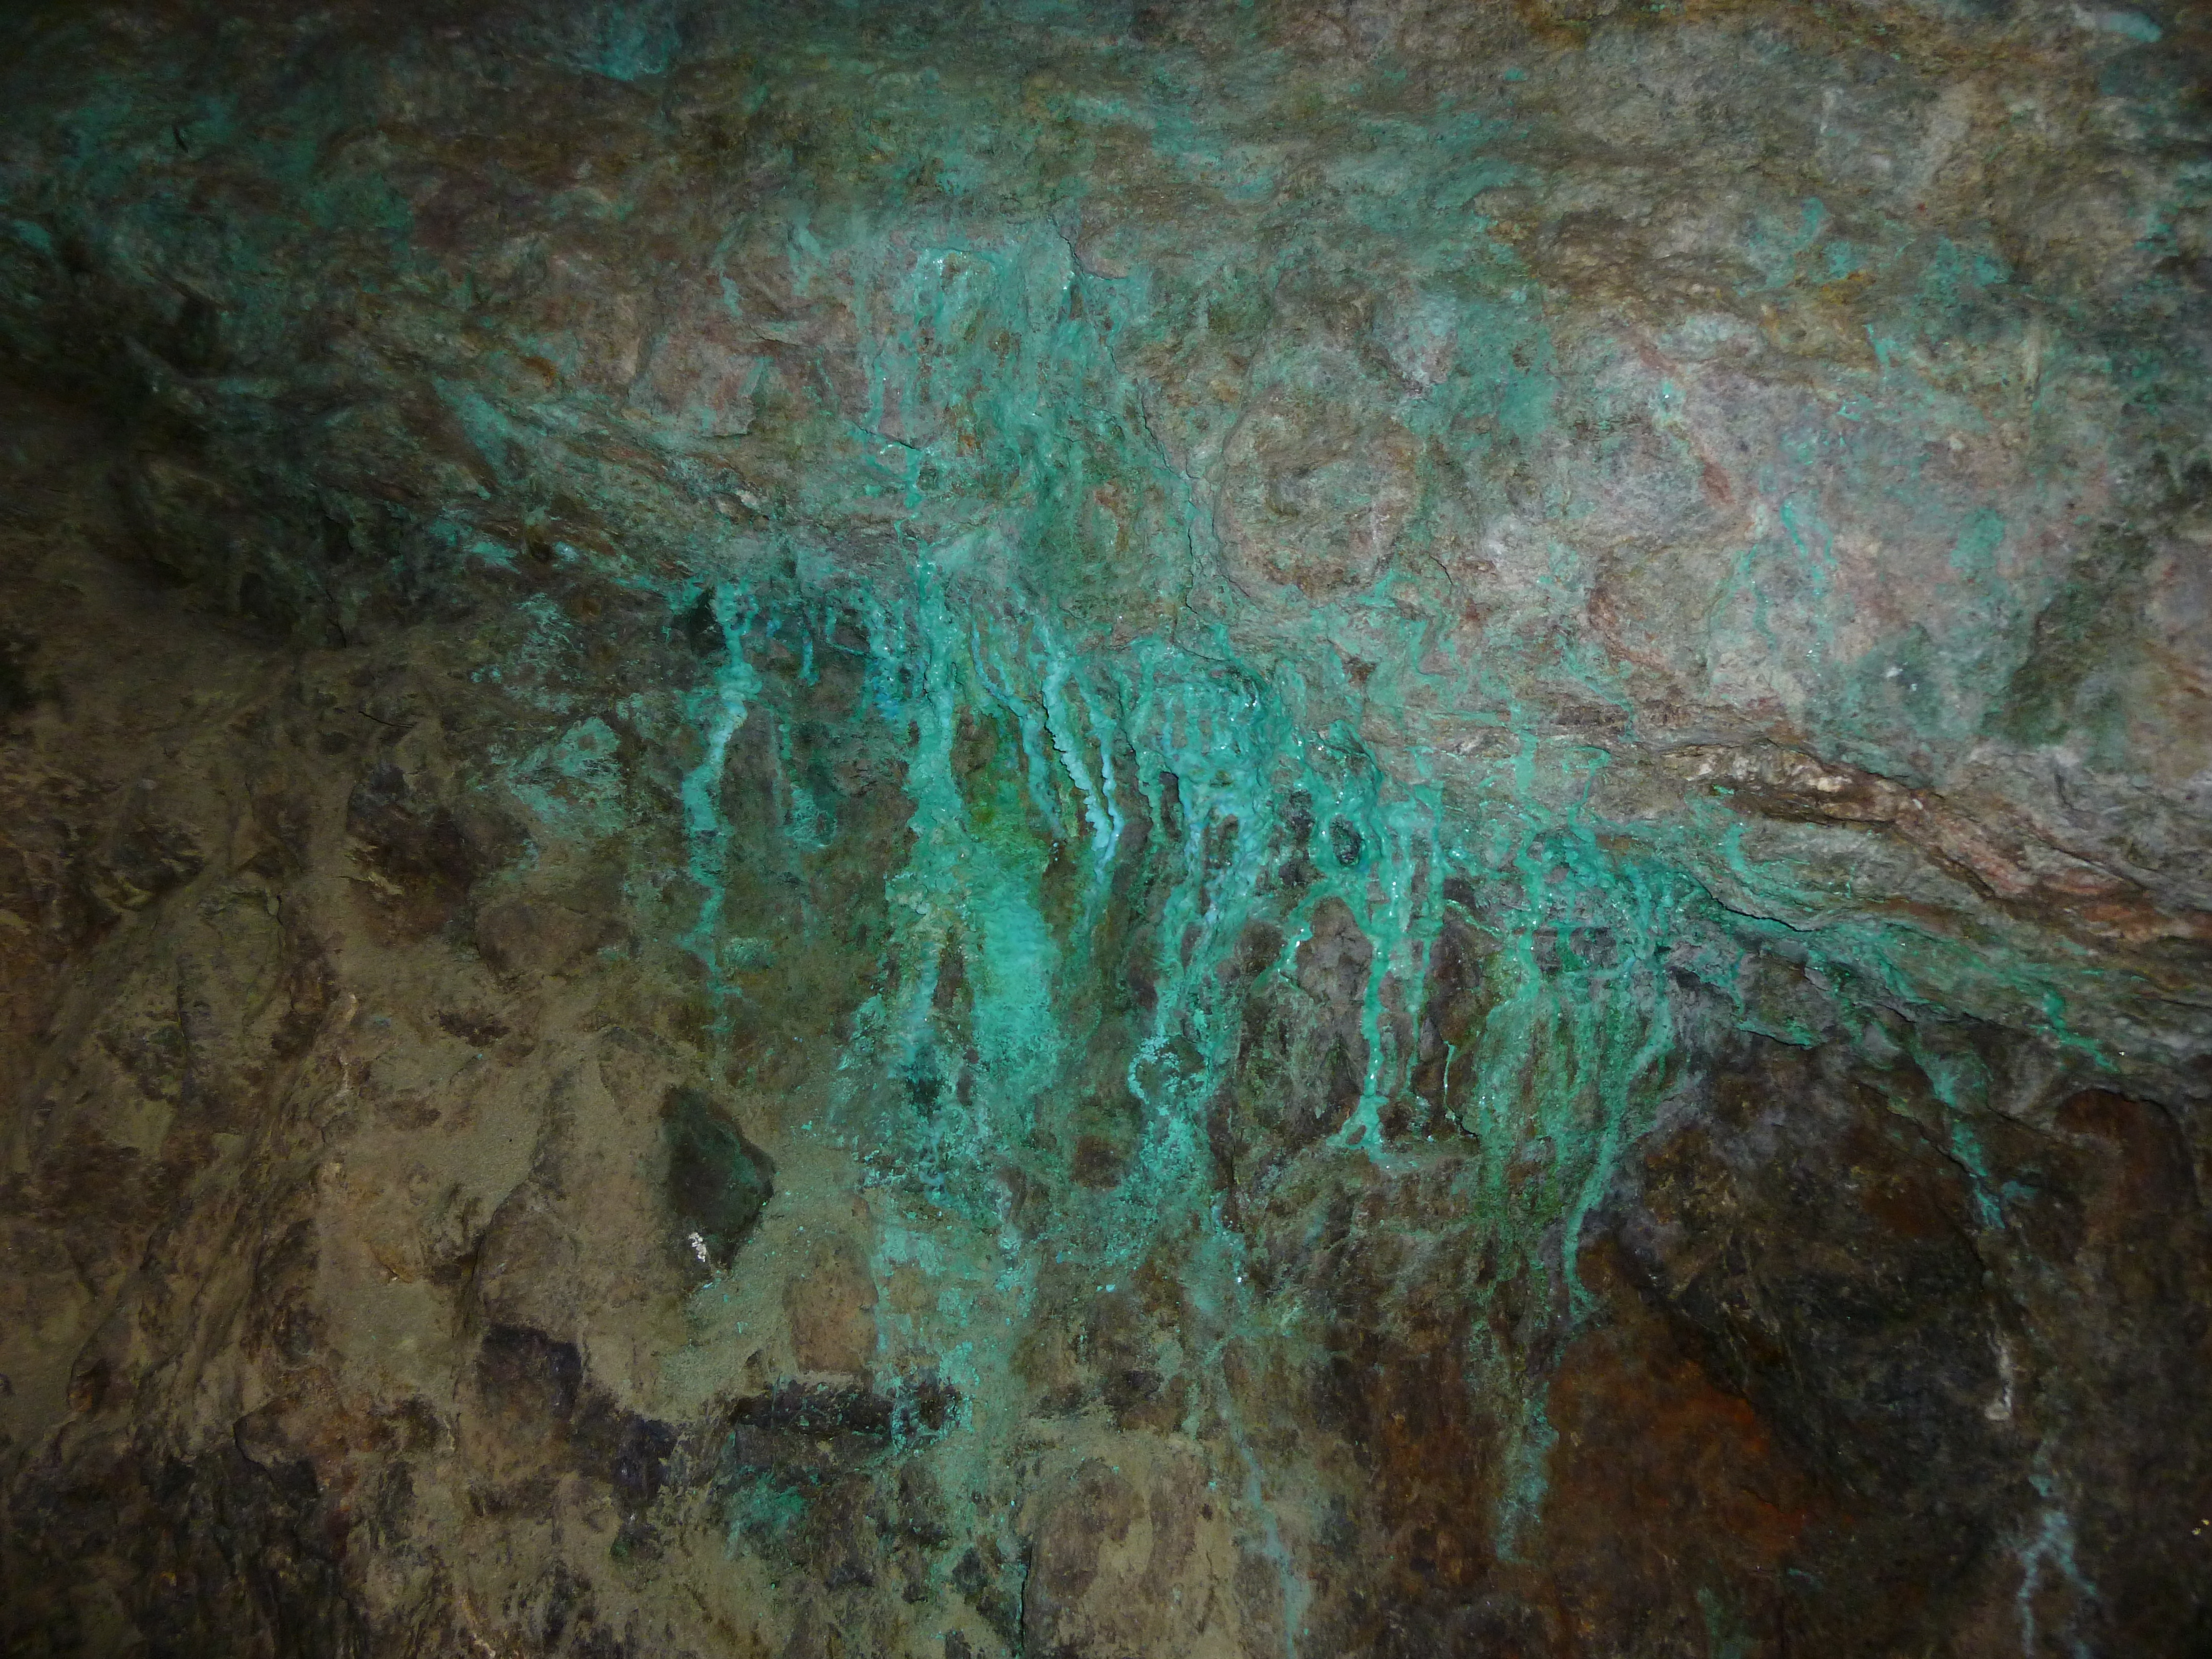
Another cool thing we saw were some copper-bearing minerals or veins.  Here is a picture:

Coppery things!

After exploring the mine, we exited and had a mini-crisis where my brother could not find his phone.  This is why we designate an official camera person, and leave non-essential stuff outside of the mine.  After searching his bags, he couldn’t find it, so back into the mine we went!  Of course, it turned out to be in his bag.  Oh well.  It was still awesome to see the warm glow of sunlight on sycamore leaves as we exited for a second time.

Sunlight never looked so good.

We trekked out the same way we came in, making sure that we reached the trail before the sun started to go down.  I would recommend this trip, as it is full of awesome adventure, and amazing environments.  There are high, exposed chaparrals, a beautiful sycamore forest, a cool, breezy creek bed, waterfalls, and even an old mine to climb and explore!  What more could you ask for?

Adventure: Kelsey Mine, Part I (In which we execute a near-fruitless search)

I may be addicted to adventure.  There is really nothing like tramping out into the mountains, dropping off the beaten trail, climbing up some waterfalls, and then dropping down into an abandoned mine.  I even have an adventure hat, which is mostly silly, but does do the job of swatting away bugs, and keeping the sun out of my eyes.

Every now and then I do realize that adventuring can be scary, and you can really die, but I figure I have to make stories now before I get too old and feeble to get out and do Dumb Things.

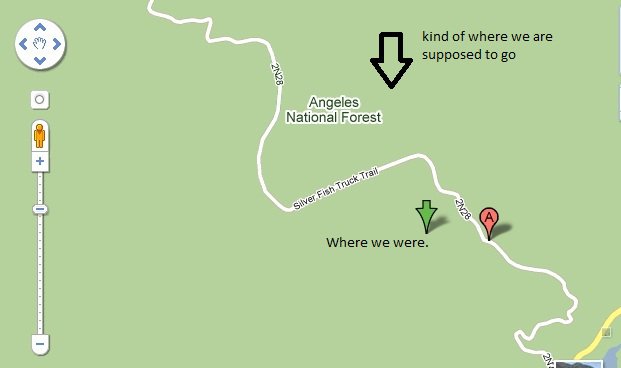
My latest Adventure was finding and exploring the Kelsey Mine.  Lost not-so-deep in the Angeles National Forest, it took a whopping three trips to find it.  The first trip was with my friends Katelyn and Rachel, on may 31, 2011.  We took a wrong turn, as you can see on this map:

As you can see, we are not even close to “kind of where we are supposed to be”

We also heard a LOT of rattles in the bushes, which caused us to hasten our return to our vehicle.

The next two attempts were done in late 2011, over Thanksgiving break.  The first one was with Sam and my brother.  We followed the road (silver fish truck trail) on that map until the sharp leftward bend, where we dropped down into what I assume is water canyon. Exploring this involved a lot of crawling up and down through brush, thorny bushes, and spiky vines.  We found a small waterfall, downstream, and a lot of little yellow and brown newt looking things.  After forcing ourselves through a hole in the brush, the upstream route eventually yielded to the floor of a very cool, damp ravine.  The ground was covered in the usual leaf decomposition and dirt detritus.  We made our way up this canyon for maybe another quarter mile, and then decided to turn back on two counts:

  • We found out there were still ticks.  I think Sam got one.
  • Sam had to be home.

Disappointed in our feeble effort to find the mine, I decided to put together another group and go at it again.  Since Sam was busy, and Hardee was not, our party consisted of my brother, Hardee, and I.  Hardee and I have been on a few adventures like this in the past, and I knew I could rely on him.  My brother thinks he knows everything, and can be more than a little cocky, but he is a good climber.  We once again set off to ANF!

This trip was far more successful, and we actually found the mine.  You can read all about how to find it here (Note: we never found the water tower described).  I will probably not post explicit instructions, or detailed topos here, because part of the fun is finding the mine, and if there were spoilers everywhere it would be no fun.  But If you want to read a trip report, with some hints in it, look out for Kelsey Mine, Part II (In which we actually find the mine).

Laser Projector!

My team just finished our laser projector for Priciples Of Engineering, or POE at Olin.  Its pretty sweet-mostly its good at drawing circles, because it decided to shake itself apart.  We will probably fix it up before EXPO on Monday (Olin’s open house), but if you want to take a look at what we did, check out our website (here)!

I might add some more details later, if folks are interested.  However, right now I am going to bed.  As always, if there are questions, ask away.

DIY Bio Postcards, Bioluminescent Dinoflagellates, oh my!

A few weekends ago, I met up with Rachel to try to split some dinoflagellate cultures.  These particular dinoflagellates were p. lunula, and p. noctiluca, which both bioluminesce when mechanically stressed (shaken, tapped, dropped) or when the pH of their media is lowered (by adding acid).  They are absolutely fascinating creatures, and beautiful to boot.  Also, they don’t smell bad, like vibrio fischeri, and they are WAY brighter, although the illumination is not constant.  Another difference between the bioluminescence of the two is that you can actually see the individual algae light up.  With the bacteria, its a large smear that glows.

The little speck in the middle is P. lunula

Unfortunately, we left the f2 media in the -20 freezer (which I leaned is normal freezer temp) while we autoclaved the synthetic seawater (SSW) that we made with “instant ocean” mix from a pet store.  This ended the project for the week, because everyone was pretty tired, and nobody wanted to wait 3-4 hours for the media to thaw.  We got a “good effort” sticker in the notebook that day…

The next week we successfully made the transfer.  The 50x f2 was diluted to 1X in SSW, and two ~500ml cultures were made by mixing the old into the new, and then aliquoting some into smaller containers, some of which stayed at sprout, some of which I think went home with Rachel, and some of which are at BOSSLAB.

ALSO:

If you haven’t heard about the DIYBIO postcard, go here and sign up.  Check out those sweet transformants on the example card (I wonder where those came from)!  It’s free, you will get a sweet postcard, and get some short blurbs about what is going on in DIYBIO.