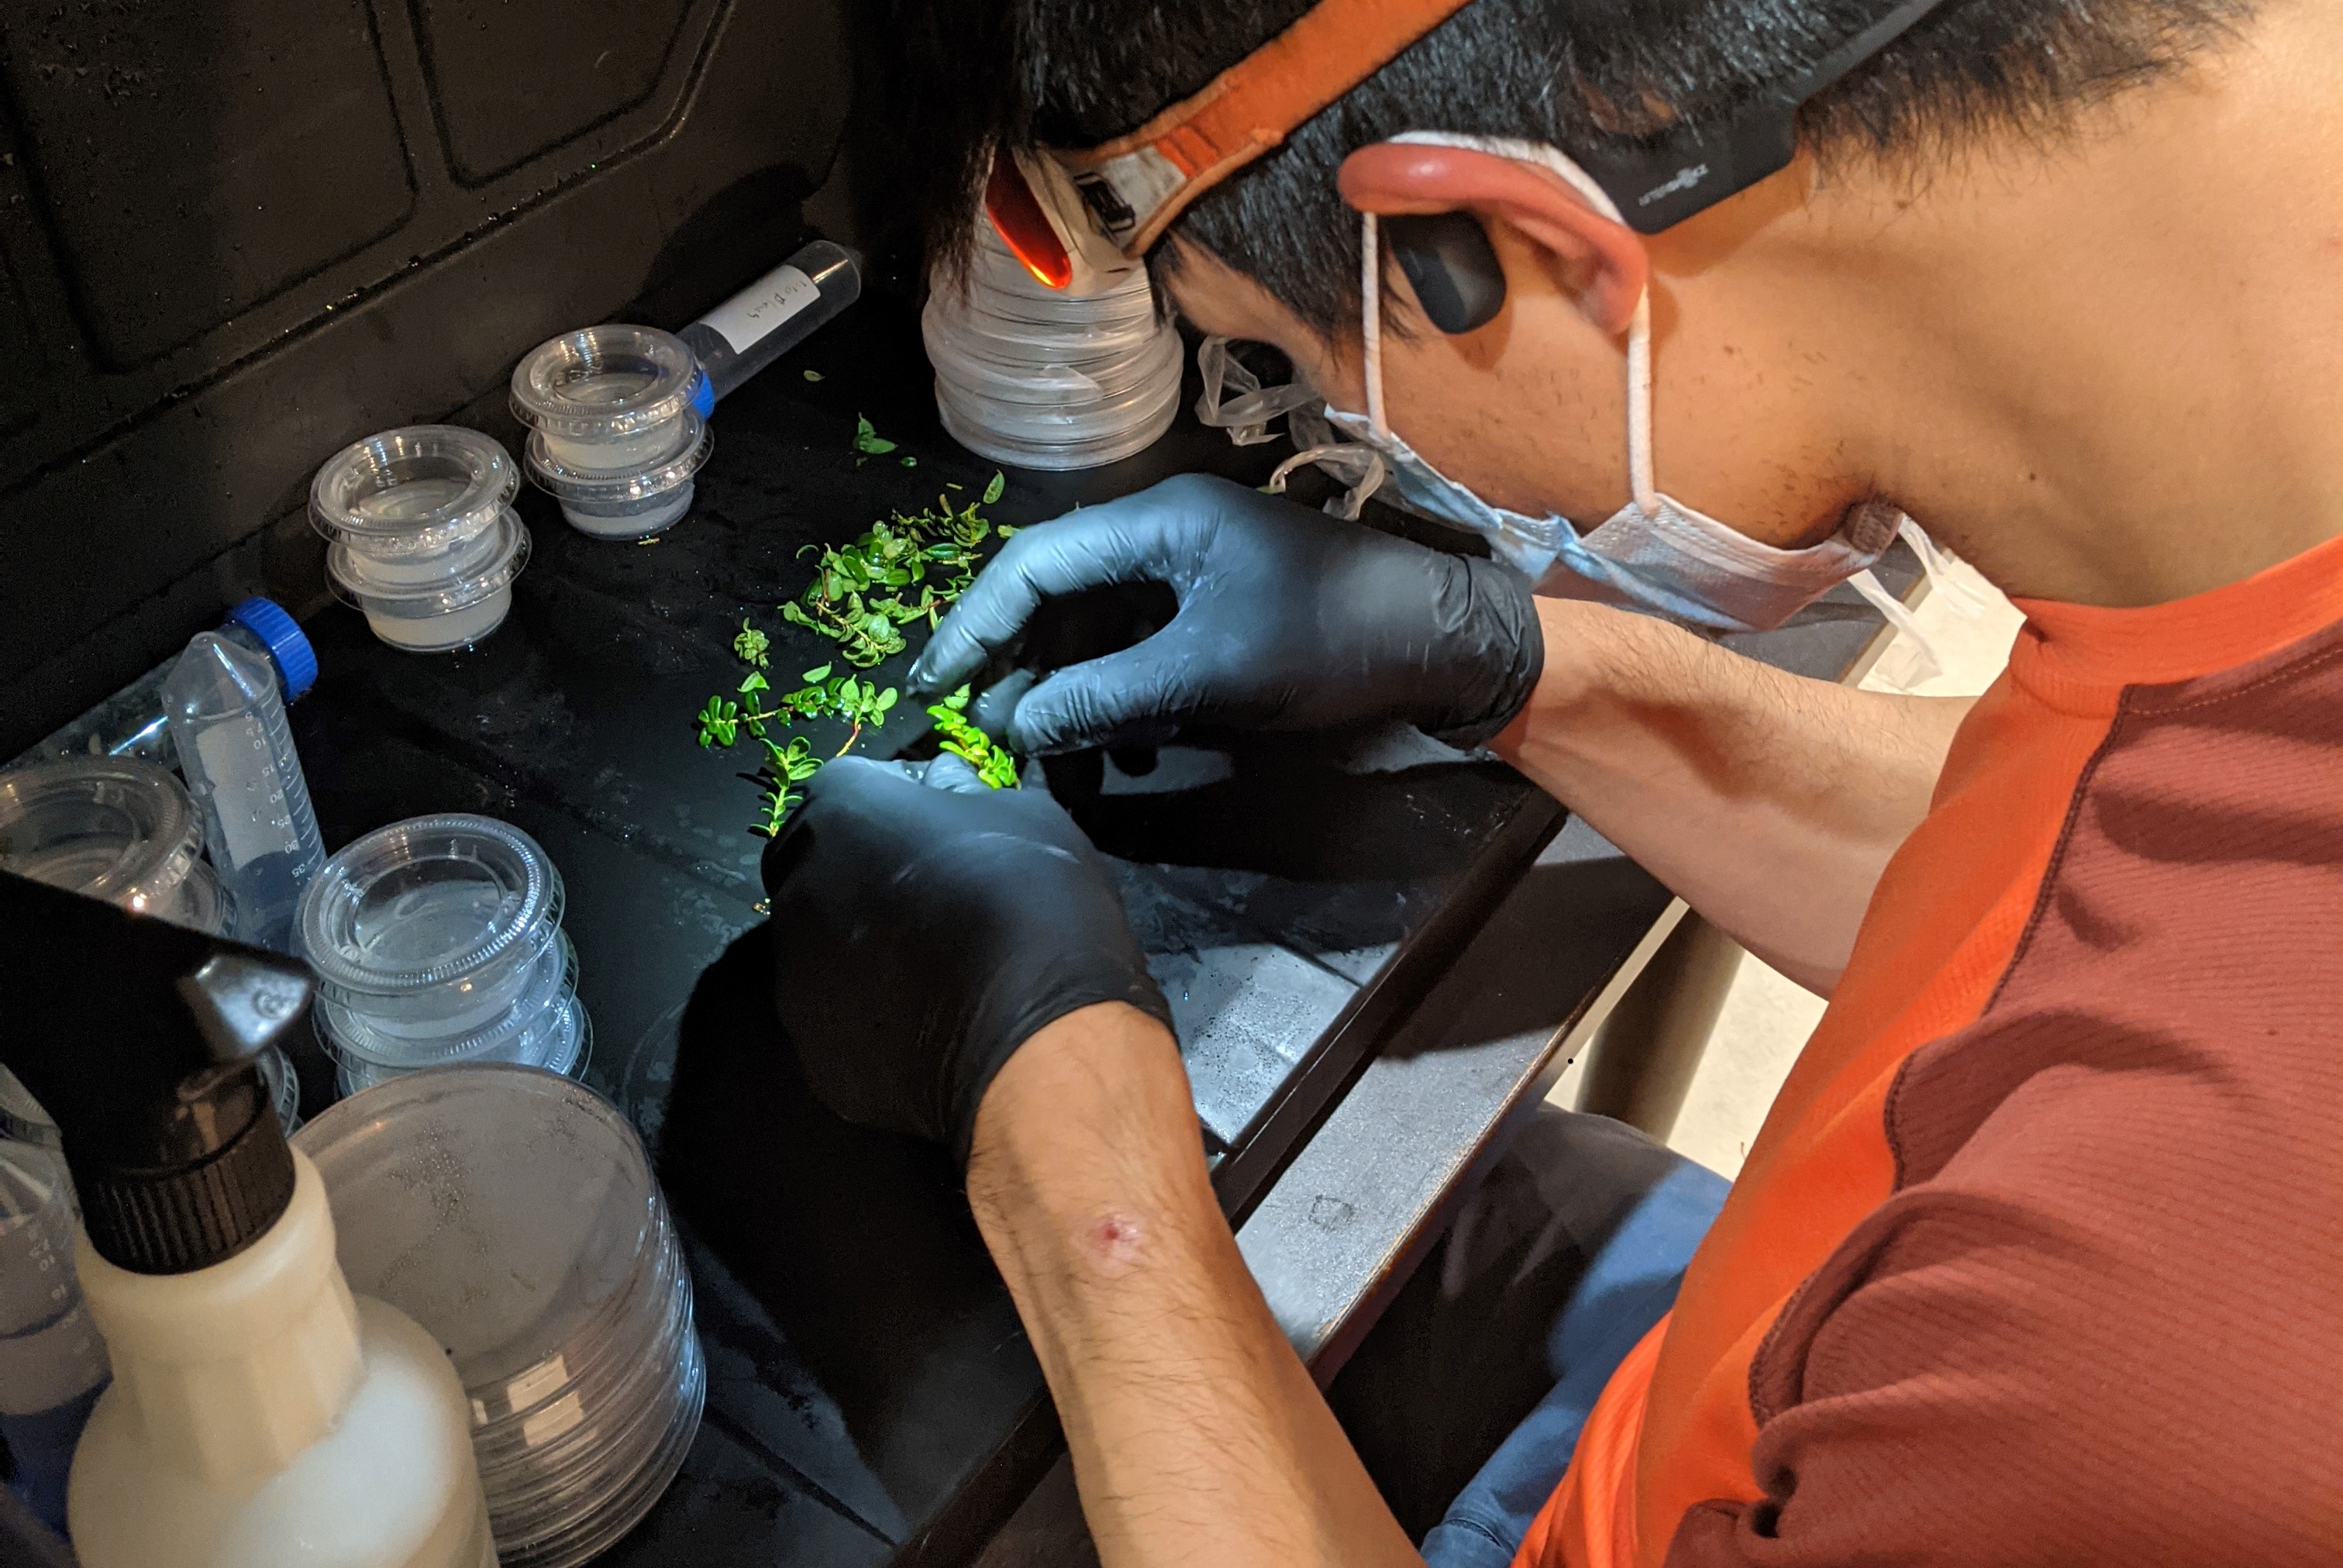
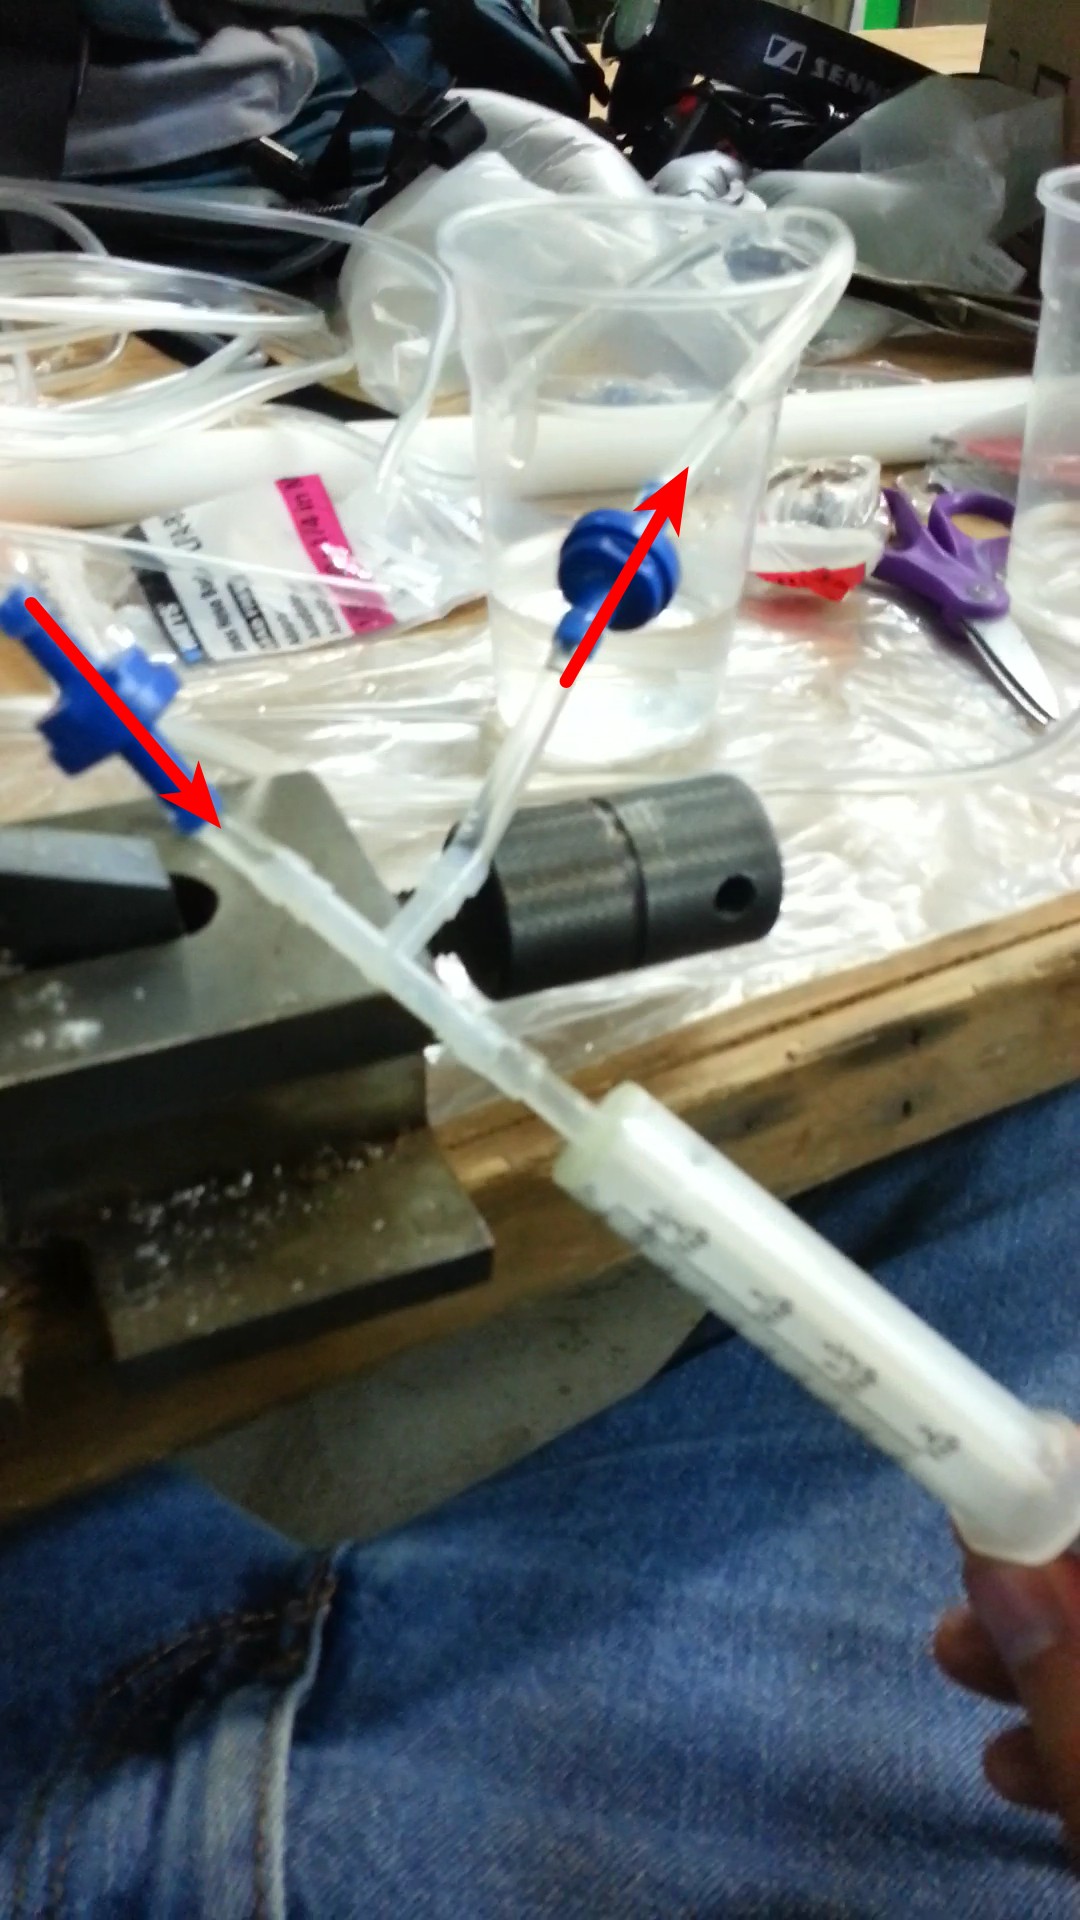
Have you ever struggled to take a picture of a gel? Probably not if you dropped a couple k on a gel documentation system. But for those of us who to take photos of gels and keep our money, you might look like this:
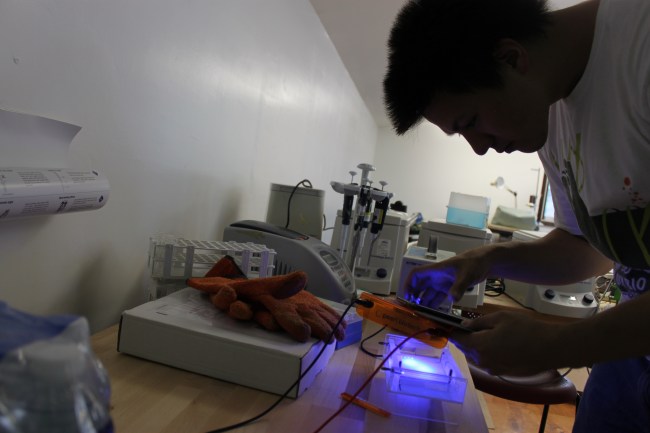
In this photo, I am trying to hold my gel illumination (a couple of LEDS) in one hand, and hold my amber filter, focus, and take a picture with my other hand. In low light, my phone camera can’t focus either! Thankfully, my camera can take voice commands, so I did manage to take a picture. I have a Samsung galaxy note II, (at the time of writing, this is a recently released, top of the line phone) which has a fixed aperture and TINY sensor. Here is an example of the quality it produces:

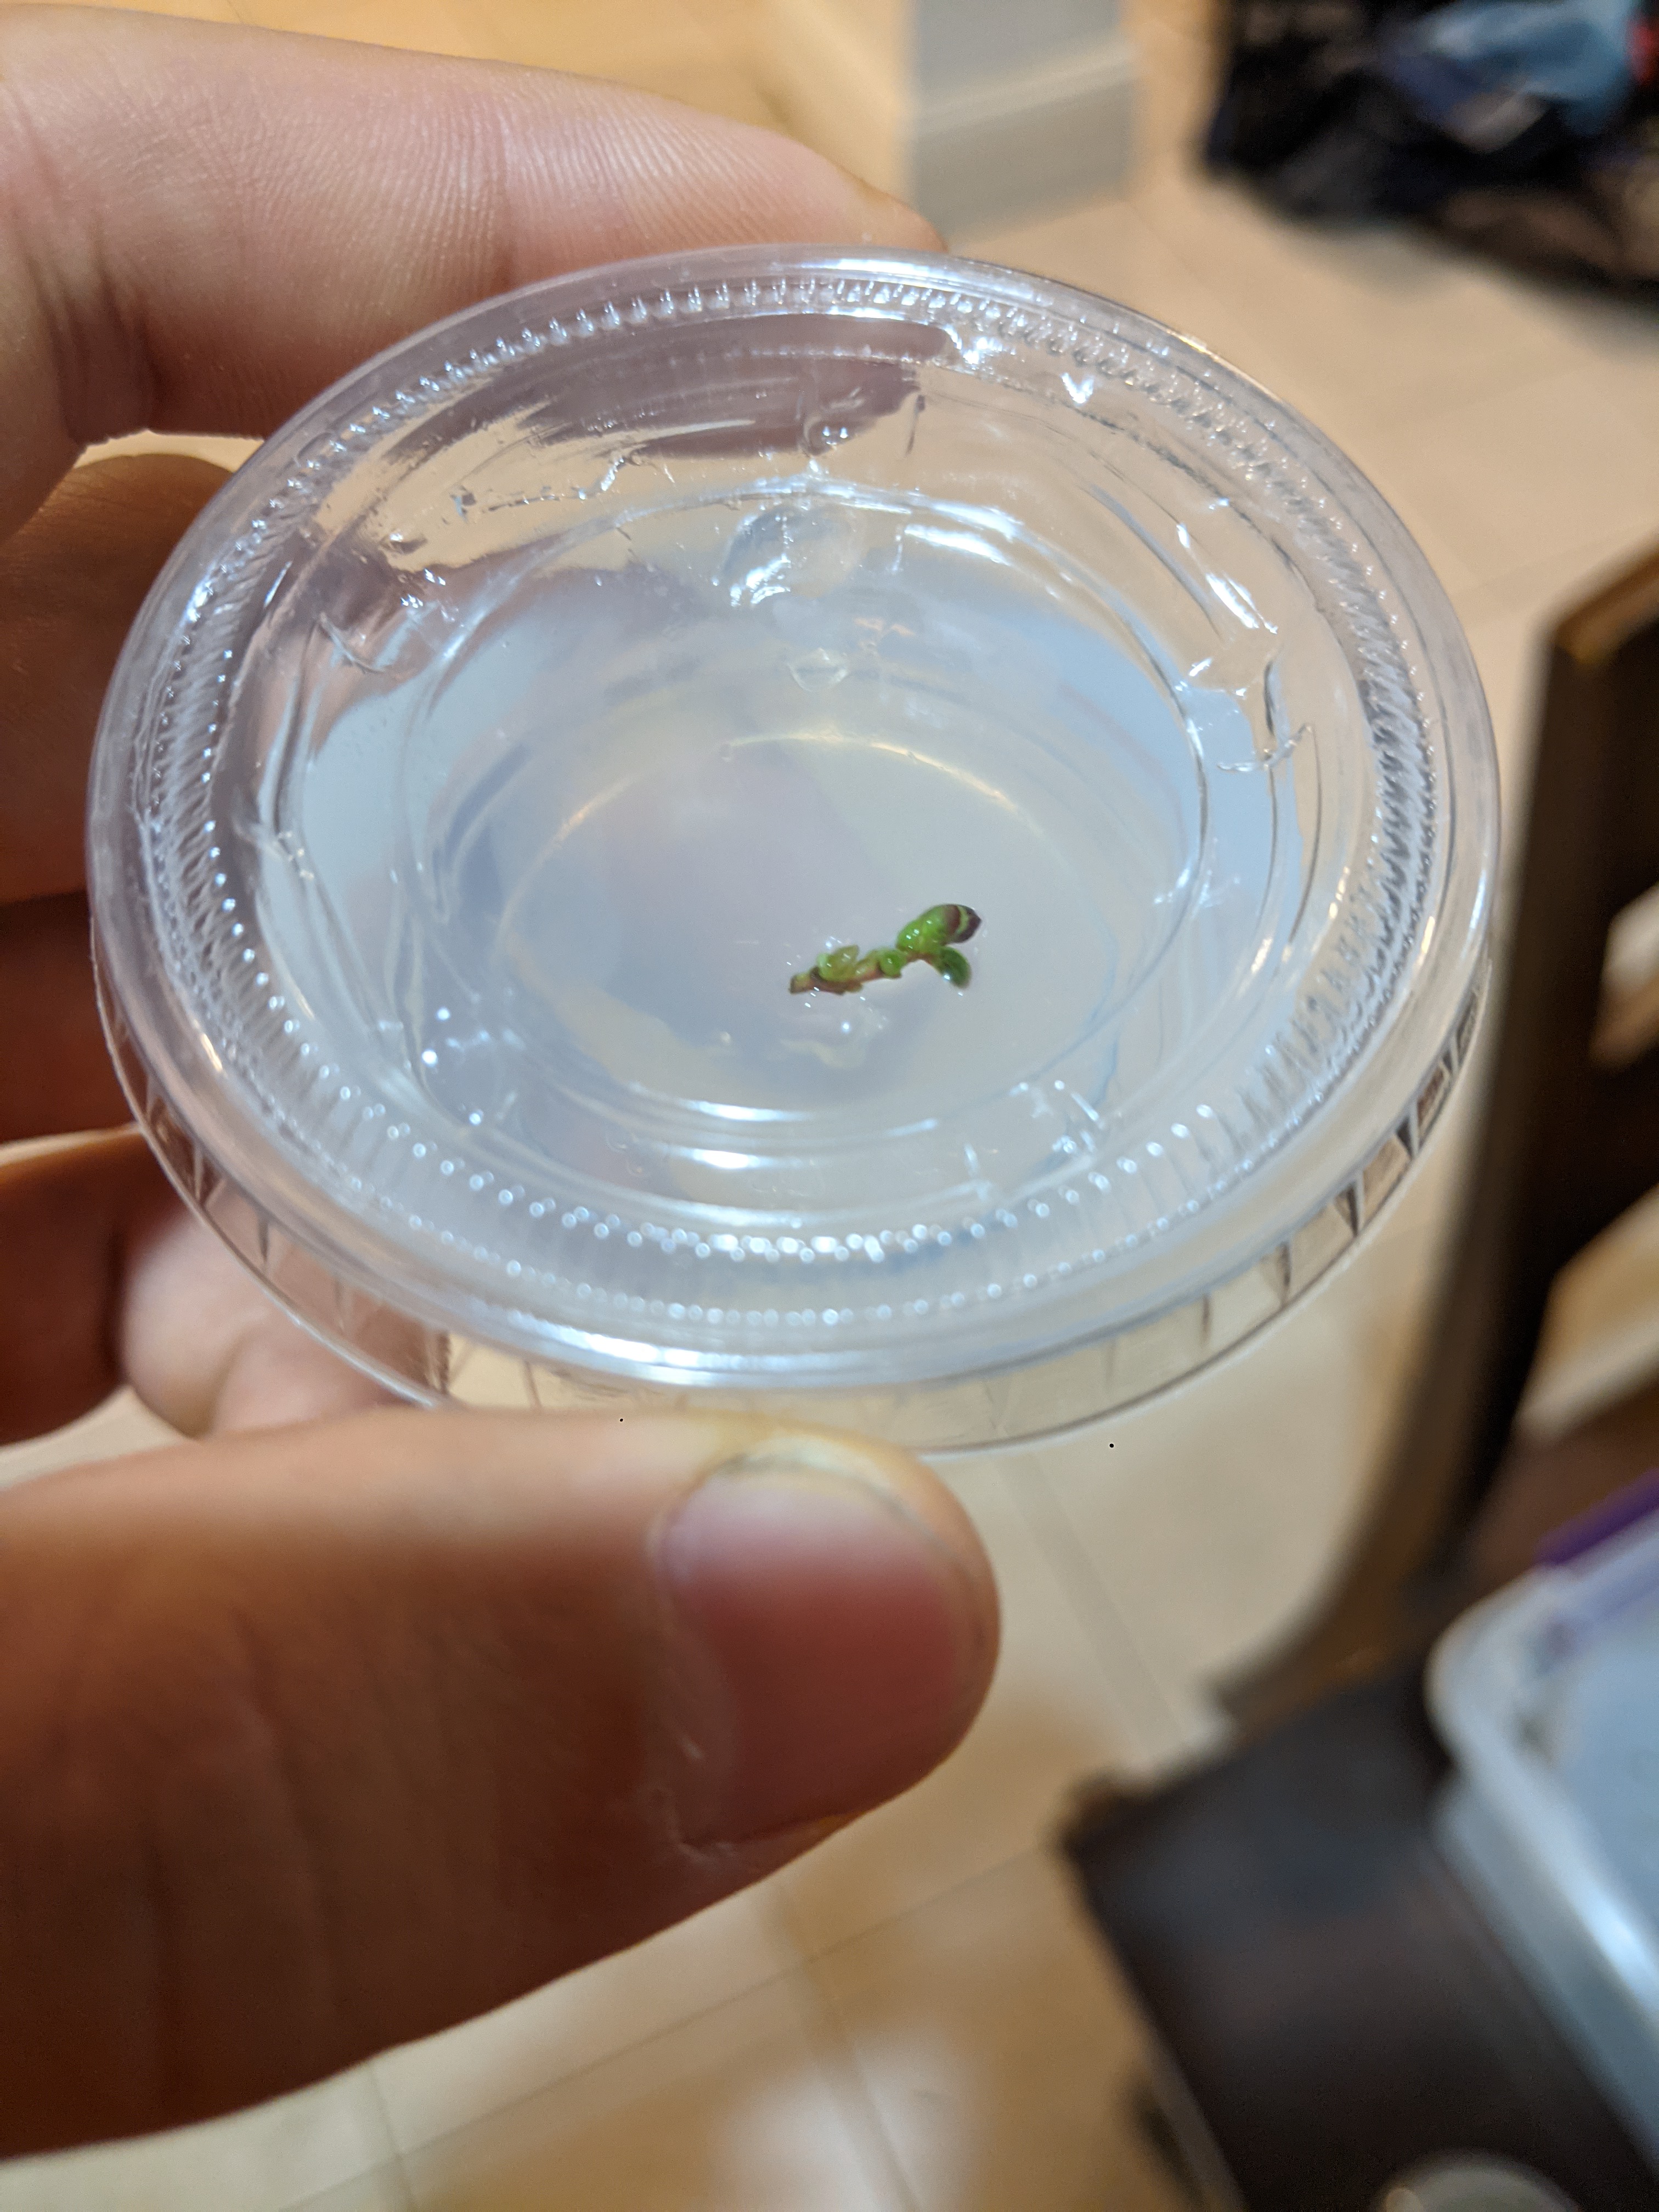
This is barely usable, but maybe ok for just a quick note. however, you really have to know where the bands are to see them. For reference, that is 200ng of DNA. Notice the greenish tint around the bands, and the lack of definition in the gel wells.
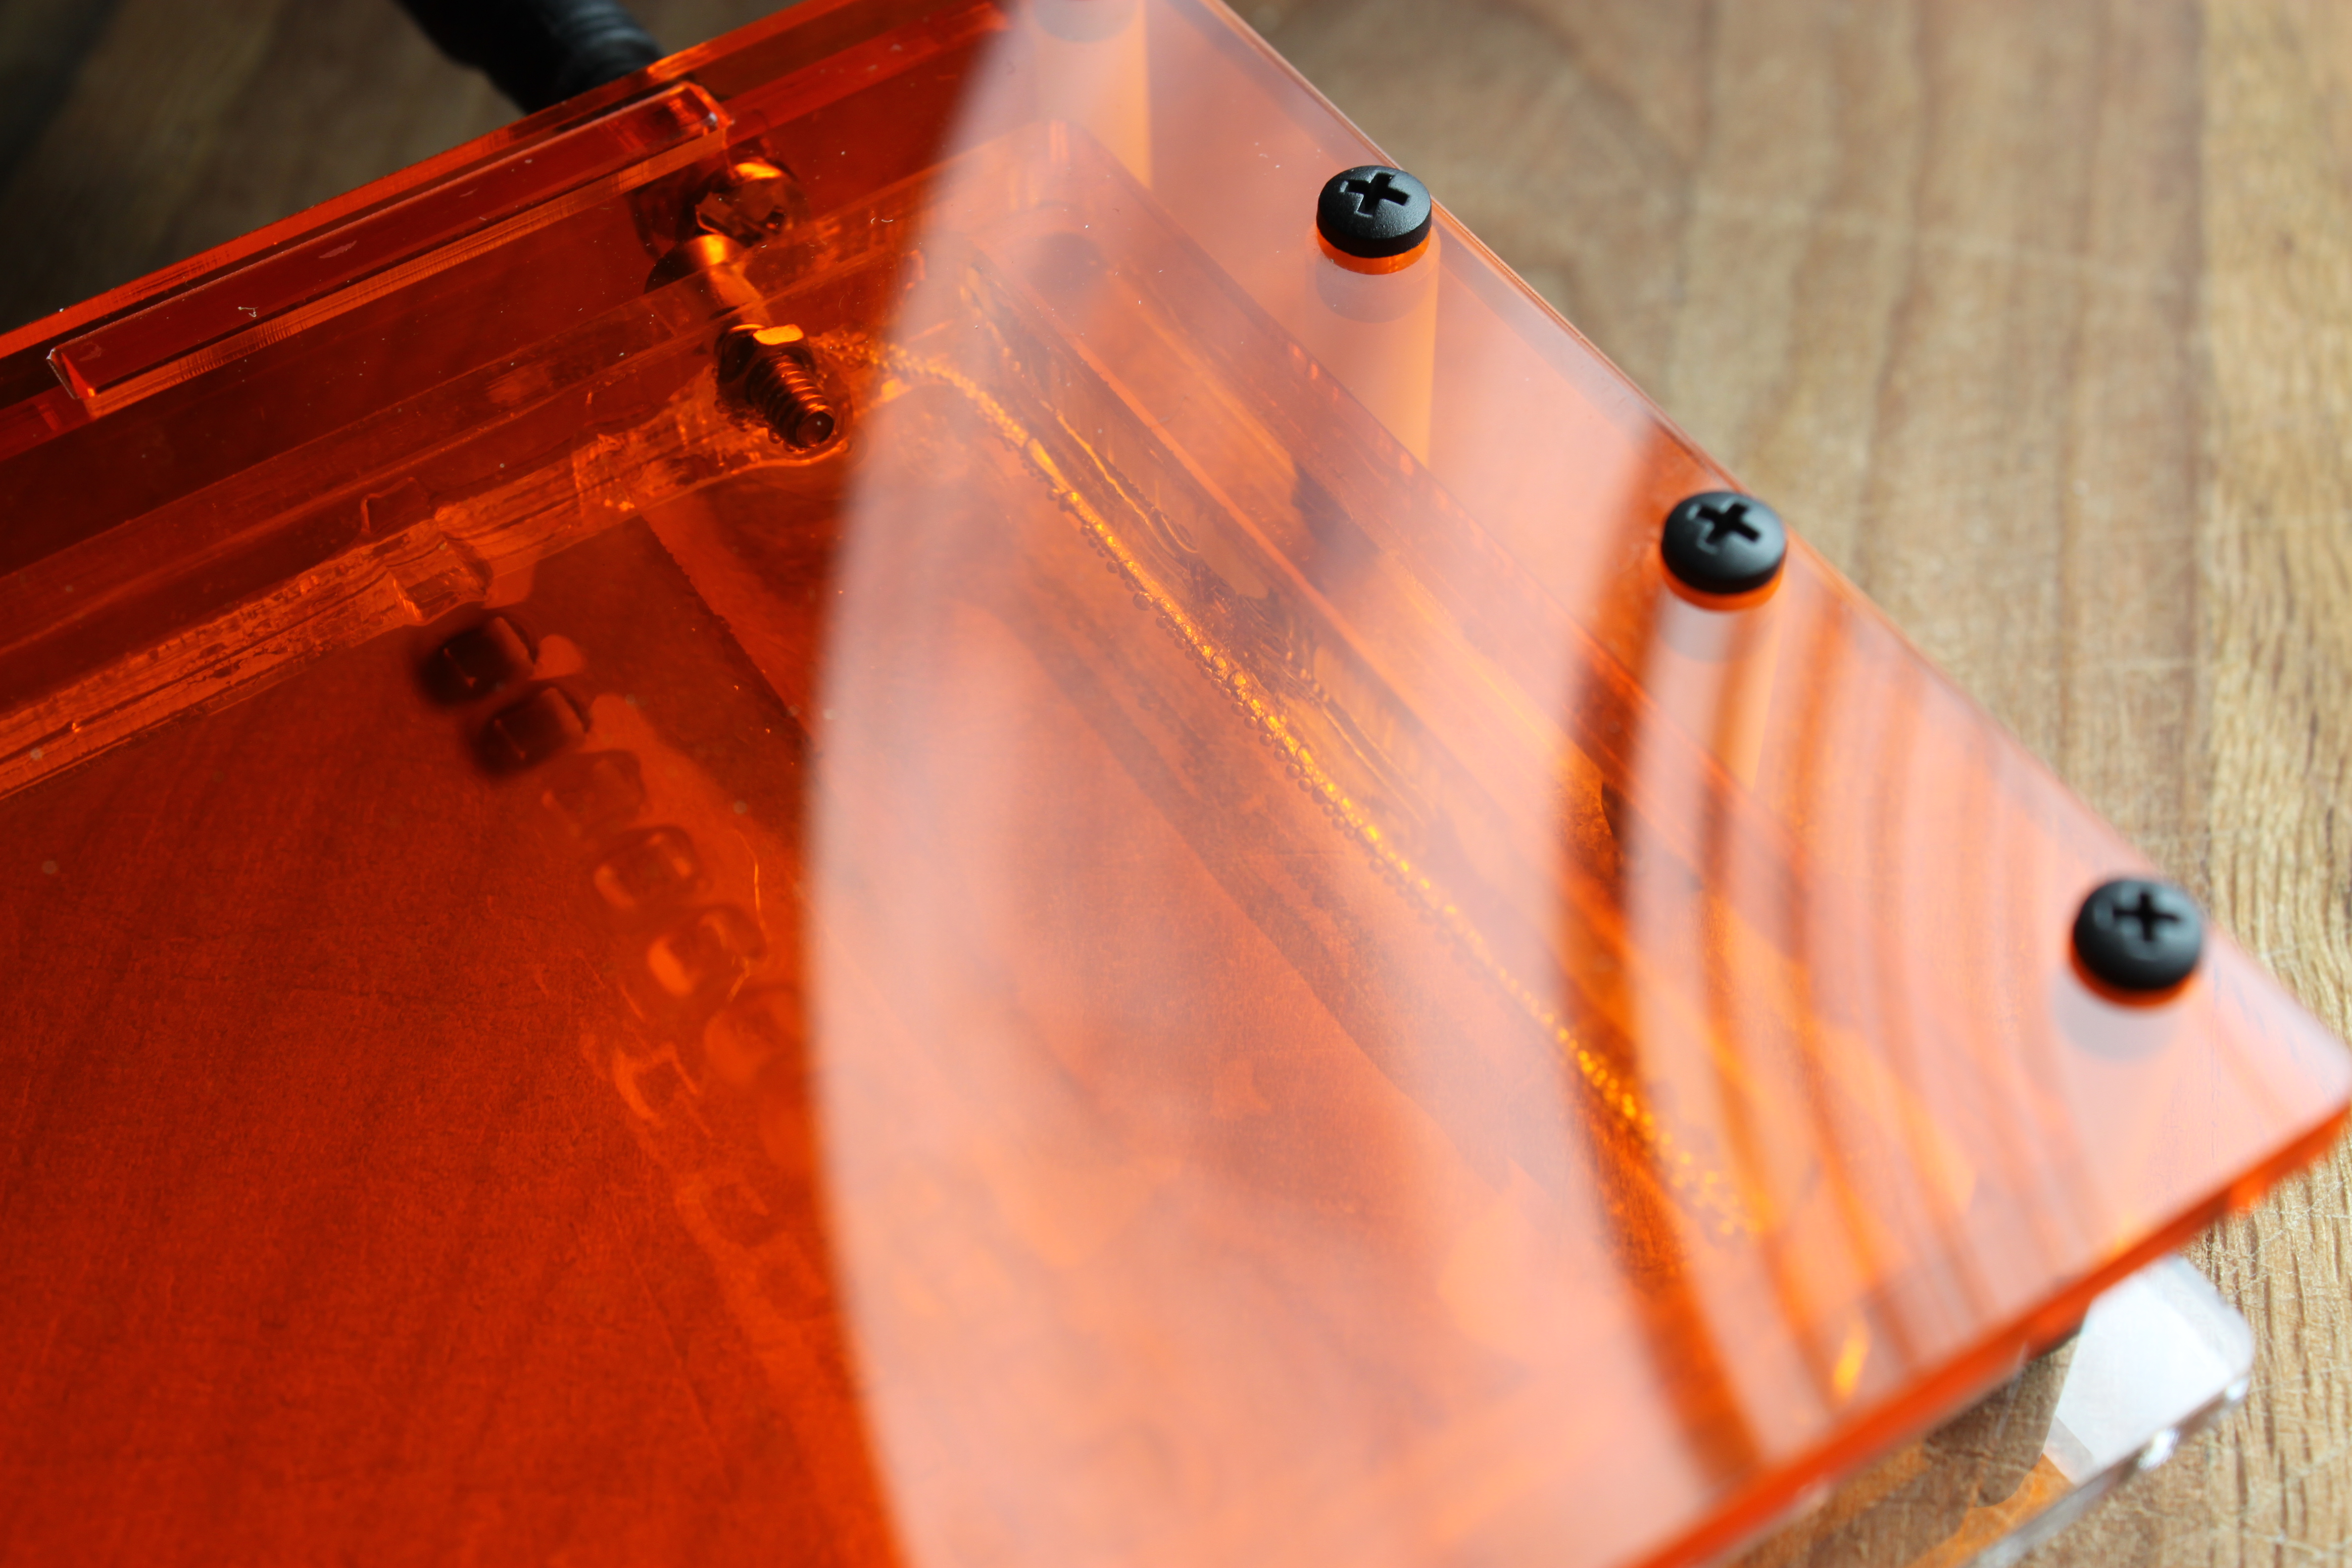
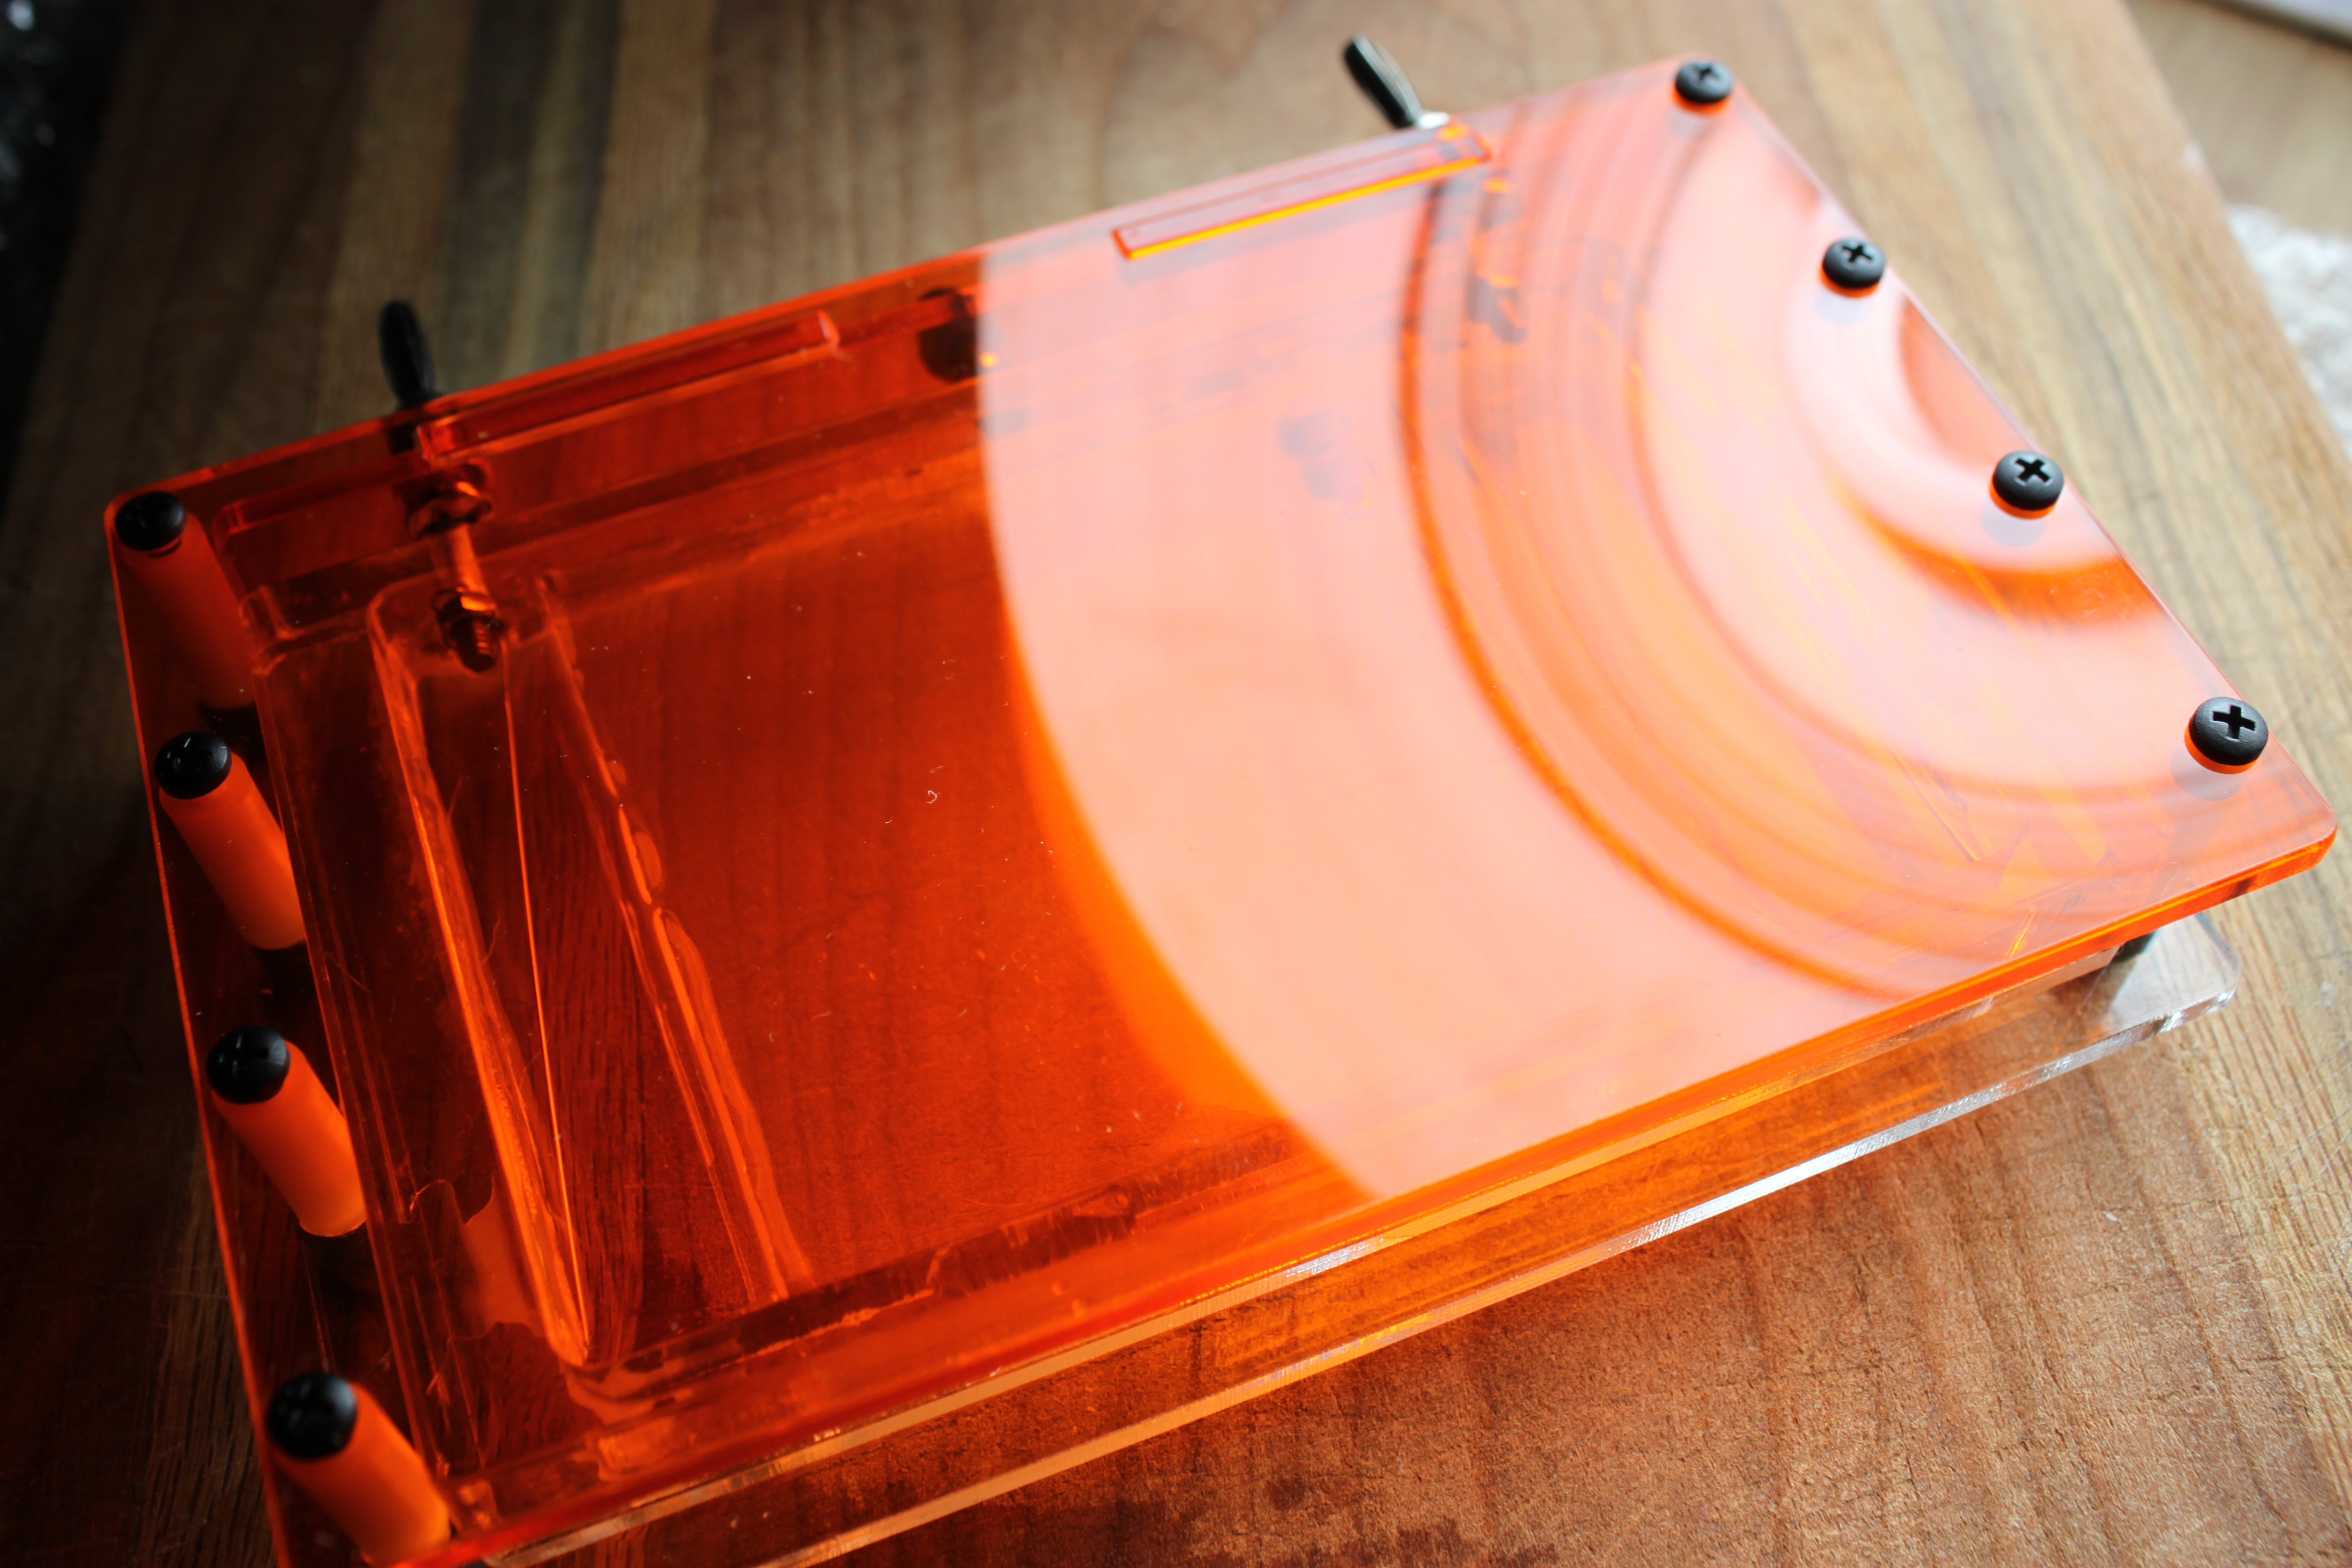
What you really need is a camera with manual focus, and a small piece of plastic. You want manual focus, because no matter what you do, there won’t be a lot of light coming through the lens. This makes it difficult for the camera to autofocus, which can be frustrating. Manual focus lets you use your superior eyes and brain to focus. Here is the device:
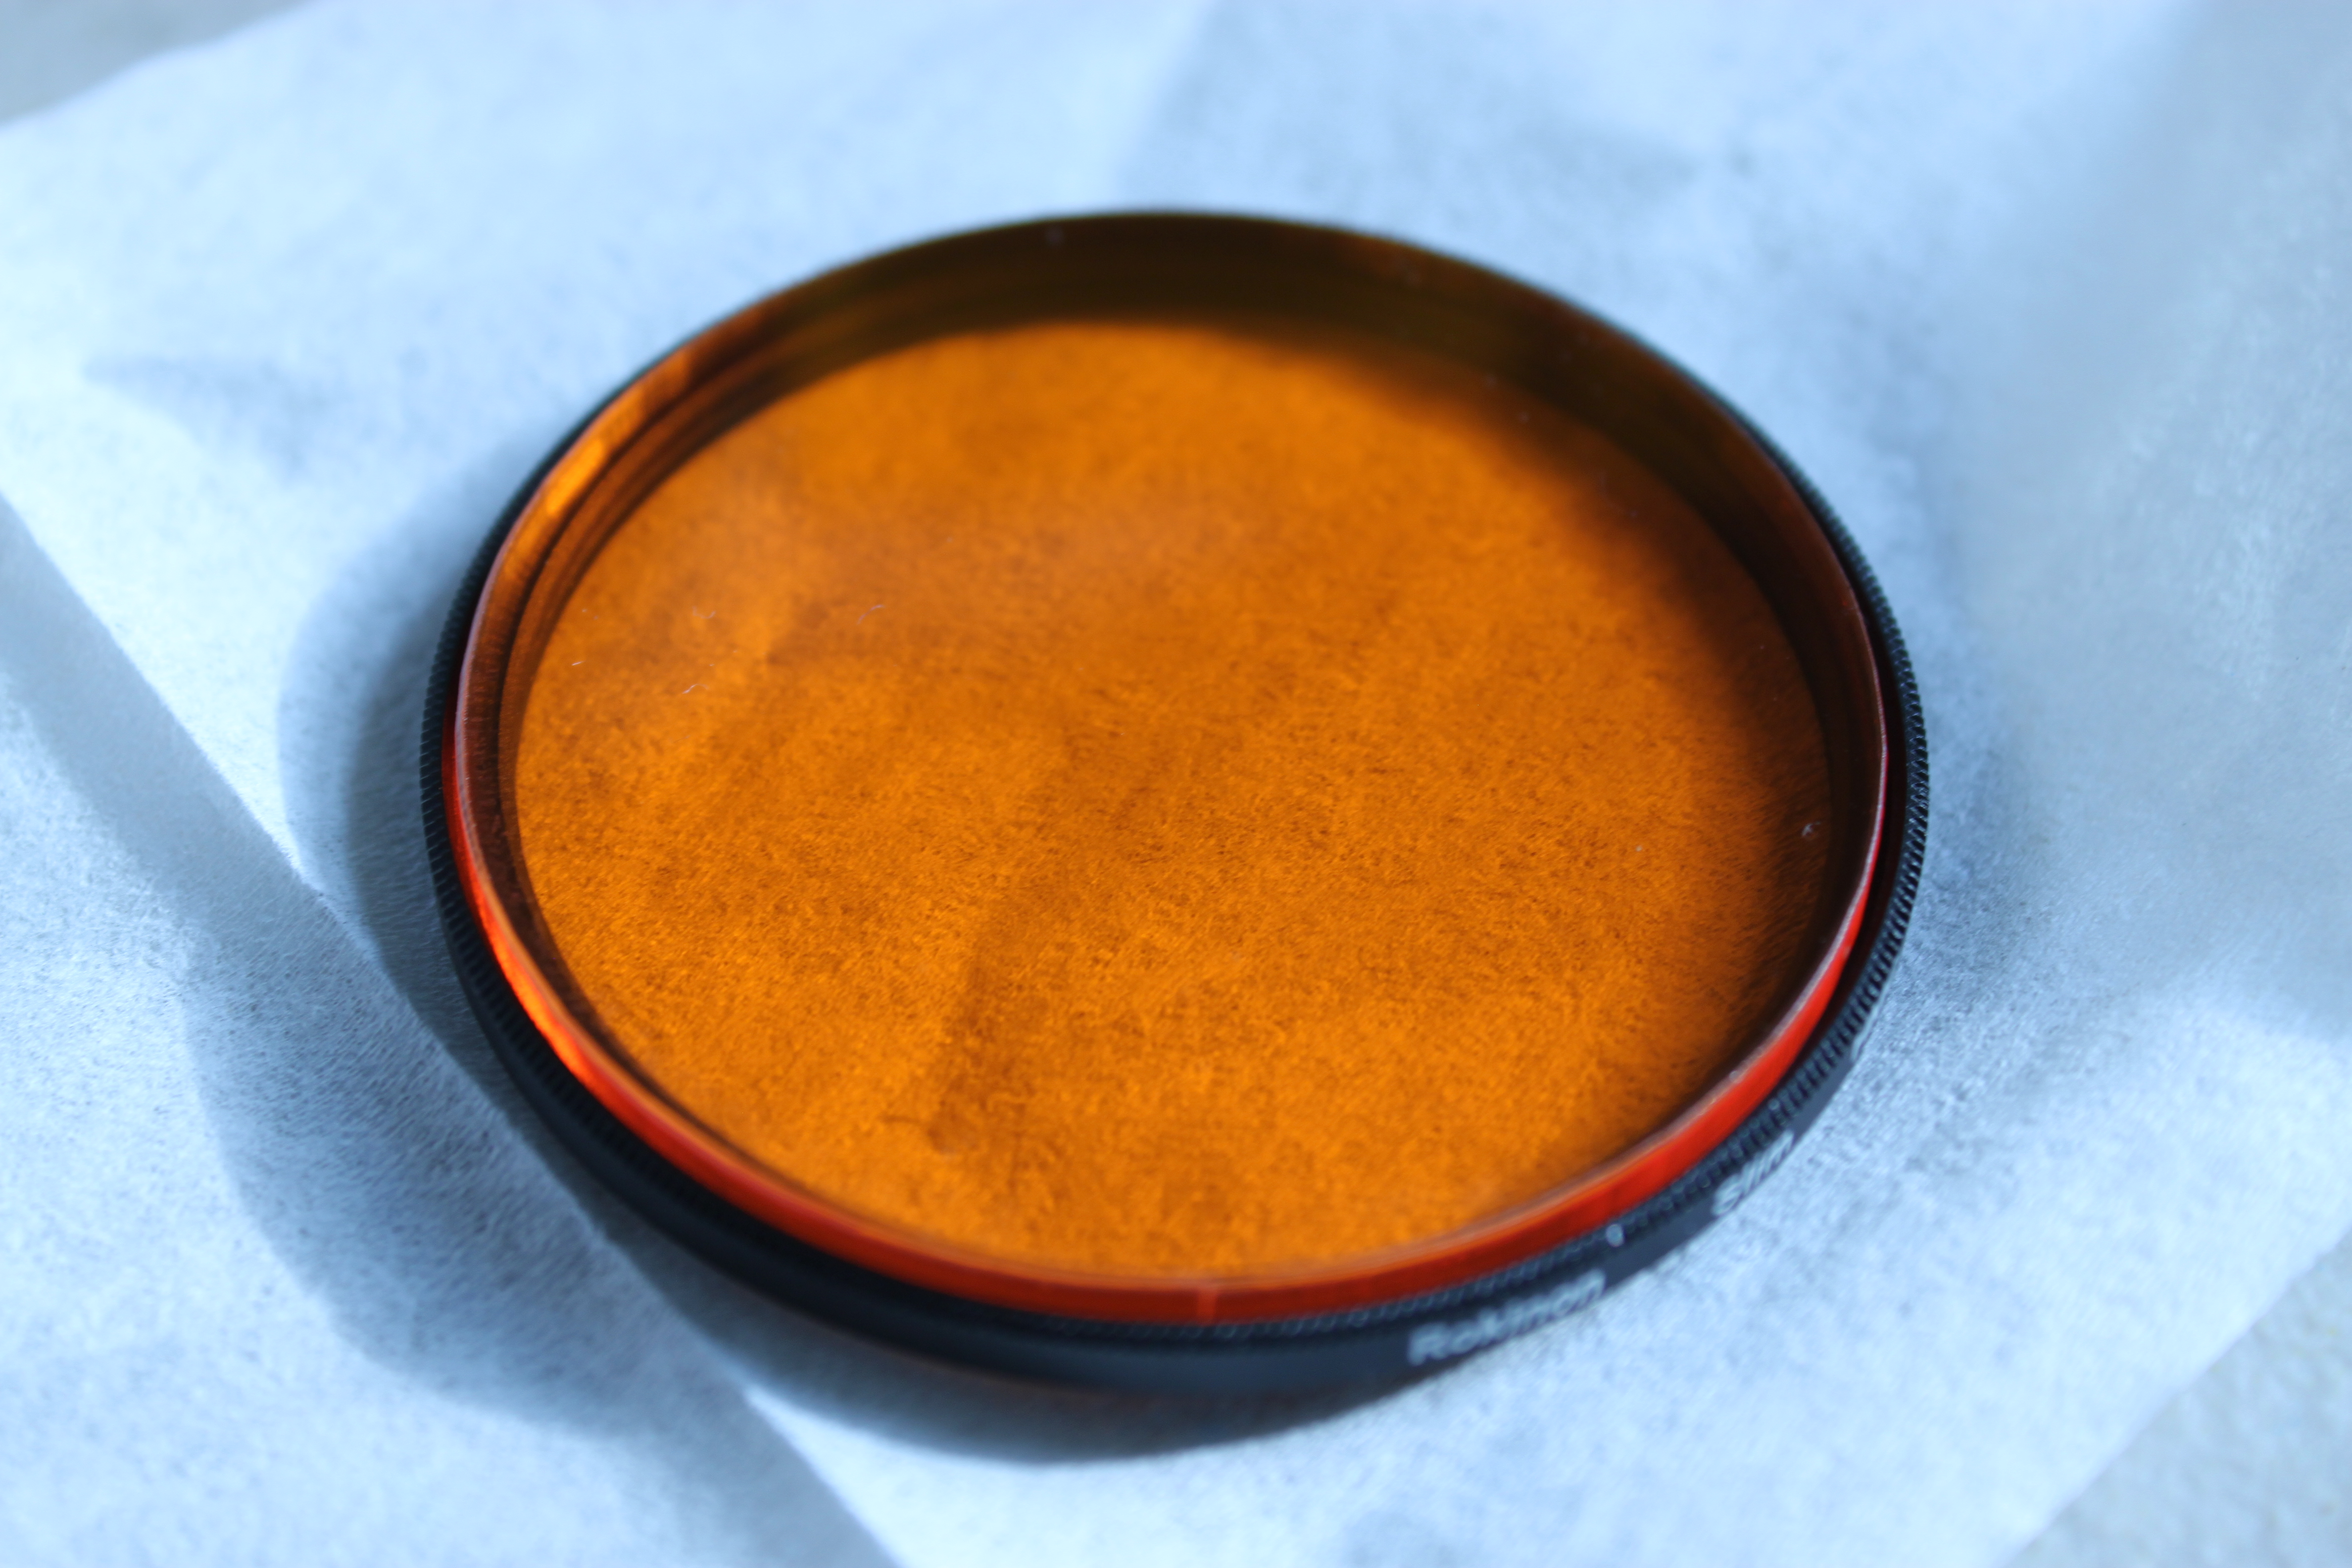
Gel Photography Device
So there ya go. Thats a UV (clear) filter with a piece of amber plastic in it. I only bought the filter because I wanted it to be convenient to screw on and off. Any plastic that is this color will work for blue light- there is no mystery there. Here is what the world looks like through this lens:
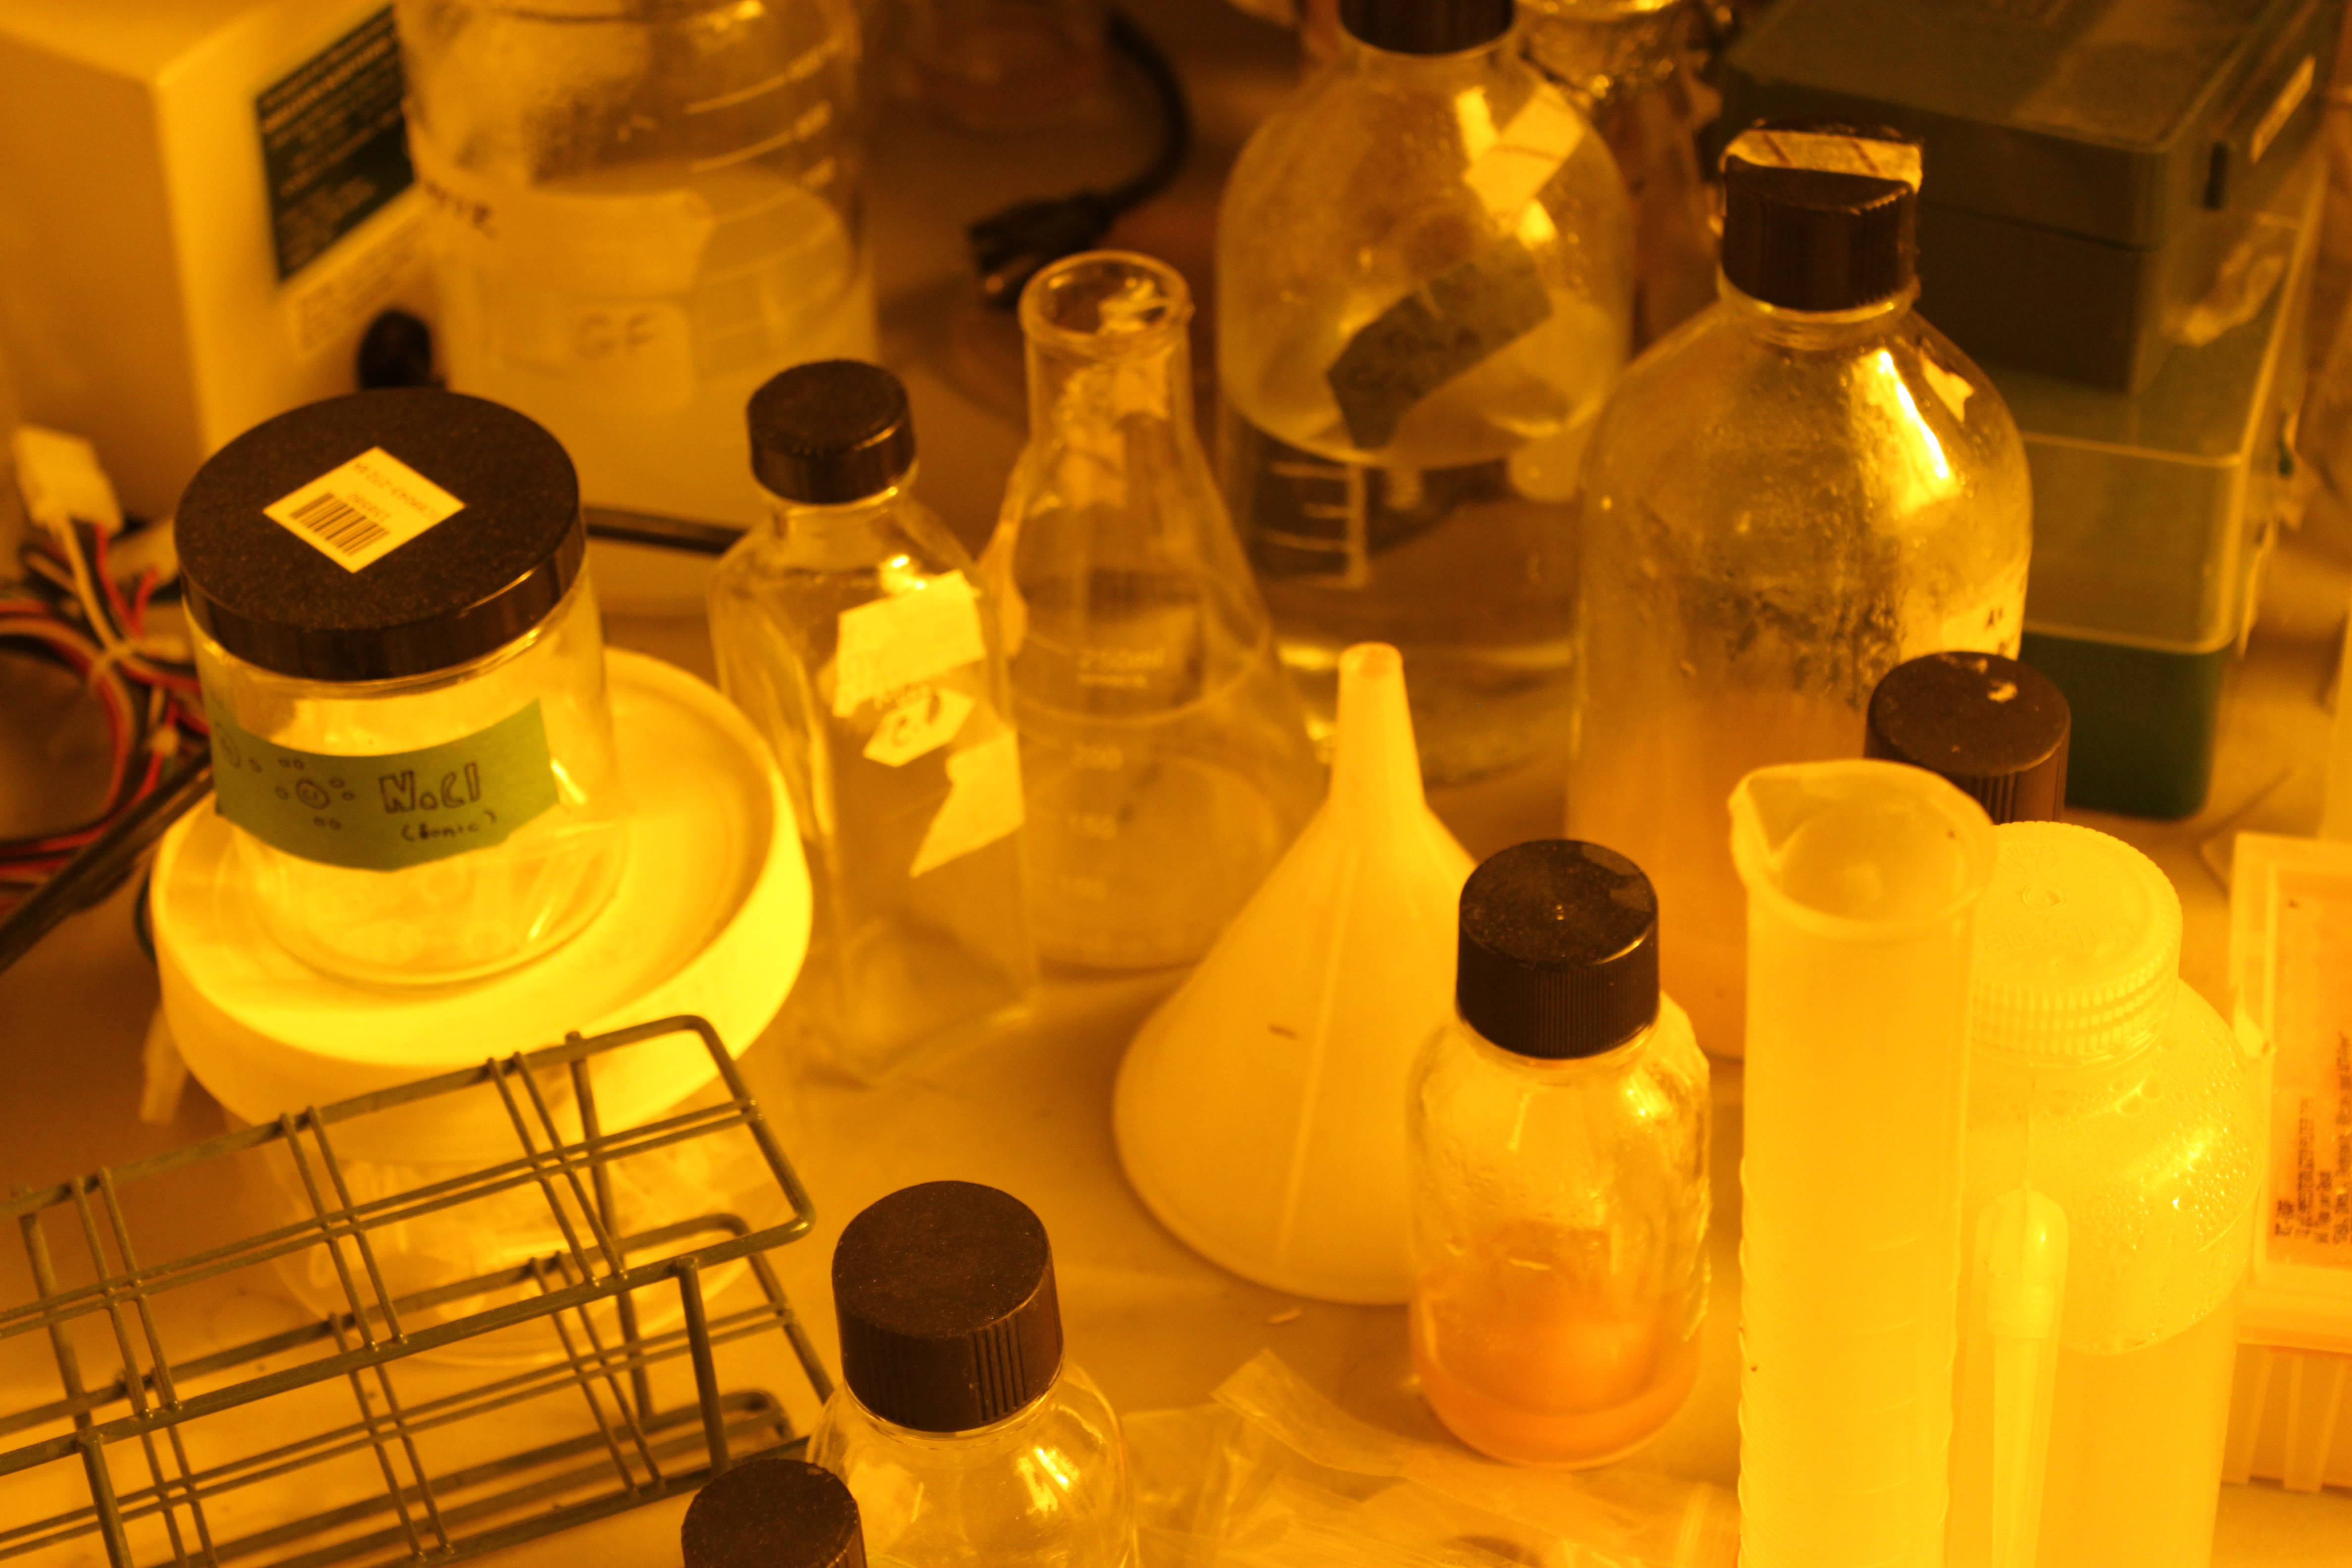
Woah man, it’s like Instagram
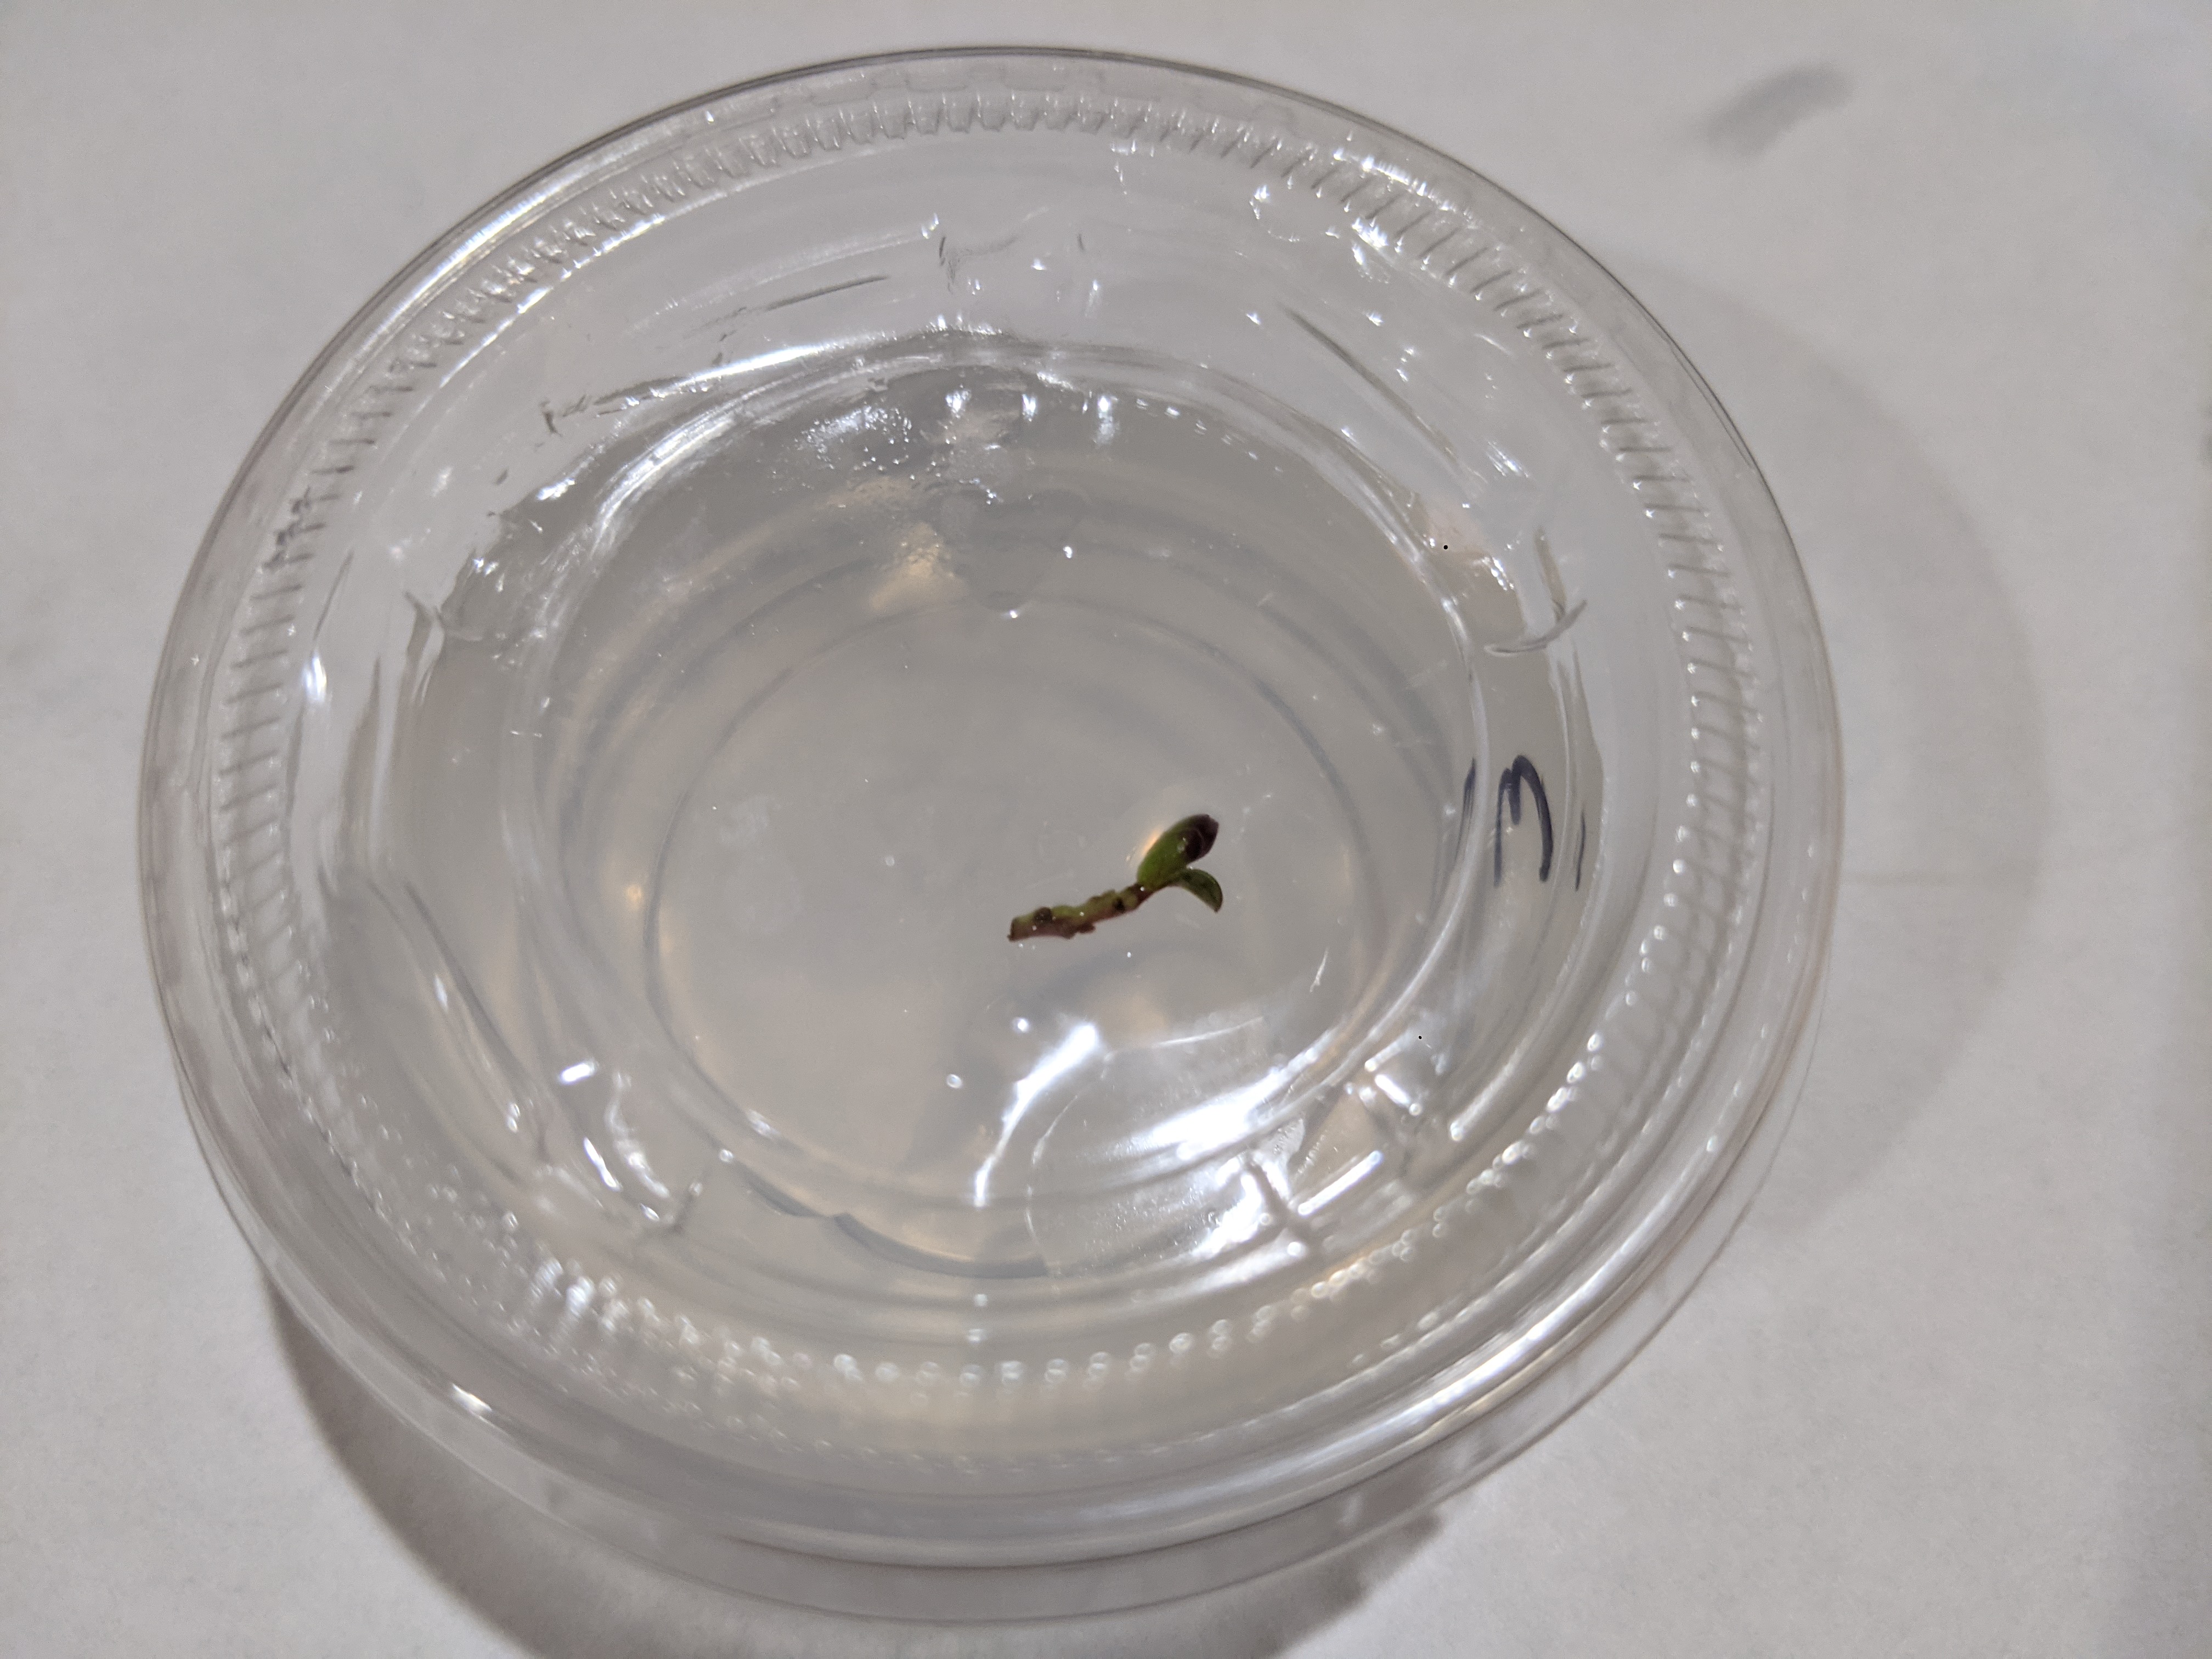
Now lets take another look at that gel. In fact, I will put both here so you can swap between them:
This slideshow requires JavaScript.
Which one looks better? Definitely the one with the filter. It has a few things going for it:
- No confusing green tint around the illuminated area. This is confusing, since the bands are also green
- No high-ISO noise in the non illuminated area. More even illumination.
- Slightly better focused image (Ok, I am to blame, I did not focus very well)
It was also WAY easier to take the picture. Just point, focus, and click! If I had a better illuminator, I wouldn’t even have to hold the LEDS! There is also a difference in pixel count, but that is mostly irrelevant, for the quality of image. Commercial gel docs use sensors that are much under 2 MP. By pixels, my phone camera should be 4x better!
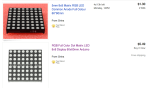
What really matters more is the size of the sensor. As a rule, larger sensors are better, but I don’t need to explain that- you can read Ken Rockwell’s excellent posts on the megapixel myth and look at comparisons at high isos here. Use the drop downs to look at side-by side comparisons of different cameras at high-ISO (what happens in low light, like with a gel). Check out the below, which compares the canon rebel xs (10 MP, 419 square mm square APS-C sensor, 185 on ebay, WITH lens), the canon 510 HS (12.1 MP, 28 square mm sensor, on ebay, 12.1 MP) and the Sony CyberShot DSC HX20V (18.2 MP, 28 square mm sensor, 260 on ebay, 18.2 MP). These are buy it now prices.
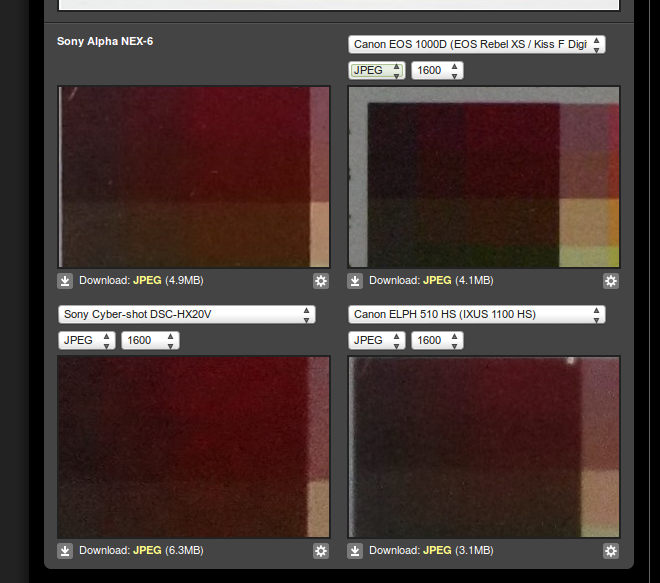
Winner is the XS 1000, as you can see the difference in the dark colors!
This is a picture of a test swatch, with very similar colors next to each other. As you can see, the cheapest camera, with the smallest number of megapixels, but the largest sensor has the best color differentiation, and low noise at a relatively high ISO 1600 (for reference, 400 ISO is the most common speed for “general use”). The XS 1000 also has manual focus! My conclusion is that if you want to take a picture of a gel, use an older, cheaper APS-C sensor camera, and get a filter for it. You will thank yourself for it later when you have nice pictures.